In this tutorial, you will learn how to optimally adjust the sky in Cinema 4D to create realistic lighting conditions and achieve an appealing overall image. Especially important are the intensity of the sun, the temporal position, and the color intensity of the shadows.
Key Insights
- The sun should be sufficiently intense to create realistic lighting conditions.
- The sun's position can be changed by adjusting the date and time.
- The color intensity of the shadows is crucial for the overall impression of the image and should be adjusted accordingly.
Step-by-step Guide
First, we need to make it clear that the sky needs to be refined to optimize the lighting conditions in your scene. Below, I will go through the individual steps that you can take to adjust the sky in Cinema 4D.
You start by looking at your scene and noticing that while the sun is present, it is not casting enough light on the skyscraper. It is important to recognize the difference between the current sun intensity and the desired intensity.
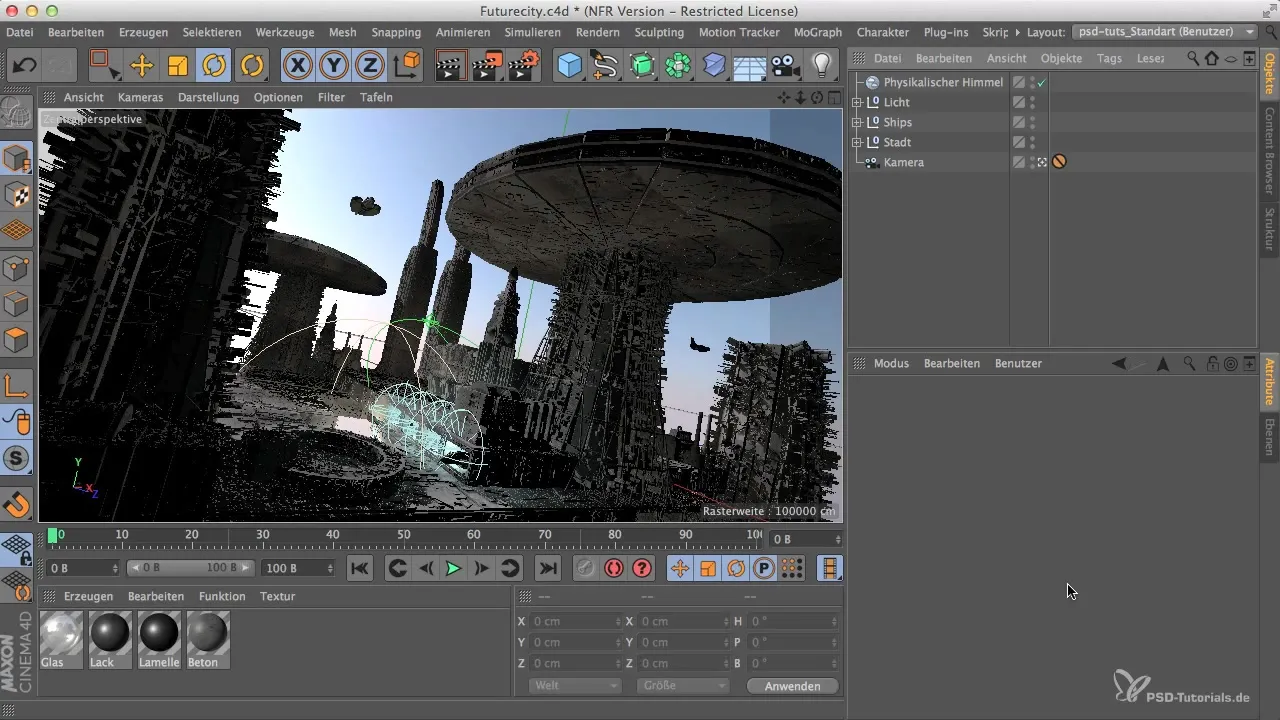
To increase the sun's intensity, click on the physical sky icon in your top bar to check your current sky settings.
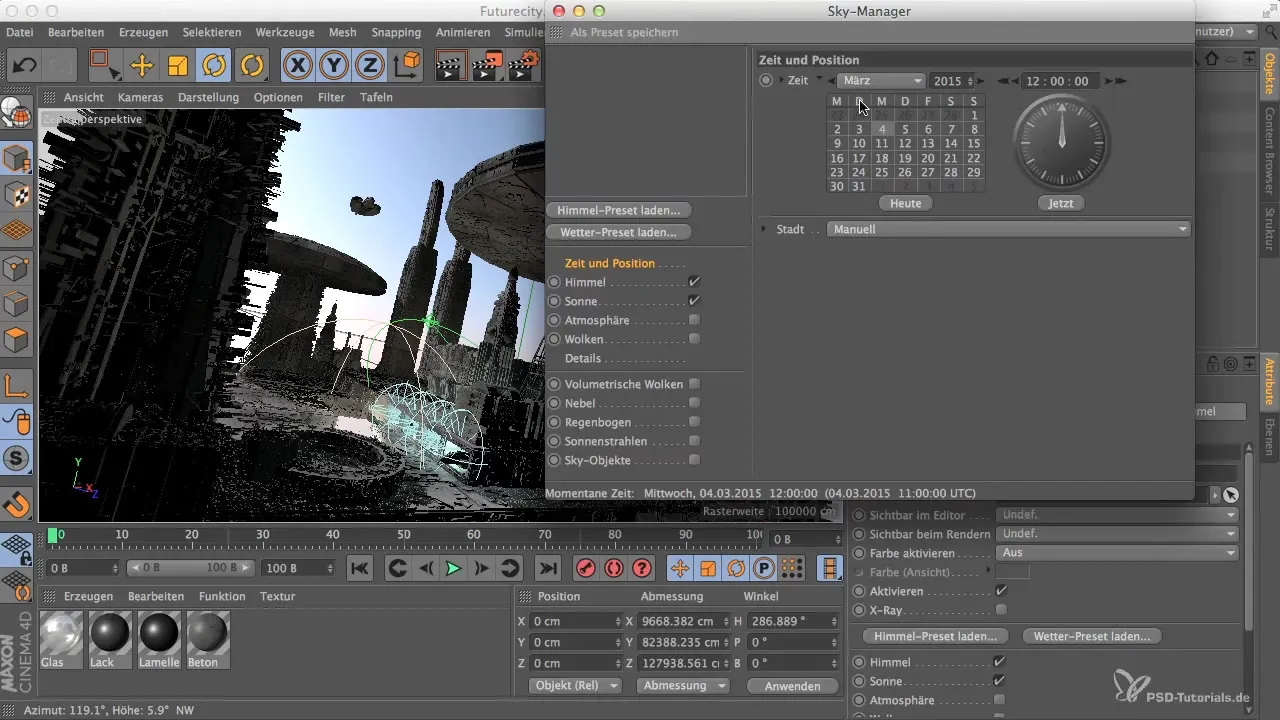
Here you can see the date and time that are currently set. Currently, March 12, 2015, at 12:00 is selected. A simple way to improve the light intensity is to move the date to April. This raises the sun higher into the sky.
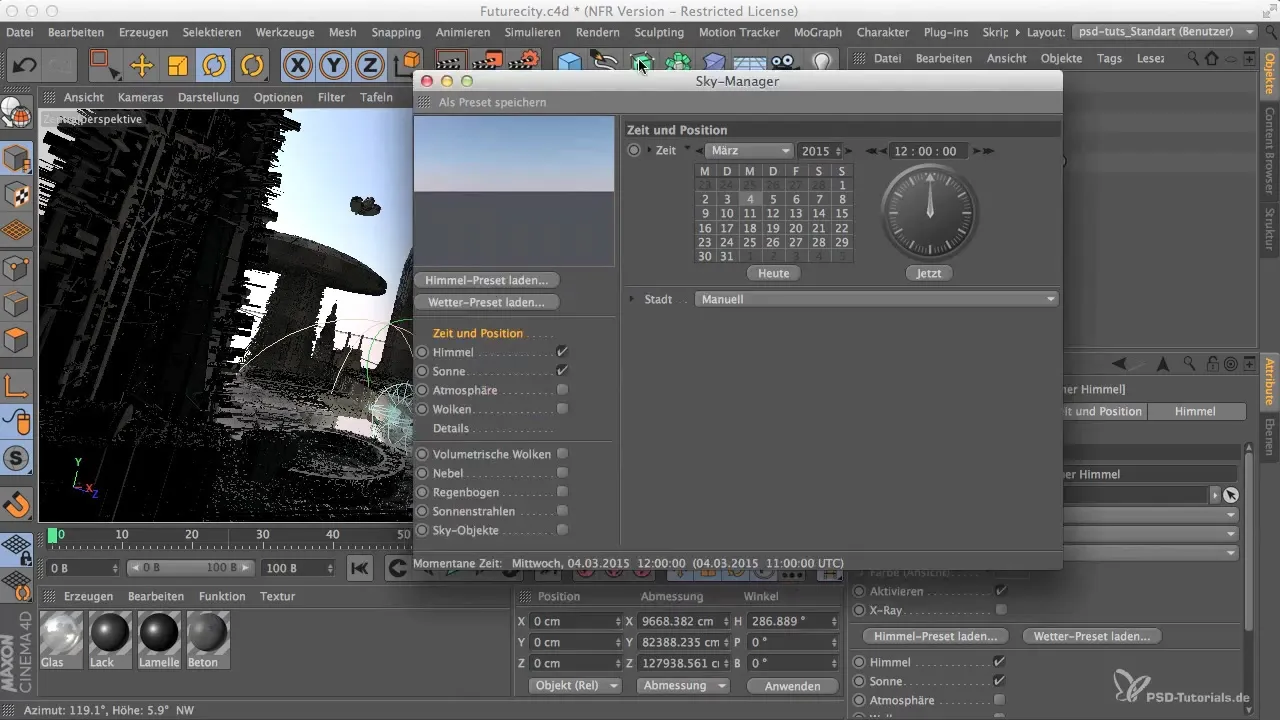
Once you change the date to April, you'll see that the sun is casting more light onto the surroundings. A noticeable improvement can be already seen, but you want to ensure that the sun isn't set too weak either. Often, an intensity of 100% is simply not enough, even with optimal lighting conditions.
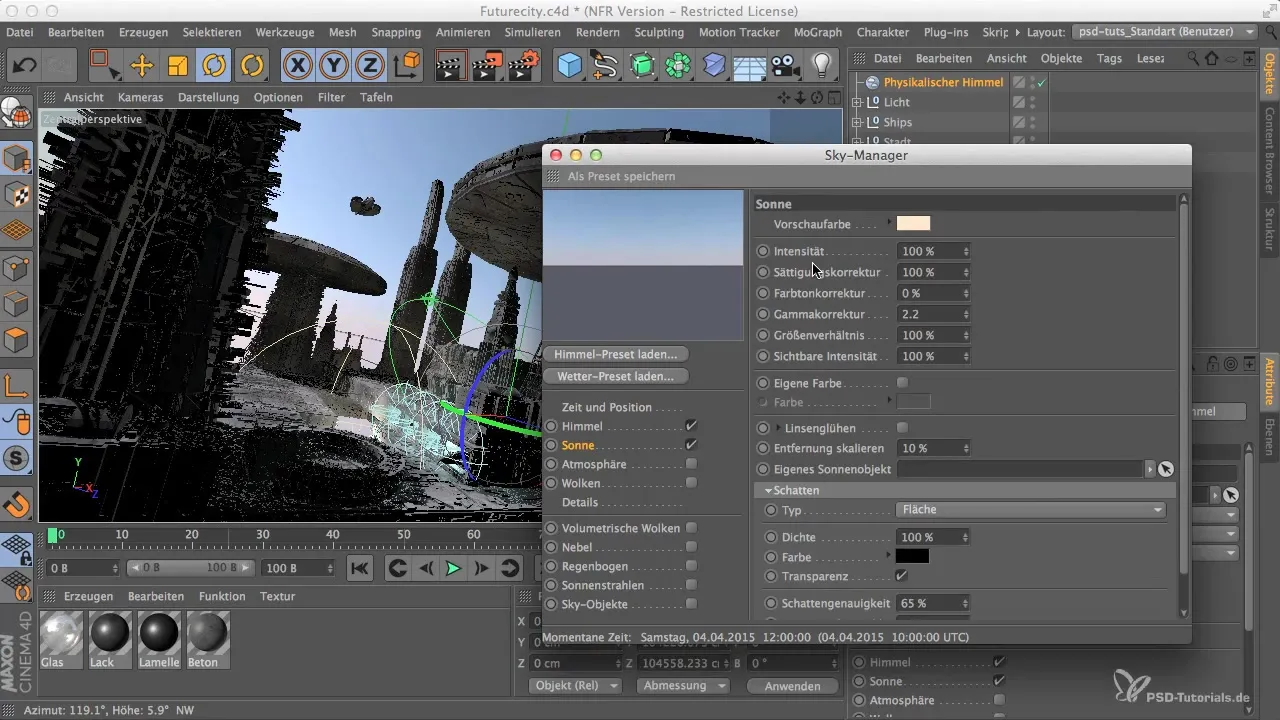
Change the sun intensity to 200% and check how this affects your scene. You should notice a difference immediately.
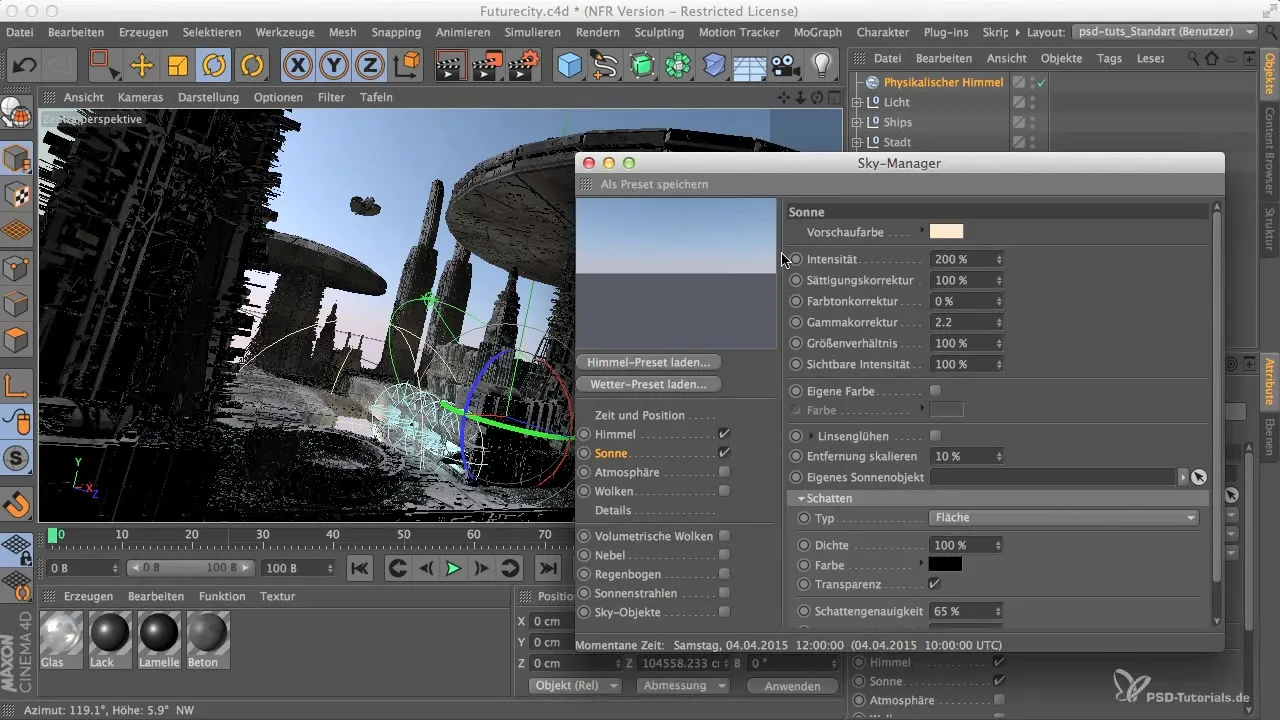
If you feel that 200% is still not enough, go ahead and try 300%. Sometimes it can be helpful to make iterative changes to the settings and observe the changes directly in your scene.
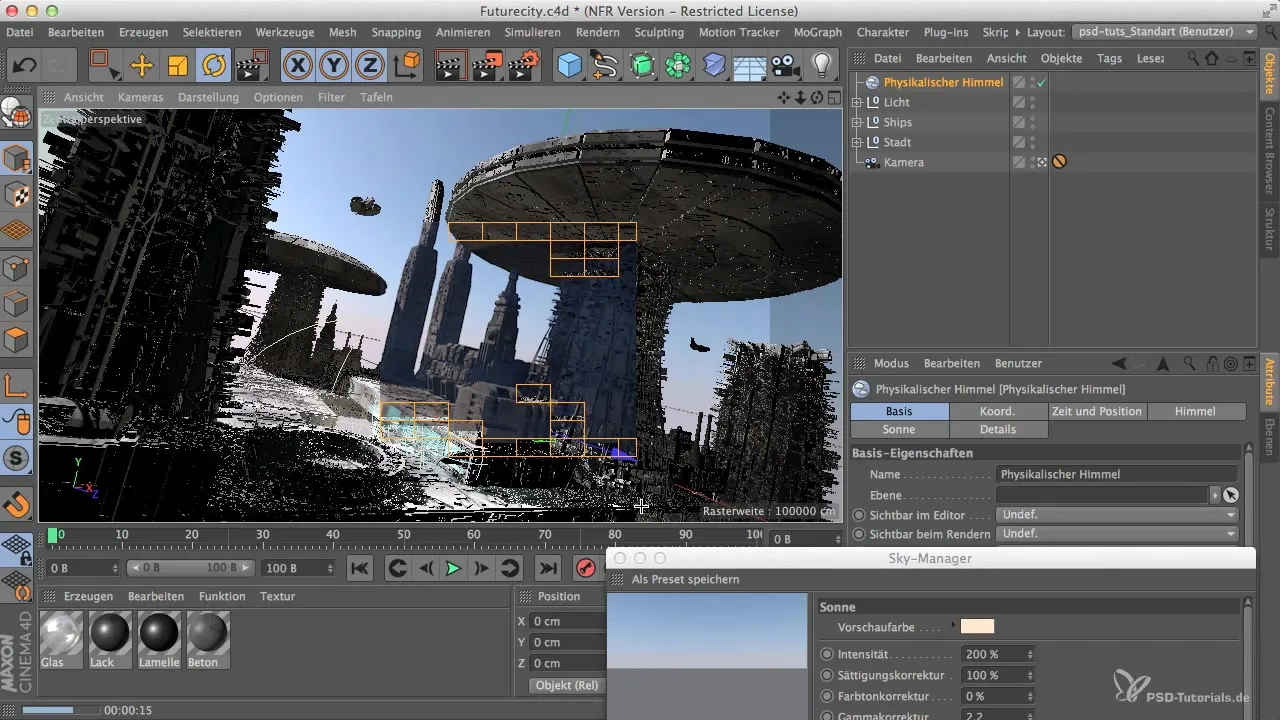
In addition to the sun intensity, the sky settings should also be checked to ensure that the environment is sufficiently illuminated. Click on the sky icon again and take a look at the intensity settings.
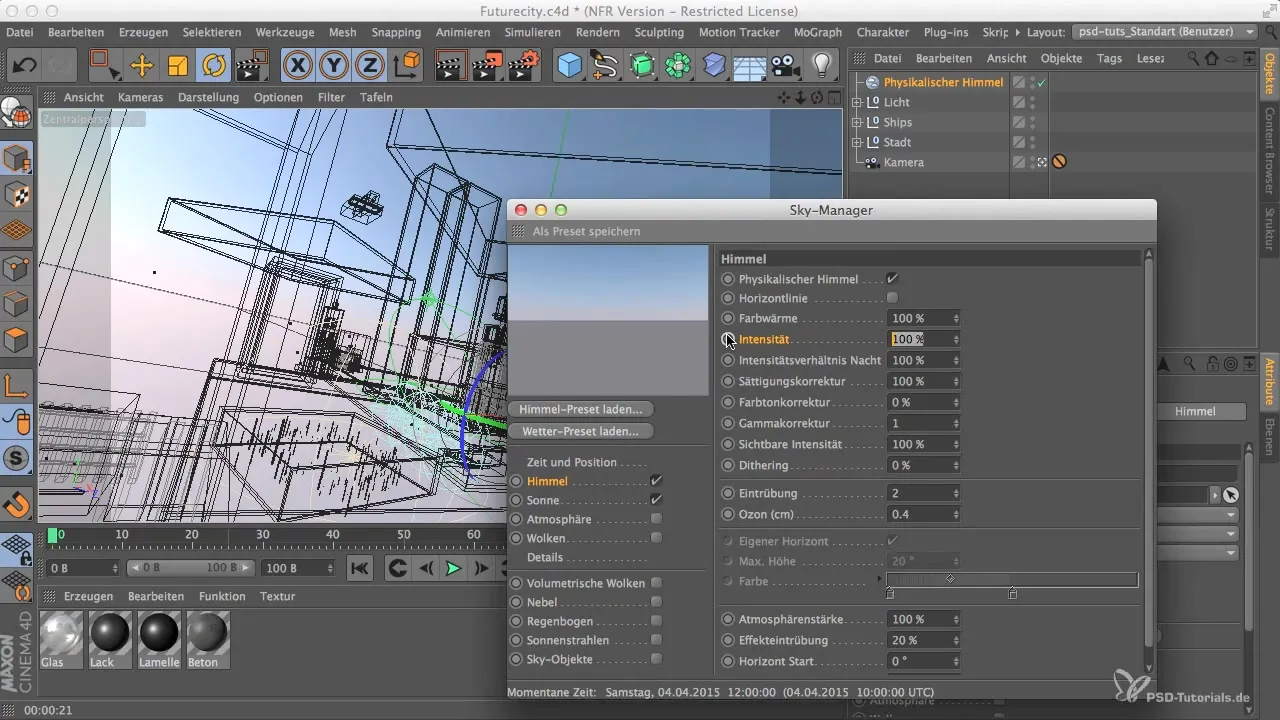
An adjustment from 100% to 130% can be helpful here. Be careful not to confuse the "visible intensity" setting. This is about the light intensity coming from the sky.
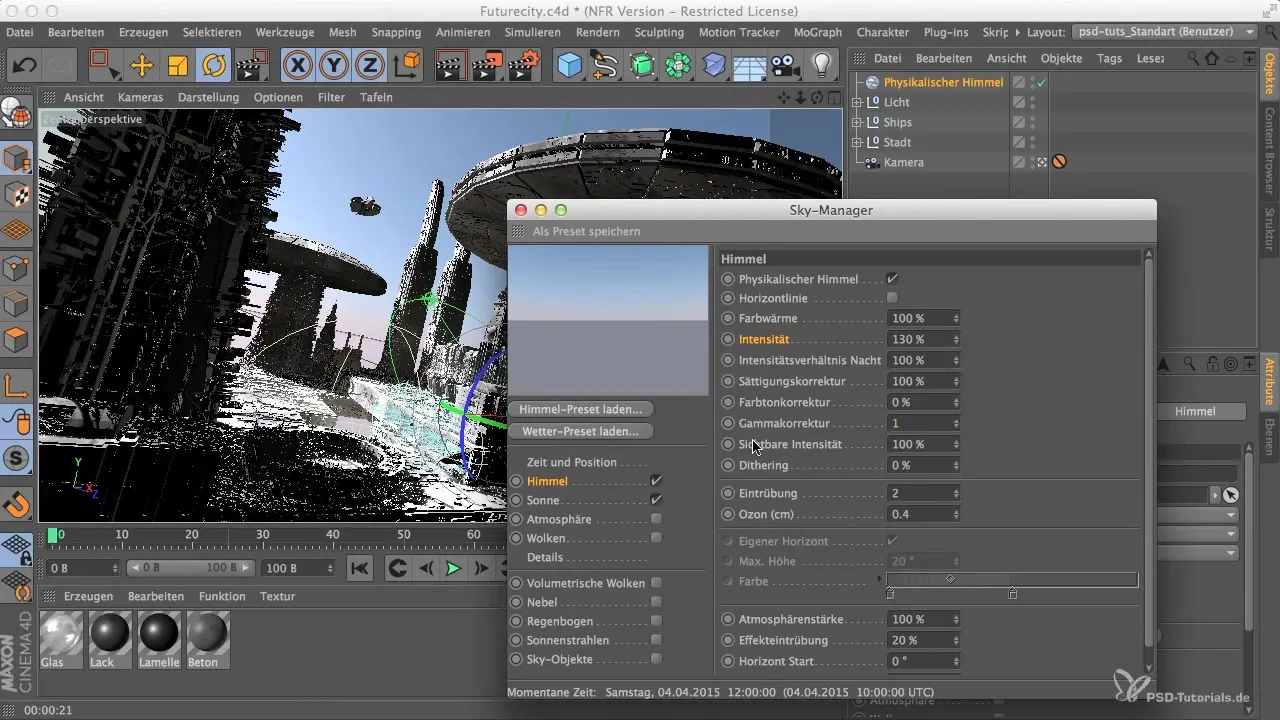
Once you have made these adjustments, realign your frame to check the effect. You will find that the sun is now bright enough to create typical shadows and lighting effects.
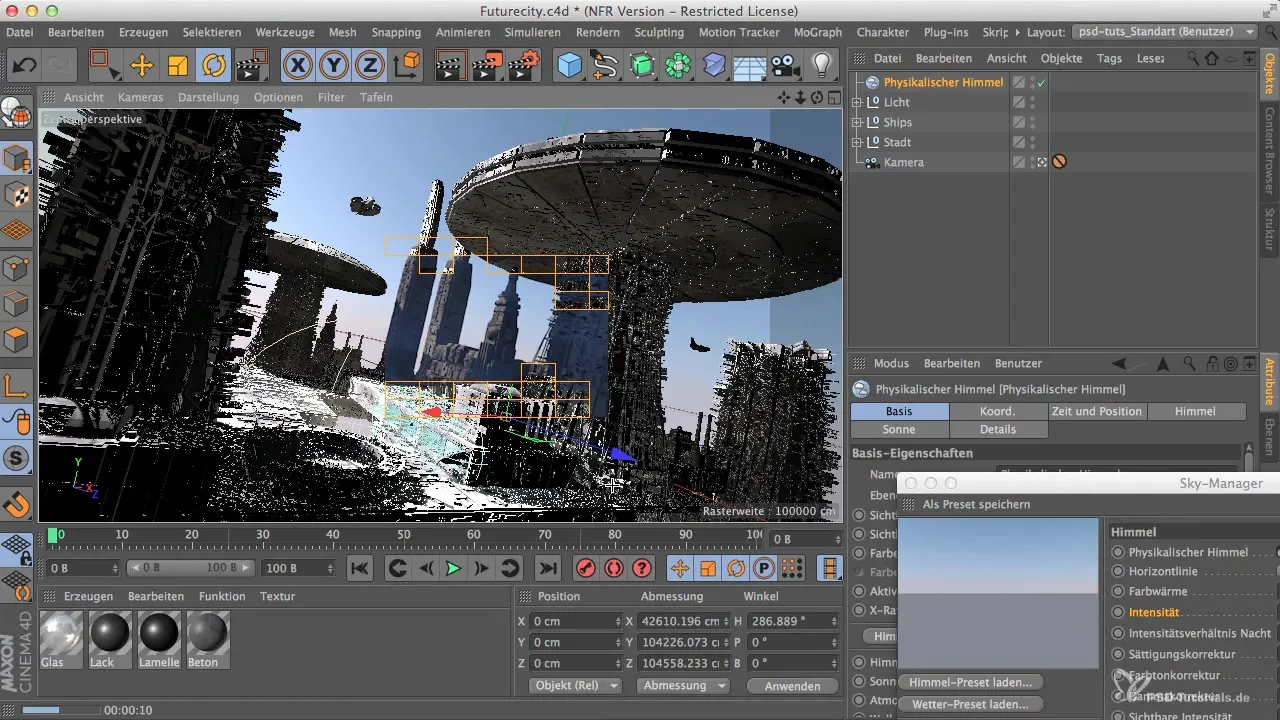
Now that the sun is brighter, it might be that the shadows have a too strong blue hue. This happens often as the sky reflects into the shadow pixel color. To reduce the blue component, you should correct the saturation of the sky.
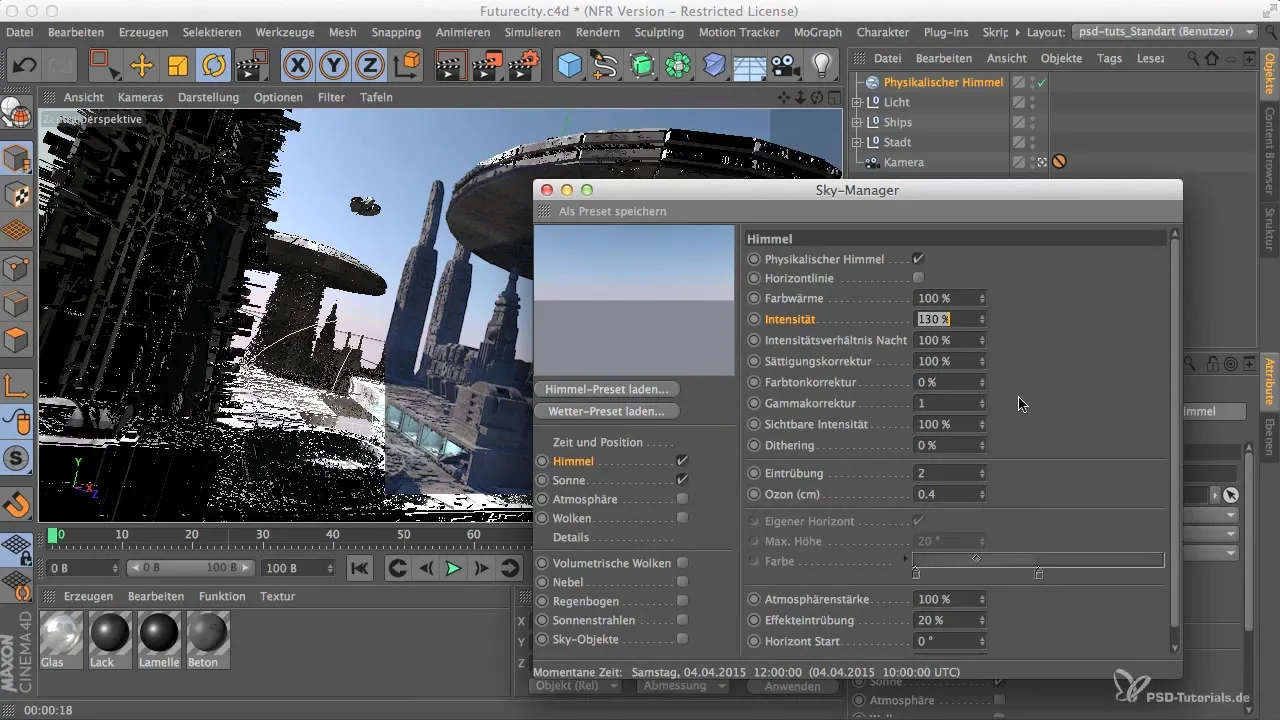
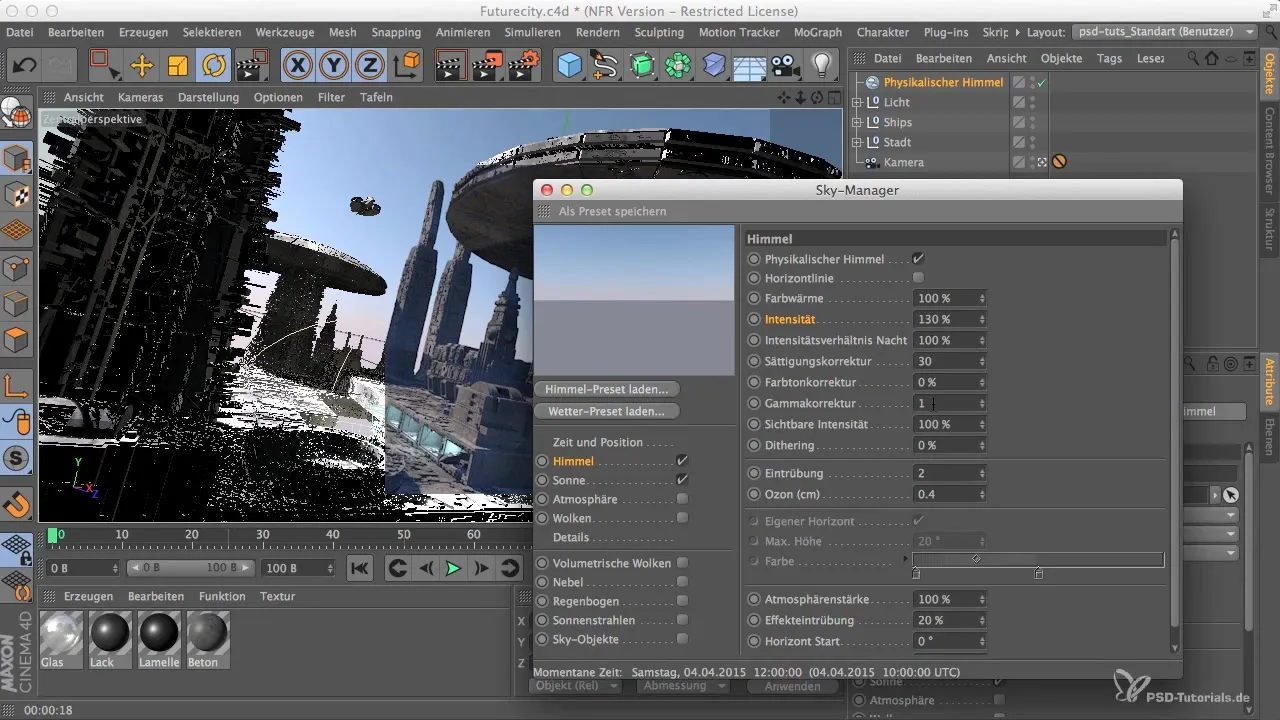
Set the saturation initially to about 30% and observe the preview effect. Don't underestimate how important the right hue in the shadows is, as it is crucial for the realism of your scene.
If at this point you still feel that the shadows are too blue, carefully go back to 50% to create a pleasantly balanced look. Move through your settings iteratively to ultimately achieve the desired effect.
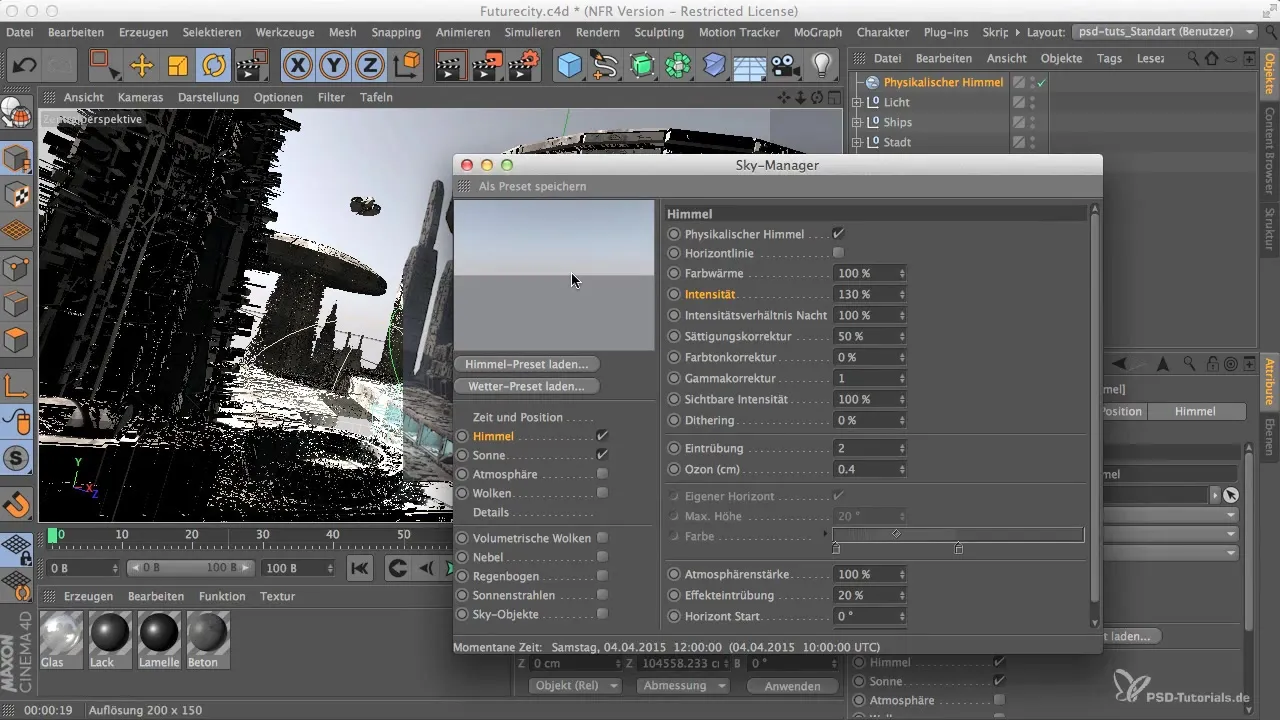
With these instructions, you have now followed the necessary steps to effectively adjust your sky in Cinema 4D.
Summary – Optimally Adjusting the Sky in Cinema 4D
In this step-by-step guide, you have learned how to adjust the intensity of the sun, the positioning in the sky, and the hue of the shadows to create a realistic and appealing environment.
Frequently Asked Questions
How can I increase the intensity of the sun?You can adjust the intensity in the physical sky icon. Often, 200-300% is required for realistic lighting.
How do I change the position of the sun?Simply change the date and time in the sky icon to influence the sun's position.
What can I do if the shadows appear too blue?Reduce the saturation of the sky to decrease the blue component in the shadows and achieve a balanced color scheme.


