Atmosphere gives an image depth and ensures that it looks more vibrant. Creating a convincing atmospheric perspective in your images is crucial to maintain the viewer's interest. In this tutorial, I will show you how to effectively incorporate a basic atmosphere into your image in Cinema 4D and Photoshop. We will focus on controlling the tonal values to create a harmonious and visually appealing depth.
Key Insights
- Create a working or tonal control layer to effectively manage the atmosphere.
- Use a soft brush method with suitable tonal colors to enhance depth.
- Mask specific areas to achieve a clear separation between foreground and background.
- Keep layer organization in Photoshop tidy to maintain clarity.
Step-by-Step Guide
Start by opening a new project in Photoshop. First, we capture the basic atmosphere of the image by creating a special working or tonal control layer. Go to "Layers" and create a new layer above the other layers. Fill this layer with black and set the mode to "Saturation". This allows you to control the tonal values without changing the original image.
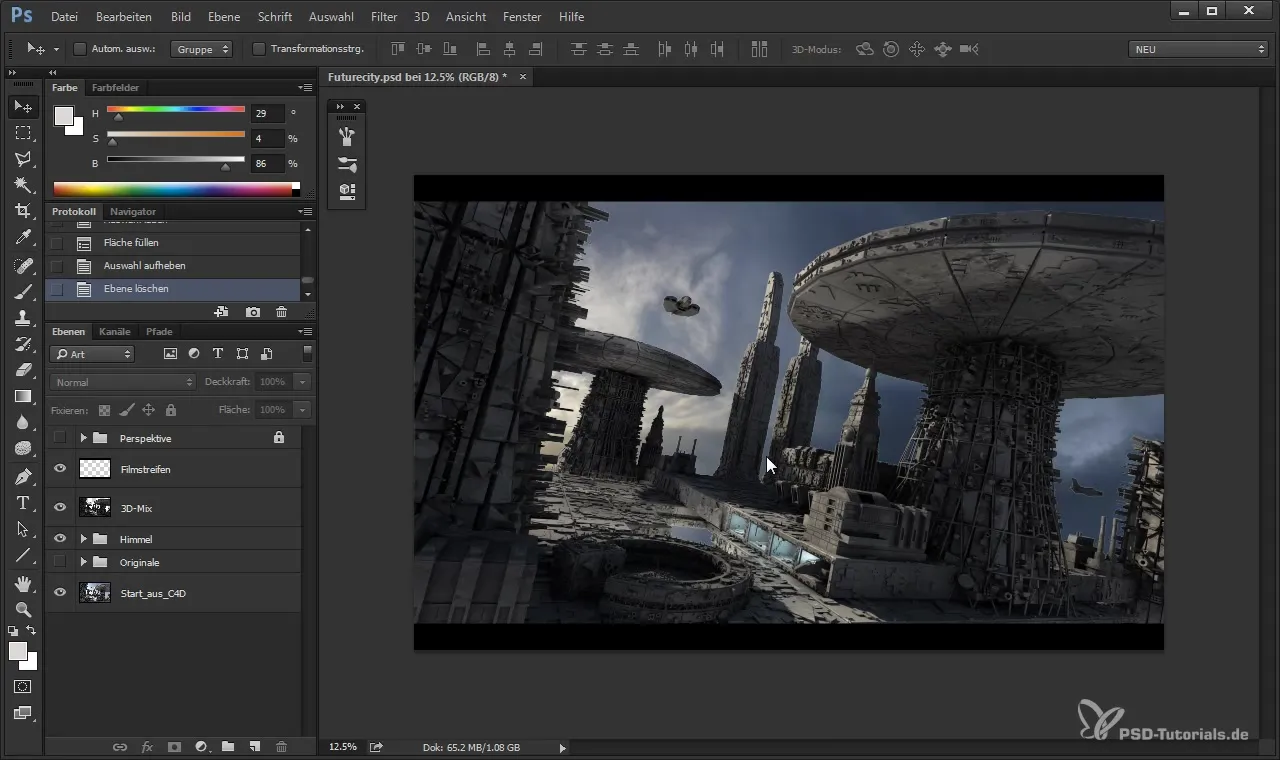
This tonal control is not directly relevant to the final image, but it serves as a useful workspace that you can toggle on and off at any time. This gives you a clear overview of the effects of your changes.
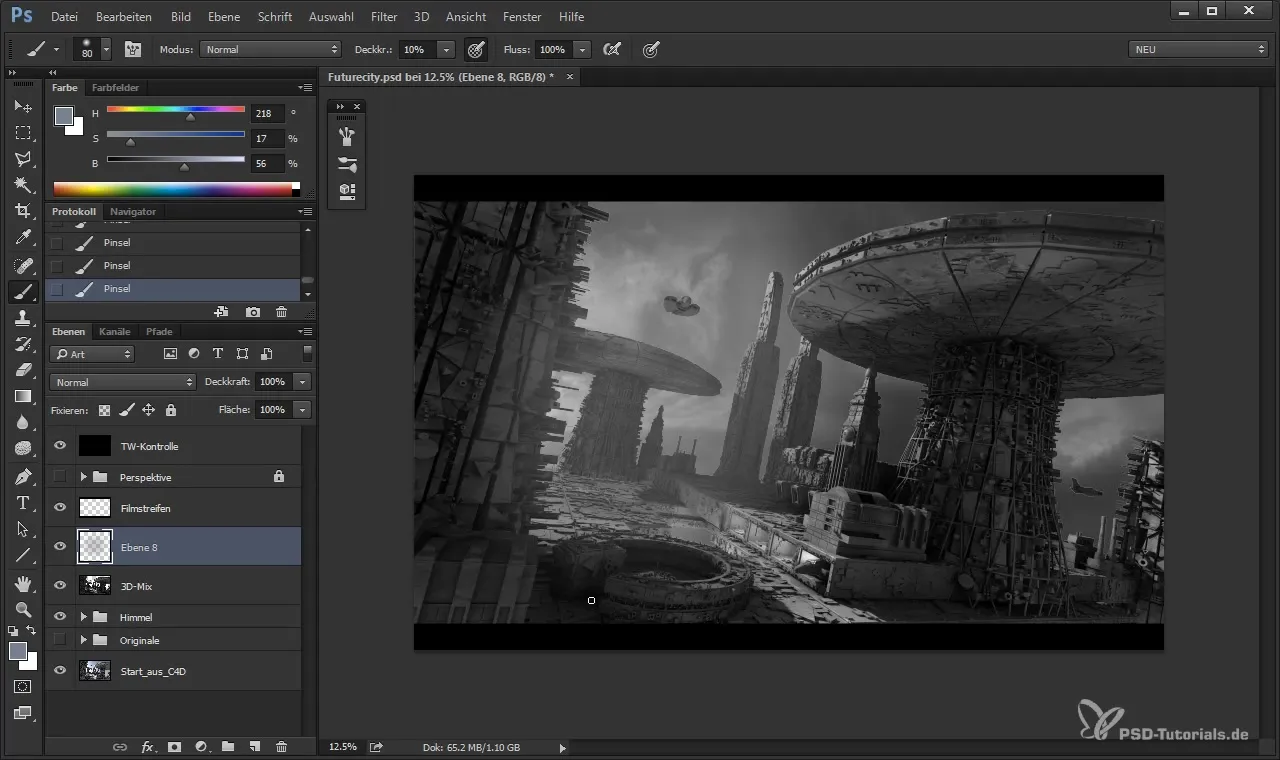
Now, let’s take a closer look at the tonal values. When observing the image, you may notice that the tonal values in the middle are too pronounced. The image appears a bit too dark, and the contrasts are not well balanced. To correct this, you need a soft color selection. A recommended color choice would be a gentle blue, as the atmosphere becomes bluer with increasing distance.
To add atmosphere, select the tonal control layer again. Ensure you have the correct layer selected to paint in the new color tones. Using a large, soft brush (e.g., 1000 px) and reduced opacity (50%), begin painting on the new atmospheric layer.
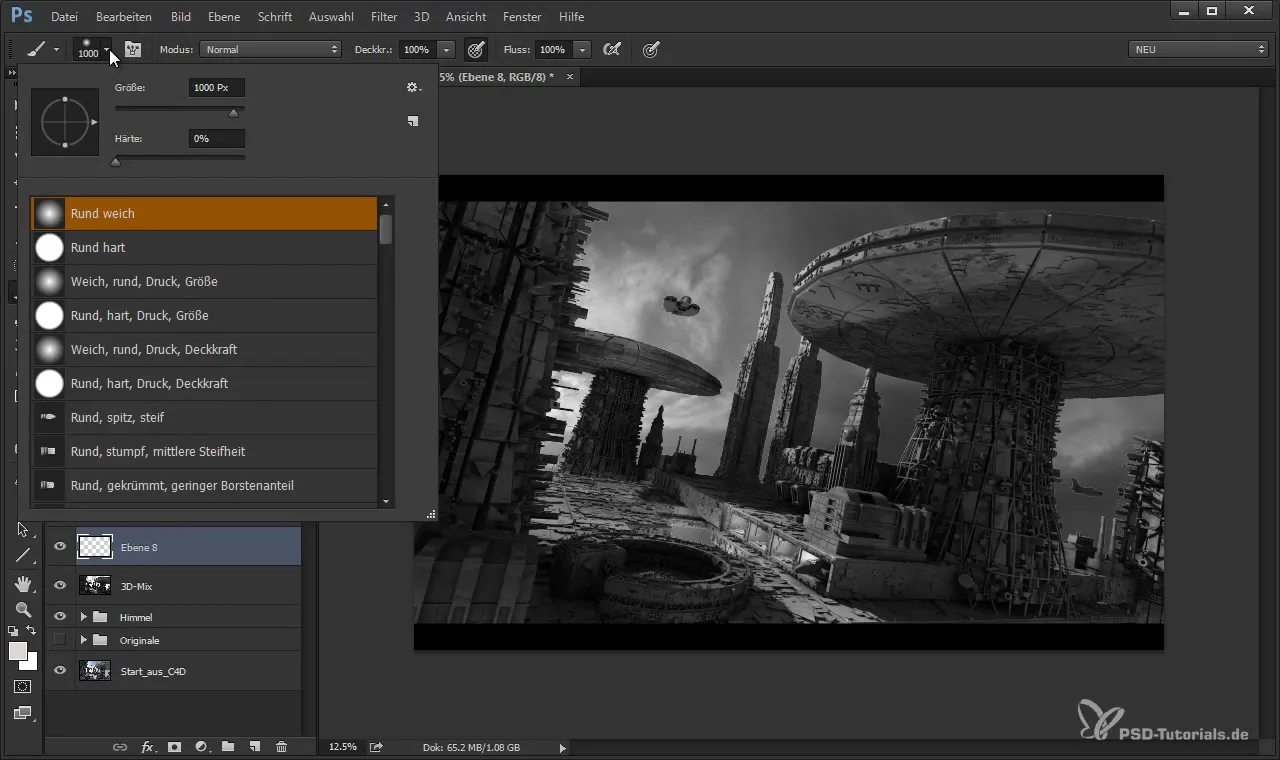
It is important that the transitions are soft, so that no hard edges arise. Paint the color into the sky and background, ensuring that this softness enhances the depth and smoothness of the image. When you turn off the tonal control layer, you should immediately see how the image looks much better with the new atmosphere.
Now it's time to check the foreground elements. Since you want these to stay closer to the viewers, you need to mask certain areas. To do this quickly, go to the Channels panel and select the appropriate channel. Hold down the control key and click on the image to create a selection that you can then delete to clean up the edges.
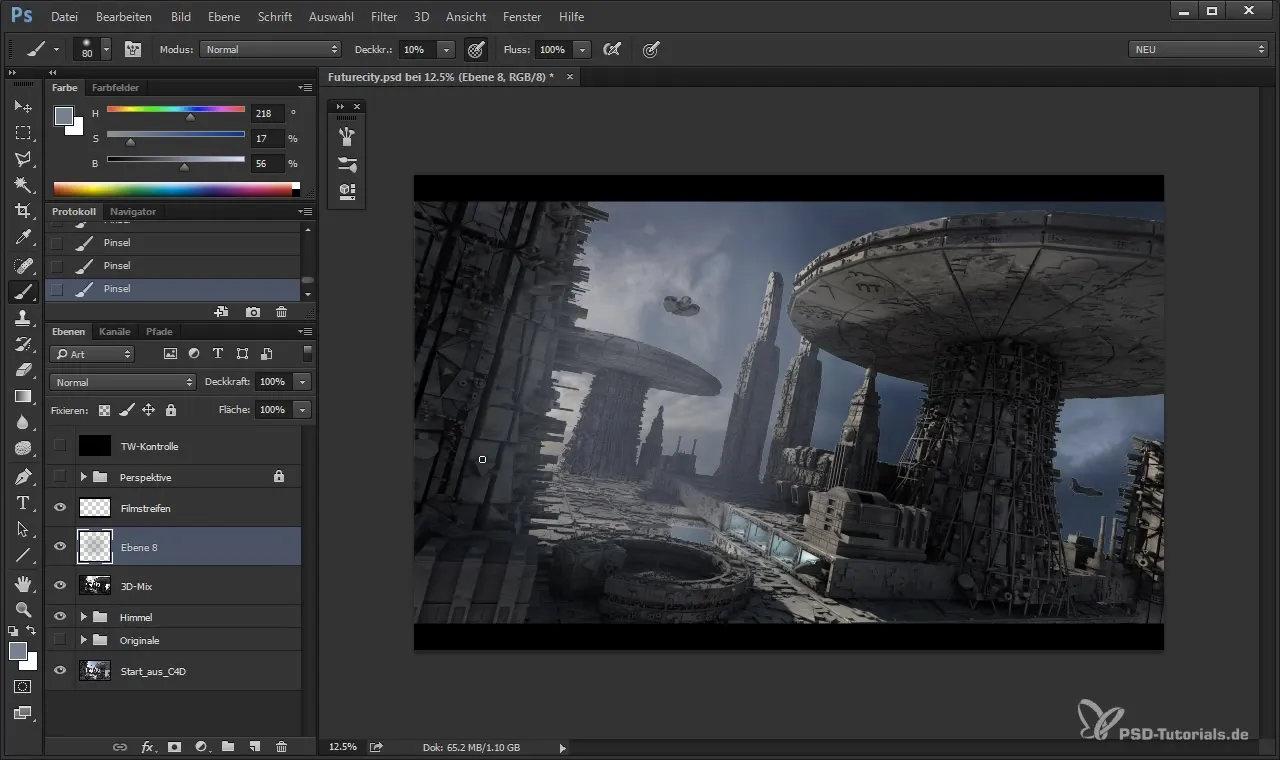
If you deleted too much, you can easily go back and use the color selection again to clarify the edges. Make sure the brush is set to soft so that the edges appear more delicate. This enhances the softness between the foreground and background.
Another important point is to regulate the contrast between the foreground and background areas. Working with the pipette can help you determine the differences in tonal values. The shadow areas should not be too dark, and the image should appear harmonious. Consider how the lighting flows in your scene and adjust the values accordingly.
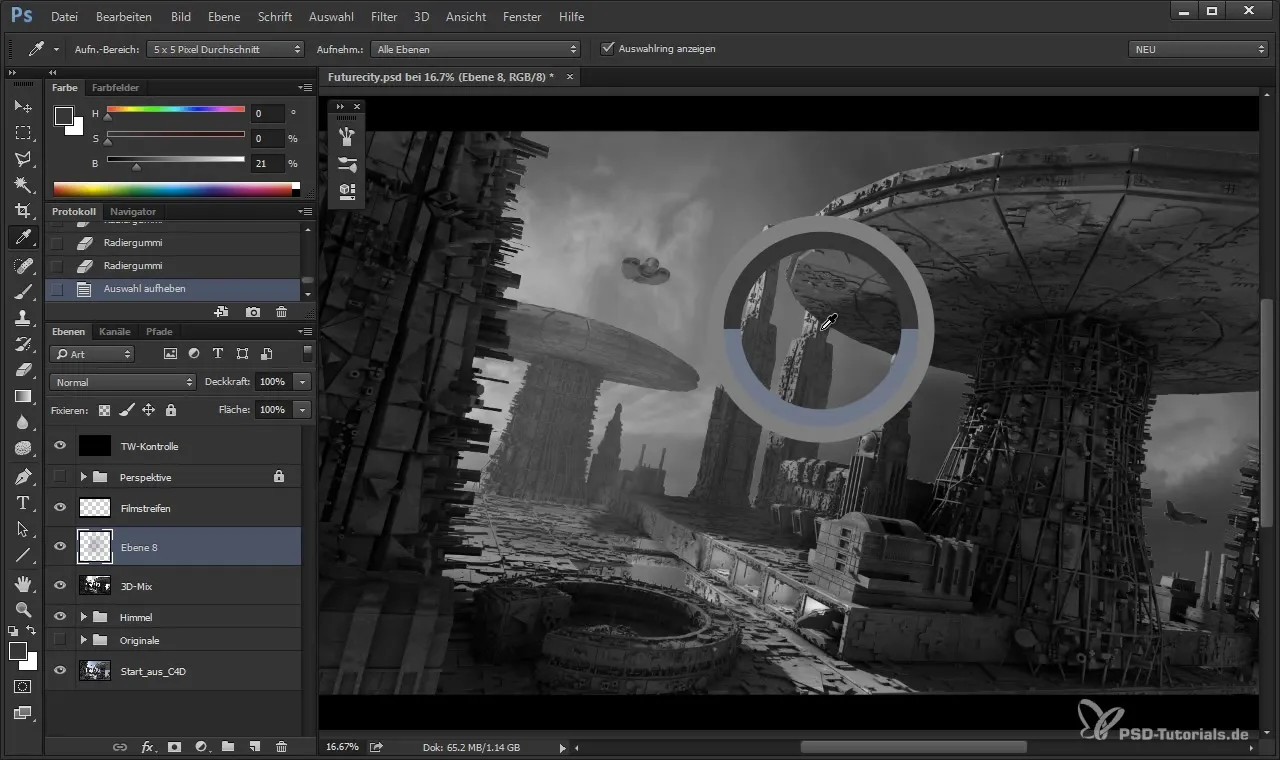
To finalize the image, create a new group for all atmospheric layers. This helps to organize and manage changes more easily. You can also add your textures and lighting effects to this group to improve clarity.
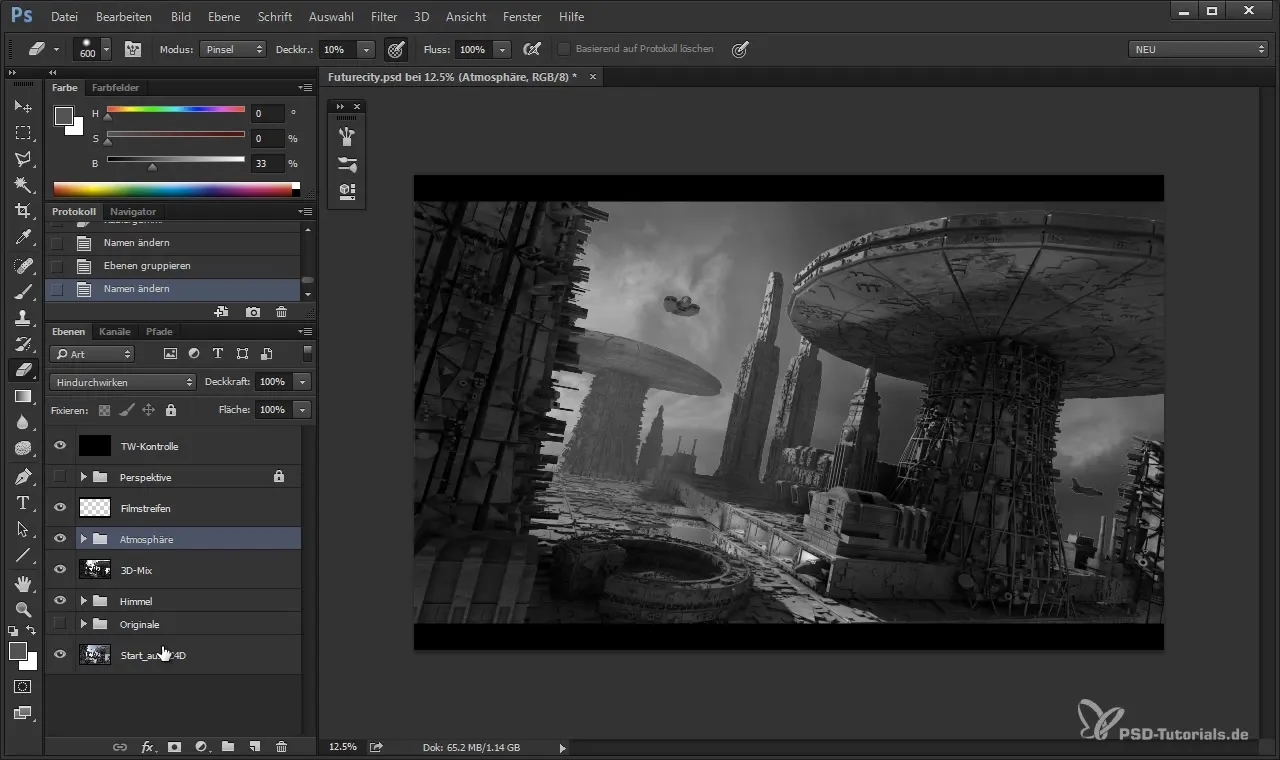
Once you have created all atmospheric effects, turn off the tonal control and observe the changes in the image. You may now want to adjust the sky to highlight the structure of the clouds again. With a soft brush and low opacity, you can accomplish this.
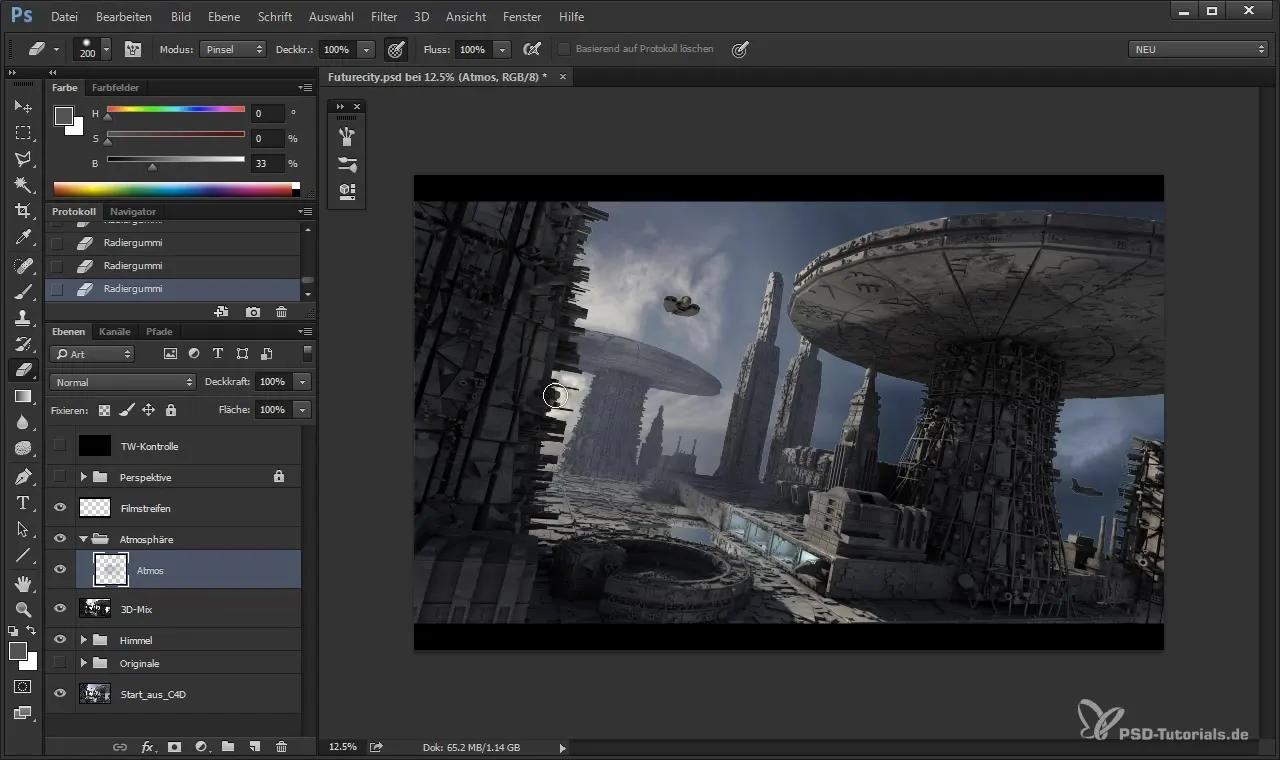
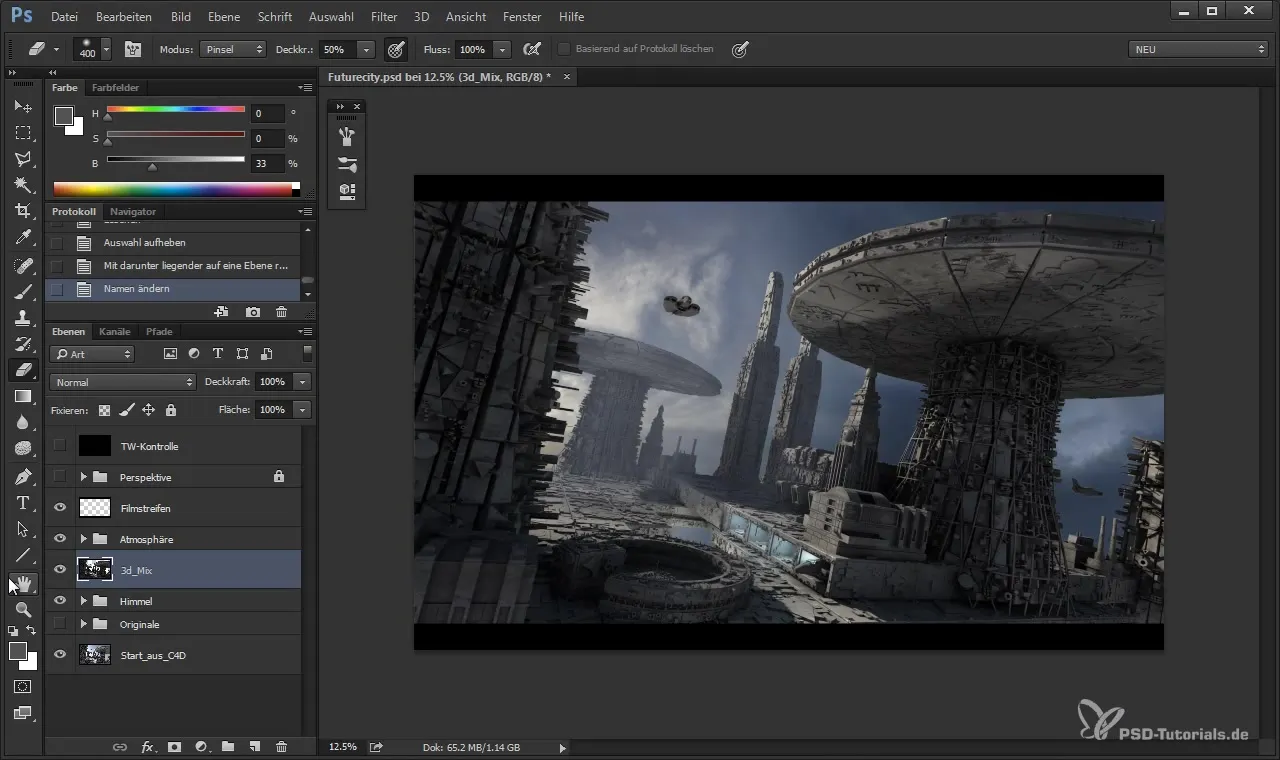
If you have created your project and want to bring more light into the image, add a new light beam that enhances the desired mood.
Summary - Adding Basic Atmosphere in Cinema 4D and Photoshop
By using the right working method in Photoshop and in combination with Cinema 4D, you can create an effective atmospheric perspective. Always remember to keep the contrast and colors in balance to make the image appear vibrant and engaging.
Frequently Asked Questions
What are the key steps to adding atmosphere to an image?Create a tonal control, choose suitable colors with a soft brush, and mask areas for clear separation.
How can I enhance the depth in an image?By using blue tones and soft brush strokes to gently add atmospheric color.
Should I work destructively or non-destructively?It depends on the context; in many cases, destructive work may lead to quicker results, but it is certainly wise to act responsibly.
How can I better organize the layers in Photoshop?Use groups to combine related layers and name them accordingly to increase clarity.
Do I need special software to create atmospheric effects?Photoshop is excellent for this; alternatives could be other painting or 3D software, depending on your needs.


