Photography and digital image editing go hand in hand when it comes to enhancing the visual impact of an image. In this tutorial, you'll learn how to effectively insert photo structures into your images to achieve amazing details. We'll be using various techniques within Photoshop to ensure that these structures are seamlessly integrated into the overall image.
Key insights
- Using the polygon lasso to select precise areas.
- Adjusting perspective and tonal value control for harmonious integration.
- Effective color correction to minimize color casts.
- The importance of layer organization to maintain clarity.
Step-by-step guide
Step 1: Select the area
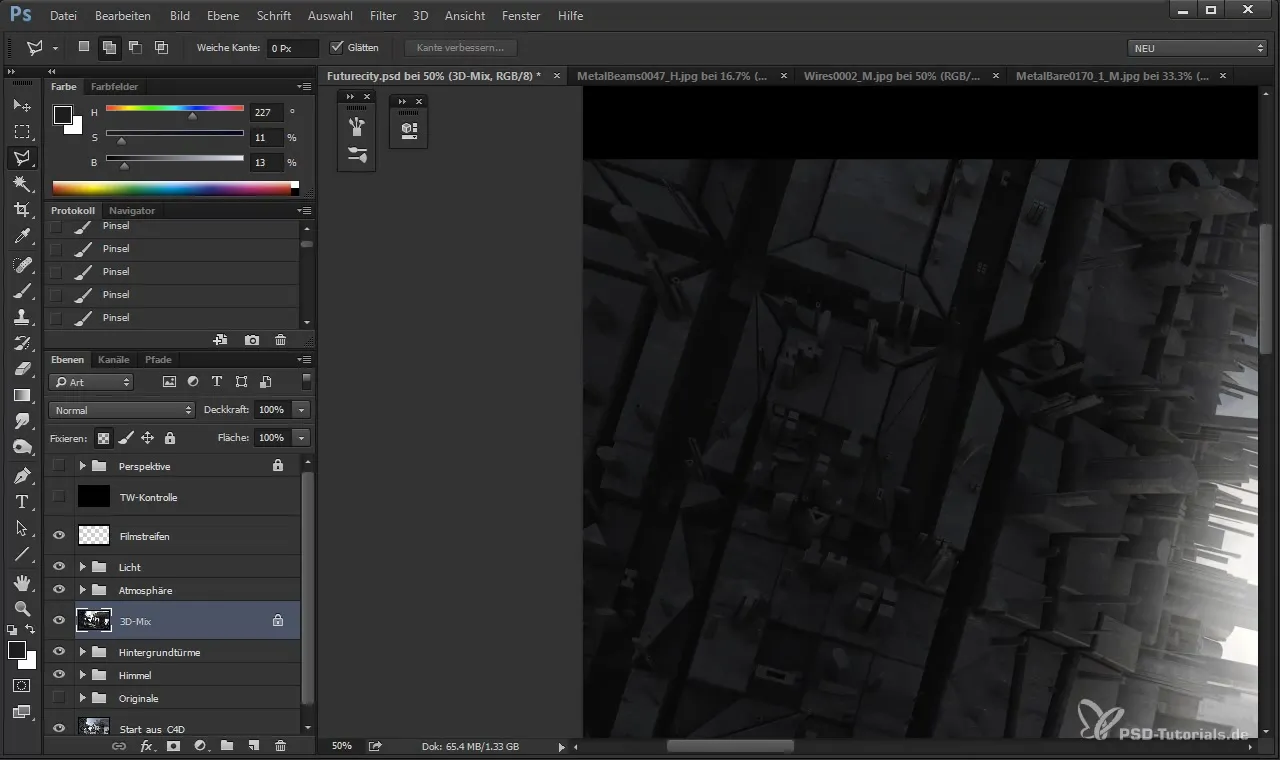
At the beginning, you want to select the area you want to edit with a photo structure. Use the polygon lasso tool for this. Select the specific area by tracing around the edges to select precisely. You may notice that your initial texture might look too large.
Step 2: Adjust the perspective
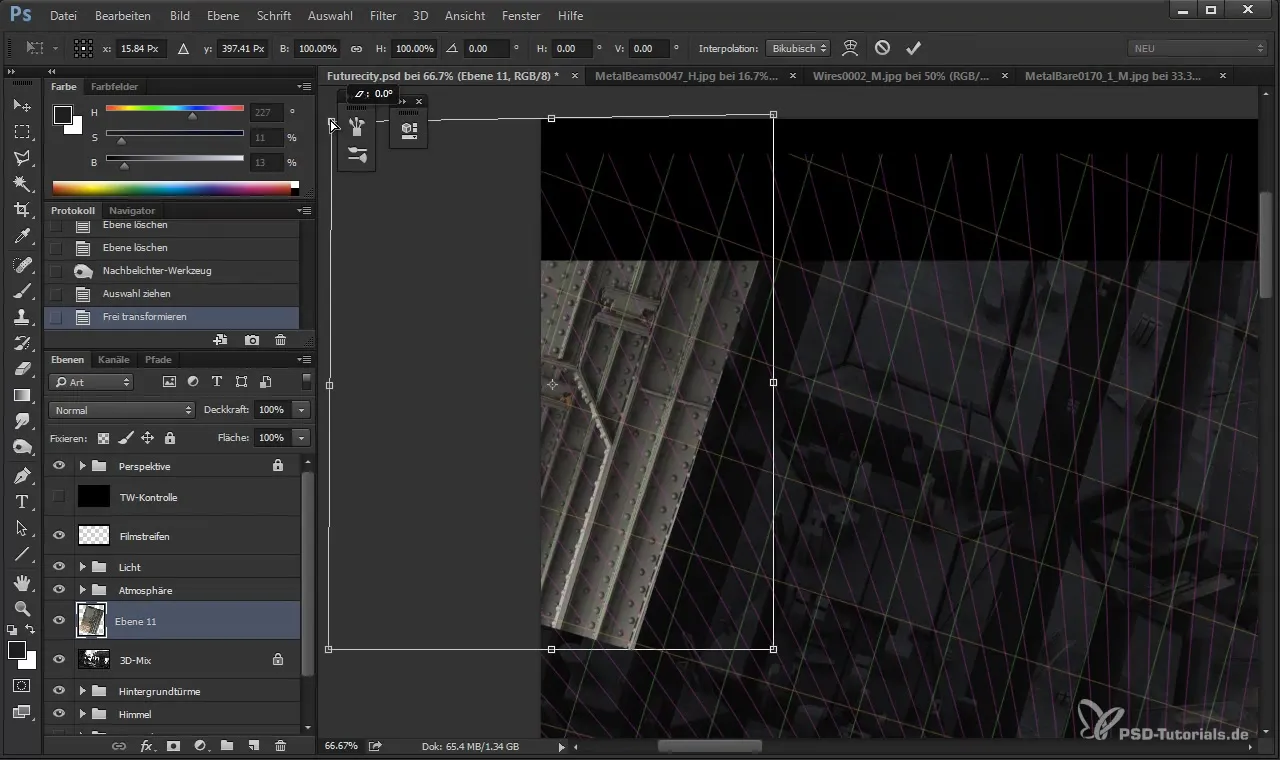
Focus on the selected area and look at the perspective guidelines to make the right adjustment. Ensure that the lines for the verticals are correct as this supports the credibility of the integration. Confirm the perspective correction.
Step 3: Use tonal value control
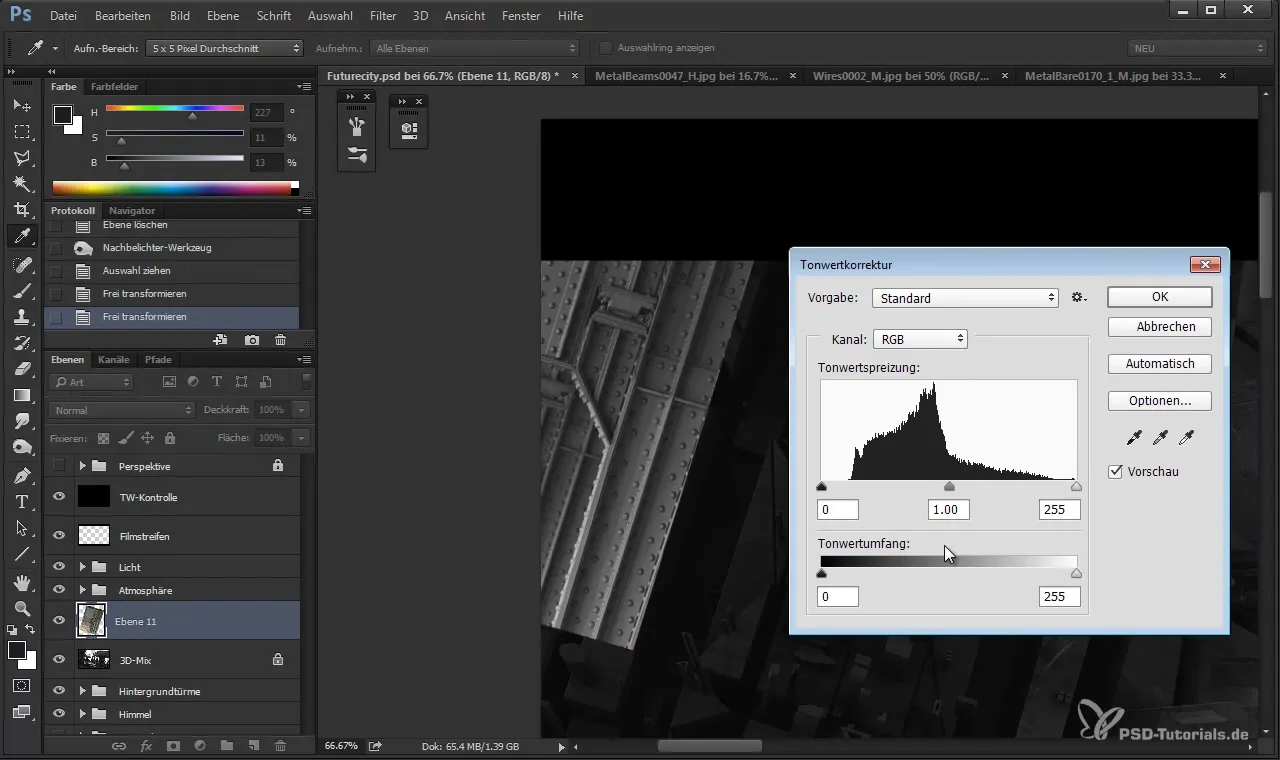
Now it's time to apply the tonal value control. Press Ctrl + L to open the tonal correction dialog. Play with the lights, midtones, and shadows to adjust the contrast and ensure that the new texture fits harmoniously into the image. Subtly darken the bright edges to achieve a uniform appearance.
Step 4: Perform color correction
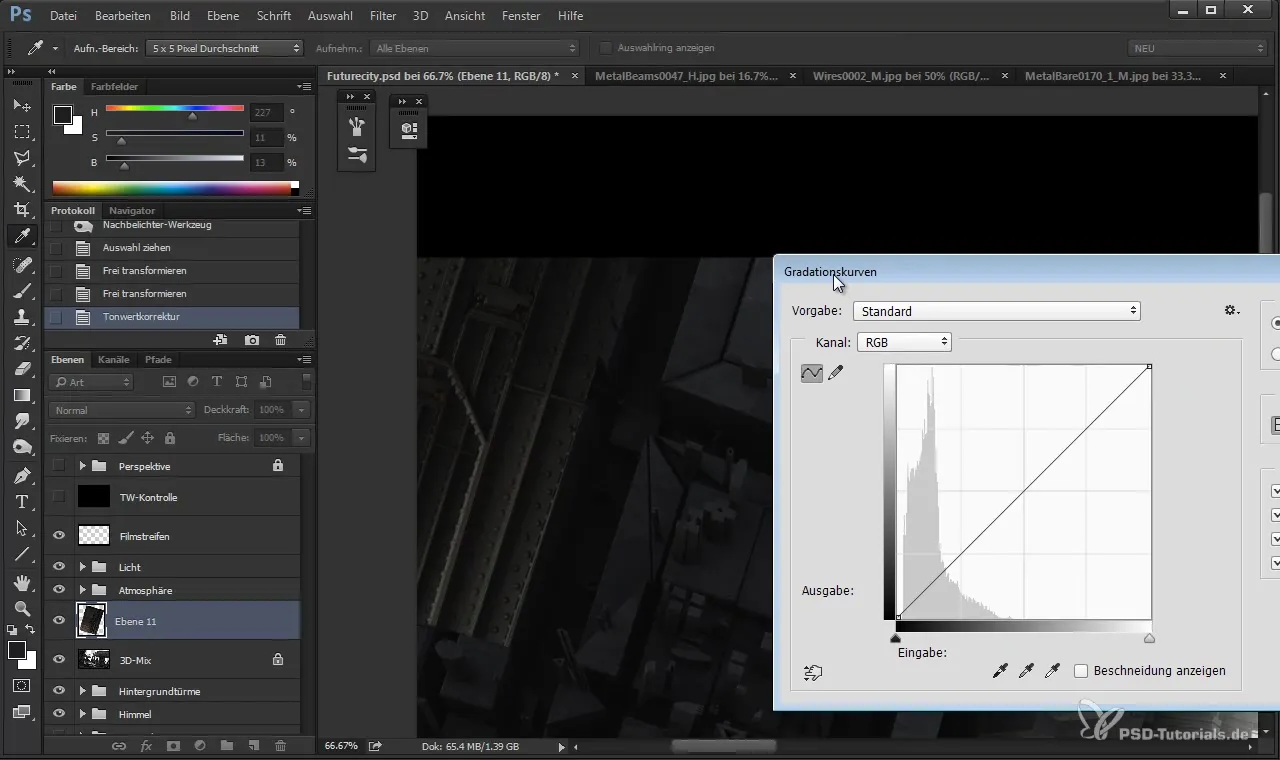
To remove unwanted color casts, open the curve adjustment by pressing Ctrl + U. Here you can work specifically on the hues to achieve a balanced color scheme. Pay particular attention to ensure that the hue does not appear too yellow or reddish. Direct color corrections help make the texture appear even more realistic.
Step 5: Refine with the dodging tool
Now you're going to fine-tune. You can use the dodging tool to darken lighter areas, creating more depth. First, press N for the dodging tool and set the brush size to work precisely. Proceed carefully and make sure that the structures remain intact and are not completely covered.
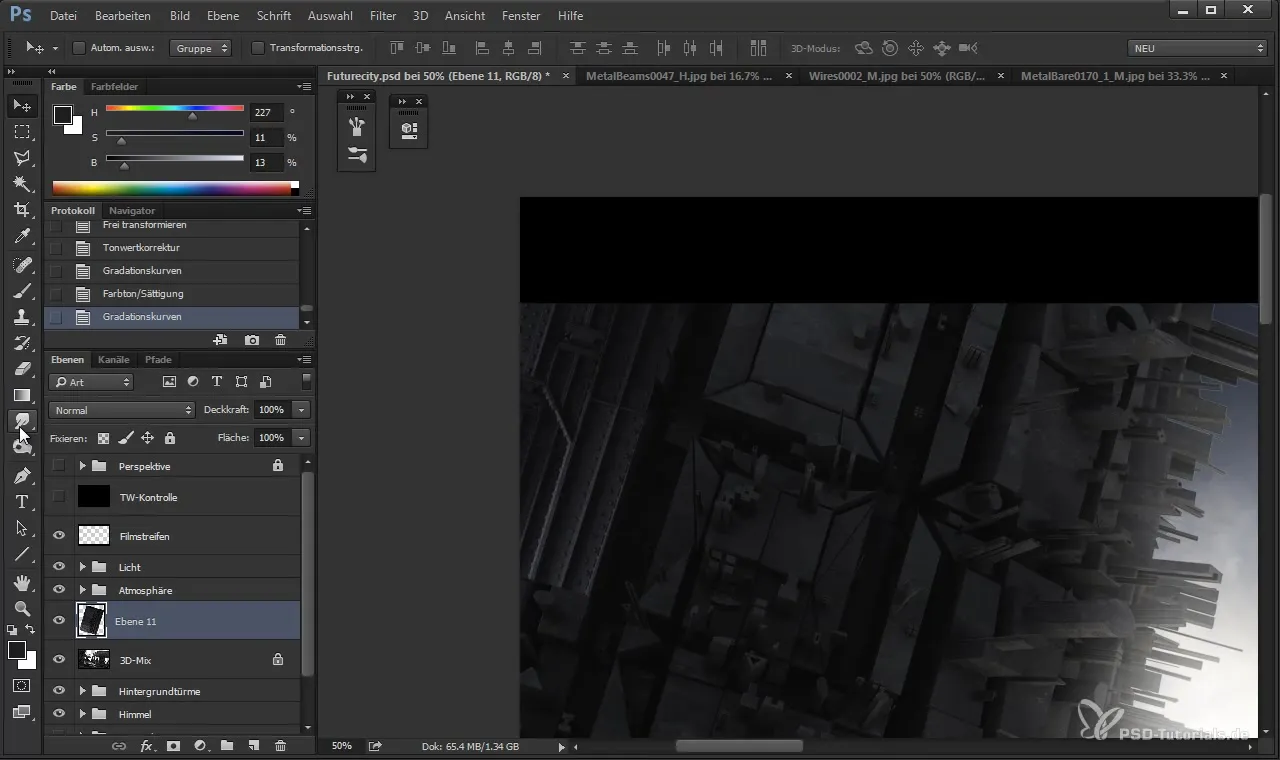
Step 6: Improve the edges
Now you come to the point where you want to optimize the edges of the structure. The polygon lasso tool can help here again when you want to retouch specific areas that are not perfectly integrated yet. Erase problematic edges to achieve a harmonious overall appearance.
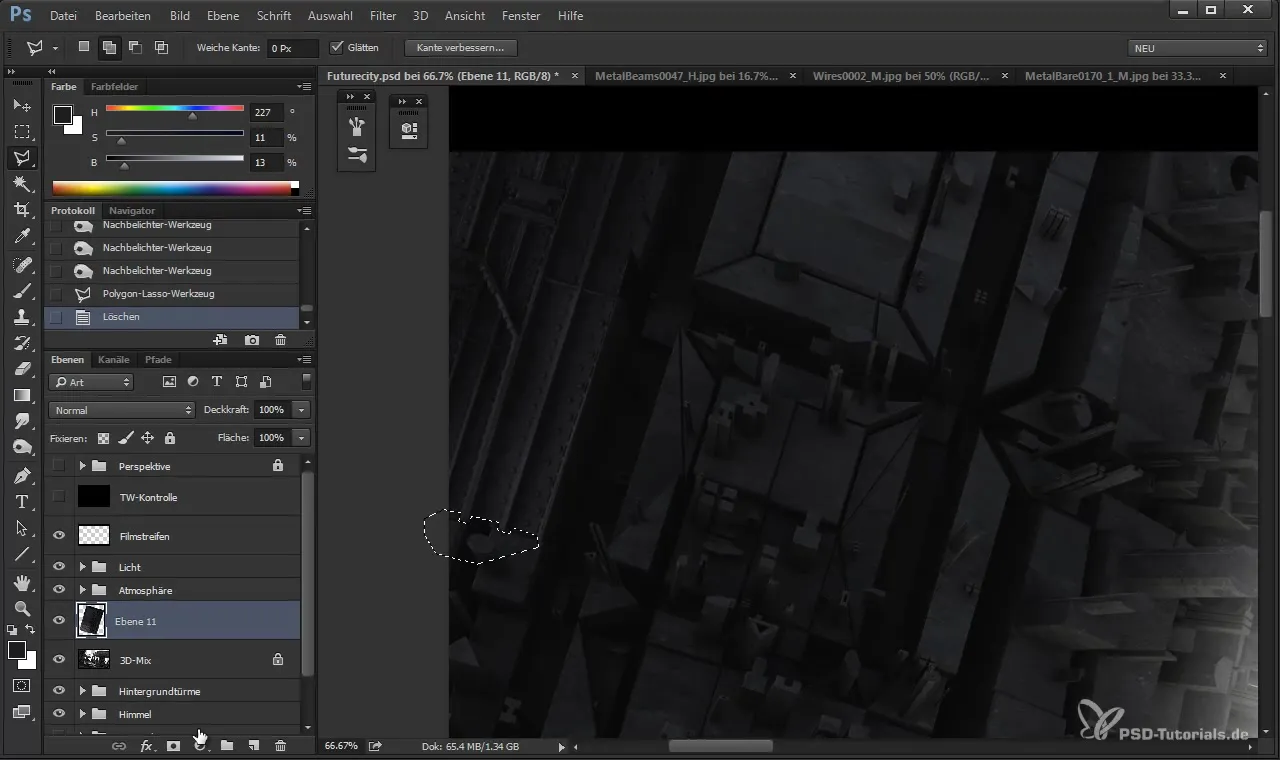
Step 7: Insert additional structures
If the first texture is well integrated, you can add another structure. For example, you could insert another element like pipes or cables to complement the image. In doing so, you should also adjust the perspective and tonal values again to seamlessly integrate the new elements into the image.
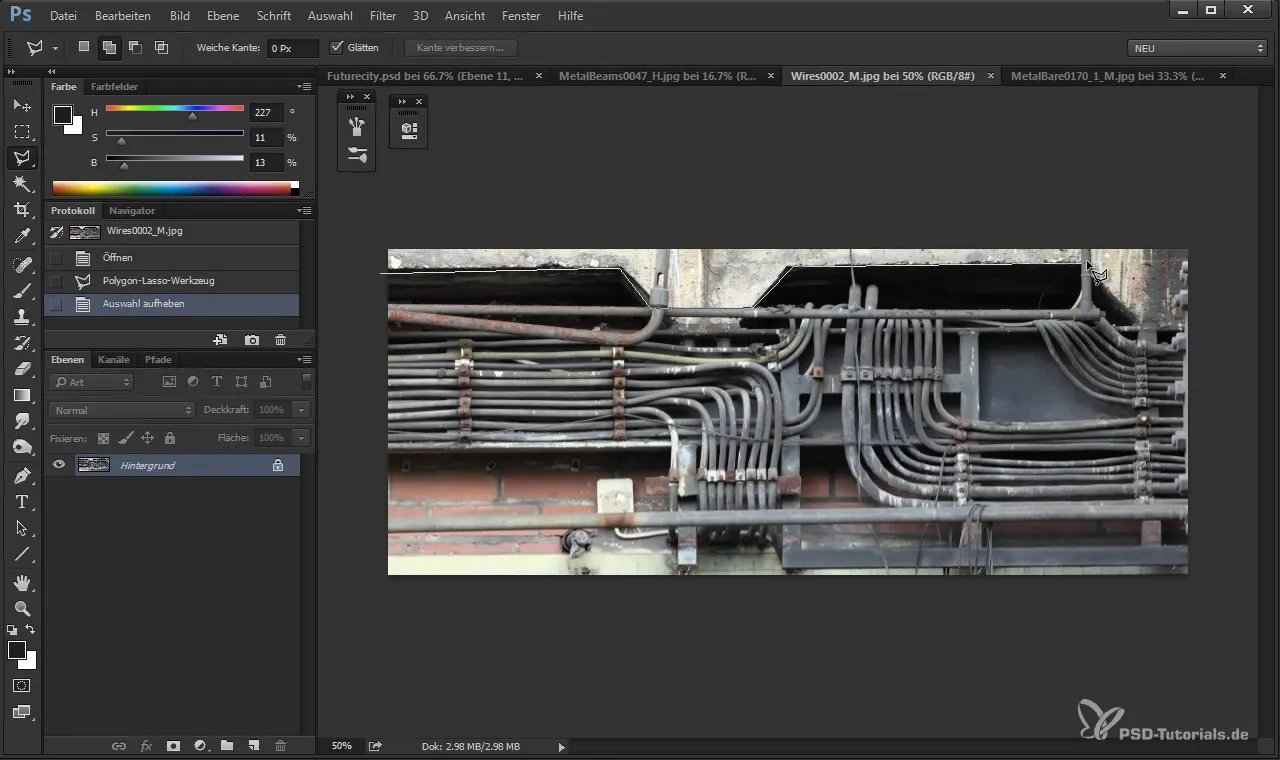
Step 8: Organize layers
A clean organization of layers is crucial for the clarity of your project. Group similar textures together and use groupings to keep track. This is essential for being able to make adjustments quickly and efficiently later on. Make sure that your changes are not destructive to maintain the flexibility of your edits.
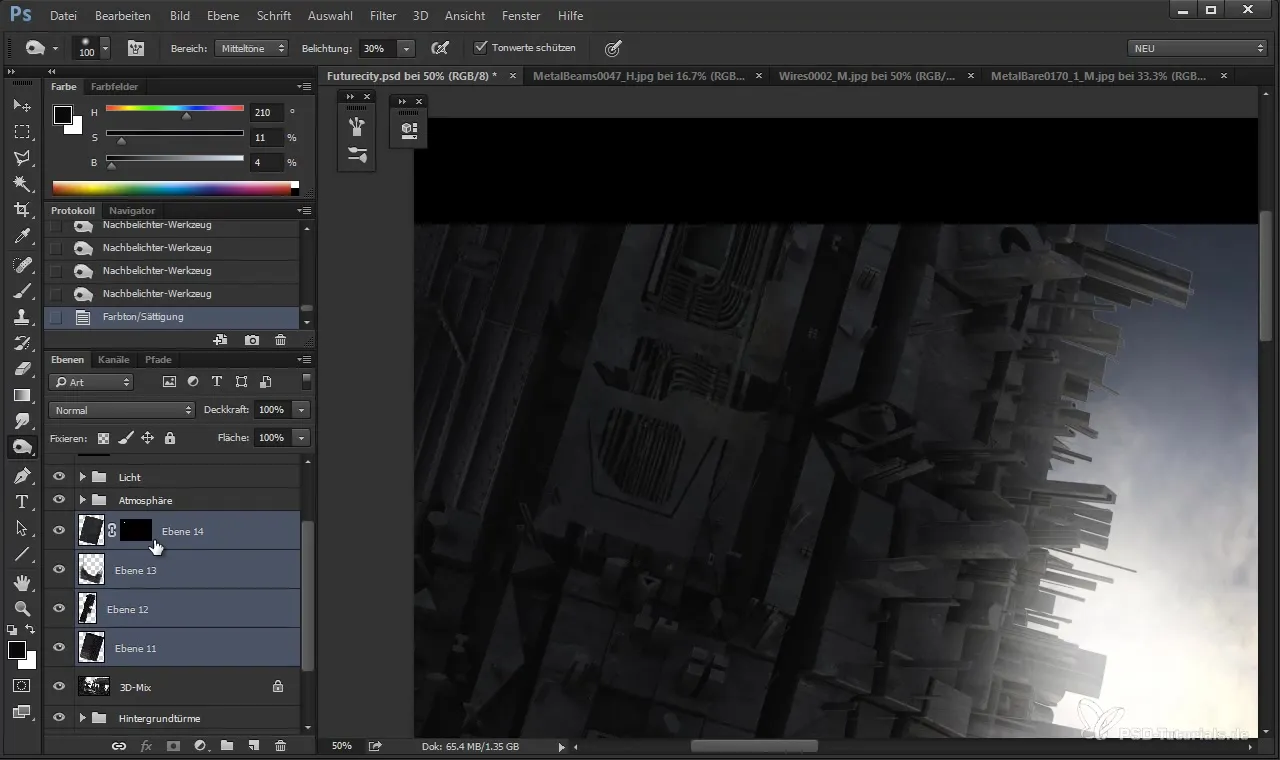
Summary - Cinema 4D meets Photoshop: Inserting photo structures I
In this tutorial, you learned how to effectively integrate photo structures into Photoshop. From the precise selection of the area to adjusting perspective, targeted color corrections, and organizing layers—all these steps enable you to enrich your images with more depth and detail. With these techniques, you're well-equipped to realize your own creative projects.
Frequently asked questions
How can I adjust a texture?Use the polygon lasso to select the desired area and adjust the tonal values as well as the perspective.
Why are tonal corrections important?Tonal corrections help to adjust the contrast and brightness of your textures to make them fit better into the overall image.
How should I optimize colors in my textures?Use the curves and hue-saturation adjustments to eliminate unwanted color casts.
How can I better organize my layers?By grouping similar textures and utilizing layer management, you can improve the clarity of your project.
How do I prevent my image editing from looking cluttered?Work destructively to create spaces in your layers and keep the structures simple to maintain clarity in the image.


