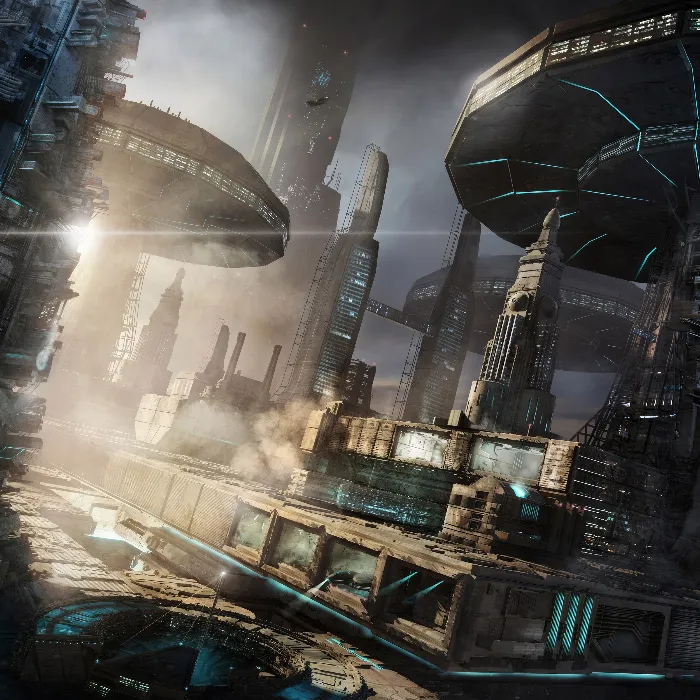
Do you want to give your digital artwork more depth and life? By adding atmospheric effects like smoke and haze, you can enhance the readability of your image and blur unsightly areas. In this tutorial, you'll learn how to efficiently implement atmospheric details in Cinema 4D and Photoshop.
Key Insights
- By working with the right textures, you can create atmosphere.
- Using selection tools is crucial to edit specific areas.
- The use of special brushes can create impressive blurring effects.
- Adjusting colors and effects is ideally done on separate layers.
Step-by-Step Guide
First, it is important to have a suitable starting point. In this project, I worked on my lighting textures and refined existing elements. You must ensure that all textures and objects you need are prepared and properly named.
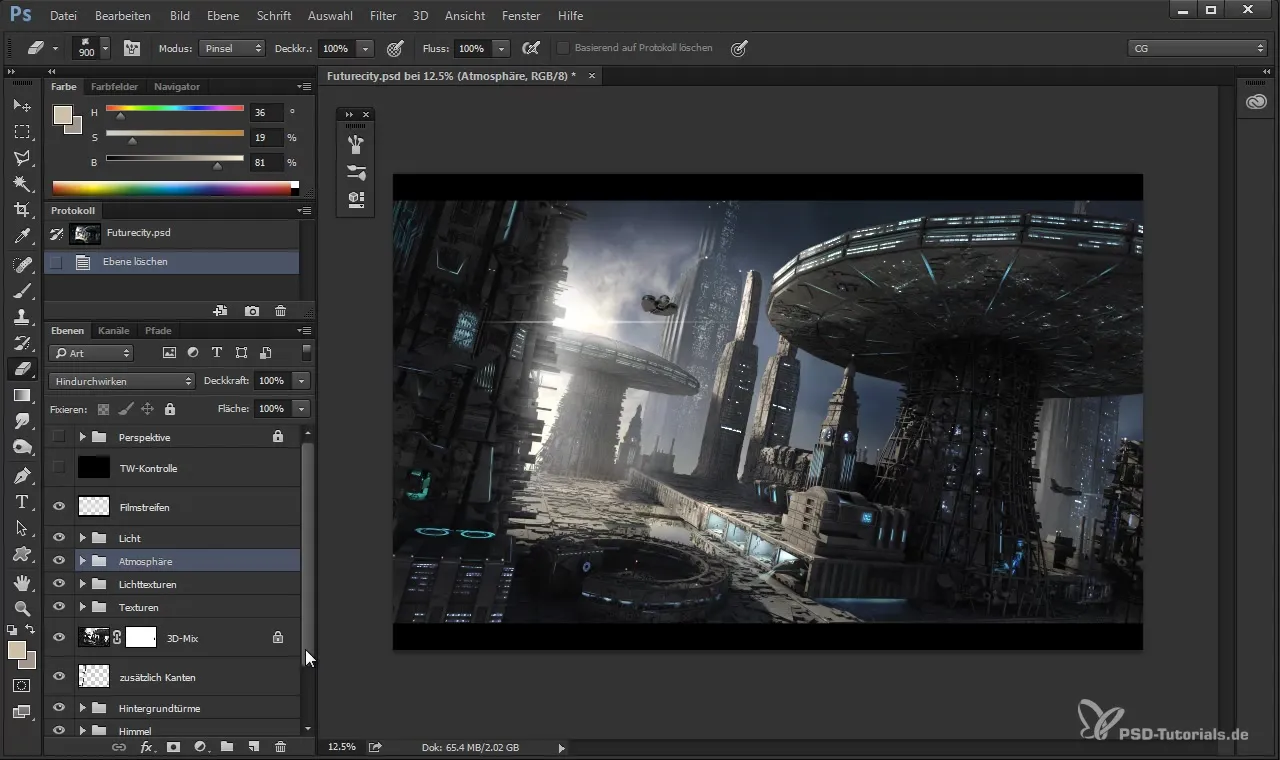
After I've prepared these, I can start with the next step. This time, I want to enhance the atmosphere to increase the distance between the houses. Go to your atmosphere folder and create a new layer. Select a good area that you want to edit.
This works best with the channels. I use the object channel 10 and hold down the control key to select the desired element. To avoid including the atmospheric in the selection, use the combination Control + Shift + I to "invert selection". Now I am ready to add the atmosphere.
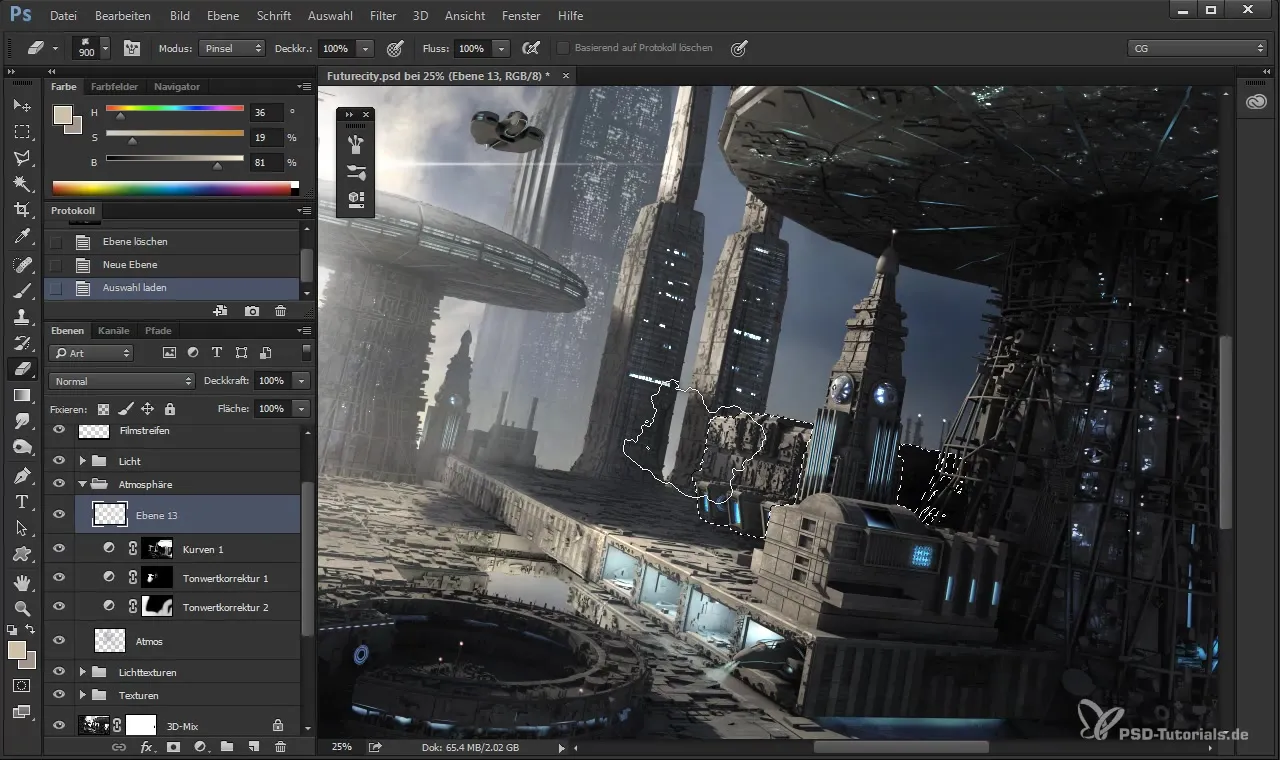
Use the brush to apply the atmosphere. I recommend using the "Smoke" brush in a layer mode of "linear burn". This gives the atmosphere more light and depth. Set the opacity to about 20% so you can work carefully.
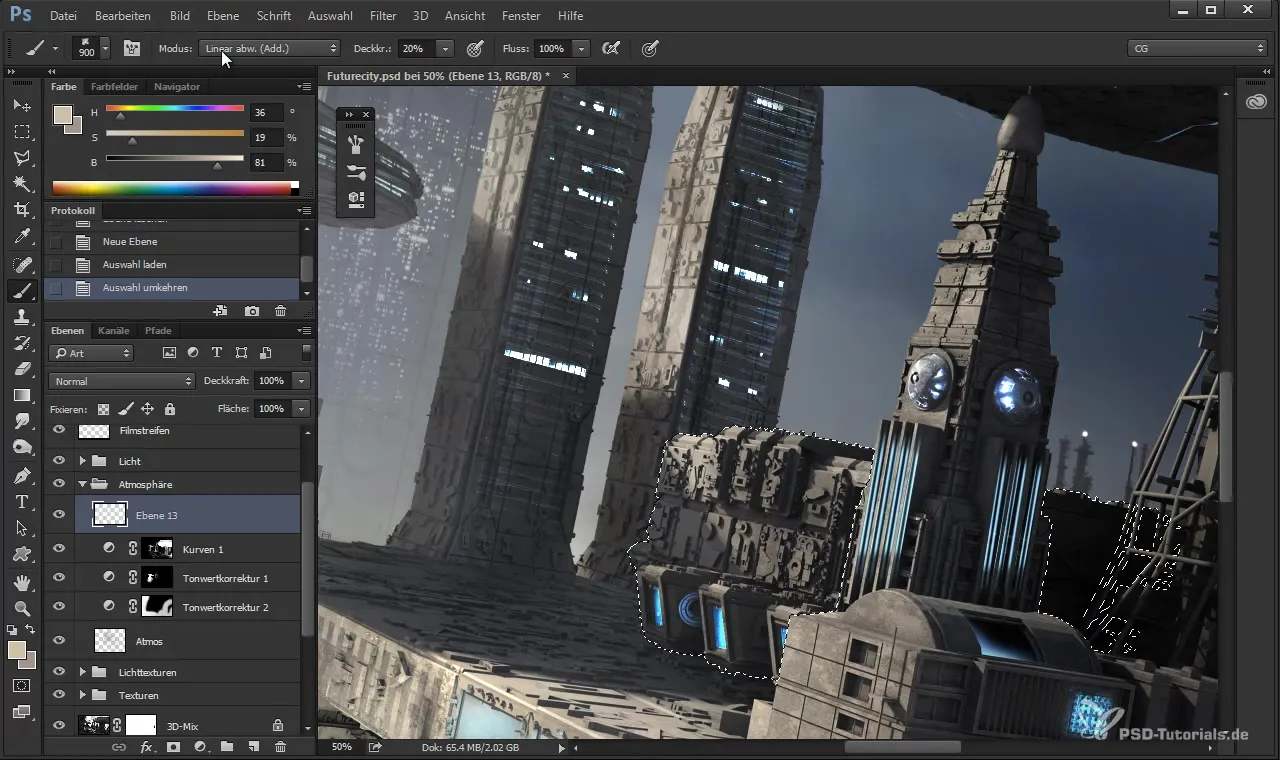
You will see how the area becomes more readable and creates a certain distance between the elements. Press Control + H to ensure that the selection is no longer active while you continue working.
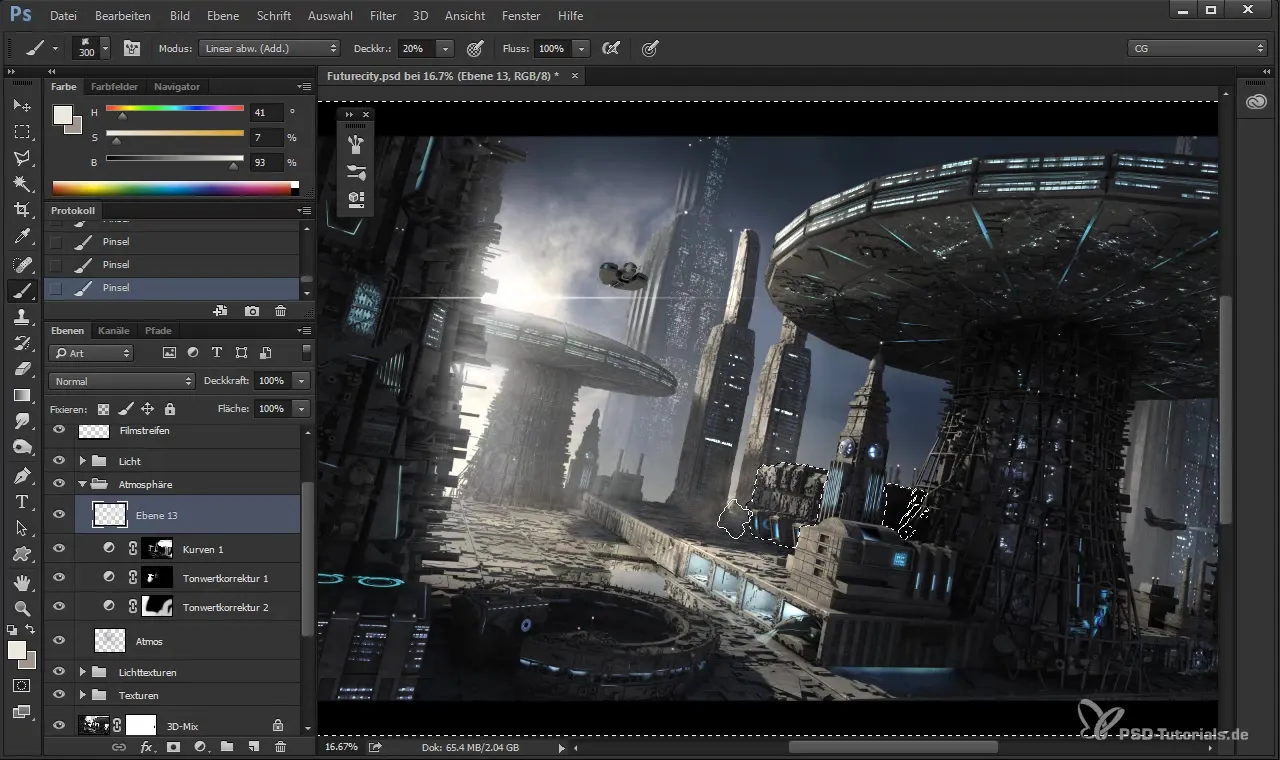
Now go to another area between the mushroom and the power plant to also create some distance there. Use the selection controls as before to invert the selection and add the atmosphere.
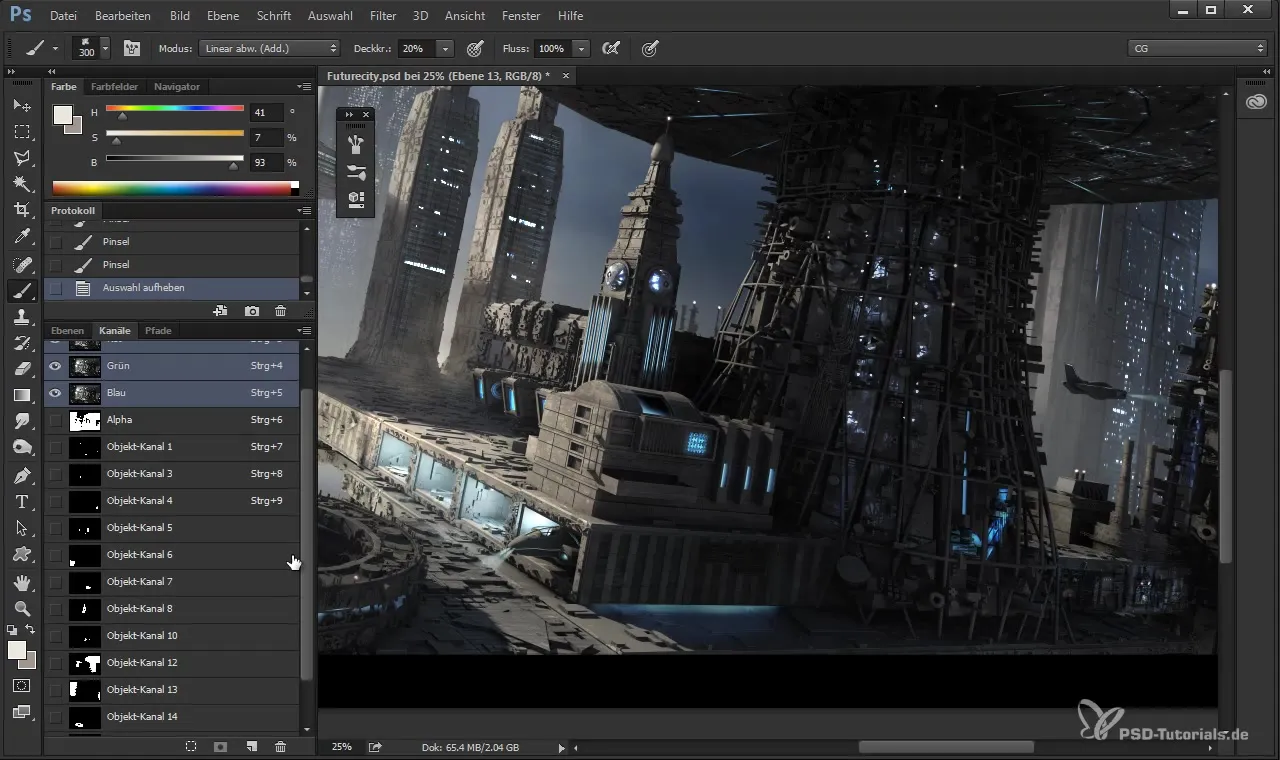
Here you can choose a darker tone to intensify the effect. Repeat the process until you achieve the desired distance and atmosphere in this area.
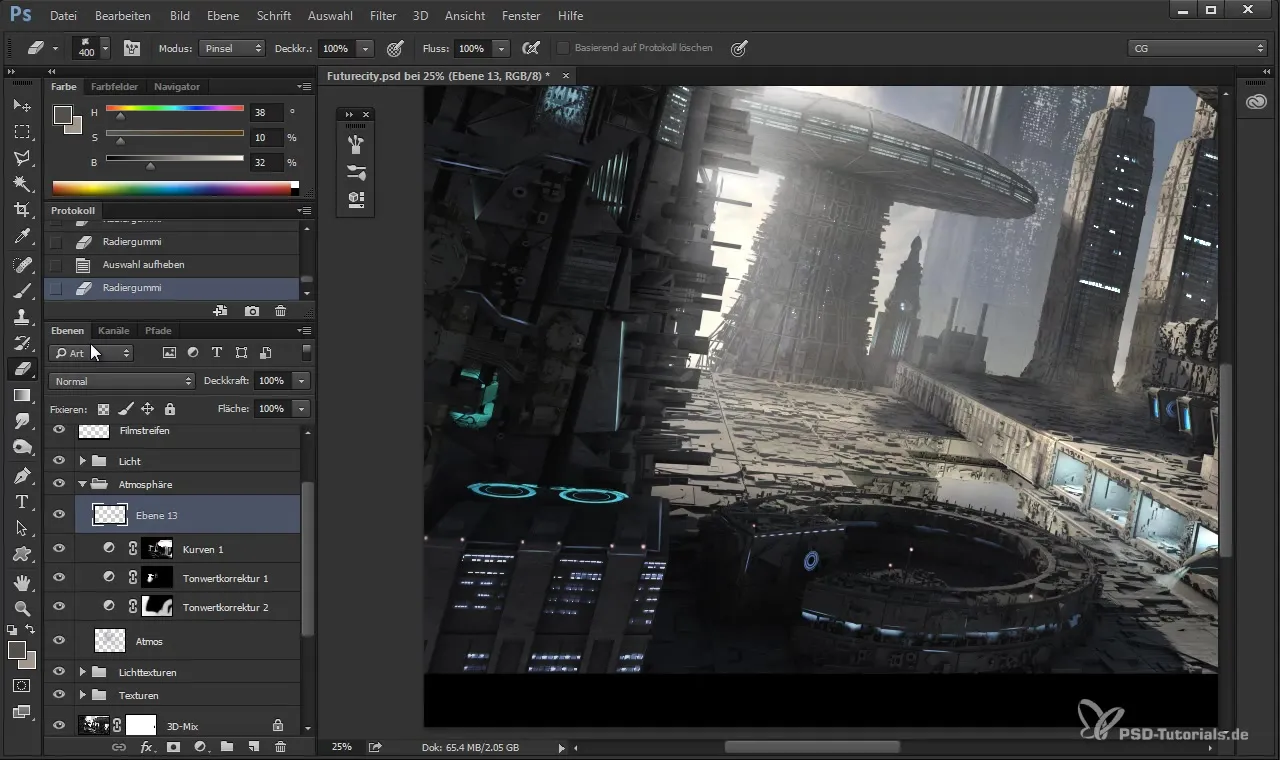
If the atmosphere is too strong, you can always adjust or remove it since we are working on a separate layer. Experiment a little to find the perfect balance.
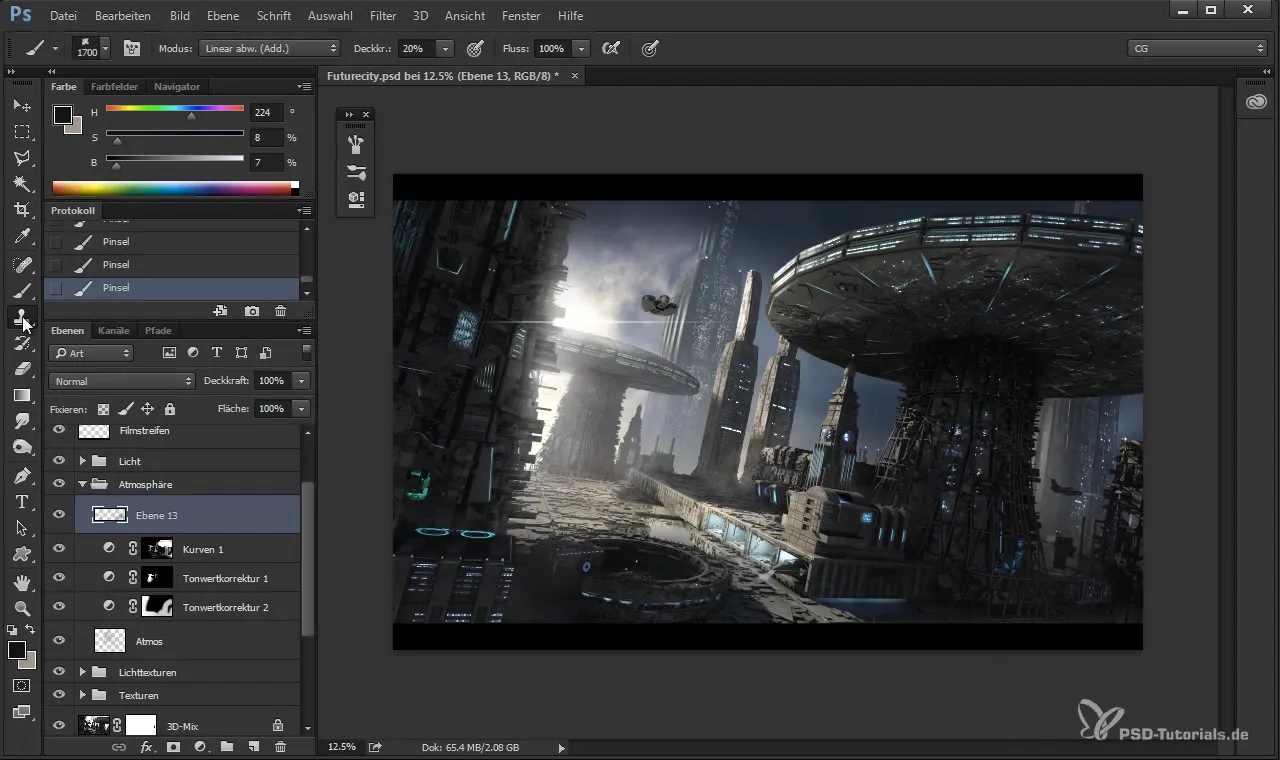
Another element that can make the scene more interesting is the addition of clouds. To add haze, take the brush again and make sure to use an appropriate brush with a haze effect.
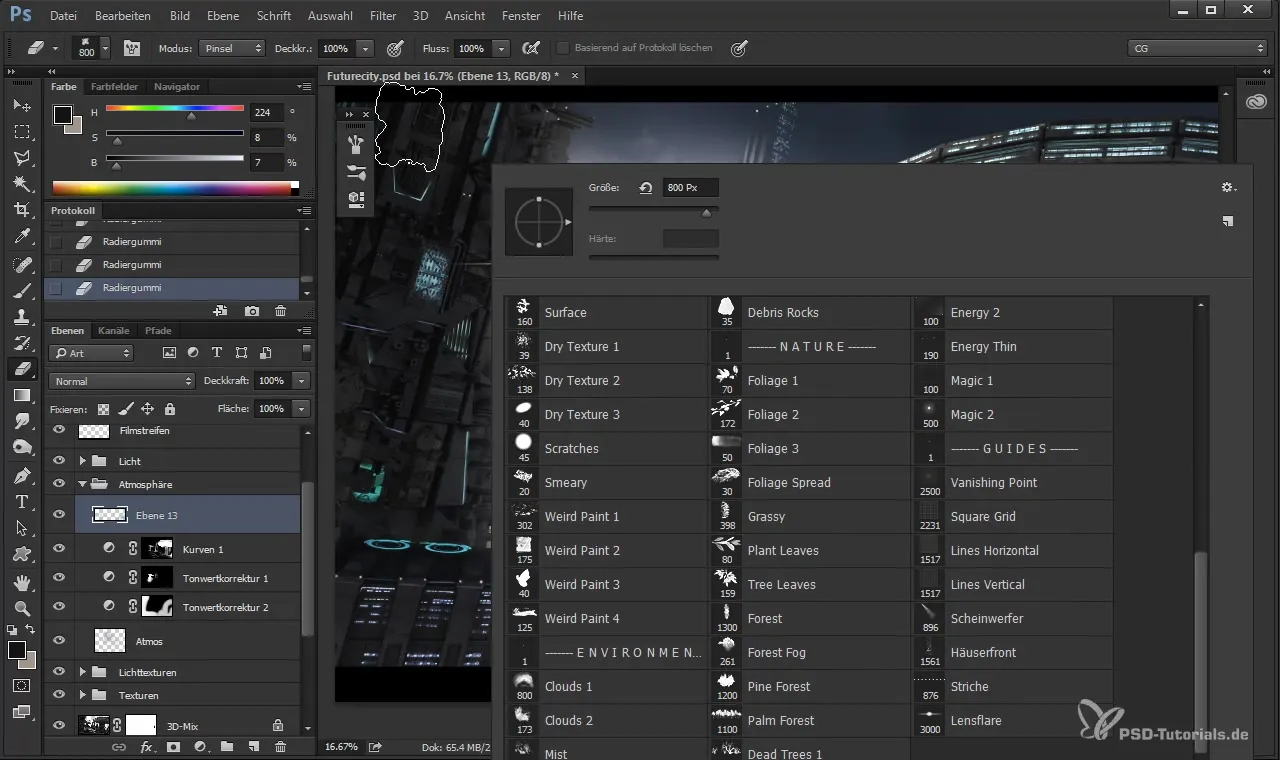
Set the opacity to 50% to create a subtle atmosphere. It is important that the light beautifully refracts in the atmosphere and enhances the depth of the scene.
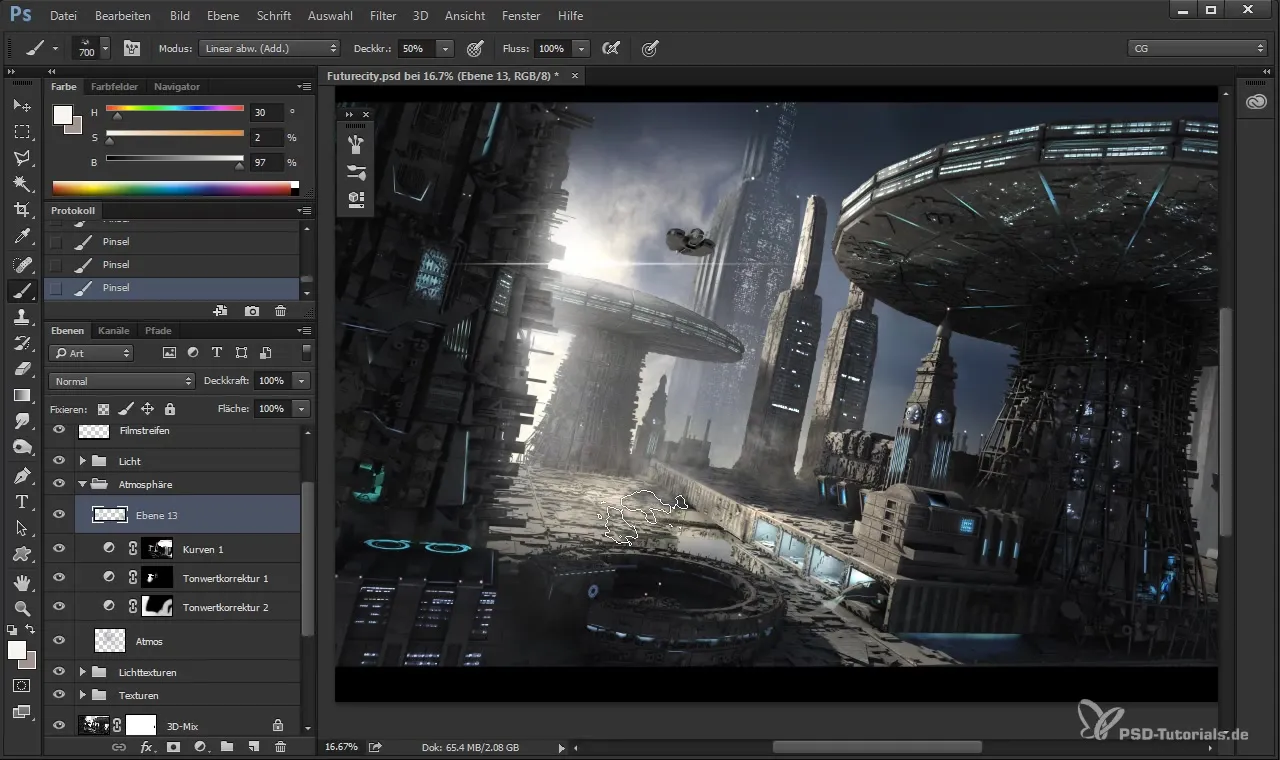
When you see the clouds come to life and the light reflects off the molecules in the atmosphere, your image has already gained expression.
Now, to integrate even more details, you can use the "Smoke" brush to add additional such effects. Make sure that the smoke rises from the source slightly angled rather than straight up.
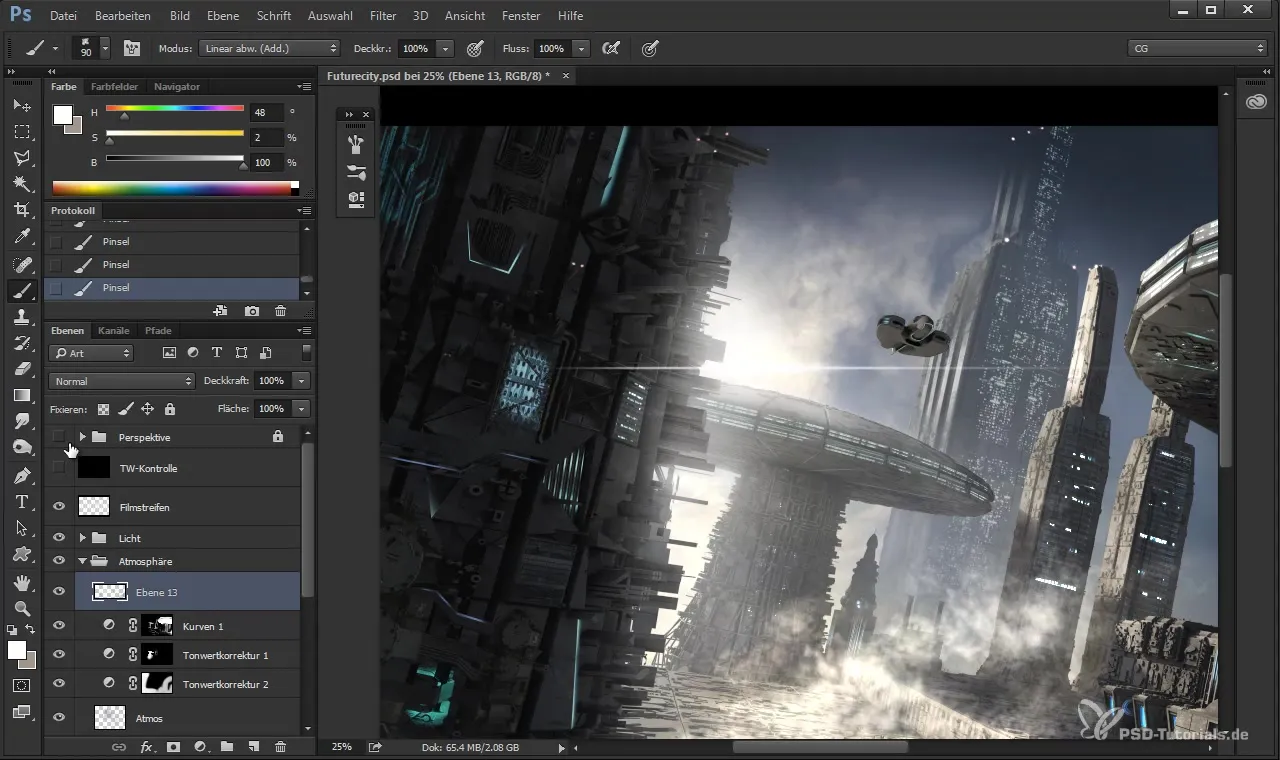
Then use the selection tools to gradually adjust the effects. Not the entire area should be covered by smoke. The effect should be subtle and well-considered to look credible.
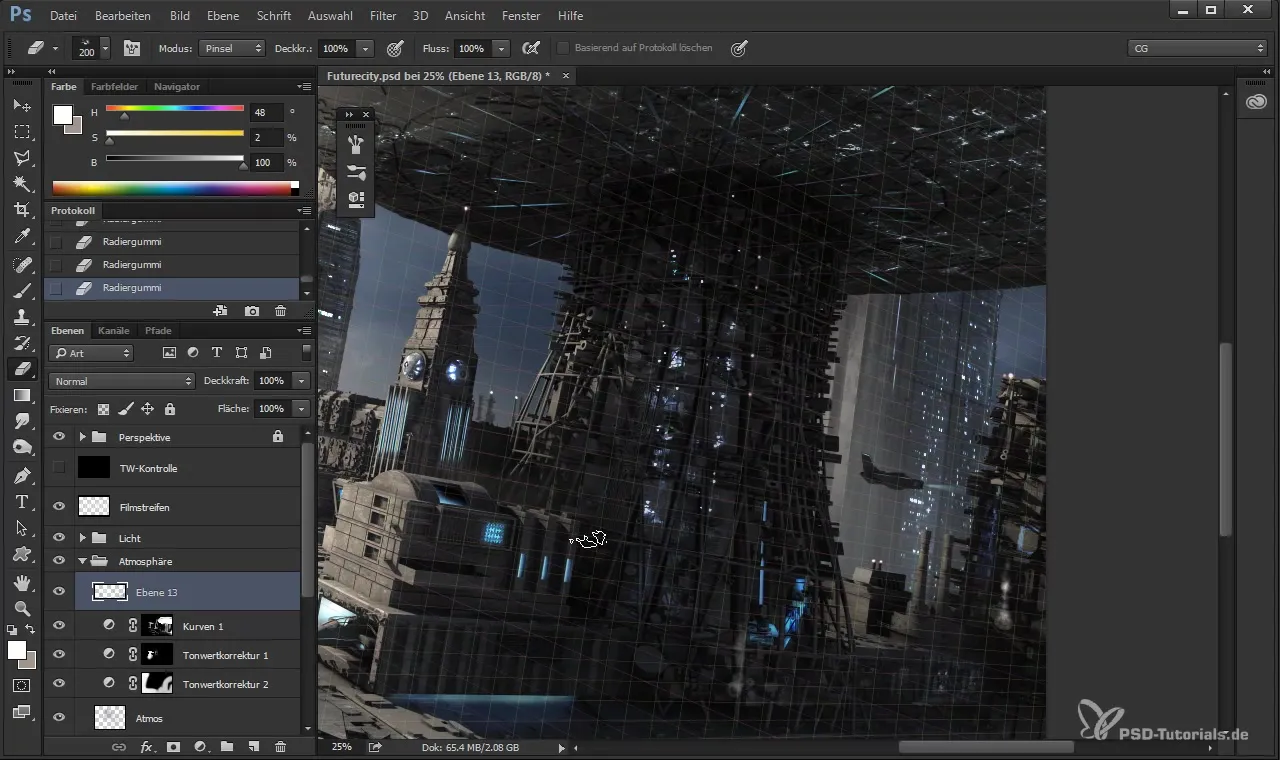
Don't overdo it and keep the image in a coherent style. Too much smoke can ruin the entire effect and decrease readability.
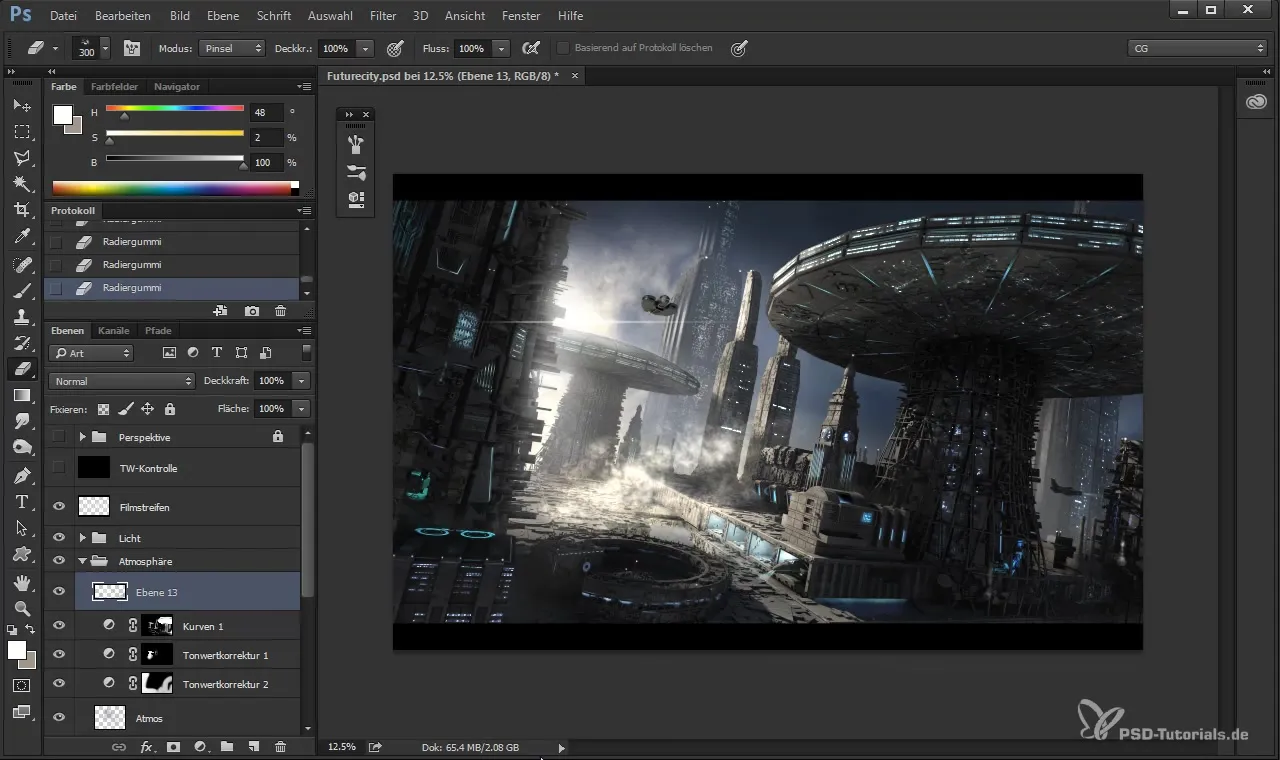
You have now learned various methods to create atmosphere and details in your work. With a bit of practice, you will find the right balance between detail and readability.
Summary - Atmospheric Details Added in Cinema 4D and Photoshop
In this tutorial, you learned how to work with the technique of building atmosphere in Cinema 4D and Photoshop. With tips and tricks about the matter of pictorial workflow, you have the basic knowledge to give your artwork more dimension.
Frequently Asked Questions
How can I create atmosphere in Blender?In Blender, you can work with shaders and volumetric effects to achieve similar atmospheric details.
What is the difference between linear burn and normal burn?The linear burn mode emphasizes light conditions more specifically, which can bring more depth, while the normal mode applies neutral light.
Do I need specific brushes for atmospheric effects?It is recommended to use special brushes like the "Smoke" brush to create authentic atmospheric effects.
How can I adjust the intensity of my effects?The opacity of the brushes can be adjusted in the layer controls at any time to vary the intensity.
Can I undo the effects at any time?Yes, since you create effects on separate layers, you can make adjustments or undo them without affecting the whole image.
