Do you want to enhance your graphics and renderings in Photoshop? Then it's time to give your images a professional look by skillfully using adjustment layers and textures. In this guide, you will learn how to not only adjust the colors of your images but also optimize their contrast and sharpness by combining Cinema 4D and Photoshop. Let's walk through the steps together to achieve a result that is both aesthetically pleasing and technically refined.
Key Insights
- Manipulating adjustment layers for color and contrast effects.
- Using textures to add more depth to the image.
- Applying the high-pass filter for sharpening.
Step-by-Step Guide
1. Add Texture
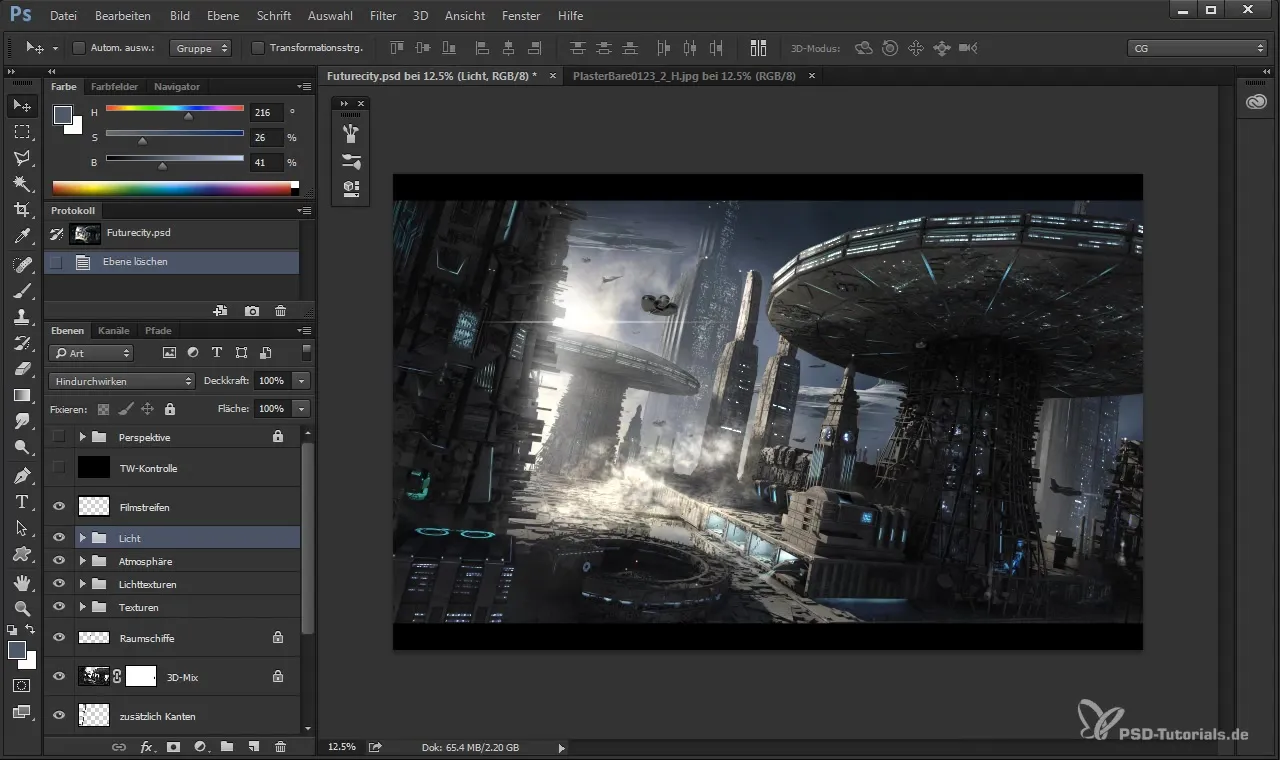
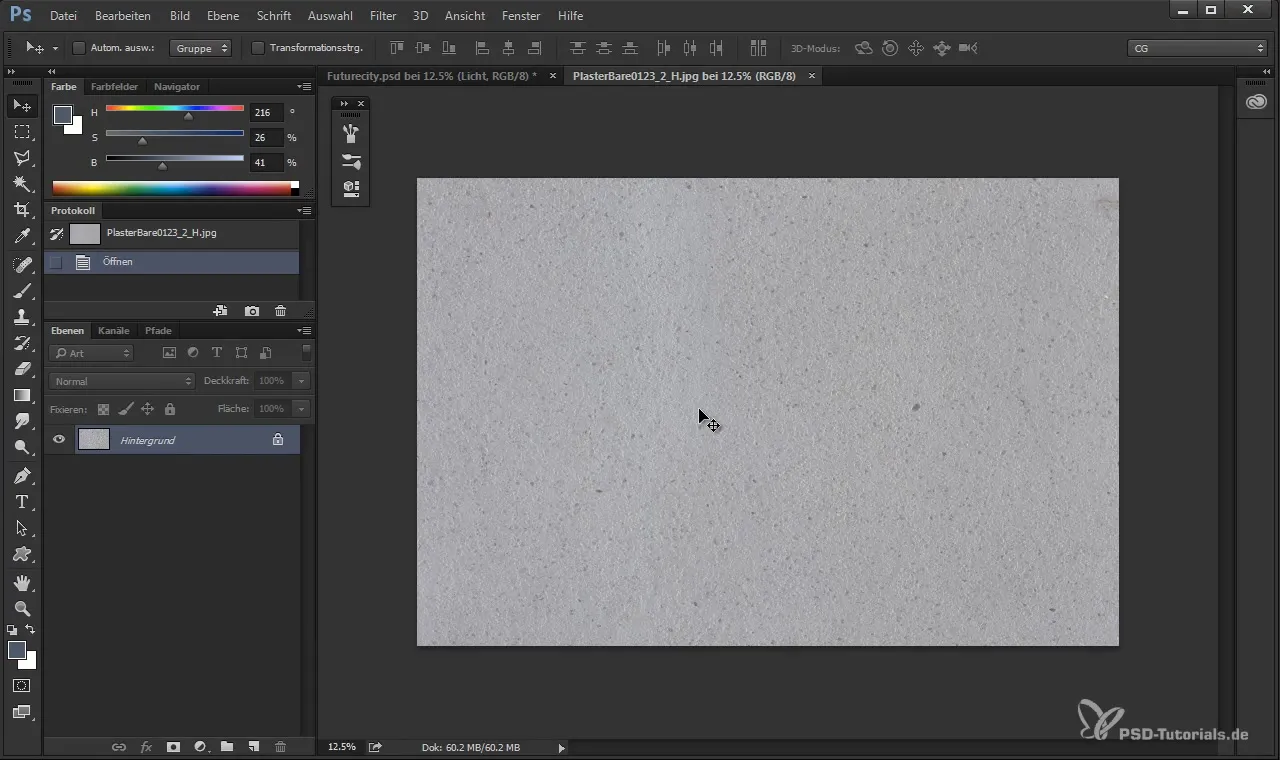
To give your image a fine, uniform appearance, start by adding a suitable texture. Go to your texture library and drag the texture "City Textus" onto your image. Ensure that the texture covers the entire area to achieve a seamless effect.
2. Influence Light
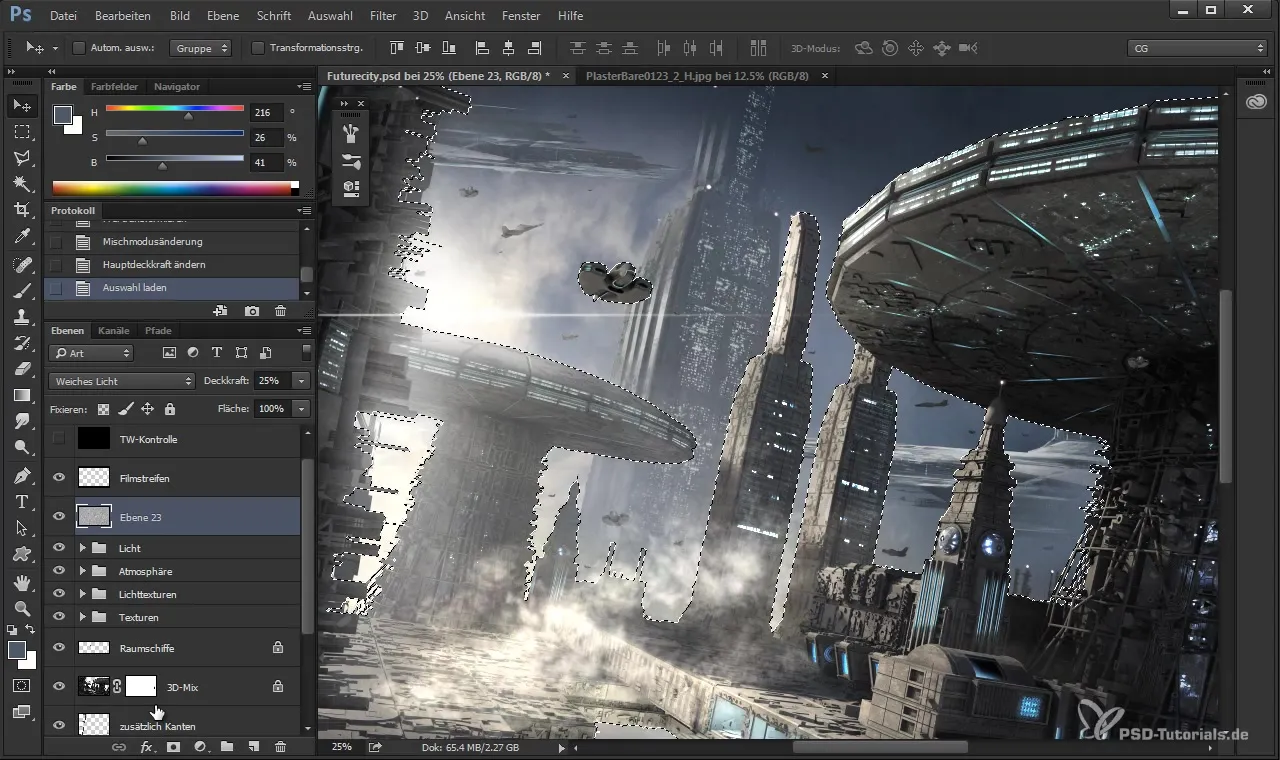
Now it's time to make the light in your image appear a bit dirtier with the new texture. For this, choose the “Soft Light” option in the layer modes. Check your image closely to see how the texture breaks up the light edges and enhances the overall aesthetic of the rendering.
3. Exclude Sky from Texture
To maintain a natural look, you should exclude the sky areas from the texture editing. Use the selection tool to select the sky. A layer mask will help you make the texture transparent in the desired areas.
4. Adjust Hue and Saturation
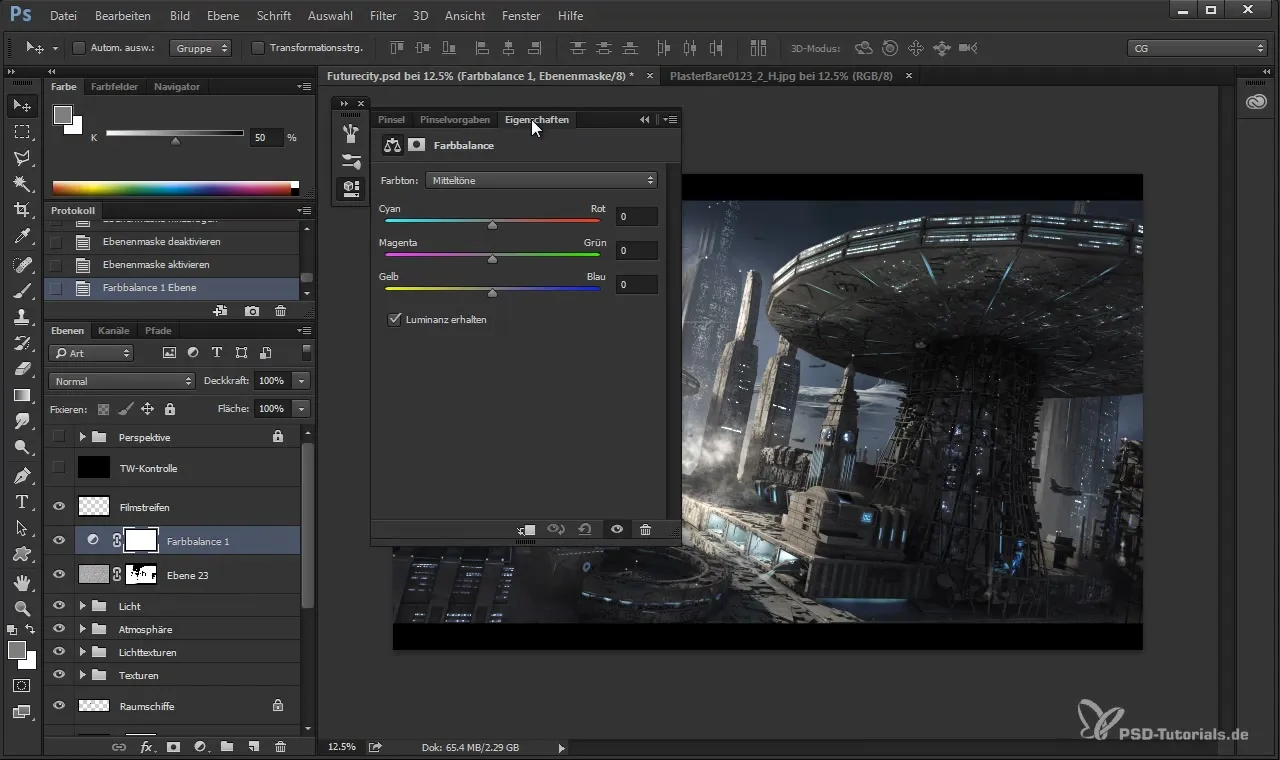
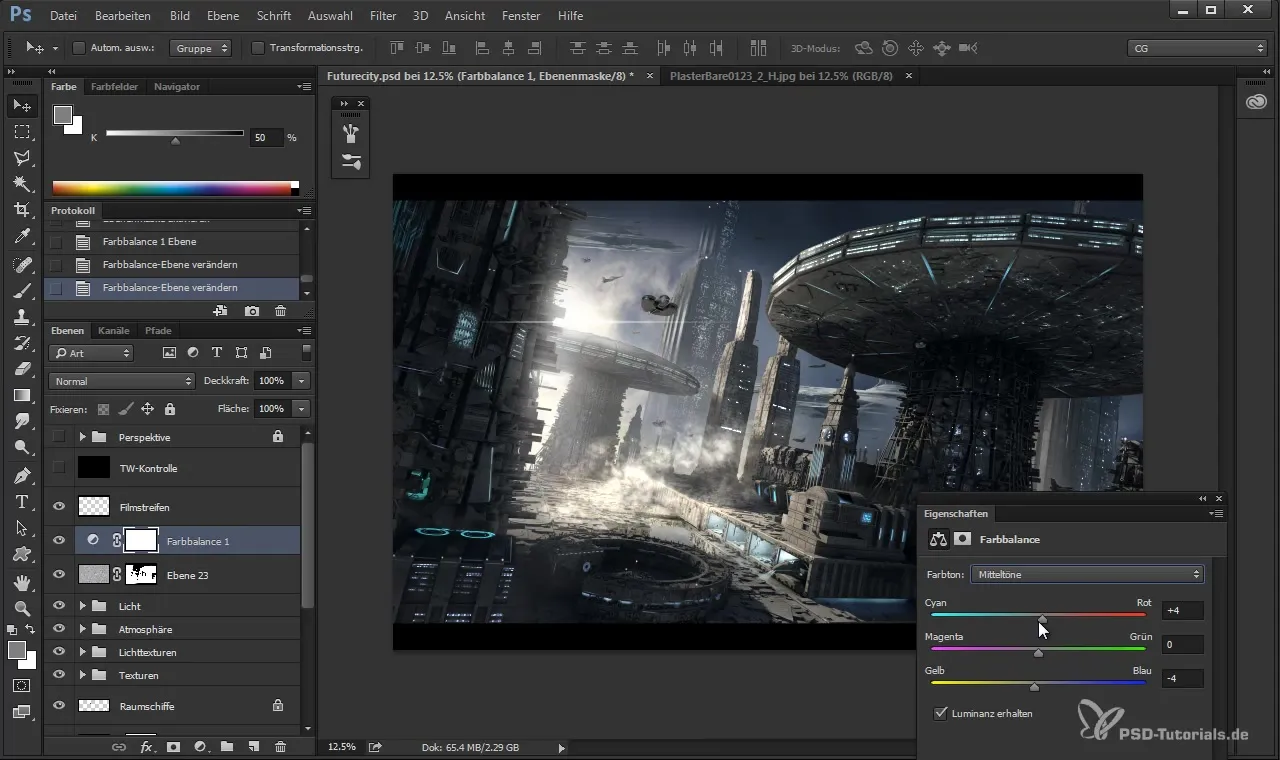
Now let's focus on color correction. With a new adjustment layer for color balance, you can specifically adjust the shadows. Move the slider slightly towards the cool side to make the dark colors appear bluer. Be careful not to overdo it – a value of about -5 is ideal for a soft look.
5. Edit Midtones and Highlights
To bring more dynamics to your image, the midtones and highlights should also be adjusted. Lighten the midtones slightly and increase the warmth of the highlights. This will give your image more vibrancy and tension, as the shadows appear cool and the highlights warm.
6. Optimize Contrast
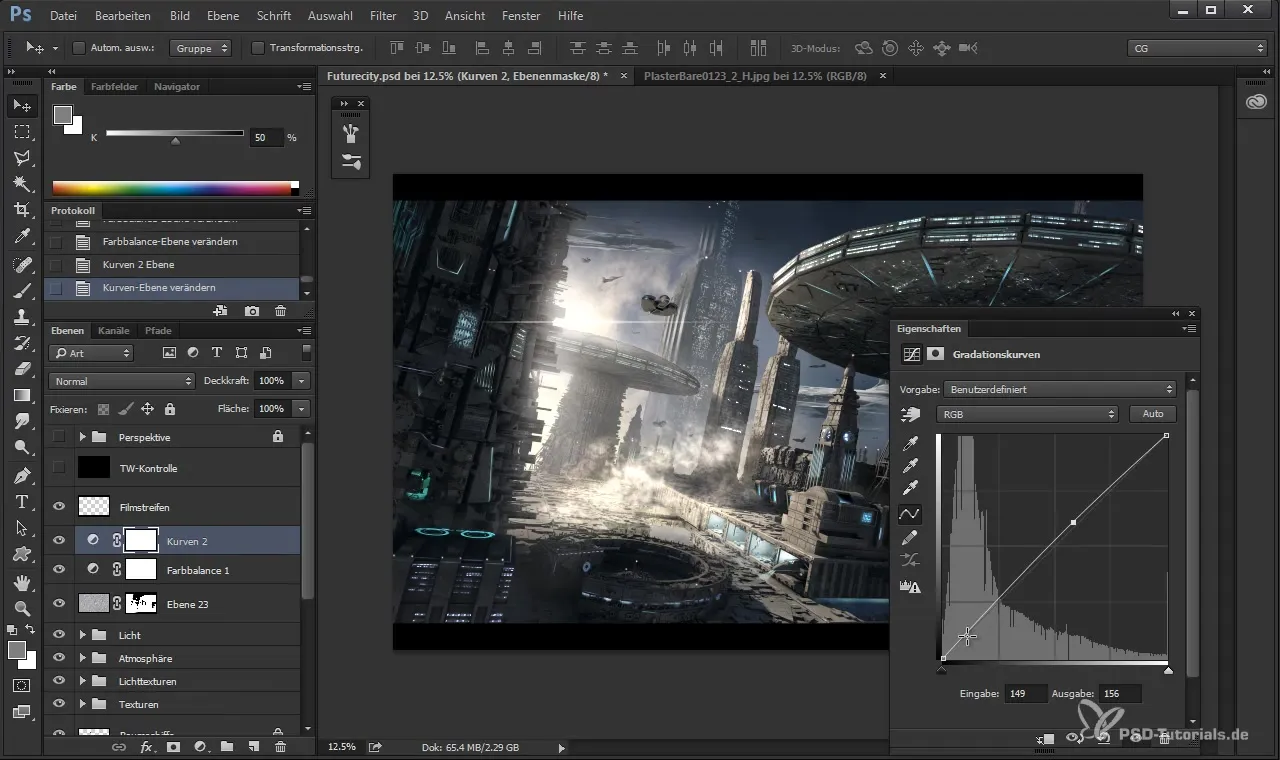
Now the contrast is being elevated to the next level. Use the Adobe tool “Brightness/Contrast”. Play with the sliders to enhance contrast in the darker and mid areas without making the image look overly sharp. Again, fine adjustments are needed to keep the image crisp.
7. Apply High Pass Filter
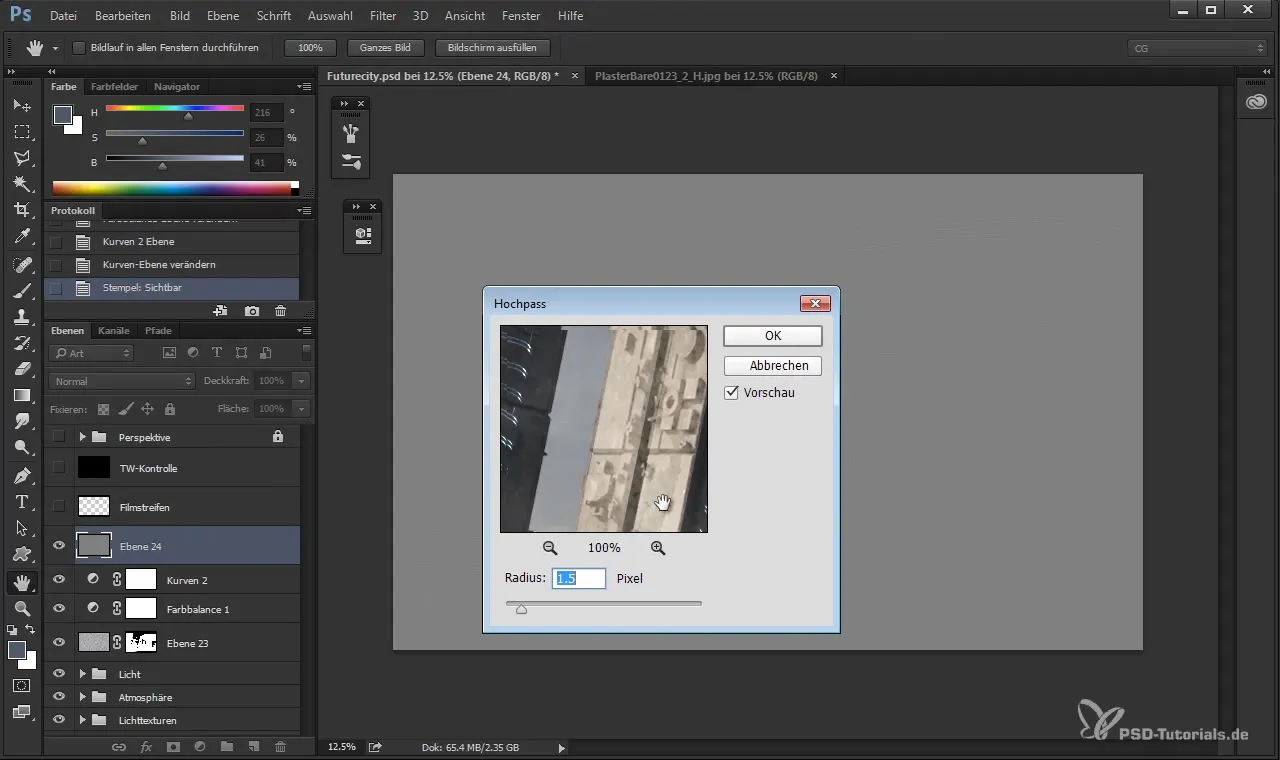
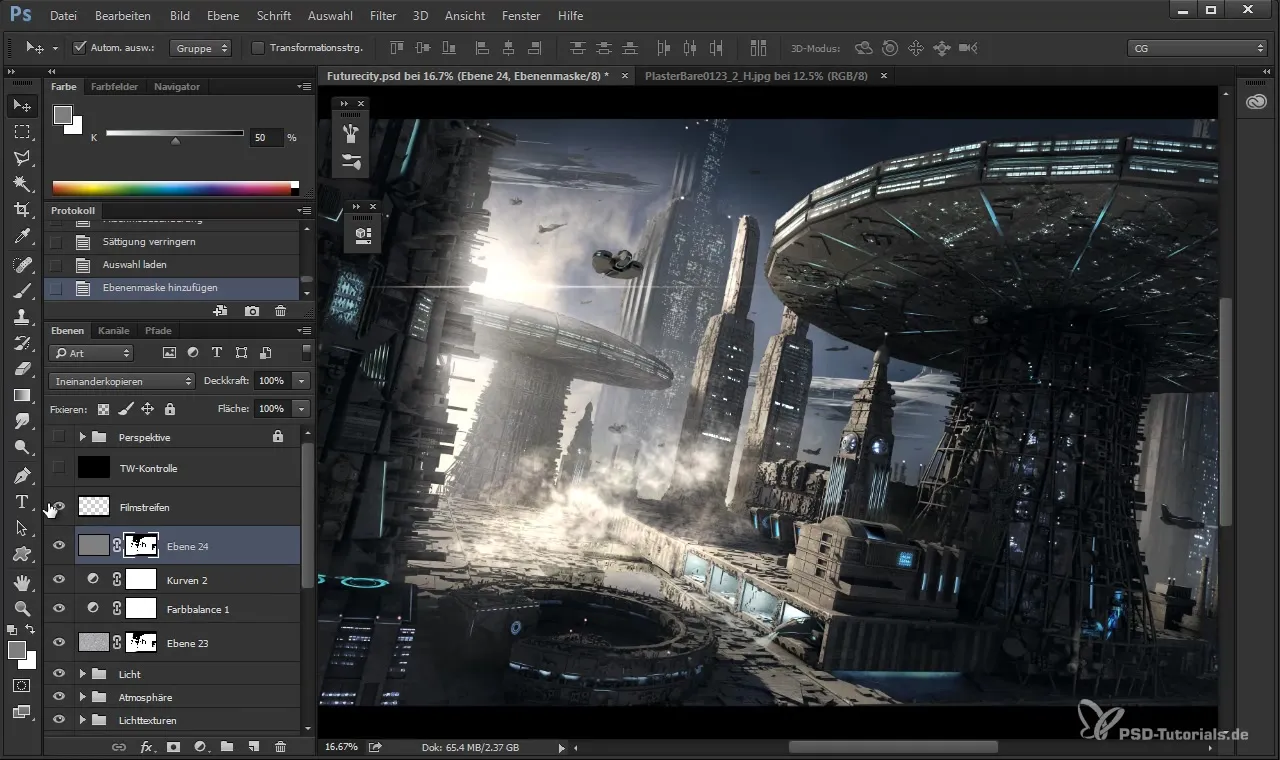
Finally, bring sharpening into play. Create a new layer by copying the existing layer (Ctrl + Alt + Shift + E). Now apply the high pass filter and set the radius to about 1.5. This accentuates the edges in your image, making details stand out more clearly.
8. Remove Color Information
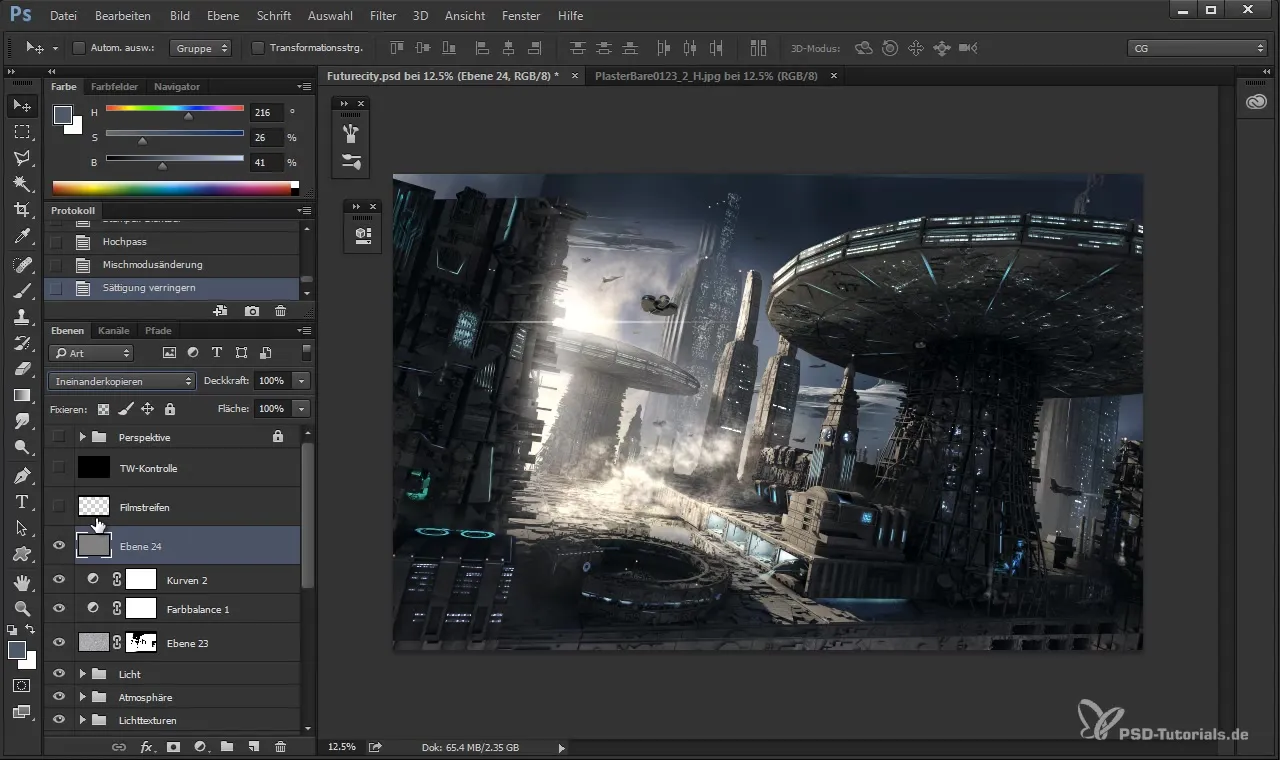
To avoid the application of color information during sharpening, set the filter modes of your high pass layer to “Linear Light”. This achieves sharpening without colors and retains the quality of your image.
9. Final Adjustments
Before finalizing the image, check if you still have noise in the background that may have resulted from sharpening. If necessary, you can reduce the sharpness of the sky using the layer mask to avoid unwanted textures.
10. Group the Image
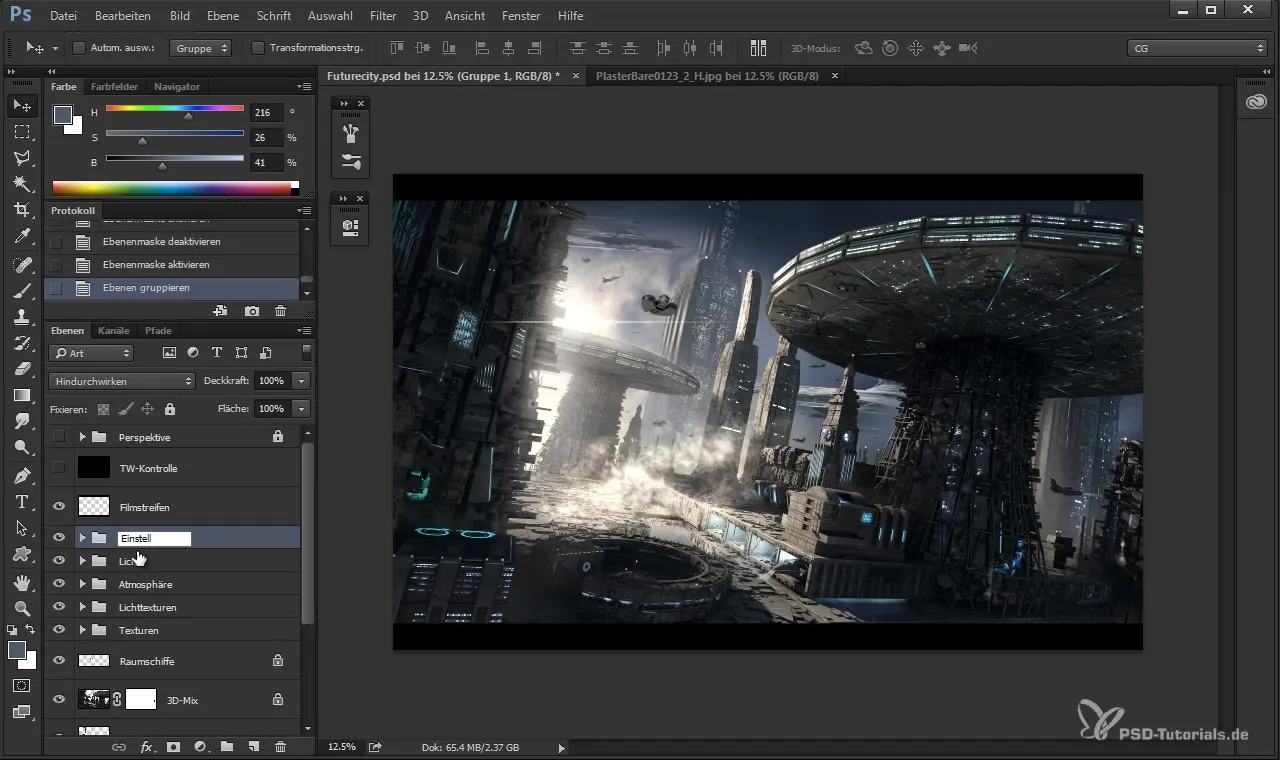
To work better, group all adjustment layers. This keeps you organized and allows you to make adjustments at any time. Name the group something like “Look” to increase clarity.
Summary – Guide to Creating a Cohesive Look with Cinematic Touch in Photoshop
By strategically placing various adjustment layers and selecting the right textures, you can quickly create an appealing image with a sense of space and depth. The combination of color, contrast, and sharpness gives your work a professional touch.
Frequently Asked Questions
How do I add a new texture in Photoshop?Simply drag and drop the desired texture into your open image.
Can I undo the adjustments?Yes, you can always readjust or delete layers in Photoshop.
Why should I use the high pass filter?The high pass filter is ideal for enhancing details and sharpness in images without affecting the original colors.

