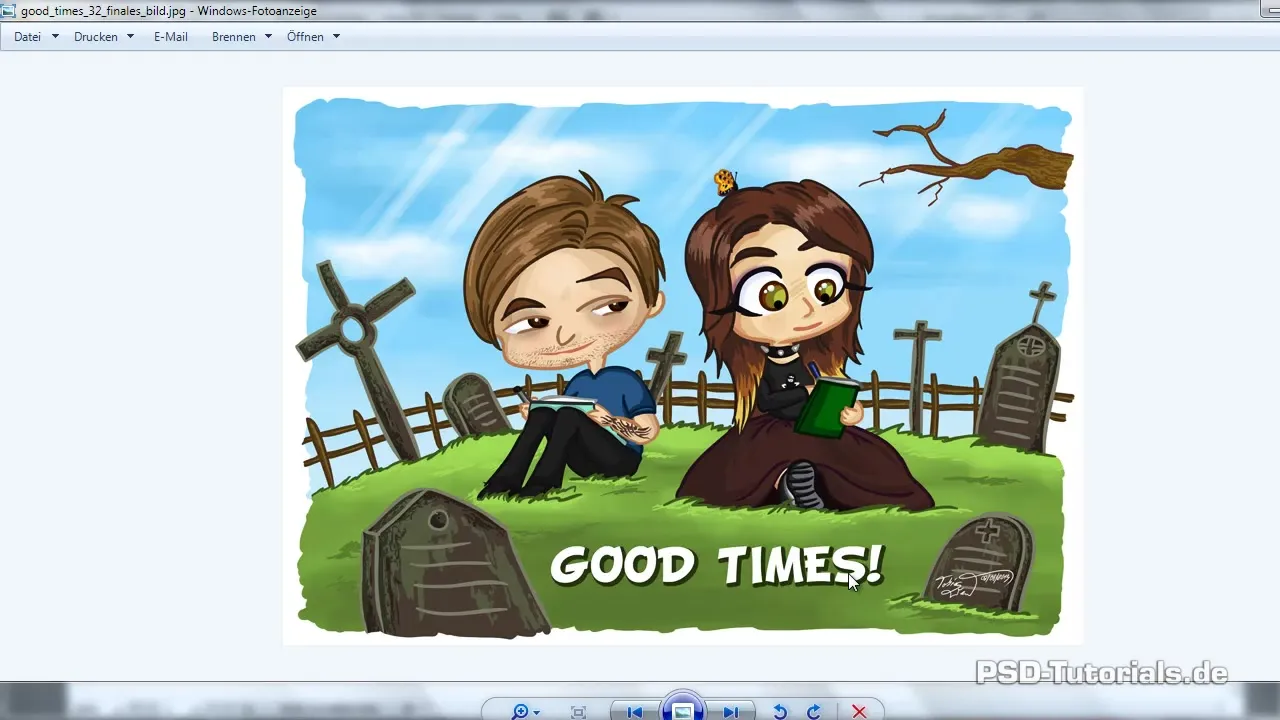
Cartoons and comics are forms of expression that not only entertain but also tell stories. To bring this art to life with digital tools, Adobe Photoshop is an excellent tool. In this guide, I will show you how to start with a simple pencil sketch and step by step create a colorful comic motif create. We will go through many important aspects from the sketch to the line work, coloring, shading, and finalizing the image.
Key insights
- Start with a scanned sketch to foster creativity.
- Use Illustrator to trace the outlines for precise lines.
- Work in Photoshop with clipping masks to control color selection and effects.
- Refine the details through different layers for various image elements.
Step-by-step guide
First of all, you start with a simple sketch. I recommend creating a rough sketch on paper and then saving it as a JPEG file with a scanner. This file will serve as our foundation.
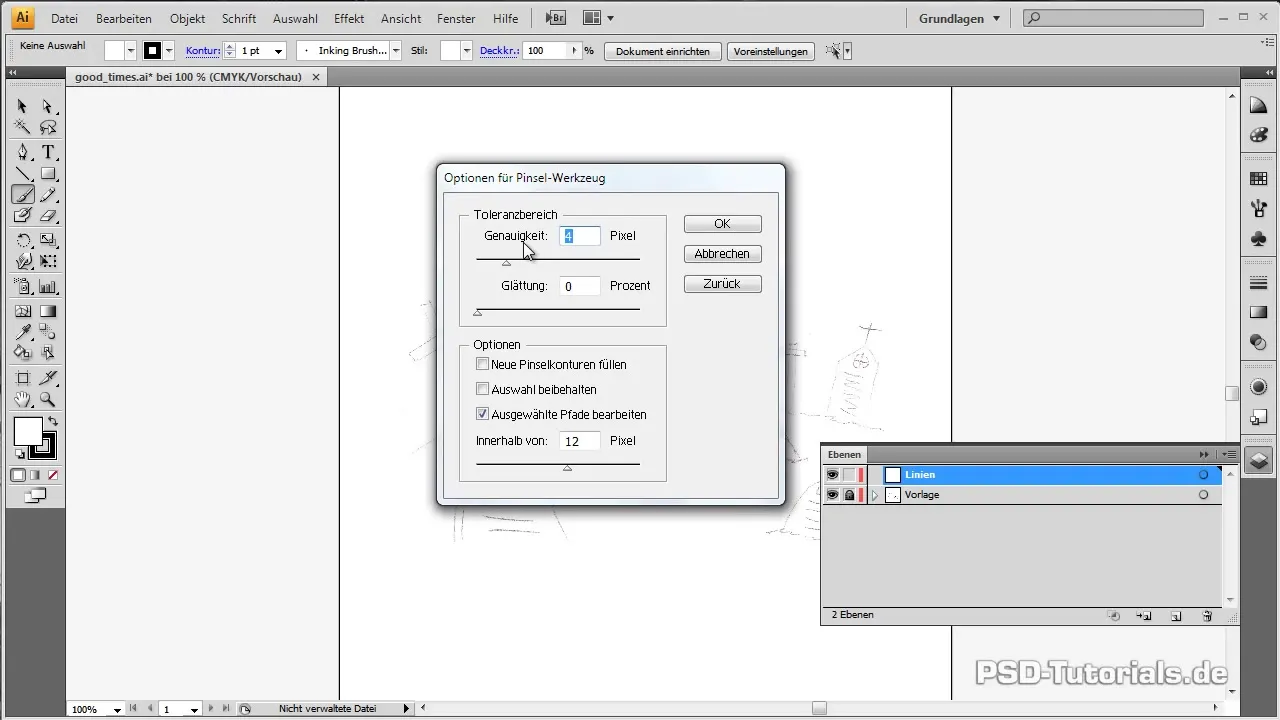
Next, open Illustrator to trace the outlines of your sketch. You start by creating a new document. It is helpful to reduce the opacity of your template to 50% so that you can see the lines better while tracing.

Go to the brush tool and adjust the tolerance settings accordingly. With a brush specifically developed for inking, you achieve the desired lines.
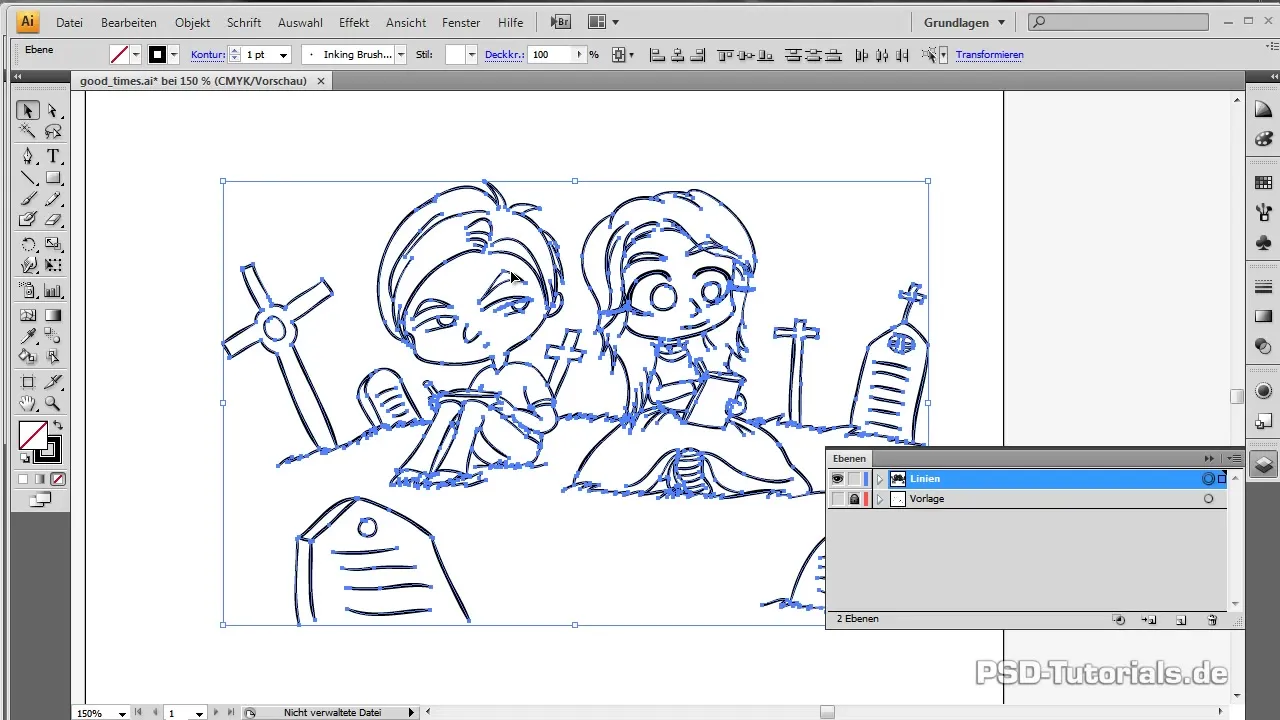
Once you have traced the outlines, it is time to import them into Photoshop. Save your Illustrator document as a vector smart object and drag it into your Photoshop file.
Now you will start coloring the various elements. Create a group for each image element in the layers to ensure clarity. Start with the background; anything that is further back should be colored first.
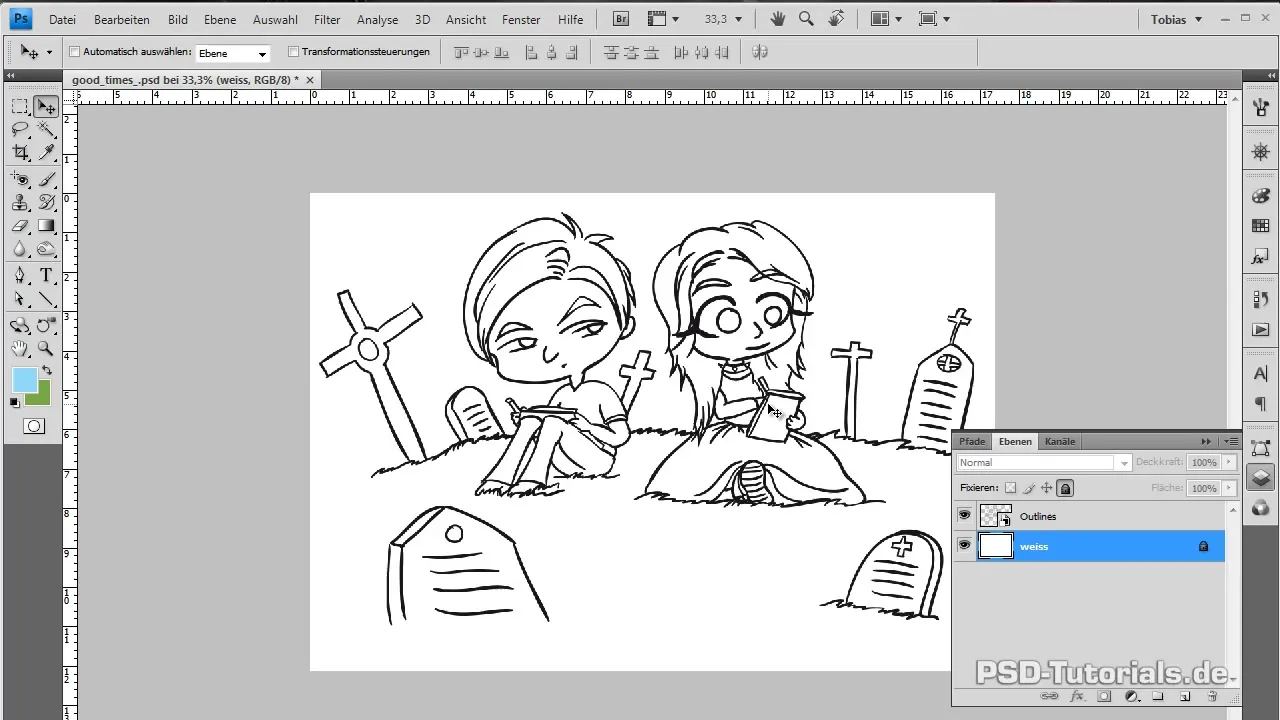
Take the brush tool and fill in the areas for the sky. Here, you can probably use a brush with 100% hardness and full opacity. It doesn't matter if you color over the outlines, as the higher layers will cover them.
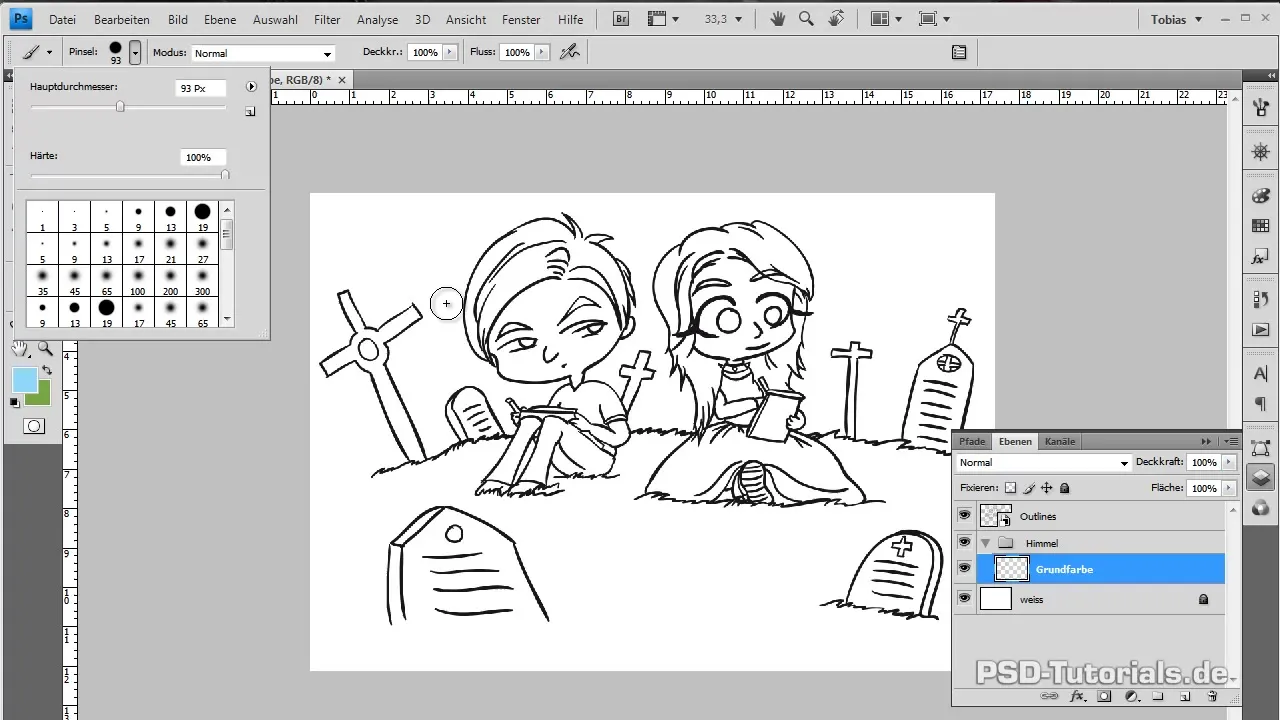
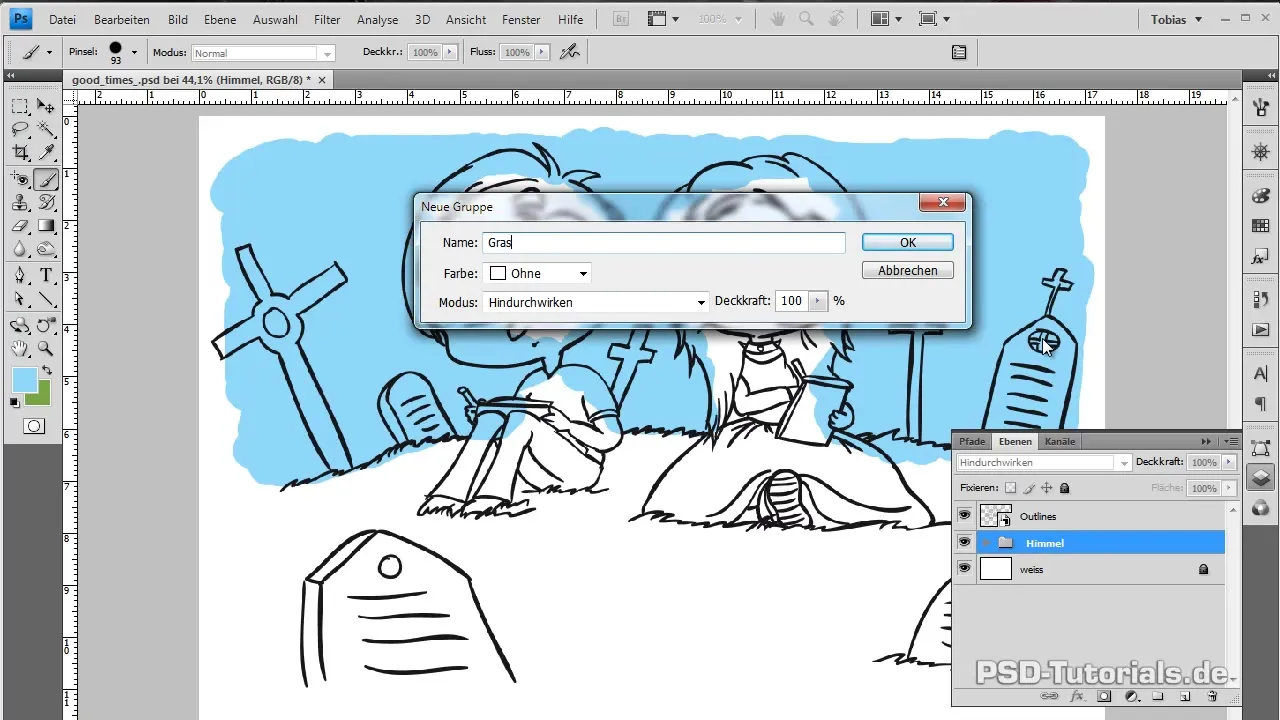
After the sky is colored, move on to the next element, the grass. Create a group for that as well and add the base color values. Here, you can make gradual color changes to create depth and dimension.
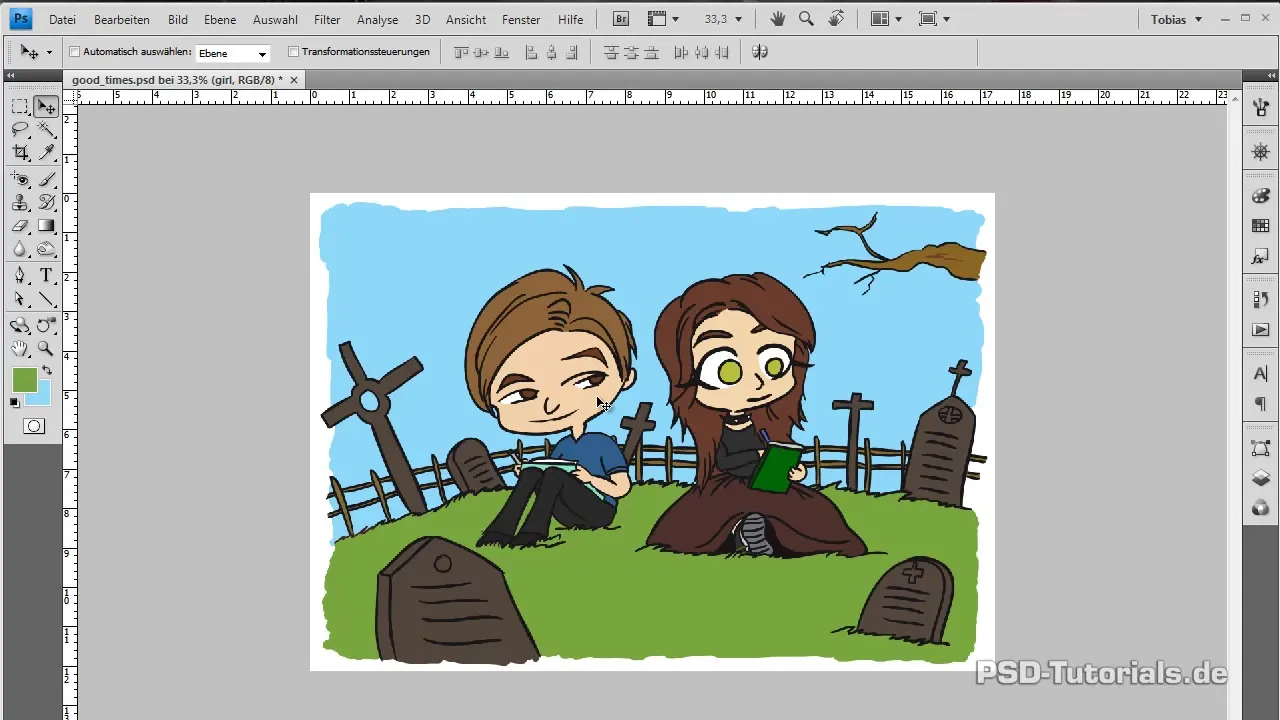
Over time, you add other elements and further optimize the image. It is important to keep all elements on separate layers, giving you the greatest flexibility when coloring and shading.
Now you can start with the characters. For this, create a new layer for the skin, one for the clothes, and additional layers for all details like eyes or hair. This keeps everything well organized.
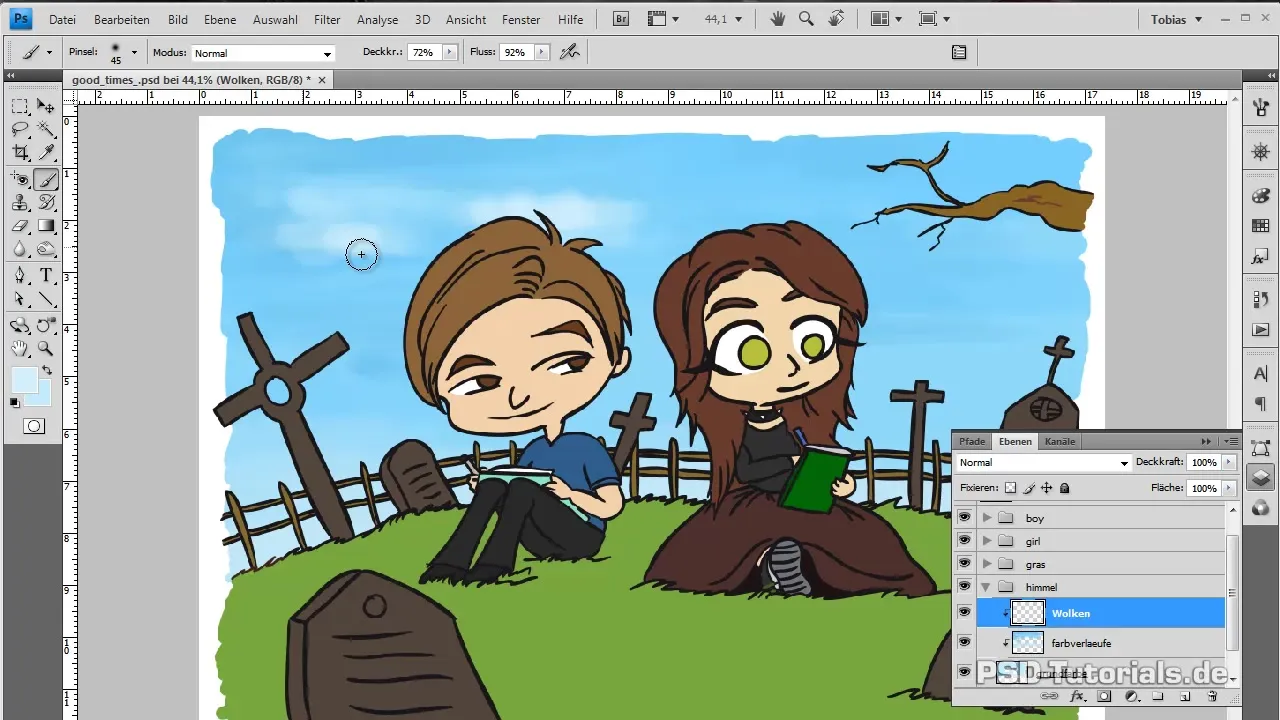
Be careful when coloring the characters and work with clipping layers to create shading for a more realistic effect. The light source should always be taken into account.
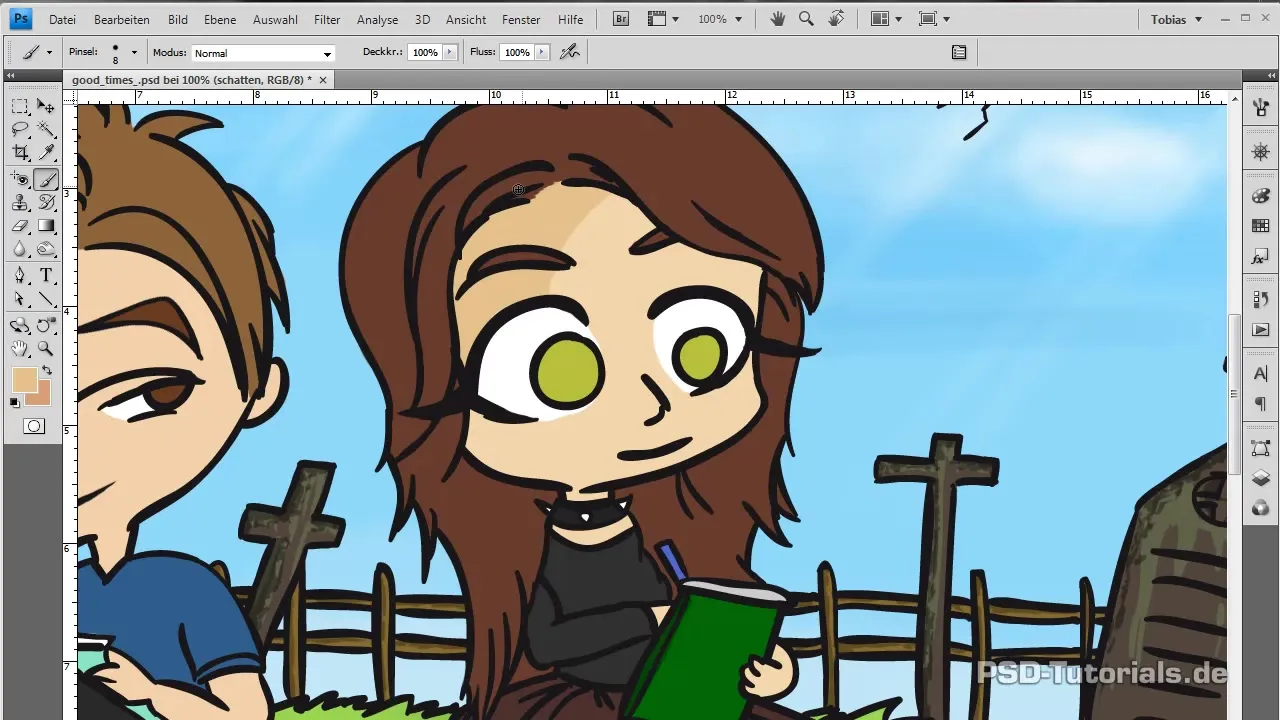
This way, your image will become more and more lively. Finally, you will edit the outlines by color instead of leaving them in black. This gives your comic a more organic look.
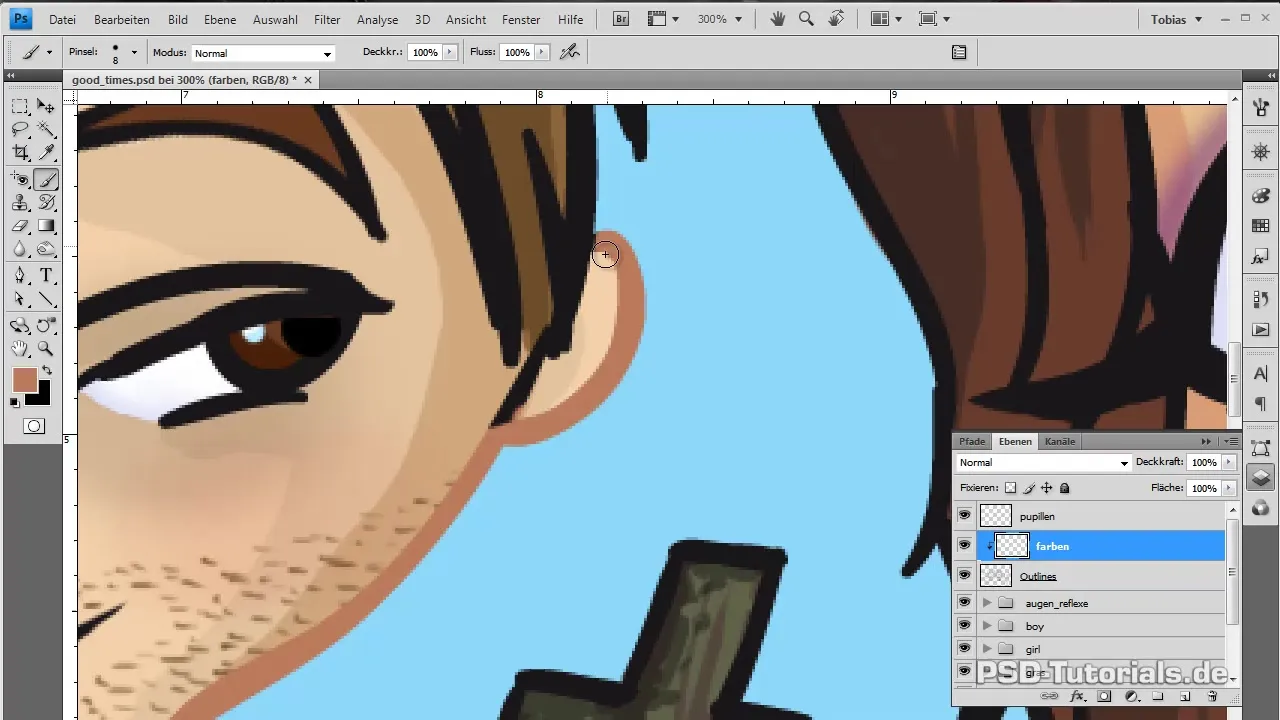
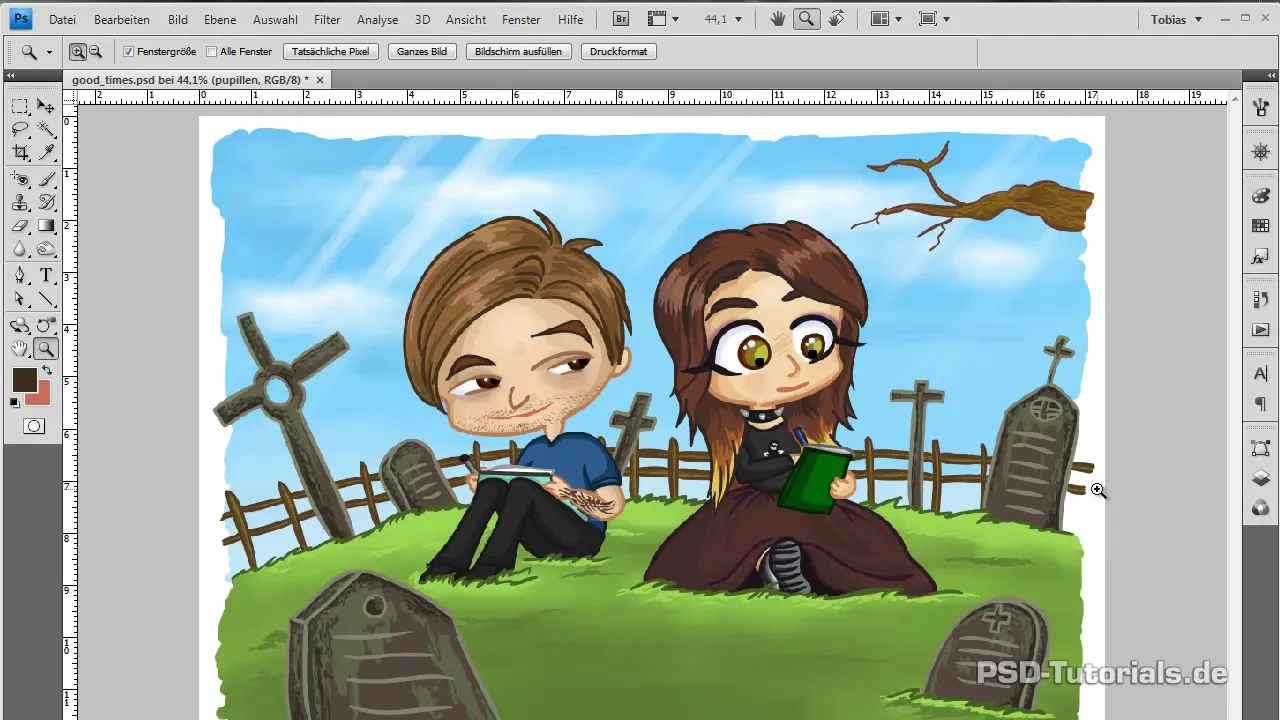
If you are satisfied with the entire image, take the time to review the overall composition and make any final adjustments to ensure that all elements work harmoniously together.
Summary - Creating comics in Photoshop
This step-by-step guide has shown you how to go from a simple sketch to a finished comic motif in Photoshop. You have learned the basics of tracing in Illustrator, as well as techniques for coloring and shading in Photoshop. With the right technique and some practice, you can create colorful and vibrant comic drawings.
Frequently Asked Questions
How can I bring my sketch into the digital format?Scan your hand-drawn sketch and save it as a JPEG file.
Do I need a graphics tablet for this technique?A graphics tablet is helpful, but you can also work with a mouse.
Why do I use Illustrator for the outlines?Illustrator offers more precise paths and control while drawing than Photoshop.
How can I harmonize my colors?Use the clipping mask feature to incorporate gradients and shades.
Can I integrate photos into my comic drawings?Yes, you can import photos into Photoshop and insert them into your design.


