You want to create an impressive Photoshop-composing and need a structured approach? In this tutorial, I will show you how to create a new canvas, place your background, and prepare it for further editing. Step by step, I will guide you through the process and give you valuable tips to bring your image "The Eagle" to life.
Main insights
- Choosing the right canvas size is crucial for detail fidelity.
- Using Smart Objects allows for non-destructive editing.
- A blur filter can enhance the depth of the image.
Step-by-Step Guide
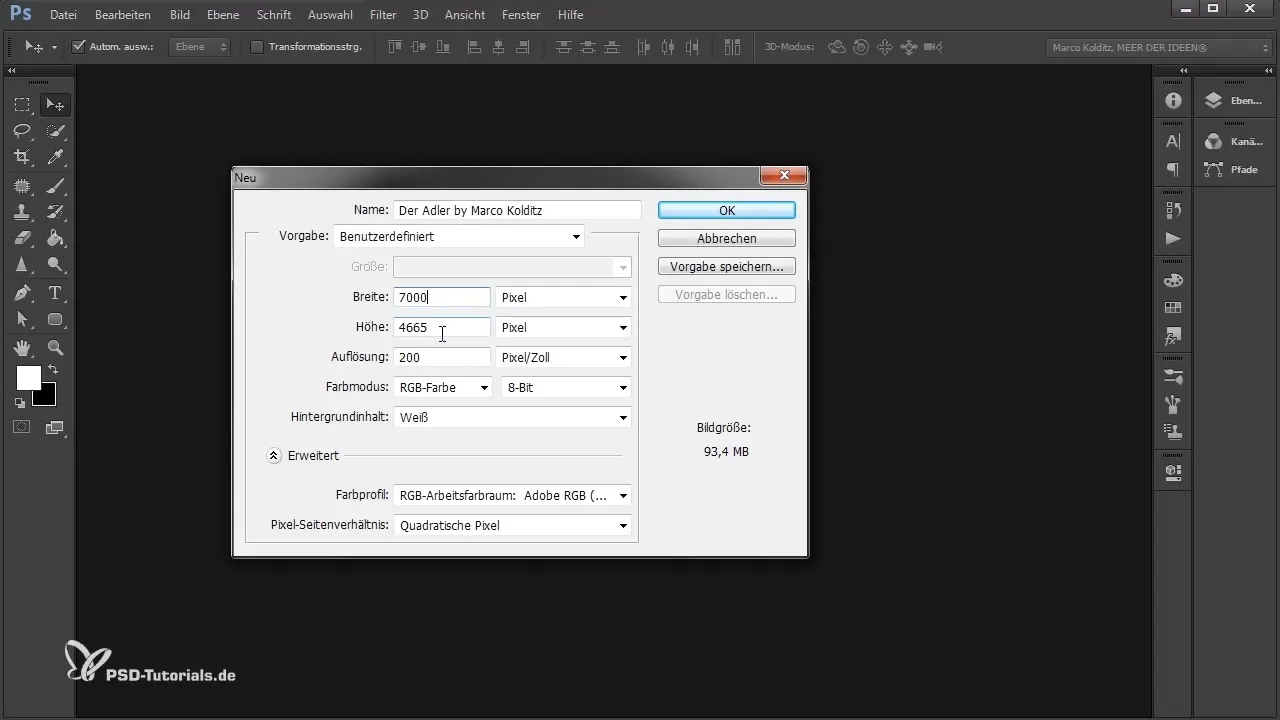
First, open Photoshop and start with the step of creating a new file. Go to "File" and select "New". Here, name the file, for example, "The Eagle - Marco Kolditz". Make sure to set the width to 7000 pixels and the height to 4665 pixels. The resolution should be set to 200 ppi.
Once you’ve made the settings, confirm the file creation with "OK". To make the layers visible, toggle them on. A simple double-click on the hand symbol will ensure everything is well arranged again.
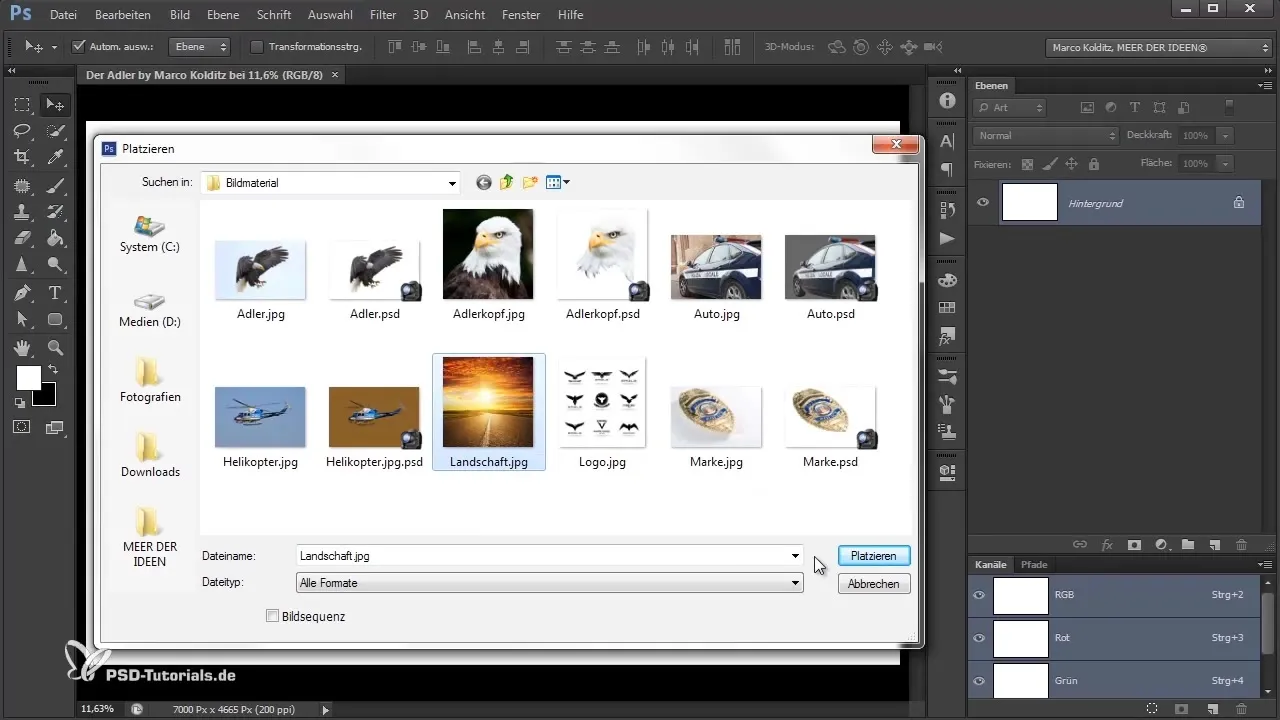
Now it's time to place your background. You can do this by going back to "File" and selecting "Place". Choose the desired file; in this case, it could be a file like “landscape.jpg”. Alternatively, you can also drag the file from your Windows File Explorer into Photoshop and drop it there.
Once the file is placed, it’s important that you first scale the image to ensure the best representation. Hold down the Shift and Alt keys while dragging one of the anchors to proportionally enlarge or reduce the image.
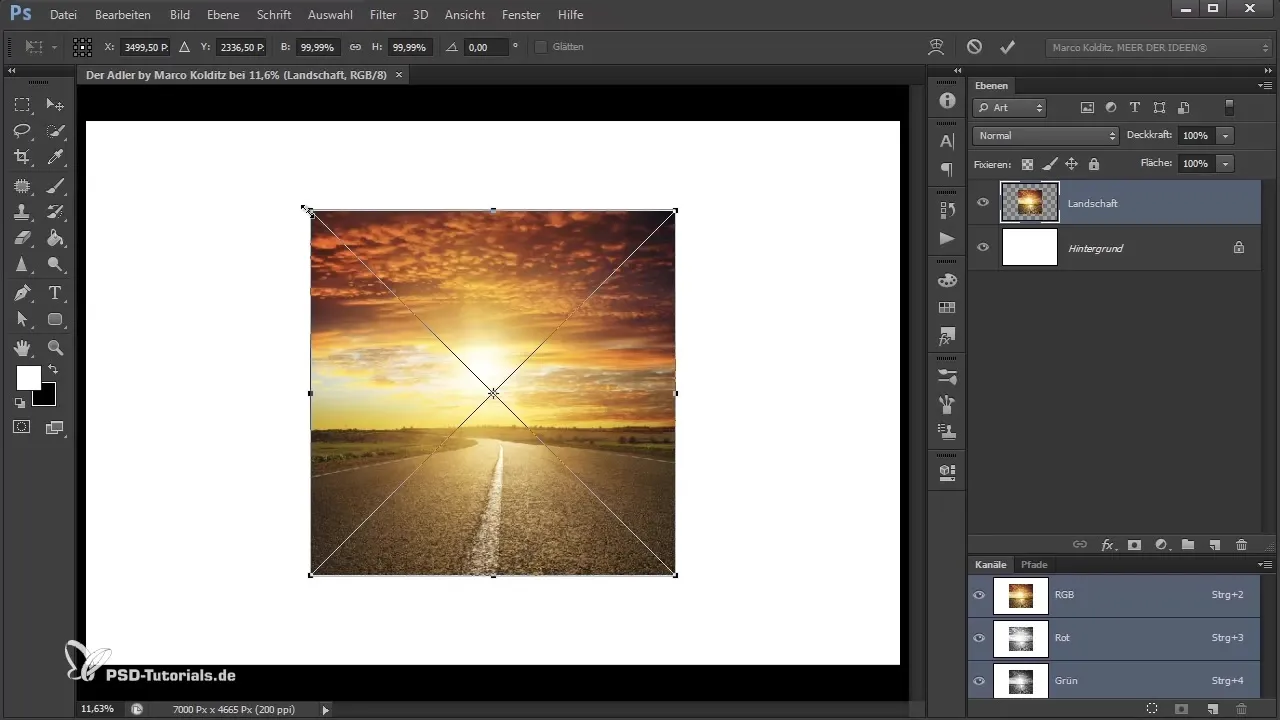
Think about how the final composing should look – where the car will be placed, where the eagle will be seen, and what the background will look like? The better you plan that in advance, the easier the process will be. You confirm the placement either by pressing the Enter key or by double-clicking on the rectangle.
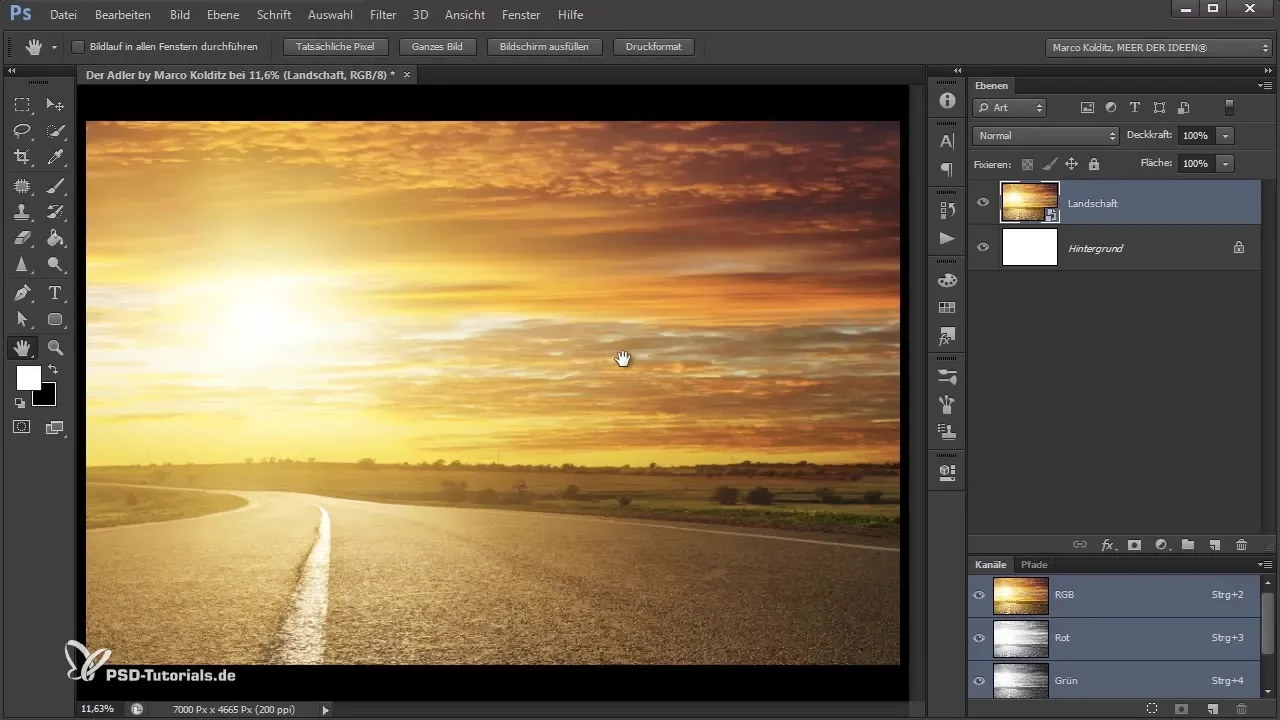
A major advantage of placing via "File Place" or by dragging into Photoshop is that the image is now a Smart Object. You can recognize this by the small icon that is displayed. This means you can apply filters afterwards without changing the original file, which gives you a lot of flexibility.
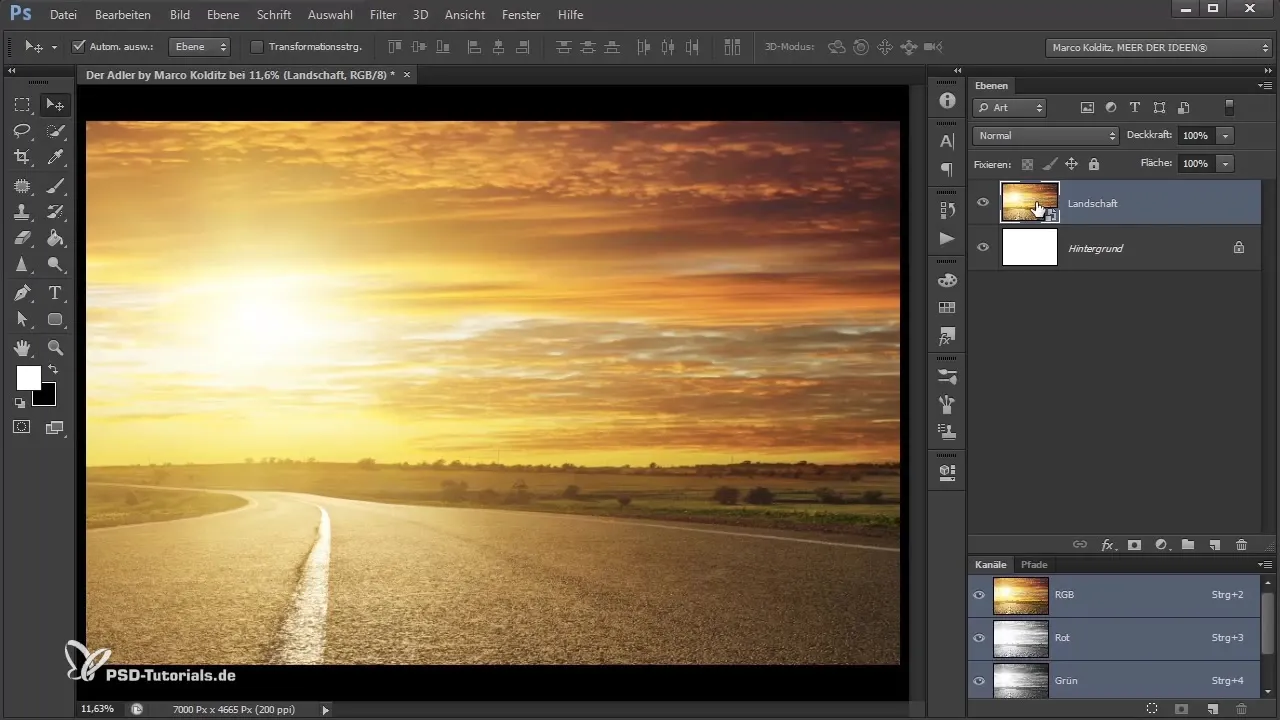
Now it's time to apply a blur filter to give our background more depth. Choose the "Blur Filter", specifically the "Gaussian Blur". Set the radius to about 20 pixels to achieve a nice blur and confirm with "OK".
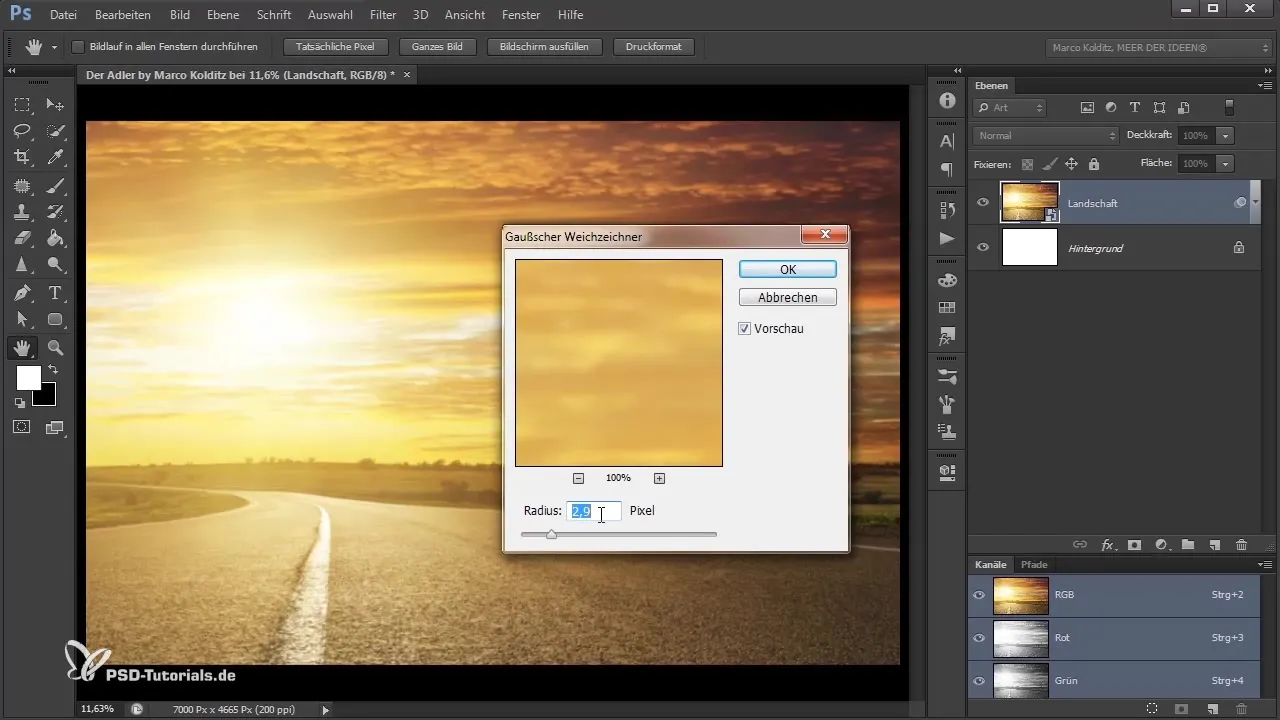
You have now successfully created the background in your composing. This forms the basis for the next steps, where we will deal with the eagle's head and its integration into the image.
Summary - Photoshop Composing: Create Canvas & Prepare Background
In this guide, you learned how to create a new canvas in Photoshop, place your background, and enhance your image using Smart Objects and blur filters. These fundamental skills are crucial for your future composing.
Frequently Asked Questions
How do I create a new file in Photoshop?Go to "File" and select "New", then set the width and height as well as the resolution.
Why is a high resolution important?A higher resolution ensures more details and better print quality.
What are Smart Objects?Smart Objects allow for non-destructive editing in Photoshop.
Where can I find the blur filter?You can find it in the menu under "Filter" and then "Blur".
Which keys do I hold to scale?Hold down the Shift and Alt keys while dragging the anchor.


