If you want to master the art of digital compositing, then isolating objects, removing unwanted details, and constructing realistic shadows is essential. In this guide, you will learn how to isolate a couple in Photoshop from the background, remove distracting elements, and reconstruct their shadows. You will get to know the various steps to ultimately achieve a harmonious and appealing image.
Key findings
- Using the masking mode for isolating objects
- Applying healing tools for a clean edit
- Designing realistic shadows to make the image more lifelike
Step-by-step guide
Step 1: Creating the new canvas
Start by creating a new canvas. Click on "File" and select "New". Give a fitting title for your project, for example, "Digital Love". Set the width to 7000 pixels, the height to 4665 pixels, and the resolution to 200 ppi. Confirm the entries to get the white canvas.
Step 2: Placing the image
The next task is to bring the image of the couple onto the canvas. Click again on "File", select "Place", and upload the image of the couple. When scaling, hold down the Shift and Alt keys to edit it proportionally. Complete the process with Enter and activate the layers panel to improve clarity.
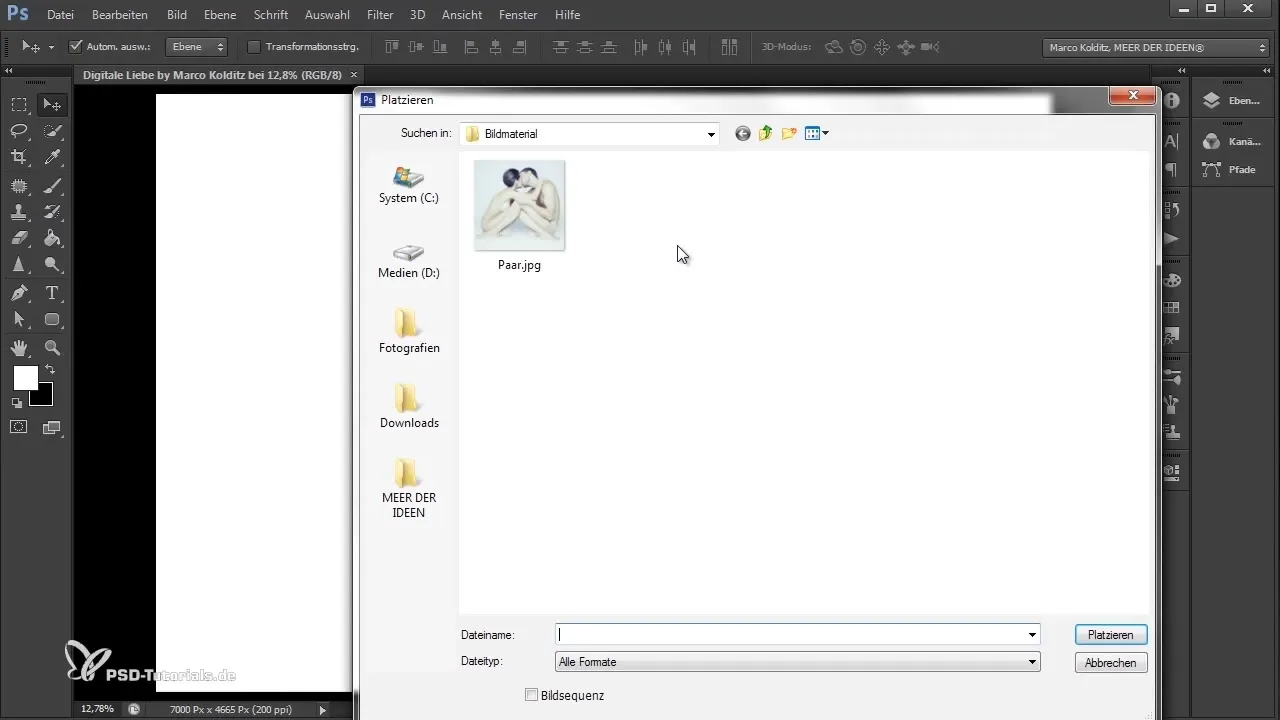
Step 3: Isolating the couple
To isolate the couple from the background, select the masking mode using the appropriate icon in the toolbar. Use the brush tool with a black foreground color to paint along the contours of the couple. Instead of black, a transparent red will appear, which helps you visualize the selection. You can adjust the brush size by holding down the Alt key and the right mouse button and moving the mouse.
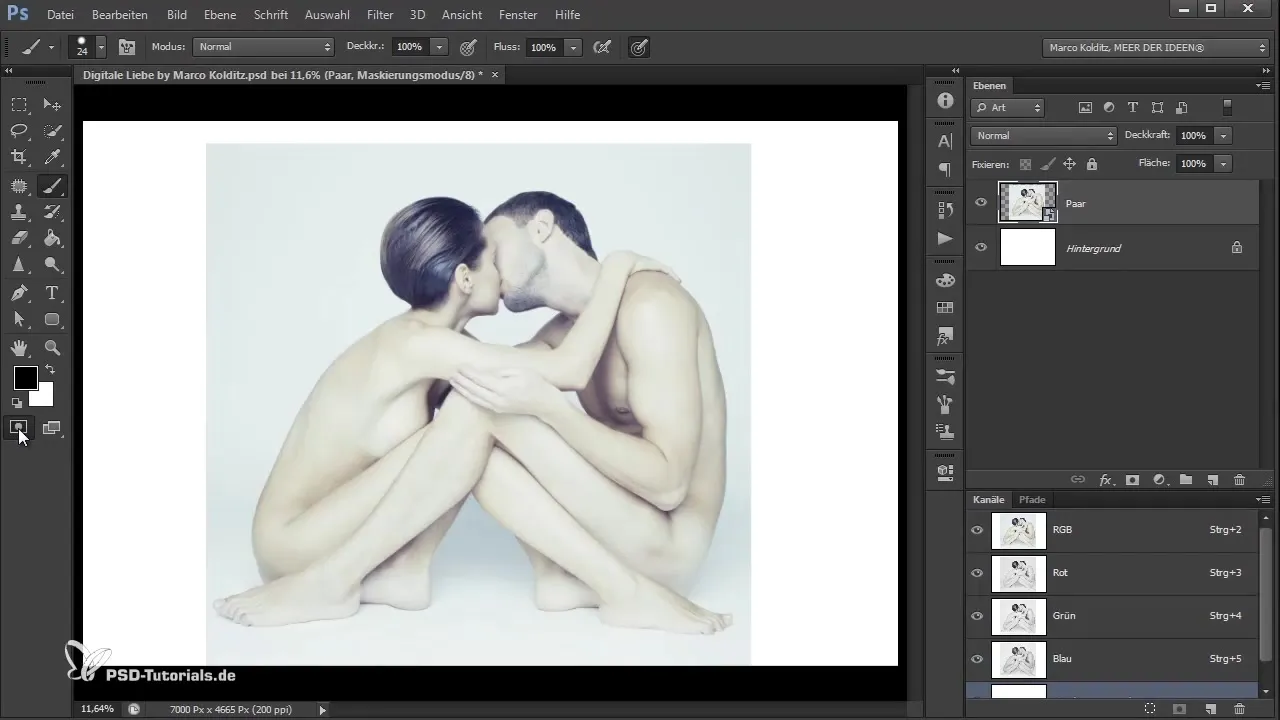
Step 4: Refining the selection
After roughly painting around the couple, fill the selected area with the fill tool. Check the tolerance and adjust it if necessary until you are satisfied with the result. A high tolerance can cause the entire background to turn red, so be cautious with this setting. Then click on the mask symbol to generate the selection.
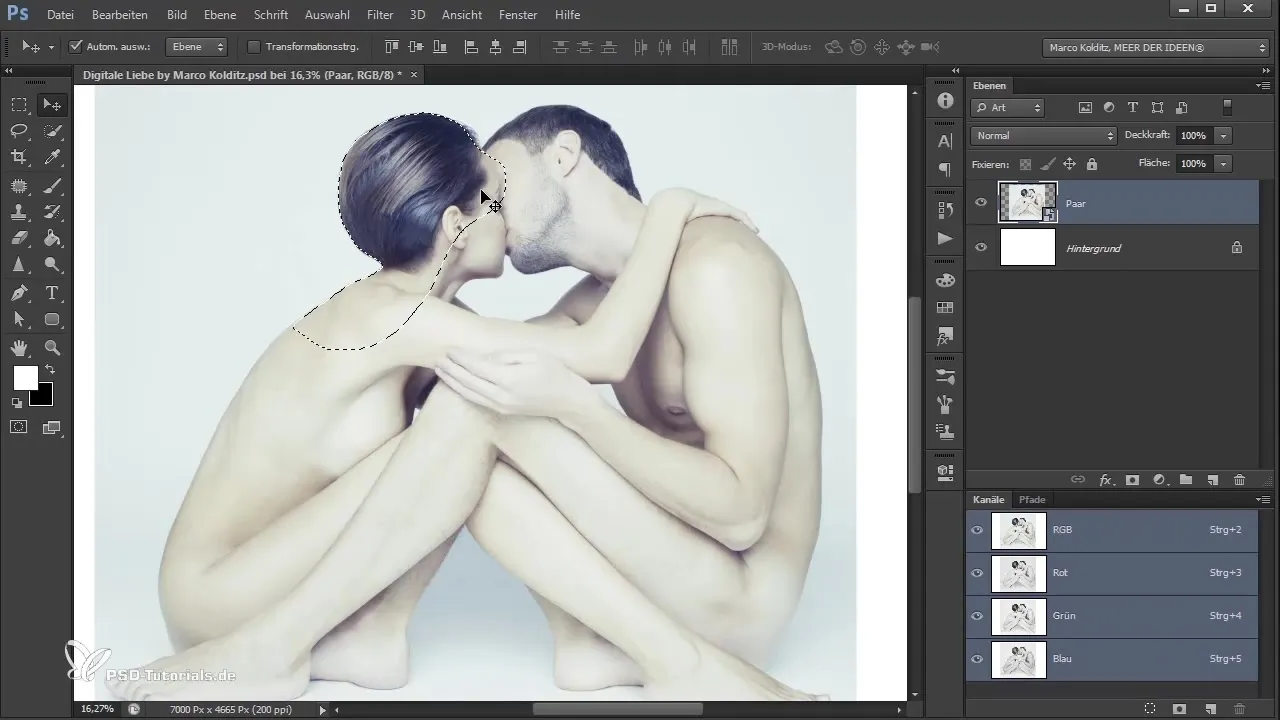
Step 5: Checking the isolation
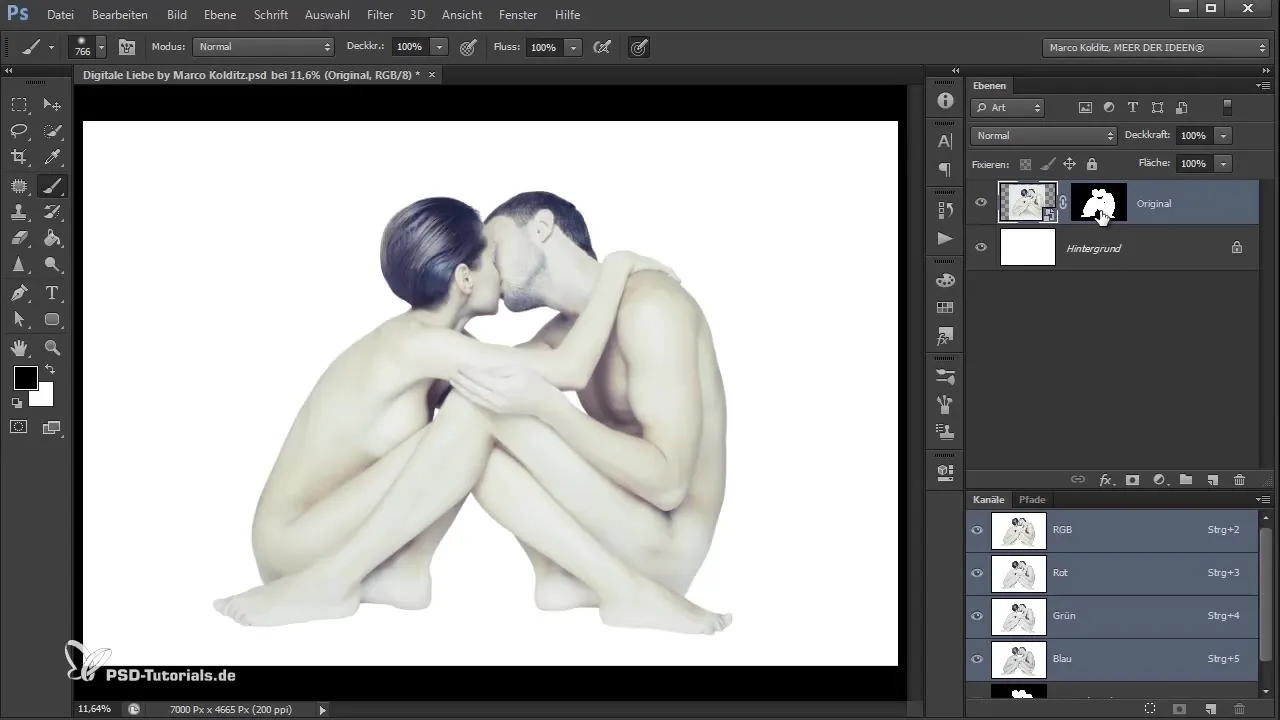
After isolation, you can blend the background layer to check the result. A typical transparency pattern should be visible. Report any irregularities by checking the mask with Alt and clicking on the mask symbol.
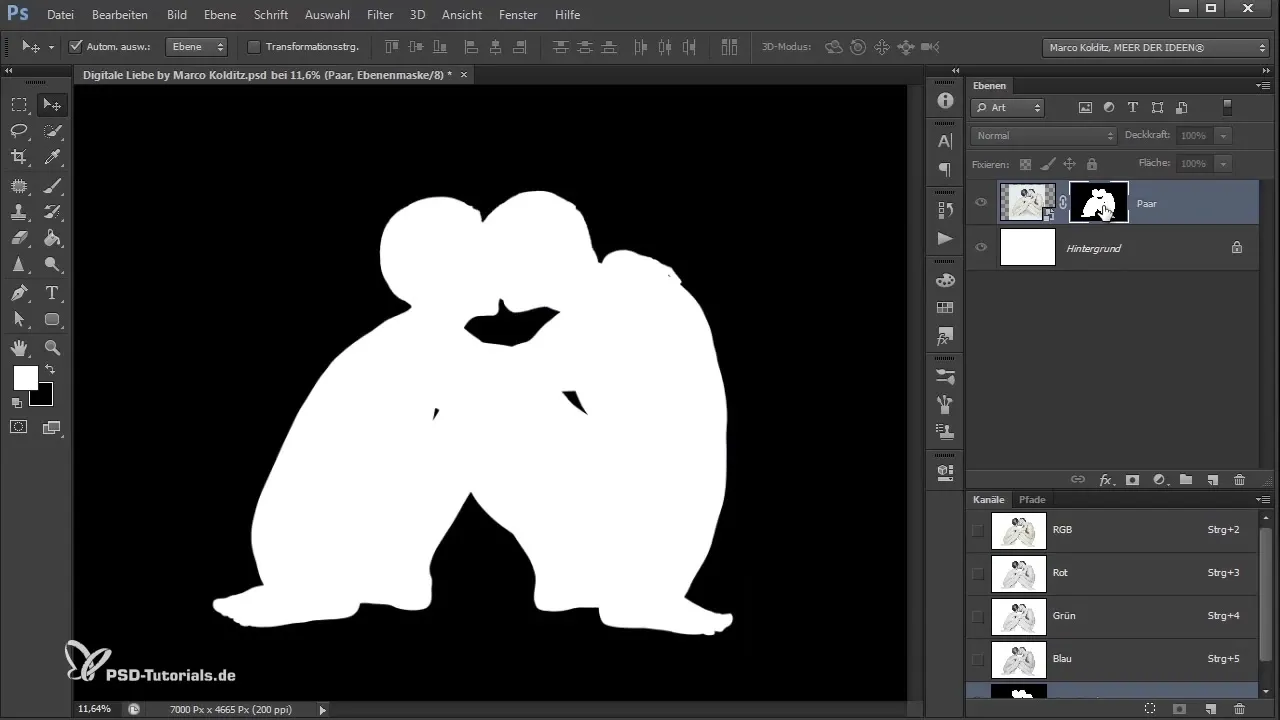
Step 6: Removing unwanted details
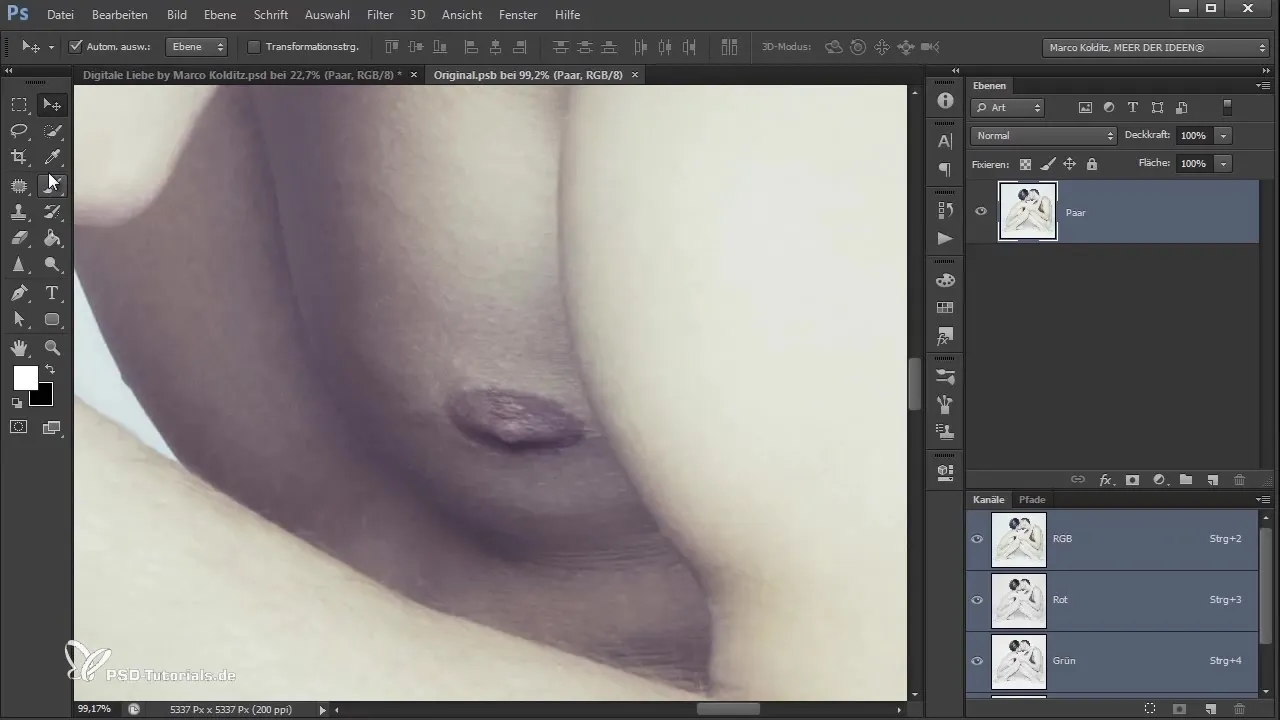
Examine the image closely, especially the legs of the man, which may have unwanted details like hairs or blemishes. You can use the healing tool to retouch these areas specifically. Select the source and drag it to an area that looks nicer to create a natural transition.
Step 7: Editing the hair
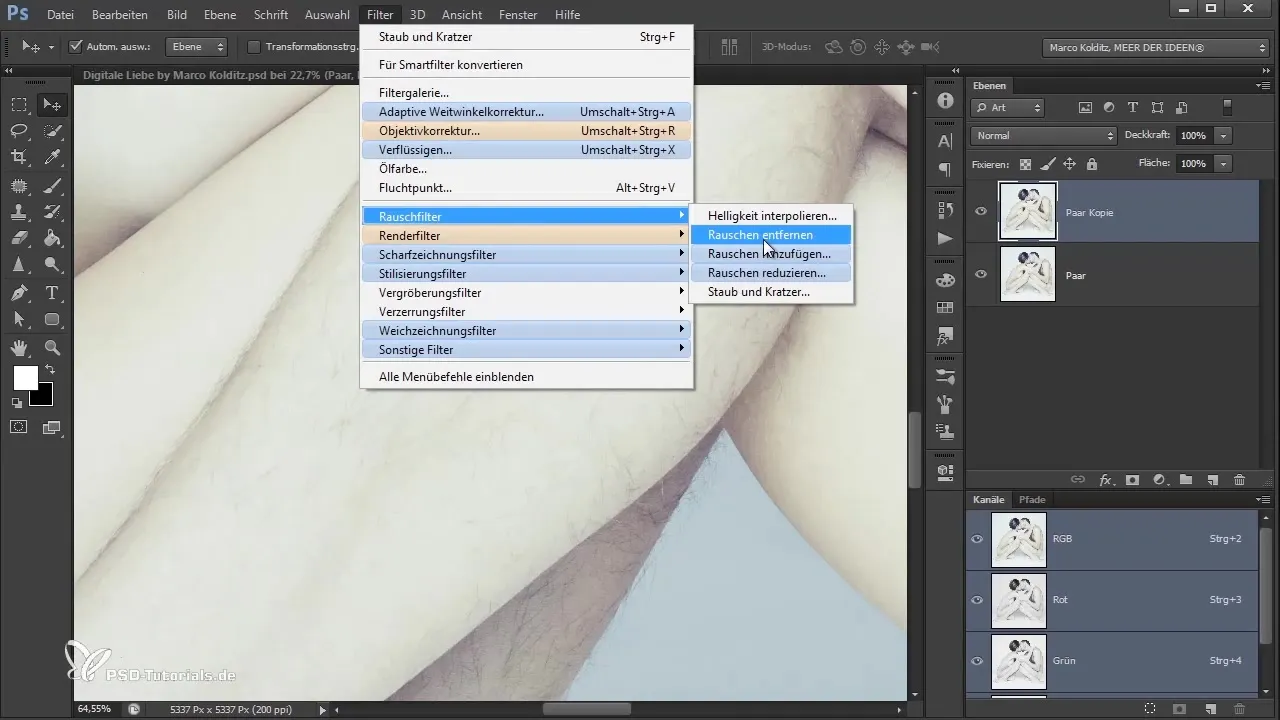
To remove the hair from the legs, use a noise filter that smooths the appearance of the legs. Apply the "Dust and Scratches" filter and set the value to about 25 pixels. Then create a white mask to make the changes visible. With a soft brush, you can remove the unwanted hairs.
Step 8: Adding shadows
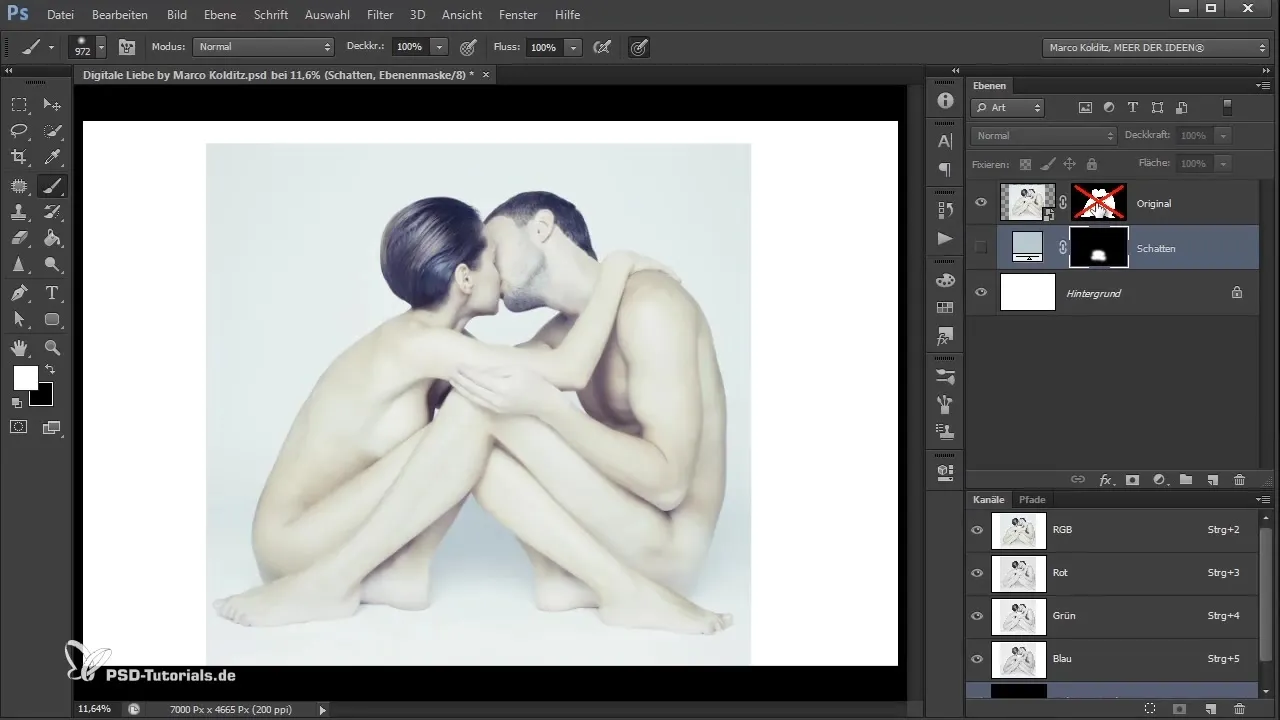
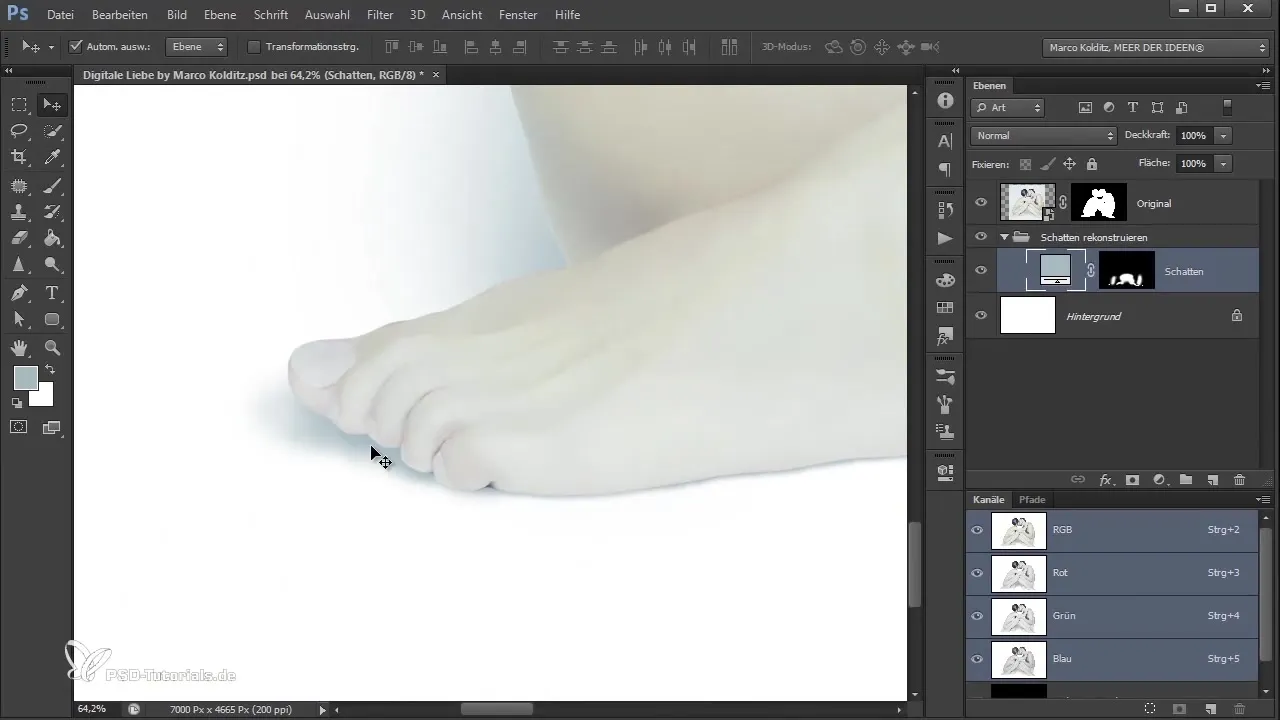
Once the couple is isolated and edited, it’s time to restore the shadows. First, disable the mask and select the brush tool. Hold down the Alt key and click to sample the shadow color. Then create a new color layer and invert the mask. Start painting the shadows with a soft brush.
Step 9: Finishing the shadows
Look at the original image to ensure that the shadows look realistic. You can adjust the opacity of the brush to achieve a soft transition. Paint carefully along the contours and experiment with different settings to achieve the best results.
Step 10: Final review
After adding the shadows, zoom in to review the overall image and ensure the quality of your work. You can make adjustments as needed to make sure everything fits together and looks realistic. Save your image and enjoy your result!
Summary - Guide to isolating and shadow construction in Photoshop: Digital Love
This guide provides you with a detailed step-by-step guide on isolating a couple from the background in Photoshop, removing unwanted details, and constructing realistic shadows. By applying practical techniques, you will be able to significantly improve your compositing skills.
Frequently Asked Questions
How can I change the brush size in Photoshop?You can do this by holding down the Alt key and the right mouse button and moving the mouse left or right.
Why do the hairs disappear with the noise filter?The noise filter smooths the contours and removes distracting details while preserving the original shapes.
Can I edit the layers at any time?Yes, you work with smart objects, so changes in Photoshop do not affect the original file on your computer.


