The digital possibilities that Photoshop offers you are virtually limitless. If you want to bring the character of a Roboterfrau to life, glowing lines and optimized joints are crucial for a convincing effect. In this tutorial, I will show you how to successfully prepare the glowing lines and optimize the joints of your robot figure, so that your composing looks even more lively.
Key Insights
- Use of the Pen Tool for curved lines
- Creation and handling of layers and masks
- Application of textures and effects for realistic surfaces
- Optimization of joints to improve plasticity and depth
Step-by-Step Guide
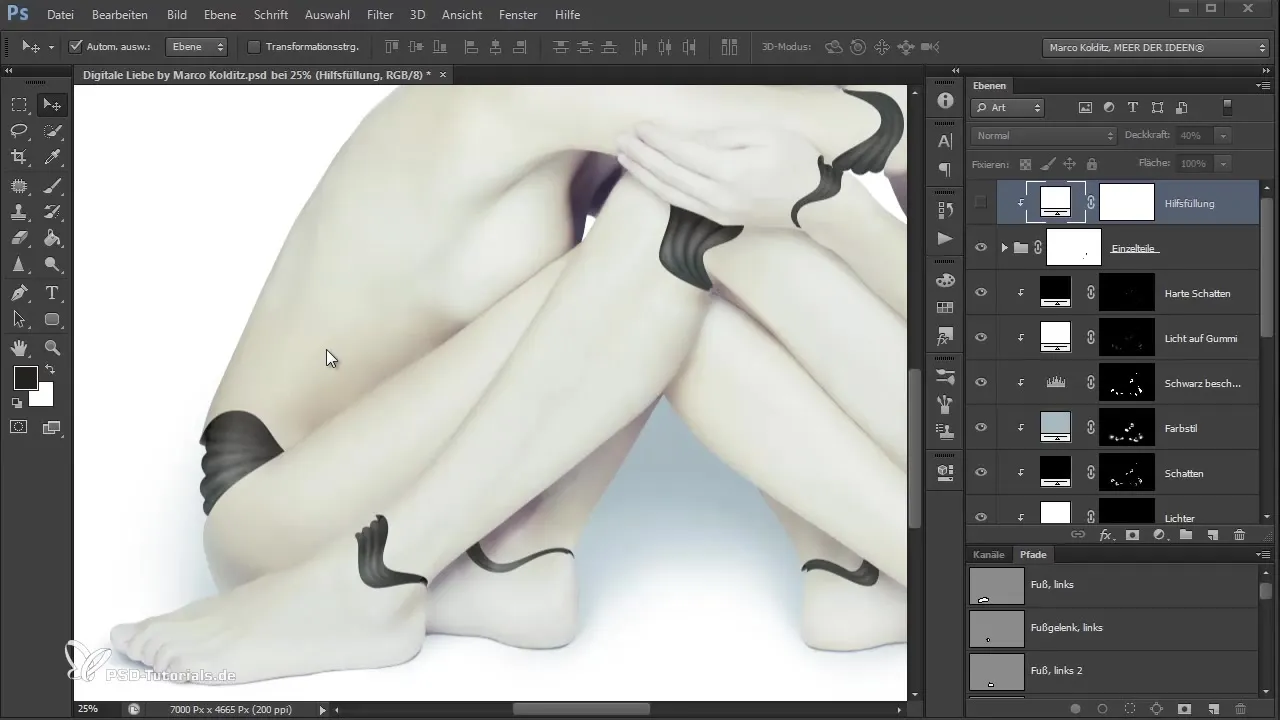
First, we focus on the glowing lines on the body of the Roboterfrau. To begin, select the Pen Tool and go to the top position in your layers palette. There, create a new group named "Lines on Body".
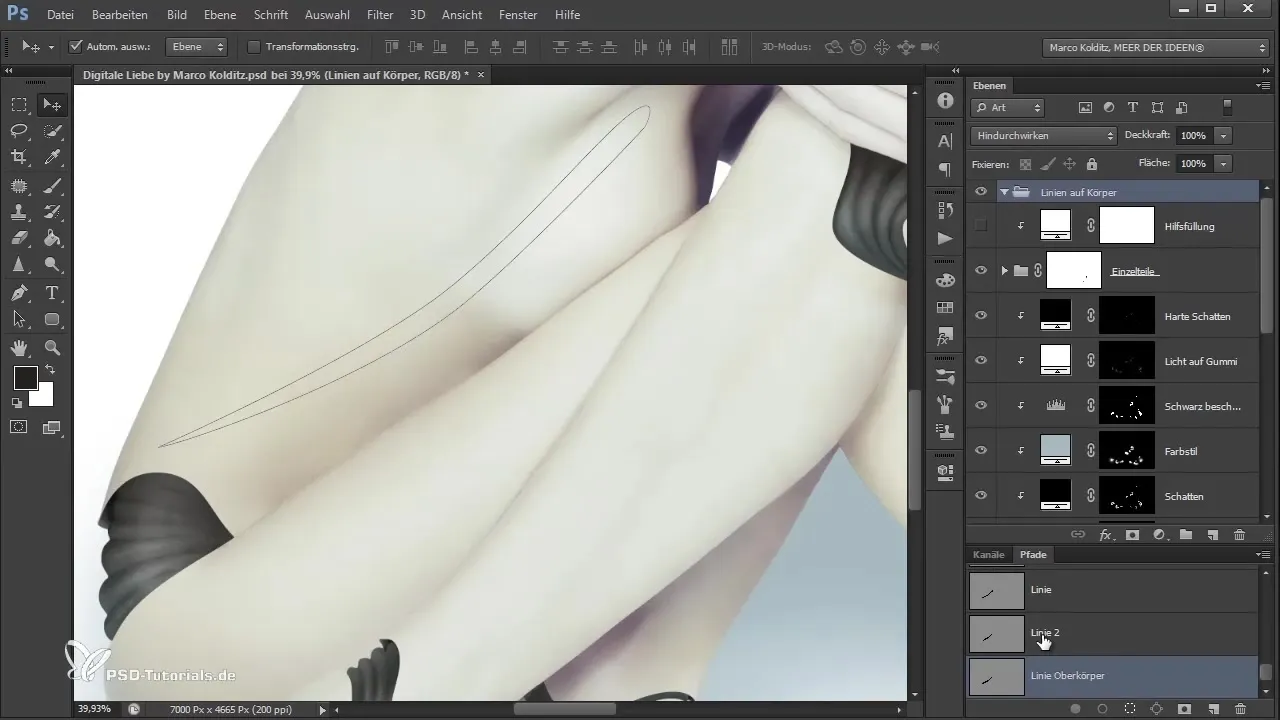
Now you are ready to create a path. With the Pen Tool, simply click and drag to form a curved line. You can adjust the points anytime using the control key to refine the shape. Let your creativity flow here; the important thing is that the line looks nicely curved.
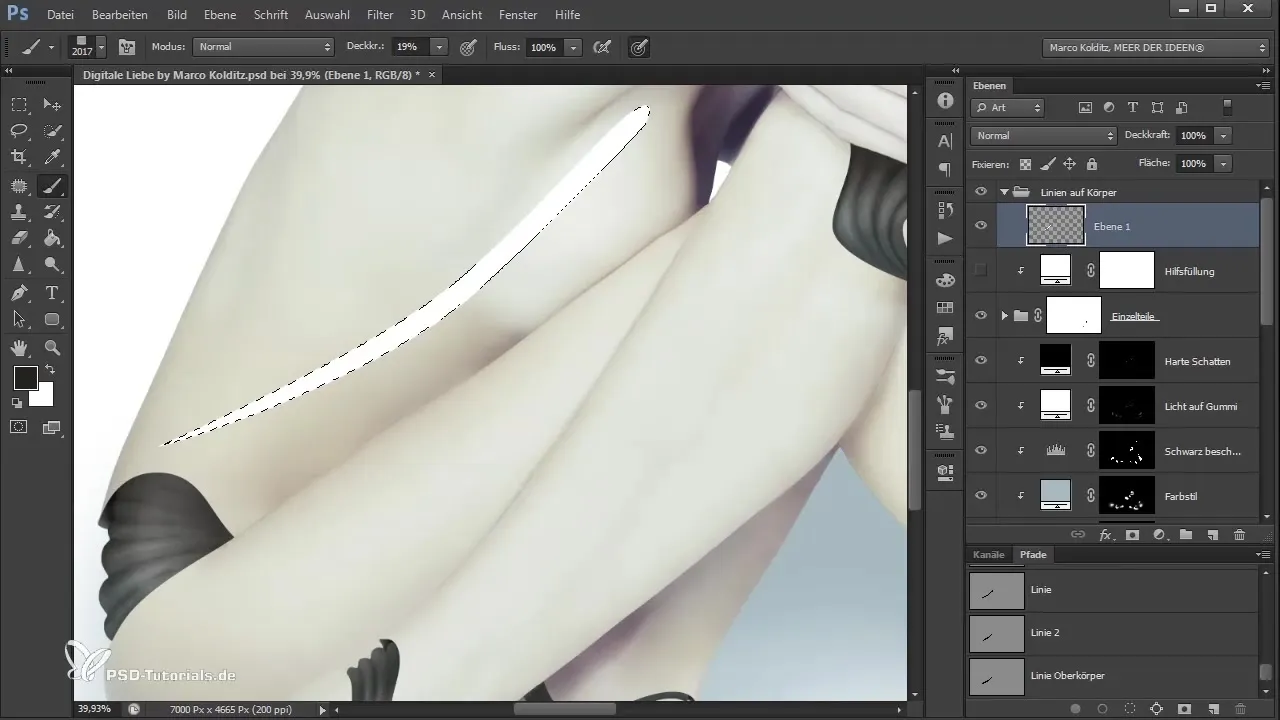
Once the line is roughly created, take a look at the channels palette. There, name your working path, for example, "Upper Body Line," and make a selection by clicking again with the control key. In the group "Lines on Body," create a new layer and fill it with white.
After the selection is deselected, you will have a white layer with the curved shape. Activate this and select a texture brush that resembles fabric. Change the foreground color to black and the opacity to about 16%. This will create an exciting texture pattern that already looks good.
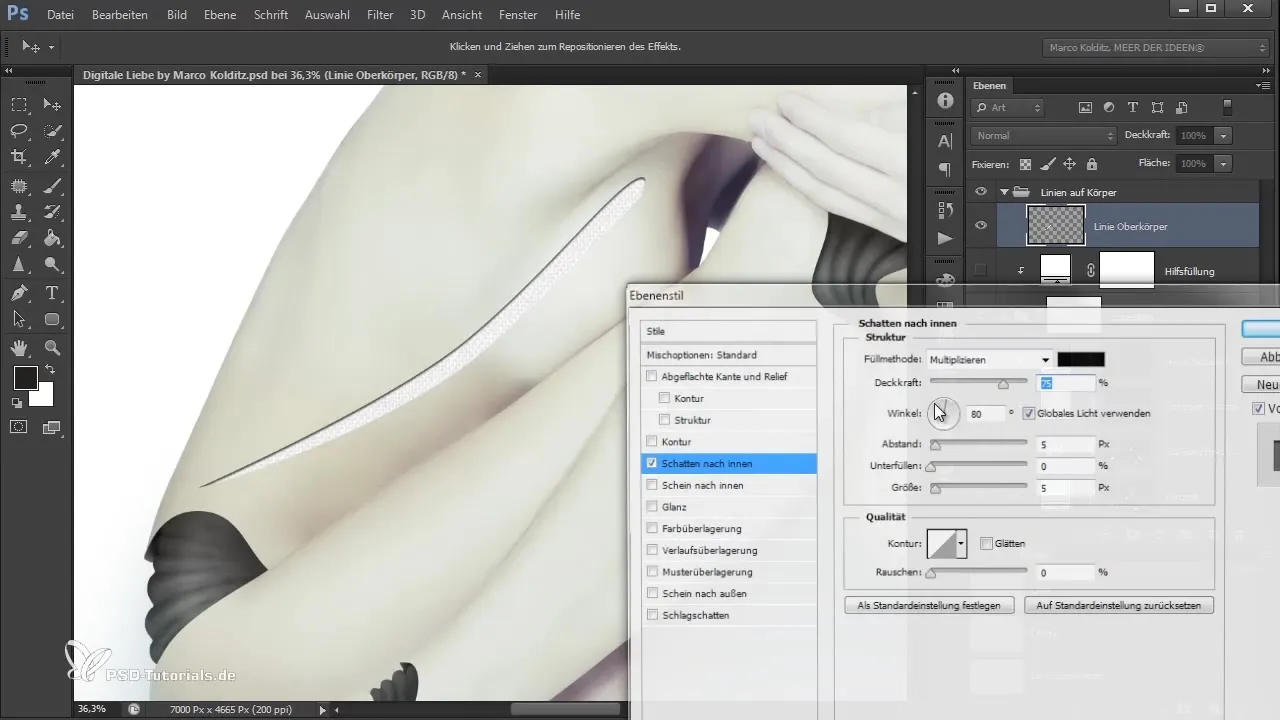
Now, strategically add an inner shadow to give the lines more depth. Reduce the shadow to about 9%, set the distance to 6 and the size to 2. This will give you the desired plastic effect that makes your Roboterfrau appear even more lively.
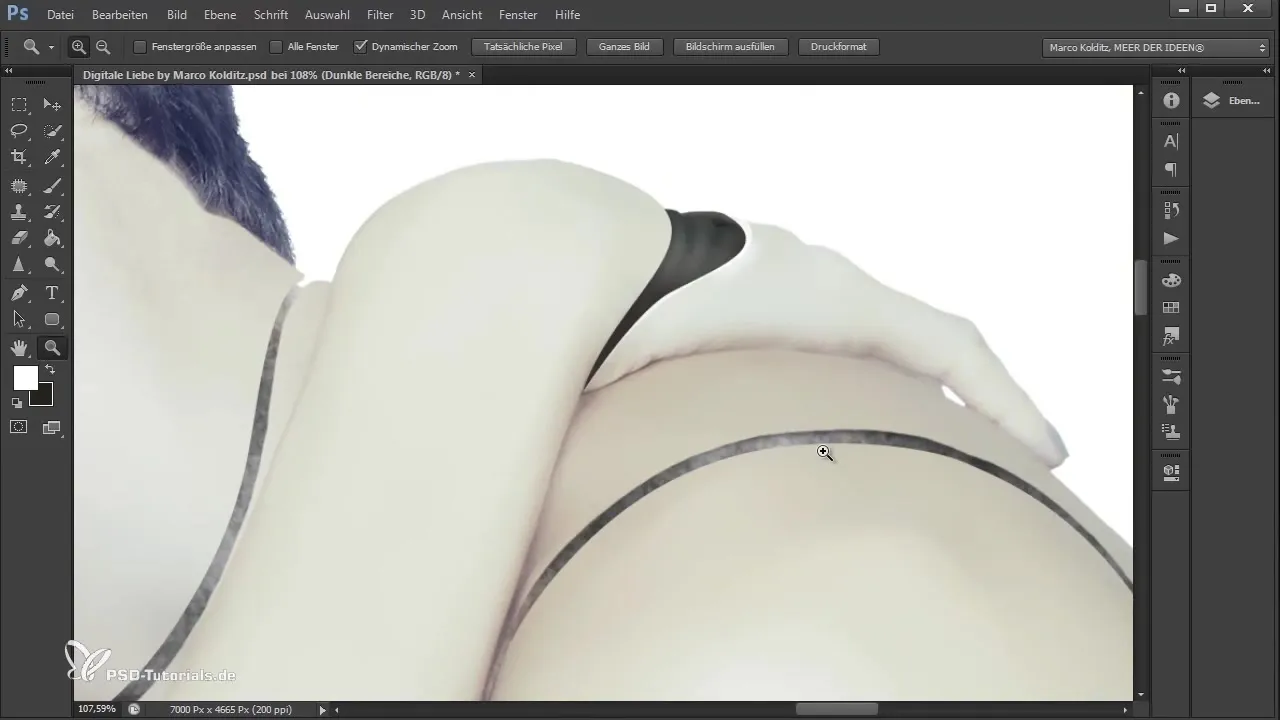
After you’ve drawn all the lines, make sure they don’t end too abruptly. You can solve this neatly by creating a white fill layer below the “Lines on Body” group. This will also be inverted and edited with a hard brush along the edges of the lines to create a harmonious transition zone.
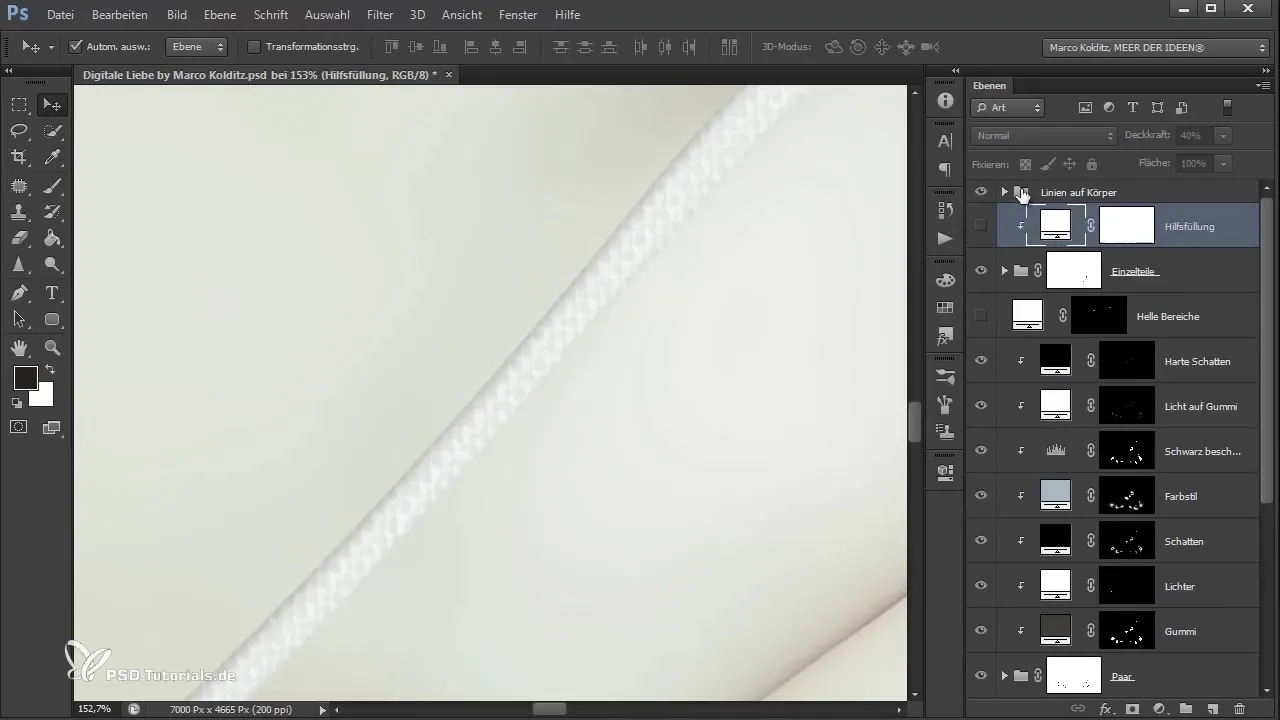
It’s important that the lines aren’t straight or sharply cut. Slightly blur the transitions by painting with a gentle trembling motion to create more naturalness. This will give you more plasticity and avoid a sterile presentation of your figure.
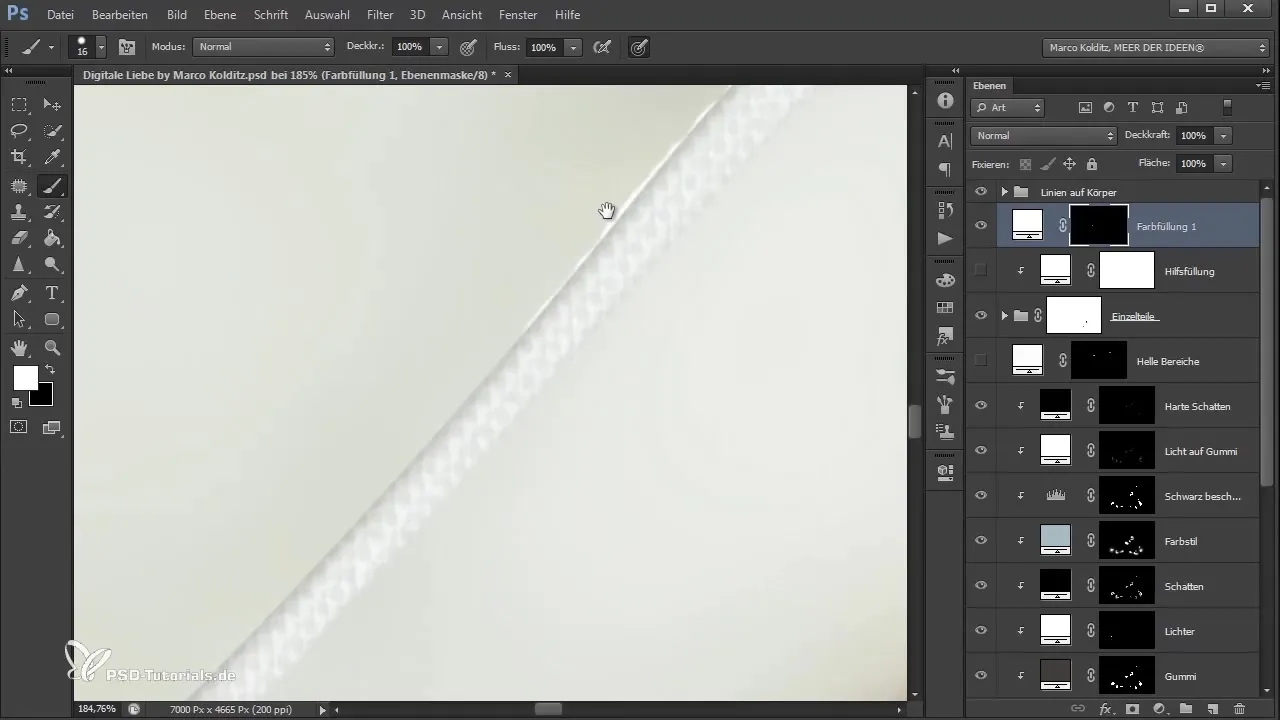
Once you have edited the lines on both sides, you can see that the shape already looks much softer and more lively. Next, you should also optimize the joints to complete the overall image and add more detail. I recommend creating a new fill layer in a dark gray, positioned below the joints.
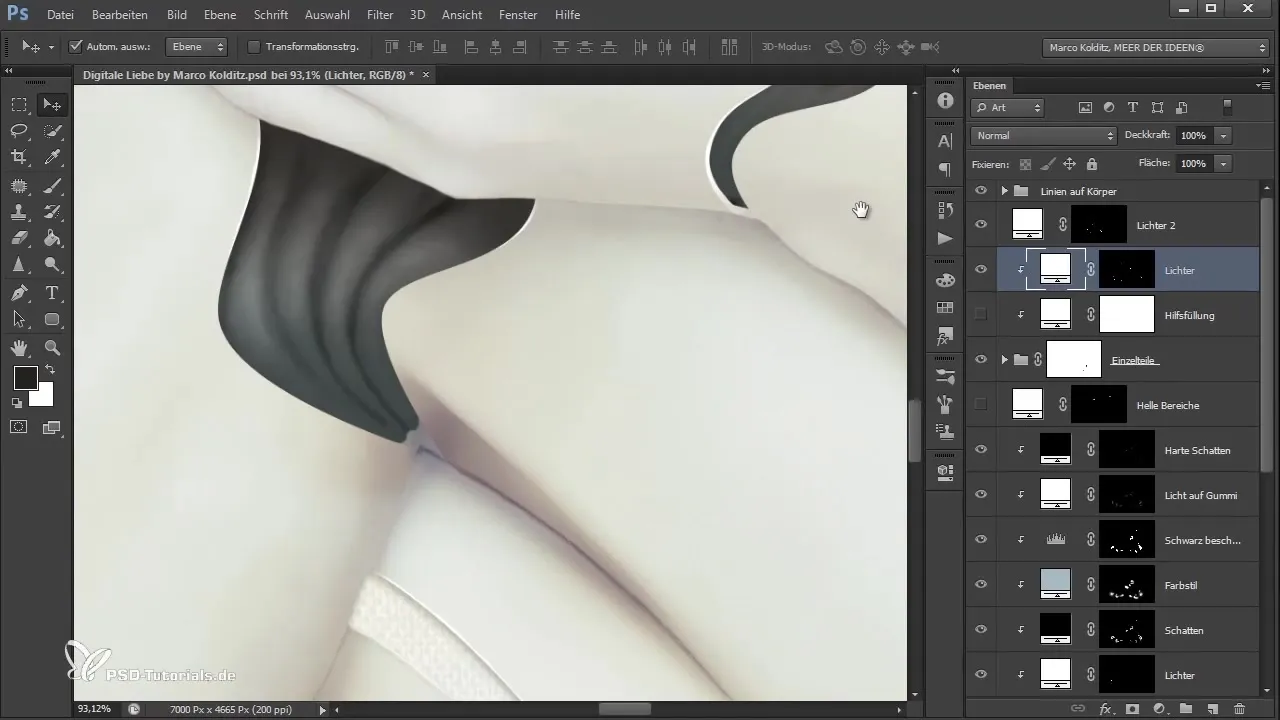
Don’t forget to invert the mask of the fill layer and paint along the joints with a hard brush to create more definition. The goal is to slightly emphasize the areas where the joints are visible while also giving the impression of rubber.
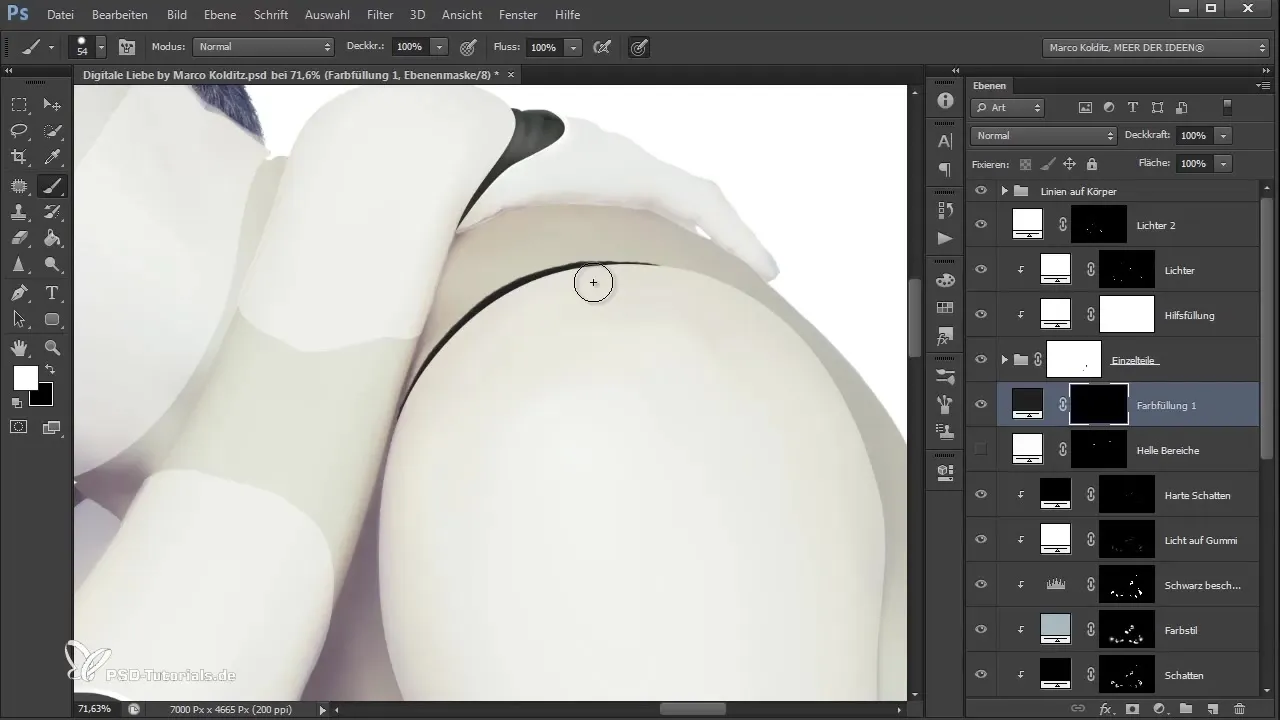
If everything looks good, you can also optionally work with a texture brush here to further vary the appearance and bring more details into the darker areas.
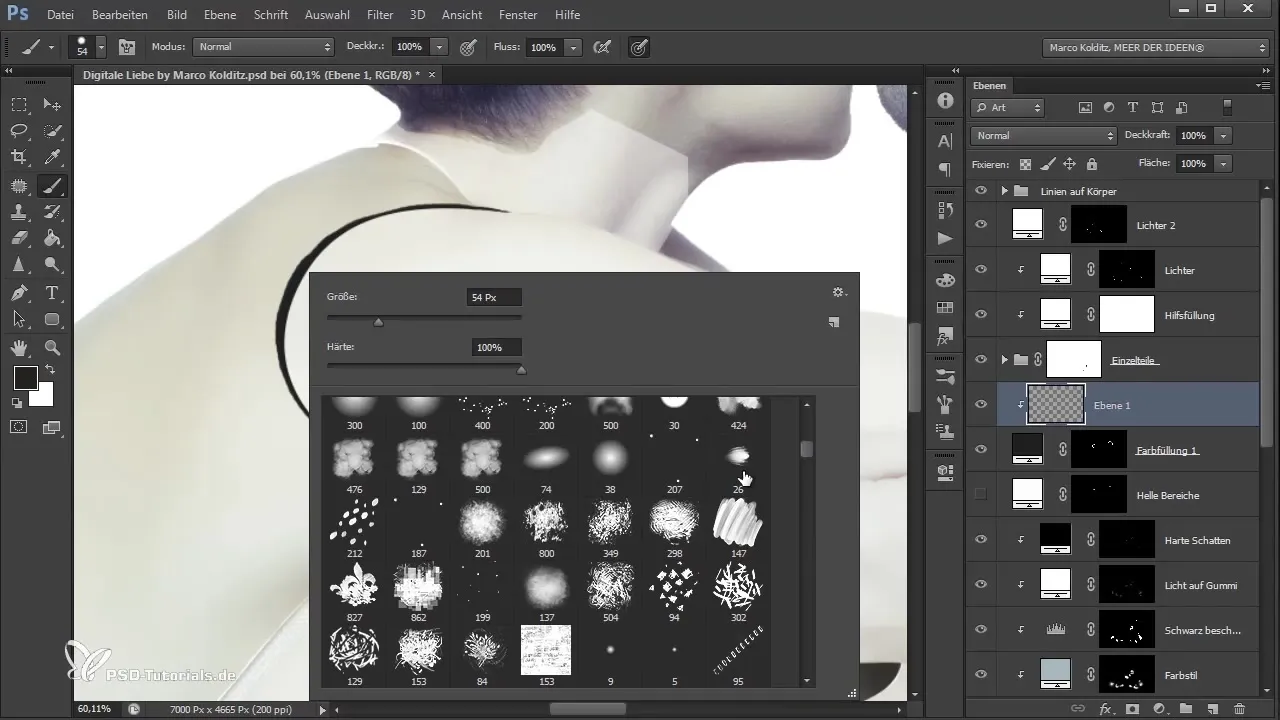
To complete the work, take a look at the whole and ensure that the various layers work harmoniously together. Finally, use a texture brush to possibly cover any unwanted spots.
Summary - Preparing the Glowing Lines of the Roboterfrau and Optimizing the Joints
You have now learned how to create the glowing lines of the robot figure and optimize the joints. Working with the various tools and techniques allows you to achieve an impressive and vibrant result.
Frequently Asked Questions
How do I select the Pen Tool?You select it from the tool menu on the left side of Photoshop.
How do I create a new group in the layers palette?Click on the new group icon at the bottom of the layers palette.
How can I adjust the opacity of a brush?Change the opacity in the top options menu when the brush is selected.
How can I deselect my selection?Press the Ctrl + D keys on your keyboard.
What is the purpose of the inner shadow?The inner shadow adds depth and volume to the lines and creates a plastic effect.


