In the third part of the digital painting tutorial, you will focus on the backgrounds and the environment of your elf amazon. In this guide, you will learn how to effectively integrate rock structures, light effects, and Nebel into your digital art. You should be prepared to combine different techniques to create an appealing and believable landscape.
Key Insights
- Introduction of groups and subgroups for better organization of your layers.
- Use of clipping masks for more precise color and texture adjustments.
- Creation of depth and atmosphere through targeted use of fog.
Step-by-Step Guide
To create an impressive painting with a stunning landscape, it is crucial to proceed in a structured and methodical way. Let's go through the necessary steps now.
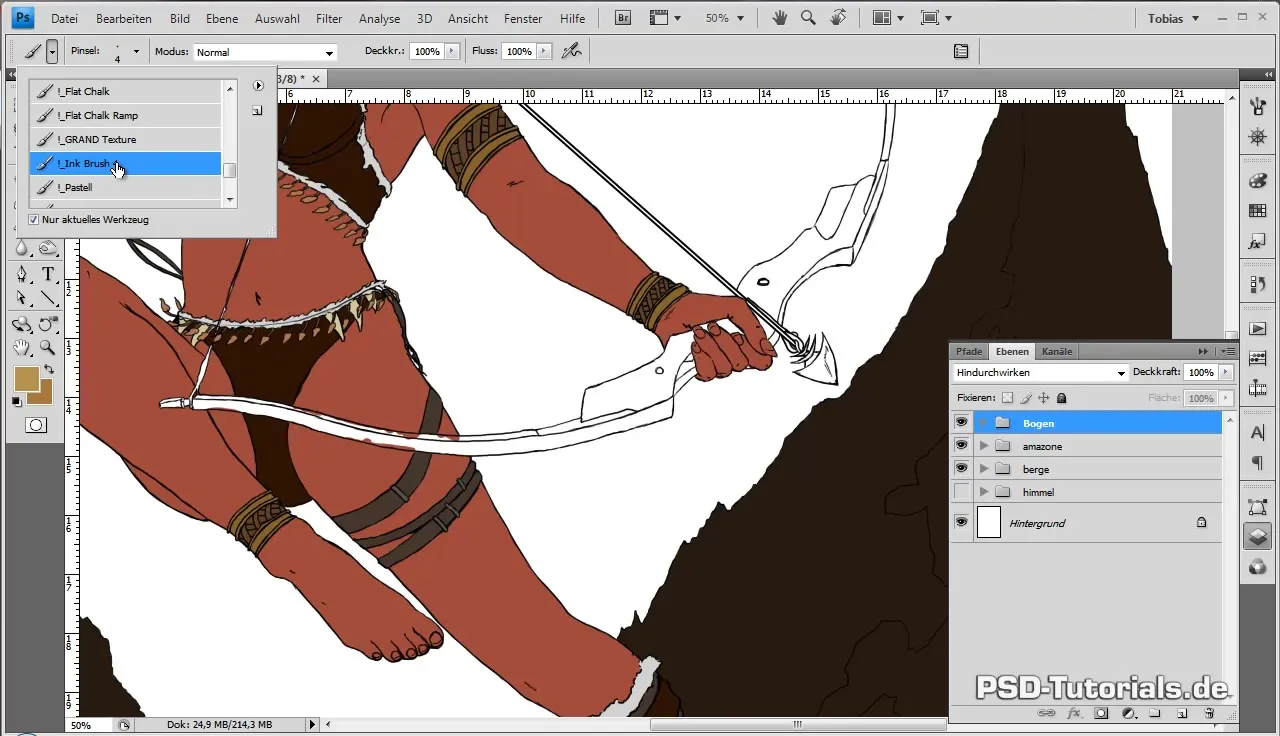
First, you start by integrating the forgotten elements into your image. The arc, which acts as an important part of the composition, should be created in its own layer within the "Amazone" group. For this, you select your "inkbrush" to draw the base colors with full opacity. This creates a solid foundation for the further details.
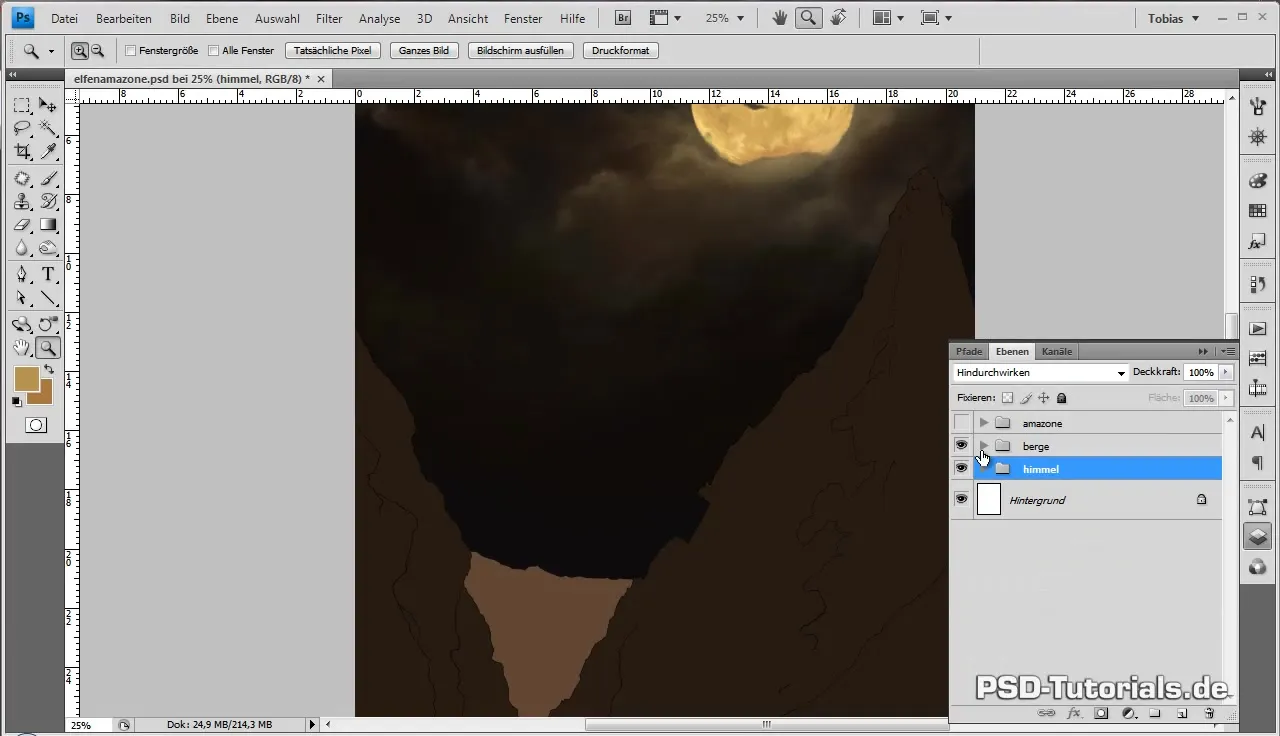
After you have integrated the arc into the draft, make sure that the outline layer is correctly placed above the base color layer. For better editing, move the "Arc" group into the "Amazone" group to ensure a clean organization of your work.
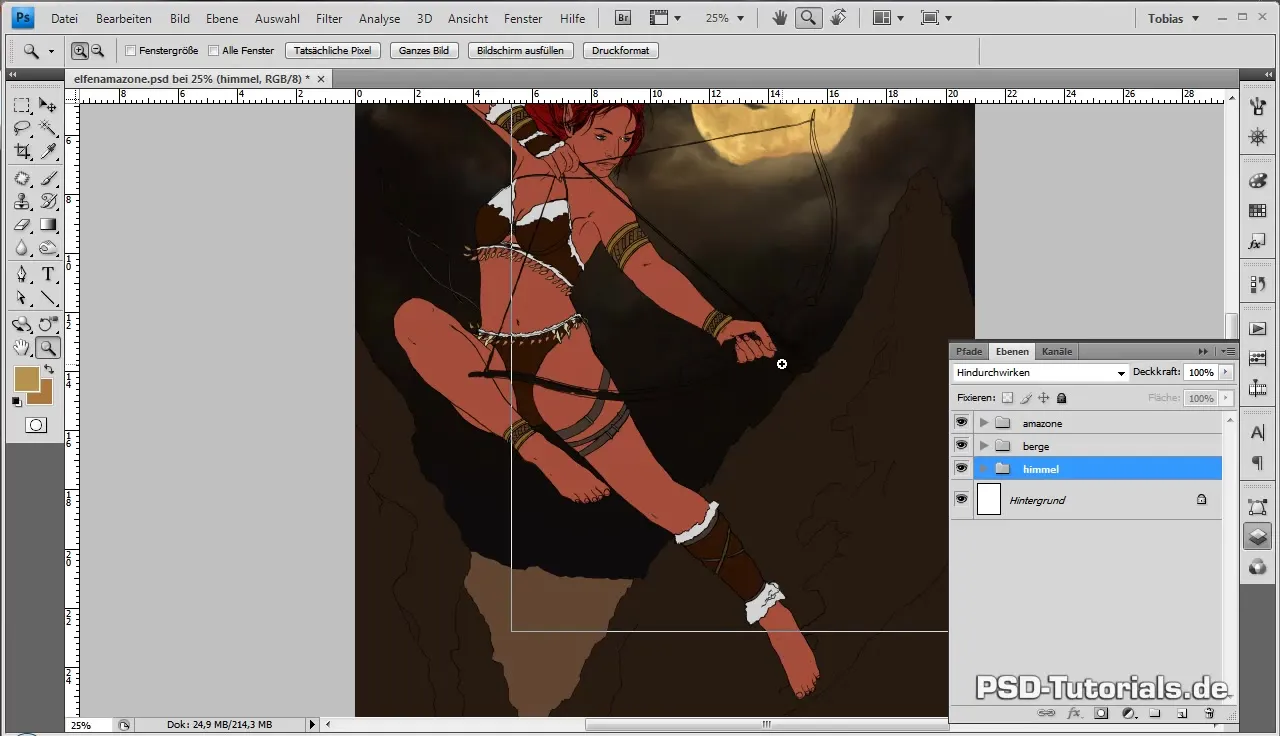
Now it's time to bring color into play. Using a brown-toned hue that deviates slightly from the bikini gives the elements more realism. Fill in the corresponding areas and ensure you do not use severe color duplications to avoid unrealistic effects.
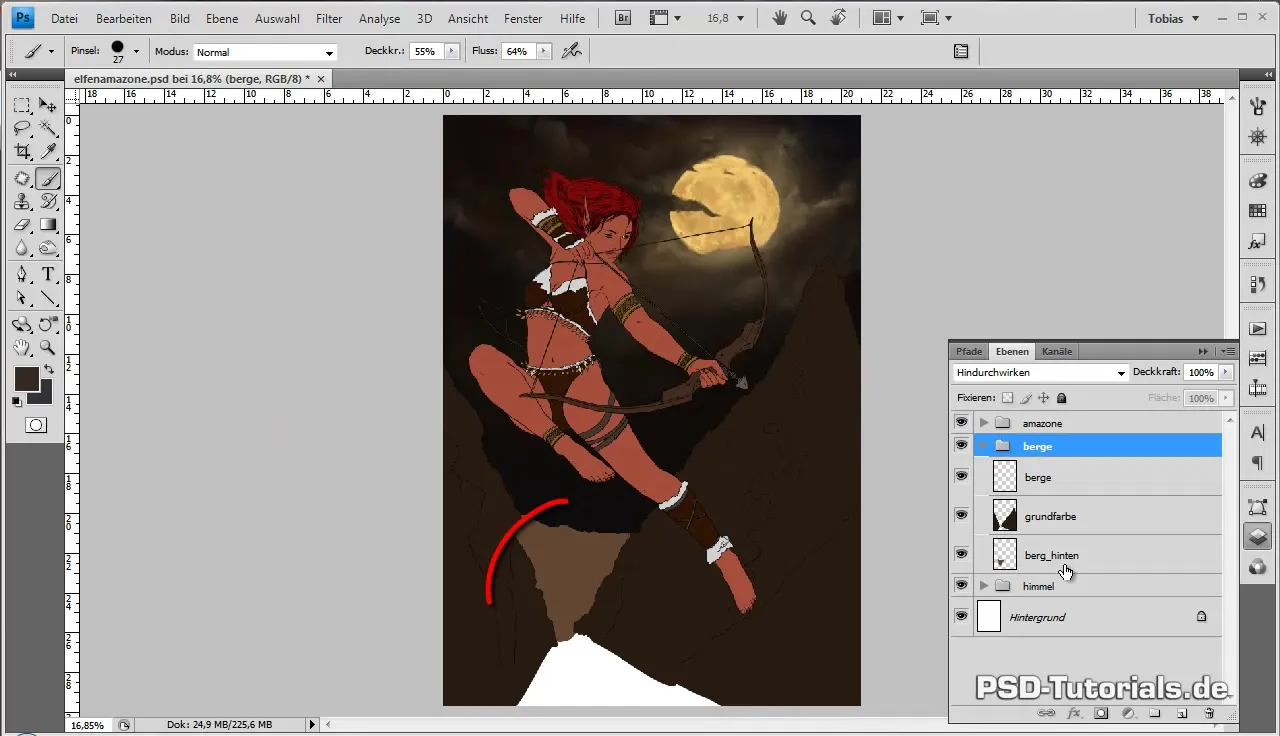
Next, you will focus on the mountains in the background for which you will create a new clipping mask. With the first rough color structure, you create the base for the rock formations. The adjustments to tone and brightness will help you reduce the brightness of the light brown tone, making it appear more harmonious.
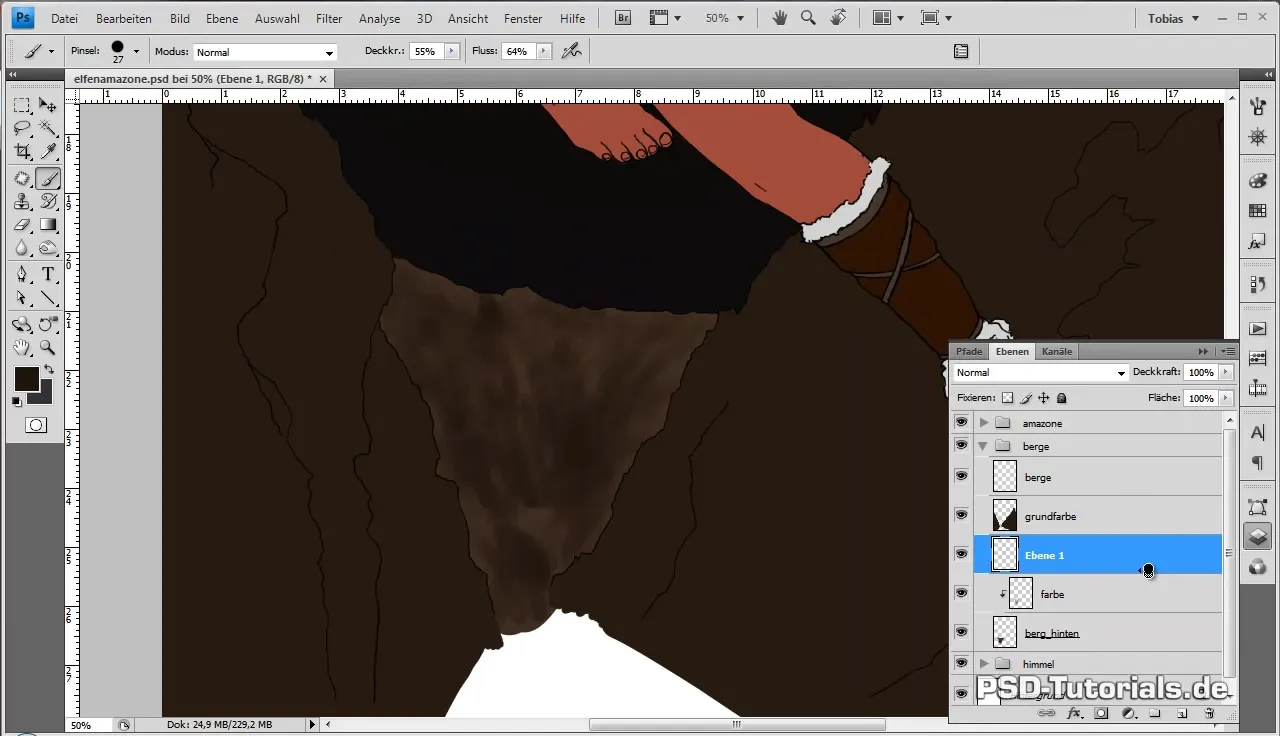
Start applying rough unevenness in the new mask with a darker brown. By using straight strokes, you create sharp edges and angular structures that simulate the texture of rocks. The brush remains at gradually reduced opacity and flow, ensuring a semi-transparent yet vibrant color application.
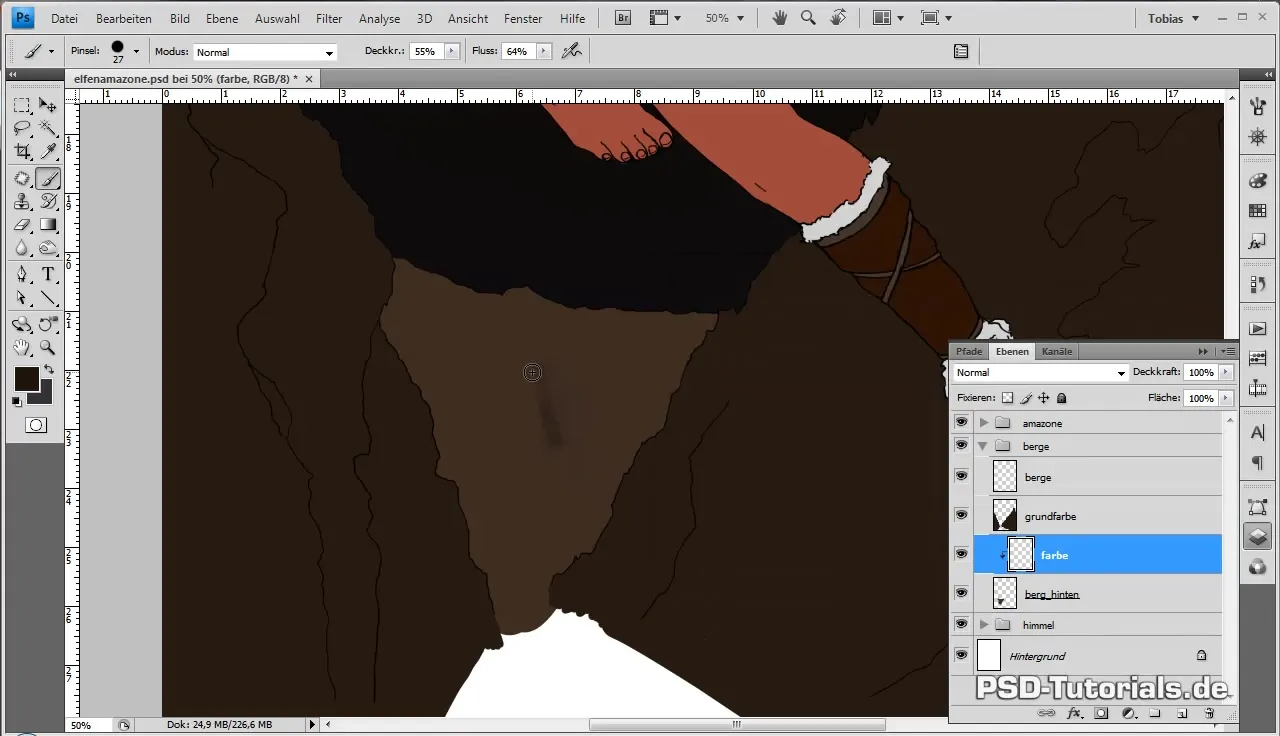
In this step, make sure that the light effects are taken into account while editing the rocks. Structure and conceptual arrangement play a central role here. By organizing your strokes, you can effectively highlight the zones for light and shadow.
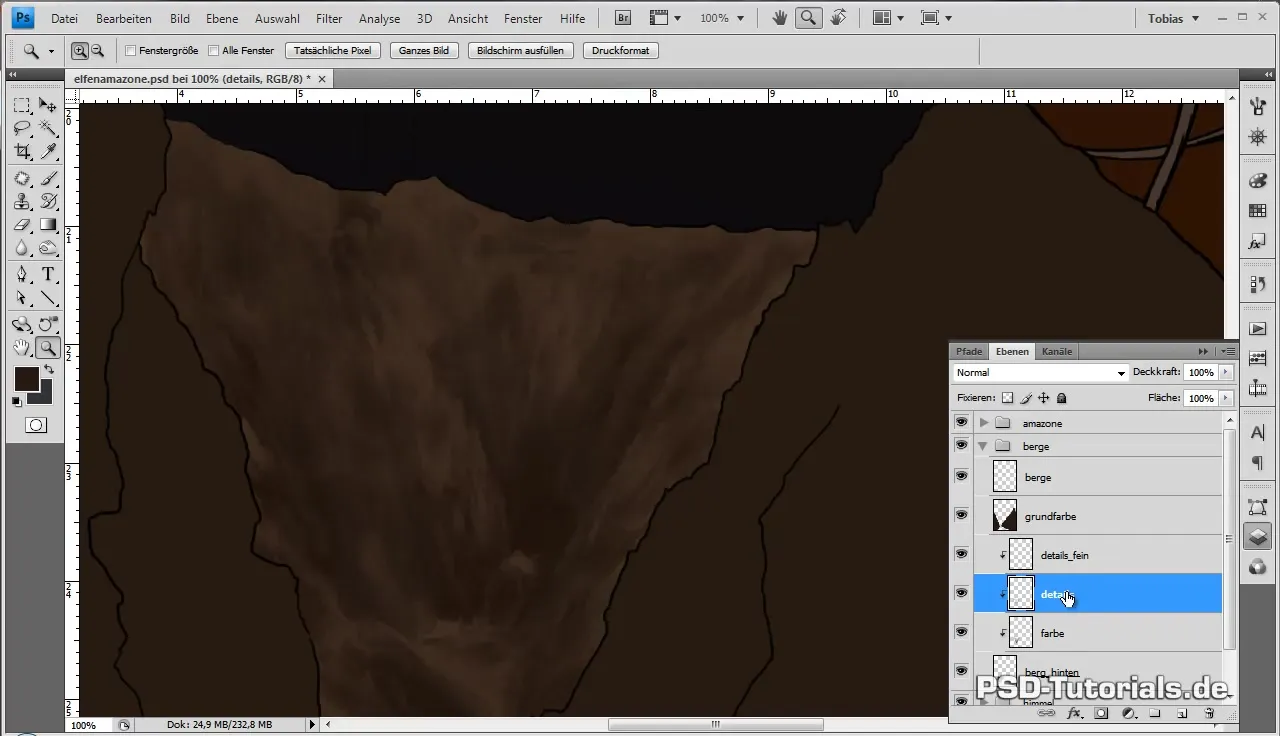
After you have shaped the basic structure noticeably, add a second clipping mask and continue to work on the details here. Take your time to select the color values of previous parts and make the transitions smoother. This gives the overall work more depth and dimension.
Detailed work requires a fine brush; now switch to a brush tip with a two-pixel diameter. With a significantly lighter tone, you can start placing reflective light spots that give the image a shiny, almost magical effect.
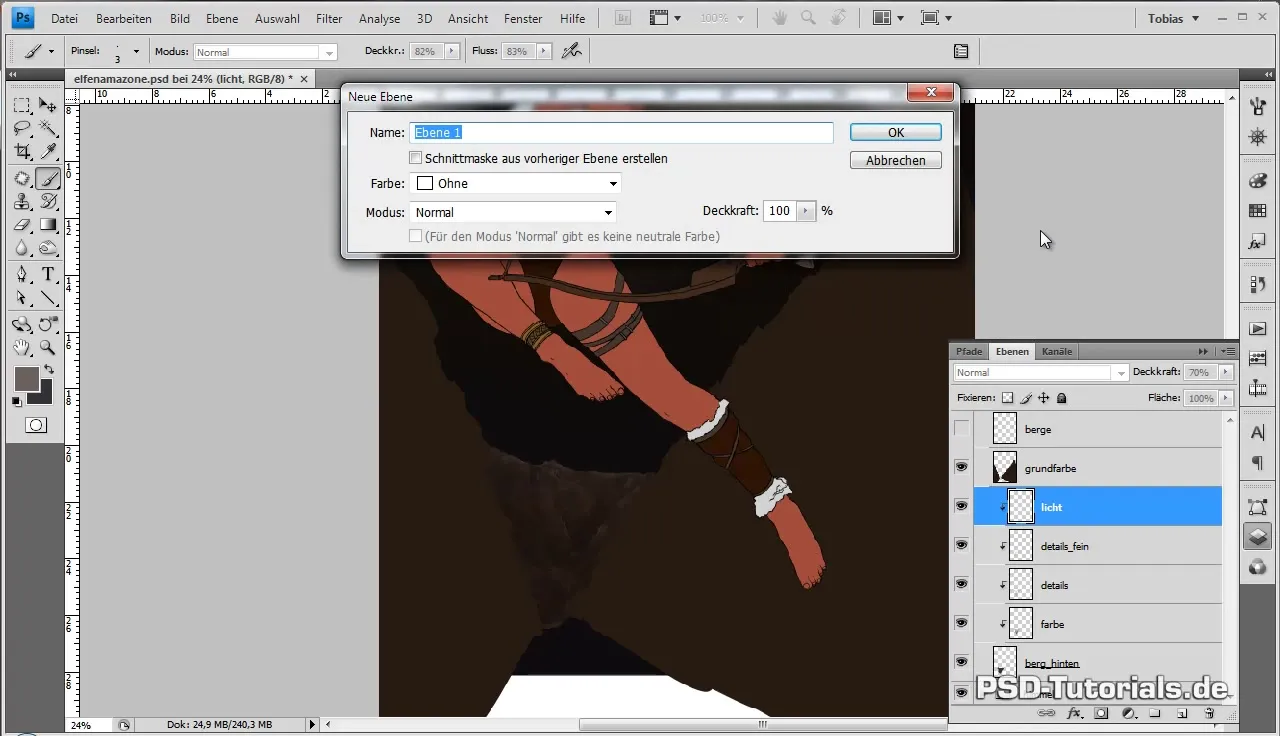
Ensure that the backlighting is only applied to the most exposed areas to make the interplay of light and shadow appear more realistic. Do not underestimate the possibility that small deviations from reality can lend strength to the work.
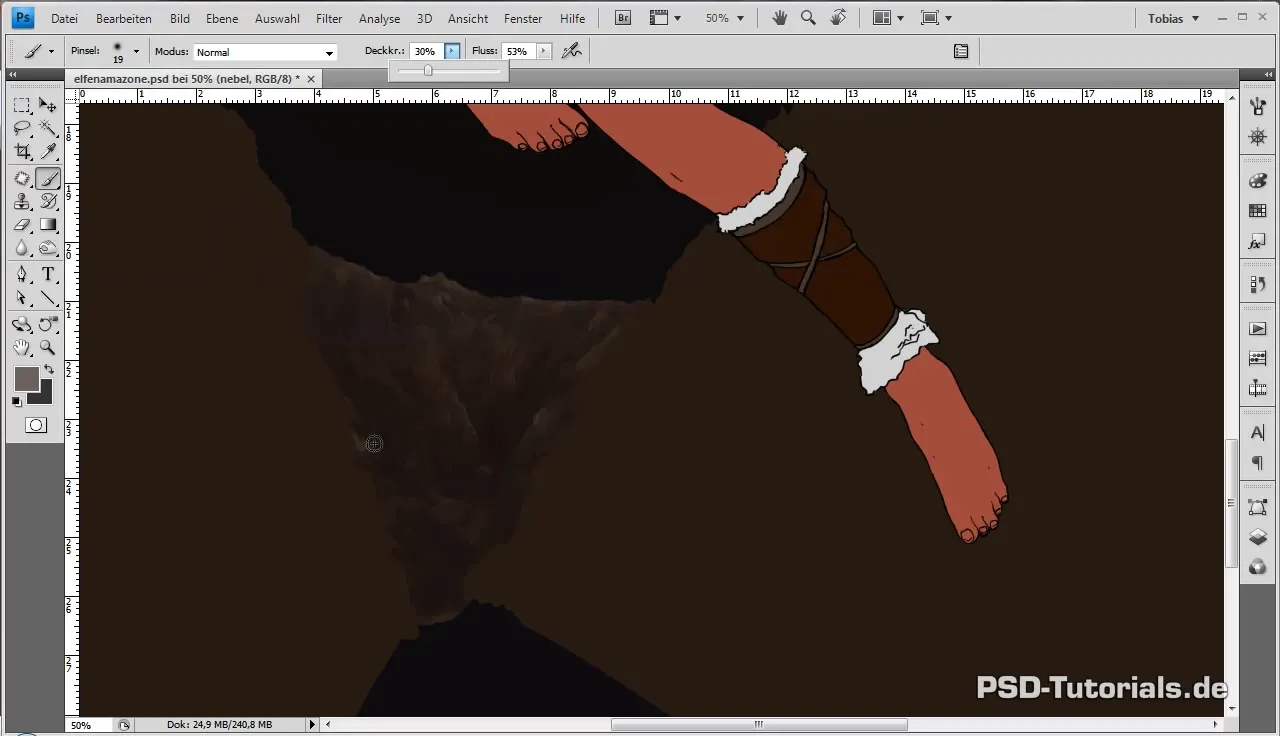
The mood of your painting will be decisively influenced by adding fog to create an atmospheric depth. Set up a new layer for the fog and experiment with the hardness and opacity of the brush to create a smooth transition between the elements pushed into the background.
The fog will further bring your mountains into the picture and separate them from each other, making them clearly defined. By adding structure, you give the fog a subtle depth that adds a spooky, mystical touch to your landscapes.
Don’t forget to save your work regularly to avoid unwanted losses. Continuously adjusting the opacity and fine-tuning the layers gives you final control over the overall work to create the perfect visually appealing background.
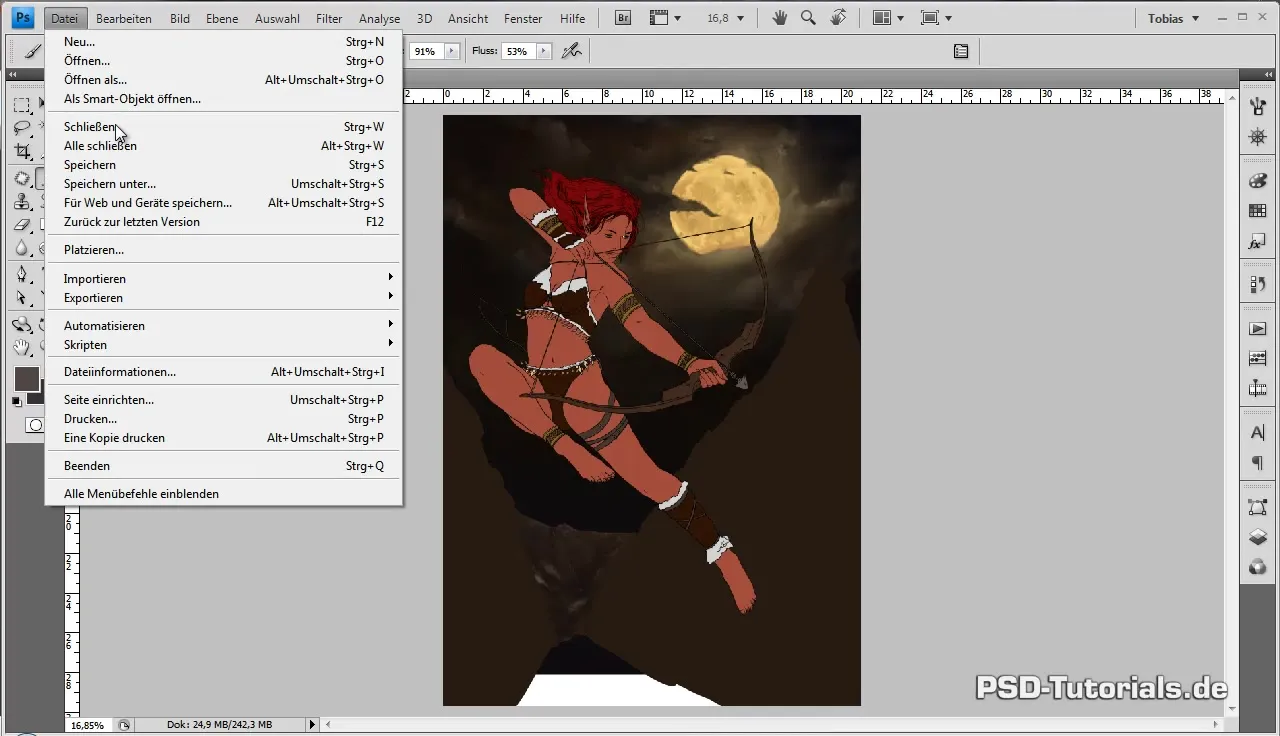
Summary - Digital Guide to Designing the Mountain in your Elf Amazon
In this guide, you have learned how to effectively draw the mountain in the background of your elf amazon and combine various techniques for color and texture adjustment. The targeted use of light, shadow, and atmospheric effects gives your image completed depth and credibility.
Frequently Asked Questions
How can I efficiently organize the arc? Create a separate group for the arc within the "Amazone" group to clearly structure your layers.
Which technique should I use for the rock structures? Use straight strokes with a darker brown to create sharp edges and unevenness.
Why do I use fog? Fog adds depth to your background and provides atmospheric separation between the images.
How can I adjust my layers more effectively? Play with the opacity and use different clipping masks for more precise results.
Is it necessary to save constantly? Yes, regular saving is important to avoid data loss and to document all progress.
