An impressive landscape image requires not only skill in drawing but also a certain understanding of light, shadow, and structure. In this digital painting tutorial, you will learn how to enrich the two larger mountains in your Elfenamazone scene with fascinating details and give them a lively texture. The focus is on a step-by-step approach to the shape and structure of the mountains to achieve a polished outcome.
Key Insights
- Use different layers for coarse and fine details
- Work with masks for precise color and texture transitions
- Experiment with brush size and hardness to achieve the desired texture
- Color selection is crucial for the depth and vibrancy of the image
Step-by-Step Guide
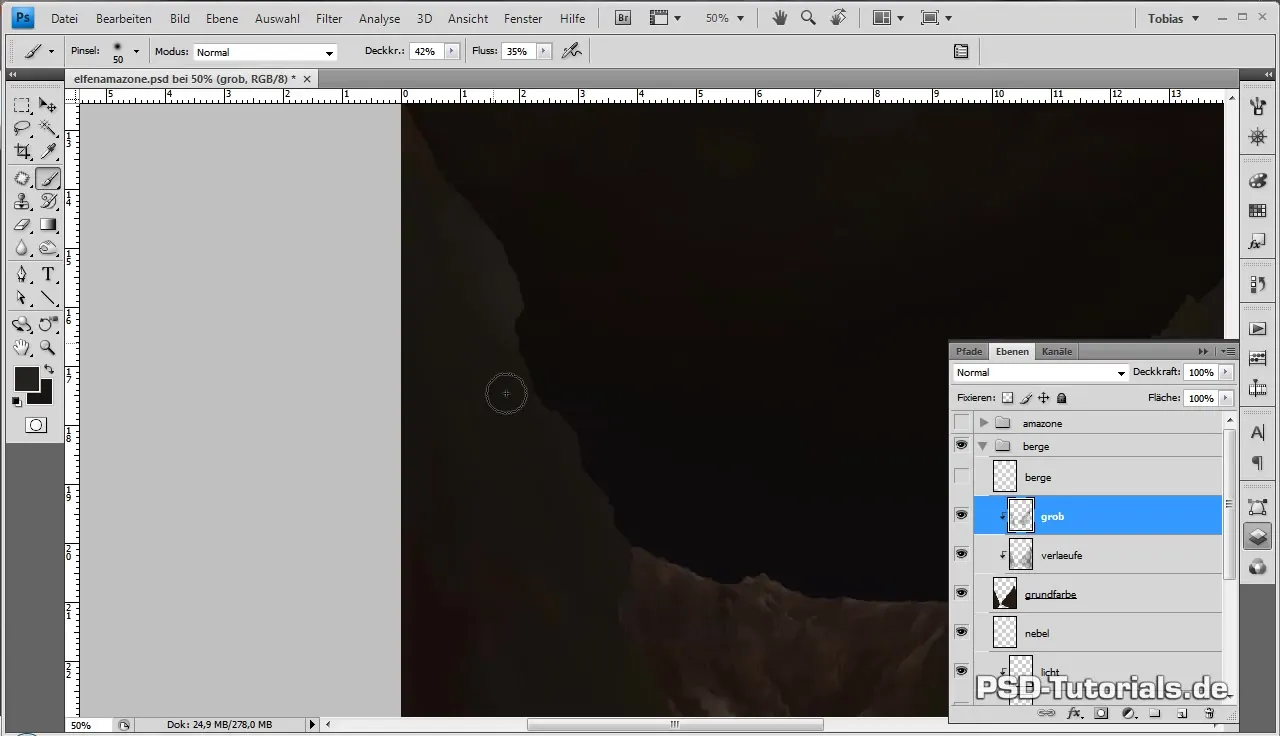
First, create a new layer above your existing painting to establish the basic structure of the mountains. This week, you will focus on the rough gradients that help define the shape of the mountains and maintain a consistent style. Start by activating the layer with the base color.
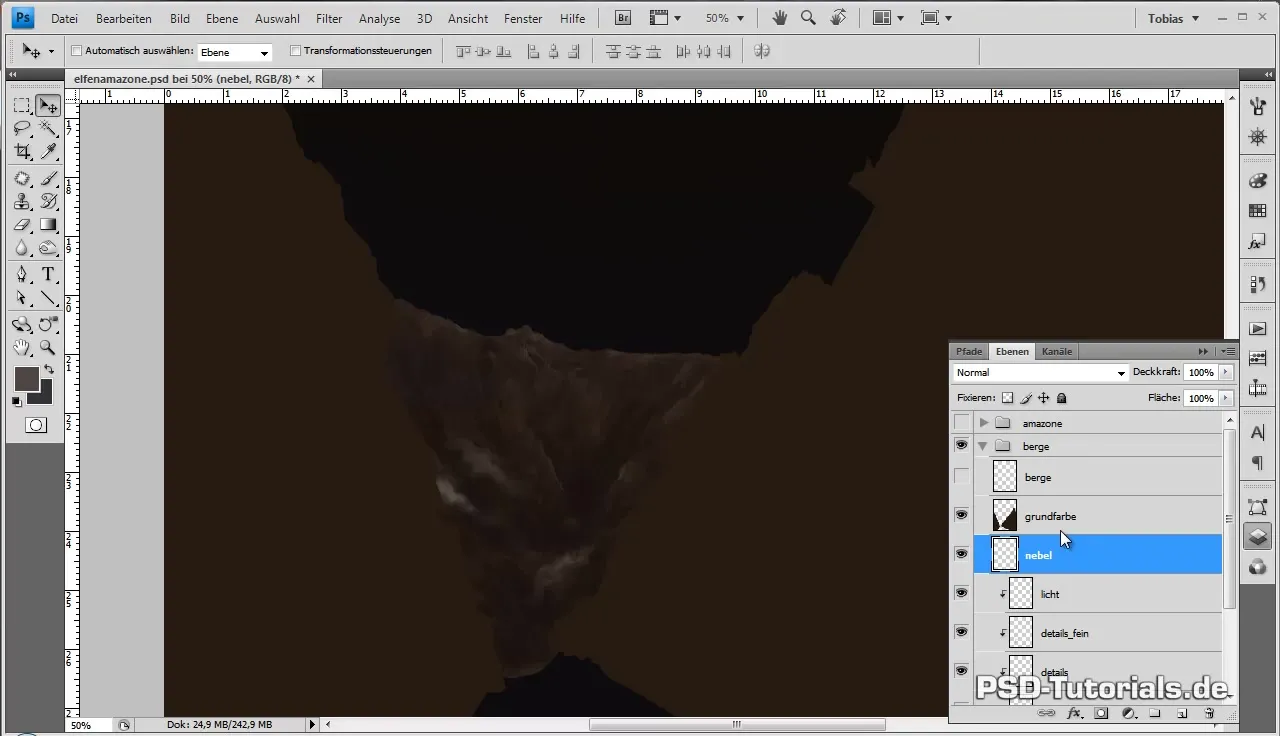
To further optimize the structure of the mountains, use a brush with low hardness and opacity. Set it to about 42% opacity to create smooth transitions. It’s best to use a color that is just shy of black. This ensures that the gradients do not stand out too strongly but develop gradually.
As you work from the top to the bottom, be sure to adjust the diameter of your brush to accurately capture the various structures. There is no fixed value as the size often depends on the specific area in the image you are working on.
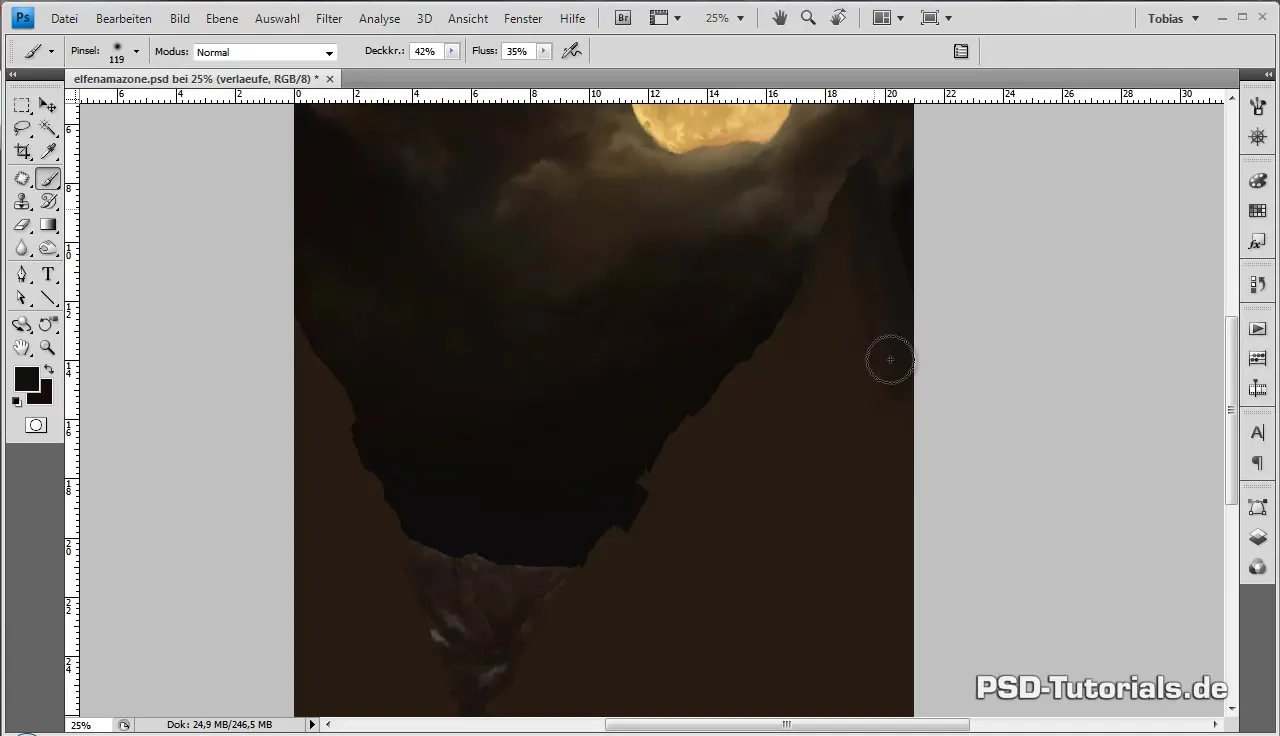
To achieve the desired ruggedness and aggressiveness of the rocks, draw inspiration from photos of cliffs and craggy rocks. These images can serve as references to better trace the natural features of the rocks. Remember that it is important to exaggerate the details to match your artistic expression while still not completely ignoring reality.
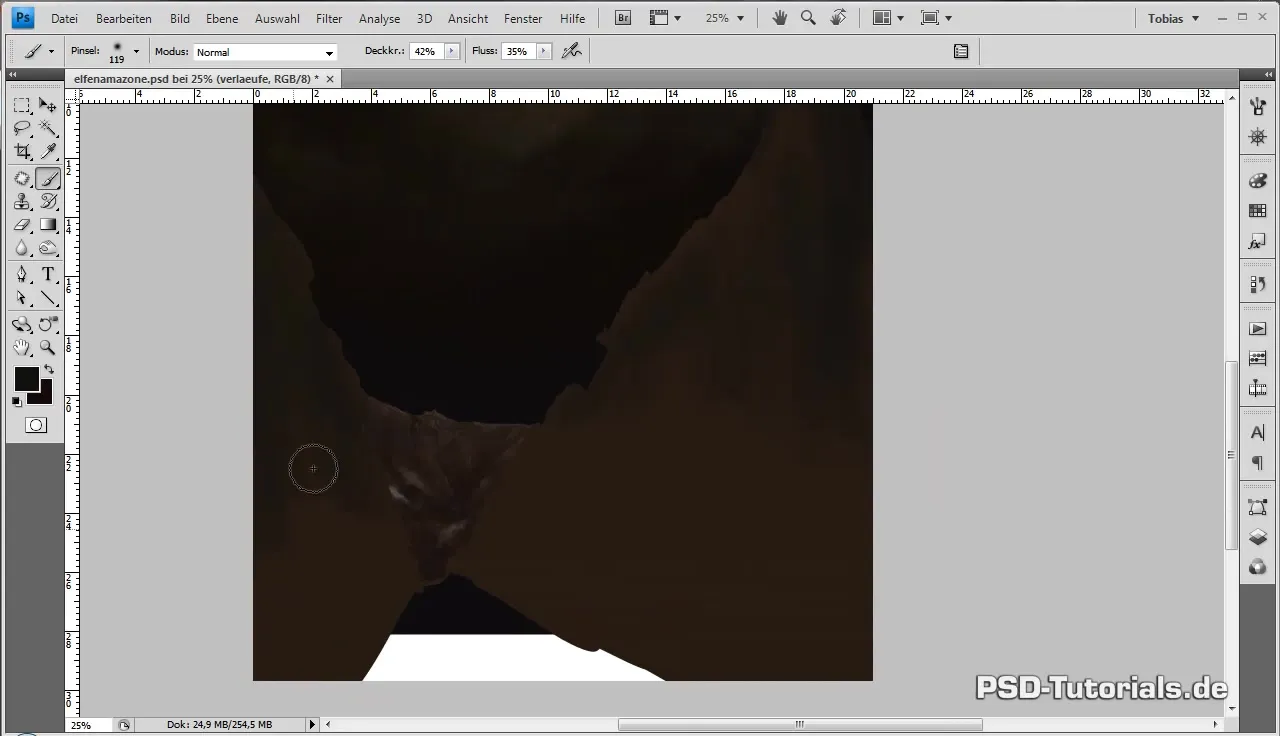
In the lower area of the mountains, you should use gentle, curved strokes to represent the perspective curvature. Here, you switch your hue by modulating it from almost black to a dark brown. This slightly varying color palette provides more depth and variety in the rock depiction.
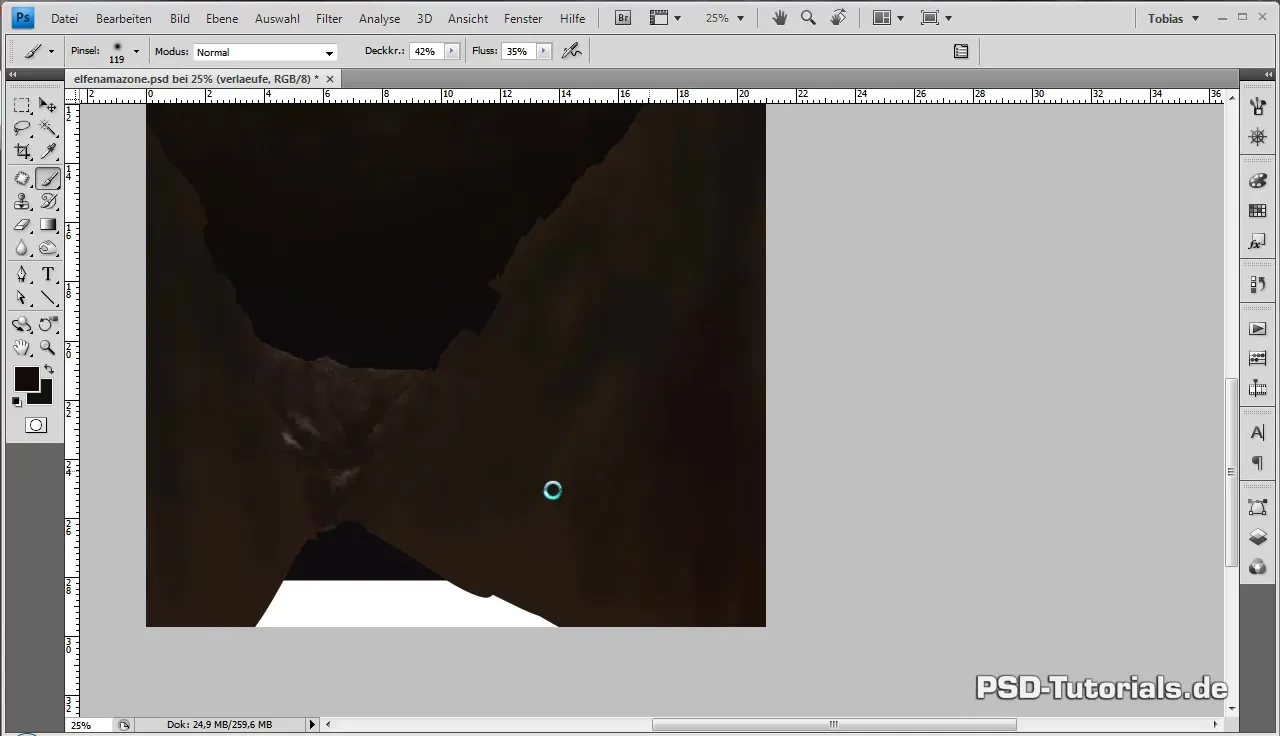
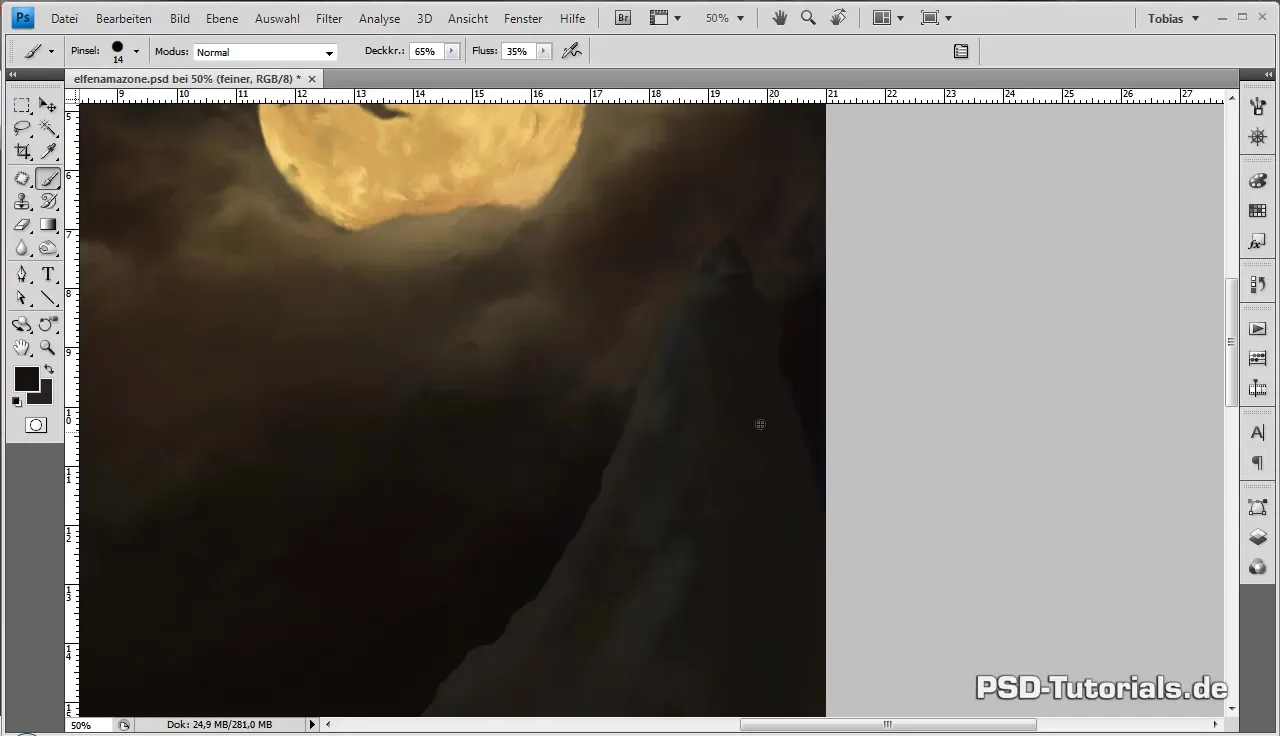
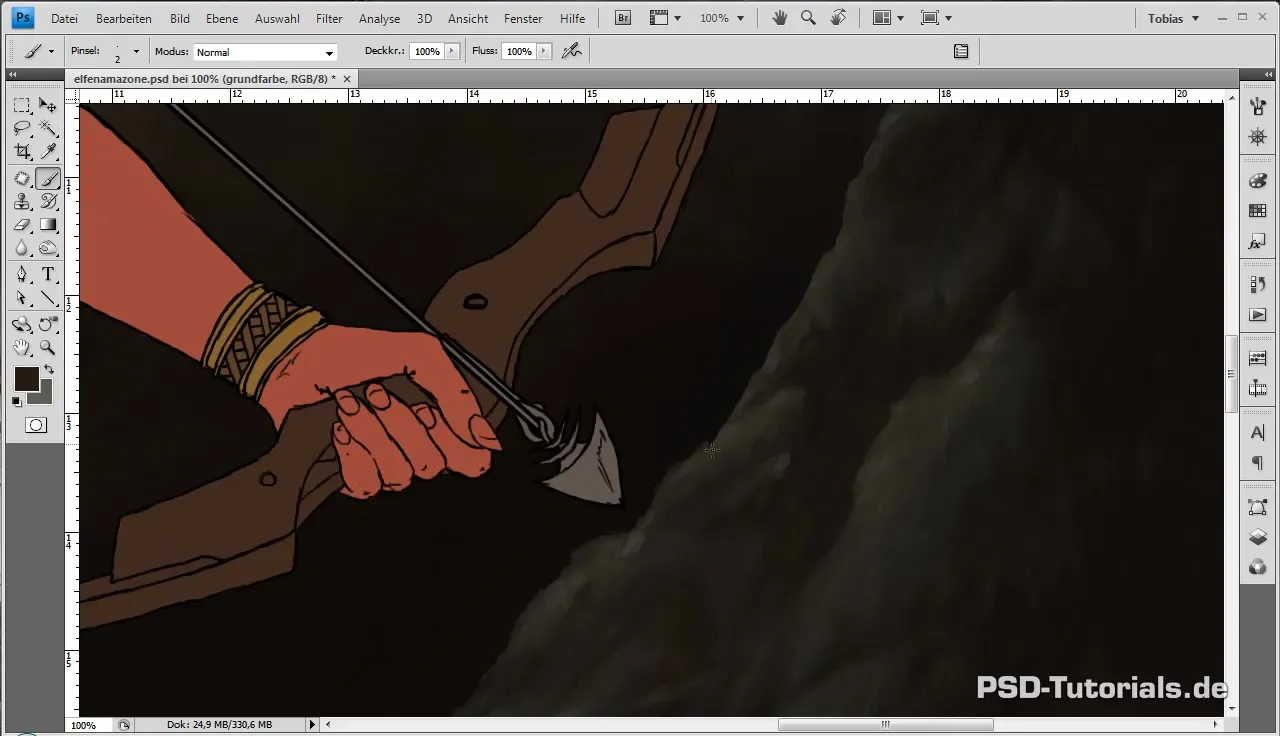
Once you are satisfied with the rough structures, the next step is to add the first details with a slightly smaller brush. Use a new gray to subtly indicate the areas where the moonlight falls on the rocks. This is important to bring additional light and depth to the representation.
Reduce your brush tool back to 100% hardness to create sharp edges. These edges give your image more character immediately and enhance the effect of lighting and shadow. Ensure that the colors blend from brown to black nicely to create an organic overall appearance.
With each layer you apply, you will make progress. Use the lighter tones to highlight details in the brighter areas and do not hesitate to switch between light and dark colors to capture the natural spontaneity of the mountain landscape.
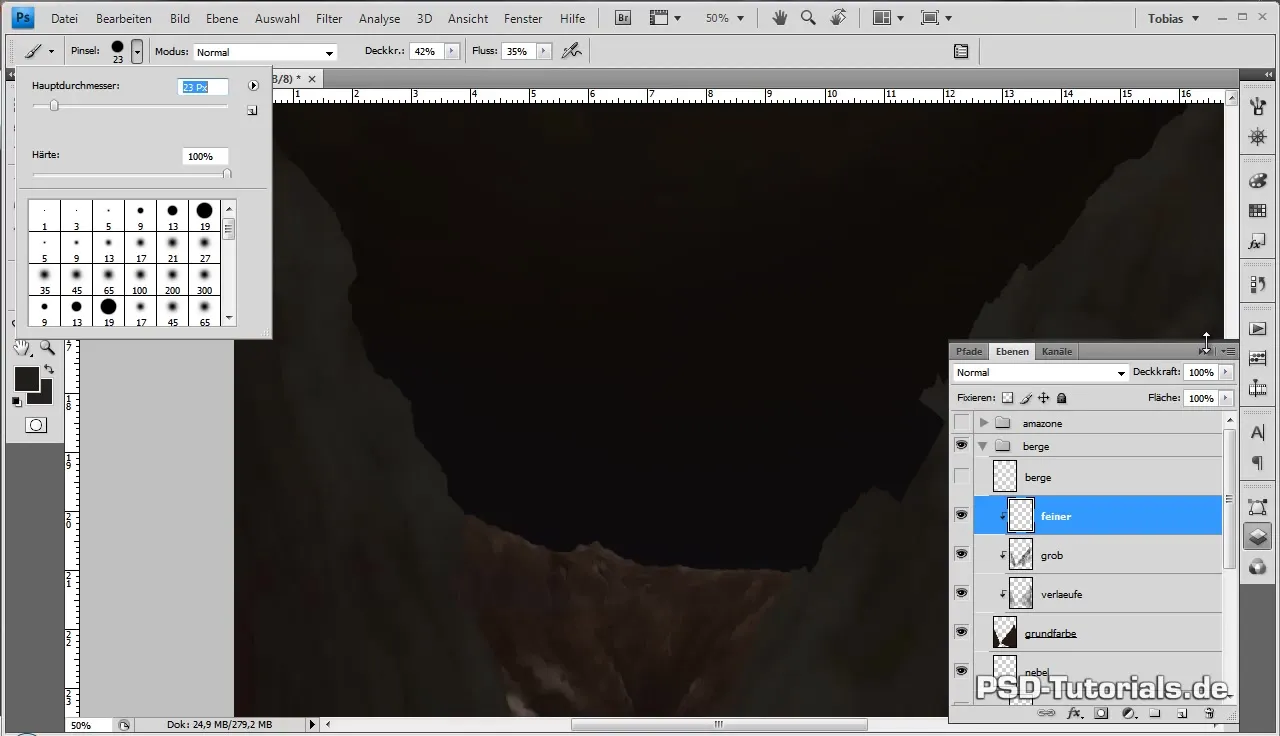
Once you are happy with the first details, you should now consider the finer structures that will give the image the final touch. With a smaller brush (about 23% size), you can then work on specific edges and shape elements in more detail to create a realistic depth.
To achieve a natural look, you should vary the individual areas and also avoid being uniform and monotonous with fine details. It is important that the coarse and fine spots complement each other well visually and texturally.
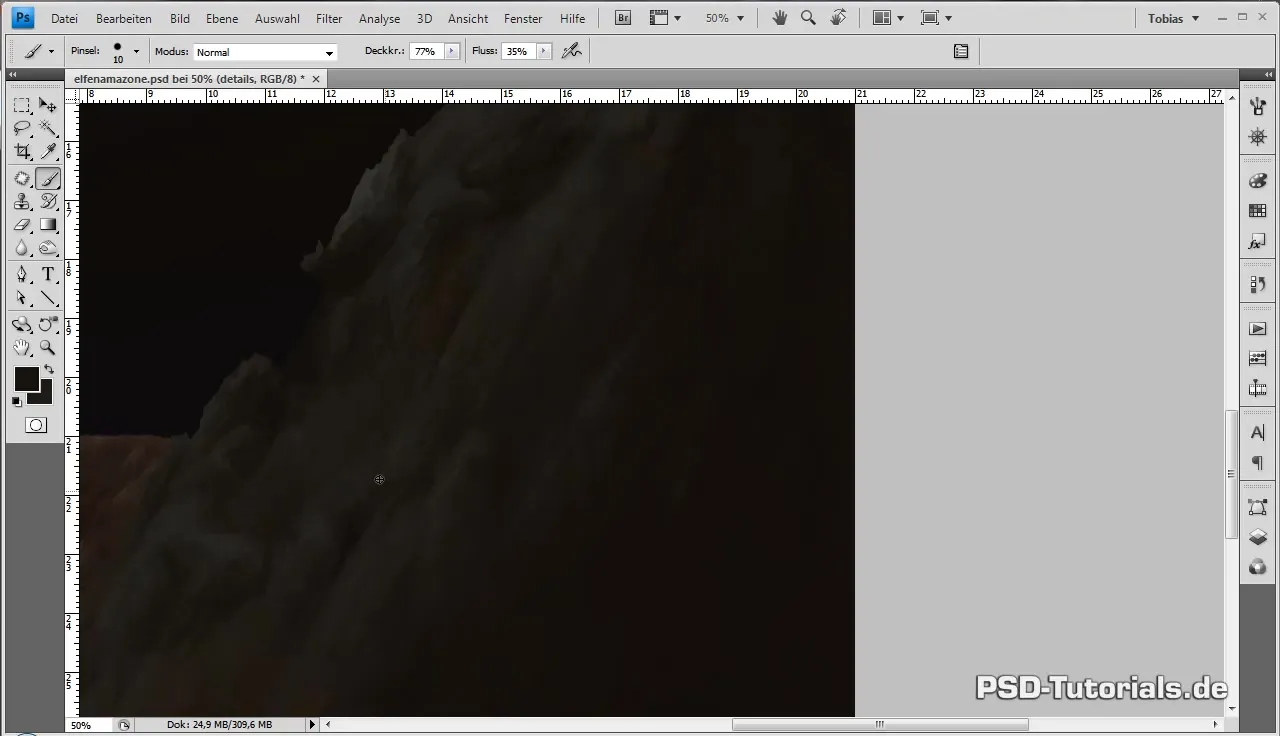
With a new layer for very fine details, you can add the hard edges with a quarter-pixel brush where the moonlight hits directly. This adds bright highlights to the image, which create a significant impact.
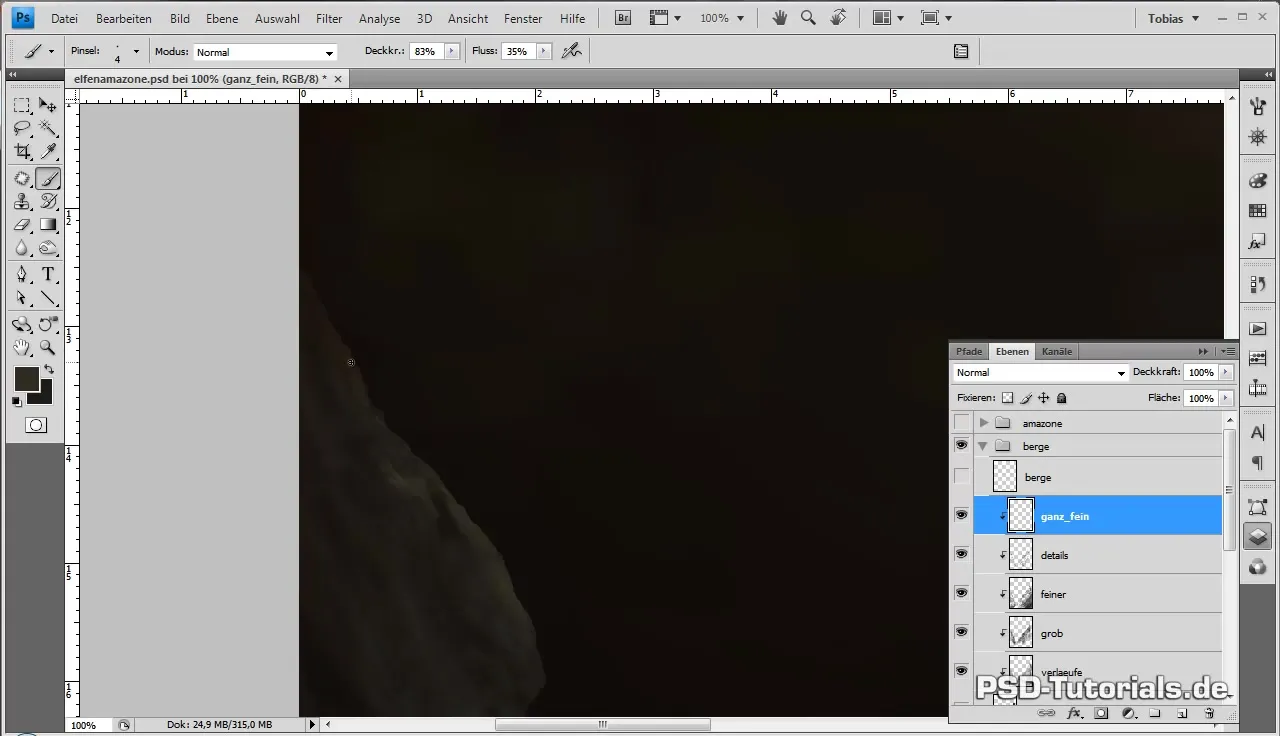
Before saving the image, make sure you have the final structure. This includes adjusting rough contours and highlighting critical points that do not correspond to the fine style anymore. Ensure to review all layers in the overall view and harmonize them as well.
Once you have revised all details and highs and lows, save your image for safety and prepare to add the next elements like the Amazon and the fire.
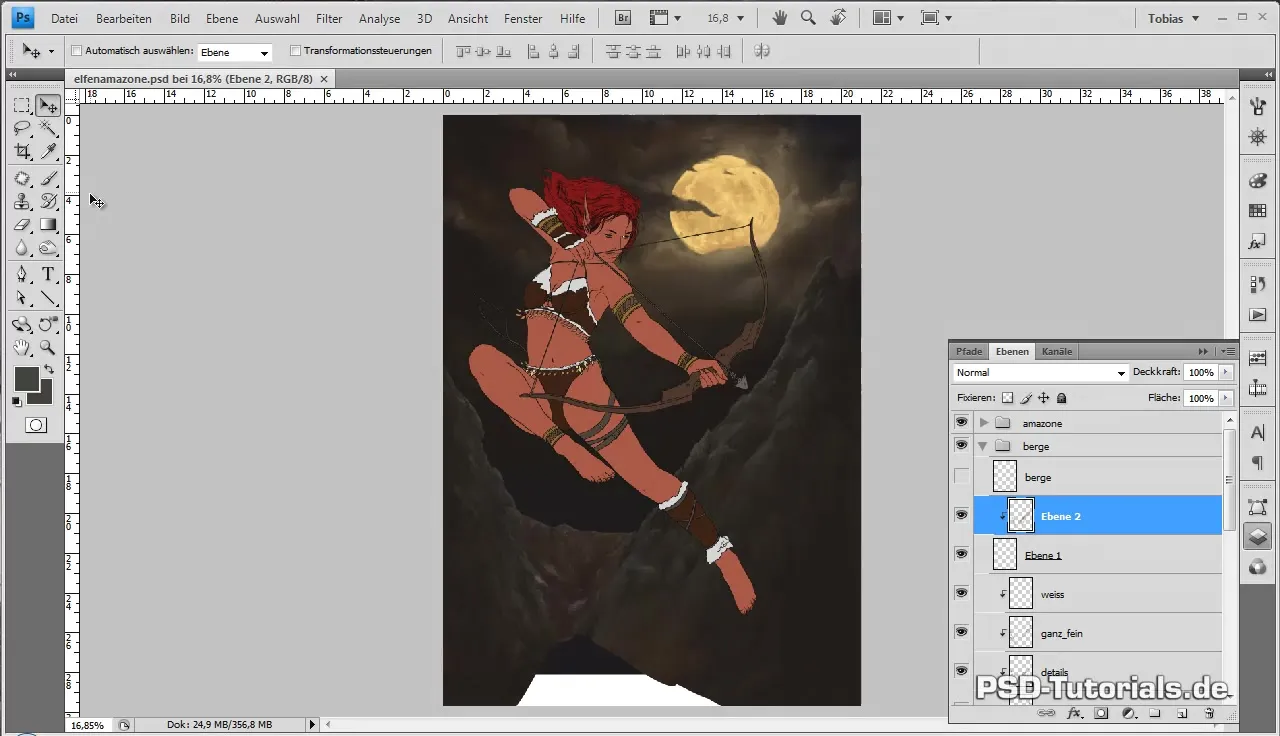
Summary - Digital Painting Tutorial: Creating Mountains
In this guide, you learned how to effectively implement the structure and details of your mountain landscape, thus giving your digital artwork depth and reality. Along the way, you utilized various techniques to meaningfully combine coarse and fine elements.
Frequently Asked Questions
How do I find the right hue for my mountains?Experiment with different shades of gray and brown until you build a harmonious color palette.
What brush size should I use?The brush size should vary depending on the level of detail; rough structures require larger brushes, while fine details should be drawn with smaller brushes.
How important are clipping masks in painting?Clipping masks are essential for achieving precise color elements and maintaining control over the individual layers.


