Step by step to the perfect flame – in this tutorial, you will learn how to create impressive fire for your digital painting. After you have already worked on the background and other elements, it is now time to bring life to the image with the fire.
Key Insights
- Gain a deep understanding of the structure of fire and its colors.
- Experiment with brush sizes and transparent layers.
- Create depth and dynamics by skillfully alternating between light and dark hues.
- Use layers effectively to shape the details of the fire.
Step-by-Step Guide
Step 1: Create a New Layer
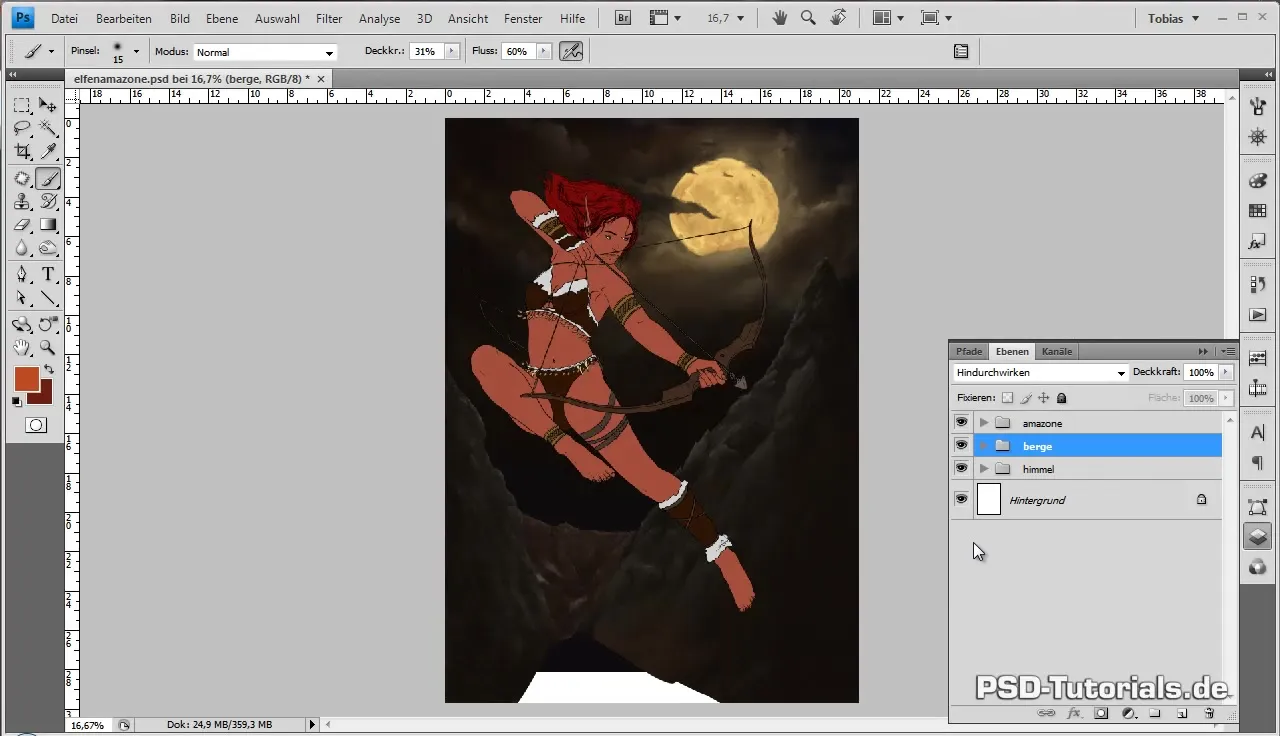
Before you start drawing the fire, create a new layer in front of the mountains of your background. This will help you maintain clarity and edit everything in an organized manner.
Step 2: Create a Group for the Fire
To better manage the different parts of the fire, create a new group in your layers panel. This way, all elements of the fire are collected together.
Step 3: Set Brush Tools
Ensure that your brush tool has the right properties. Disable size variation and enable opacity variation. This allows you to achieve the necessary gradations and a certain smoothness.
Step 4: Define the Rough Area
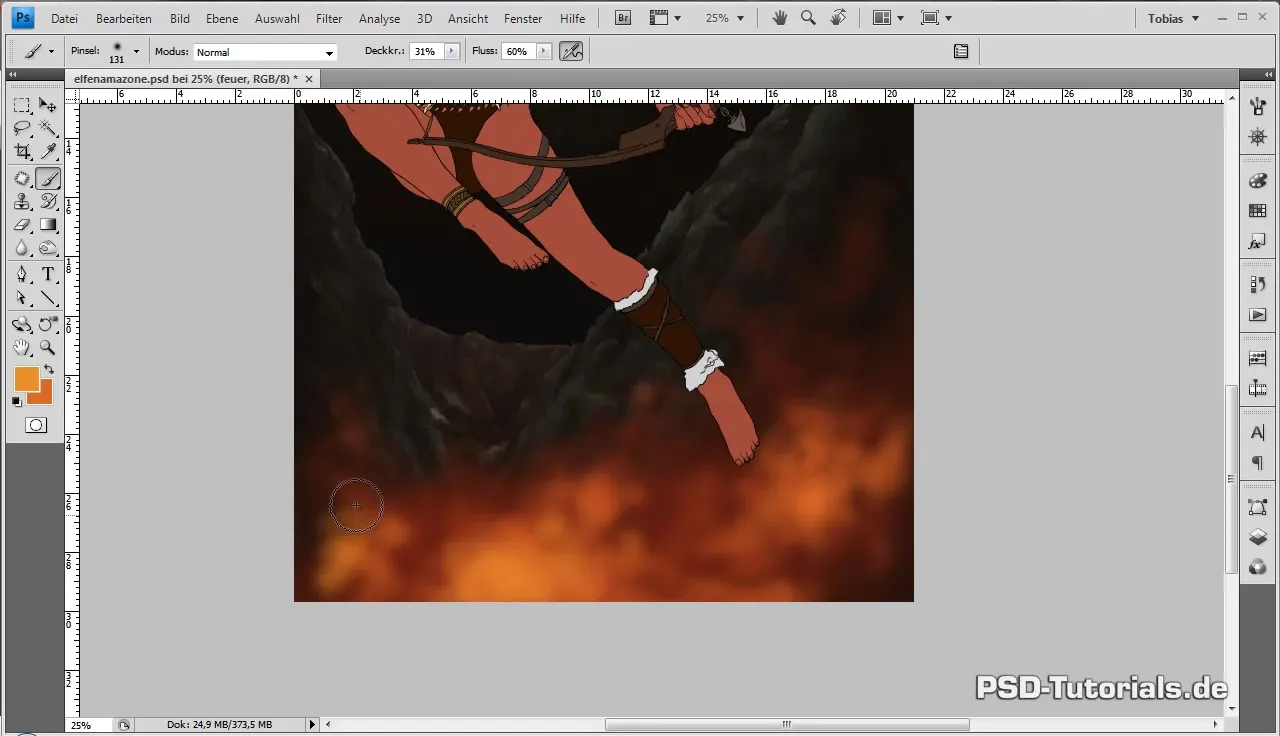
Begin by defining the rough area of the fire. Choose a dark orange and a comparable red. With an opacity of 31%, you can represent the basic shape of the fire as if using a fog technique.
Step 5: Create Detailed Flames
Focus on drawing slightly finer flames in the outer area that shoot out from the large mass. This creates the impression of dynamics in the fire.
Step 6: Editing Without Clipping Masks
Decide to draw the fire entirely on one layer. This challenges you and results in a more impressive outcome. Move directly to the color and start bringing various formations into the flames with orange.
Step 7: Color Change for Different Tones
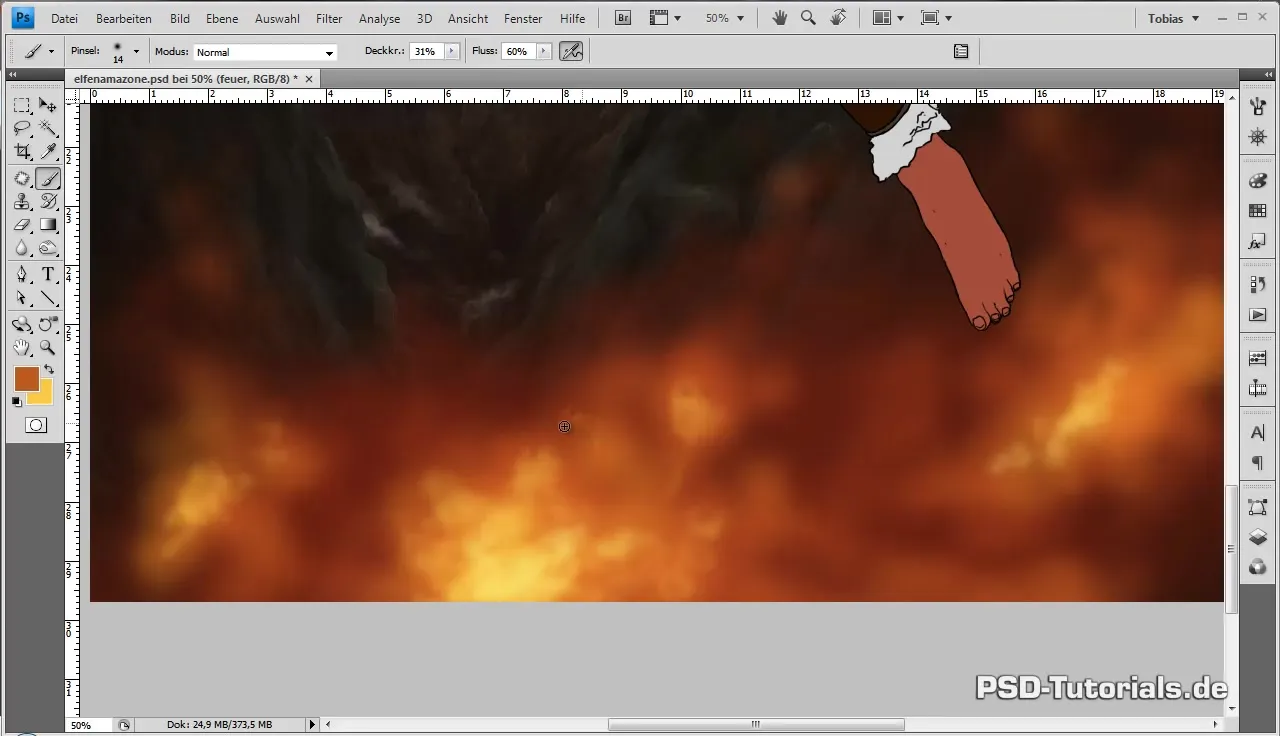
Use the eyedropper tool to extract lighter and darker hues from your already drawn flame area and apply them while further refining the shapes. The goal is to gradually work your way towards yellow.
Step 8: Structure Individual Flames
Yes! Begin to strategically use the lighter areas and the mixed hues. Alternate between different light-dark ratios to create the illusion of depth.
Step 9: Work Faster with the Eyedropper
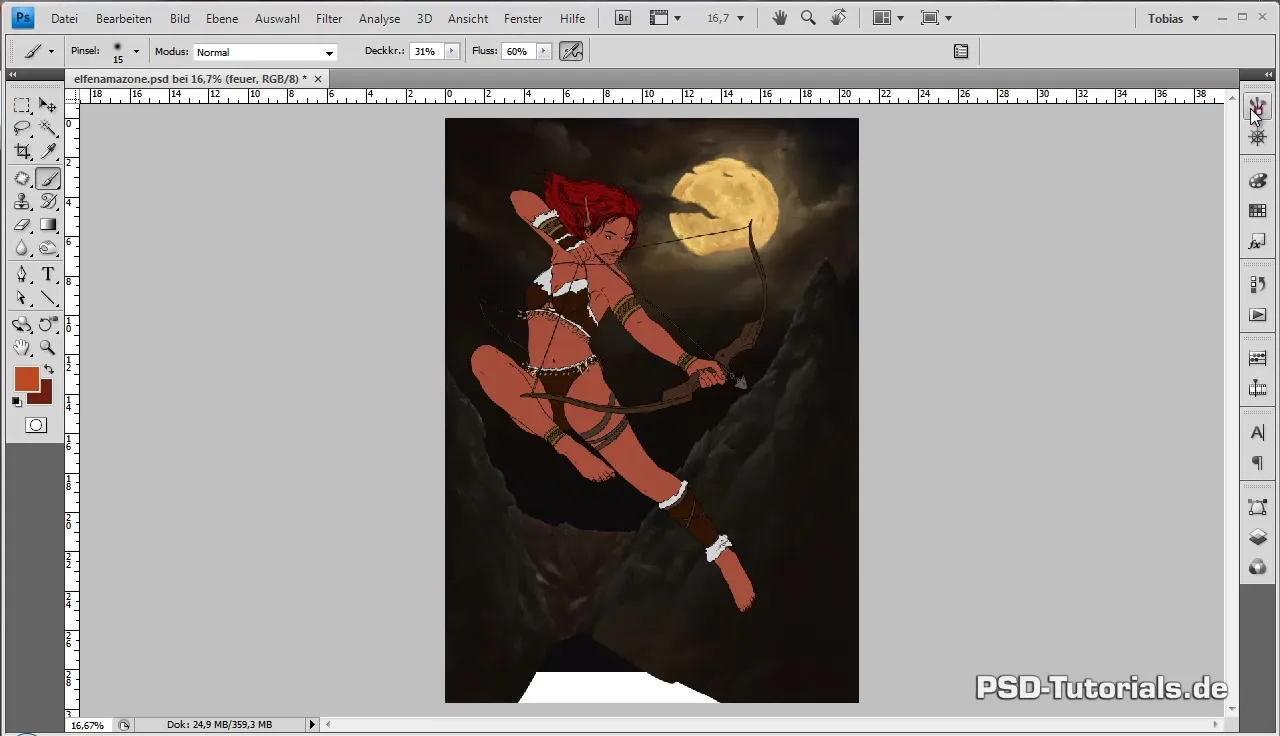
Assign shortcuts for the eyedropper and the hand tool to the function keys of your pen. This allows you to quickly and efficiently pick colors without awkwardly navigating through menus.
Step 10: Incorporate Unevenness
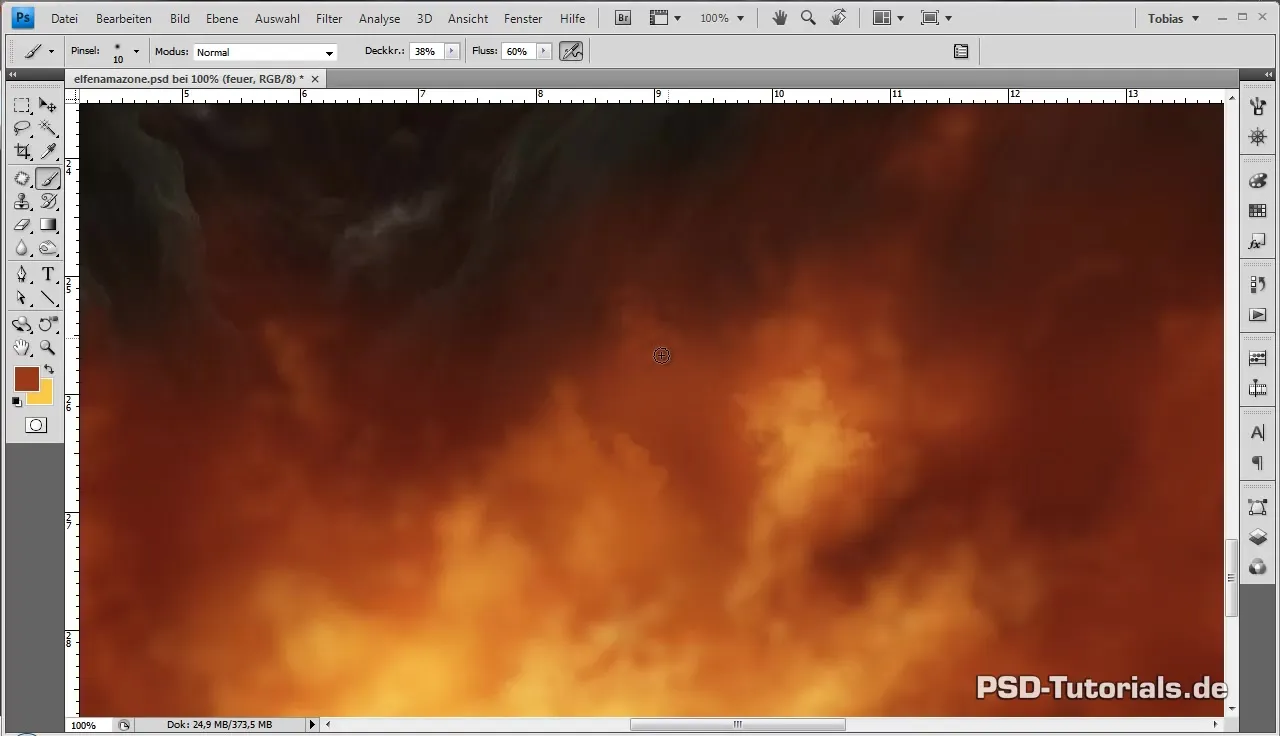
To create movement and liveliness, apply individual, loose strokes and add details of sparks and particles that make the fire appear more dynamic.
Step 11: Revision and Fine-Tuning
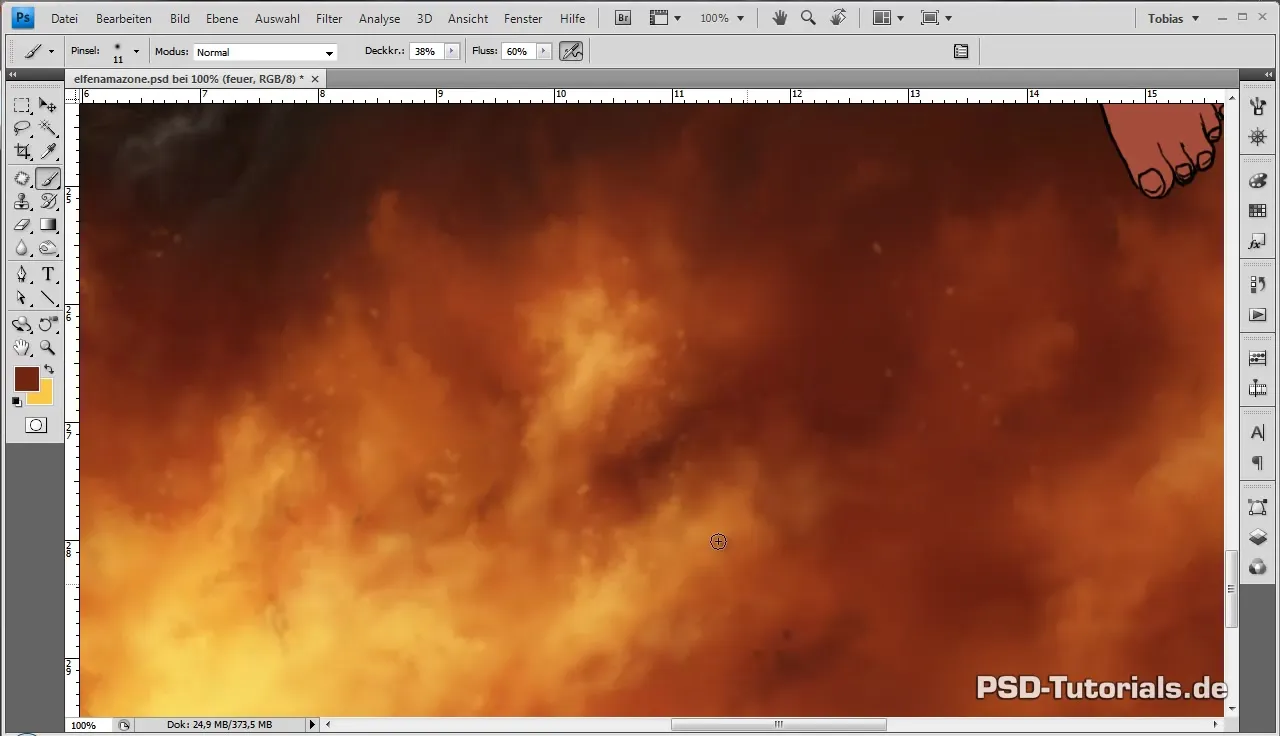
Revise the structure in detail with a finer brush. Also add darker hues to represent gaps in your flames. Continue to experiment with various colors to create a vibrant fire image.
Step 12: A Final Touch
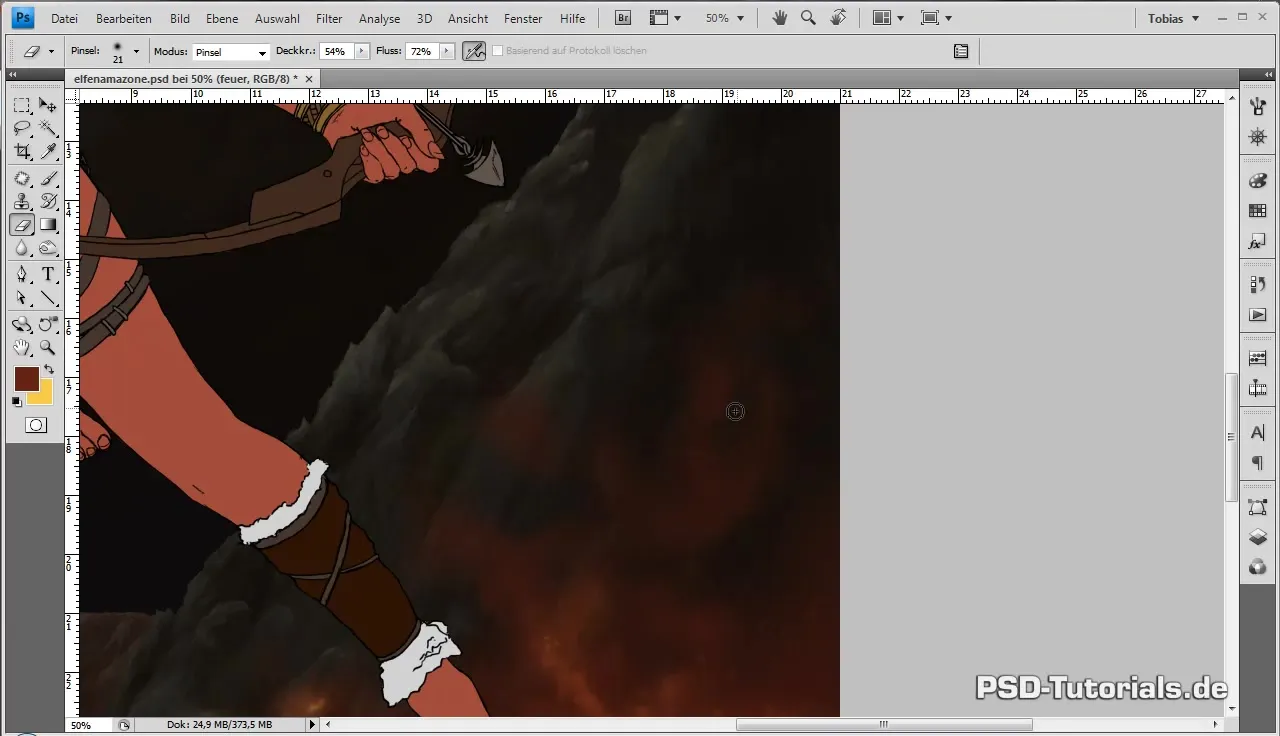
Use a soft eraser or a black brush to apply various hues and ensure that the flames appear varied and not too uniform. This gives your fire a realistic dynamic.
Step 13: Completing the Fire
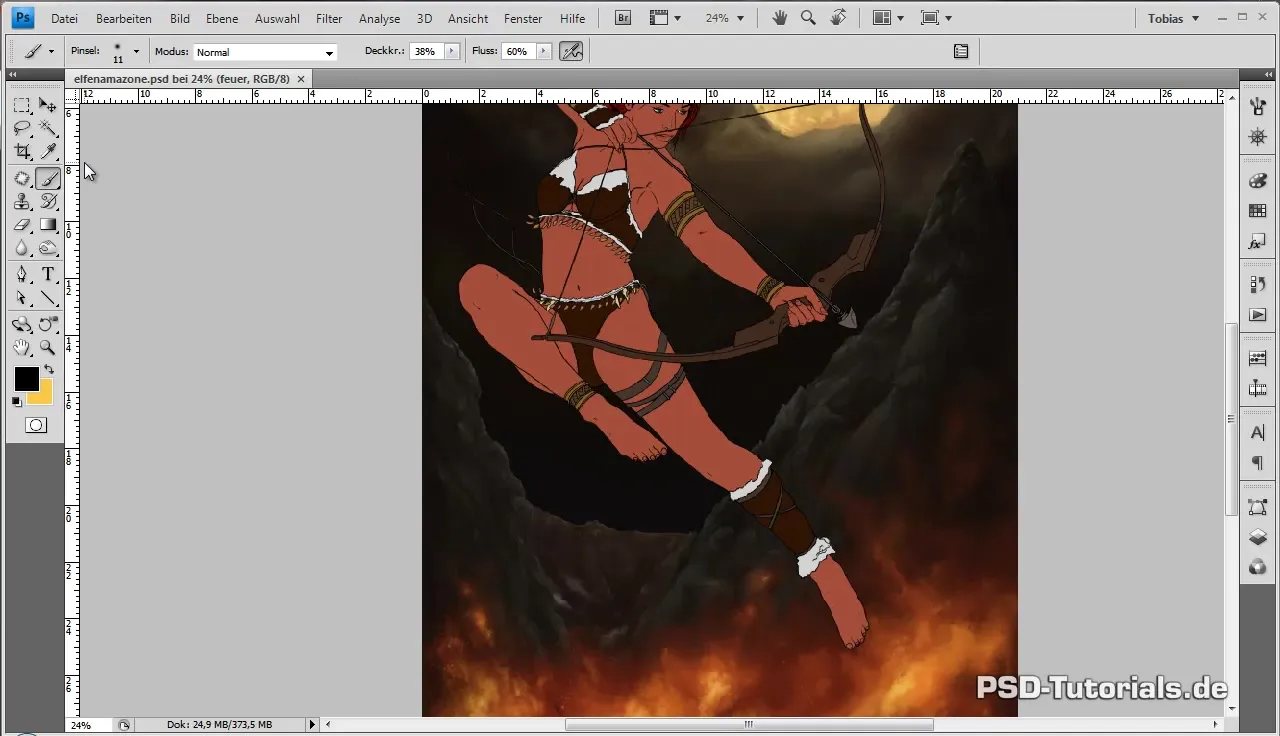
Save your work. You have achieved a lot! The fire is now shaped in its basic form, and you can continue to work on the details and complexity of the fire in the next part of the tutorial.
Summary - Digital Painting Made Easy: Elven Amazon and Fire
Drawing fire requires patience and a willingness to experiment. With various colors, brush sizes, and techniques, you can create impressive flames that bring life to your digital artwork.
Frequently Asked Questions
What are the key colors for drawing fire?Dark orange, red, and bright yellow and white tones are essential to represent realistic flames.
How do I handle the transparency of the brush?A lower opacity allows you to layer multiple brush strokes to enhance color intensity and create softer transitions.
When should I use a new layer?New layers are ideal when you want to edit more complex parts of the image separately to maintain clarity.
Can I use the hues from already drawn elements?Yes, the eyedropper is an effective tool to extract colors from your image and keep the color palette consistent.
How long does it take to draw fire in detail?Detail work can be time-consuming, but it is important to enjoy the process and dedicate the necessary time to achieve a high-quality result.
