The creation of digital artworks requires both technical skills and a good eye for details. In this Tutorial, we focus on the elaboration of the leather straps on the clothing of an elf amazon. The goal is to achieve realistic light reflections, textures, and effects that give depth to the illustration.
Key insights
- The elaboration of leather surfaces involves the implementation of reflections, light, and shadow effects.
- Through targeted color selection and brush technique, a realistic texture is created.
- The use of clipping masks helps perform precise work and later implement change requests efficiently.
Step-by-step guide
First, we look at creating the white fur before we turn to the leather straps. Start by refining the rough outlines of the fur, considering that the lighting conditions are crucial. Remember that with white surfaces, the reflection of red and orange tones is more pronounced. Next comes the step:
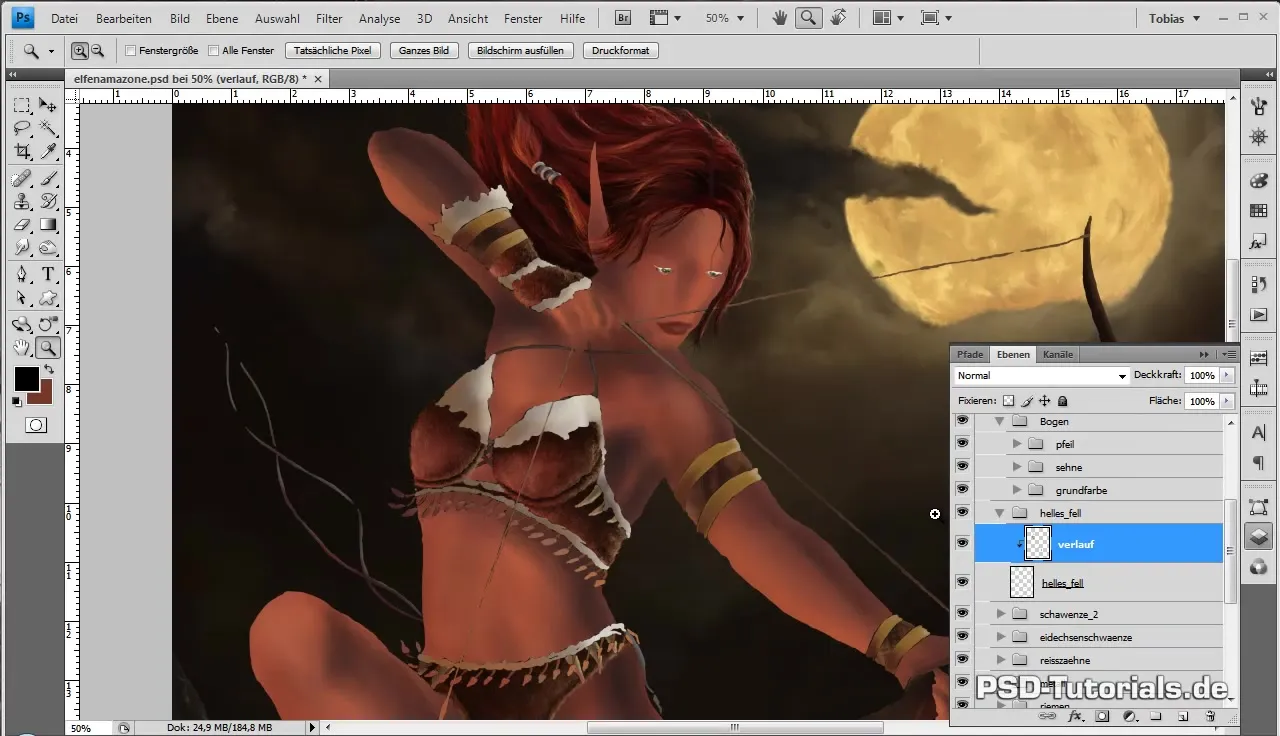
Create a new clipping mask and add details to the white parts of the fur. pay attention to the hairs, which should appear longer and stronger. This contributes to creating a bushier and warmer look. Working with longer strokes makes the hairs appear more organic:
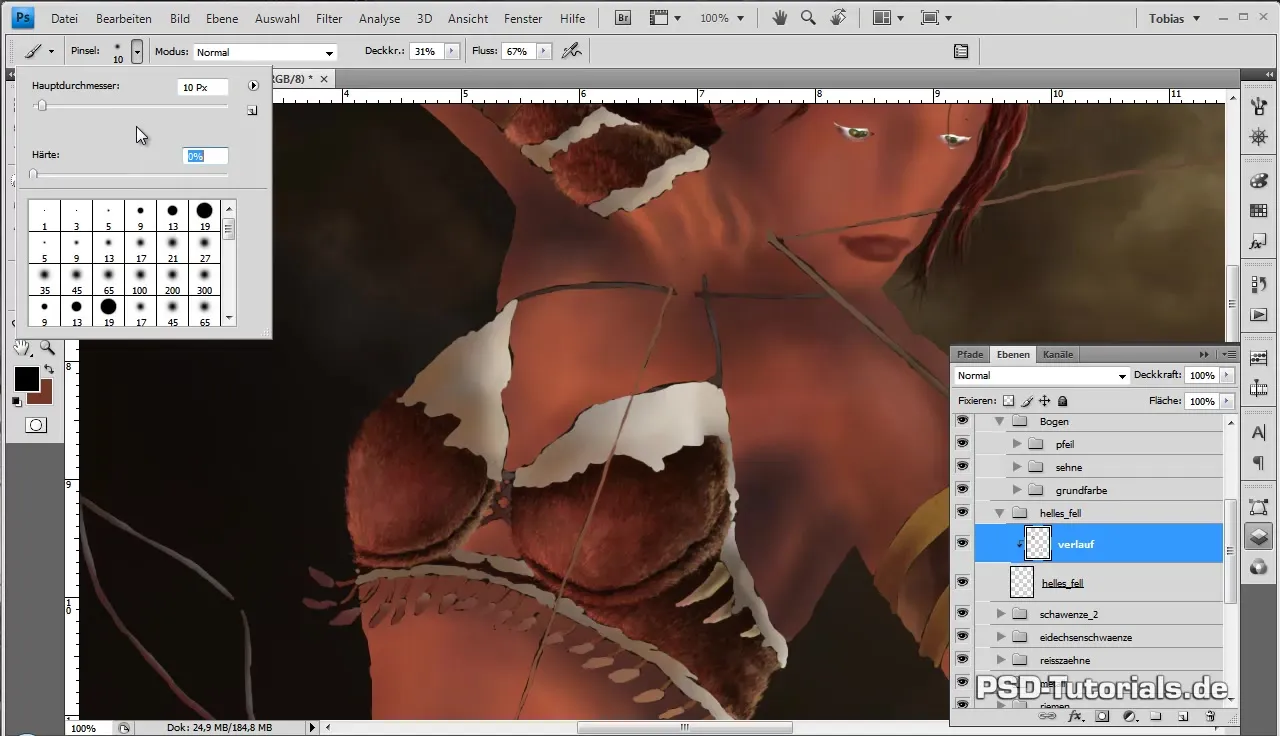
In this step, it's about bringing in the different color values. Different colors enhance the sense of depth. Create a play with the colors and let the streaking elements be supported by the underlying layers:
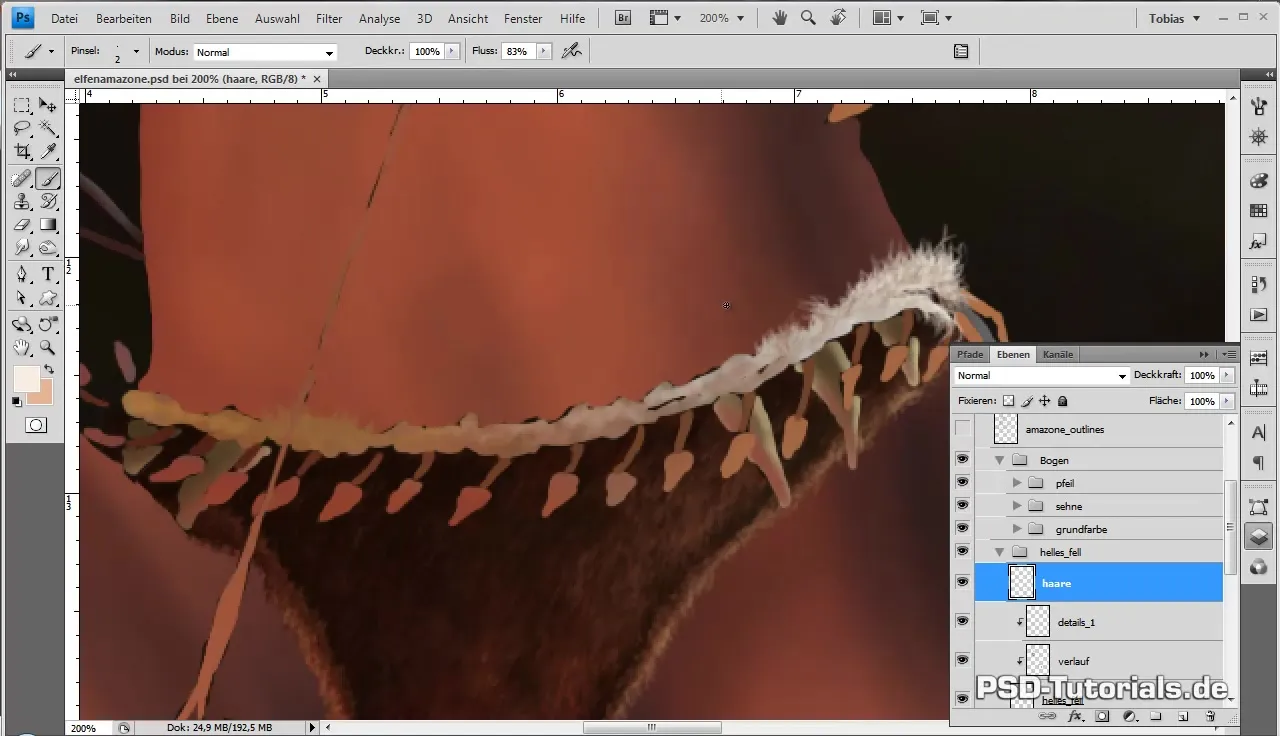
When the basic structure of the fur is finished, create a new layer for the leather straps on the legs. First, create a clipping mask. For more precise work, it is advisable to zoom in at 200%. Here you can work with a fine brush to work out details more effectively:
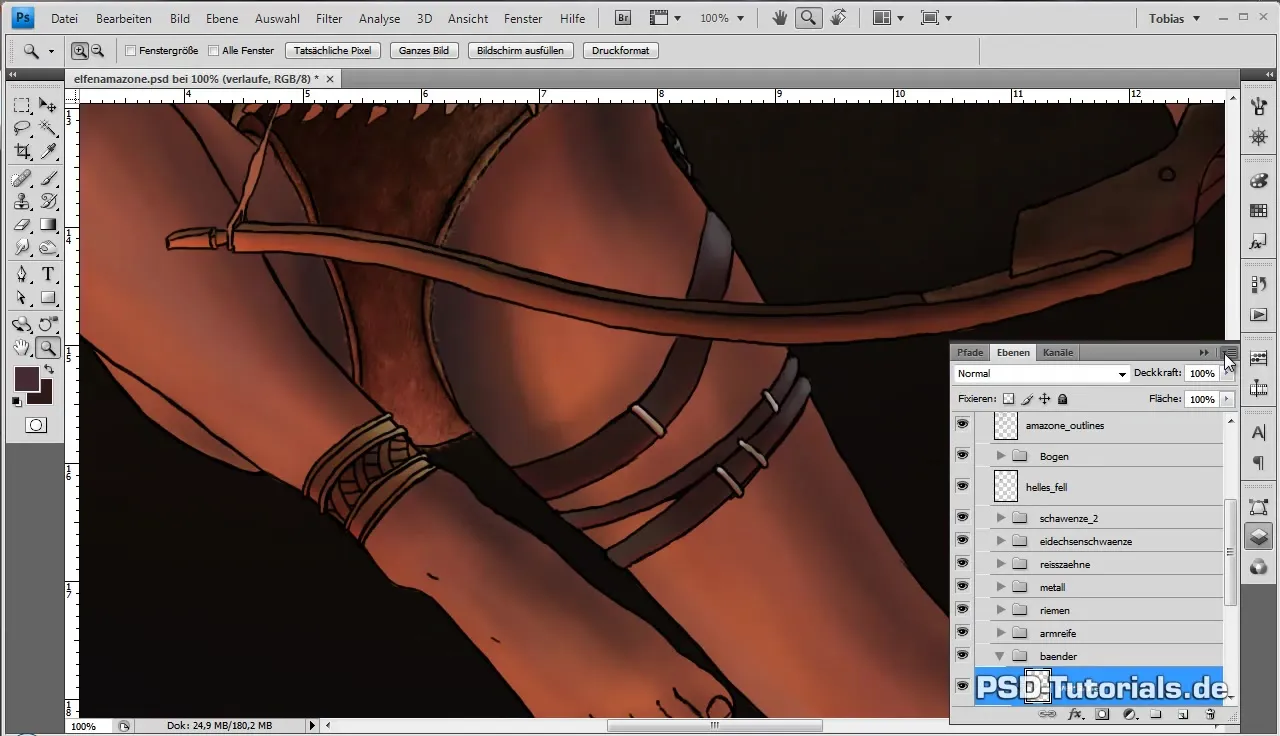
Reduce the opacity of your brush and ensure that the brush settings are correctly configured. Start with a purple tone as the base of the leather before adding darker tones to break the monotony. Then go over the area with a lighter tone to highlight the shine of the leather:
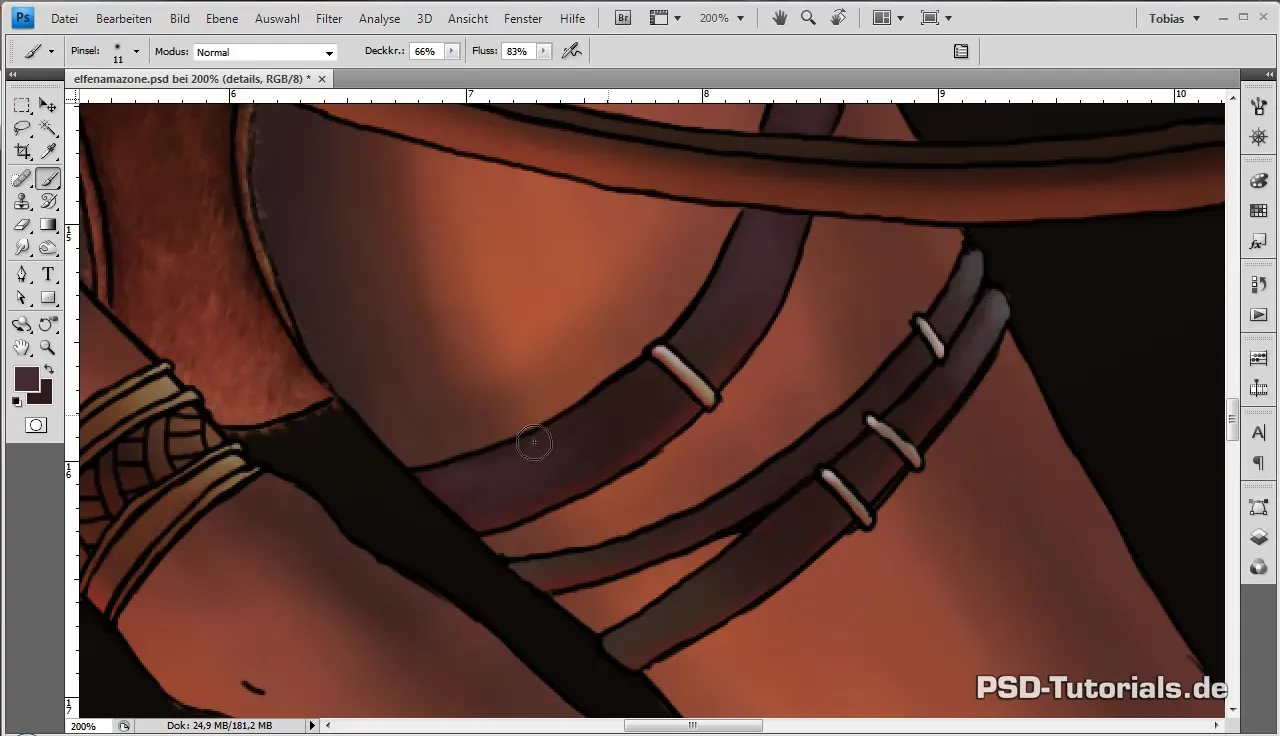
Build up the lighting conditions further by implementing darker colors to delineate areas. These accents help to clearly define the light incidence and reflections:
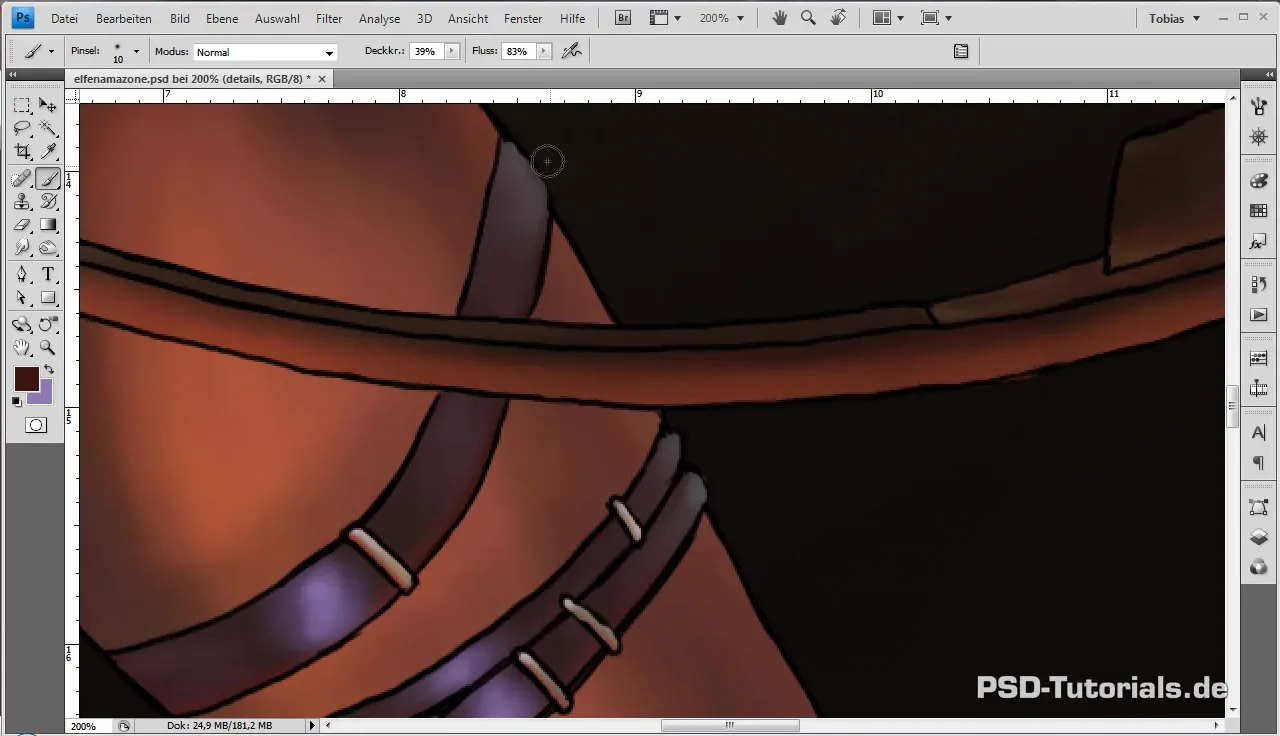
Refine the structure by blending out the outlines to identify unclear areas. It is important to draw new lines to convey the impression of a double lacing. This enhances the illusion of depth:
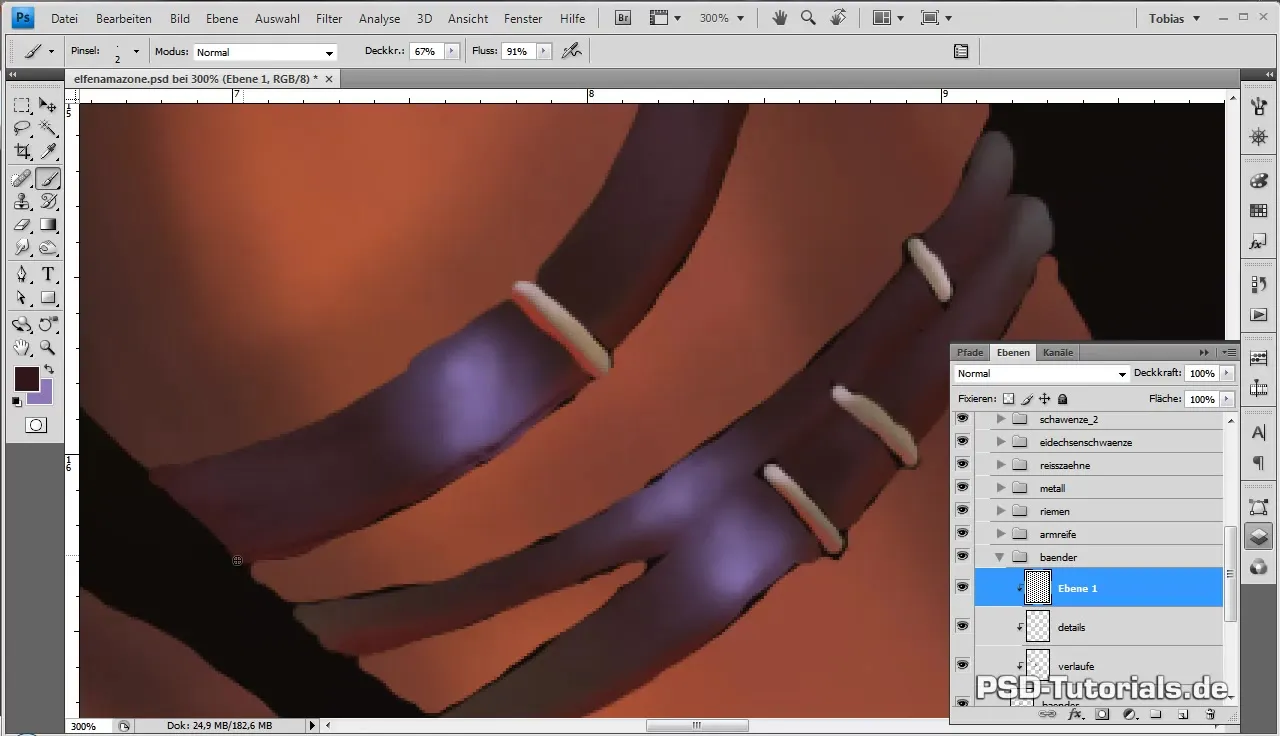
The brush technique is crucial for depicting the rough surface of the leather. These surface details make the material appear more realistic:
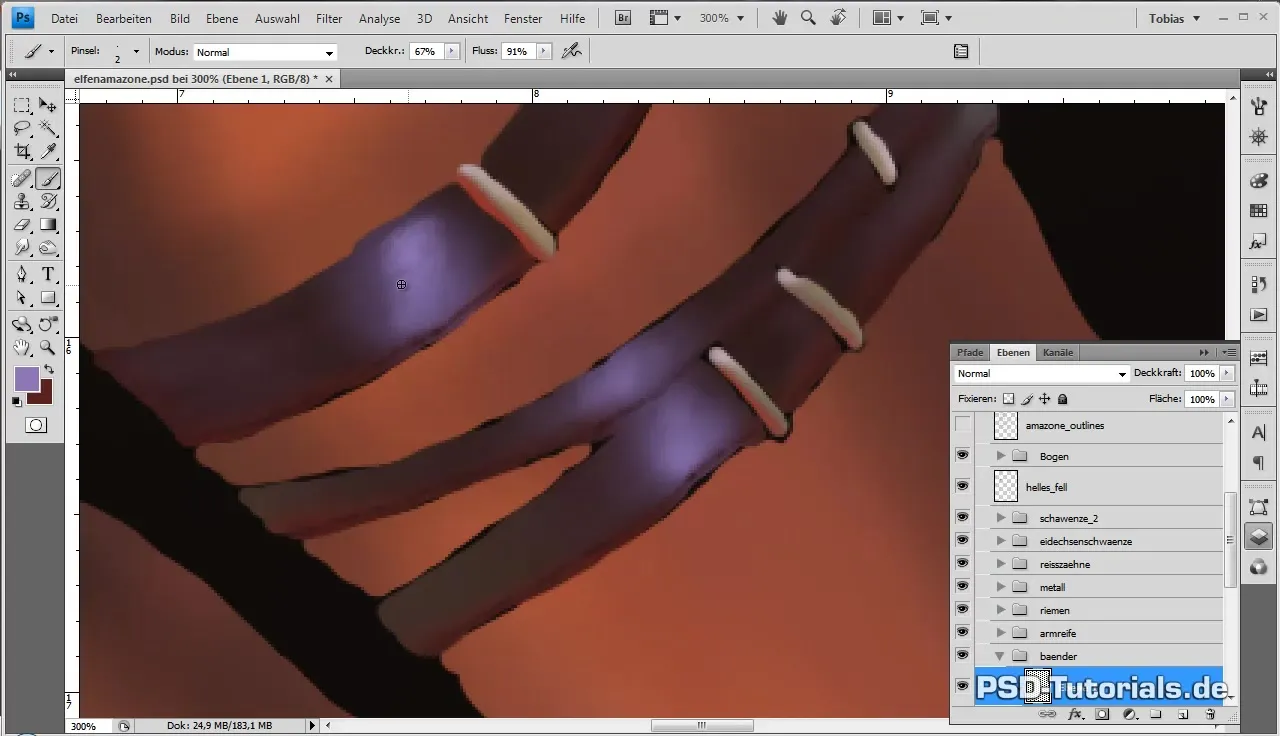
For the elaboration of the edges of the straps, use a strong brown and ensure that the transitions are smooth. Here it makes sense to also display prominent light reflections that emphasize the light incidence at the edges:
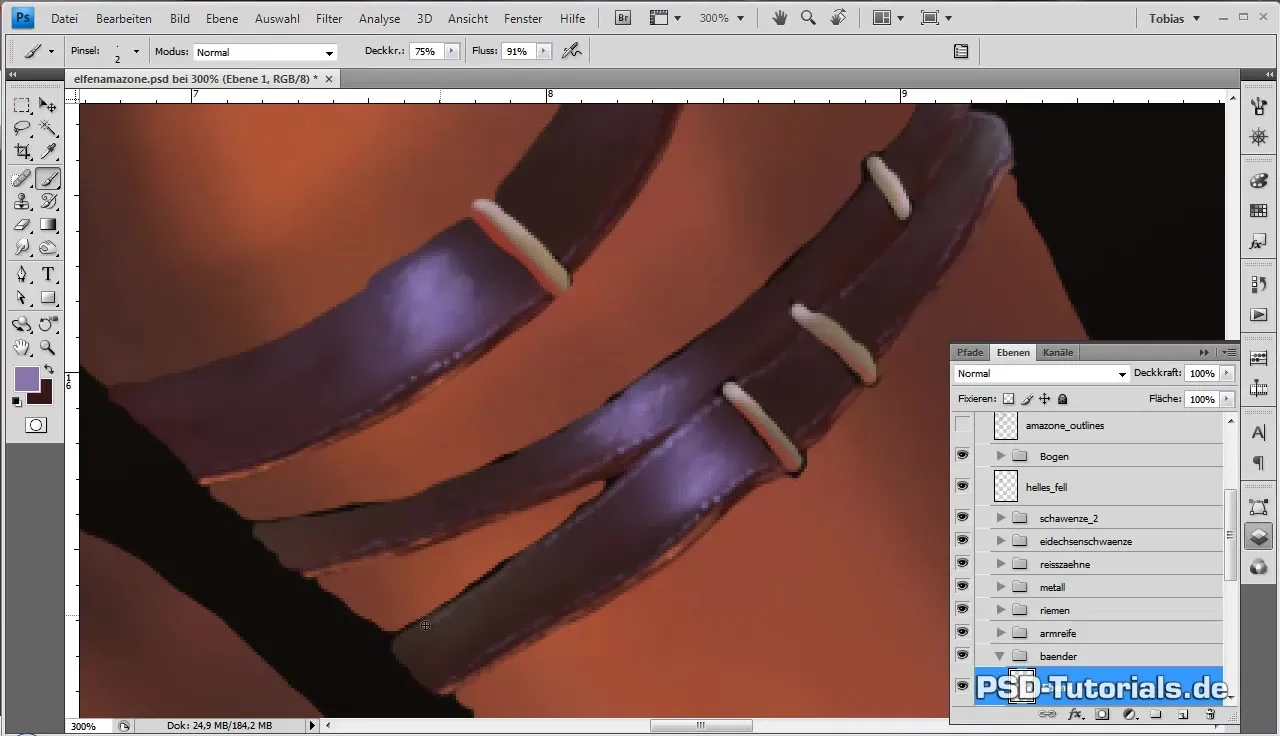
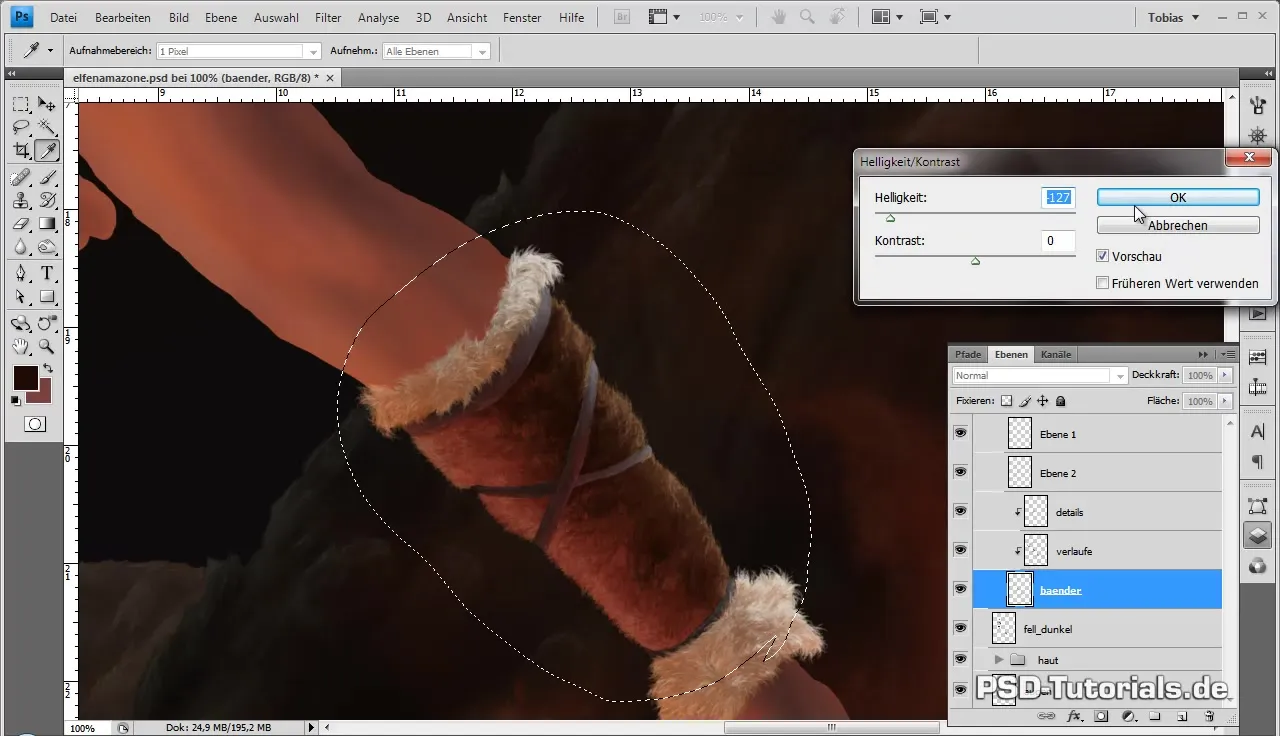
Once all the straps are edited, go back to the layers palette. Use brightness correction to slightly reduce the overall brightness values and harmonize the colors with each other. This contributes to achieving a more uniform look:
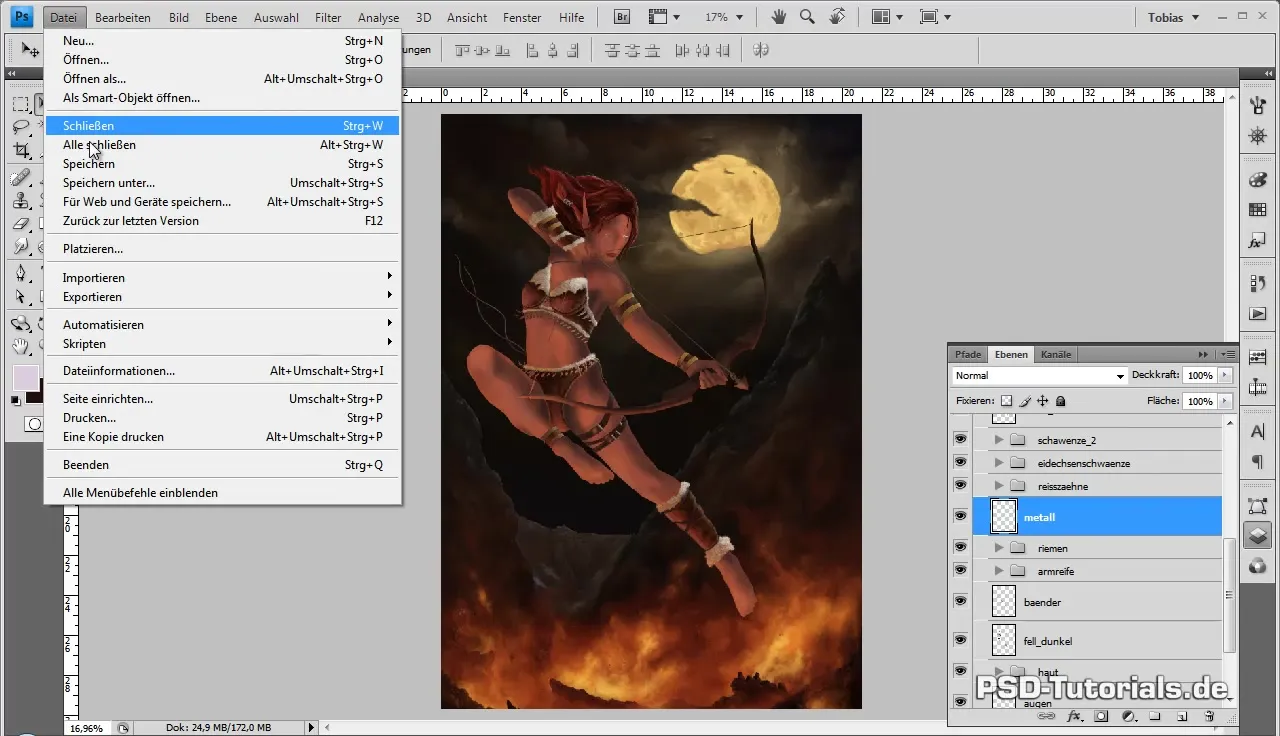
When everything looks satisfactory, save your work. The leather should now appear rich in details and realistic effects. You can easily adapt and improve these techniques for further digital illustrations:
Summary - Digital Painting Tutorial: Realistically Designing Leather Straps
In this tutorial, you have learned how to elaborate on leather straps in a digital artwork. By using clipping masks, color variations, and light and shadow effects, you achieve a realistic and visually appealing representation. Experiment with the techniques and continue to develop your own style.
Frequently Asked Questions
What is a clipping mask?A clipping mask is a function in graphic programs that allows changes to be visible only within a specific layer.
How do I achieve realistic reflections?By using light colors and soft transitions, light reflections can be represented to correspond to the type of material.
How can I make the texture of the leather more sophisticated?Experiment with different brush tips and techniques to create irregular, rough surfaces to add more depth and realism.
What should I consider when choosing colors?Ensure that the colors harmonize with each other and correspond to the respective lighting conditions. Use darker colors for shadows and lighter ones for accents.
How can I save my progress?Use the save function of your graphic program regularly to secure changes and avoid possible loss.


