A pristine digital artwork requires both technical skill and creativity. In this tutorial, you will learn how to effectively design a bowe and straps for your Elfenamazonen creation using special techniques. You will see how you can work with existing elements in the image to save time and enhance the quality of your work.
Main Insights
- Using laces and outlines to create the structure of the straps.
- Integrating wood textures into the bow through targeted gradients.
- Applying special painting techniques to enhance color ratios and transitions.
Step-by-Step Guide
Start by examining the already crafted arm and leg rings. Ensure that the metal in the straps is finished before beginning the edited center, which will present a new challenge. To integrate the laces of the straps, use a brush with a diameter of 6 pixels and 100% hardness. Choose a color from the previously drawn gradient and trace the outlines to create a base.
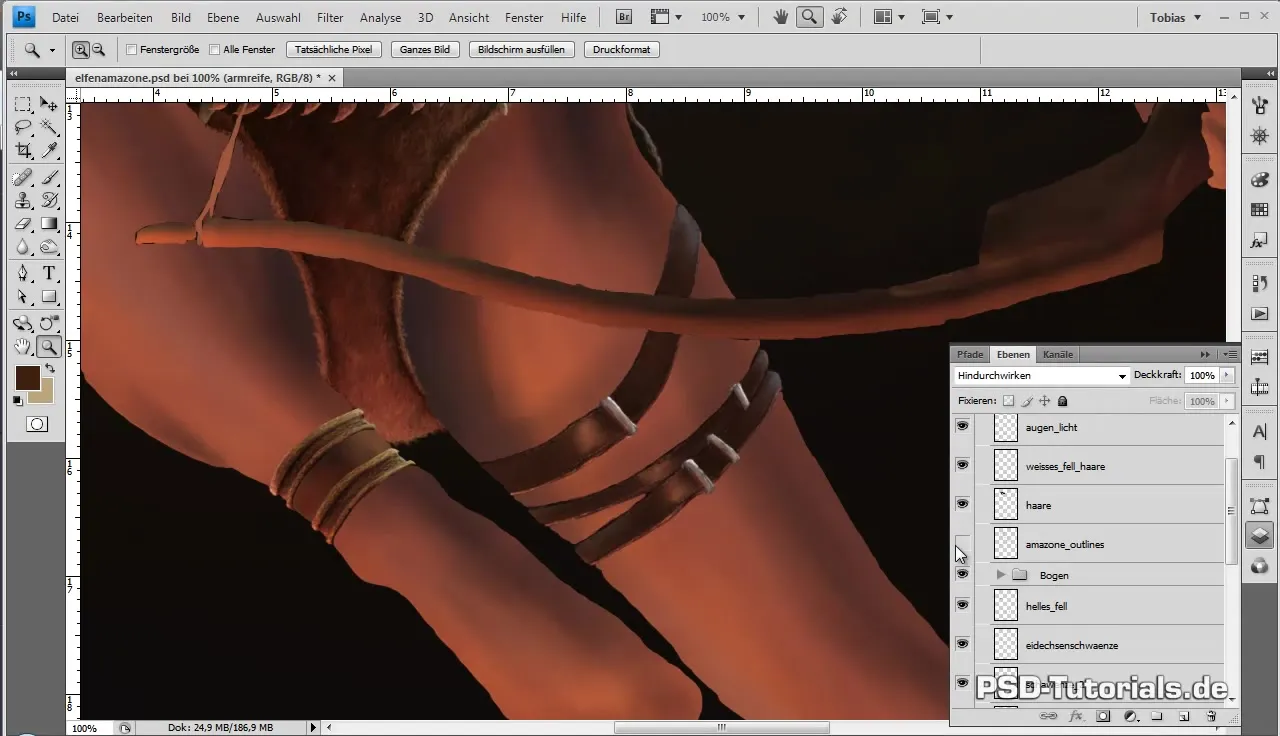
When you hide the outlines again, you will see that you are making progress with this method. To improve the result, copy the layer with the outlines and drag it over the gradient clipping mask of your strap group. You can use the eraser to remove the black lines for the metal parts. An alternative method is to create a layer clipping mask. To do this, hold “Alt” and click on the line between the layers, which allows you to remove only the excess parts.
Once you have created the basic shapes of the straps, create a new layer at the top of the group to integrate the outlines into the finished motif. Make sure to work with a dark brown tone to subtly trace the outlines. This technique allows the outlines to shine through, creating an interesting mix of color values and depths. Be sure to use different light and shadow colors to achieve some depth and dimension.
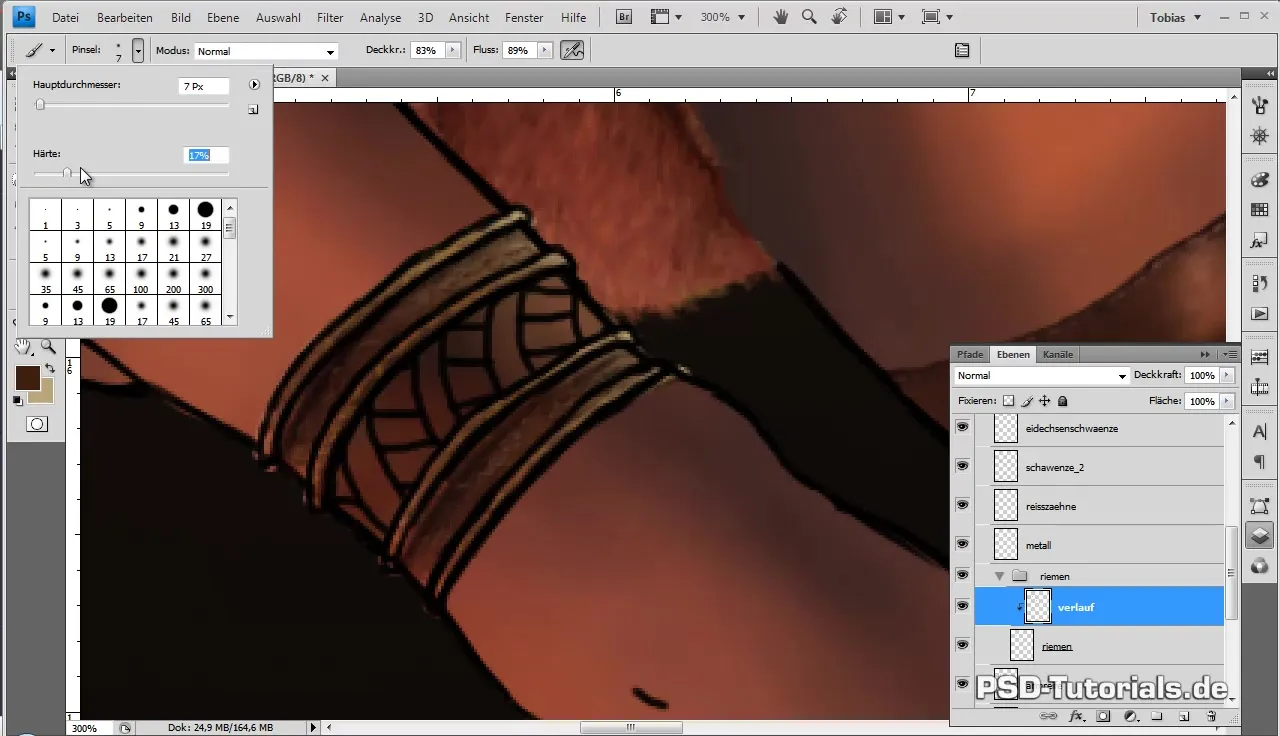
You will quickly realize that a certain amount of “brainwork” is needed to correctly represent the light entries and to mix the colors accurately. Be patient, as this is an essential part of the digital painting process. While you work on the straps, you can repeatedly draw on the stylistic elements you developed for the arm rings. Use the eyedropper to identify the overlapping colors and continue to use them.
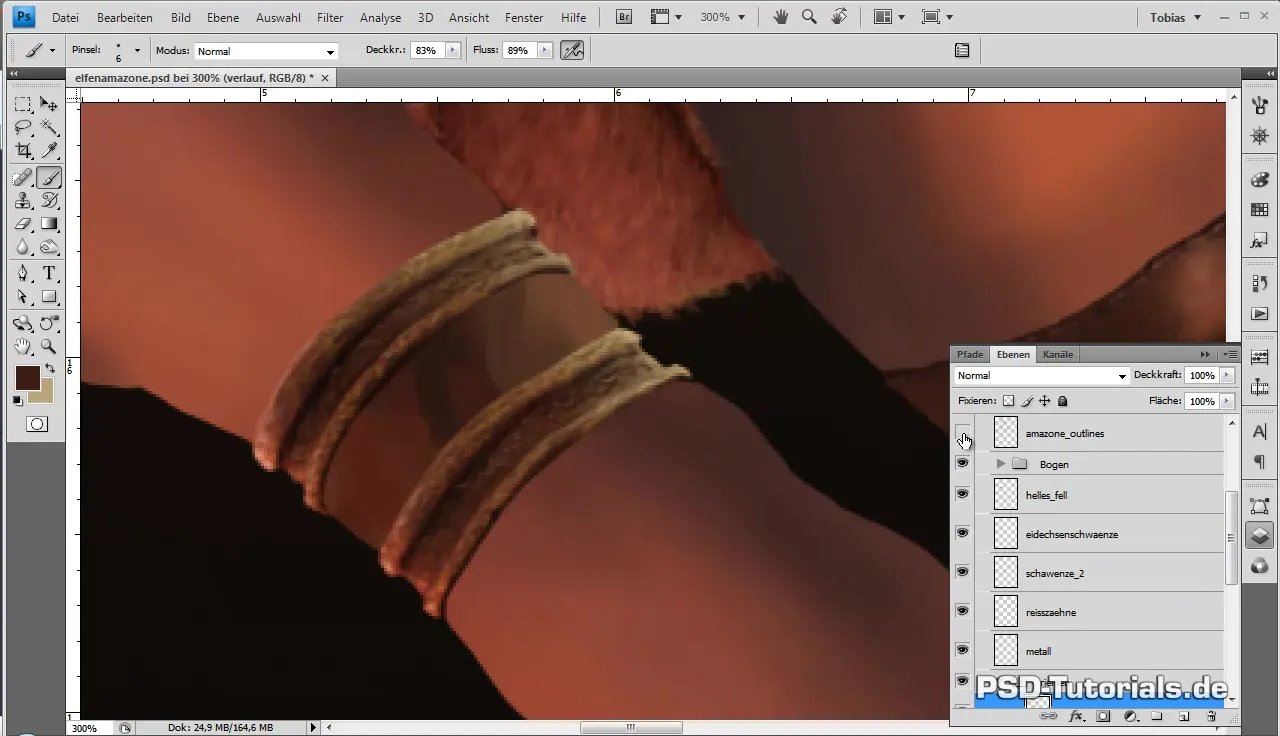
When your straps are digitally complete, it's time to turn to the bow. Start by inspecting the group “Bow” and reworking the base color for the bow shape. An easier way to develop the bow's structure is to activate the color overlay to better identify irregularities. You can use this approach by being careful to choose the exact base color so that you capture everything in the right color later.
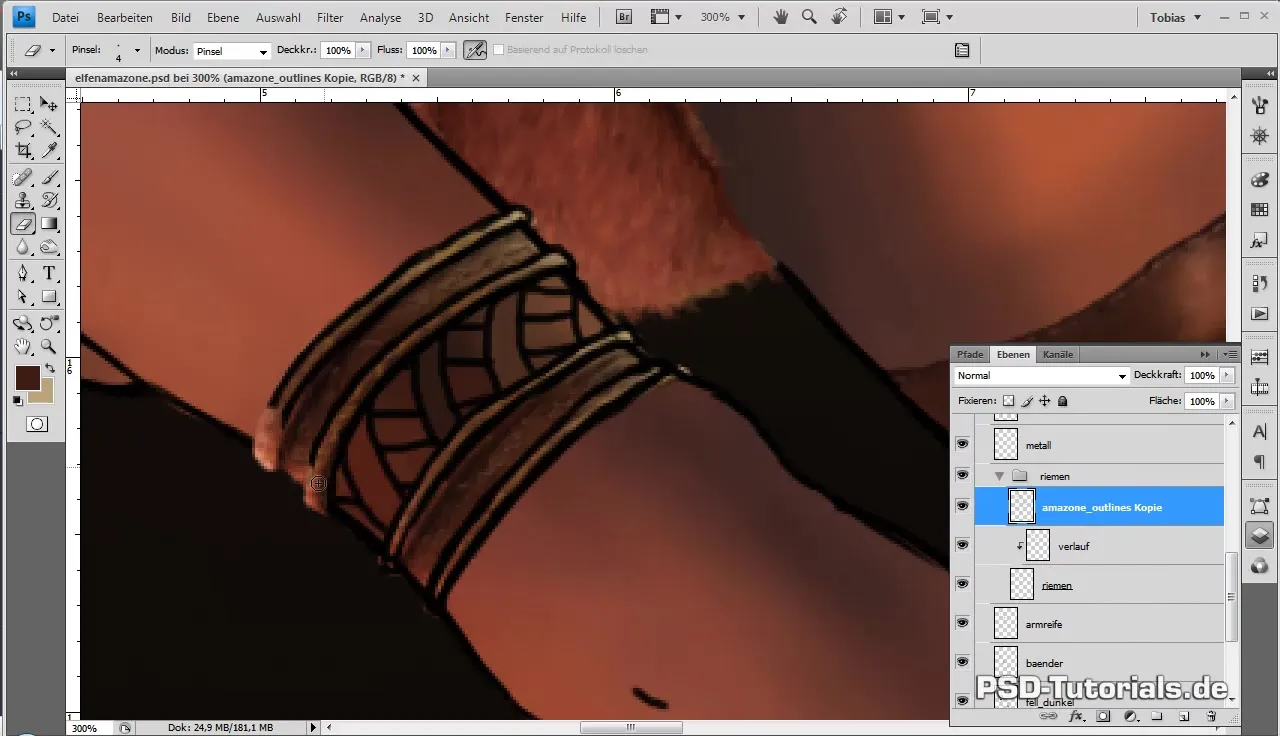
Once you are satisfied with your bow shape, work with a soft brush to draw the wood textures of the surface. Remember to use many different wood colors to create an interesting and realistic surface. It is advisable to create the wood in a dark tone to produce a contrast with the lighter structures. By erasing the outlines, you can refine the drawing and bring out more details while maintaining the flow.
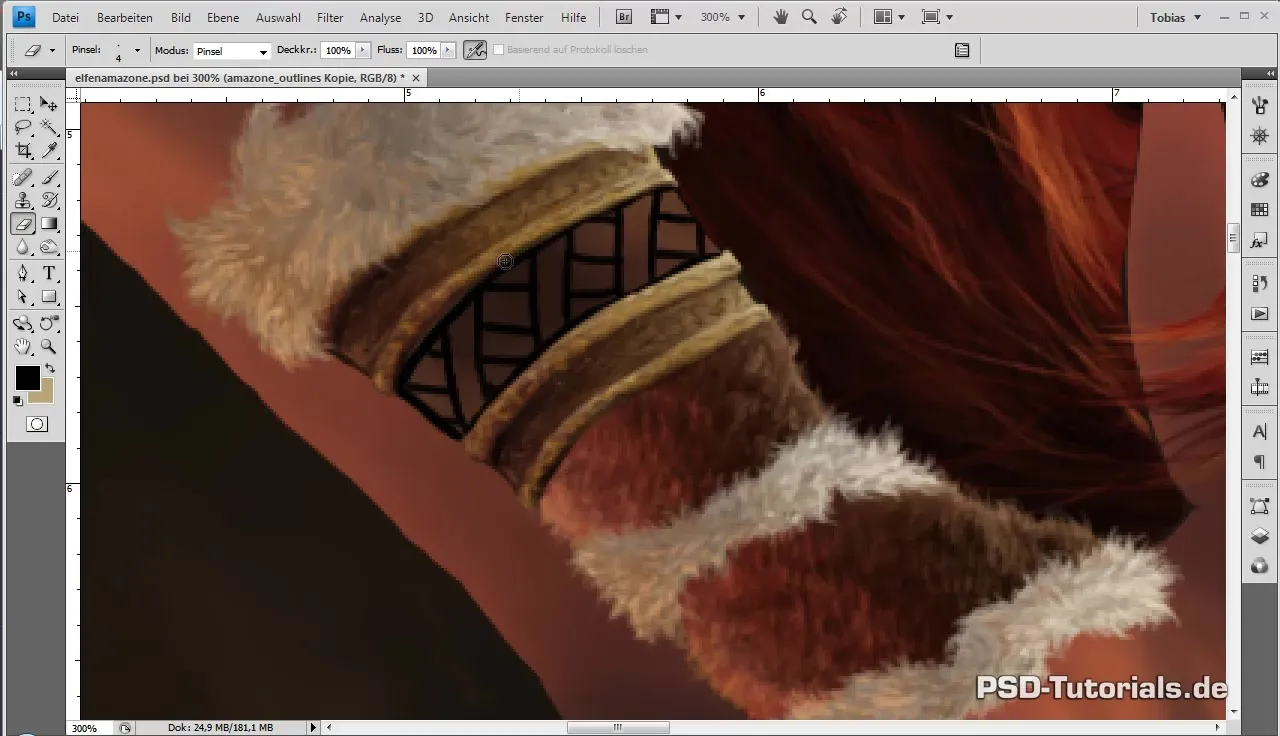
In the next step, add engravings to the bow. Use the average of the colors from the front of the bow and set the brush size to 2 pixels. Begin to create the engravings, ensuring that your structures correspond to the original form. If you are unsure, go one layer higher to create a finer structure while keeping an overview.
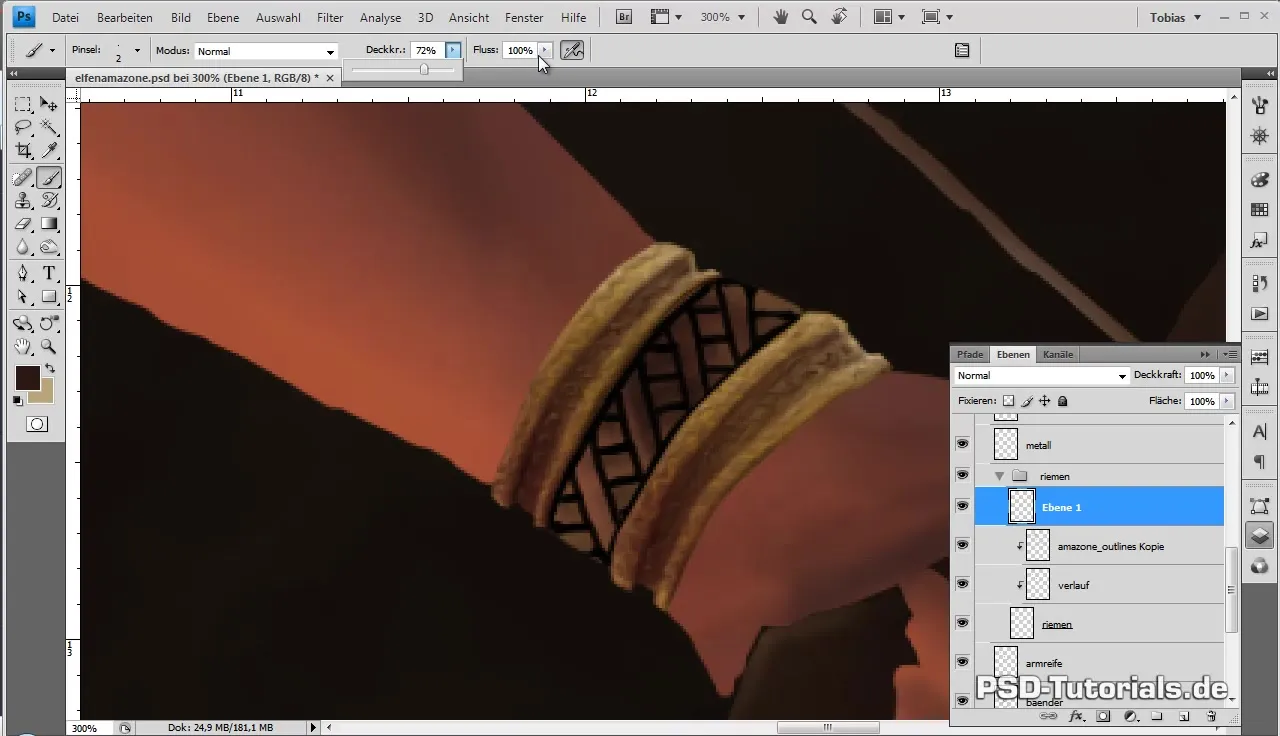
With time and patience, you will recognize how the color values interlock and can be harmoniously integrated. Be open to adjustments and maintain the balance between light and shadow as you work. It is important to also take a step back and look at the overall picture instead of getting lost in details.
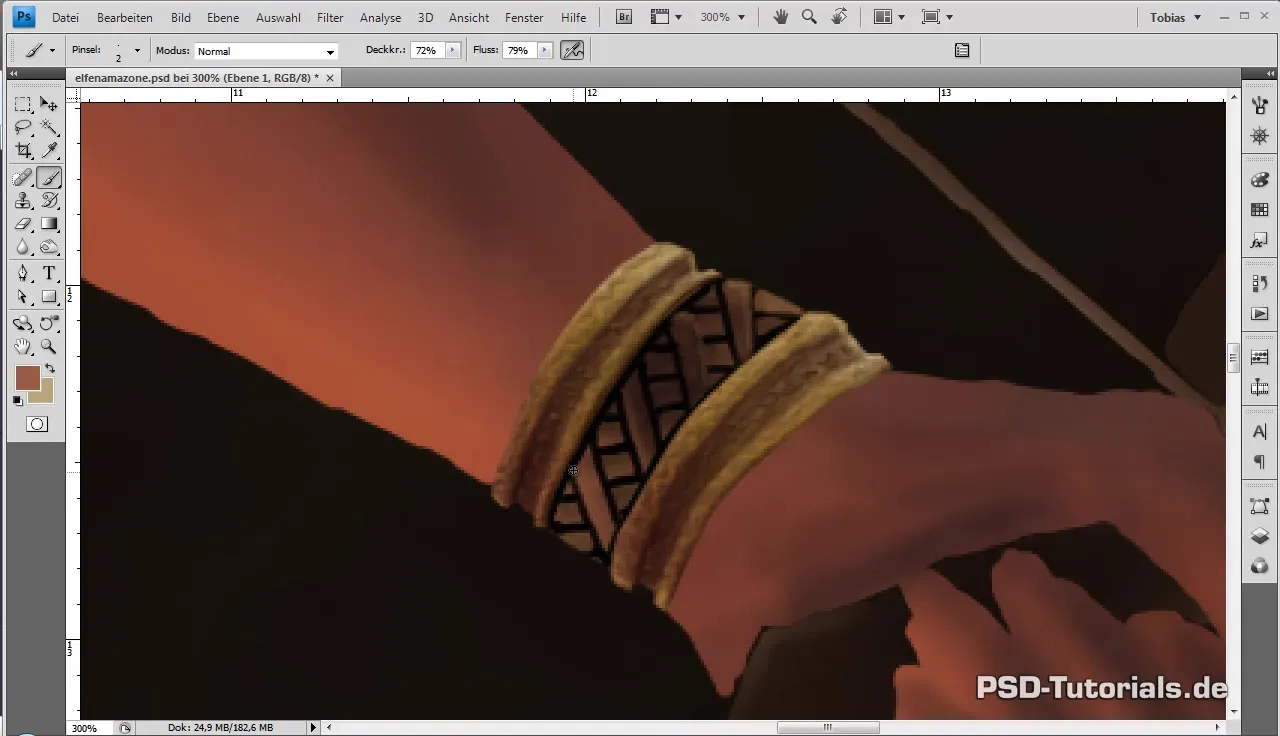
If you are eventually satisfied with the results and representation of the bow, save your progress and merge the groups again. Each step brings you closer to the upcoming, completed work, and even if the outlines are still a bit too strong, you can adjust them later.
Summary - Digital Painting of an Elfenamazonen
In this guide, you have learned how to design the straps and wood structure of a bow for your digital artwork using specific techniques. You have discovered how important the selection and combination of color values is and how patient working can significantly enhance the quality of your creation.
Frequently Asked Questions
Why is it important to think about the overall workflow?To ensure that all elements work together harmoniously and that the quality of the artwork does not suffer.
Can I adjust the outlines later?Yes, as long as they are on a separate layer, changes can be made at any time.
How do I find the right color values?Use the eyedropper to identify overlapping colors, and experiment with different shades.
