In the 13th part of the Digital Painting Tutorial, we focus in detail on the final touches for the Bogen and the corresponding arrow. The emphasis is on shaping the string precisely, with lighting conditions being crucial to create depth and realism. After that, we will work on the arrow, which should impress with its metallic surface. All of this is done step by step to help you effectively implement the techniques.
Key findings
- The string of the bow must be drawn precisely and integrated into the overall composition.
- Color overlays and masking techniques are crucial for creating depth and textures.
- The arrow requires special attention in depicting light and shadow to create a realistic metallic effect.
Step-by-Step Guide
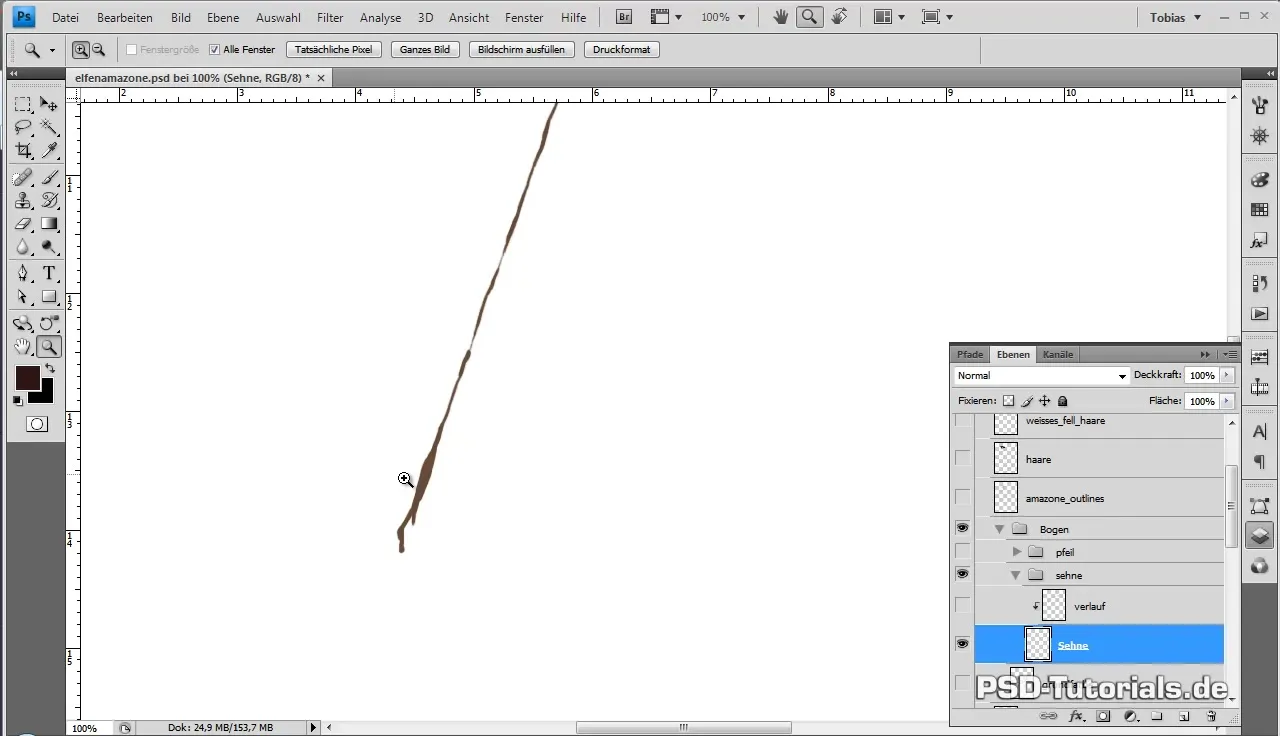
Start by designing the string of the bow. Hide all layers except for the string layer to focus on the details. Make sure the shapes of the string are clean by adjusting the thickness of the lines and erasing or optimizing any protruding parts. Here, only toggle the layers back on for a clear view of your work.
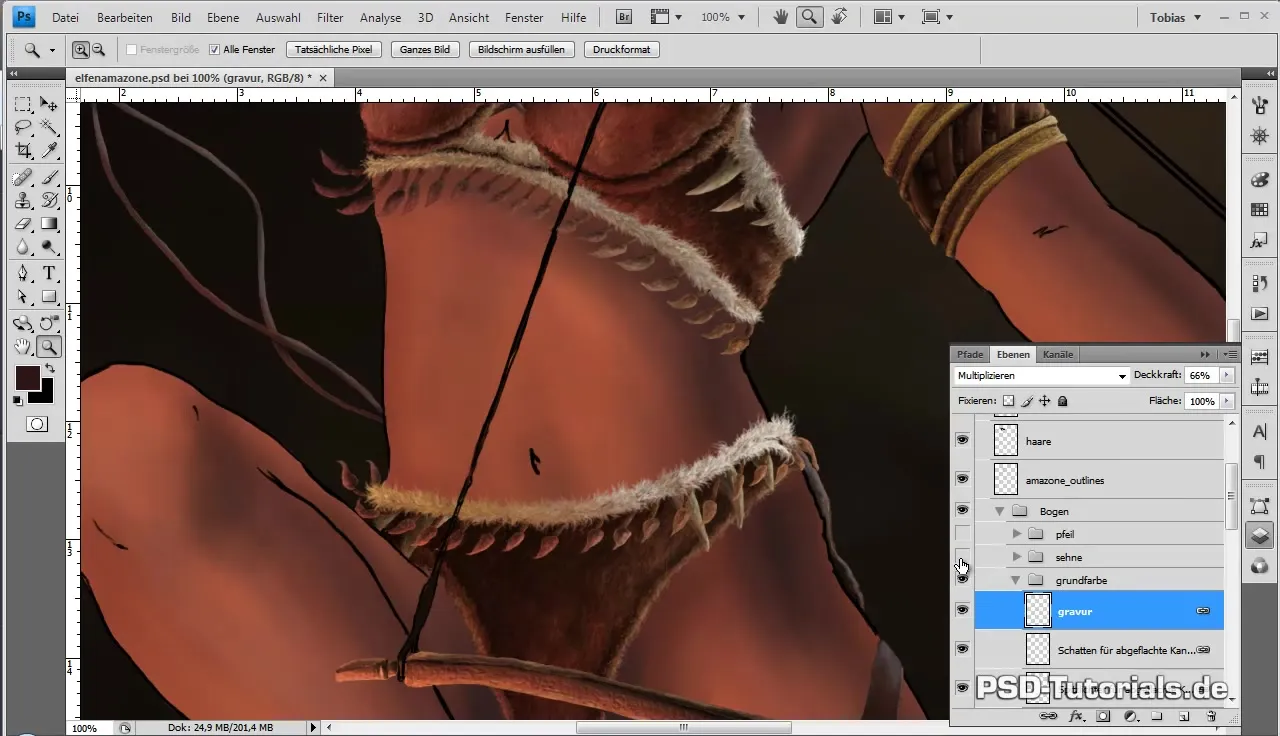
Now use the layer style for color selection. Choose a dark color that is almost black. By swapping the color values, you can now make the string more even and trace any missing parts. It is important to set the brush to 100% opacity to achieve a clean result.
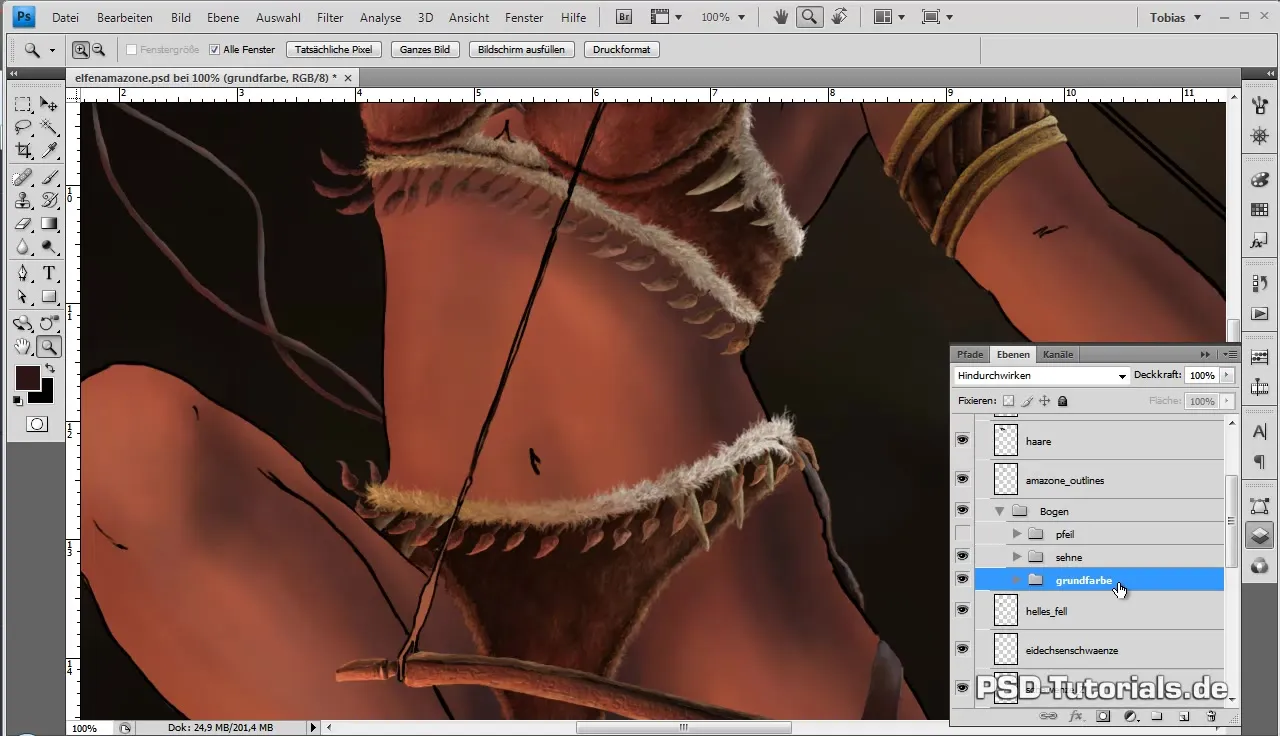
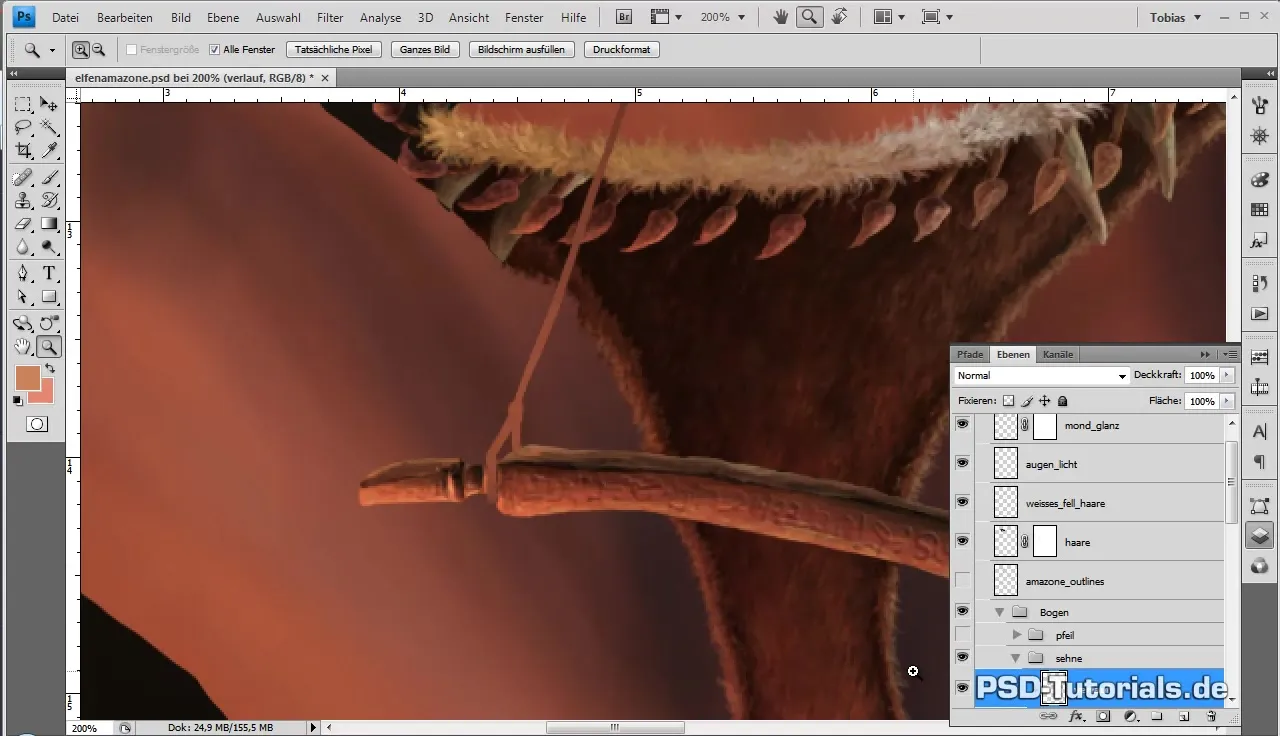
After editing the string, toggle the layers above back on. If the hair of the figure lies over the string and covers parts, go to the hair layer and create a layer mask. By default, the area outside the string is masked in this mask, which can be easily corrected. Simply swap the colors in the layer mask to invert the masking, allowing you to make the areas visible again.
Repeat the same process for the gloss layer to ensure that no unwanted areas cover the string. Toggle all layers back on and check for any gaps or blurriness in the contour of the string. Ensure the contours are clean for a harmonious overall image.
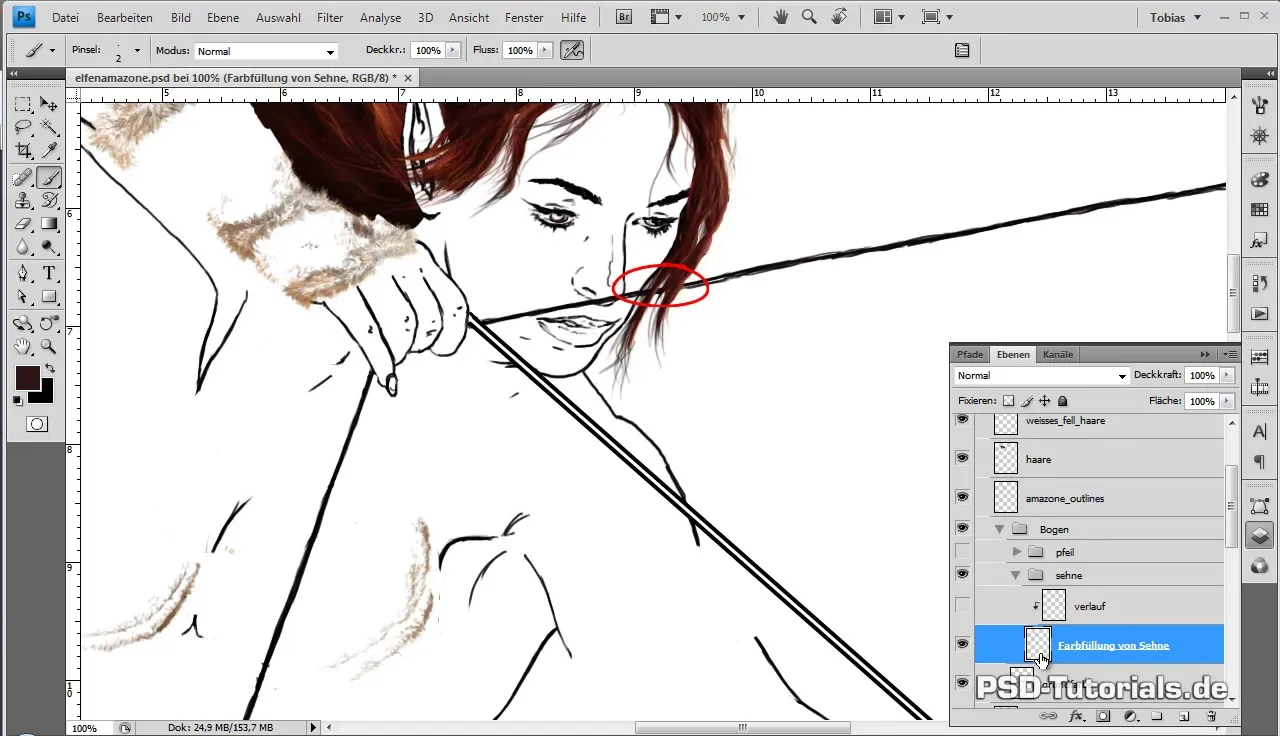
Now use the eyedropper tool to sample the base color from the skin group. Use this to fill in any gaps and improve the contours. Perfect these steps before moving on to the arrow.
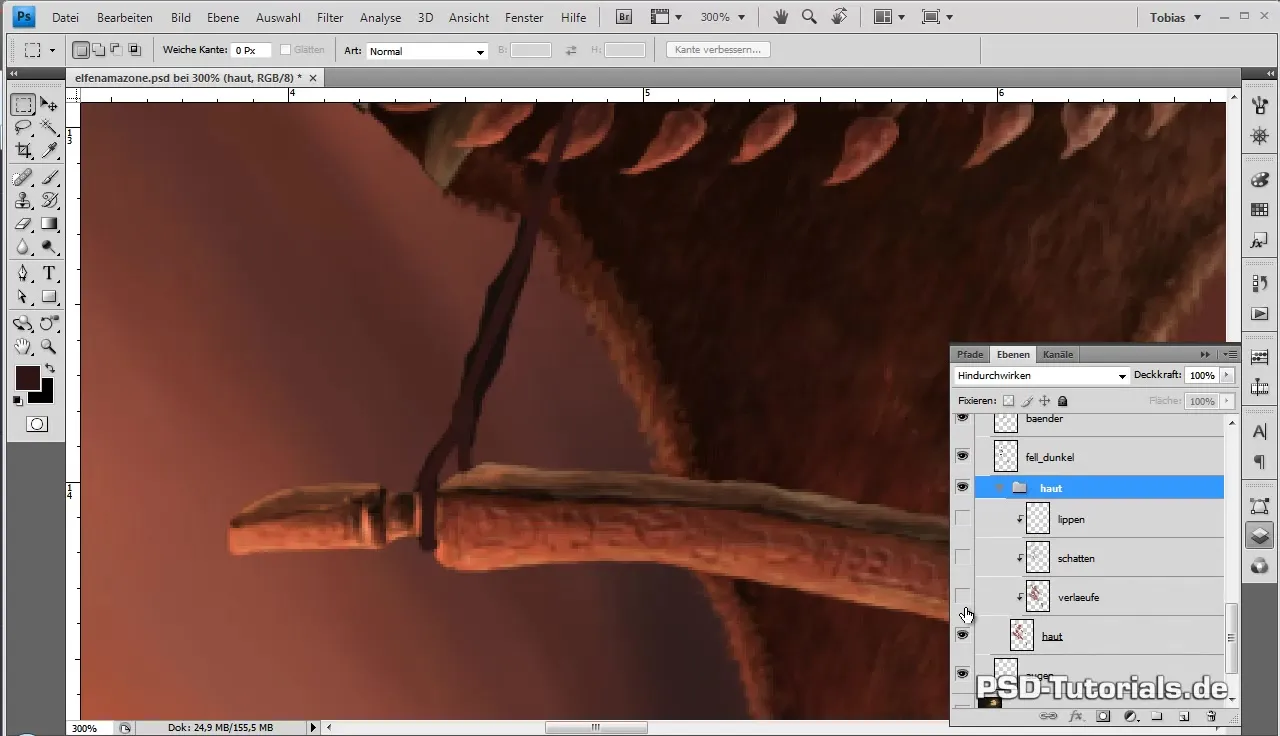
Once the string looks tidy, toggle the gradient cut mask back on. Additionally, the background color may appear too bright. Reduce the opacity to about 24% to achieve a more harmonious effect.
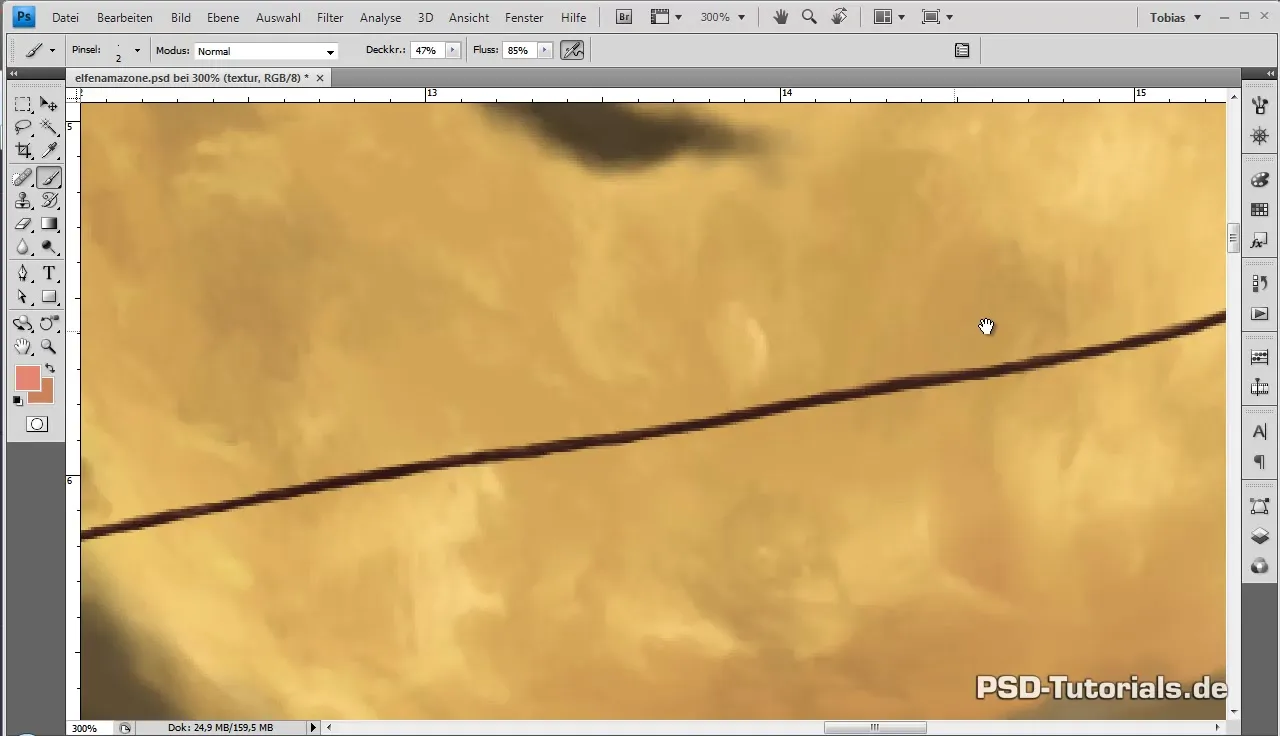
To create interesting textures, set the brush back to a suitable size and work with light and shadow effects. This plays a crucial role in depicting metallic surfaces. Be sure to maintain the color temperature in order to preserve continuity in the image.
Darker tones help with shading, while bright areas support the gloss effect. Experiment with different brush strokes to represent the typical characteristics of metal. The design of your arrow should also reflect the idea of a harpoon, with pronounced barbs and an exciting shape.
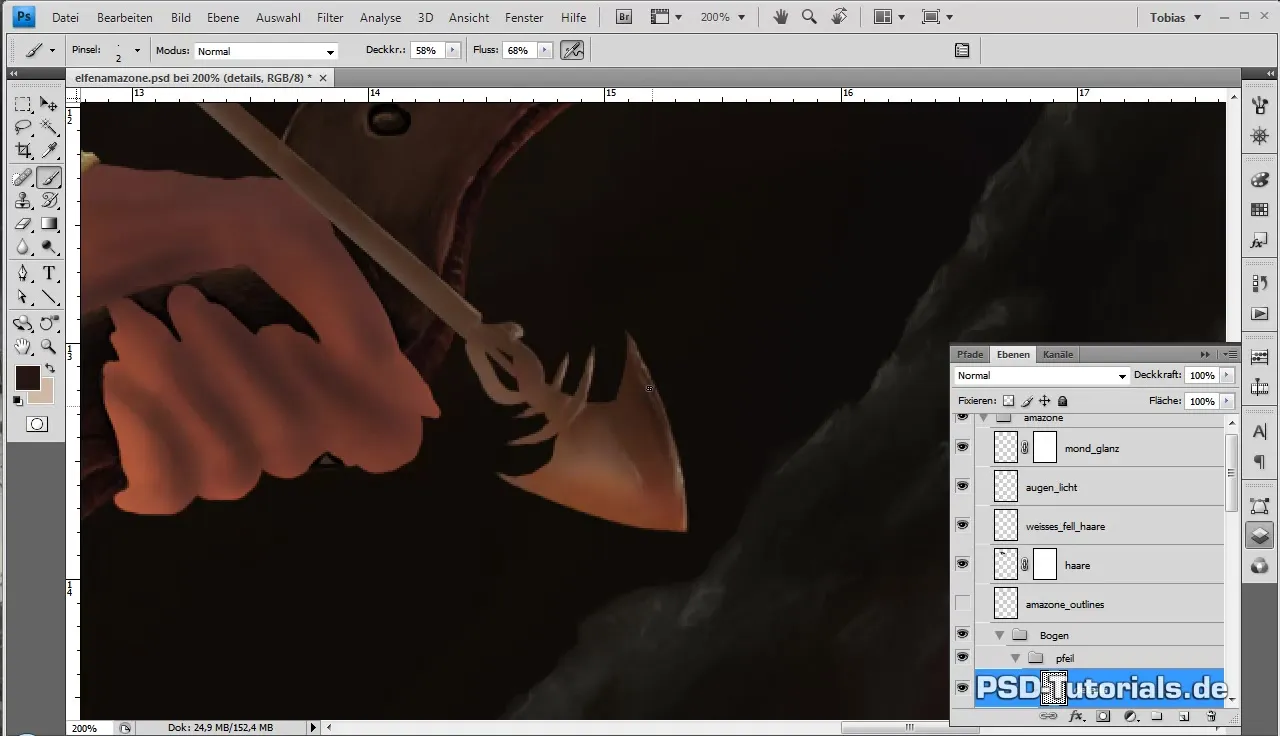
The shaft of the arrow should take on a gray tone to give it a realistic look. Carefully blend shadow and gloss effects to emphasize the dimensions.
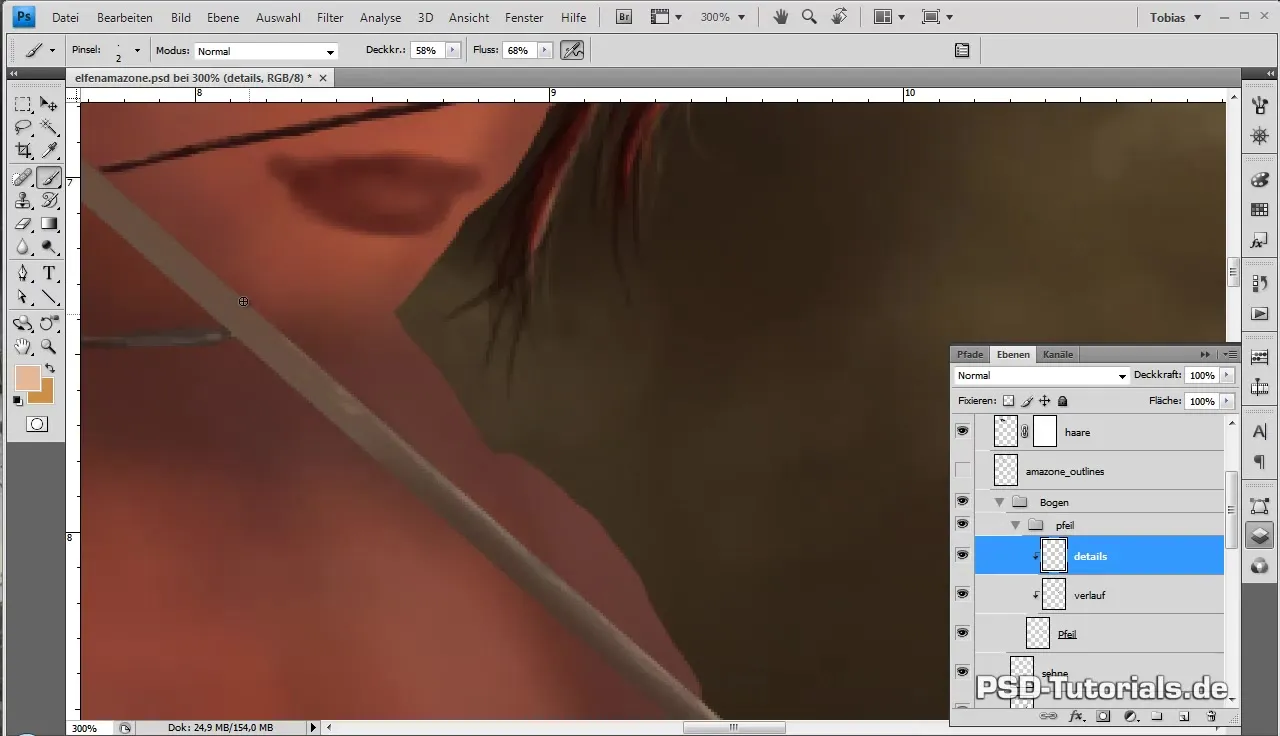
Refine the edges and transitions to create a natural, less harsh appearance. Even small shadows are important to highlight the plasticity of the metal and give the arrow dynamics.
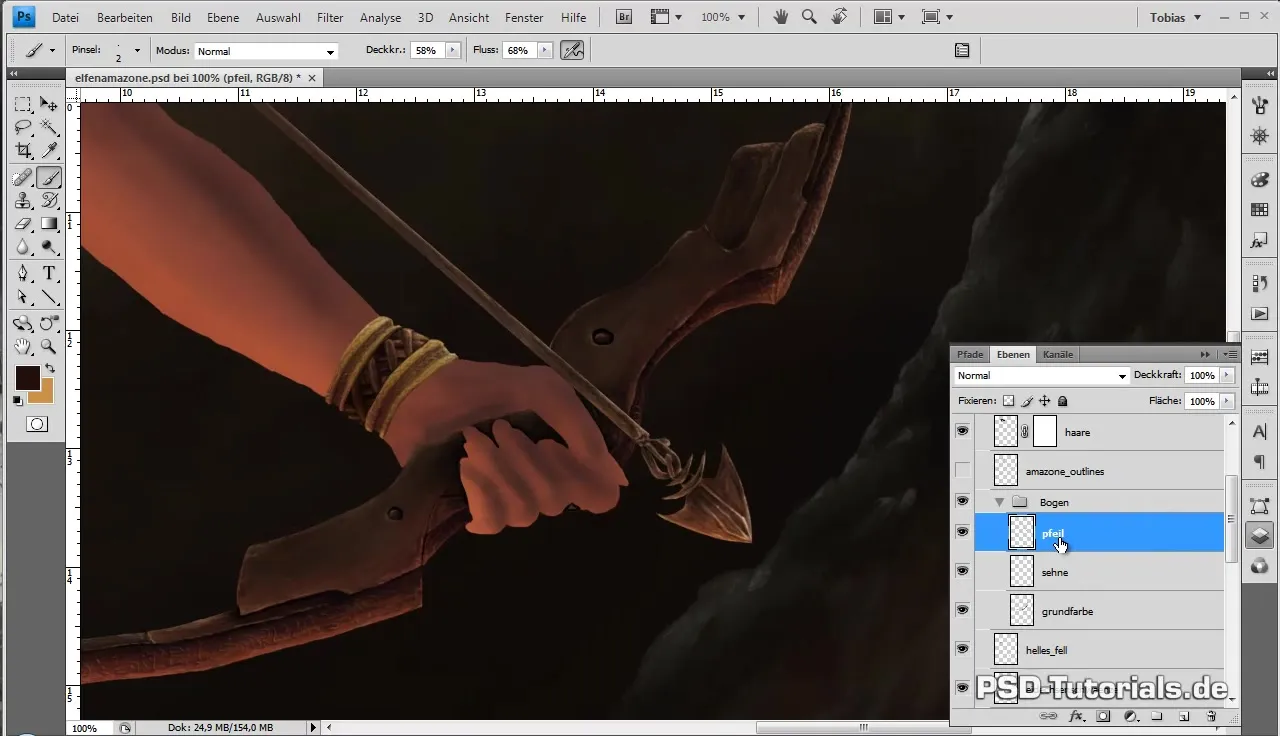
Once all details are worked out, you can merge the groups and finalize your bow and the arrow. Ensure that the individual parts harmonize well and that the overall image is pleasing.
In the next video, we will focus on fully detailing the figure and harmoniously integrating it into the background landscape.
Summary - Digital Painting: Guide to Designing the Bow and Arrow
In this guide, you have learned how to effectively design the string of the bow and the arrow. With the right color settings, precise brush strokes, and attention to detail, you will achieve a harmonious, cohesive work of art.
Frequently Asked Questions
What is the most important step in designing the string?The string must be drawn precisely and evenly to achieve a realistic appearance.
How can I use color overlays?Use layer styles to apply different colors to different parts of your work.
What techniques are crucial in arrow design?Make sure to work with light and shadow to make the metallic effect appear realistic.


