The final chapter of your digital painting journey with the Elfenamazone is here. After laying the foundation with detailed skin texture, subtle shading, and personal accents, it's time to enhance your artwork with additional elements like wounds and dirt. Here you will learn how to make the figure more vibrant by adapting it to its surrounding context and bringing it to life with lighting and special effects.
Main insights
- Meaningful use of wounds and dirt enhances the credibility of the figure.
- Deliberate use of light and shadow enhances three-dimensionality.
- Effects and fine-tuning can significantly improve the overall impression of your work.
Step-by-step guide
To finalize your Amazone, follow these steps:
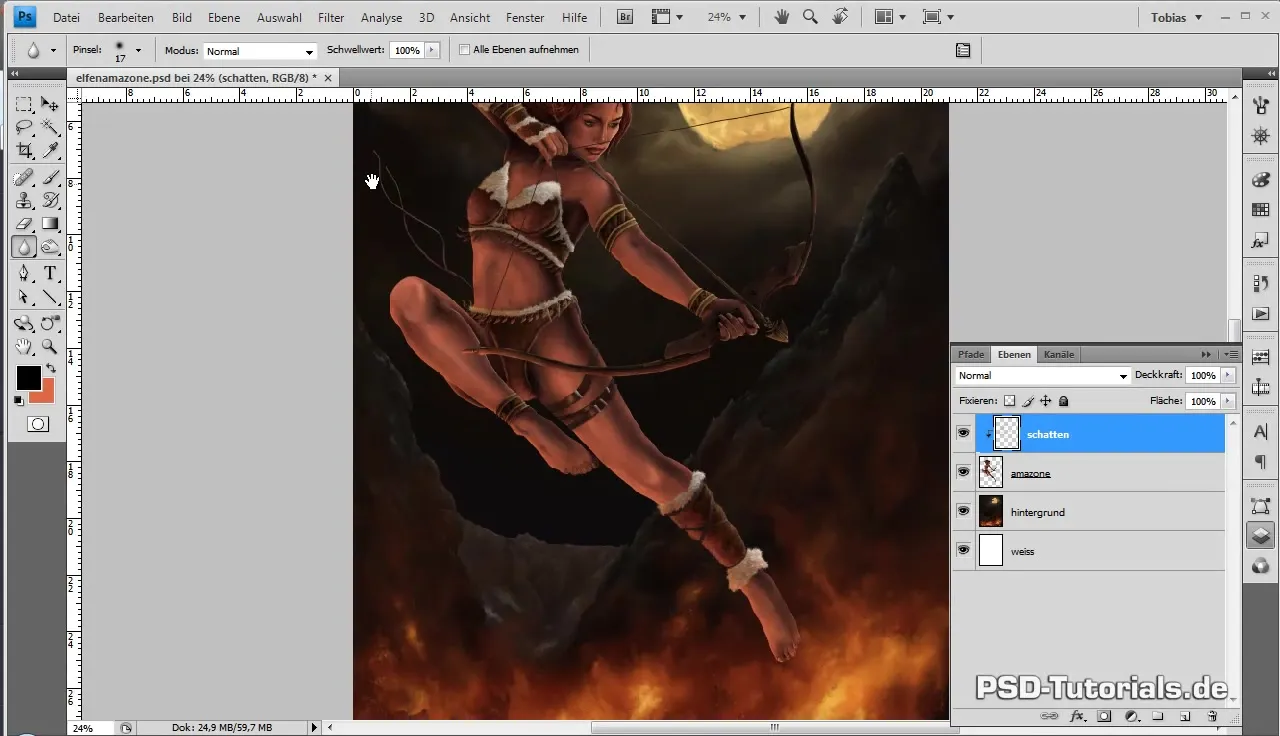
First, create a new clipping mask to apply wounds and dirt precisely. Start on one of the arms. Choose a brush with a 6-pixel diameter and a hardness of 0 to achieve soft transitions. The opacity should be around 40% and the flow at 75%. Activate the opacity jitter for varying opacity. Using a dark brown color and a lighter gray, initially work in very sponge-like shapes to represent the dirt. Remember that dirt and sweat accumulate, which needs to be considered when creating the effect.
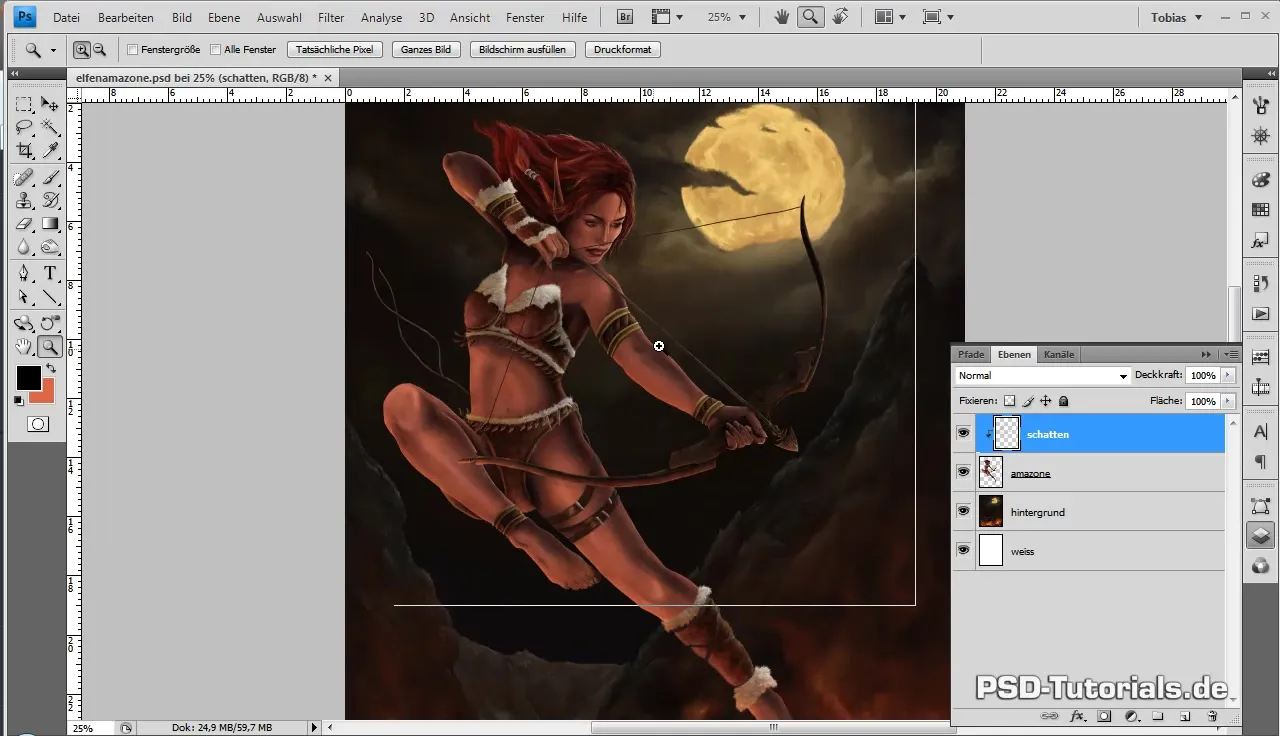
Make sure to maintain the contours of the body shapes, especially at joints like the elbow. Here, curved, blurred lines are more effective because fluids move on uneven surfaces. Use wavy lines to convey the irregularities of the skin. Blend the colors to achieve a realistic representation of the skin surface.
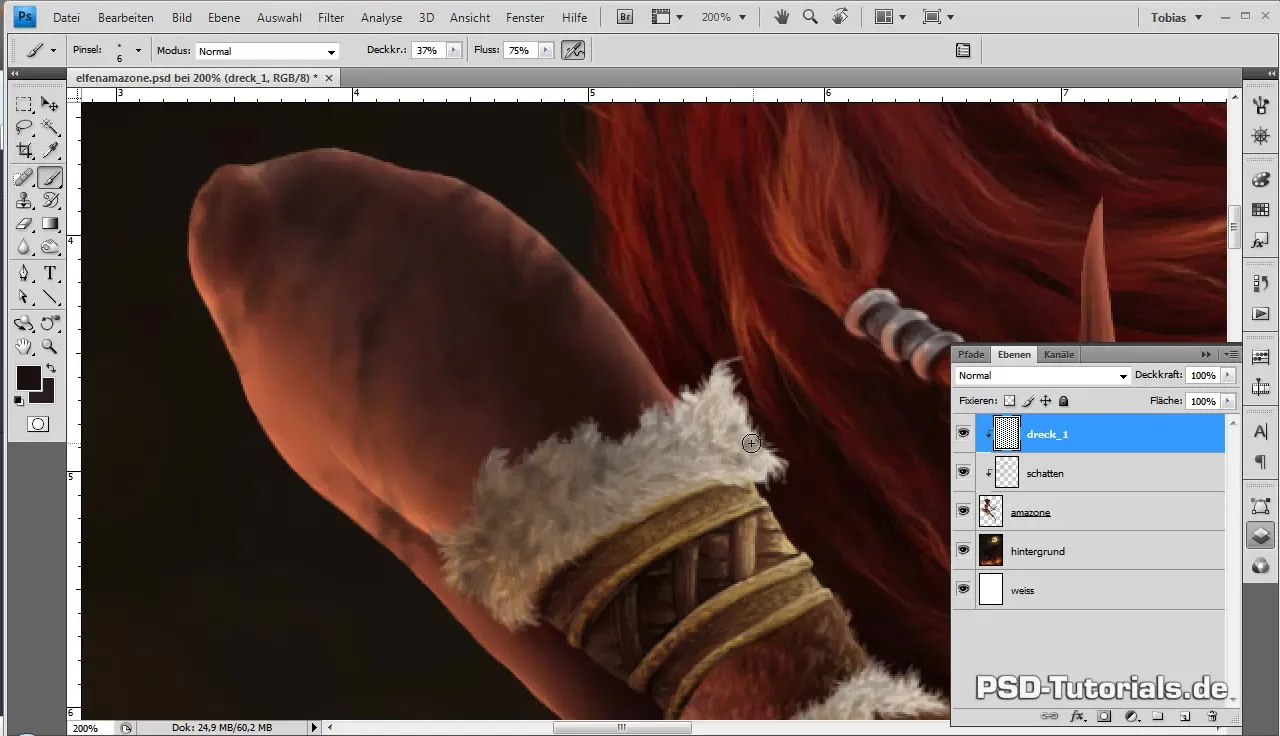
Now it's important to not only dirt the skin but also the clothing. The white fur is particularly suitable as the dirt stands out well and adds depth to the figure. As you work, be sure to integrate the texture of the clothing pieces with slight dirtiness. Remember: less is often more – don’t overdo it, as the Elfenamazone shouldn't look like she just came out of the mud.
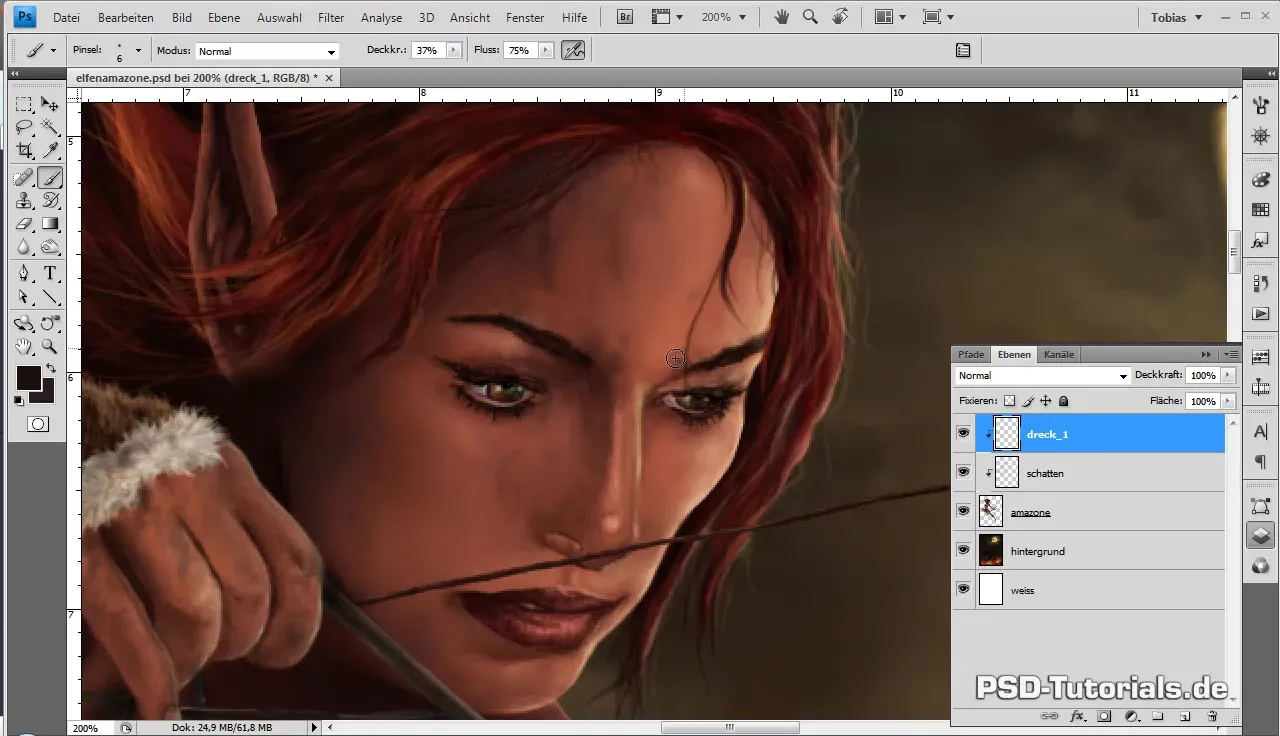
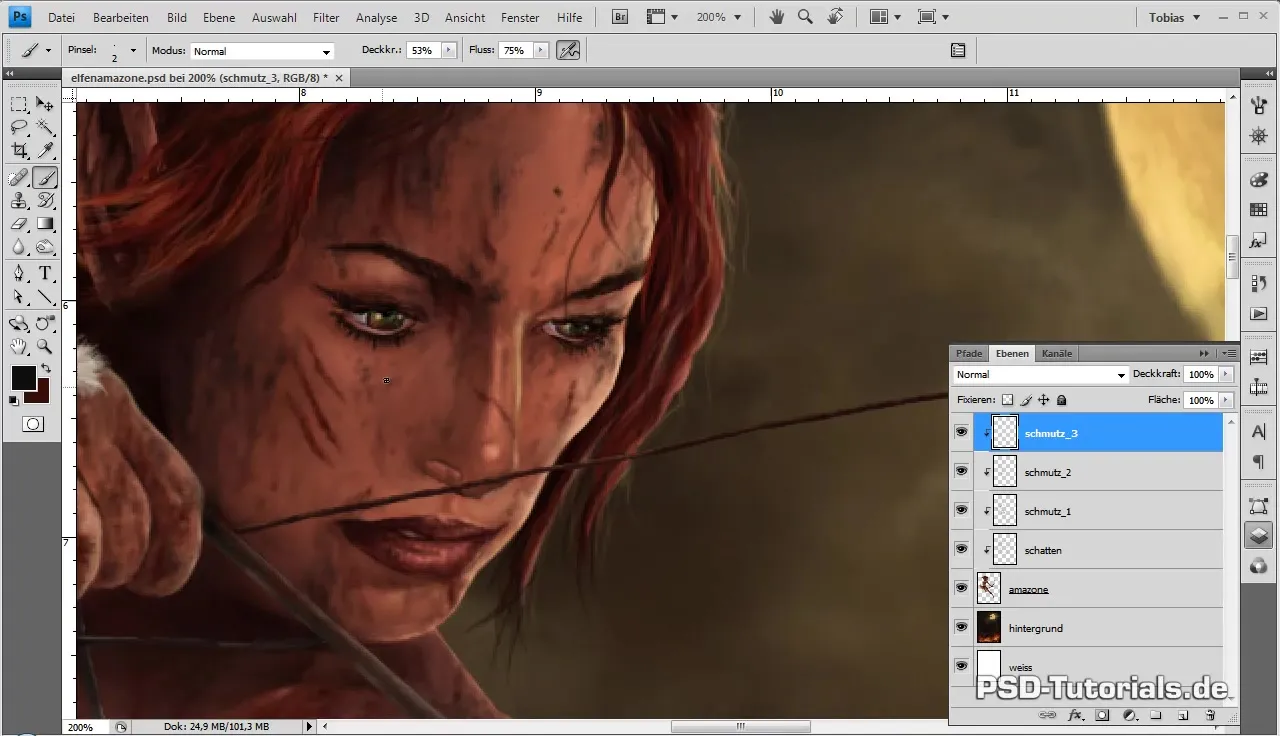
The next step involves placing dirt spots specifically on the face. Here you want to use as distinct and small spots as possible to avoid overshadowing the figure's features. Careful handling of dirt on the face emphasizes the character’s naturalness. When placing scrapes and scratches, it's important to prepare the areas before adding smaller details. You want the scrapes of the Amazone to tell stories without appearing exaggerated.
When you now work on the central body parts, such as the chest, you can be more generous with dirt, as these areas typically come into contact with warmth and sweat the most. Make sure to finish the base layer with the red tones of lips and other skin tones before drawing the wounds. Here, use a darker red-brown tone to create the base for injuries.
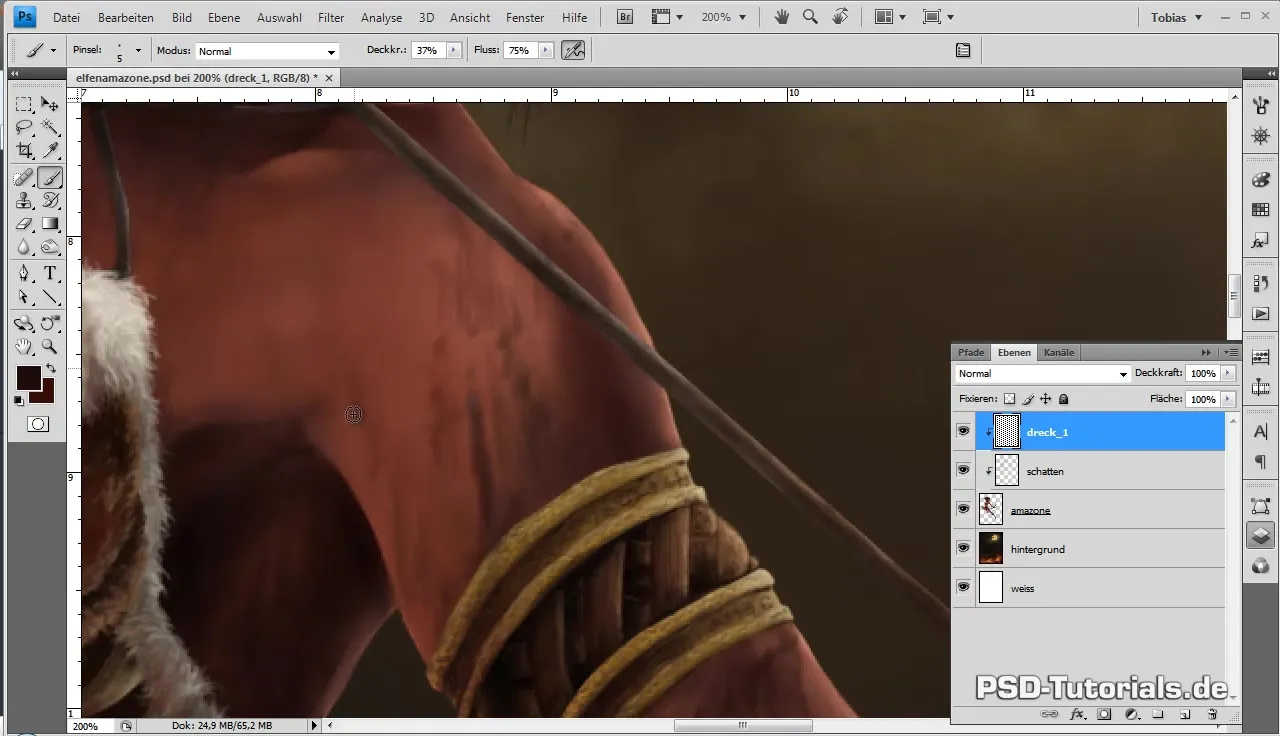
After defining the areas for the wounds, you start incorporating the injuries specifically. You can use thinner brushes to depict more realistic injuries. Secondary colors and lower opacity help make the different layers of dirt and wounds appear more lifelike. Be careful that the lines of blood differ from the dirt lines – after all, blood flows differently and requires more dynamic, flowing lines.
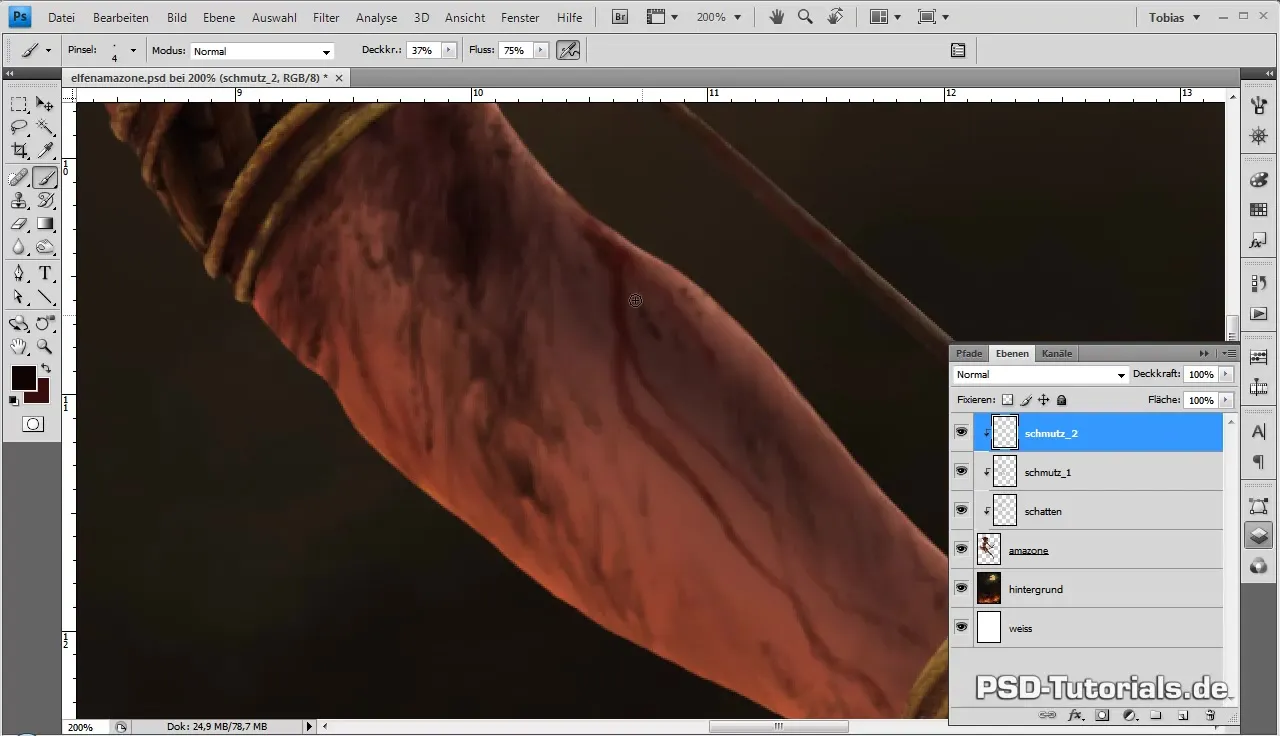
As you now work on the wounds with a fine brush, ensure that you fundamentally manage the dark areas to achieve the desired effect of depth and drama. The subtleties can make the difference between a flat and a deep, vibrant image. Especially in the face, small details can greatly influence the overall picture. Don’t lose focus on the harmonious integration of the pain wounds into the overall composition.
Finally, comes the fine-tuning. Use bright tones to emphasize the reflective character of the wounds and dirt. Within injured areas, you can enhance the illusion effect with brighter colors and shaded areas. These techniques make the image appear very realistic and add the final touch to capture the emotions and liveliness of your figure. Ensure to find a balance in the touches of light and shadow that gives the figure the unstable feeling of movement.
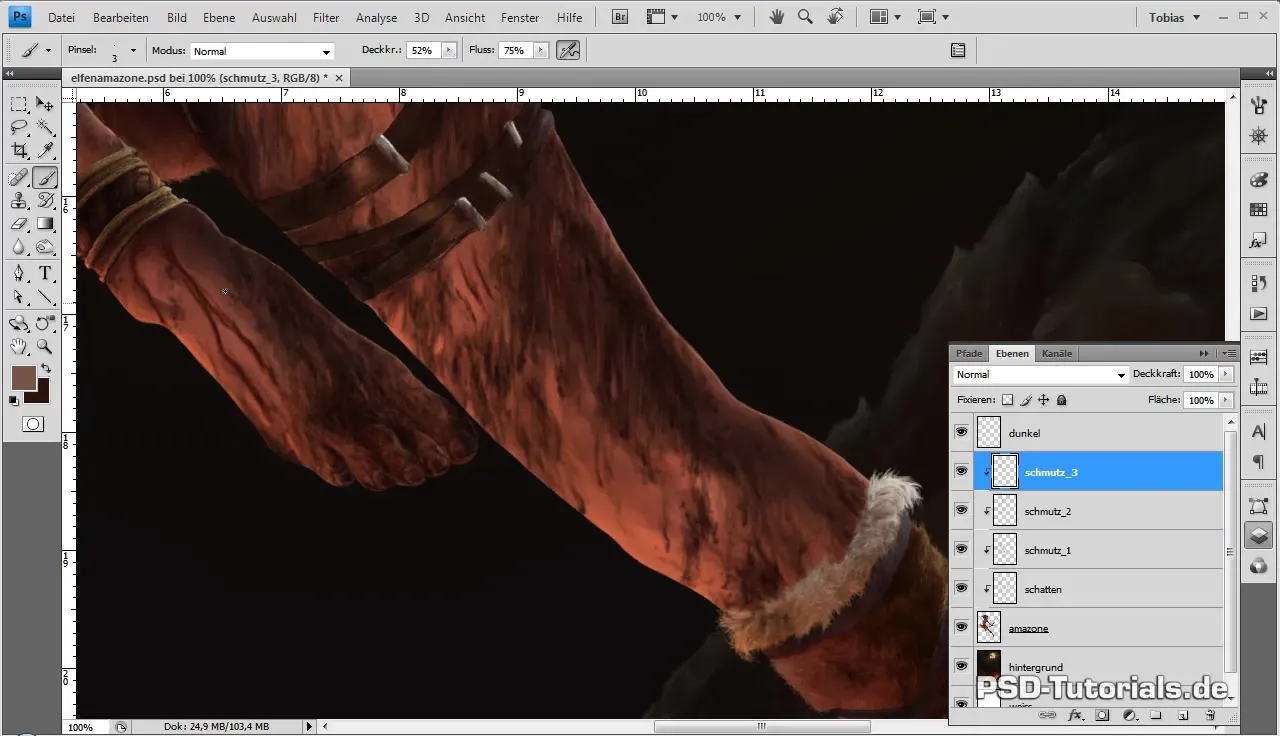
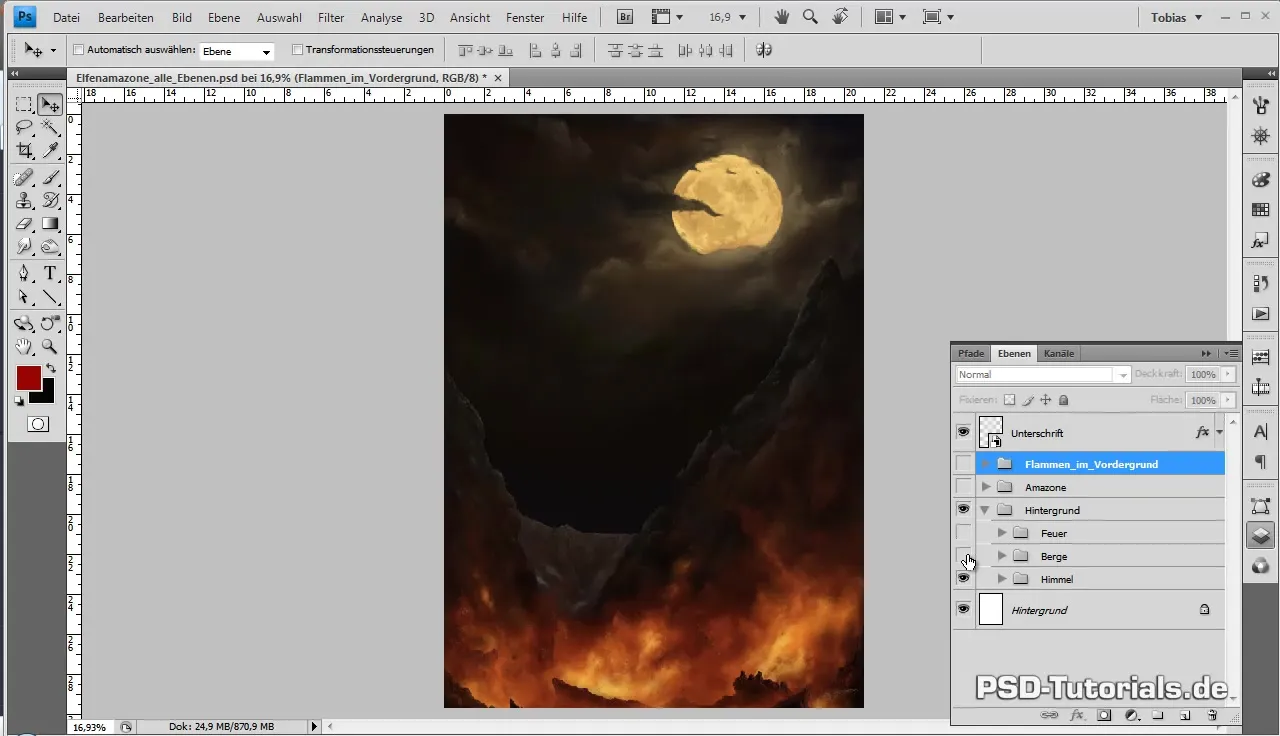
Finally, save your project regularly, while continuously reflecting back to identify areas needing adjustment. A short break can often provide new creative impulses. When fine-tuning, use the curves for light correction to finally give your Amazone the best fit in the background and round off the overall picture.
Summary - Digital Painting Guide - Finalizing the Elfenamazone
In these steps, you have learned how to breathe life into your Elfenamazone. With the right techniques for applying dirt, incorporating wounds, and fine-tuning, you have created a masterpiece that is both vibrant and engaging.
Frequently Asked Questions
What is a clipping mask?A clipping mask is a digital layer that allows you to apply specific effects or colors only to certain areas.
How important are colors in digital painting?Colors are essential for creating dimension and emotions in the image.
How often should I save my work?Save regularly, especially after making significant changes.
What is the goal of fine-tuning in painting?Fine-tuning aims to harmonize the overall image and render the details lively and convincing.


