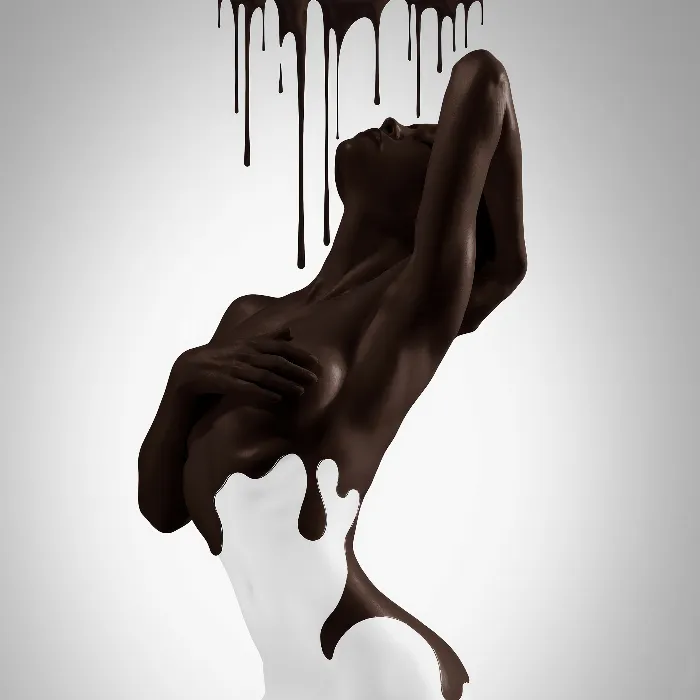
Photography is not just about capturing moments, but also a creative playground. With Adobe Photoshop, you can create true masterpieces. In this tutorial, I will show you how to give a model a milky Look to visually refine the Composing. Let's dive straight into the steps to transform your image into an enticing milk creation.
Key Insights
- Convert your layers to Smart Objects to avoid destructive editing.
- Use adjustment layers to selectively modify colors and textures.
- Utilize filters to enhance the desired effect and give your images a creative touch.
Step 1: Create Smart Object
First, you need to convert the existing layer into a Smart Object. This is essential for working flexibly and non-destructively. First, create a helper layer. To do this, click on the mask and drag it onto the empty layer.
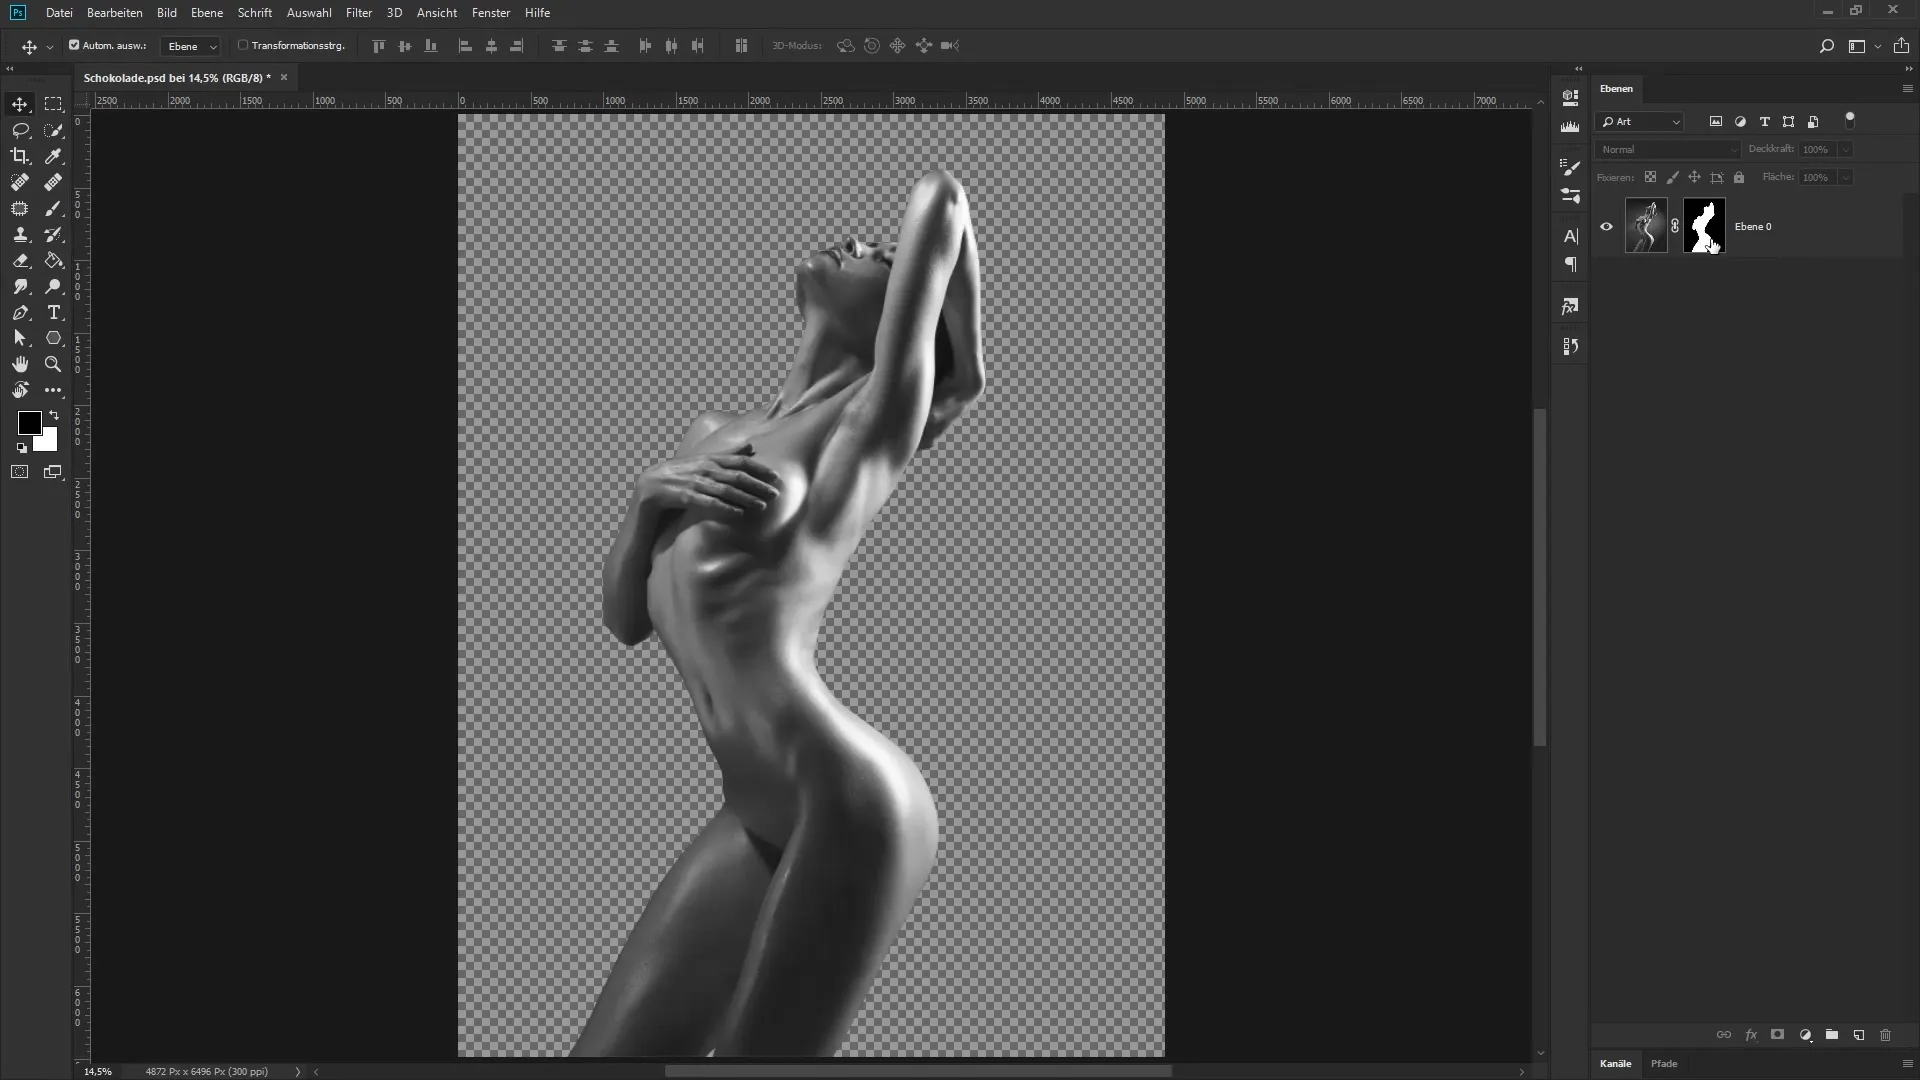
Now right-click on the photo layer and choose "Convert to Smart Object." After this action, you should see a small icon at the bottom of your layer palette indicating that this layer is now a Smart Object.
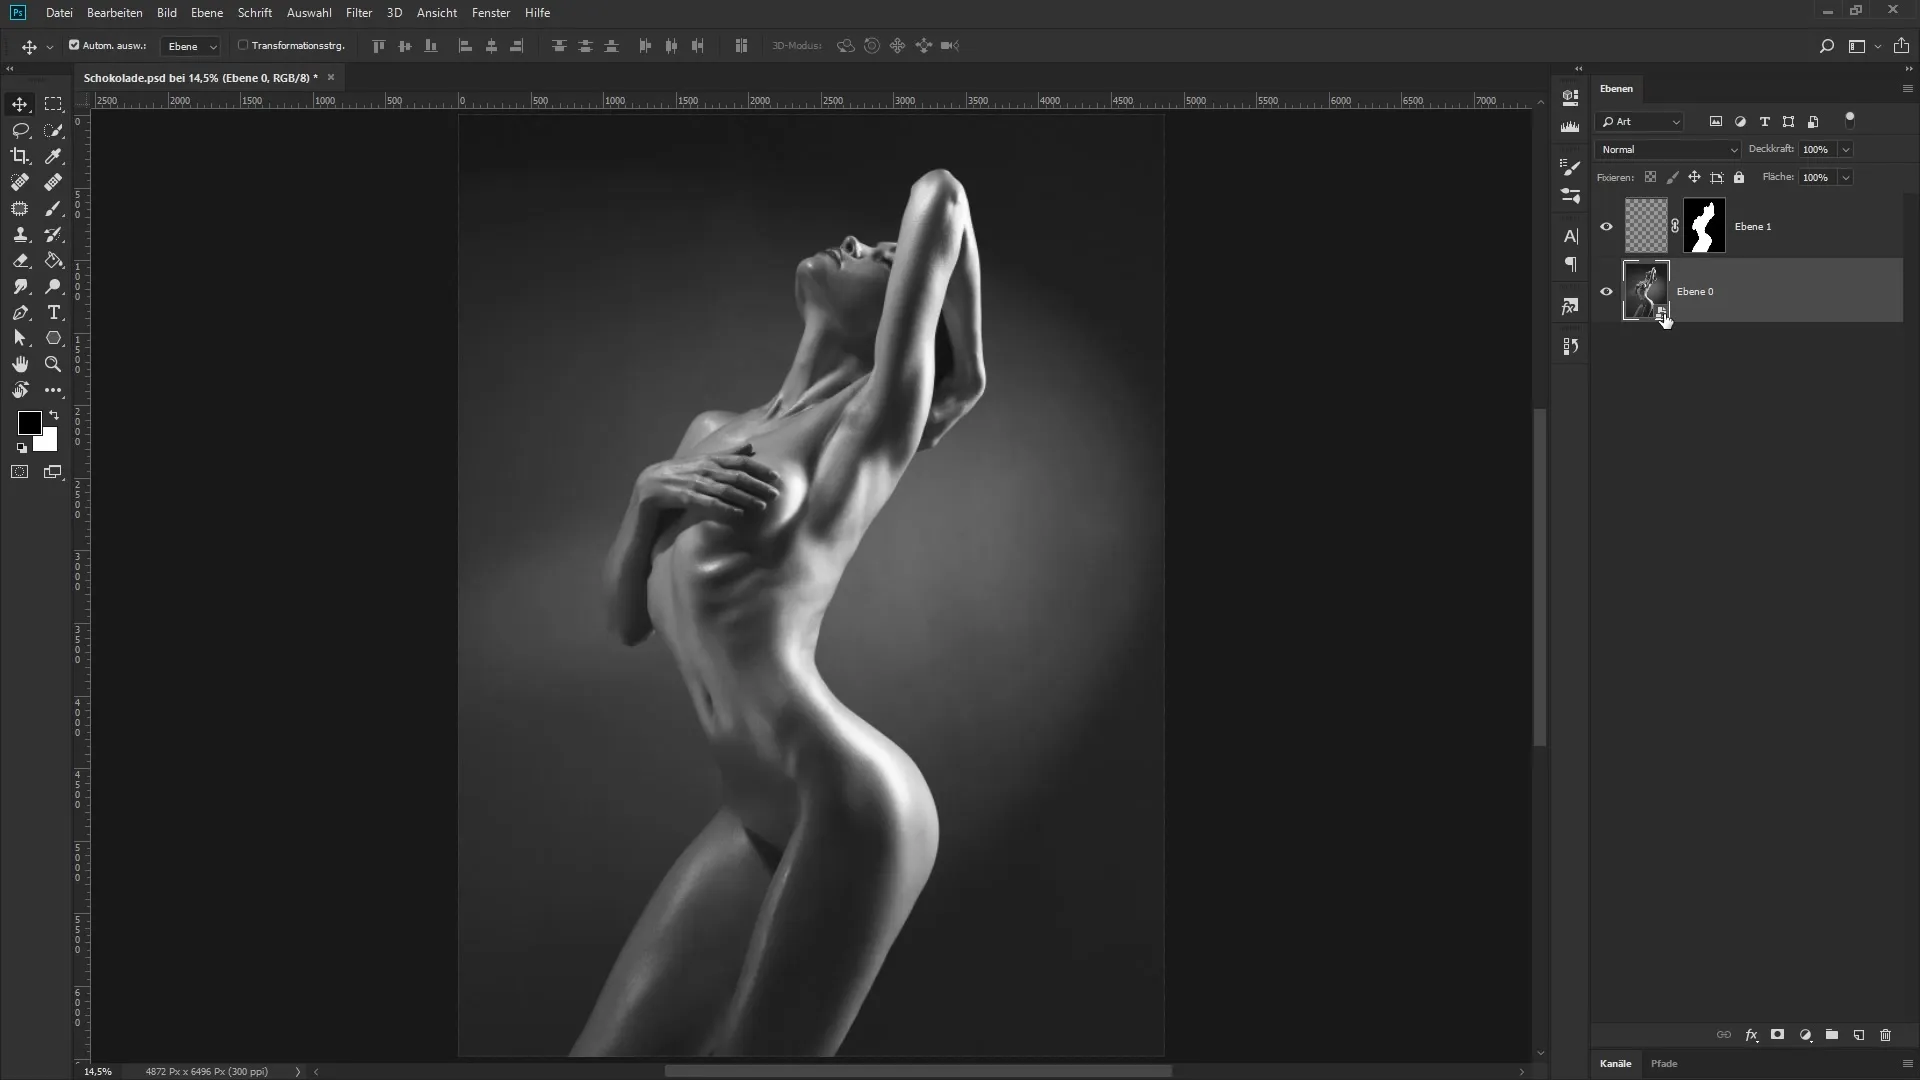
Then, drag the mask you created earlier back onto your photo layer. Now you have successfully applied the mask to your Smart Object. You can now set the helper layer aside.
Step 2: Create Background and Groups
To achieve the desired look, first create a new background layer. Name it "Background" by clicking on the appropriate icon and selecting a white color field. Drag this layer all the way to the bottom.
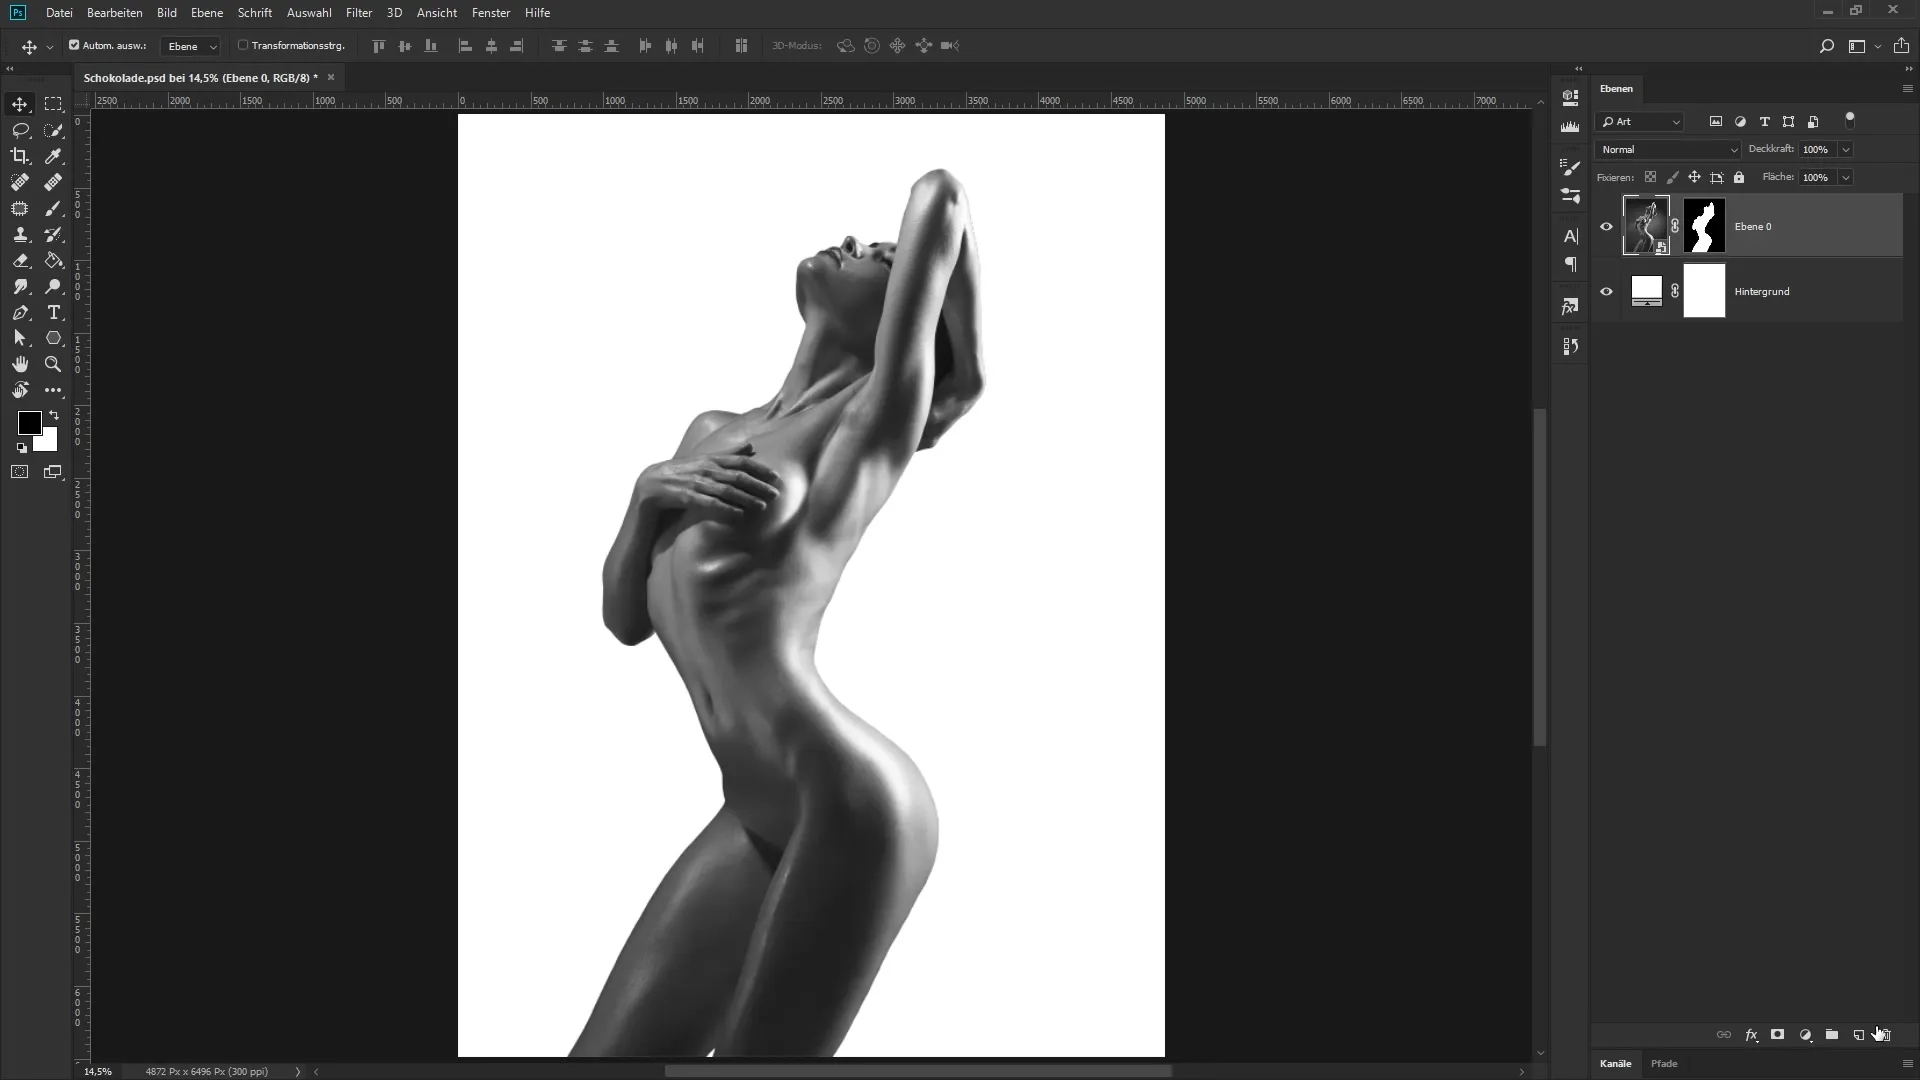
Now is the time to create a new group. Do this by clicking the folder icon. Name this group "Milk" and drag your photo layer into this group.
Step 3: Adjusting the Milky Look with Gradient
Now we come to the exciting part – creating a milky look. Create a new adjustment layer by clicking on the adjustment layer icon and selecting "Gradient Map." This technique allows you to drastically change the look of your image.
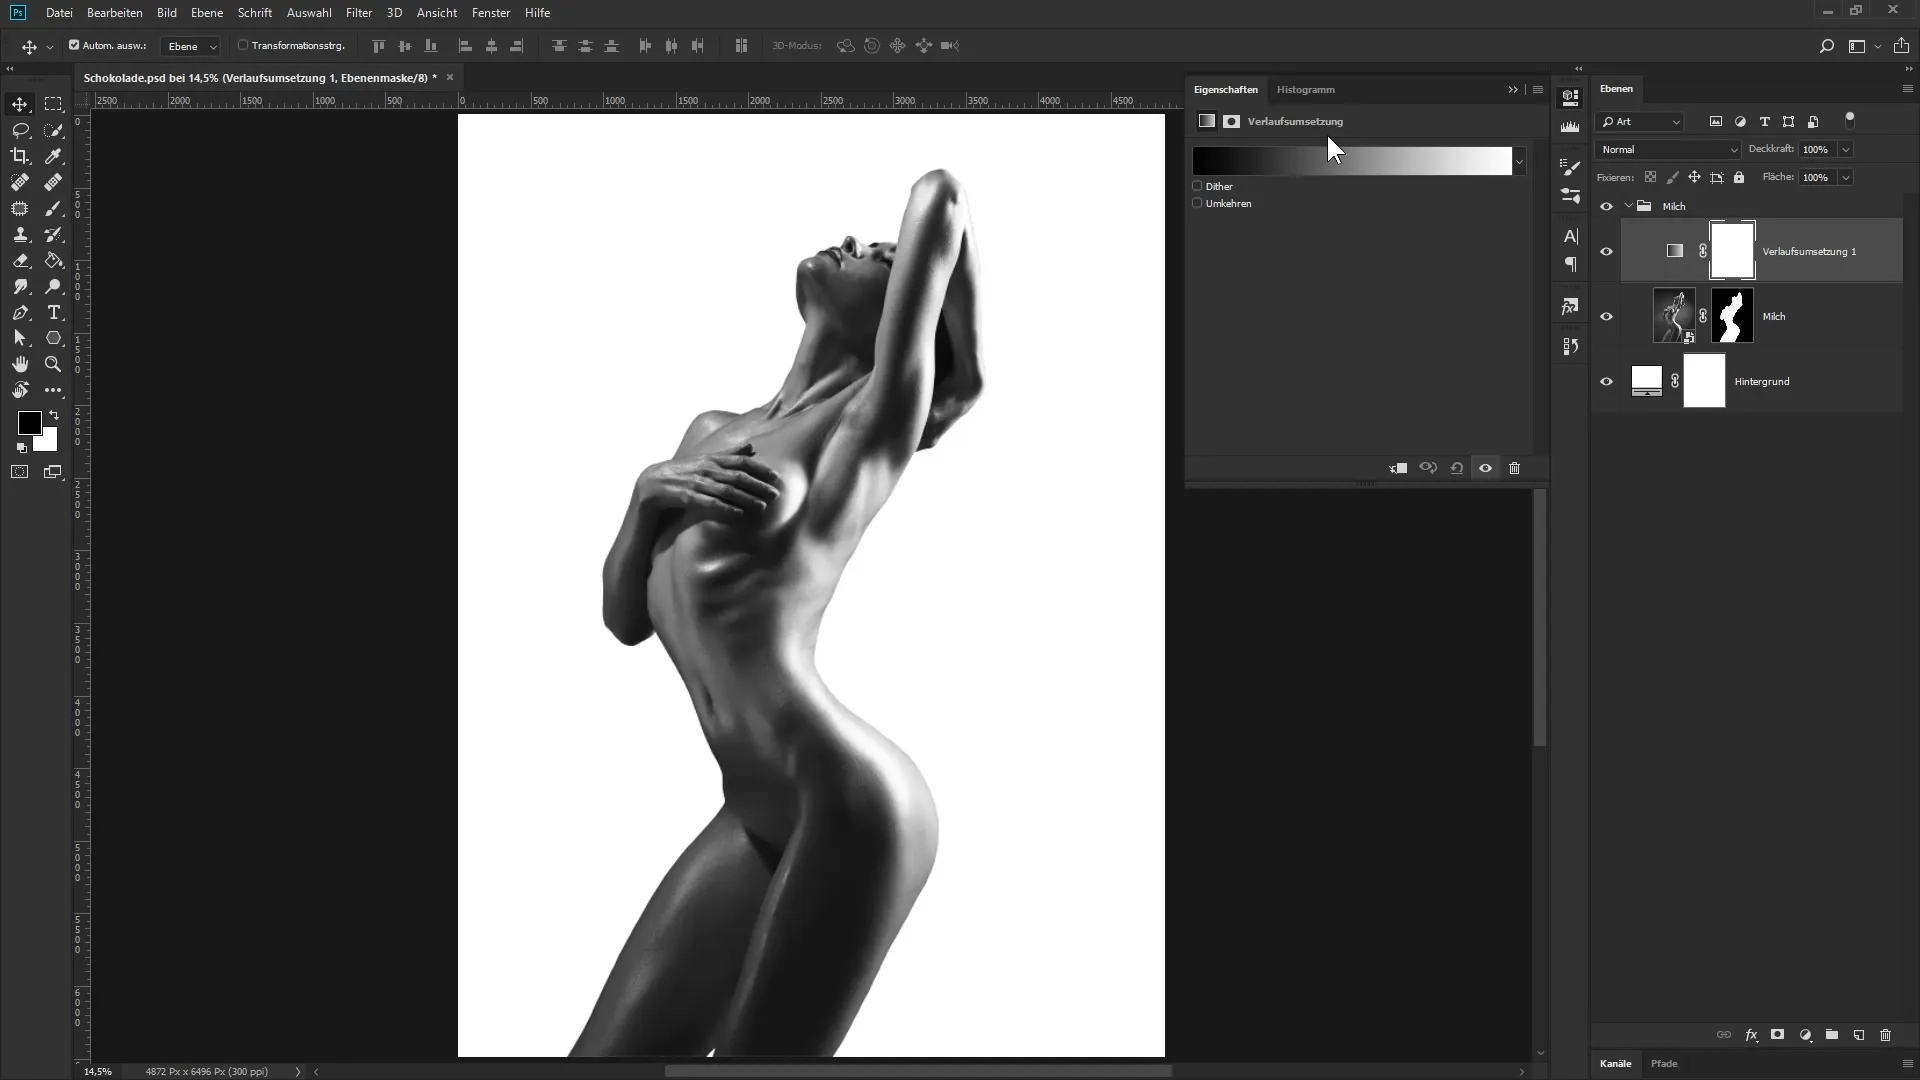
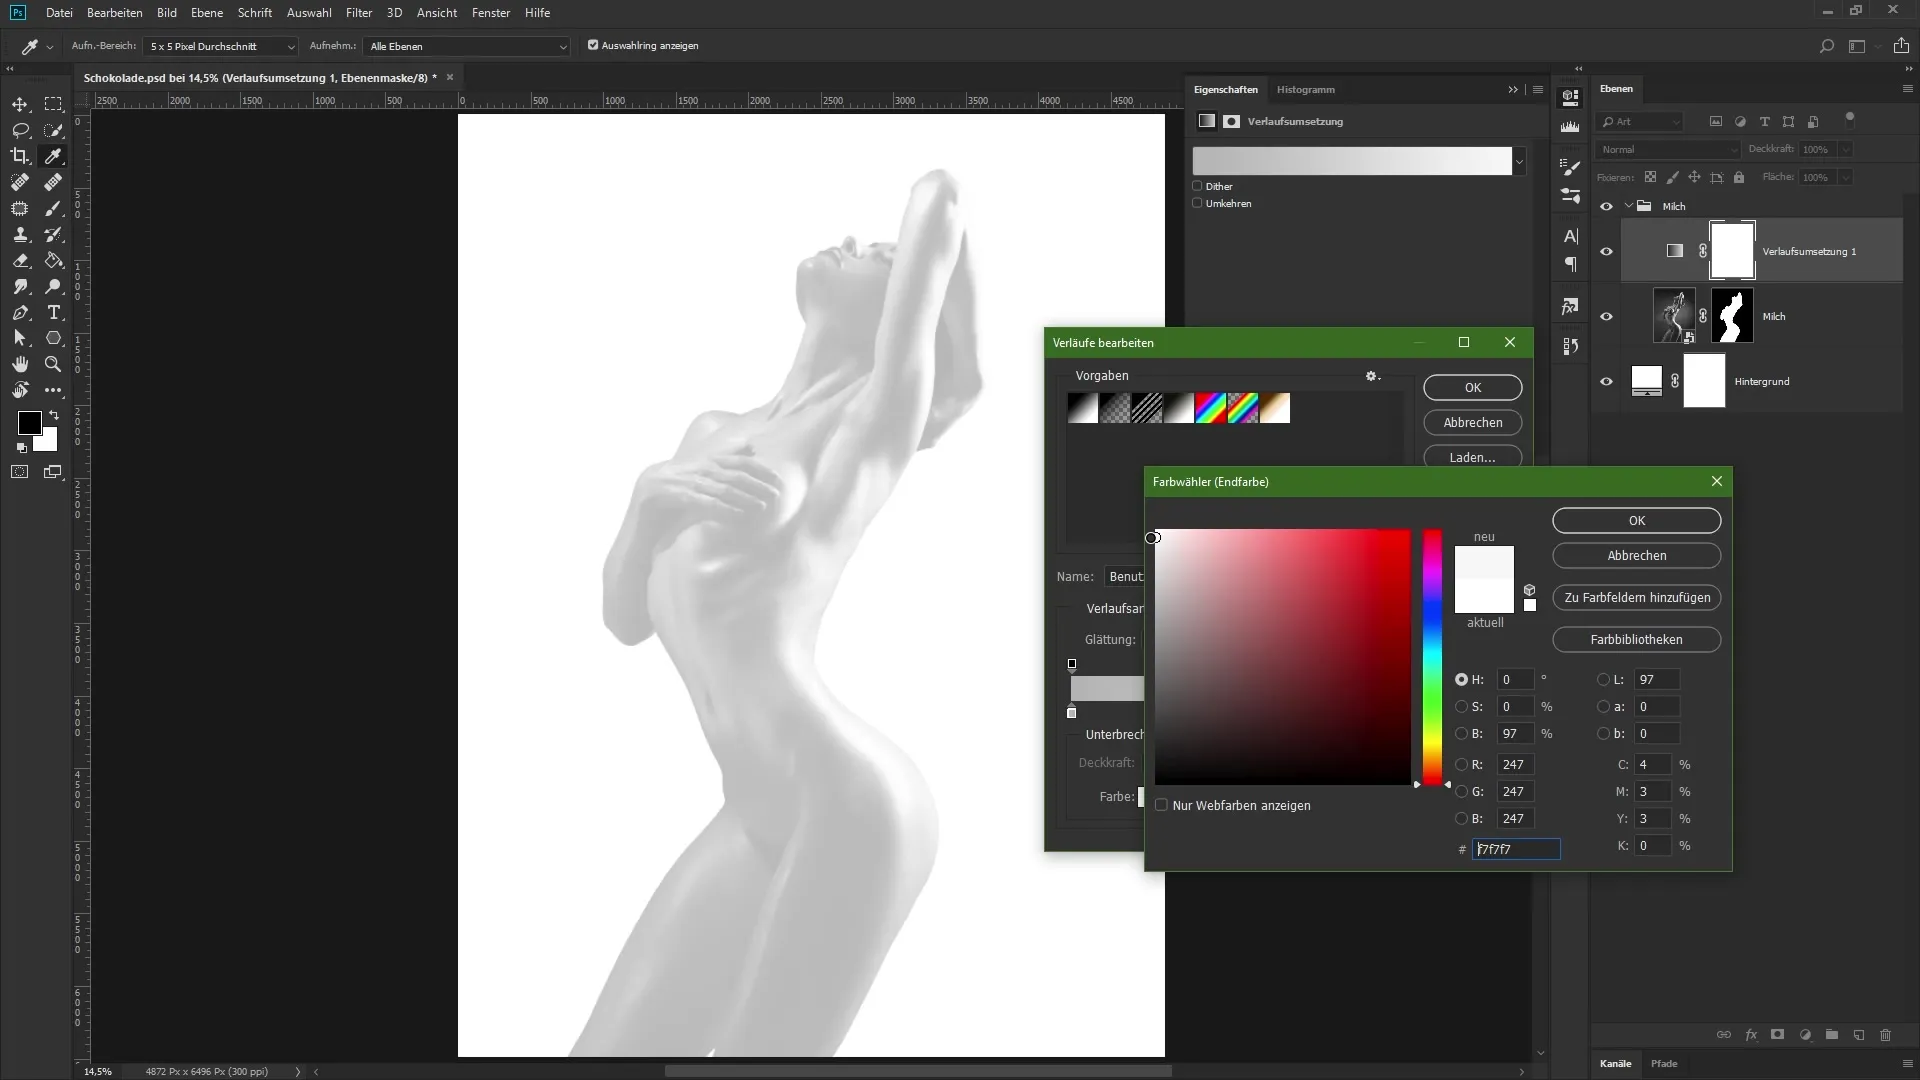
For the darkest tone in the image, choose a soft gray tone set to about 71% brightness. For the lightest area, you could select a very light gray tone with around 96% brightness.
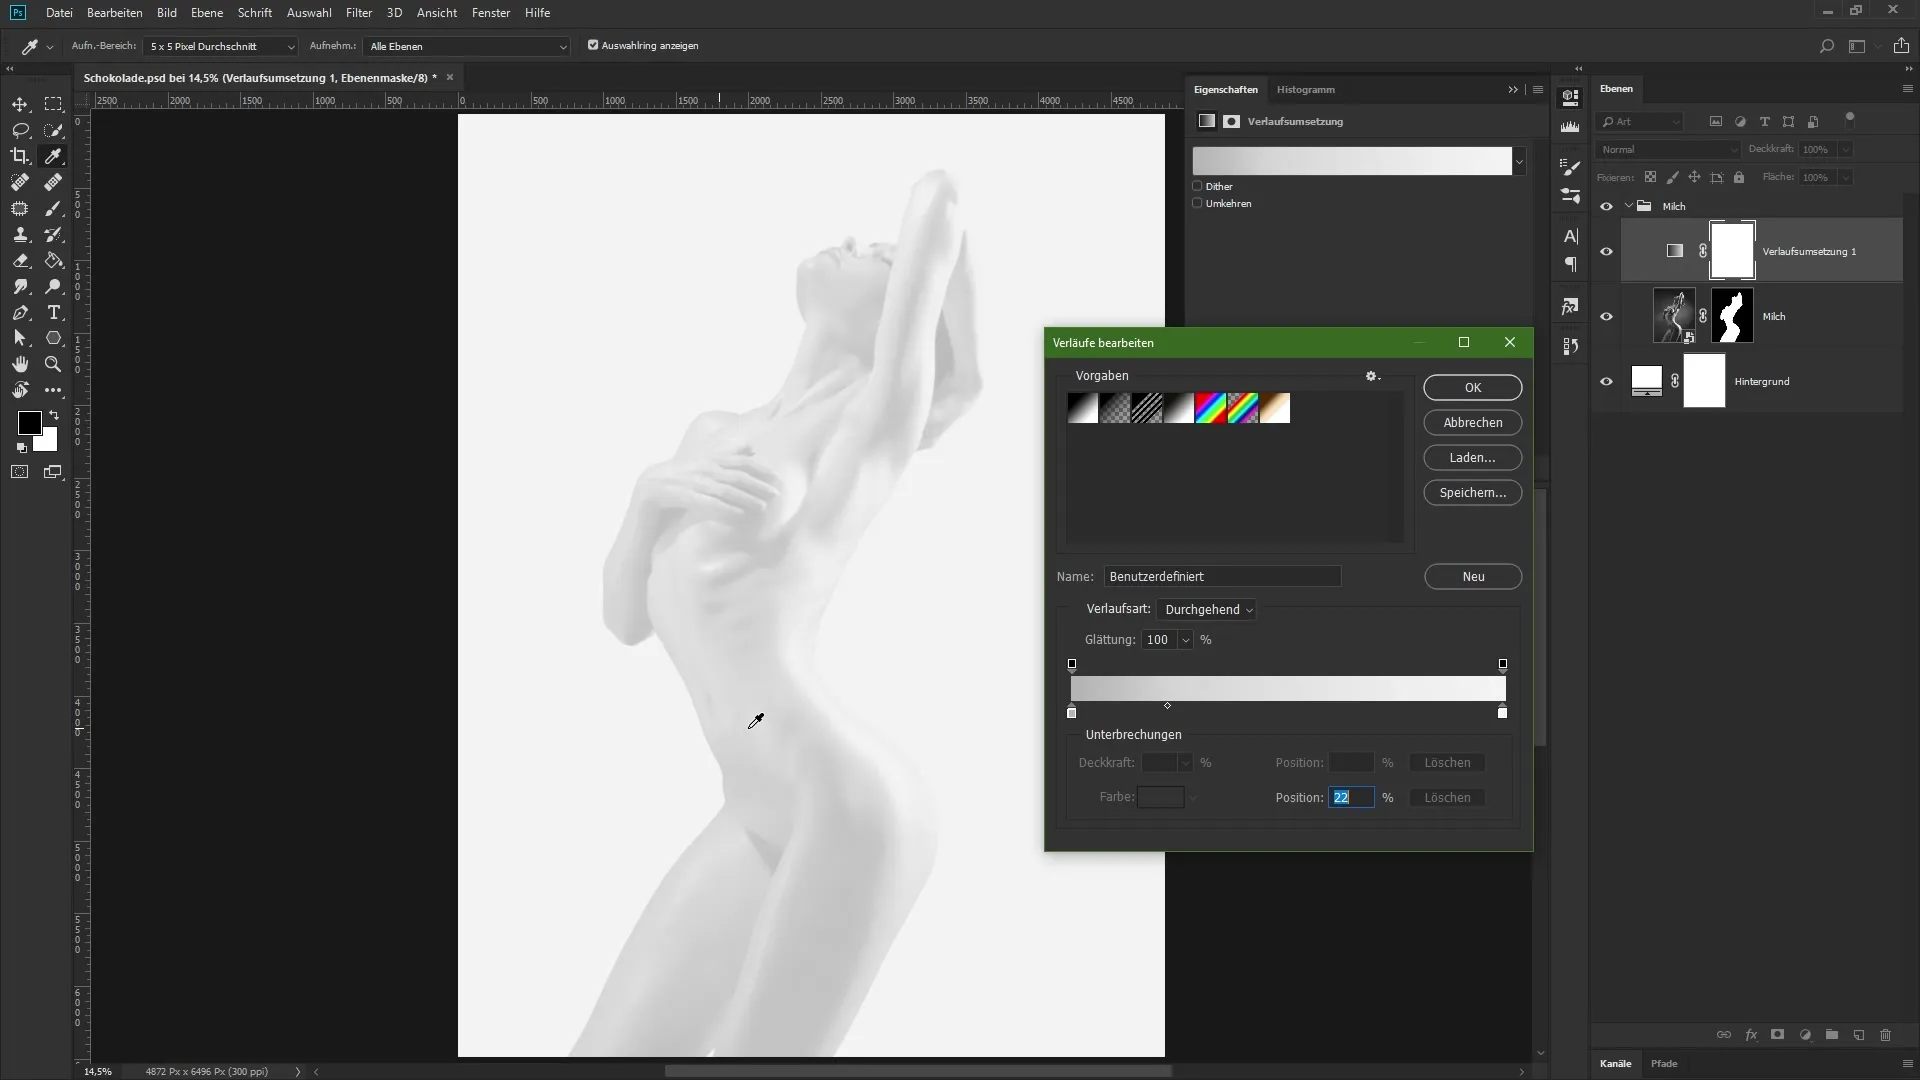
Adjust the gradient by moving the middle slider. Pull it to the left to brighten the image. If the effect is not strong enough, you can vary the location adjustment of the slider.
Step 4: Create Clipping Mask
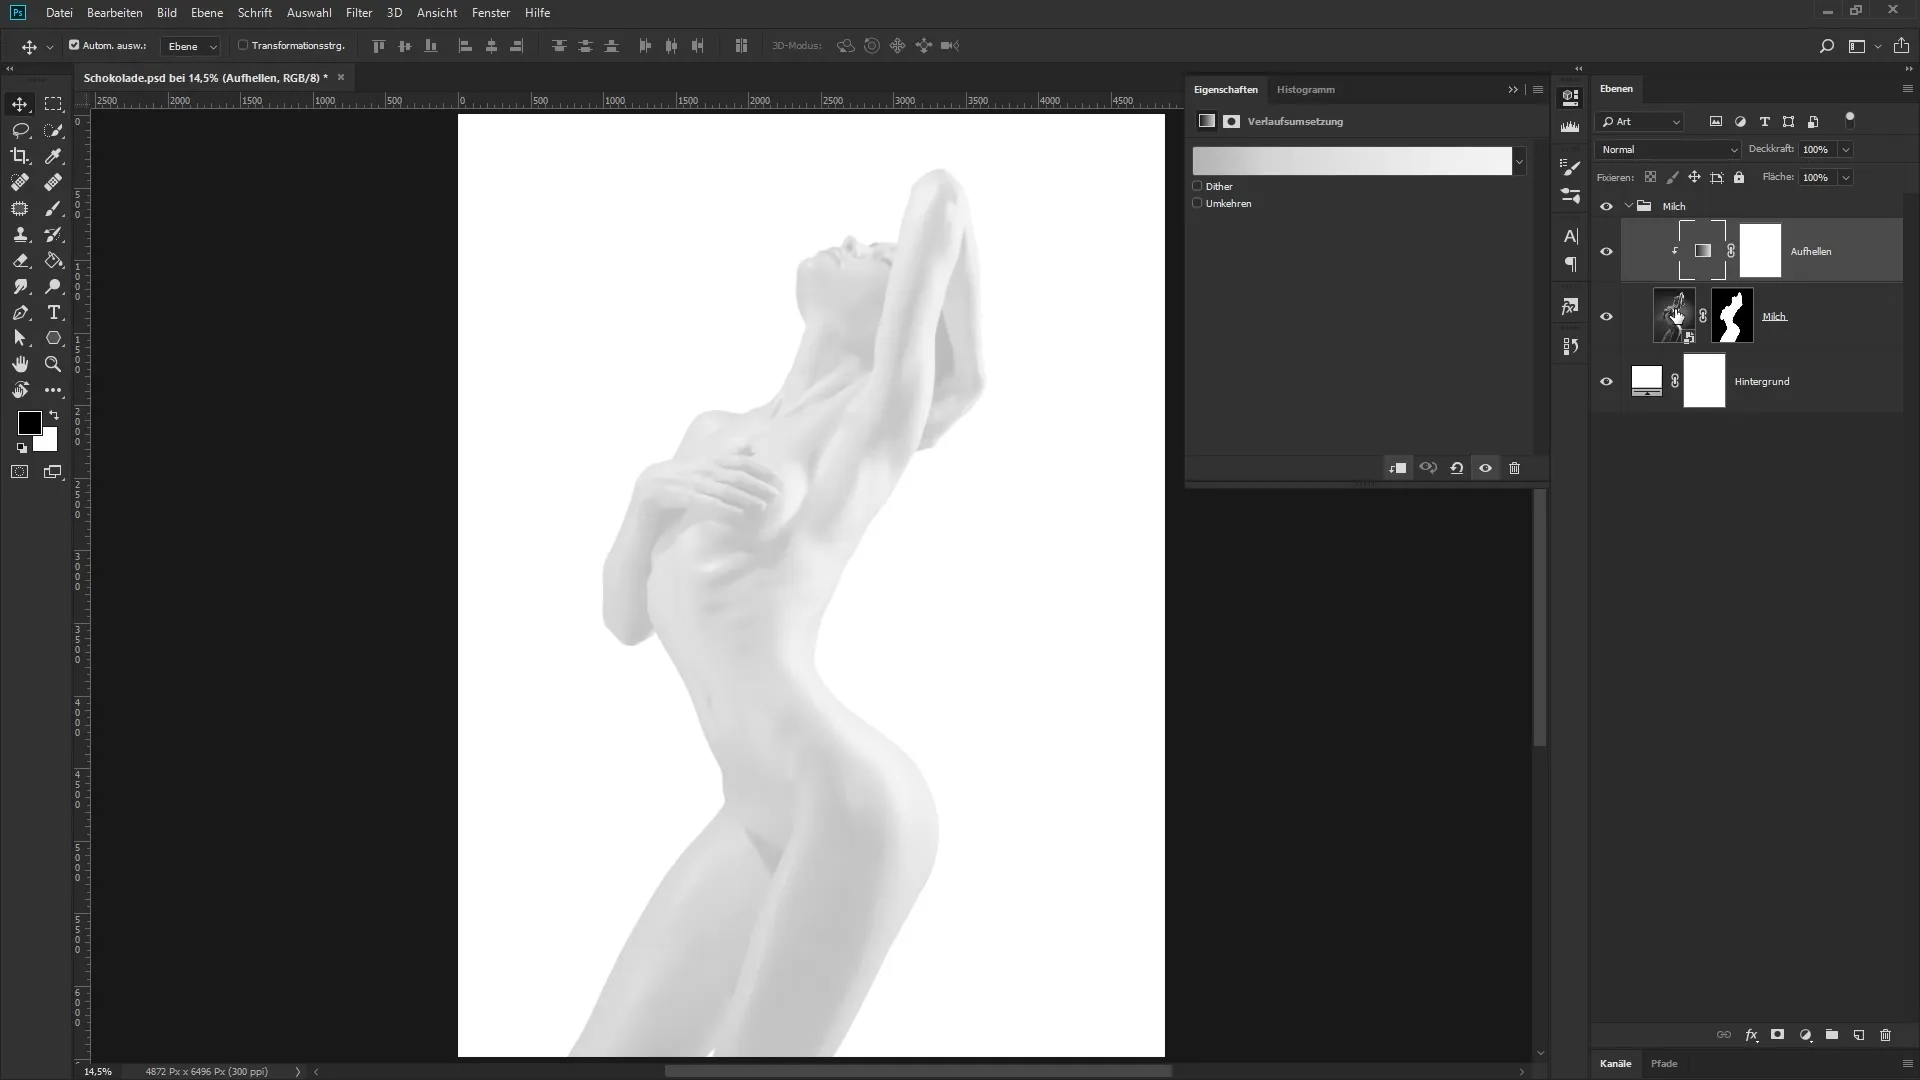
To ensure the adjustments only affect the underlying layer, create a clipping mask. Hold down the Alt key and click between the two layers. The small arrow icon indicates that the adjustment layer now only affects the top layer.
Step 5: Apply Oil Paint Filter
To achieve the final milky creamy look, apply a filter. Click on the active image layer (your Smart Object), go to "Filter" > "Stylize" and select "Oil Paint." In the dialog box, you can now adjust the various parameters.
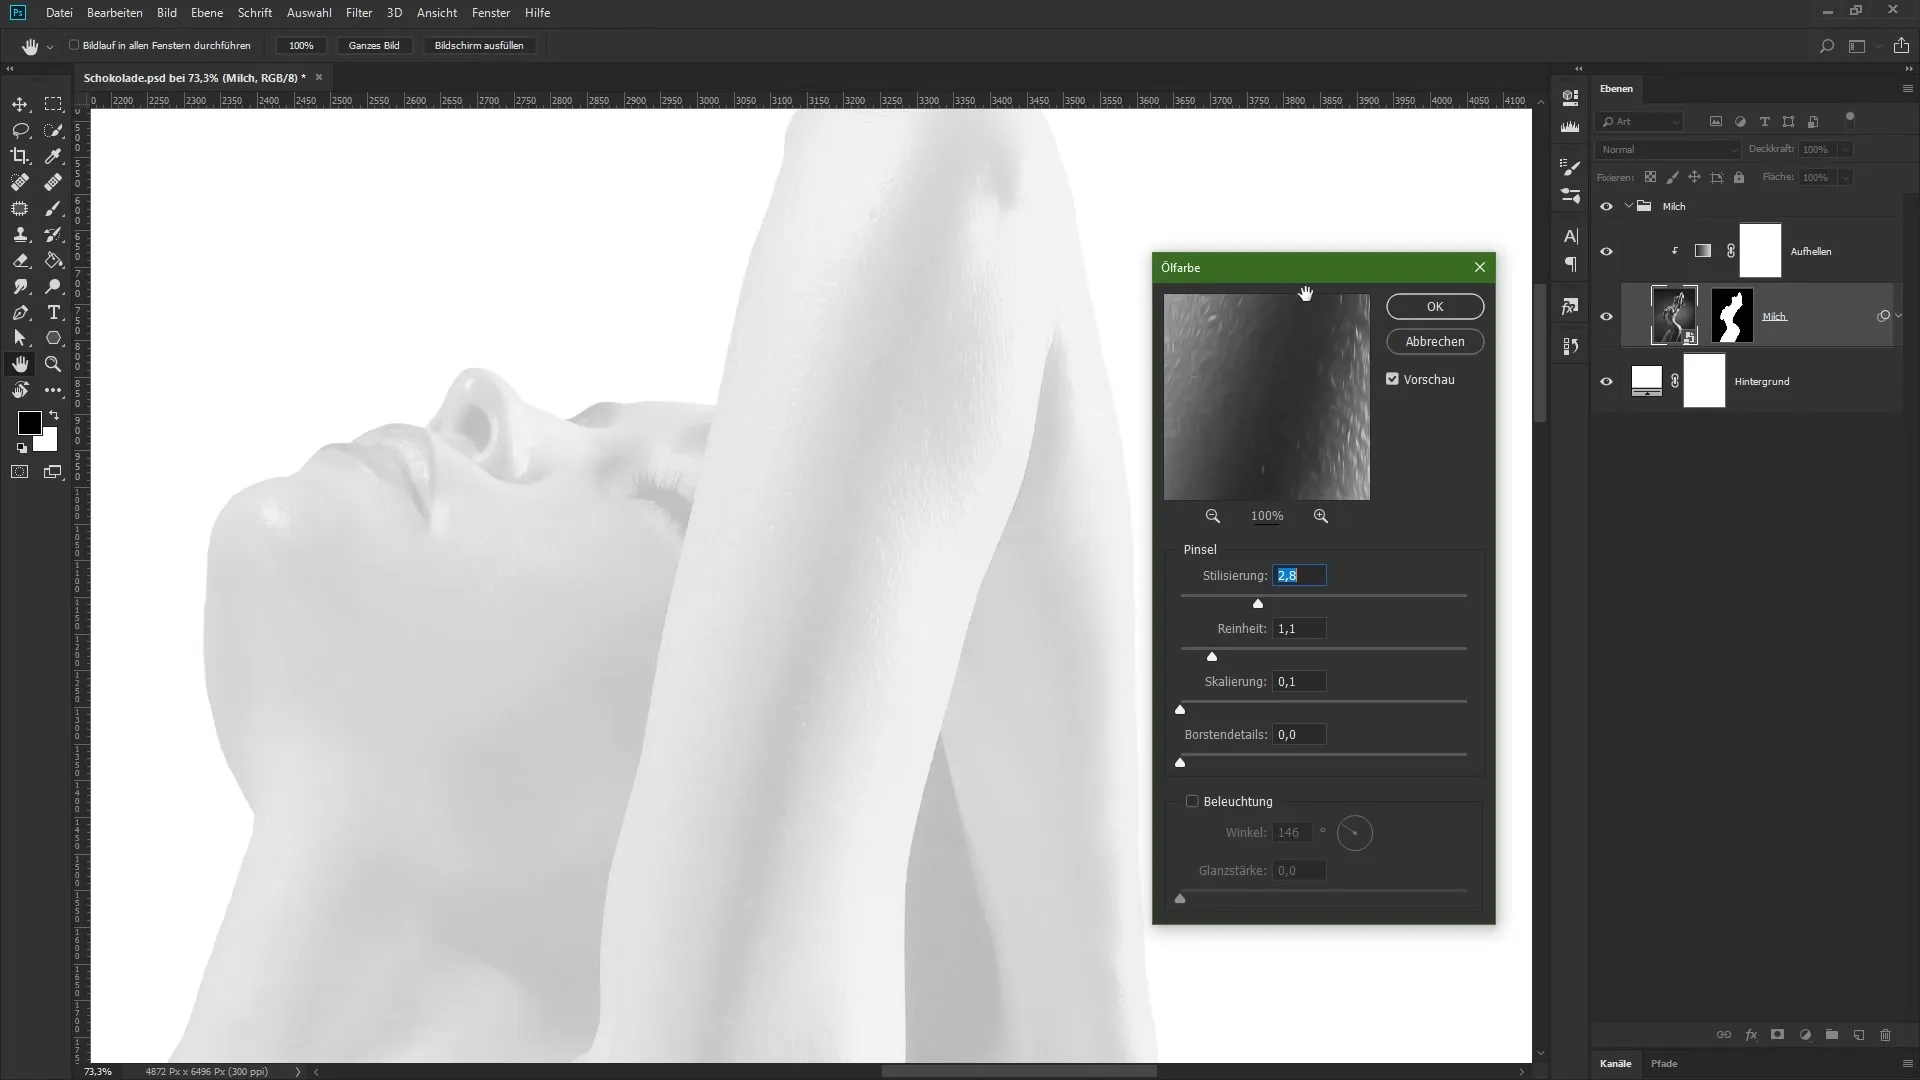
Slide the sliders for Stylization and Cleanliness to the right. This will enhance the painterly quality of your image and give it the desired character. Be careful not to over-process the image so that enough details remain visible.
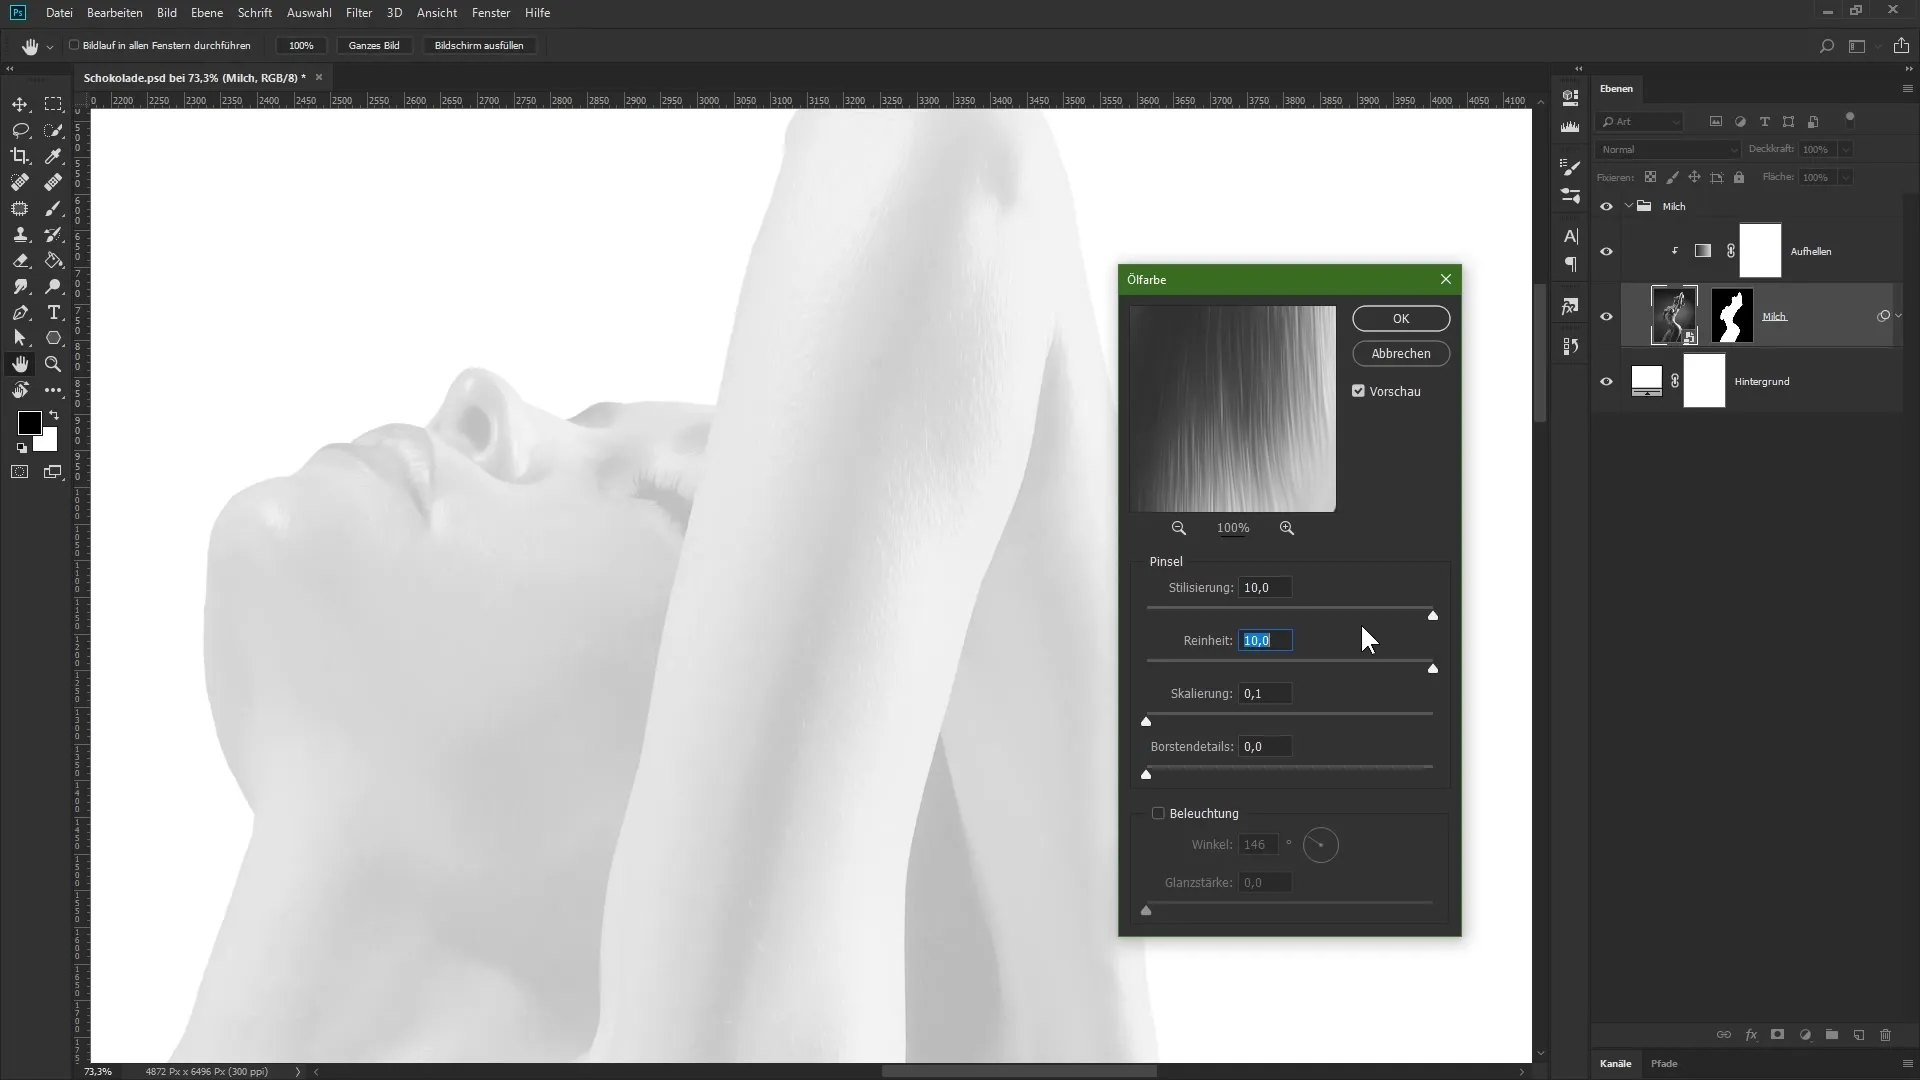
Once you have made all the adjustments, confirm your settings with "OK."
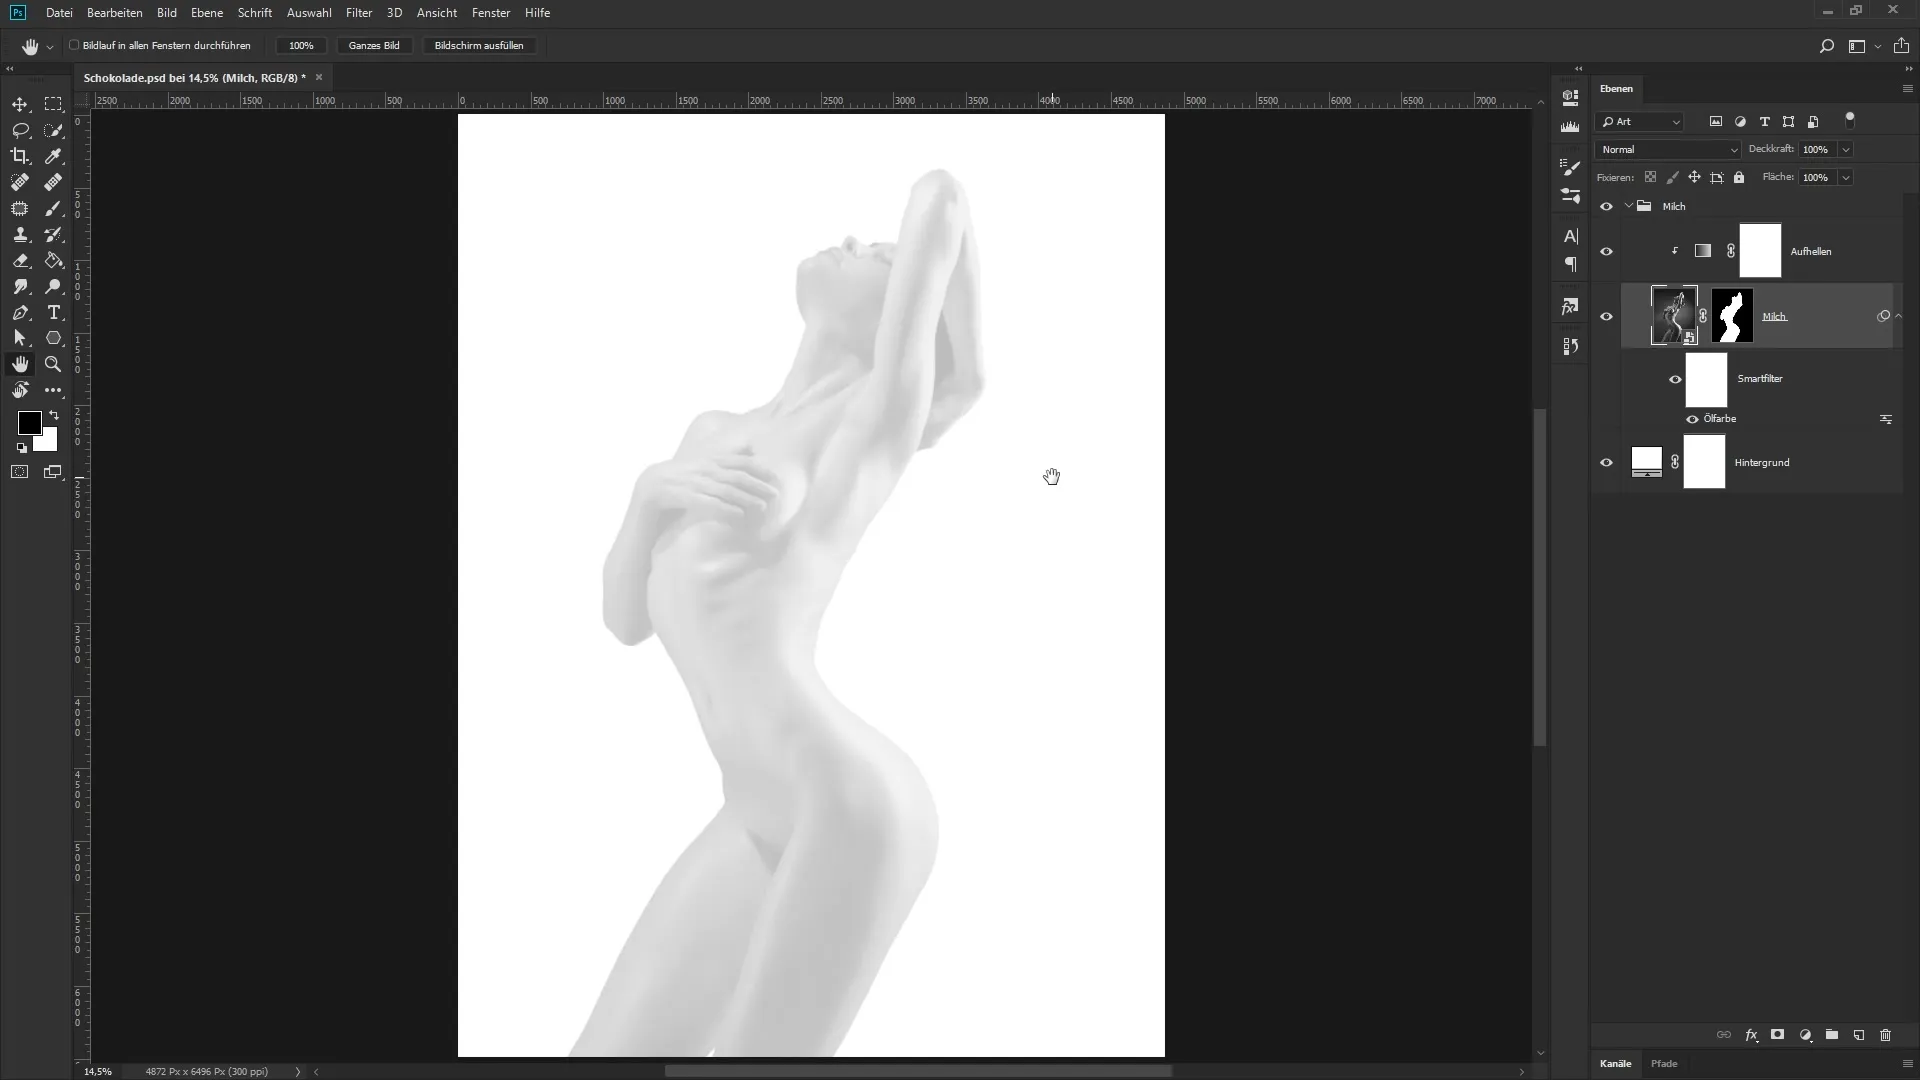
Summary – Creative Photo Montage in Photoshop: Milky Look for Your Composing
Throughout this tutorial, you learned how to create an appealing milky look for your composing using Smart Objects, adjustment layers, and filters. With the techniques described, nothing can stand in the way of your creative photo montage.
Frequently Asked Questions
What is a Smart Object?Smart Objects are layers that can contain multiple images or vector data without affecting the original data.
Why should I create a clipping mask?A clipping mask allows you to apply effects or adjustments only to the underlying layer, resulting in more precise outcomes.
How can I optimize the gradient on my image?You can adjust the intersection points and brightness values in the gradient settings to better achieve the desired look.
Can I change the applied filters later?Yes, since you are working with Smart Objects, you can modify or remove the filters at any time.
