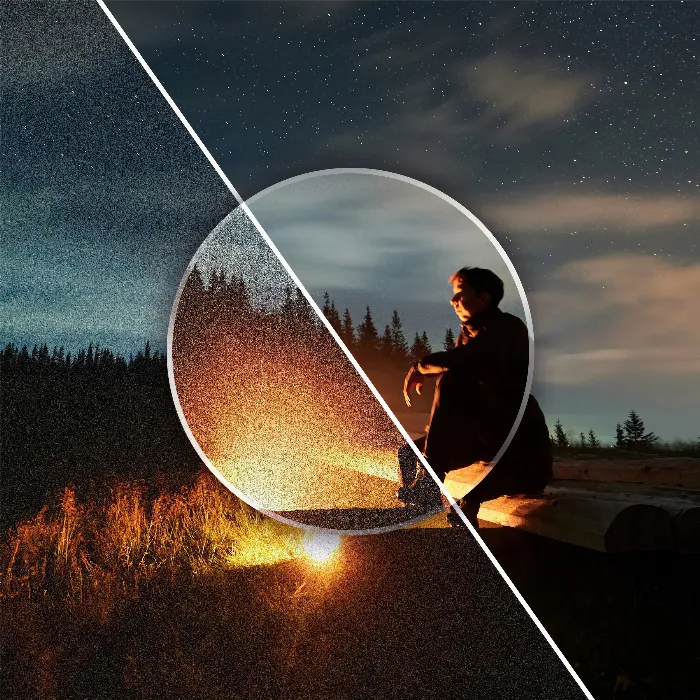
Welcome to this guide where you will learn how to effectively reduce noise in your photos. Noise often appears in images, especially in shots taken in suboptimal lighting conditions. This can lead to your images being rejected, especially on stock platforms where image quality is highly valued. This guide will help you understand and effectively apply various methods and tools for noise reduction. By the end, you will be able to transform your images into high-quality, noise-free photos.
Key Insights
To enhance the quality of your photos, it is crucial to use the right tools for noise reduction. In this tutorial, we will introduce you to the best available options. Whether you are a photographer or a hobbyist, utilizing AI-powered tools can significantly improve the results. The entire training takes only an hour and provides valuable insights and methods for professionally editing your photos. In this tutorial series, I will show you the best tools for noise reduction.
Step-by-Step Guide
Start by selecting the appropriate noise reduction tool. There are many programs that use AI-powered techniques to remove noise from images. Research the different offerings and choose the tool that best suits your needs. Make sure to compare the user interface and features to achieve the best possible outcome.
Once you have chosen your preferred noise reduction tool, upload the image you want to edit into the program. This is usually done through an "open file" button or by drag-and-drop. Ensure that the image format is supported and the image quality is sufficient for editing.
The next step is to review the noise reduction settings of the tool. Many programs offer various controls for the strength of noise reduction, the selection of the noise filter, and possibly even specific adjustments for different areas of the image. Experiment with different settings to achieve the optimal effect.
Once you have selected the right settings, apply the noise reduction to your image. In most tools, this is done by a simple click on a button like "Apply" or "Edit". Wait for the process to complete. The image will now reveal reduced noise elements.
After applying noise reduction, check the image quality. Zoom into the image and examine the details. Verify if the noise reduction has led to a loss of important image details or if the image remains sharp and clear.

If you are satisfied with the result, save the edited image in the desired quality. It is recommended to keep a copy in the original format in case you want to make additional adjustments later. Pay attention to the exported formats and choose the one that best suits your future project.
Finally, you can upload the edited photo to your portfolio or a stock platform. Make sure to use the right tags and descriptions to maximize the visibility of your work. A high-quality, noise-free image has significantly better chances of approval and reaching a wide audience.
Summary
In this guide, we covered the essential steps for noise reduction in photos. You can now select the best tools, upload your images, and effectively apply noise reduction. Remember to review the quality of your image before and after editing to achieve optimal results.
Frequently Asked Questions
What is noise in photos?Noise is an unwanted visual artifact in images, often occurring in poor lighting conditions or high ISO settings.
How can I reduce noise in my images?By using specialized software that applies AI-powered noise reduction techniques, you can effectively minimize noise.
Are AI-powered tools better than traditional methods?Yes, AI-powered tools often provide more precise and automated solutions that systematically and selectively reduce noise.

