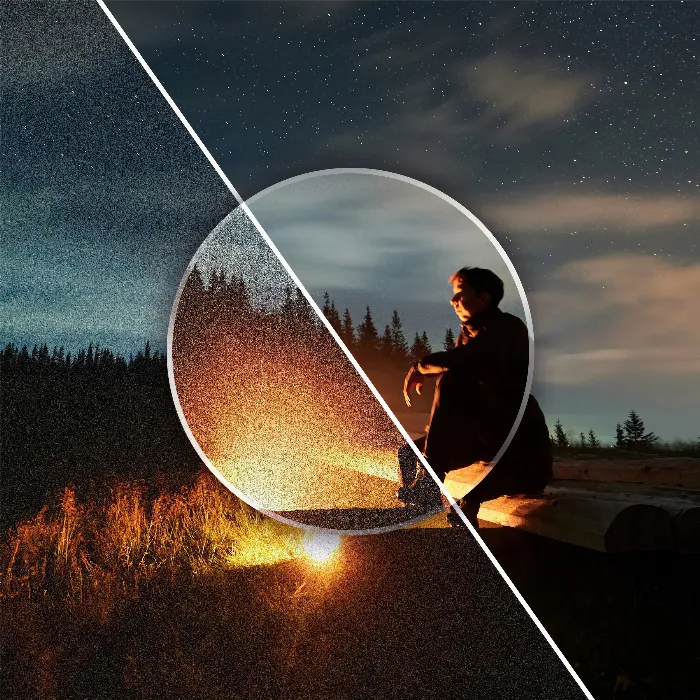
Removing noise from photos is one of the most common editing tasks that photographers have to perform. With Adobe Lightroom, you have powerful tools at your disposal to help you achieve results that can certainly compete with those of professional software. Especially the latest version, Lightroom 6.3, introduces AI-powered noise reduction that significantly simplifies and improves the process. In this guide, I will show you step by step how to effectively use Adobe Lightroom to remove noise from your images while preserving the desired details.
Key Insights
- Adobe Lightroom offers powerful noise reduction features.
- Using masking tools allows targeted editing of specific areas of an image.
- AI technologies in Lightroom 6.3 significantly simplify noise reduction and lead to impressive results.
Step-by-Step Guide
Step 1: Import Image into Lightroom
First, open Adobe Lightroom and import the image you want to edit. Make sure you have the image in a RAW format to achieve the best results.
Step 2: Activate Noise Reduction
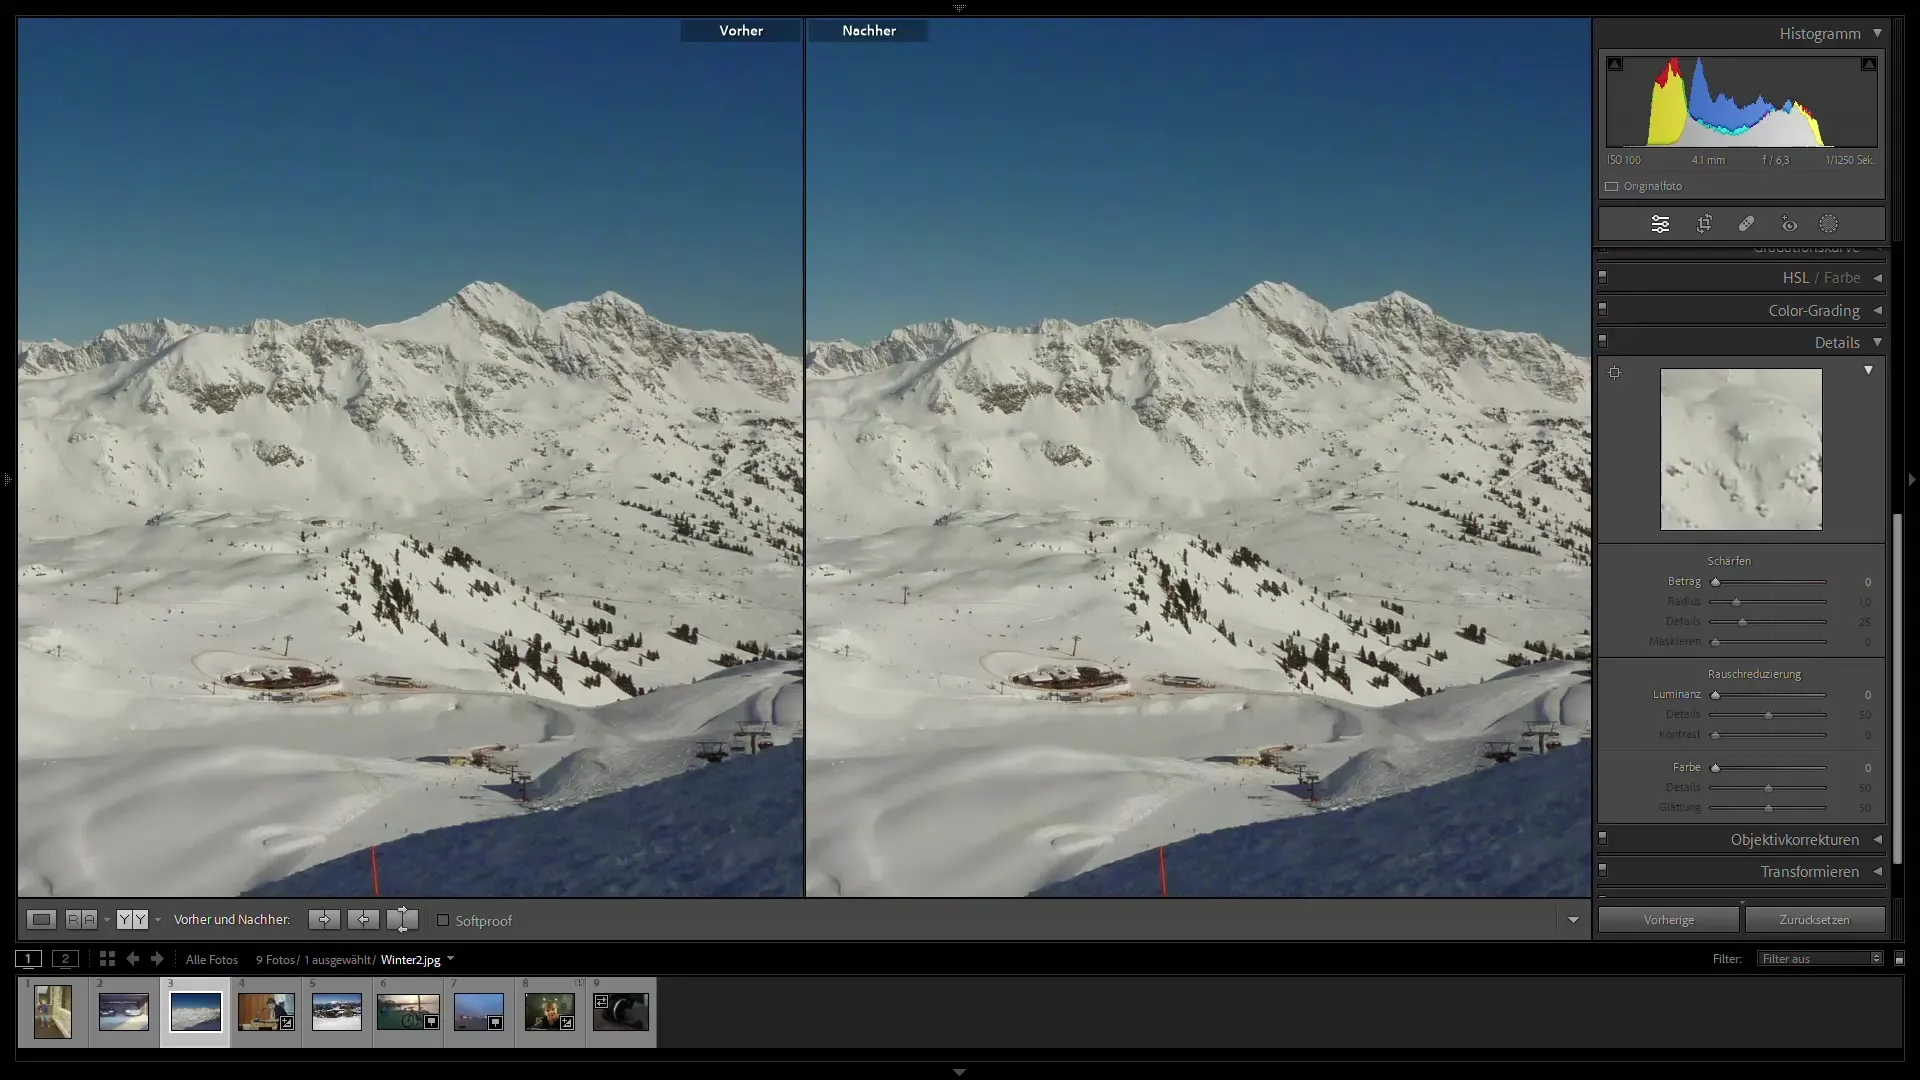
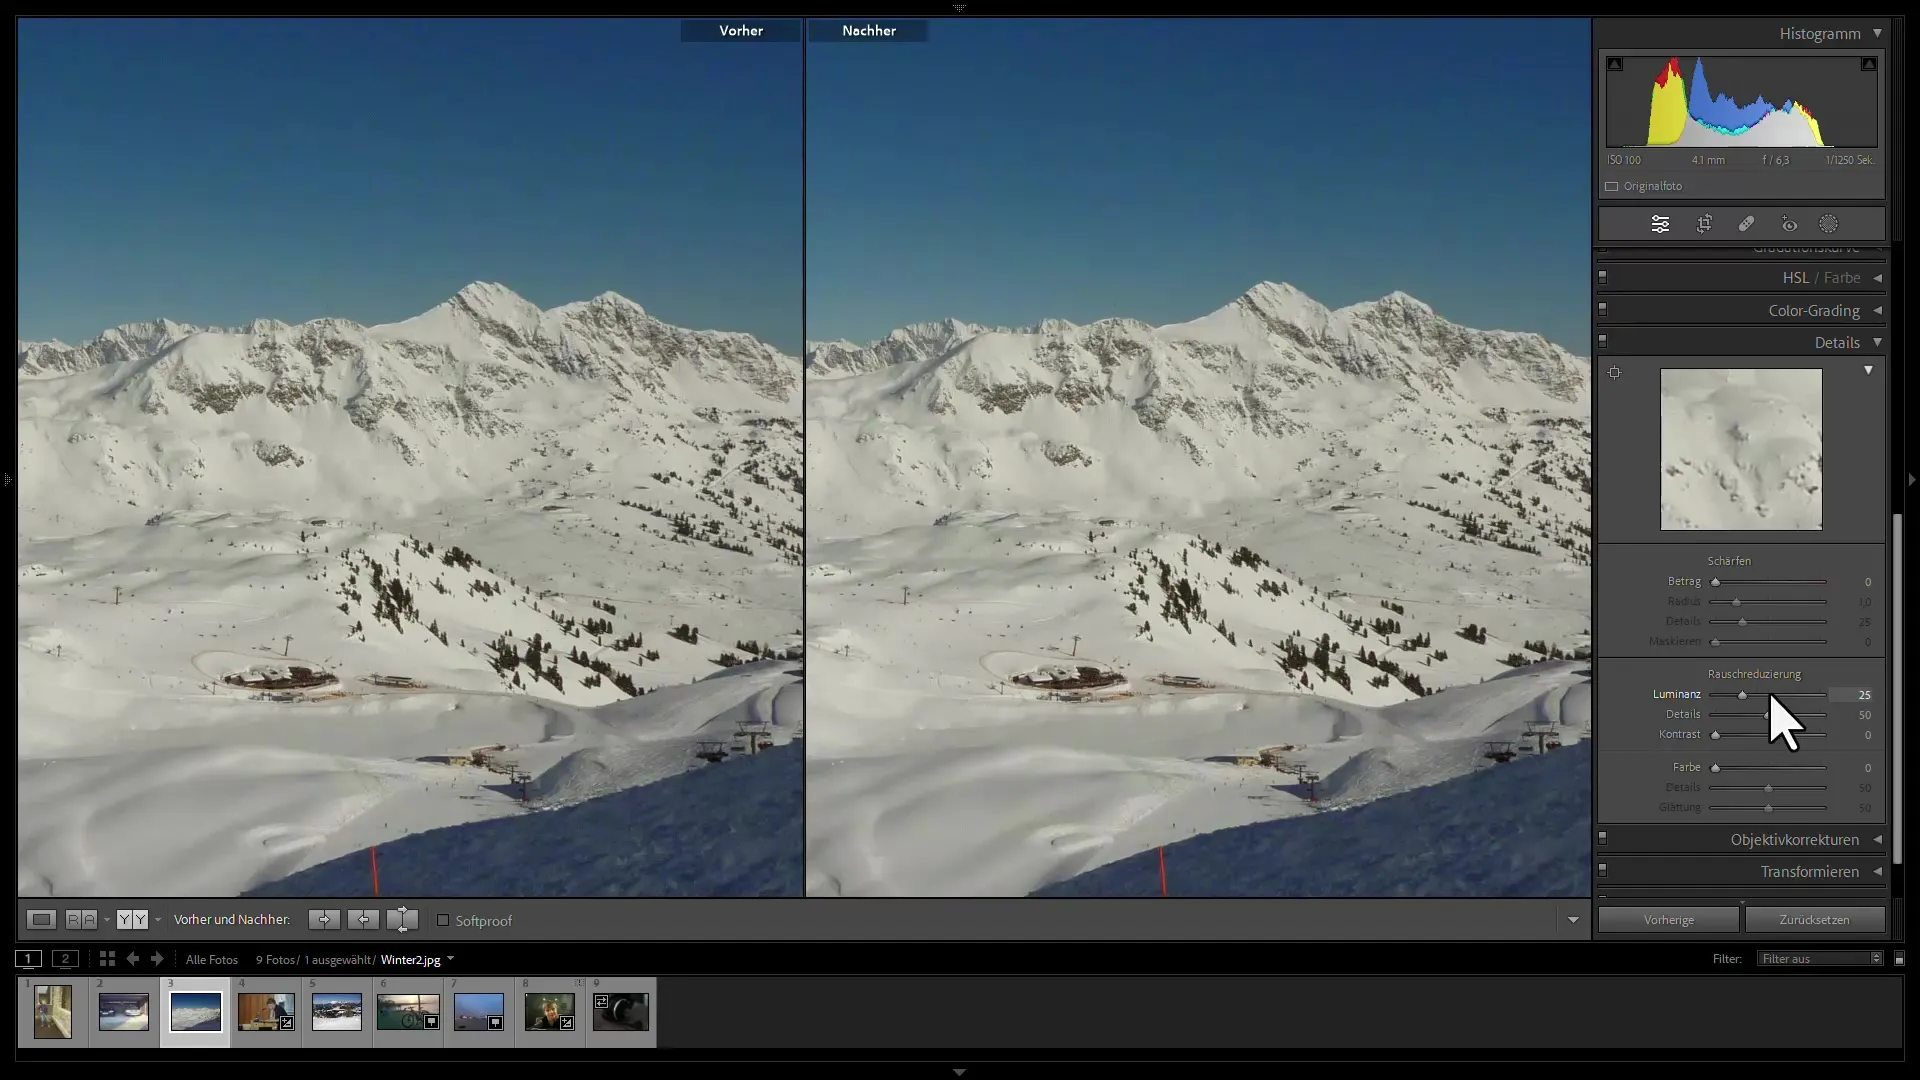
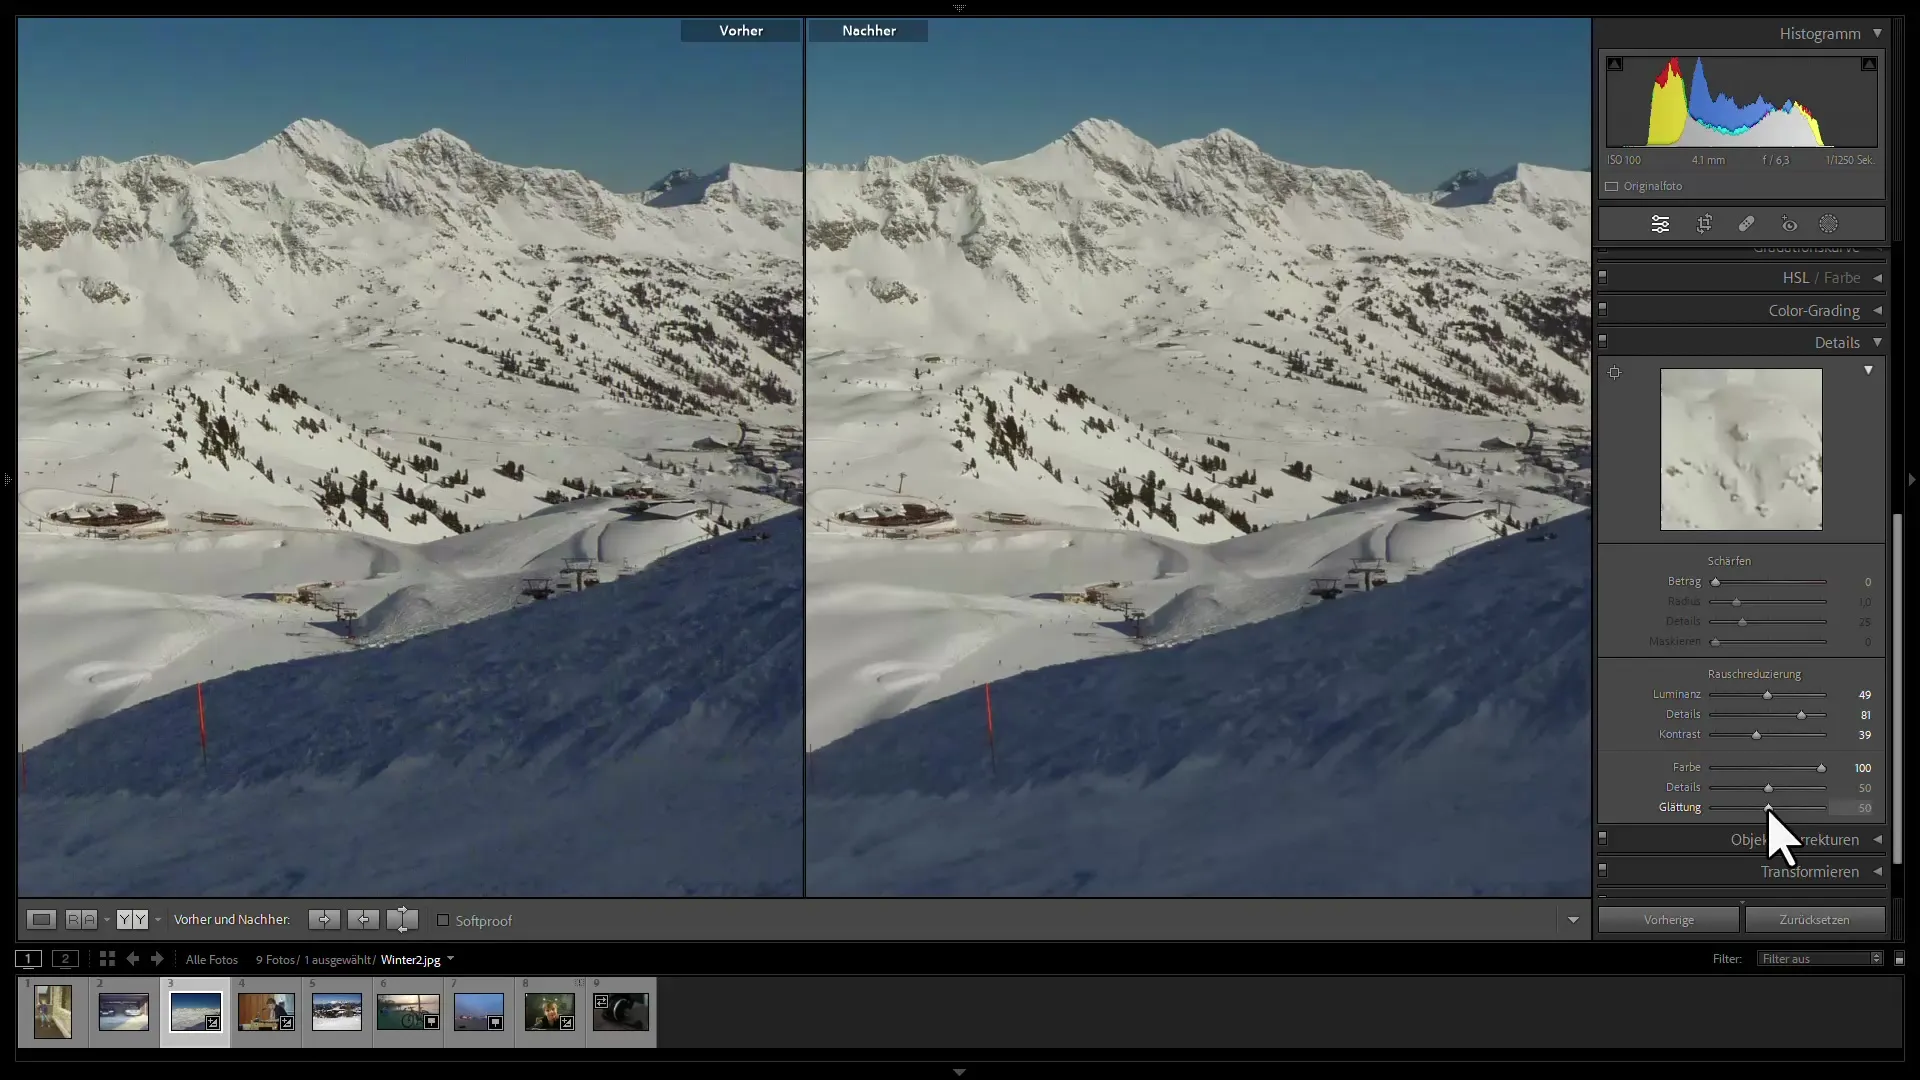
Navigate to the "Edit" panel and scroll to the "Noise" section. Here you will find two main sliders: Luminance and Color. Drag the Luminance slider to the right to reduce noise in the image. Take your time to refine the settings so that the details are not lost.
Step 3: Reduce Color Noise
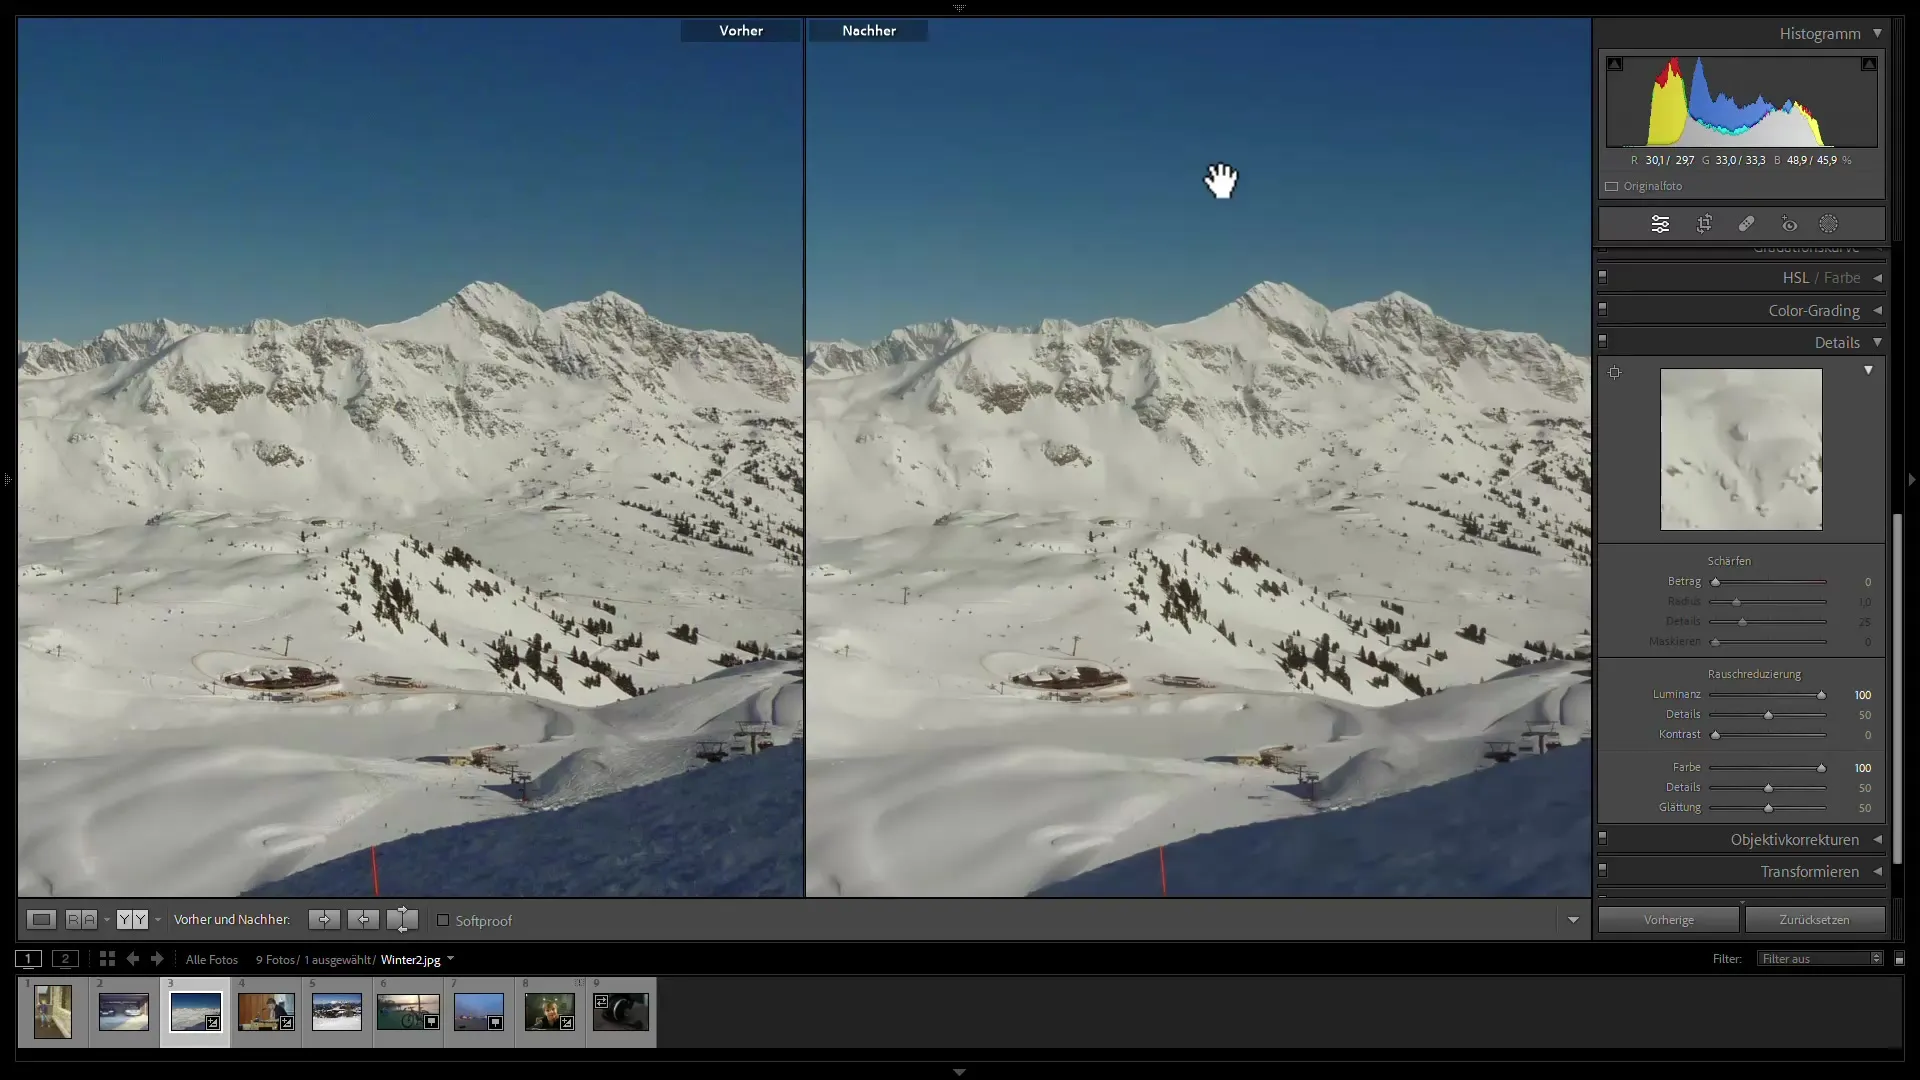
In addition to luminance, you can also adjust color noise. Drag the color slider to the right to reduce noise in the colors of the image. Make sure you only do this to the extent that the image still looks natural and no color information is lost.
Step 4: Adjust Detail Settings
After reducing noise in the image, you may find that some details have been lost. To restore the details, you can adjust the sharpening slider under the Advanced Settings. However, this is often recommended only for the bright areas of the image to make foreground objects appear clearer.
Step 5: Use Masking
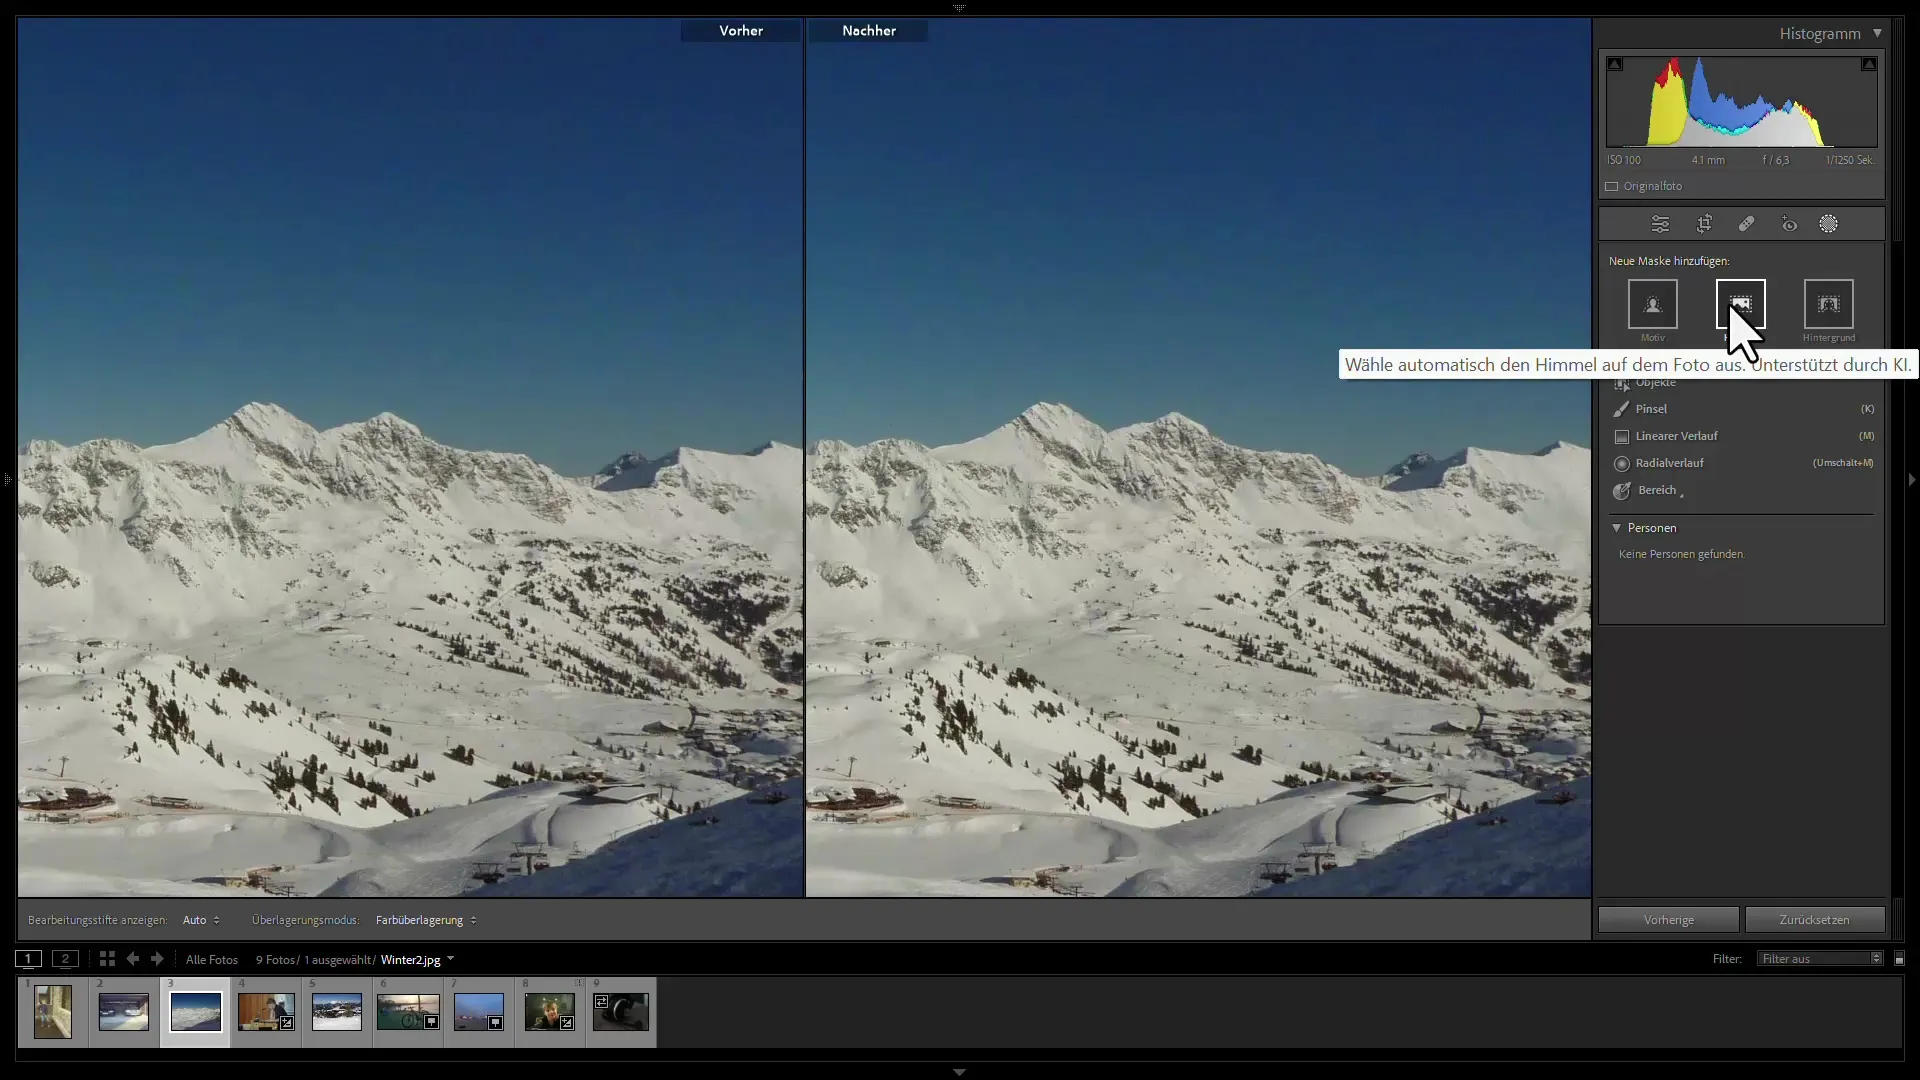
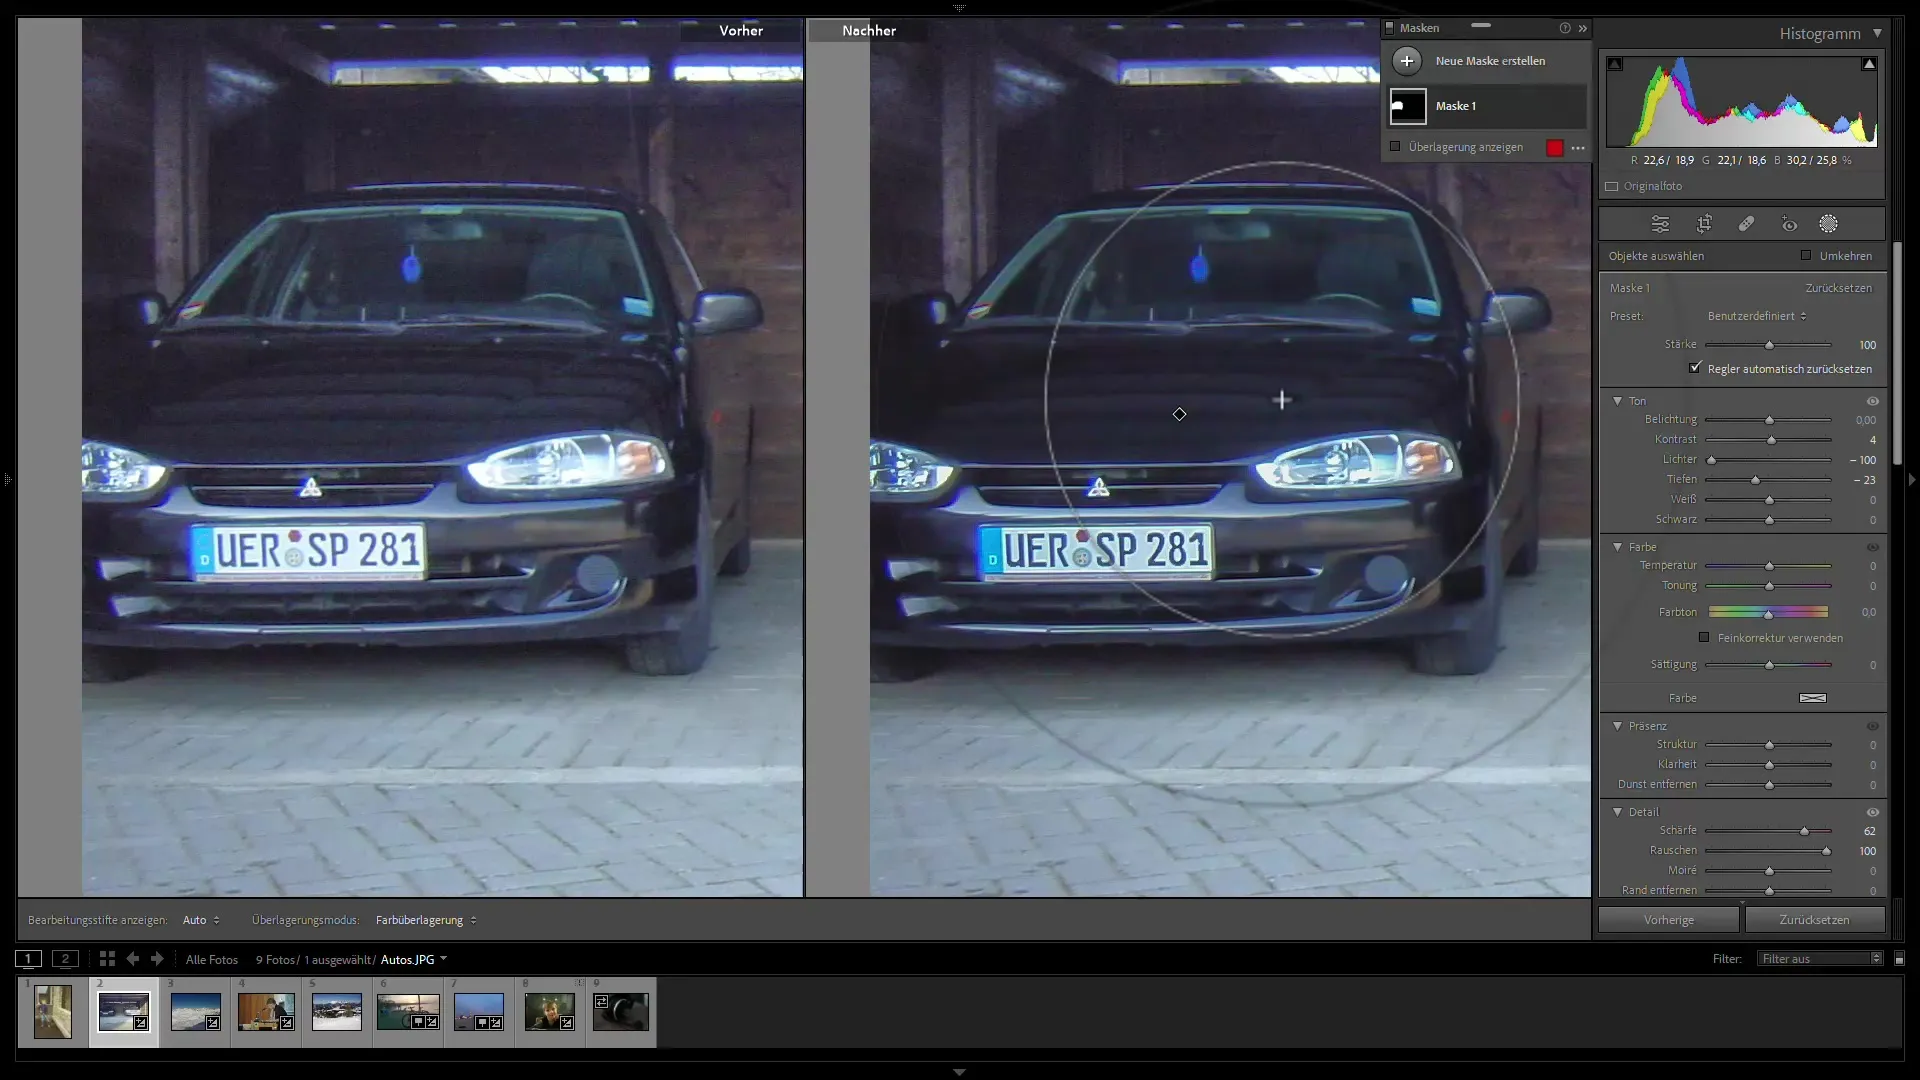
To selectively reduce noise only in the sky or certain objects, use the masking function. Click on the mask in the "Edit" panel. Choose "Mask the sky" or "Mask the subject" depending on what you want to edit. Lightroom will automatically recognize and highlight the desired area.
Step 6: Fine-Tune Masking
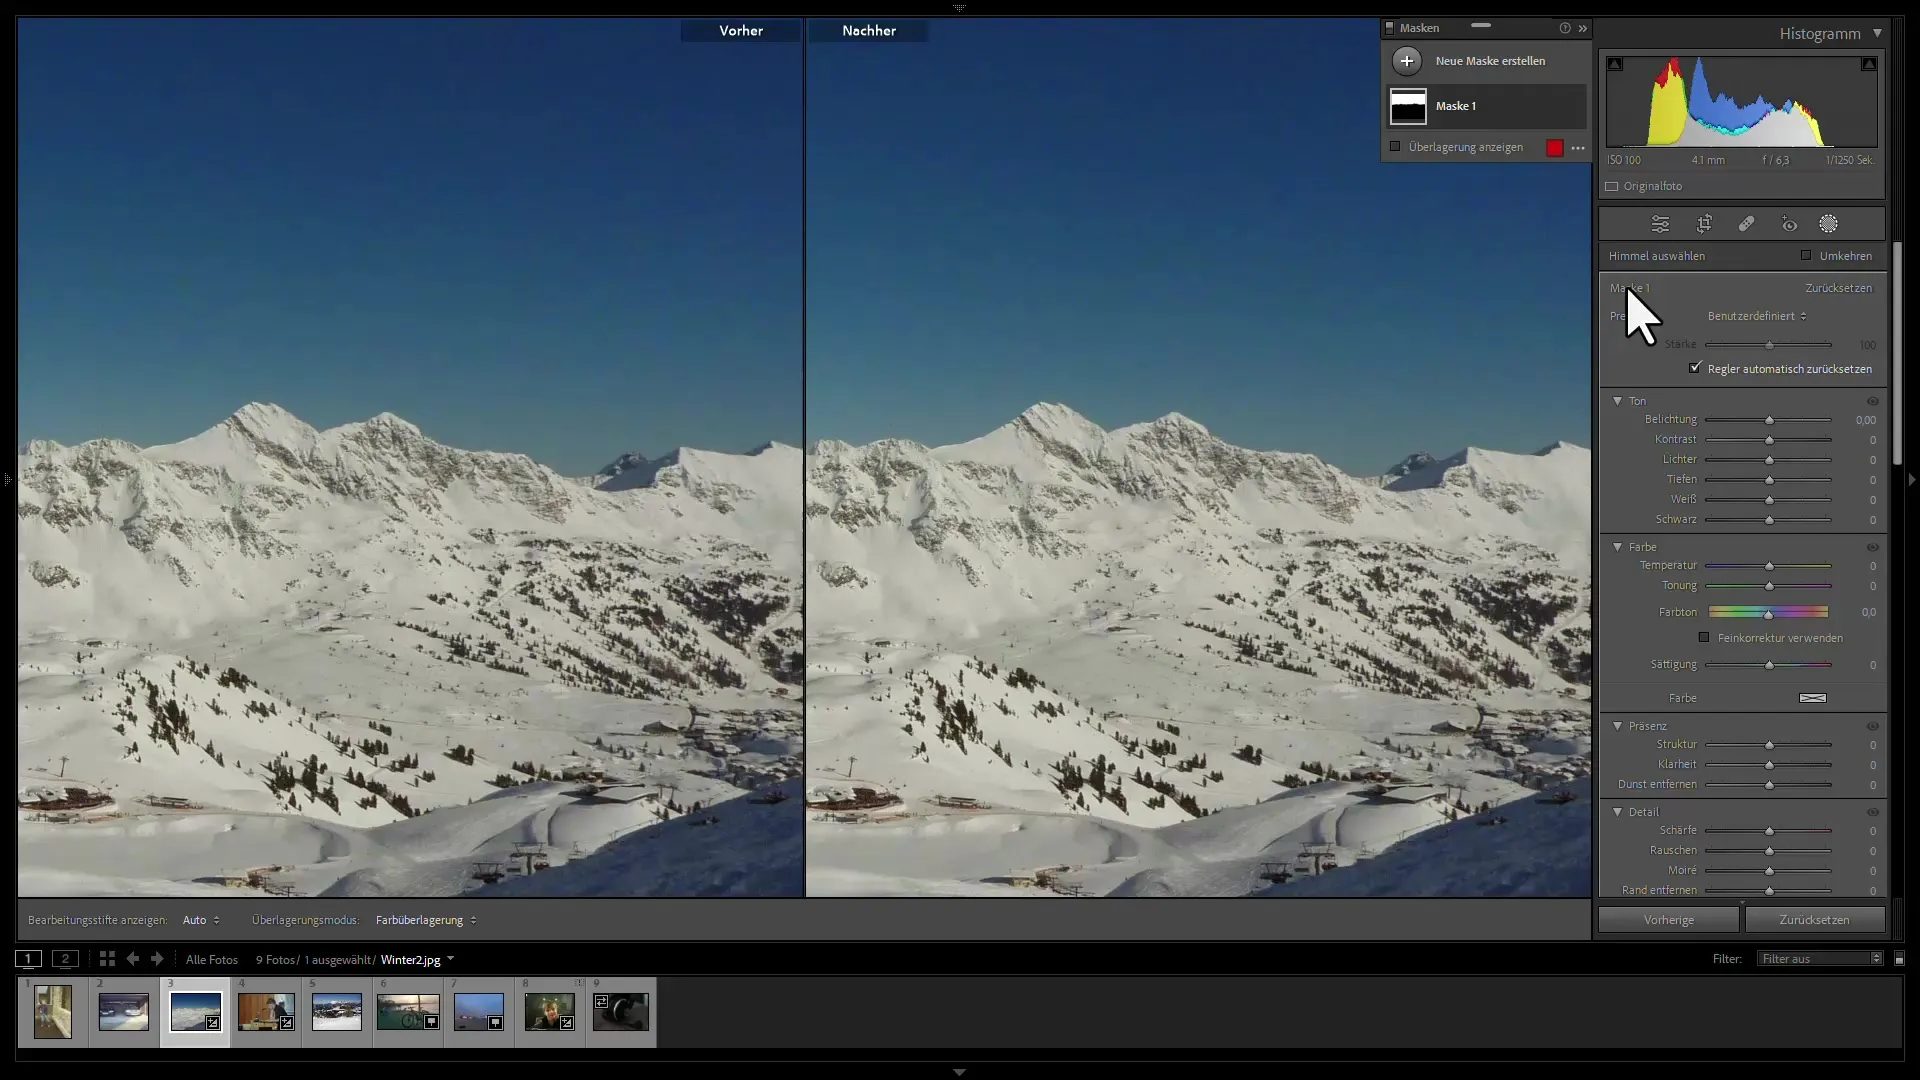
With the overlay view, you can see which area has been selected as a mask. You can make additional adjustments to ensure that only the areas you want to edit are processed.
Step 7: Noise Reduction with AI Technology
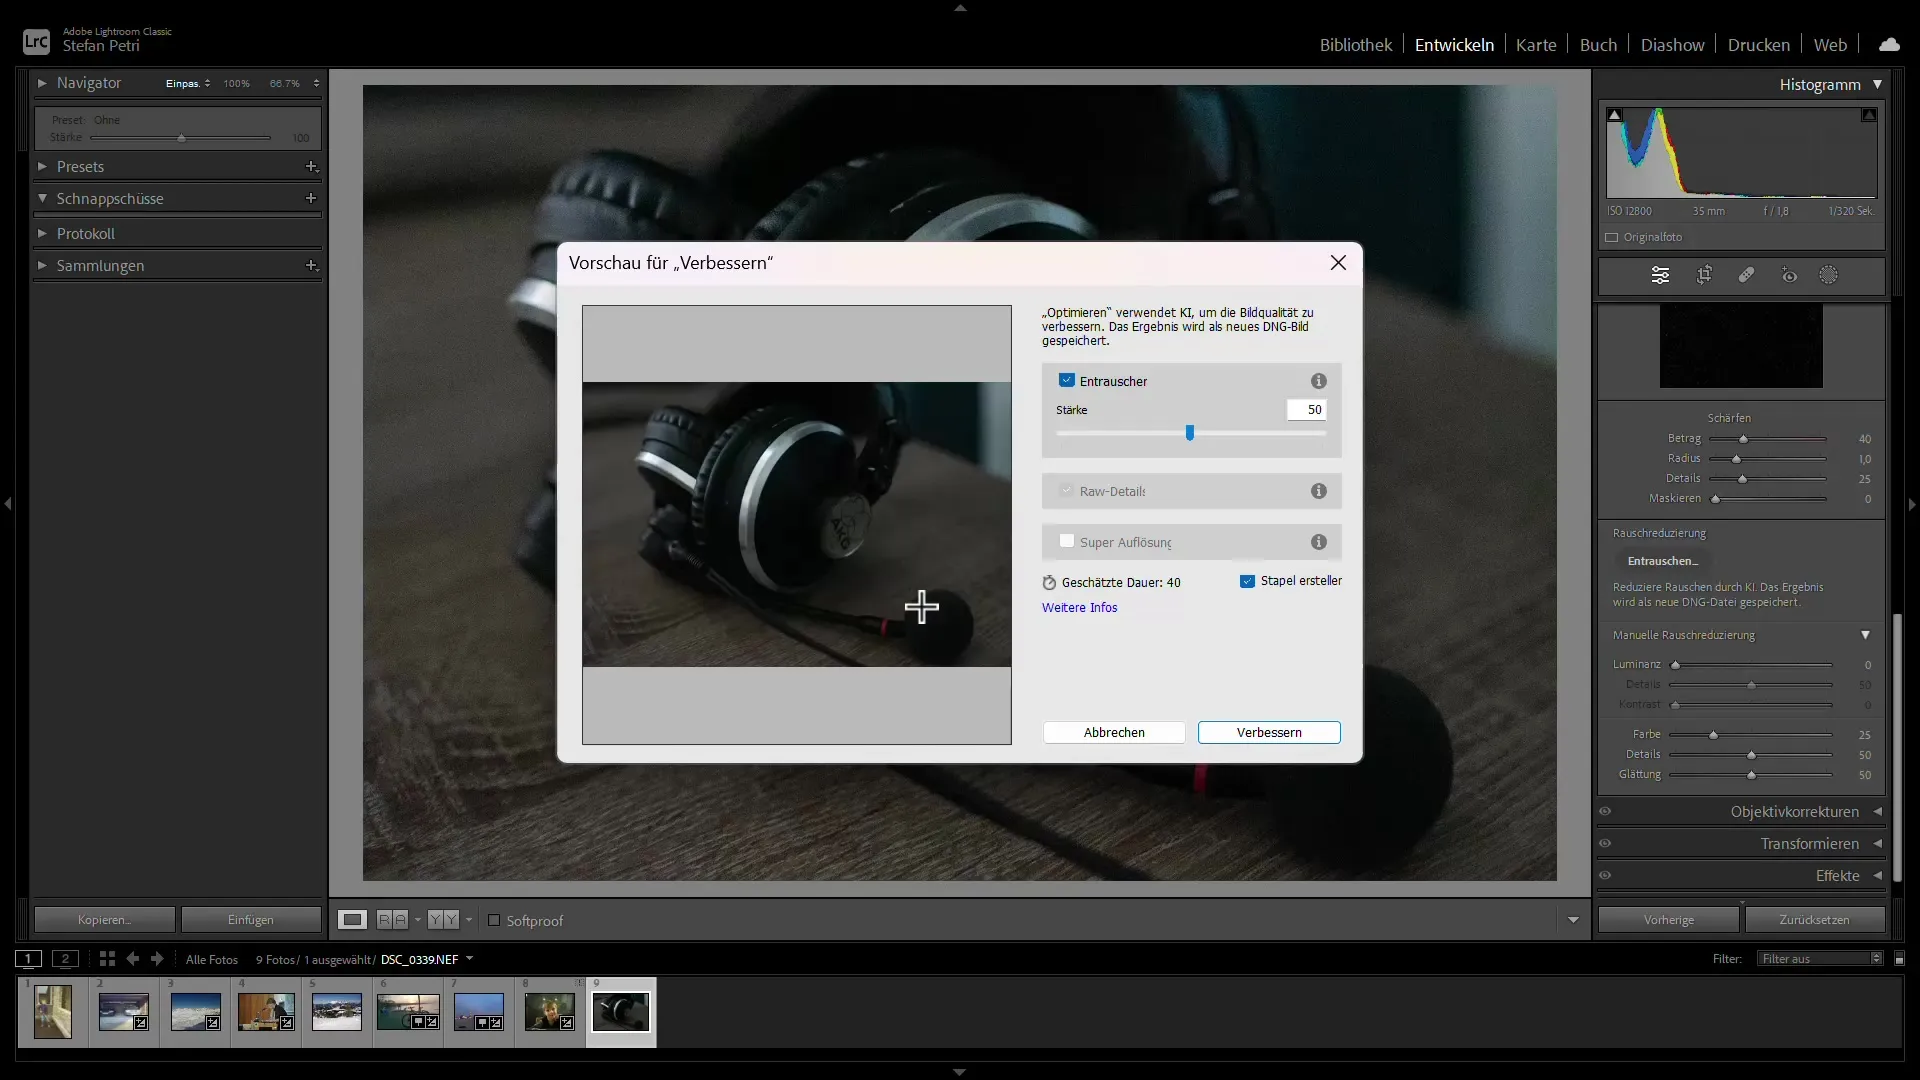
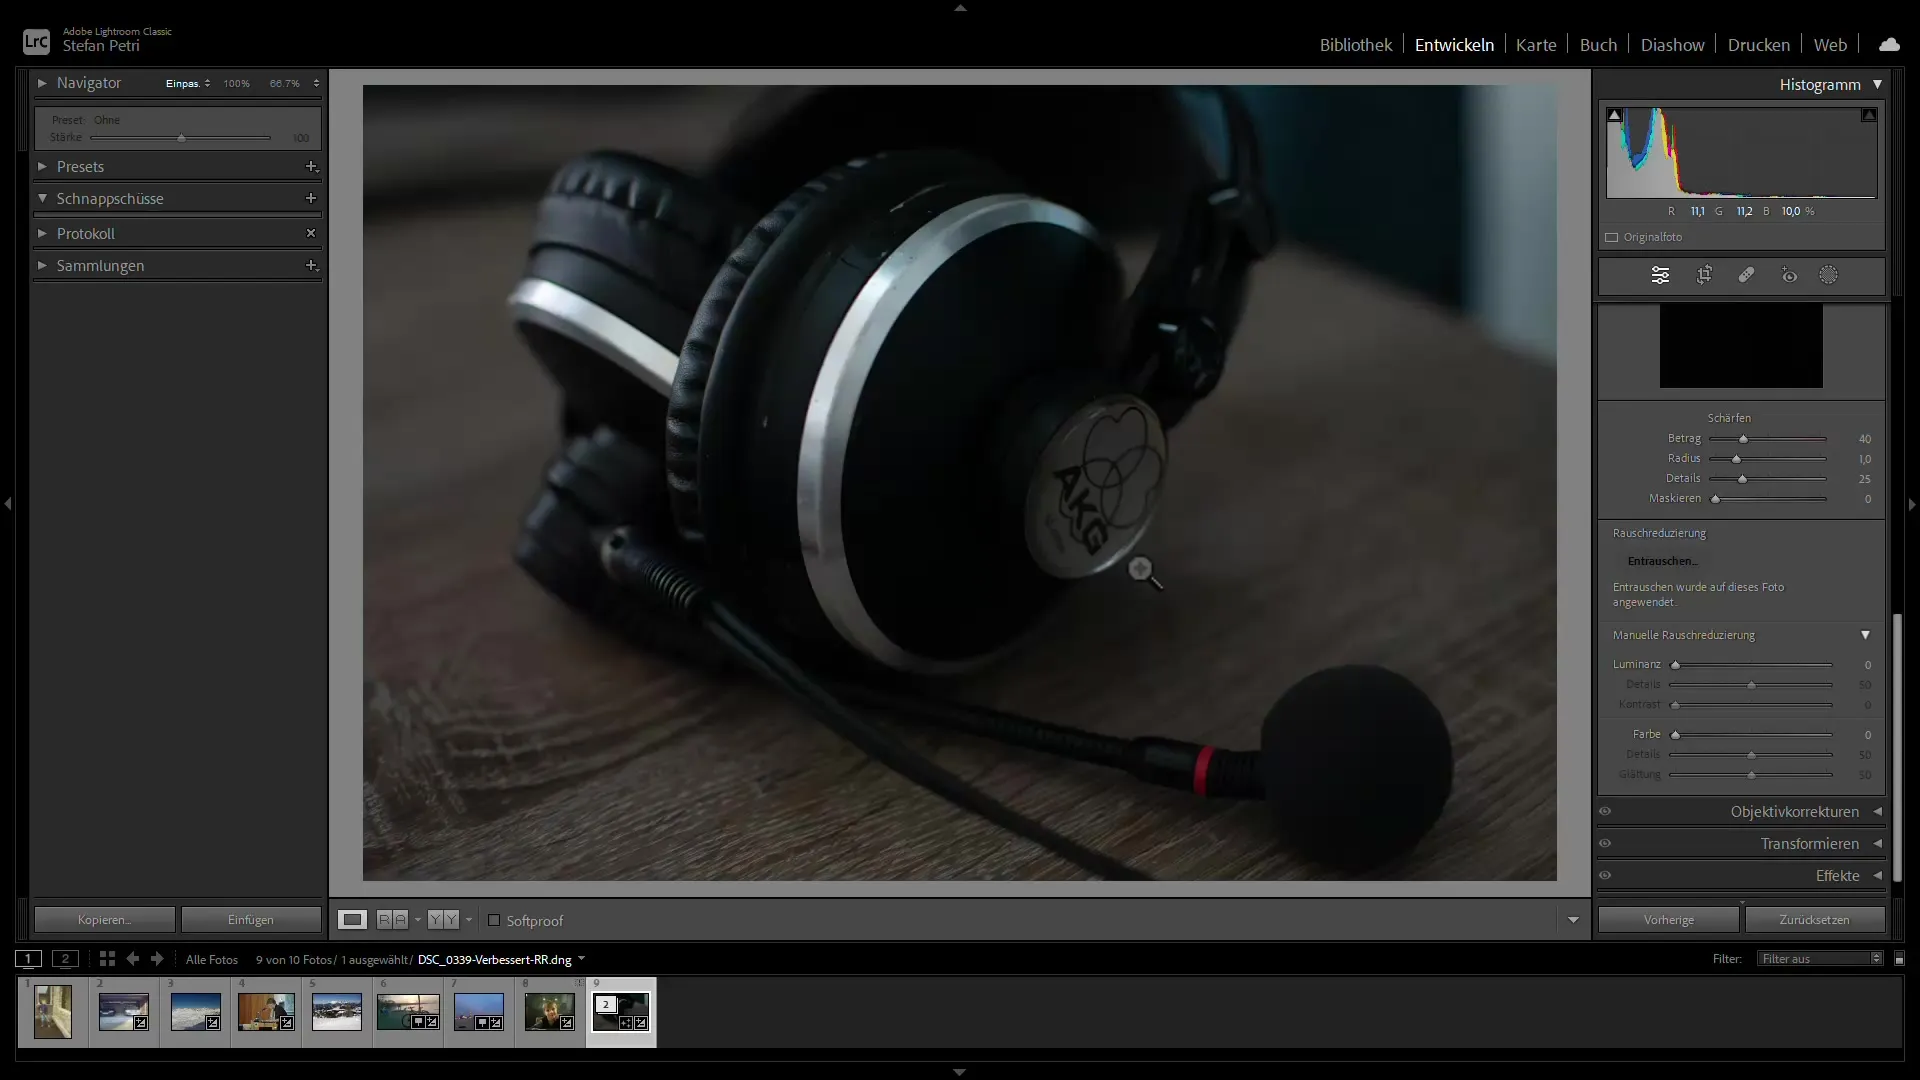
If you are using the latest version of Lightroom, you can try out the AI noise reduction. Simply click on "Reduce noise" and let Lightroom do the rest. This feature uses machine learning to find the optimal settings for your image.
Step 8: Check Results
After the AI noise reduction, check the results by using the before-and-after comparison with the preview function. This will help you see how much noise has been removed and whether the quality of the details has been preserved.
Step 9: Fine-Tune Adjustments
If you're not entirely satisfied with the results, make further adjustments. You can further adjust the sharpness or noise to achieve the desired result. Experiment until you find the perfect balance.
Step 10: Exporting the edited image
If you're satisfied, export the edited image in your preferred format. Be sure to choose a high quality standard to ensure the best image quality.
Summary
In this guide, you have learned how to effectively reduce the noise of your images in Adobe Lightroom. Using the new AI features and proven masking tools, you can selectively and effectively remove noise, thus improving the quality of your photos.
Frequently Asked Questions
How does noise reduction work in Lightroom?Noise reduction in Lightroom uses specific sliders to reduce luminance and color noise.
Can I remove noise from JPEG images?The AI noise reduction feature works only with RAW images. JPEG images contain less color information.
What are masking tools?Masking tools allow you to select specific areas of an image so that you can edit only those areas.
How can I save a noise reduction preset?After making the desired adjustments, you can save them as a preset to apply them to future images.
Is AI noise reduction available in all Lightroom versions?NO, this feature is only available in the latest version of Lightroom (from 6.3 onwards).
