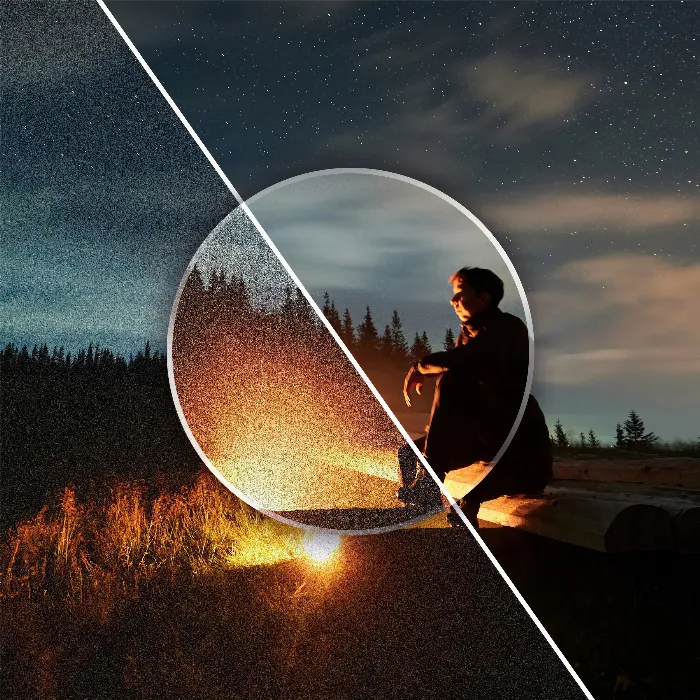
In photography, it can sometimes be difficult to capture the perfect images, especially under poor lighting conditions. Noise is often the unpleasant result that can affect high-quality shots. DxO Pure RAW 3 has established itself as one of the best programs for noise reduction of RAW images. In this guide, I will show you how to efficiently remove noise with this program to significantly improve the quality of your photos.
Key Takeaways
DxO Pure RAW 3 offers impressive noise reduction for RAW files and has a user-friendly interface. The software focuses on essential functions, such as noise removal and improving image sharpness, without getting bogged down with too many settings. It is ideal for photographers looking for quick and high-quality results.
Step-by-Step Guide
Step 1: Launch Program and Add Images
After installing DxO Pure RAW 3, open the program. The user interface is clear and appealing. To add images, you can either drag and drop the file into the window or click on the plus icon to select the desired RAW images.
Step 2: Check Settings
Before starting the editing process, review the program's settings options. This includes setting the graphics card usage. If you have a powerful graphics card, it is recommended to use it to accelerate the process. You can find this setting in the "Settings" menu.
Step 3: Activate Lens Correction
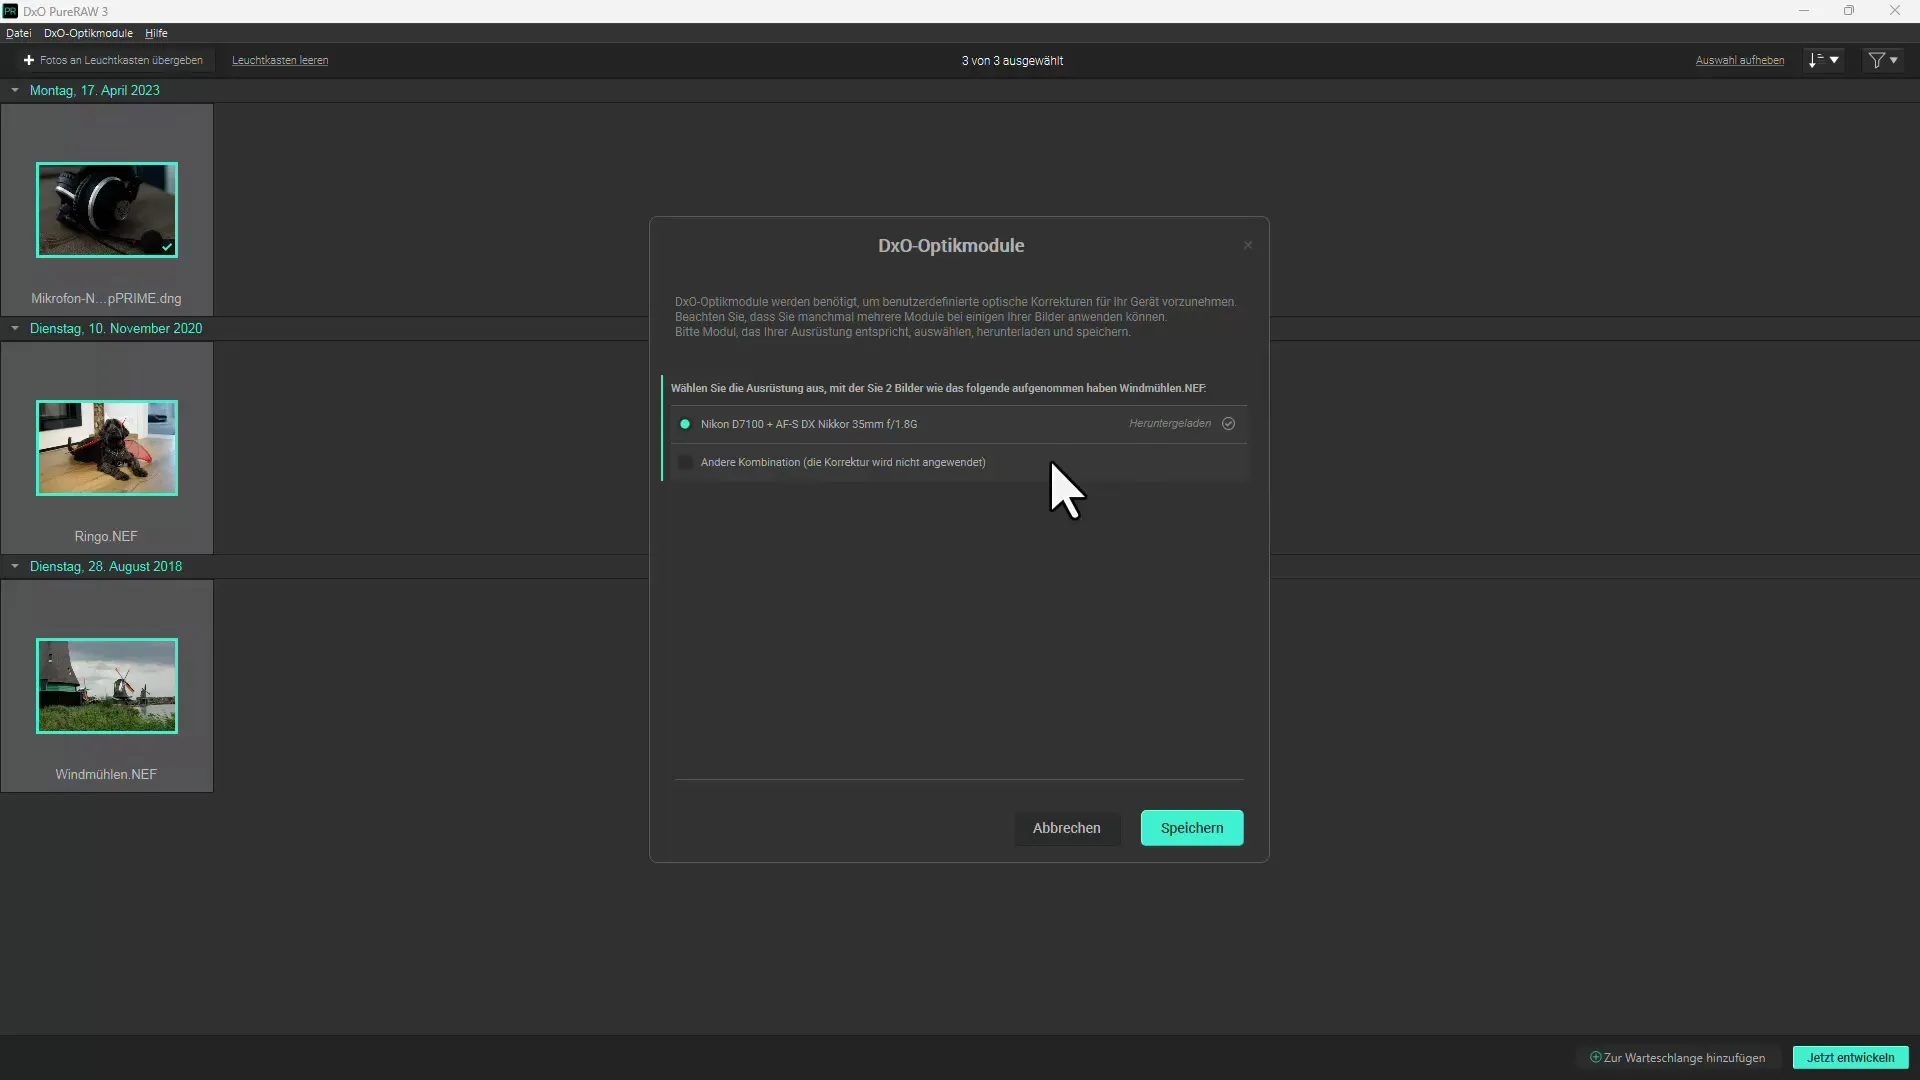
If you have taken photos with a lens that is not yet registered in the software, you will see a prompt asking you to download the required data. This is important to perform effective lens correction. Click on "Download" to ensure precise corrections are applied.
Step 4: Reduce Noise
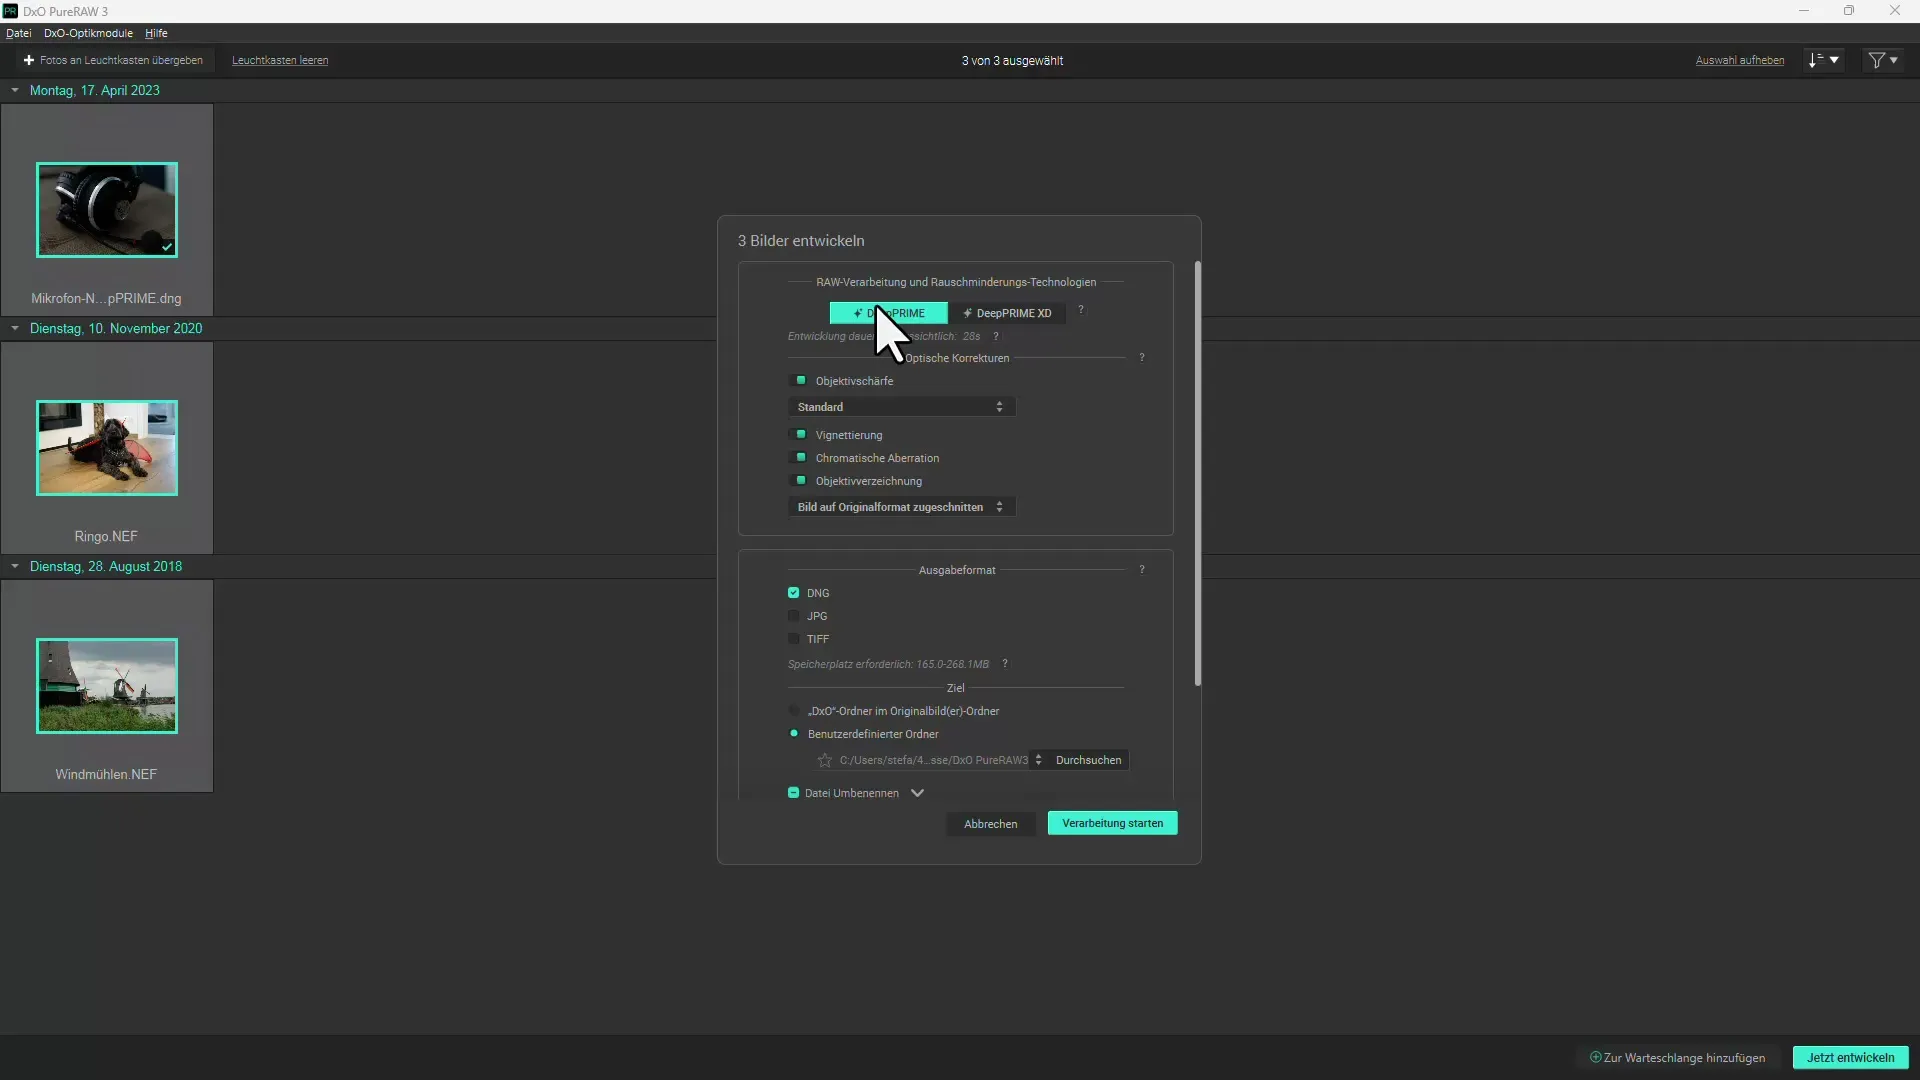
Now select the images you want to optimize. Click on "Develop" to choose between two noise reduction methods: "Prime" and "Prime xD". If your image is heavily noisy, Prime xD offers better results. For images with low noise, select Prime to increase processing speed.
Step 5: Choose Optical Corrections
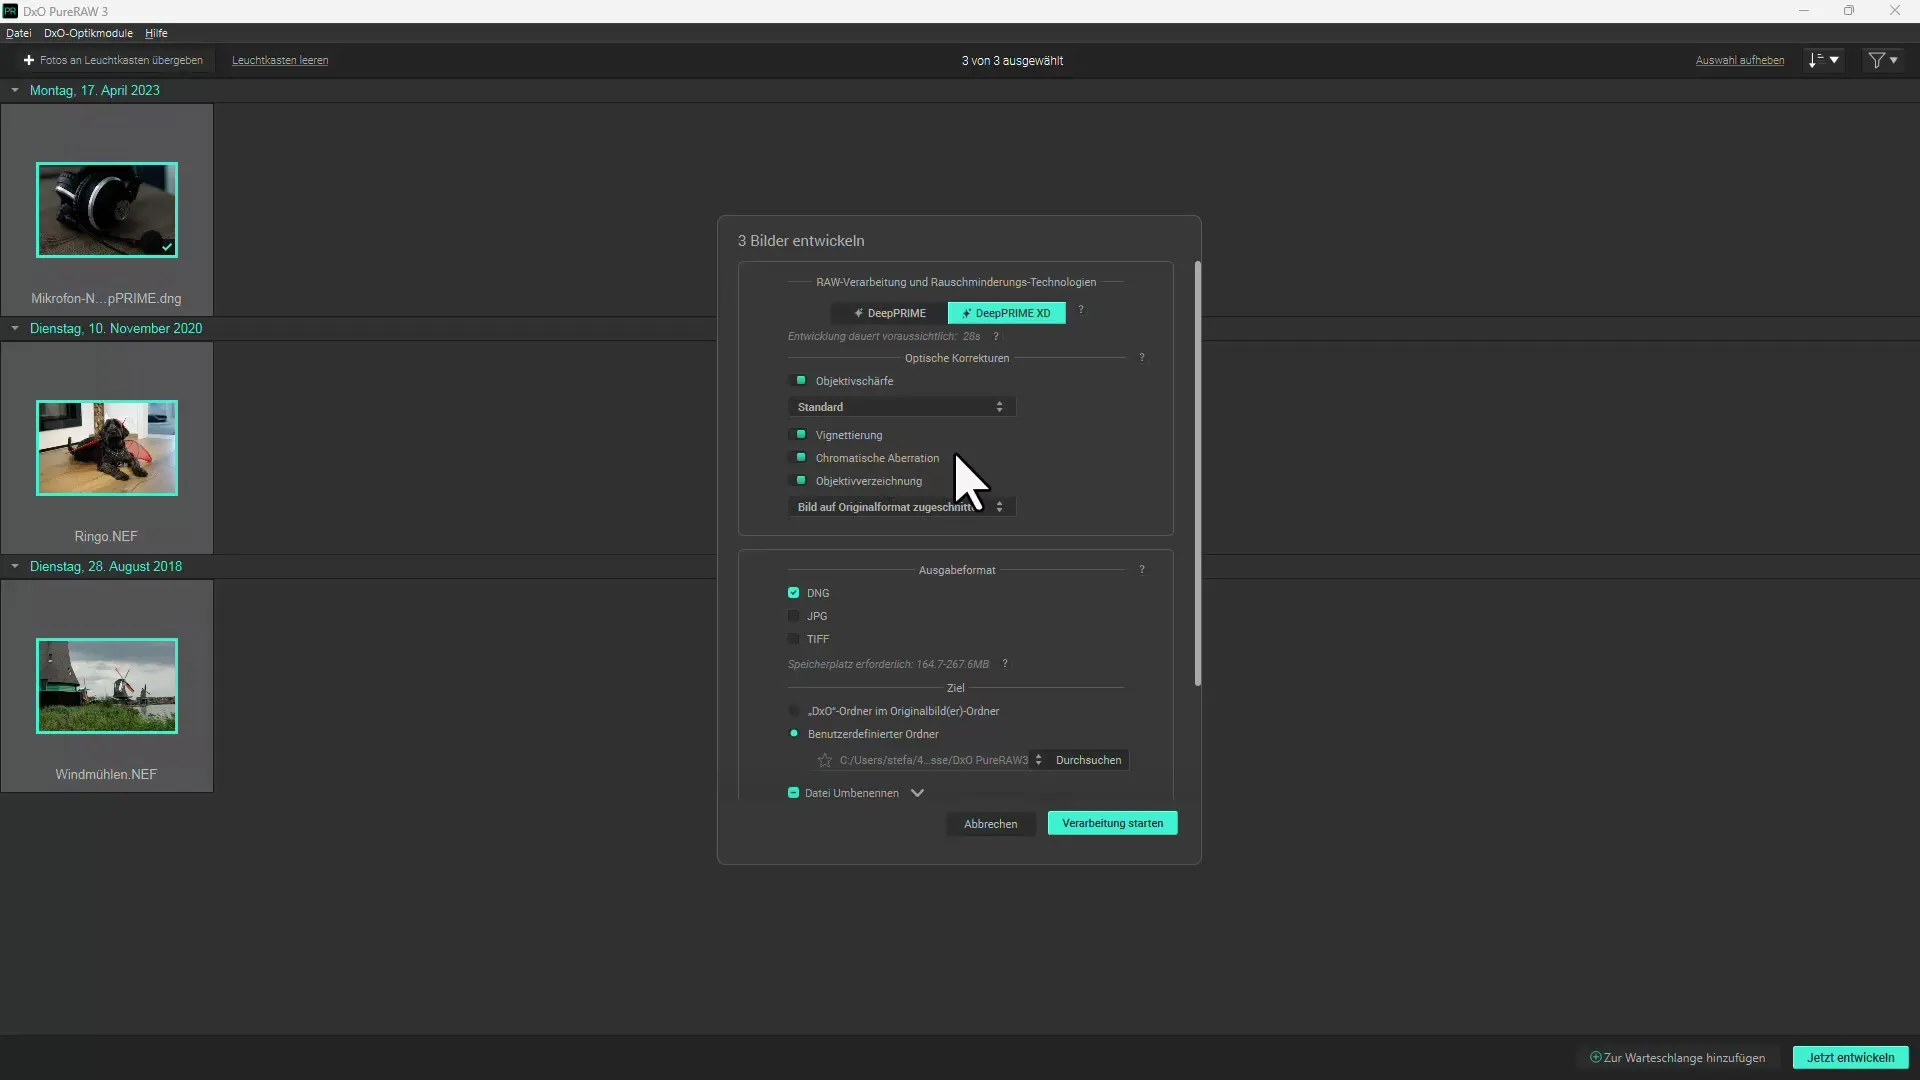
Once you have selected the noise reduction method, you can also enable other corrections, such as improving lens sharpness and correcting chromatic aberrations. You can find these options in the editing menu as well.
Step 6: Select Output Format
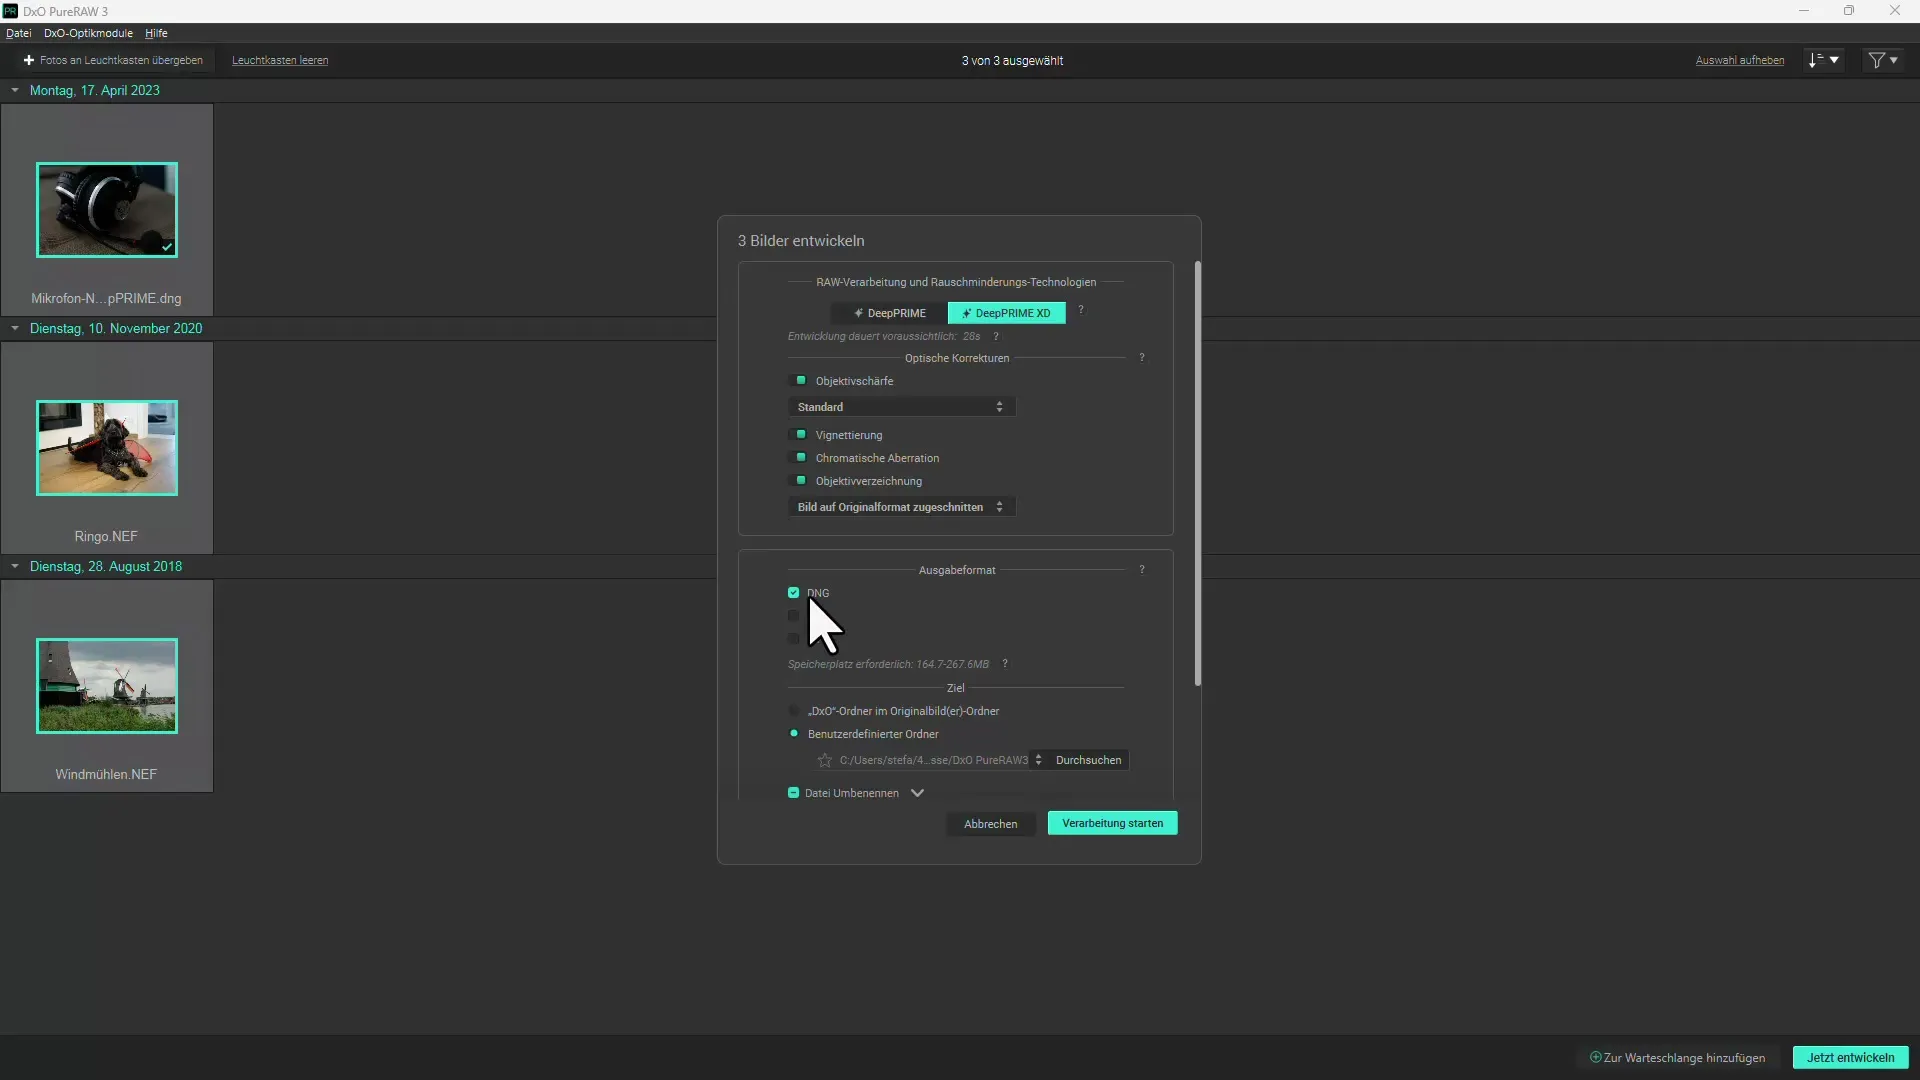
Next, determine the output format for your images. You can save the image as DNG, allowing you to make further edits in programs like Lightroom or Photoshop. Alternatively, you can also export the image in JPEG format.
Step 7: Set Export Options
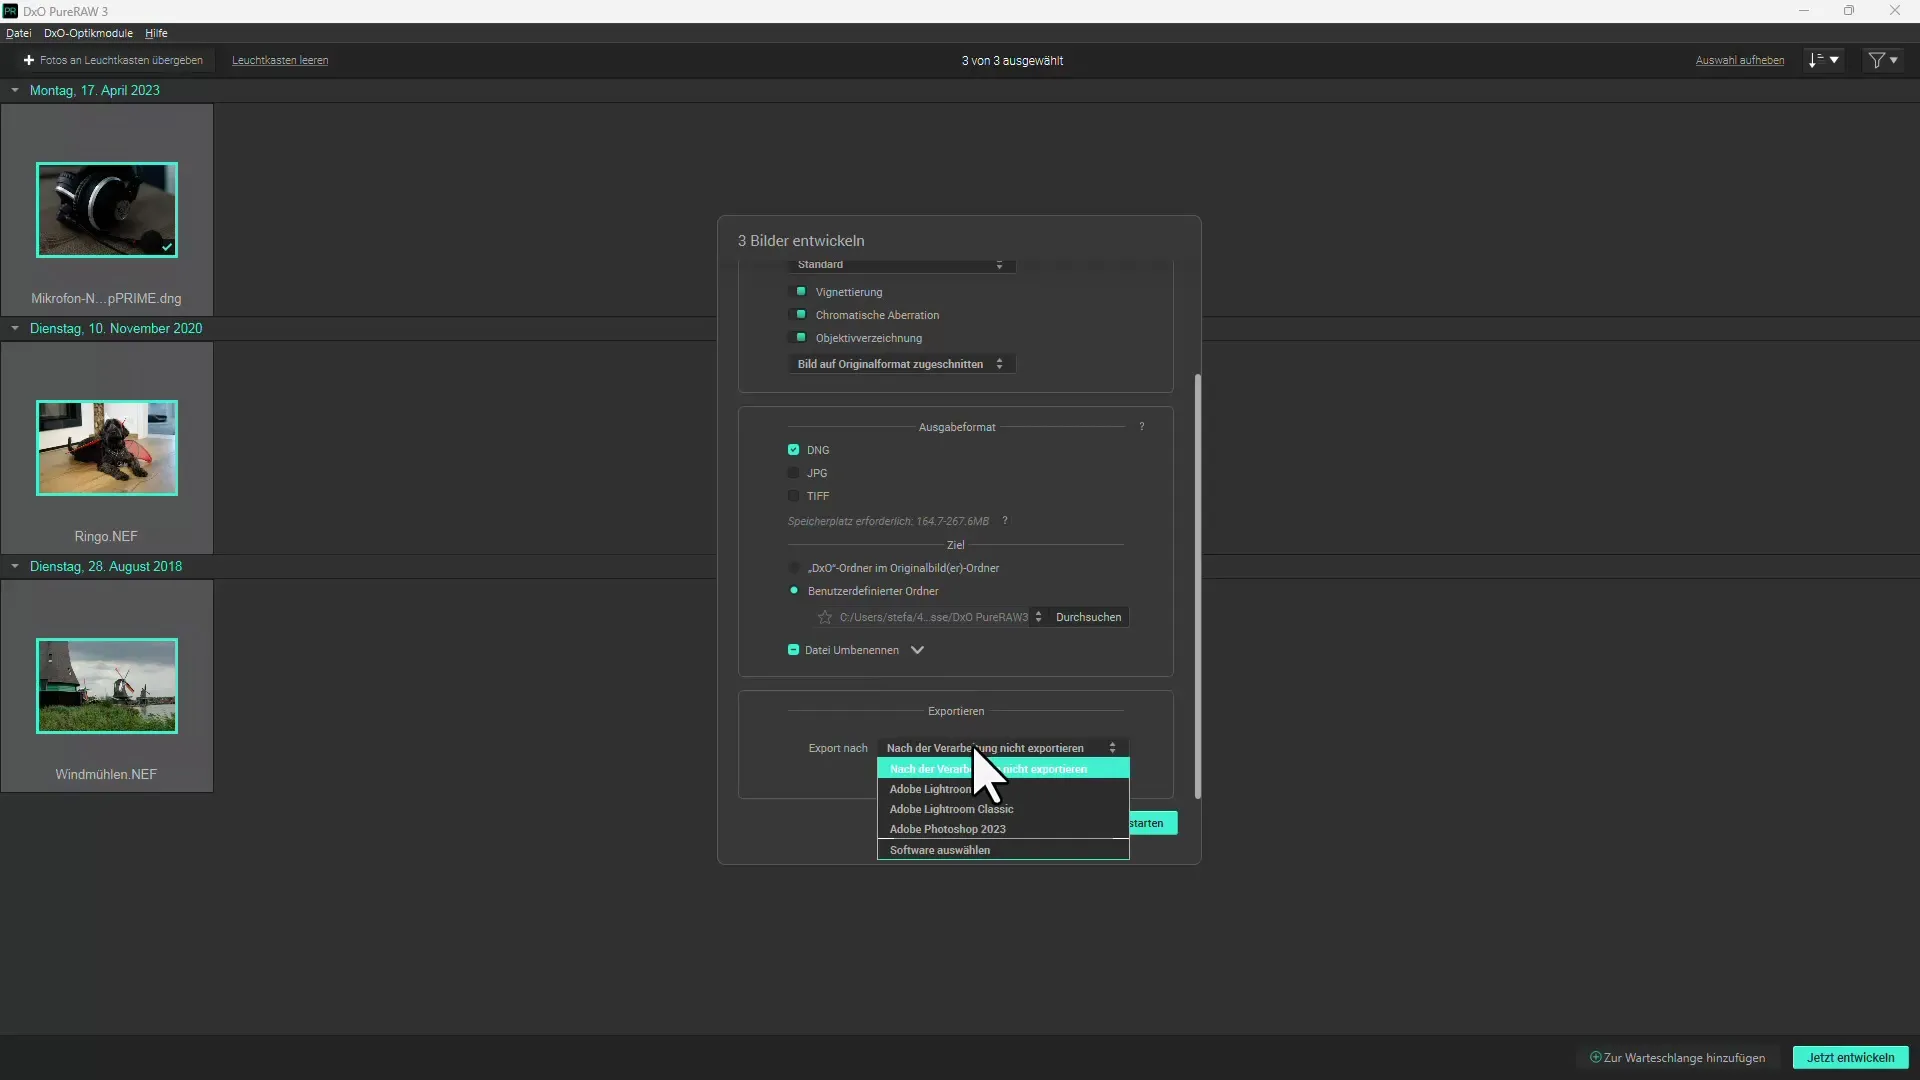
Before starting the export, you can decide if the edited image should be opened directly in another program like Lightroom or Photoshop. You can also specify the folder where the images will be saved.
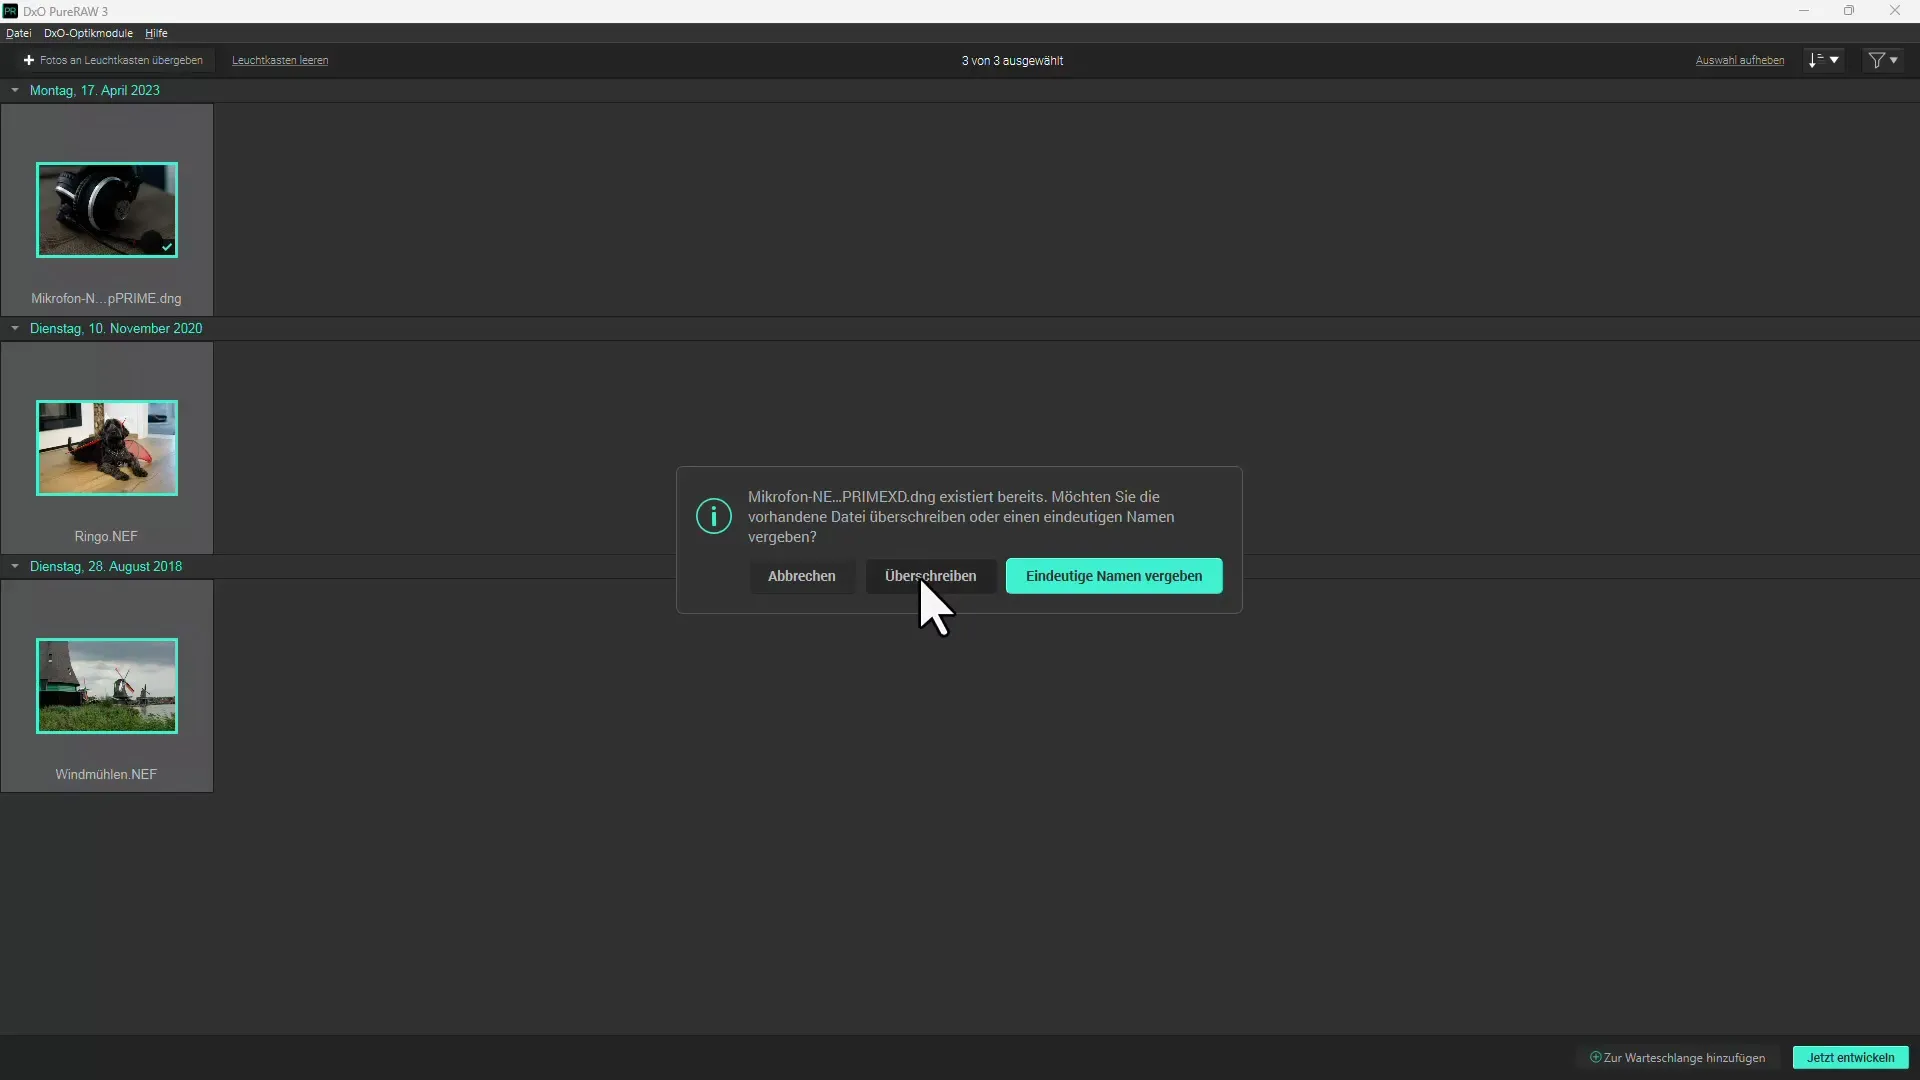
Step 8: Start Export Action
Finally, click on "Start" to begin the export process. Depending on the number of images and chosen format, this process may take some time. However, you can perform other tasks on your computer while it runs.
Step 9: Check results
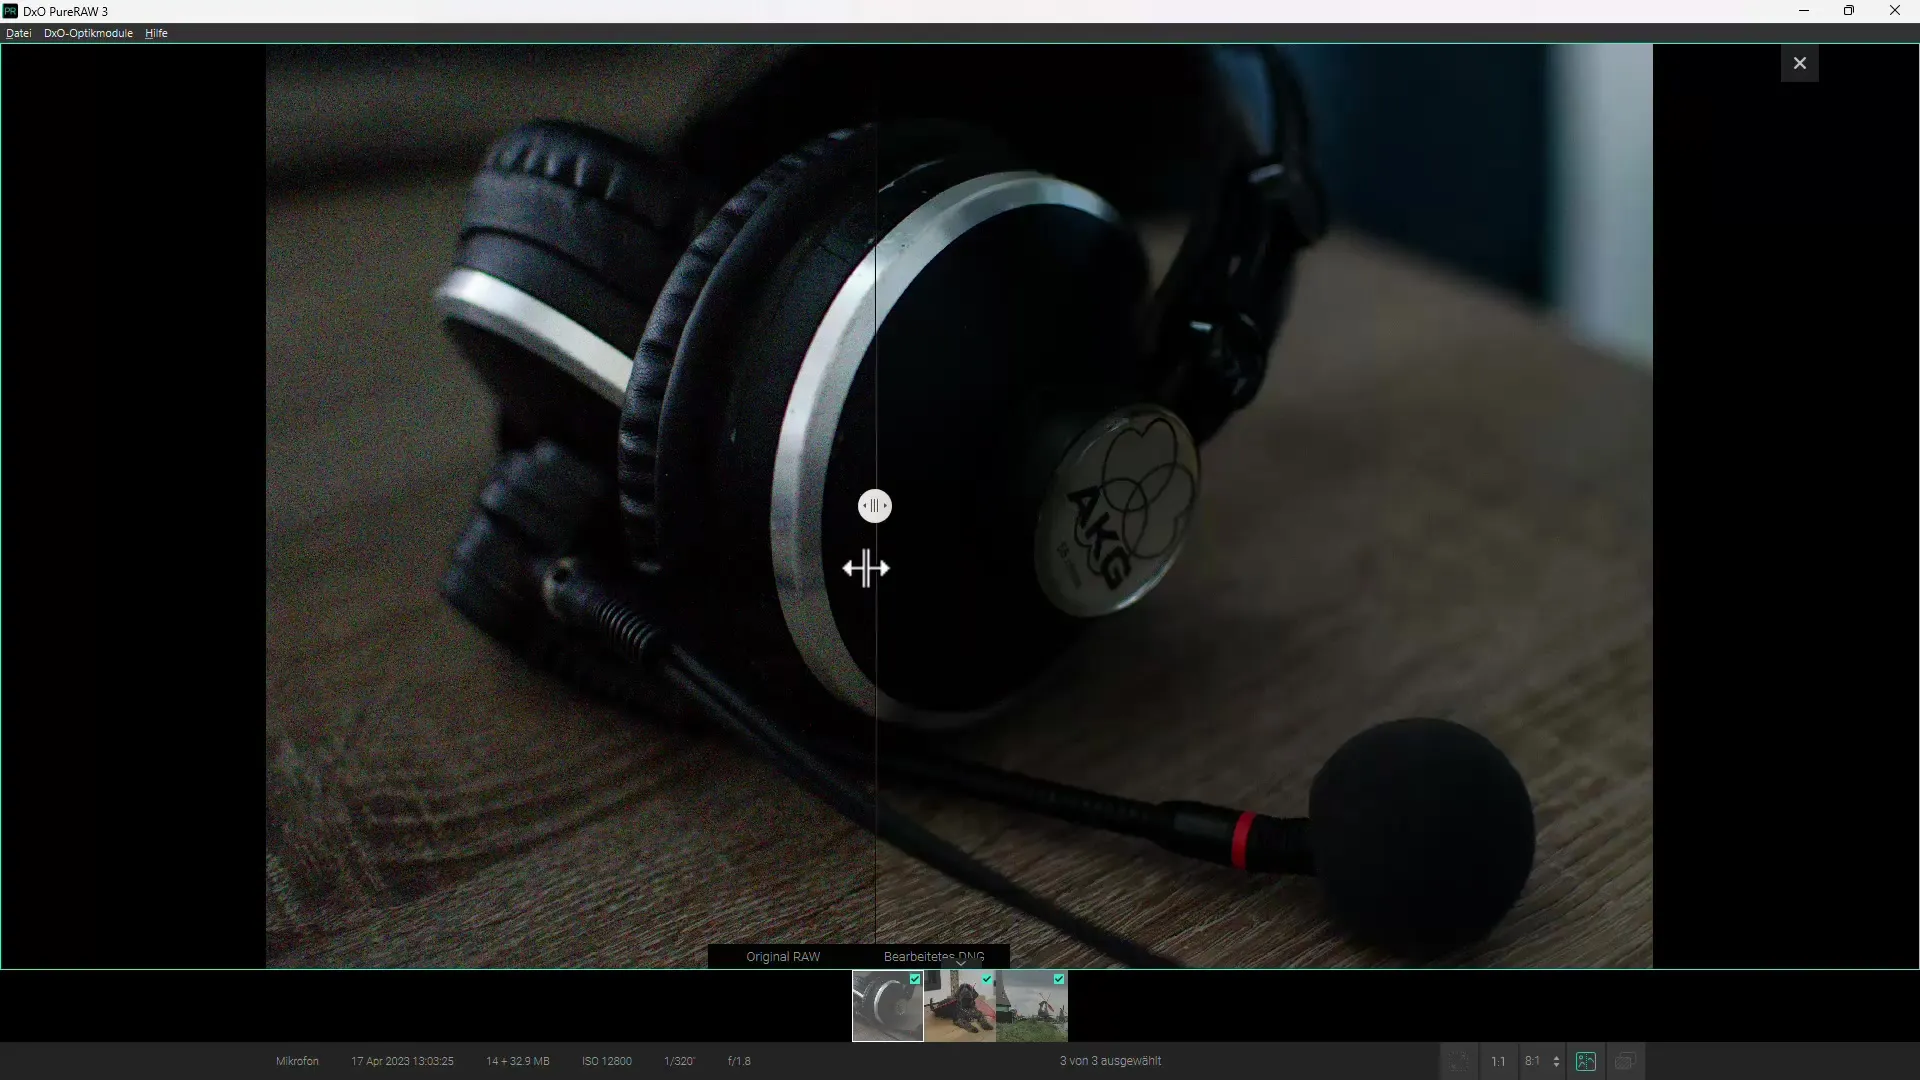
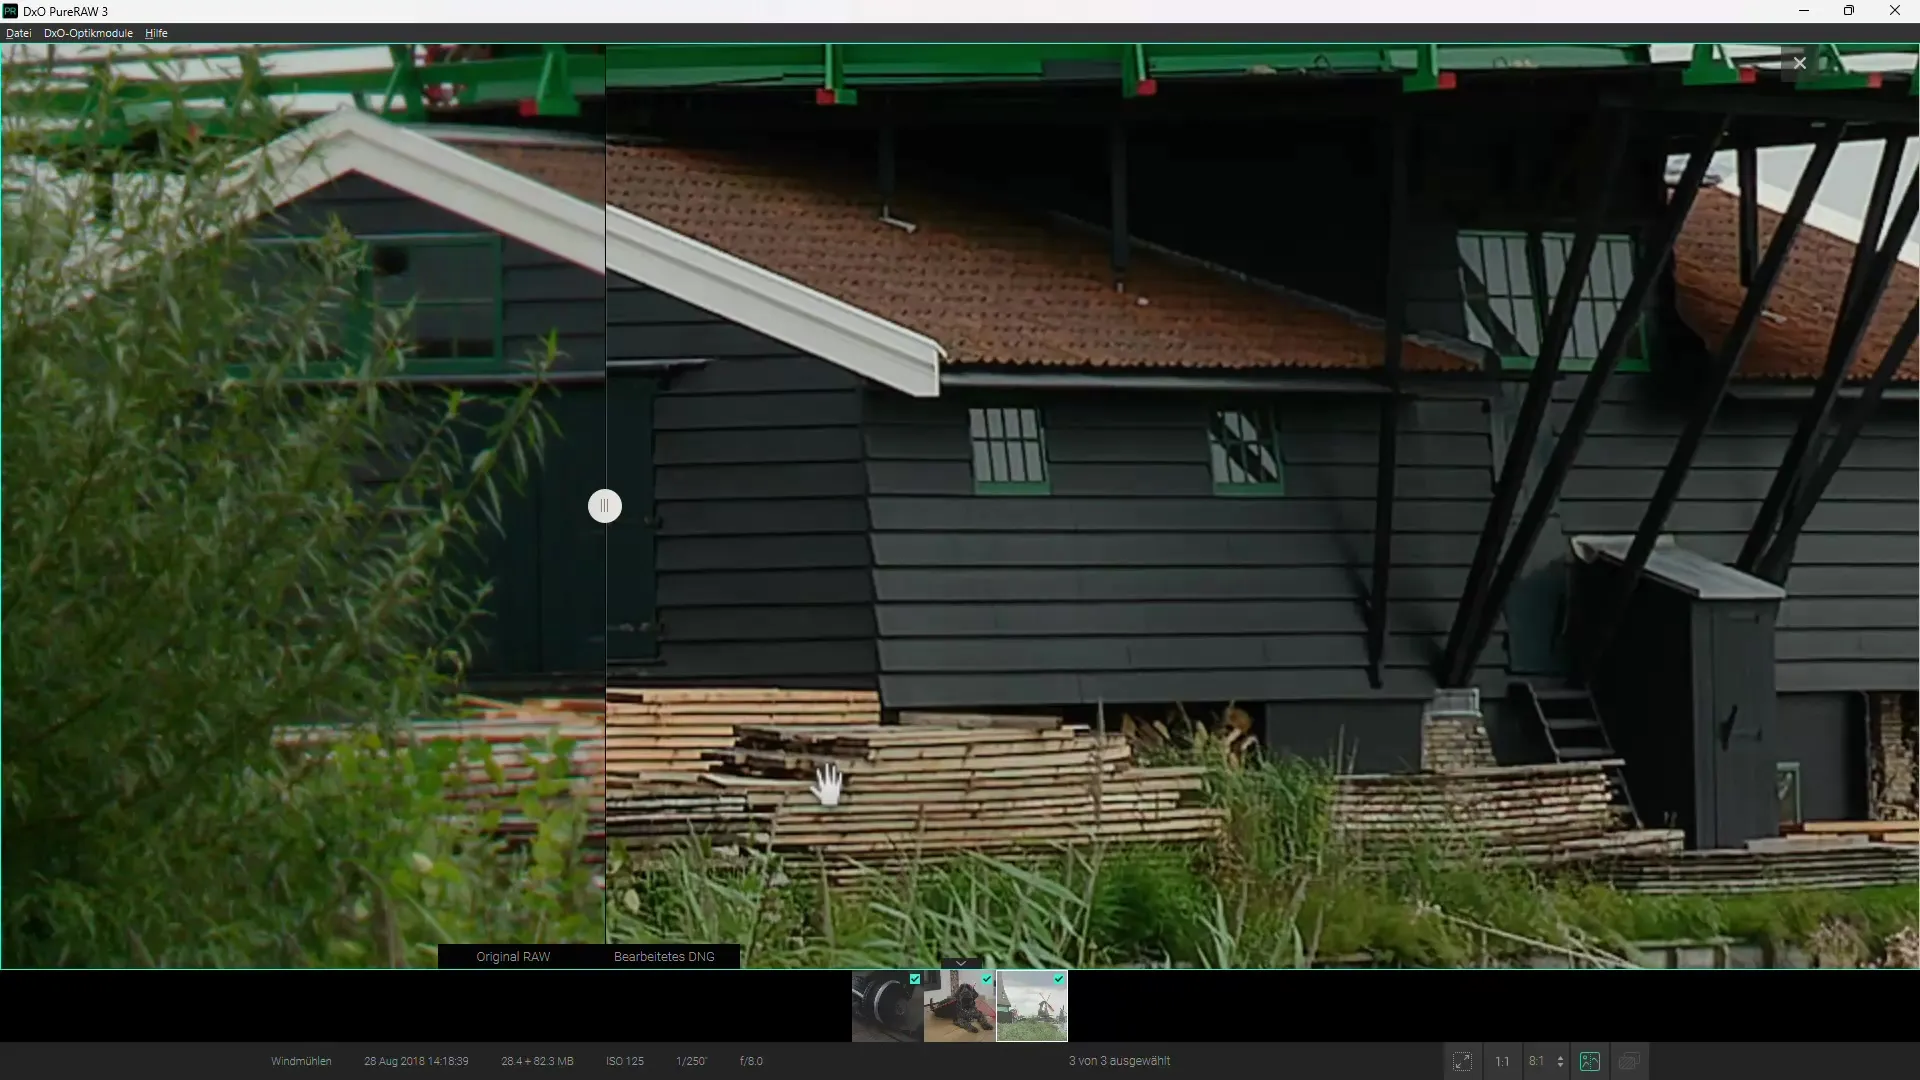
After exporting, DxO Pure RAW 3 displays the results in a before-after view. Here you can check the improved image quality and see how effective the noise reduction was. Compare the edited image with the original image to see the differences.
Step 10: Further editing
If you are satisfied with the result, you can further edit the files in another image editing program such as Lightroom or Photoshop. DxO Pure RAW 3 optimizes the images, but gives you the freedom to make additional adjustments as needed.
Summary
DxO Pure RAW 3 has proven itself as a powerful software for effective noise reduction in RAW images. With a user-friendly interface and few settings, you can quickly achieve impressive results. By also being able to perform lens corrections, the image quality is further improved. If you often take photos in challenging lighting conditions, DxO Pure RAW 3 is a valuable addition to your photographic workflow.
Frequently Asked Questions
How long does it take to process images in DxO Pure RAW 3?Processing time depends on the number of images and the chosen noise reduction method. It usually takes a few minutes.
Can I combine DxO Pure RAW 3 with other image editing programs?Yes, you can export edited images to programs like Lightroom or Photoshop and continue editing there.
Is there a free trial version of DxO Pure RAW 3?Yes, DxO offers a trial version that you can download to try out the features before making a purchase.
