In digital graphic design, it is crucial to manage the image size and resolution of your projects correctly. In this guide, I will show you how to change the resolution (dpi) of your documents in Adobe Illustrator, adjust the format, and set the image size according to your requirements. Whether for printing or digital use, the right settings will help you achieve the best quality.
Main Takeaways
To change the resolution to dpi, go to the Document Raster Effect Settings under the Effect menu. 72 dpi is recommended for digital applications, while 300 dpi is ideal for printing. The Artboard Tool allows you to switch from portrait to landscape format and change the document size by either cropping the corners or entering dimensions directly.
Step-by-Step Guide
First, open Adobe Illustrator and select the document you want to modify the settings for. To begin with the resolution, navigate to the Effect menu in the top menu bar.
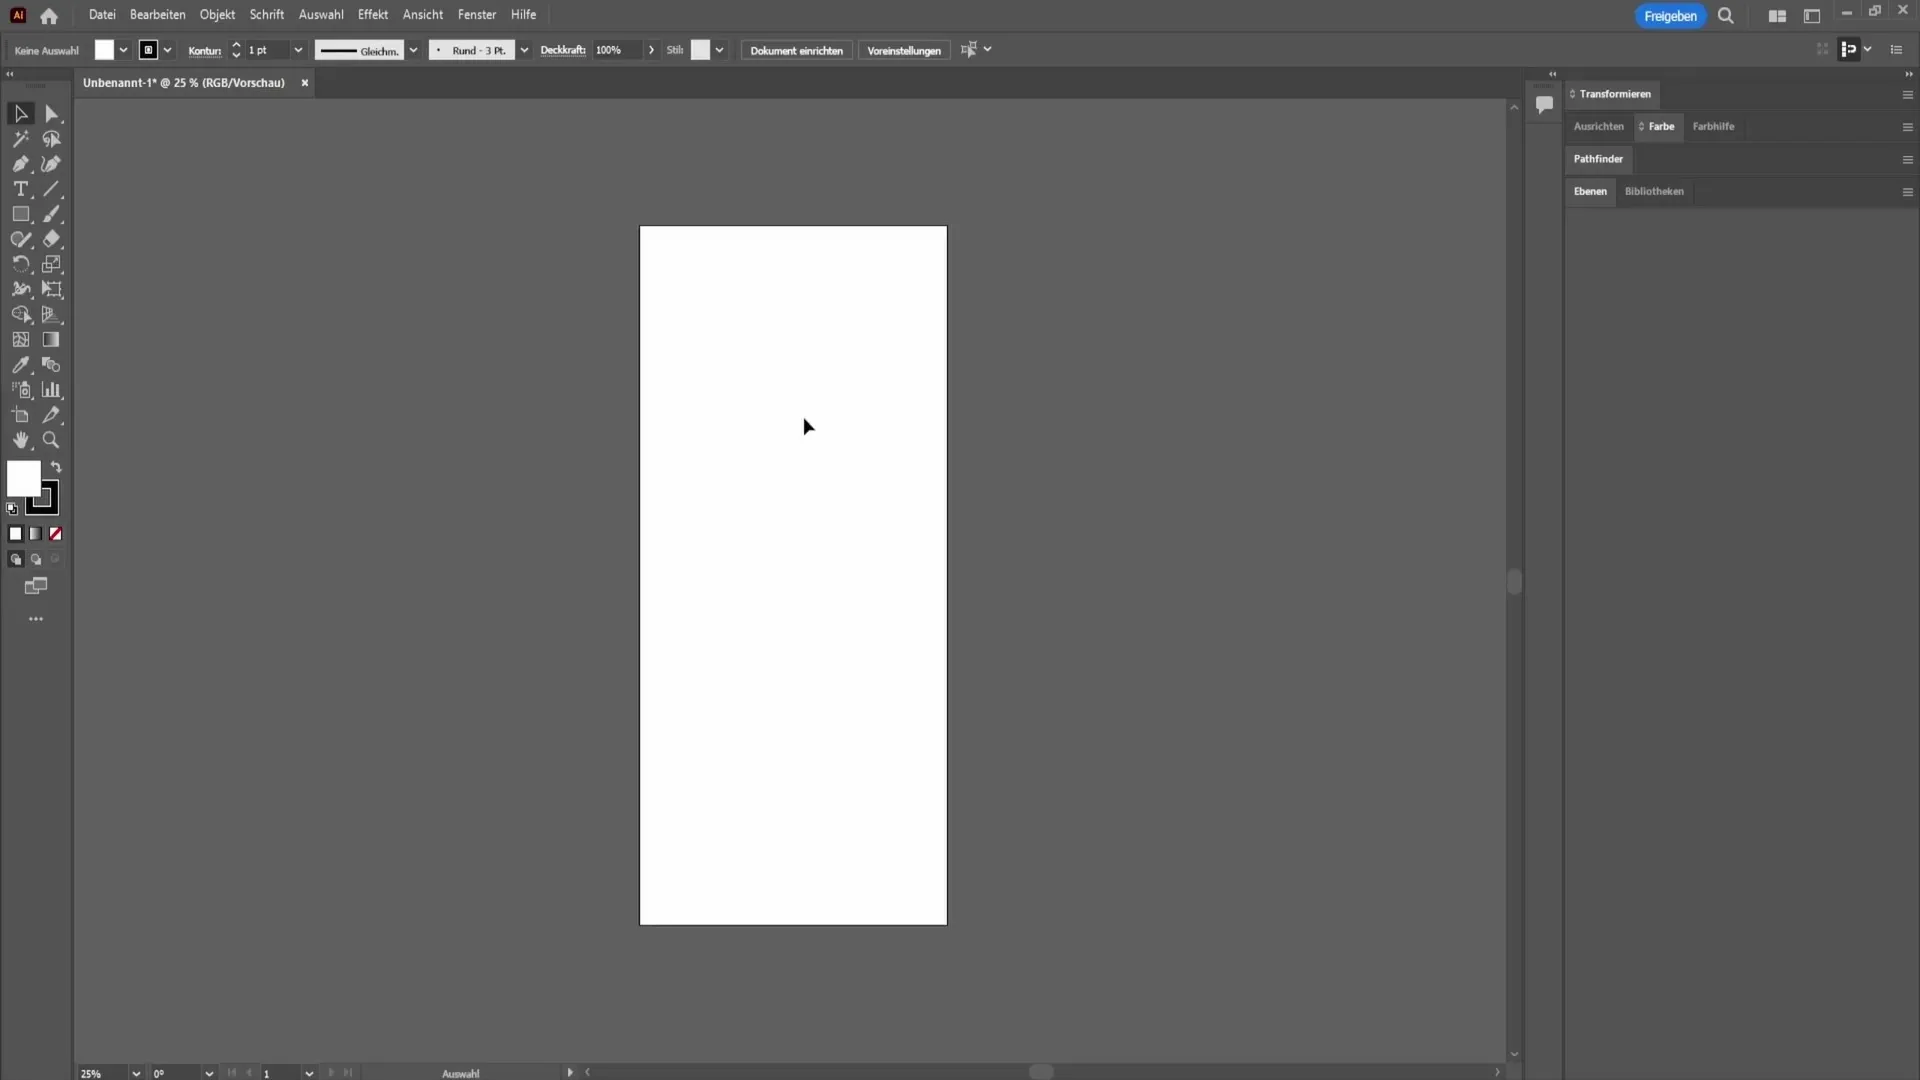
Here you will find the option Document Raster Effect Settings. Click on it to open a new window where you can adjust the resolution individually.
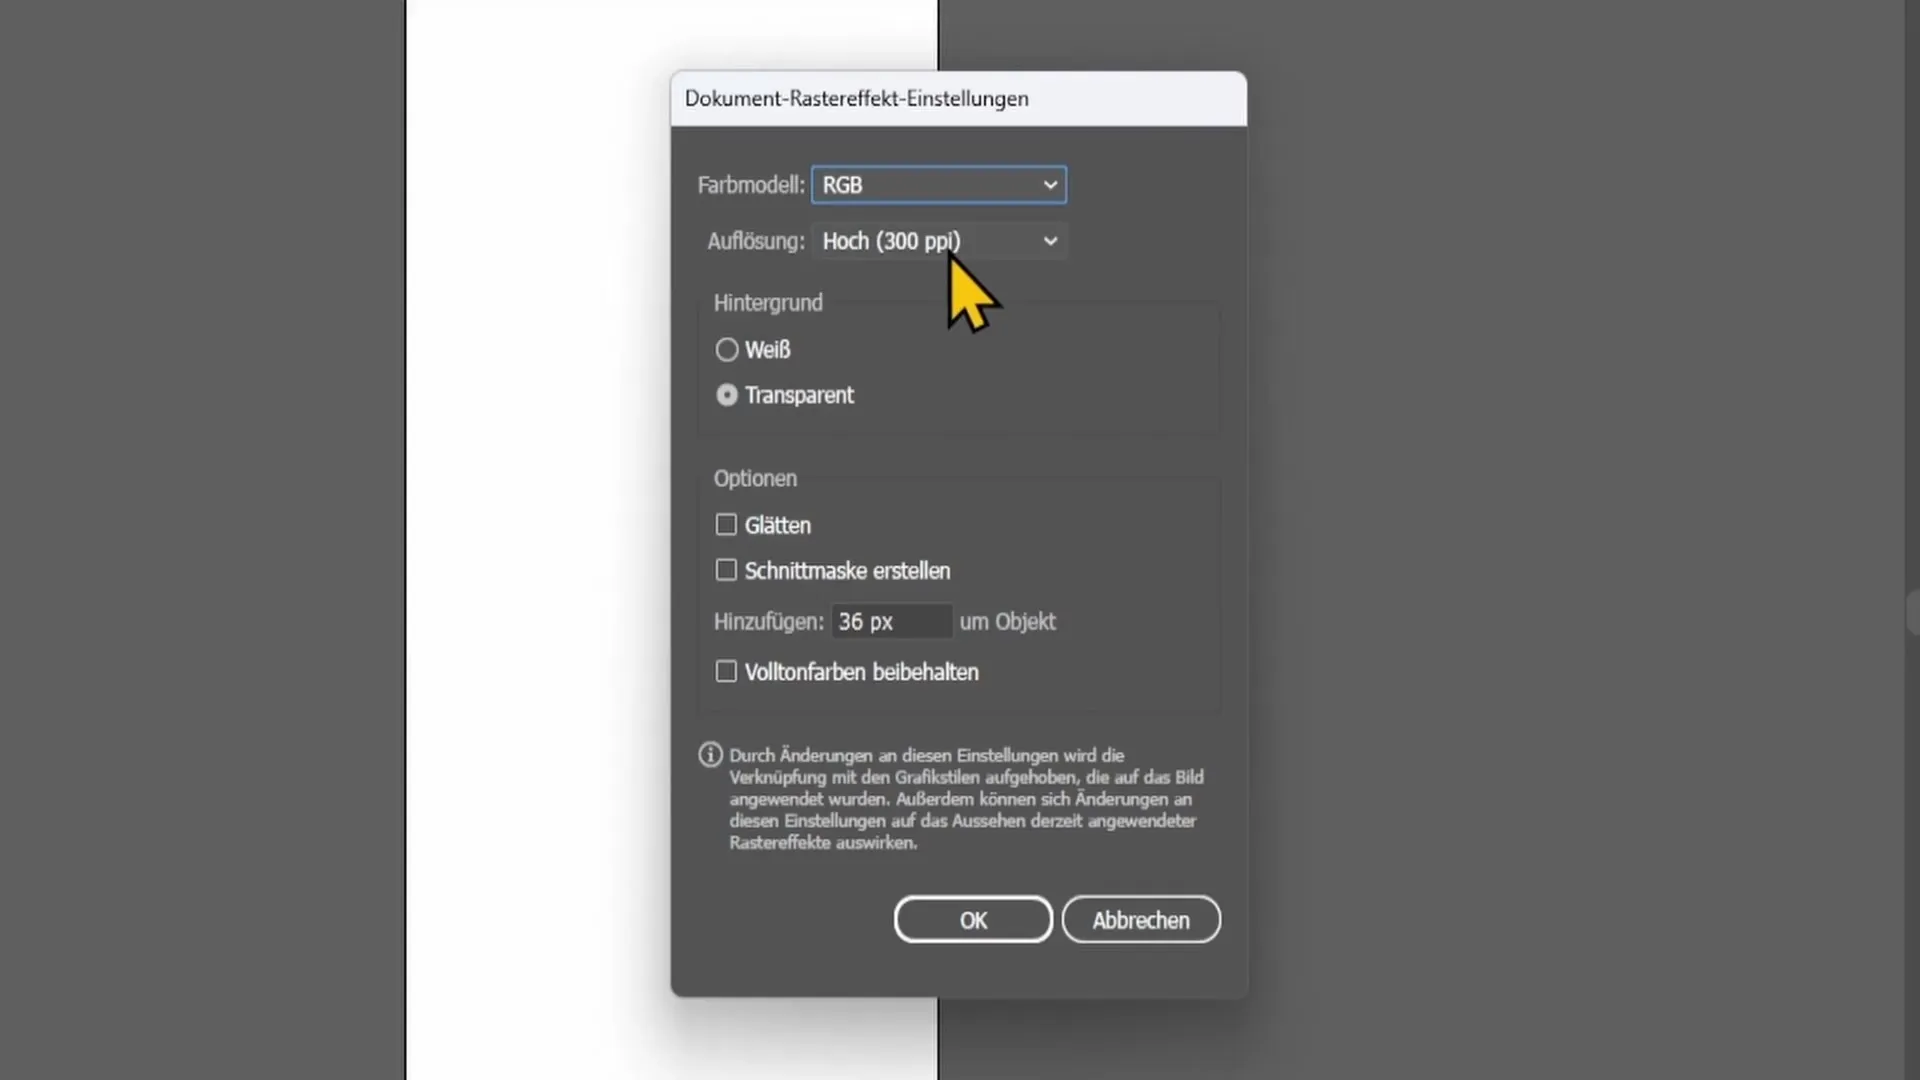
In this window, there is a field for Resolution, where you can modify it afterwards. The default values are usually set at 72 dpi, ideal for digital media. If your project is intended for printing, I recommend setting the resolution to 300 dpi. To be sure, you should consult the printing house, as they may have their own requirements.
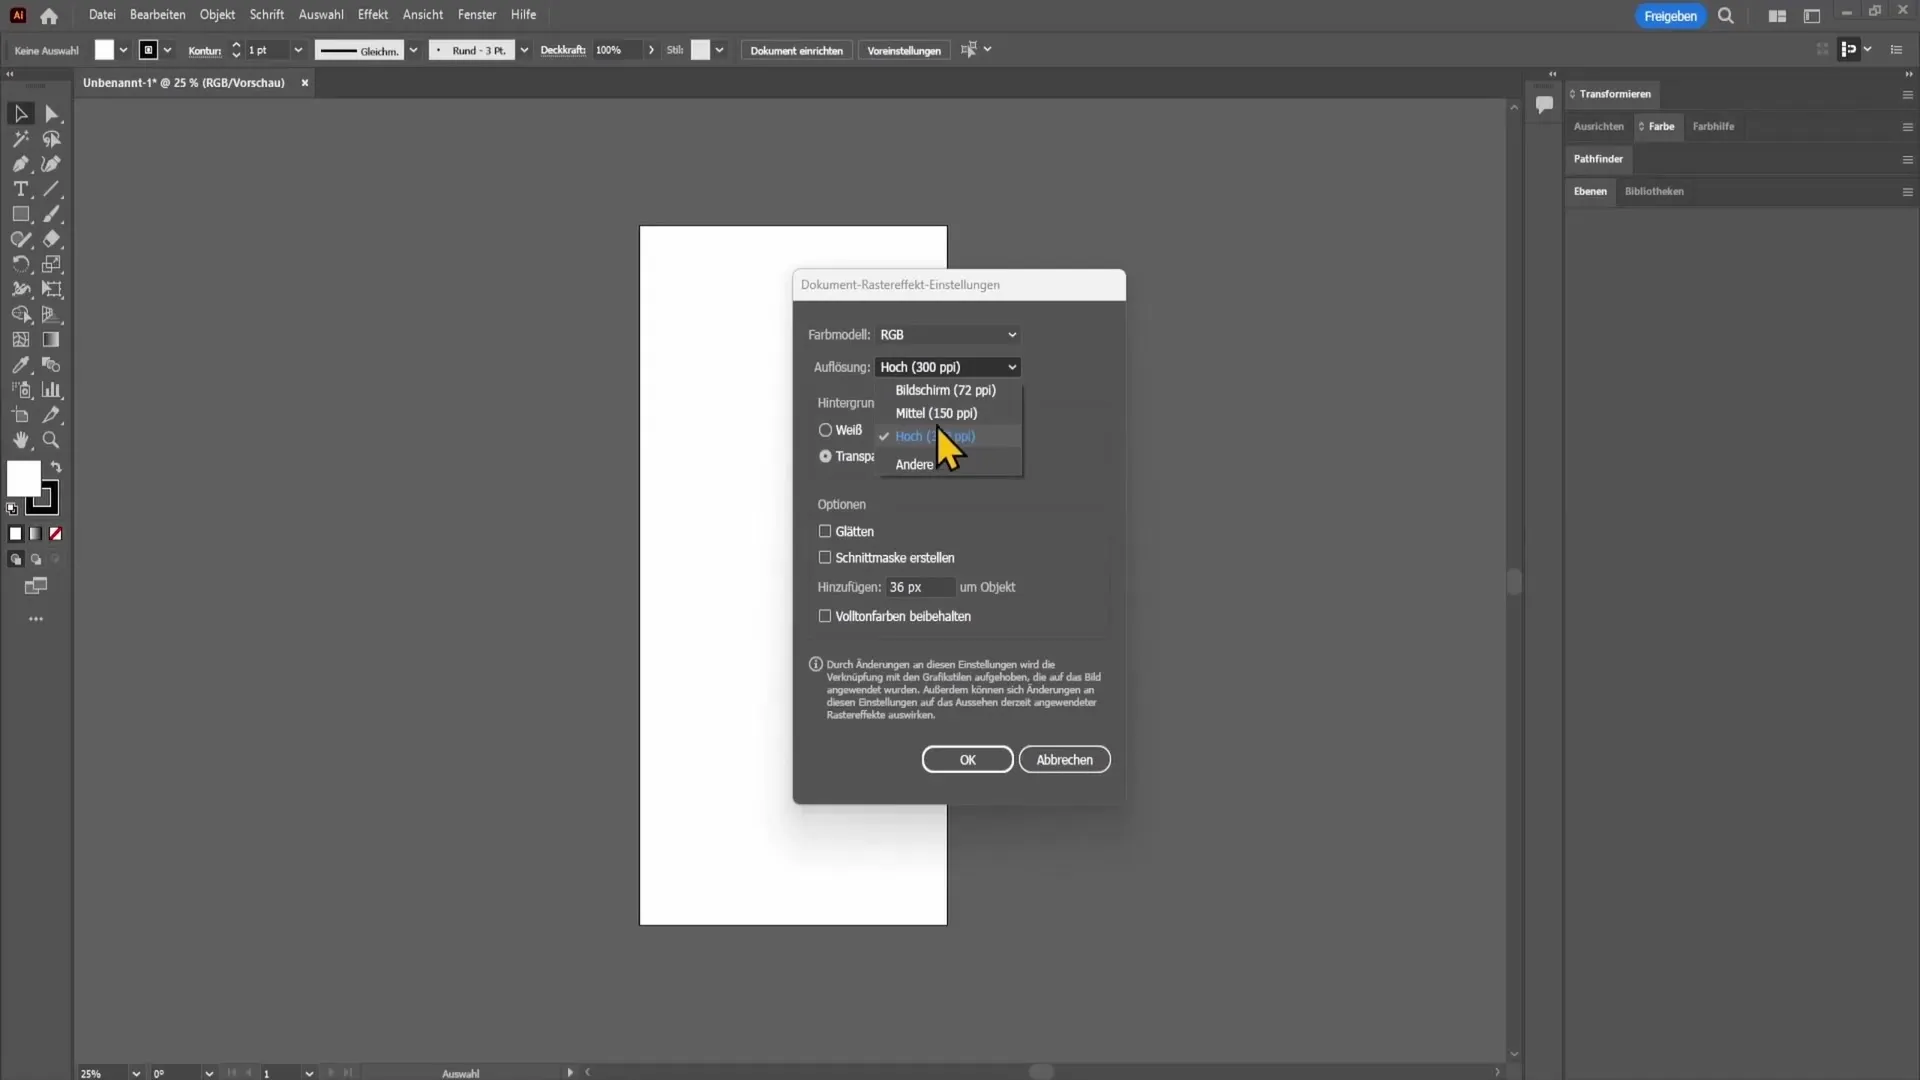
Once you have selected the desired resolution, click OK, and your changes will be applied. This completes the first step.

Now let's look at how you can switch from portrait to landscape format. To do this, you need to select the Artboard Tool, which is located in the left sidebar.
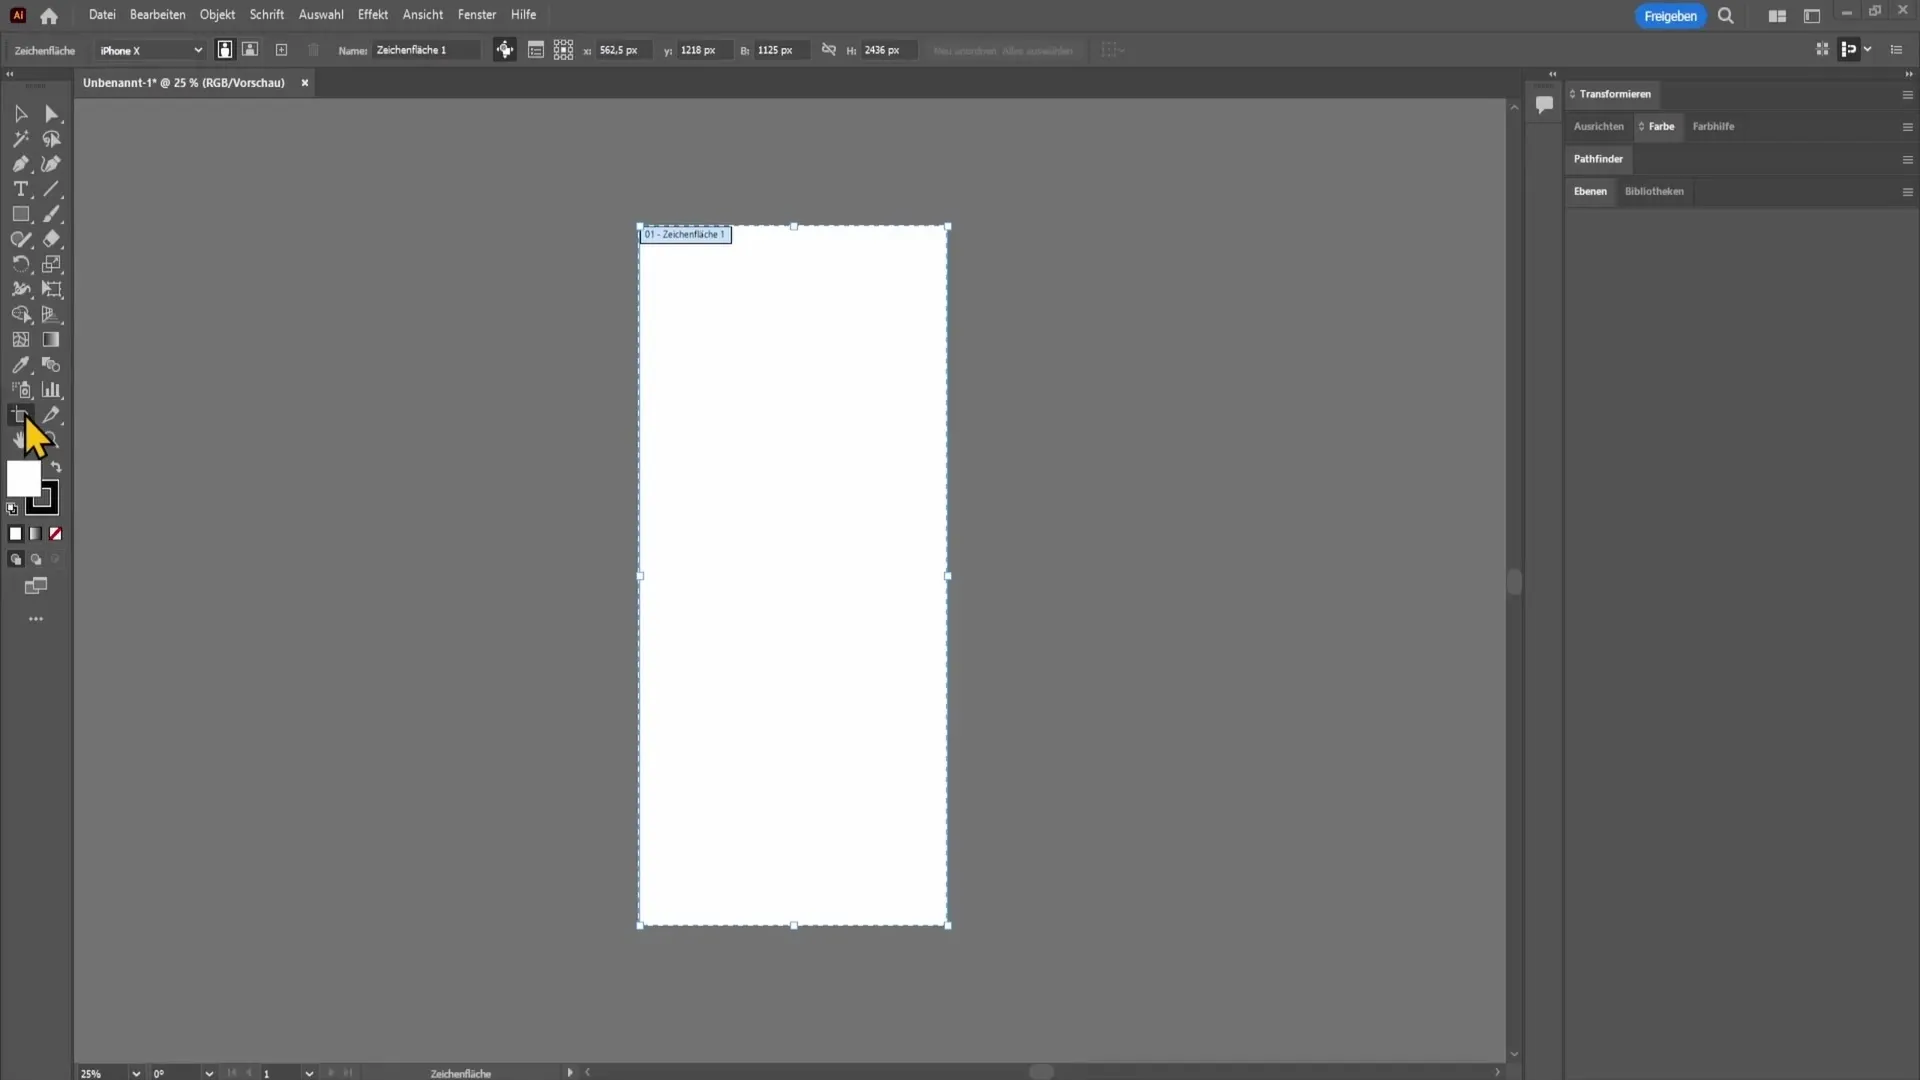
To switch between portrait and landscape formats, pay attention to the options displayed in the top bar. You can choose between portrait and landscape formats, meaning you can adjust the width and height of the document.
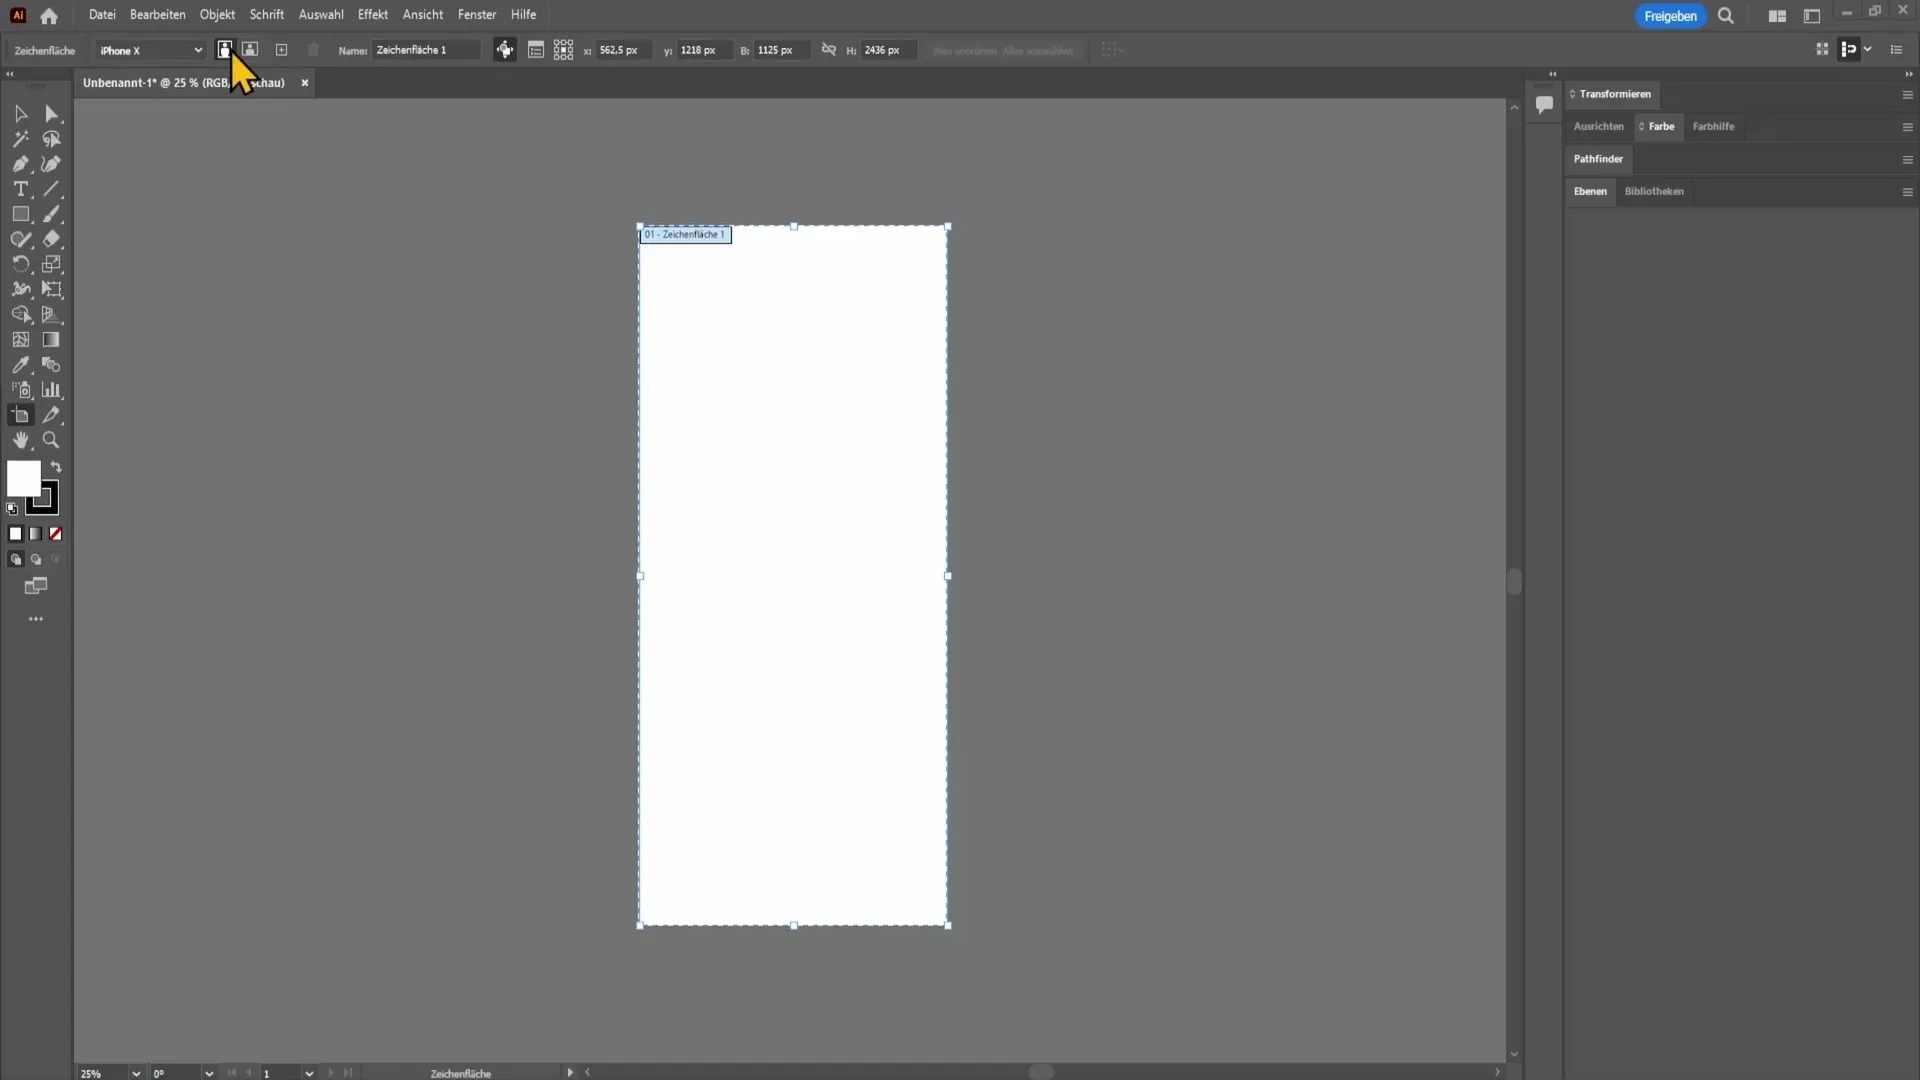
Now onto another important point: How do you change the image size of your document? This is also done through the Artboard Tool. Click on it and you can simply expand the corners of the artboard to change its size.
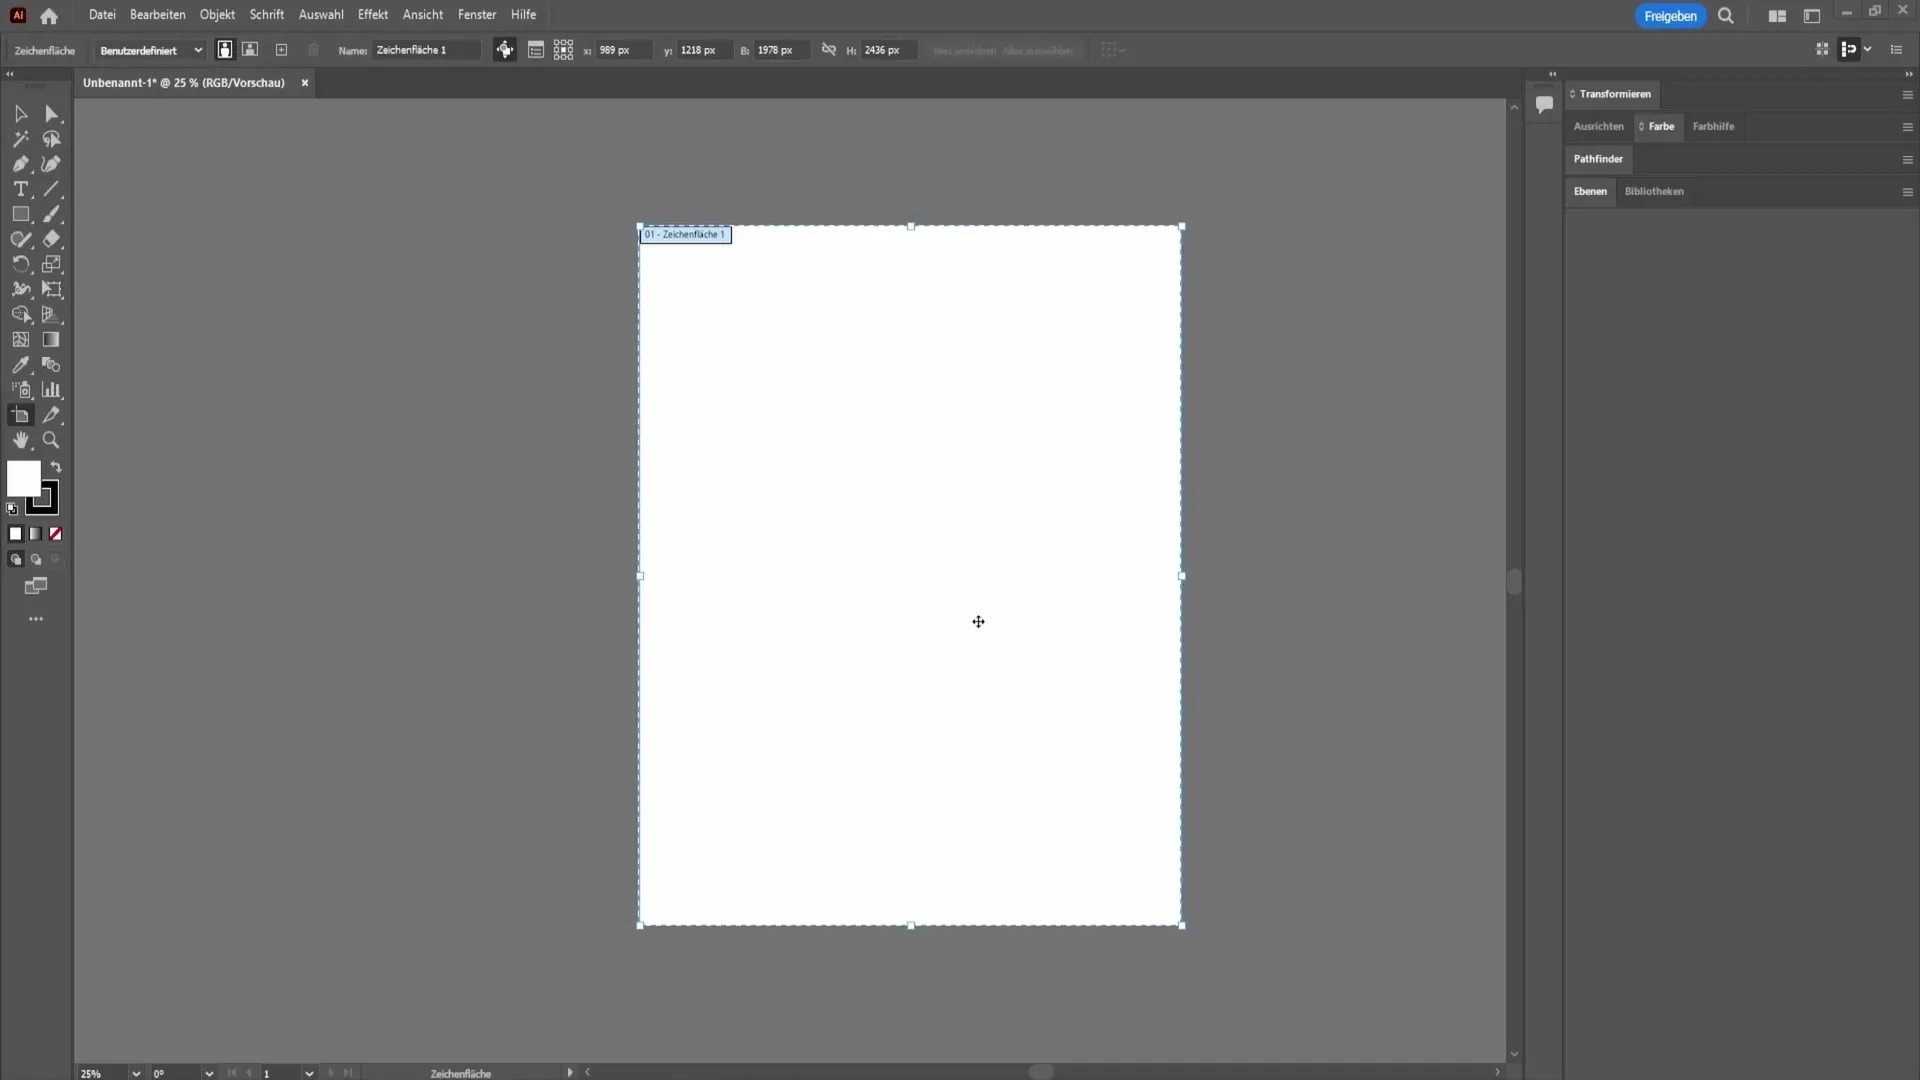
For more precise adjustment, I recommend entering the exact measurements into the fields for width and height at the top of the menu bar. For example, if you set the width to 2000 pixels and the height to 3000 pixels, confirm the values by pressing the Enter key.
If you no longer need the originally set constraints of the artboard, you can simply select another tool to change the view and hide unnecessary guide lines.
Summary
In this guide, you have learned how to change the resolution of your document in Adobe Illustrator, adjust portrait and landscape formats, and efficiently manage the image size. Proper understanding of these functions will help you realize your creative projects optimally.
Frequently Asked Questions
How do I change the resolution in Adobe Illustrator?Go to Effects and then to Document Raster Effect Settings to change the resolution.
What is the ideal dpi value for printing?I recommend a resolution of 300 dpi for printing.
How do I switch from portrait to landscape format?Use the Artboard Tool to easily change the format through a few clicks.
How do I change the image size in Adobe Illustrator?Select the Artboard Tool and drag the corners or enter measurements manually.


