In this guide, you will learn how to convert a JPG image into a DXF file. This conversion is particularly useful for users of cutting machines or CNC machines, as DXF files can be easily imported and used for precise cutting work. Below, I will guide you step by step through the process in Adobe Illustrator. Whether you are a beginner or an experienced user, this guide will help you convert your JPG image into a DXF file.
Main Findings
- Converting a JPG to DXF requires tracing the image in Illustrator.
- Removing the background of the image is an essential step.
- Exporting the DXF file is done through the "File" menu.
Step-by-Step Guide
First, launch Adobe Illustrator and open the JPG image you want to convert. Ensure that the quality of the image is high enough to achieve optimal results.
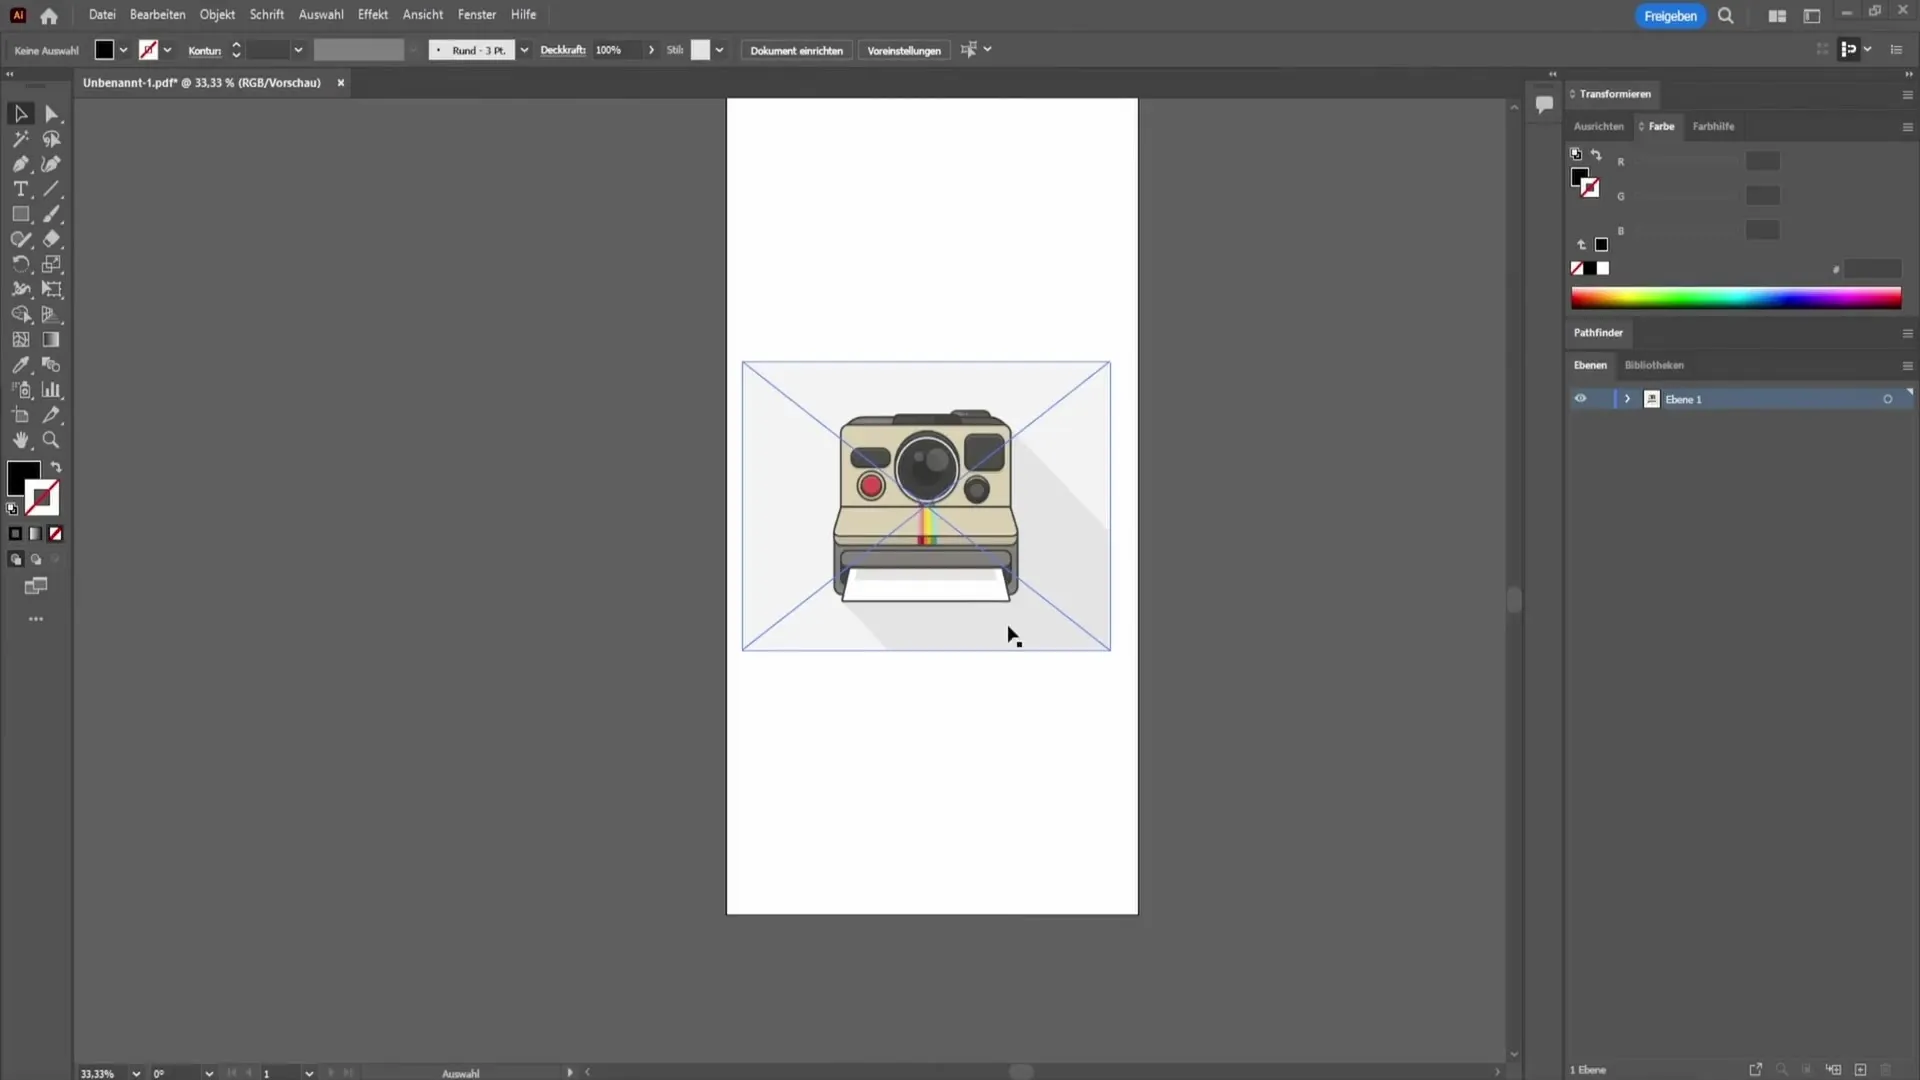
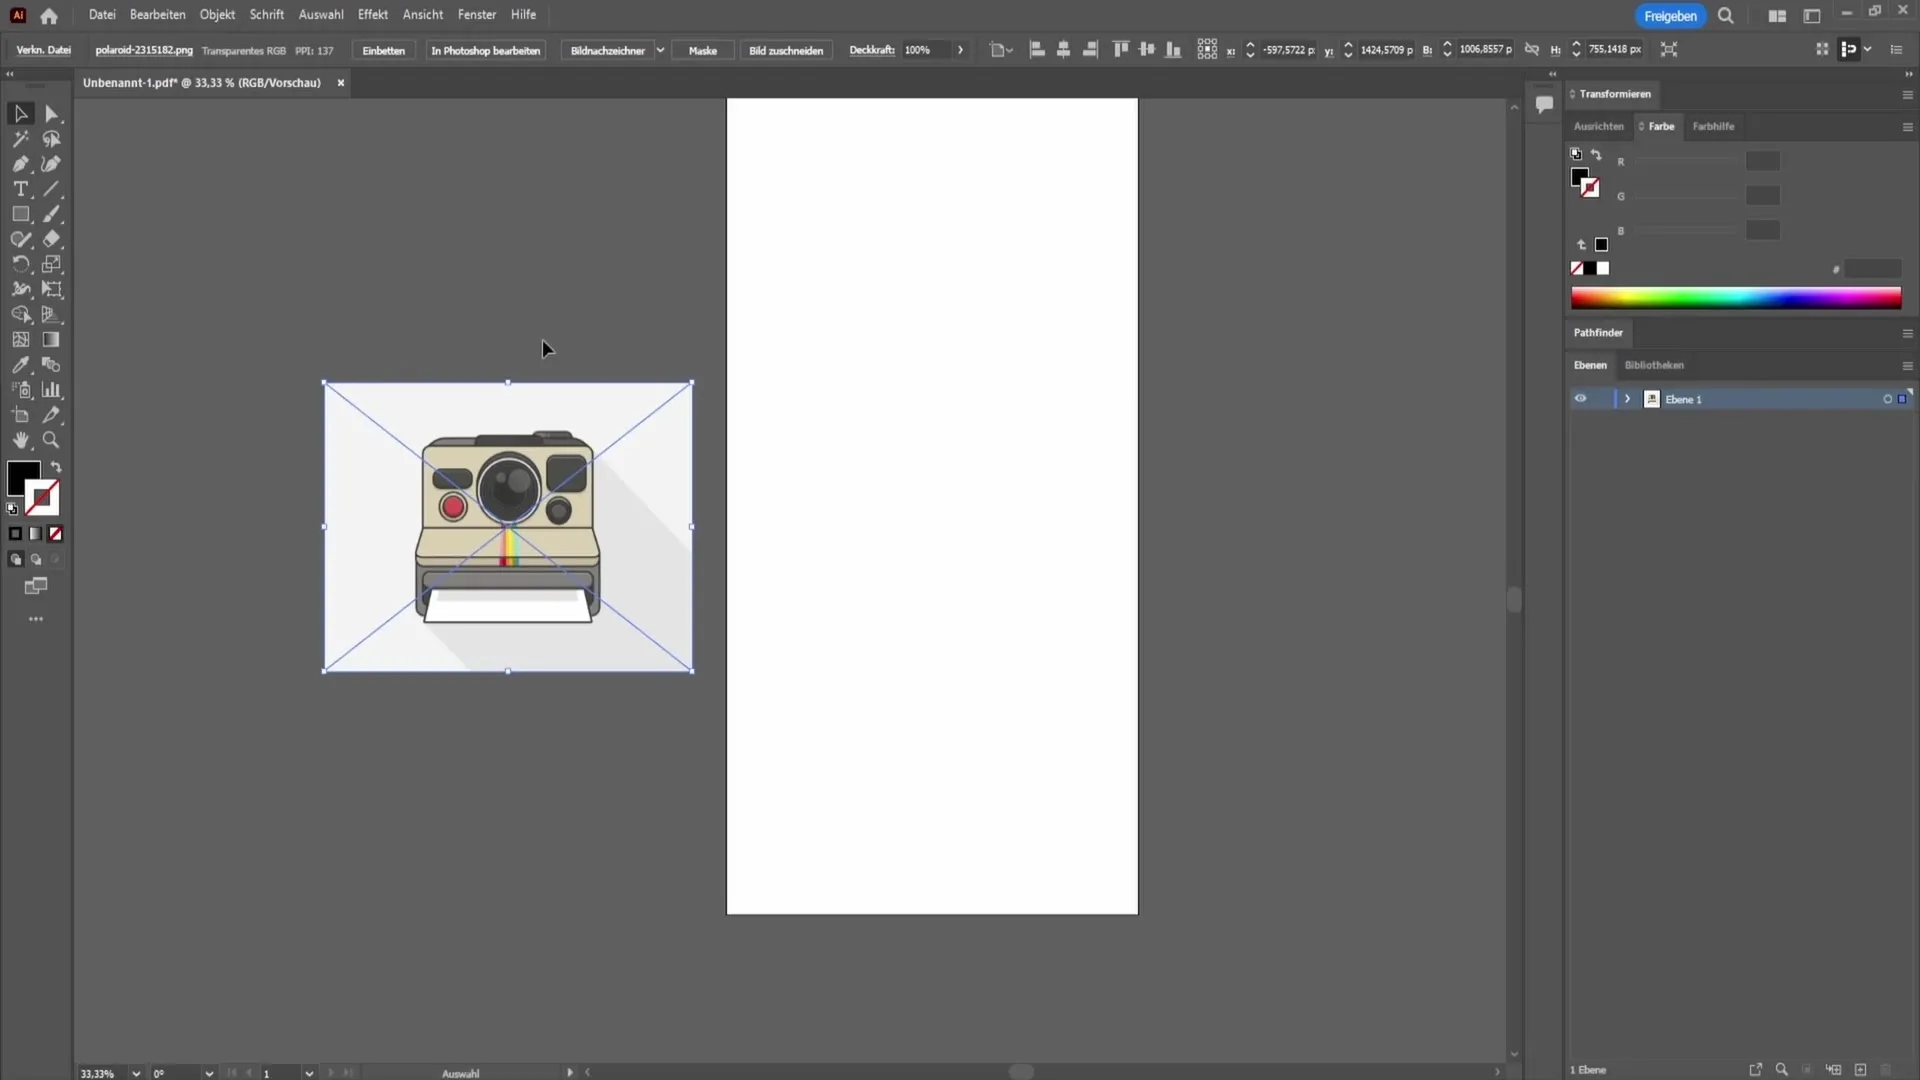
Next, select the image on the right side to ensure that you apply the correct settings. You will see that the image is fully selected.
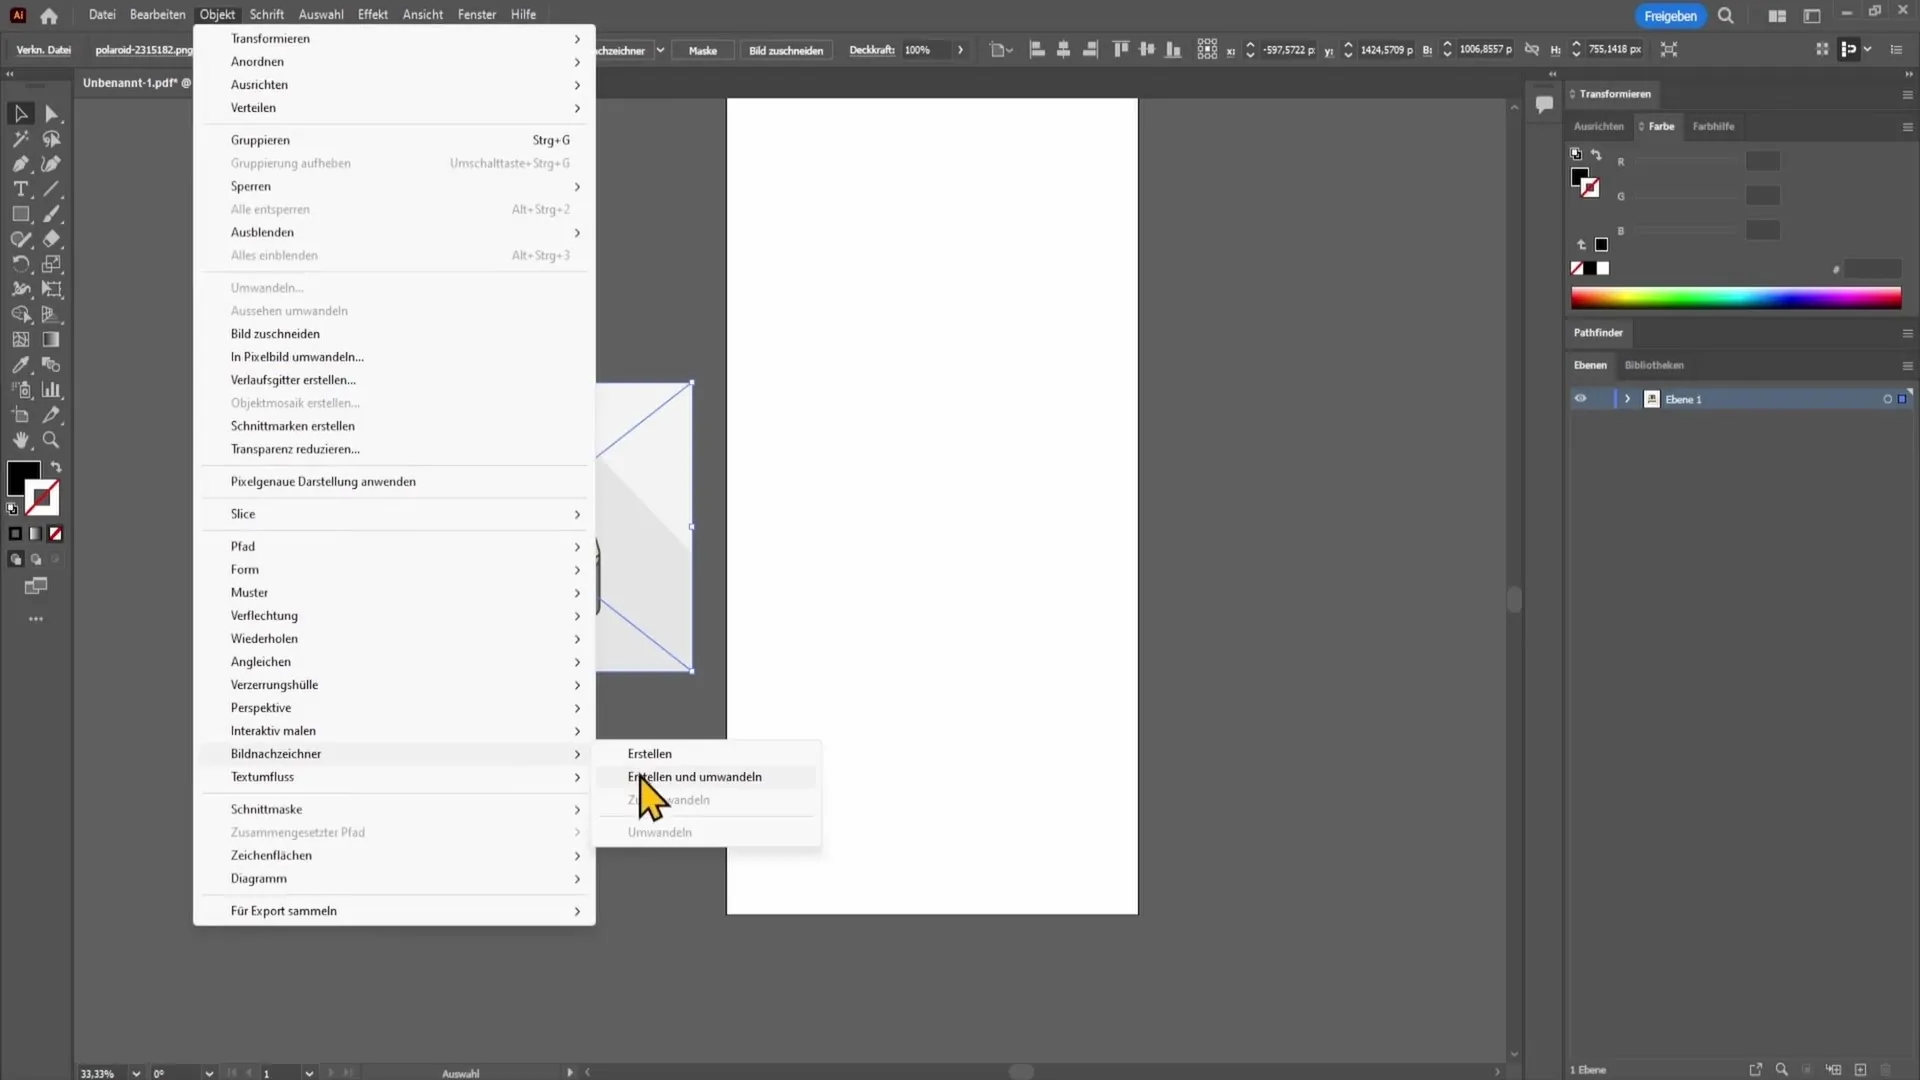
Then, navigate to the top menu bar. Click on "Object" to open the dropdown menu. Look for the "Image Trace" option. Click on it and select "Make and Convert." This will convert your JPG image into vectors suitable for further editing.
Now, the image will be displayed in a vectorized form. To continue working, you need to select the graphic again. Go to "Object" and choose "Ungroup" here. This will allow you to edit the different parts of the graphic individually.
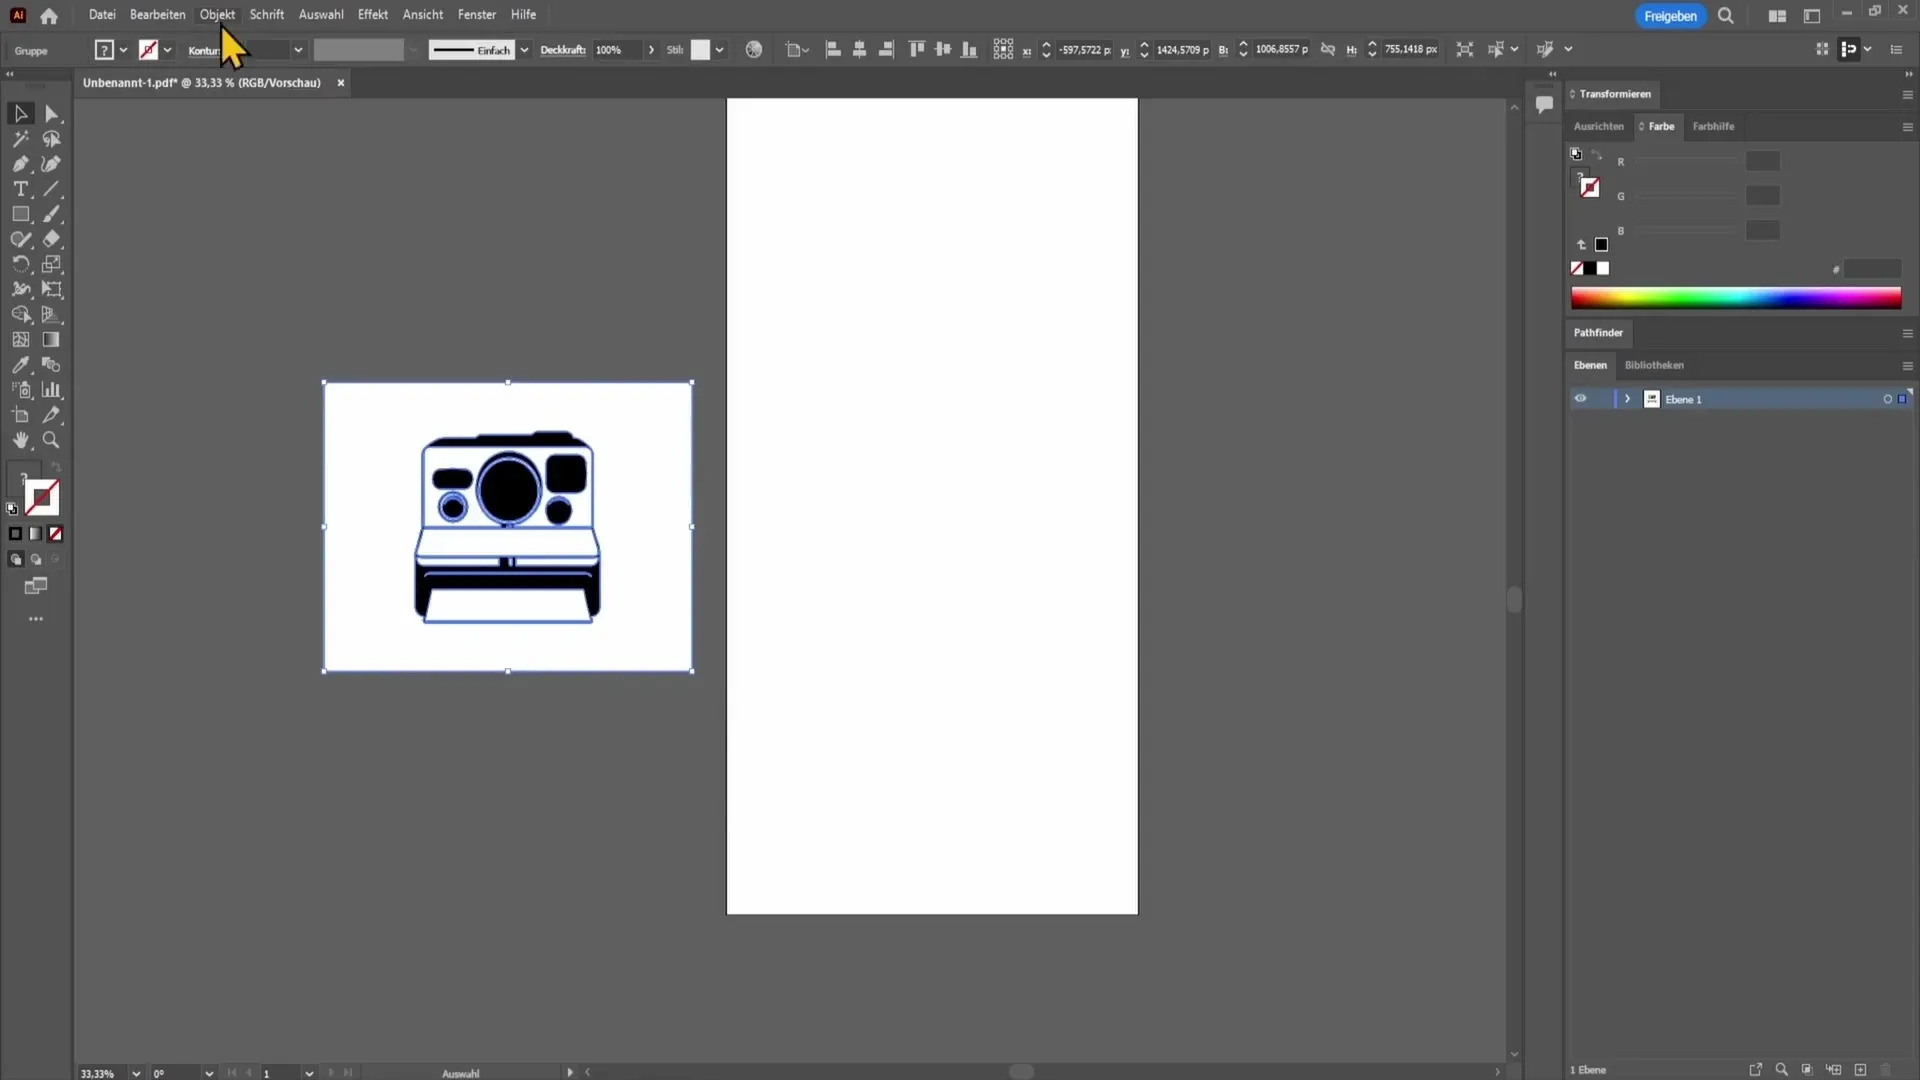
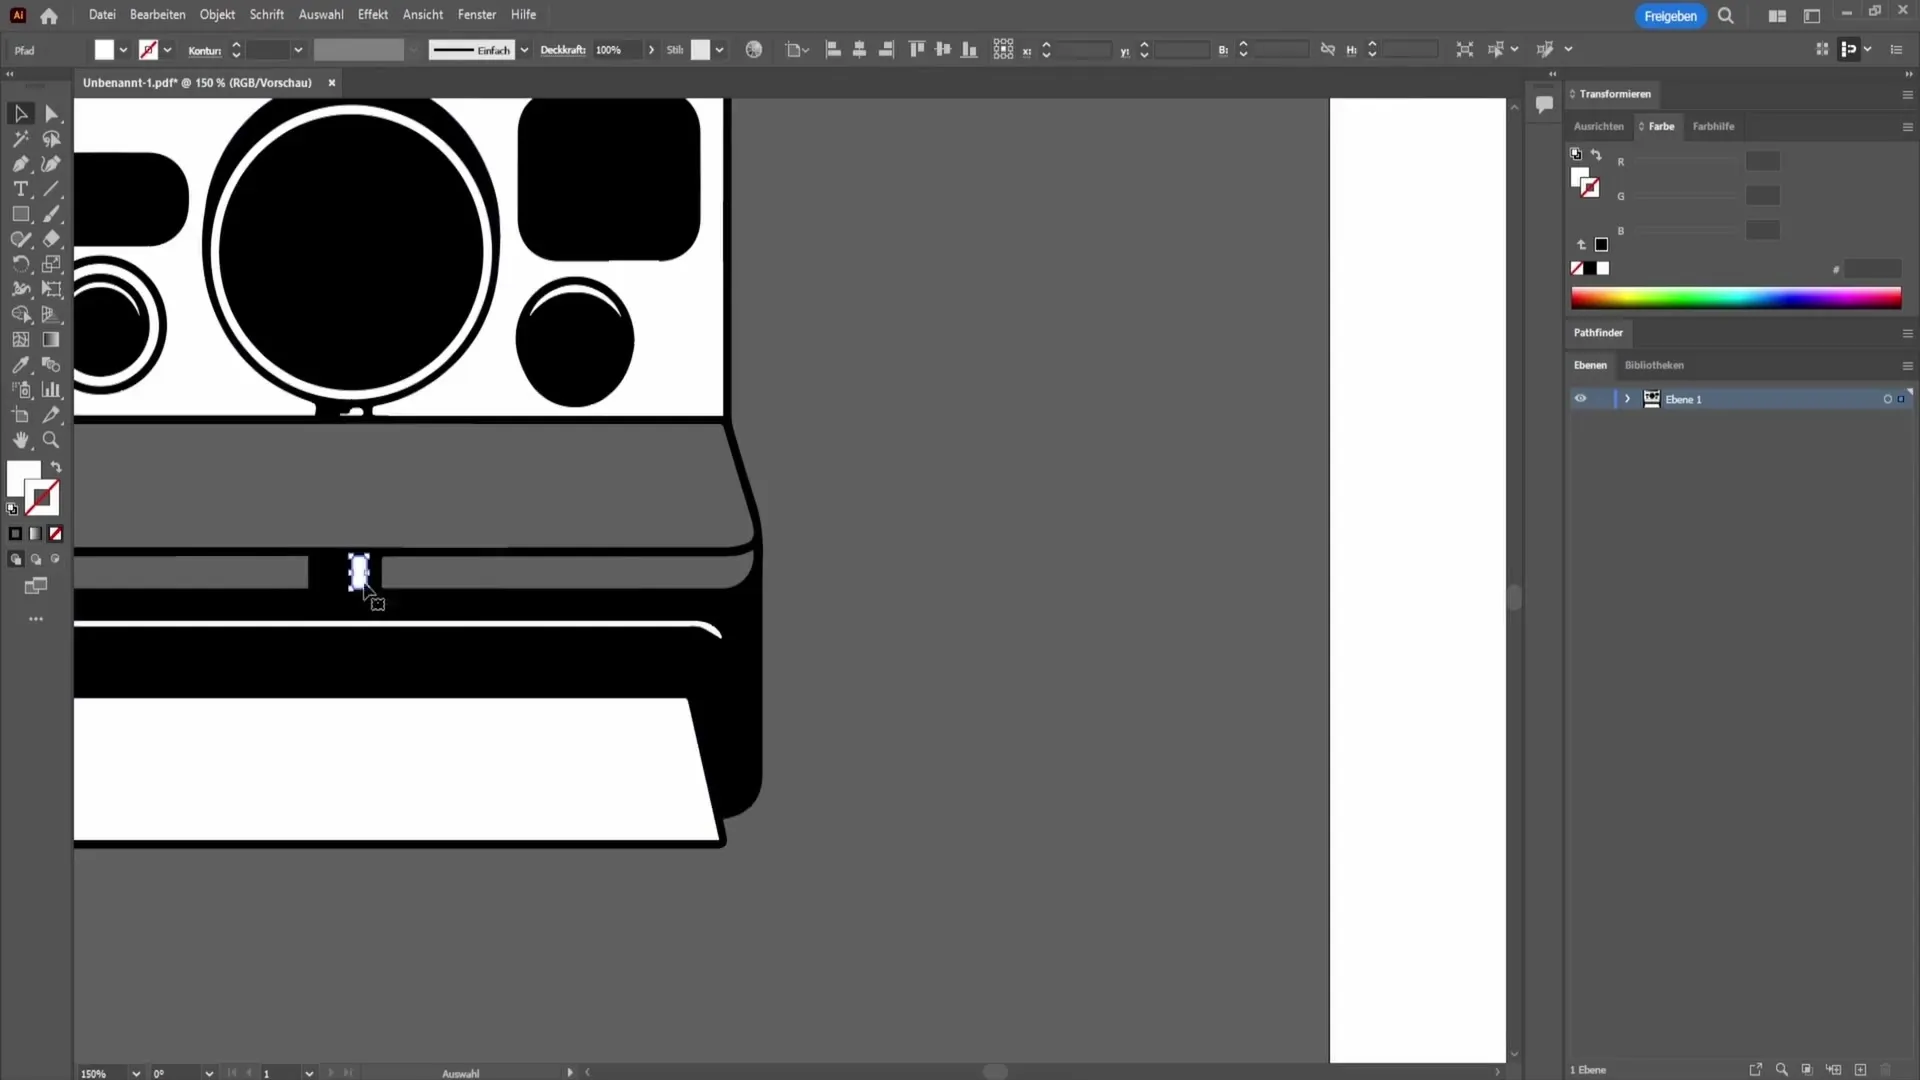
The next step is to remove the background of the image. Click on the white areas of the background and press the Delete key or use the Eraser tool to erase these areas. This step is crucial as only the desired parts should be exported in DXF format.
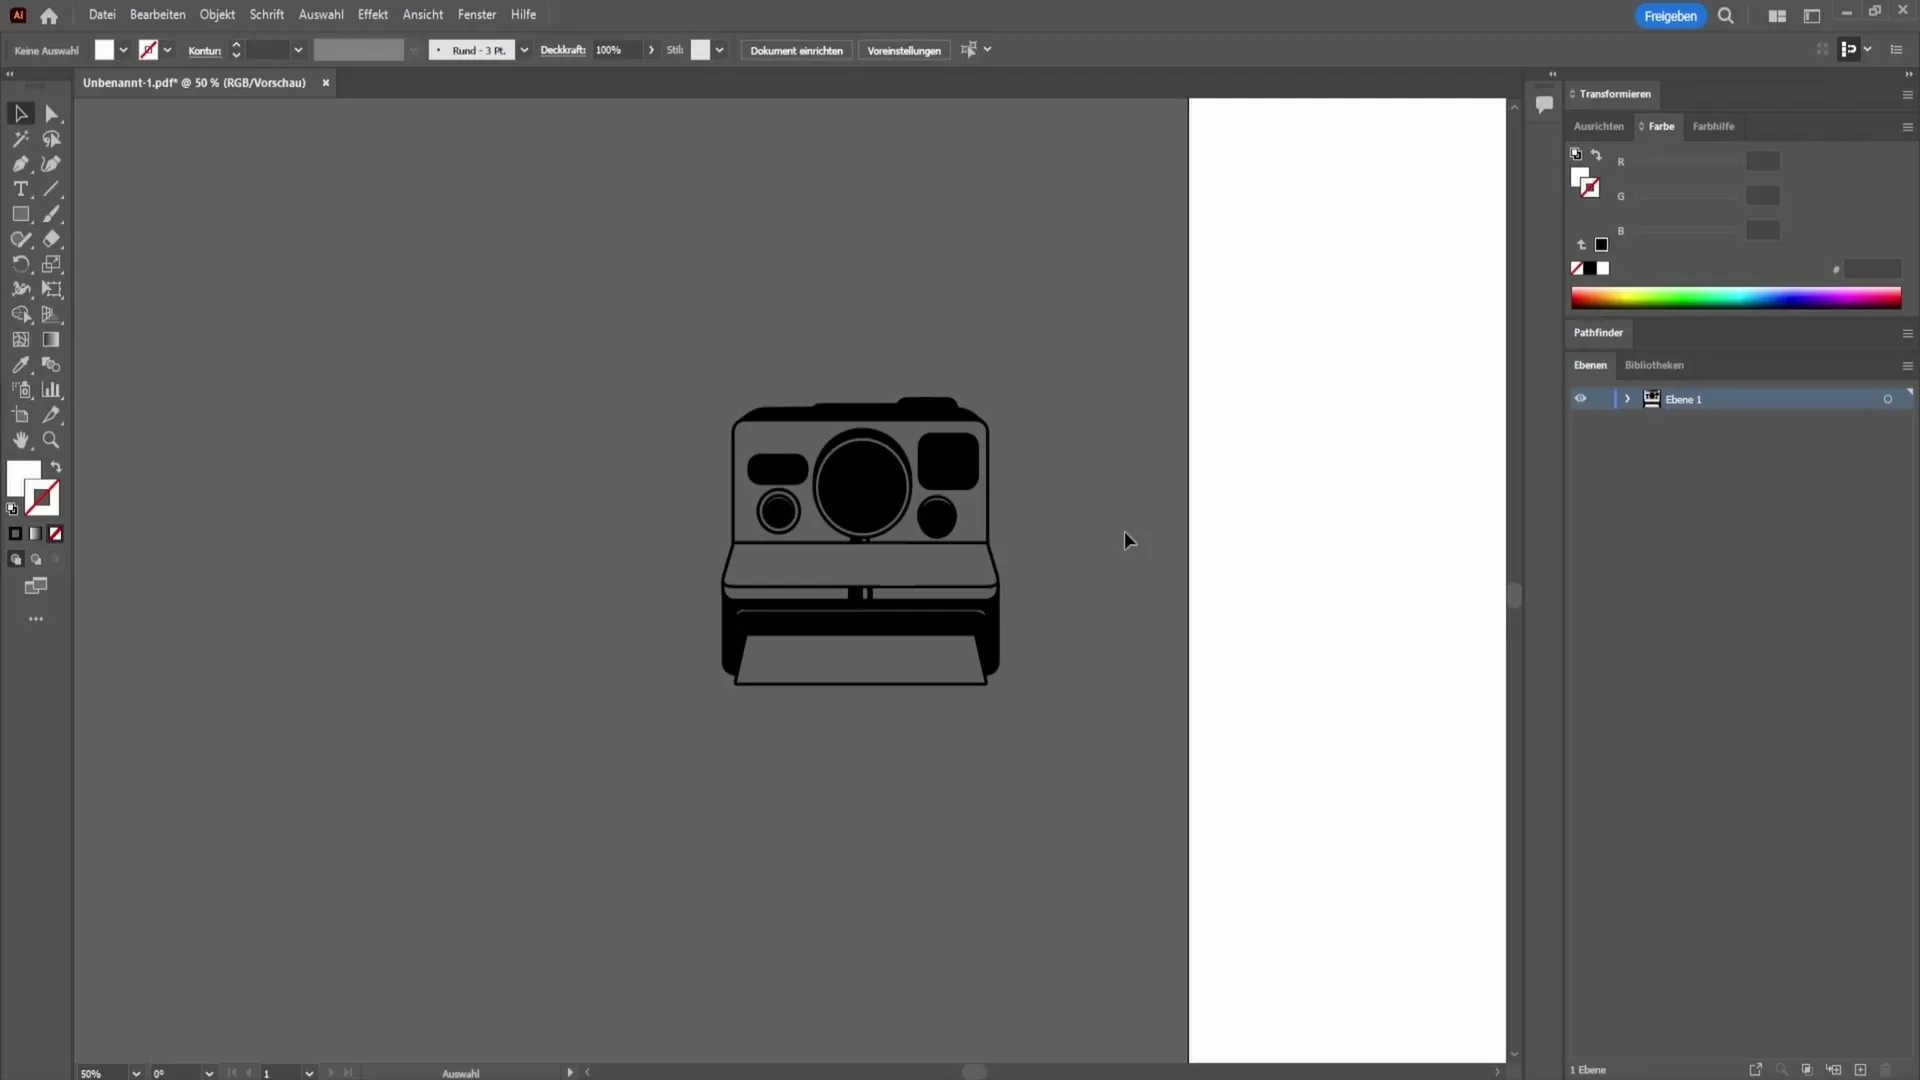
After removing the background, you can review your work. Now you should have the simplified, vectorized graphic in front of you. This is the basis for later exporting it into DXF format.
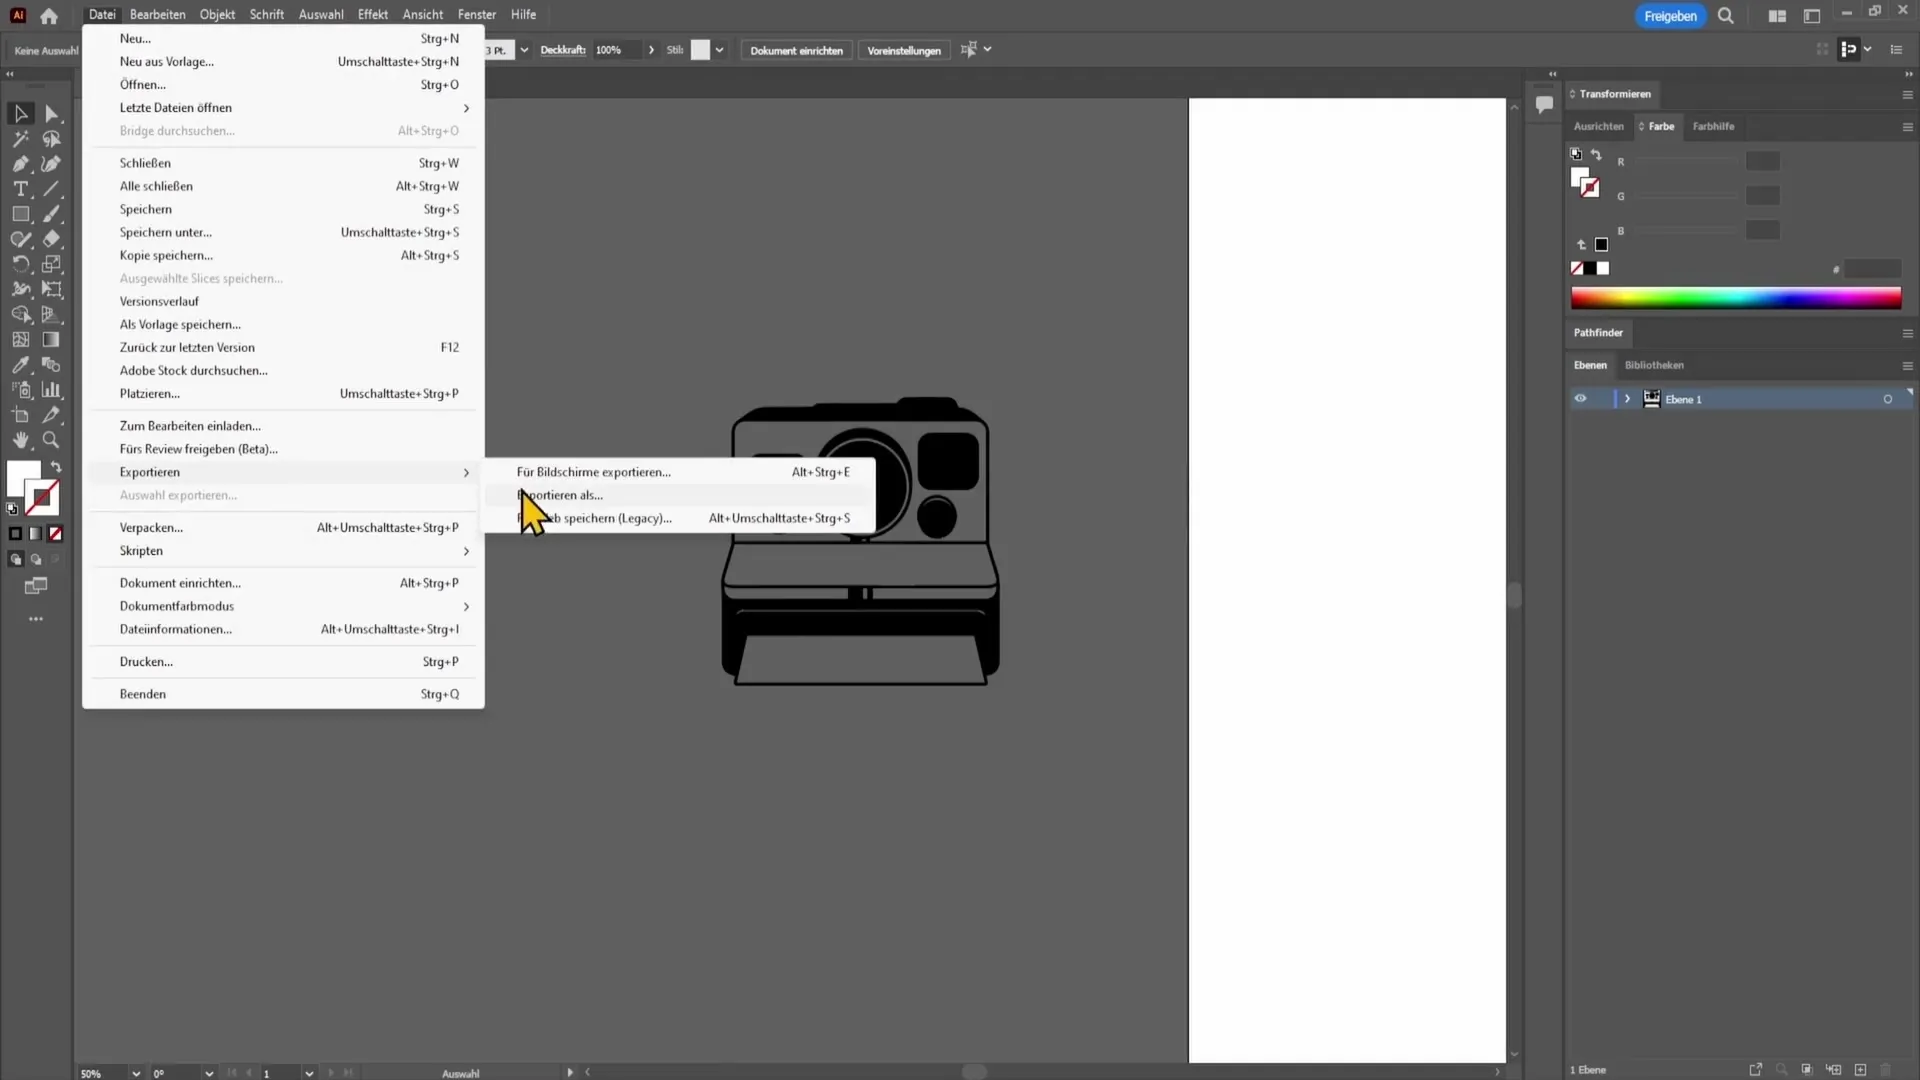
To export the DXF file, go to the top left and click on "File." Click on "Export" and select "Export As...". A dialog box will open where you can choose the format. Scroll down and select the DXF format.
Now you can name your file and complete the save process by clicking on "Export". This will create the DXF file that you can then use for your applications.
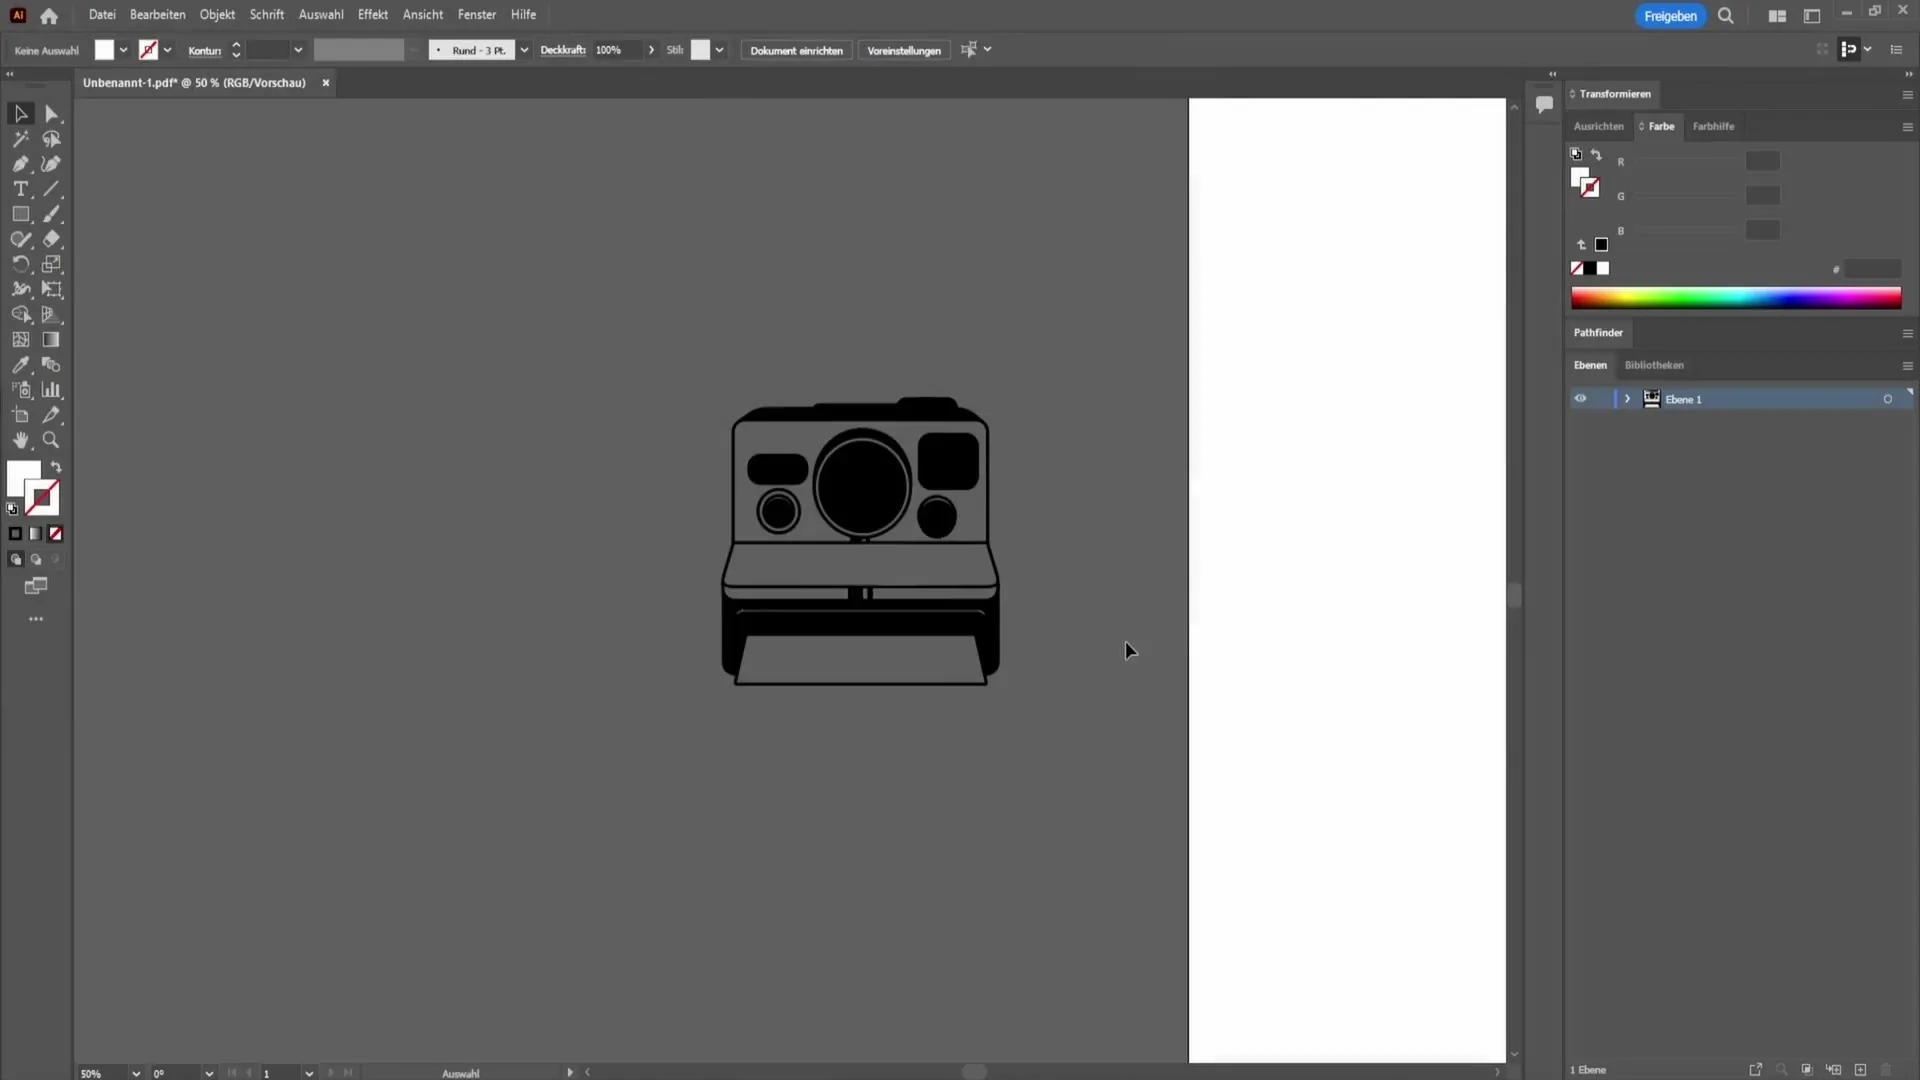
That's how easy it is to convert a JPG image into a DXF file in Adobe Illustrator!
Summary
In this guide, you have learned how to convert a JPG image into a DXF file. You have learned how to trace the image, remove the background, and finally export the file. Now you are ready to apply these skills in your future projects!
Frequently Asked Questions
How do I convert a JPG image to a DXF file?You select the image, use the Image Trace, delete the background, and export it as DXF.
What software do I need for the conversion?You need Adobe Illustrator to convert JPG images into DXF files.
Can I convert JPGs without high-quality images?It is recommended to use high-quality JPGs to achieve better vectorization results.
