In this detailed guide, we will show you how to convert a pixel or raster file into a vector file using Adobe Illustrator. Vector files are particularly useful when printing graphics in large formats, as they maintain their clarity and sharpness when enlarged. Let's go through this process together.
Key Takeaways
- The conversion of a pixel file to a vector file is done using the Image Trace tool in Adobe Illustrator.
- Vector files offer advantages over pixel files, especially in print work.
- You can customize individual elements of the vector file after conversion.
Step-by-Step Guide
1. Opening Adobe Illustrator
Start by opening Adobe Illustrator. Make sure you have a pixel file you want to convert, and drag this file into your Illustrator workspace.
2. Selecting the Image Trace Tool
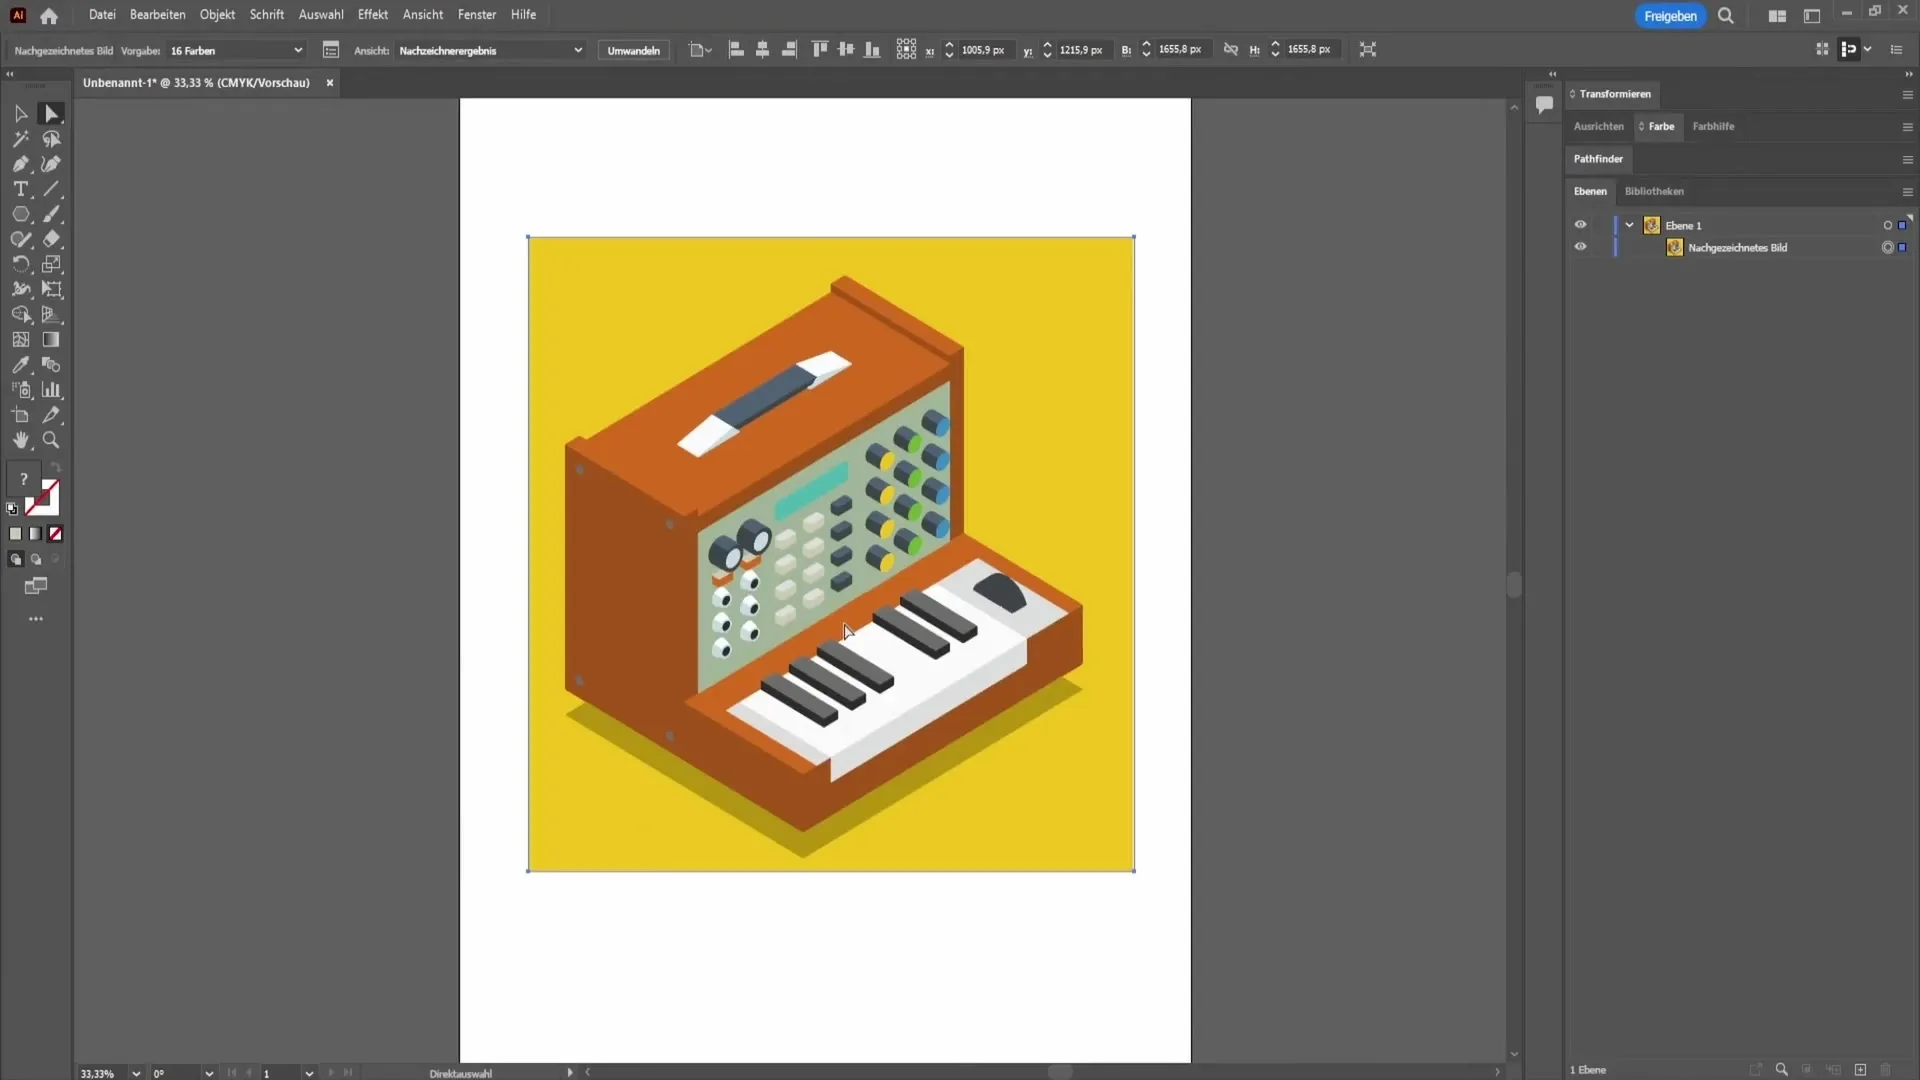
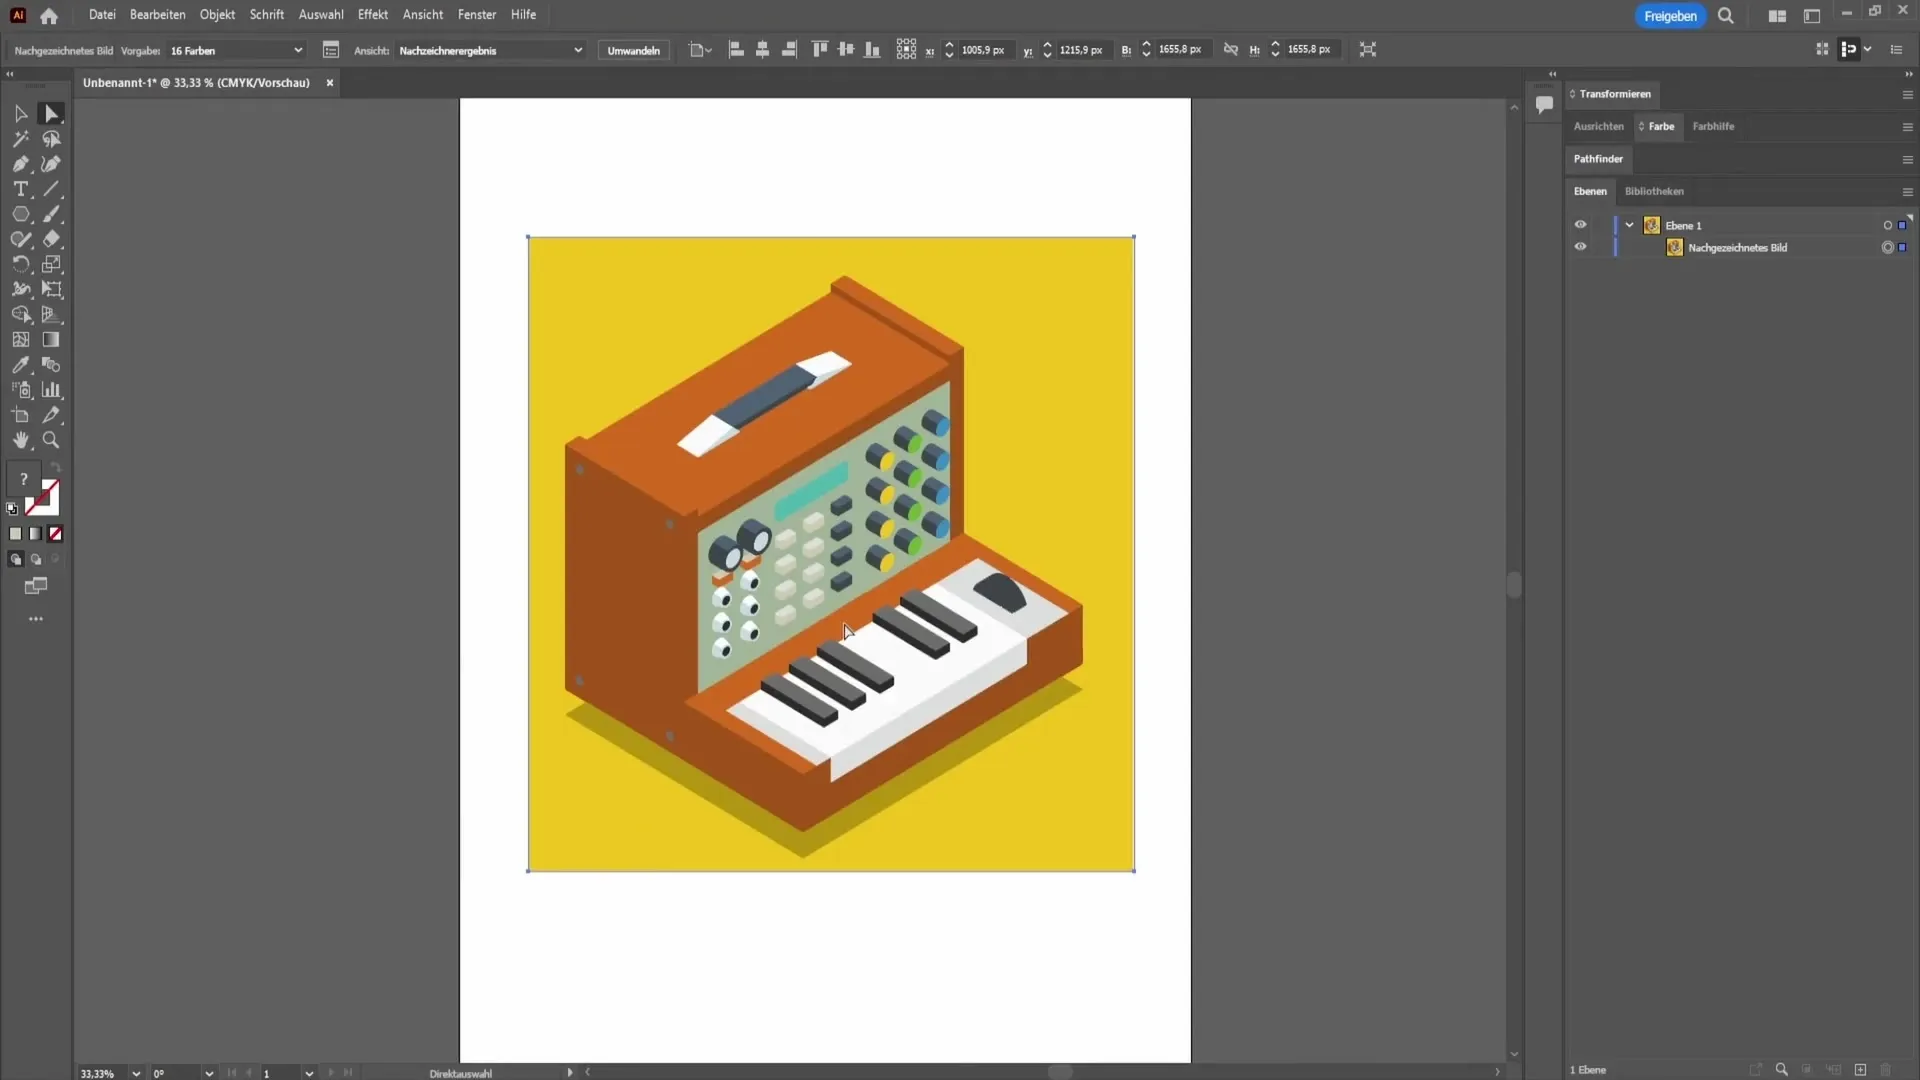
To convert your pixel file to a vector file, you need to select the Image Trace Tool. You can find this tool in the toolbar on the left side of the screen. Click on it to select it.
3. Using the Image Trace Tool
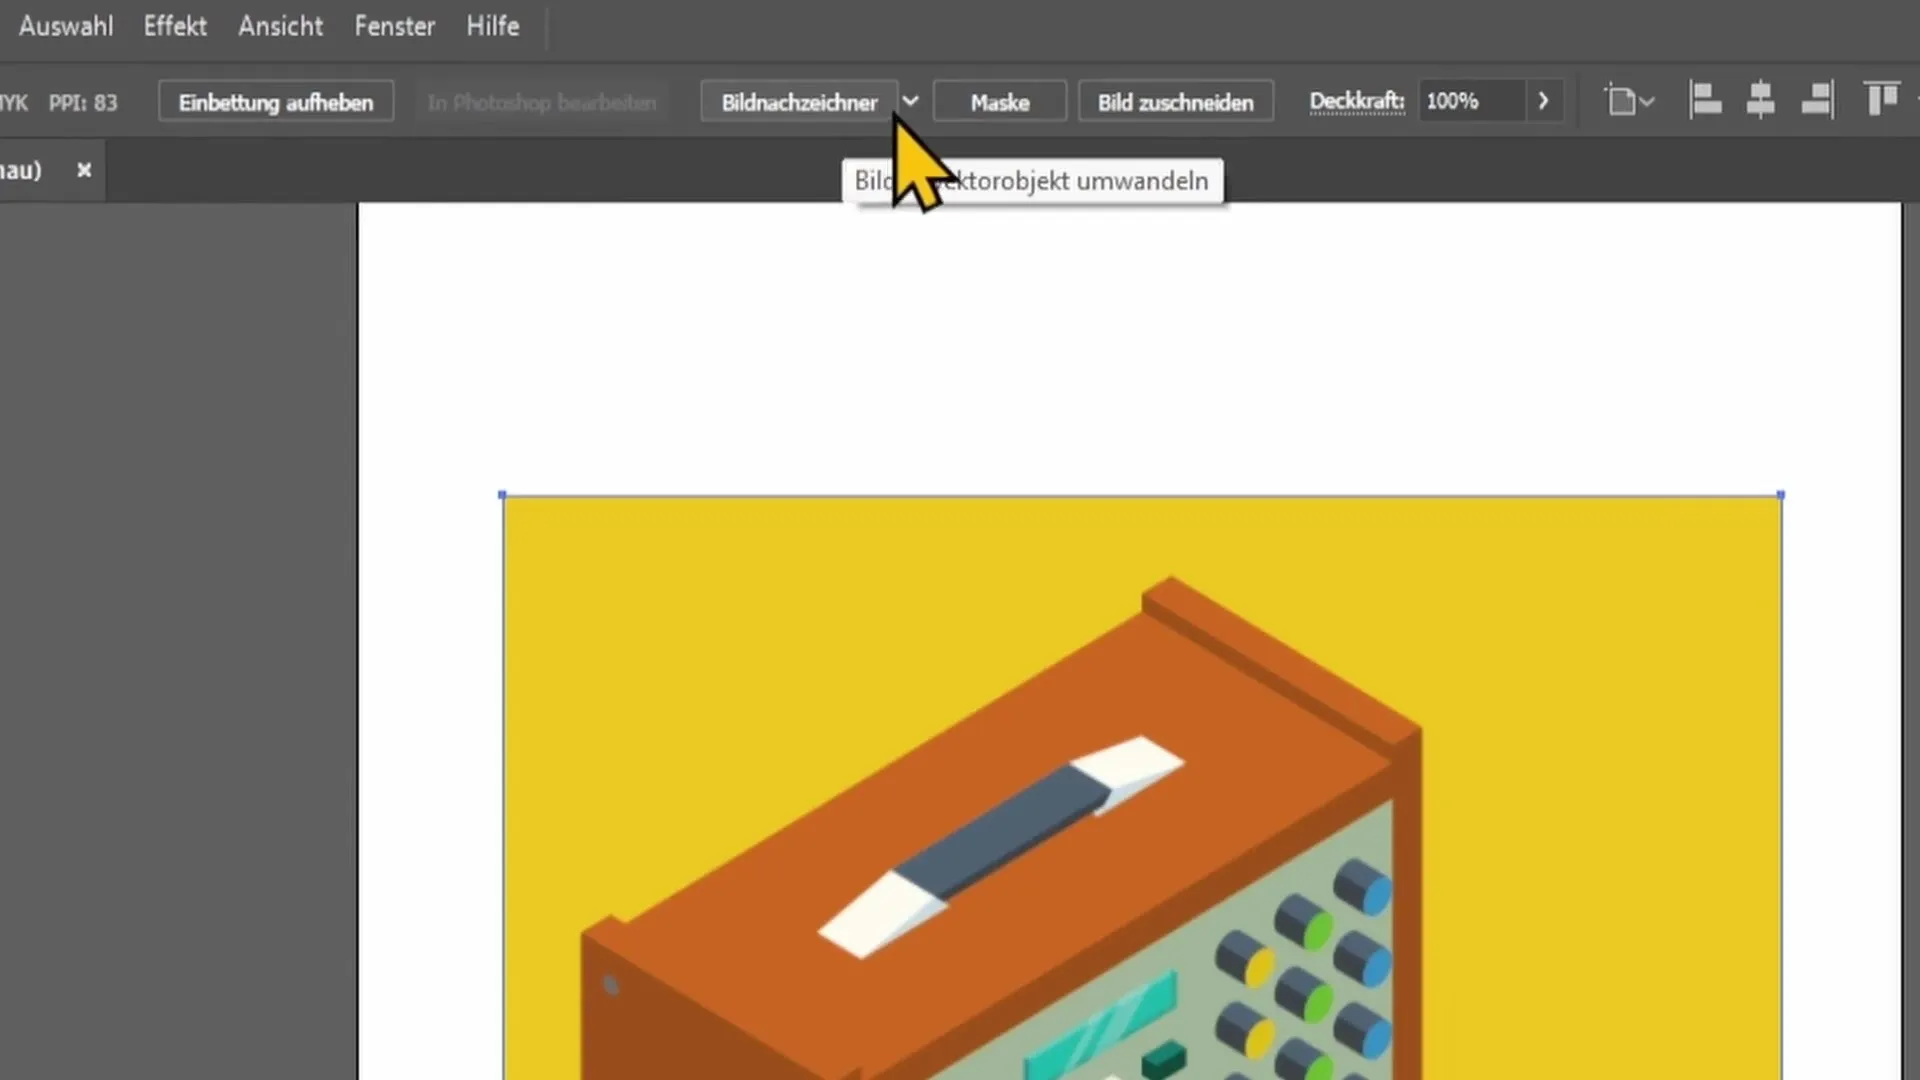
Next, with the selected image, go to the Image Trace at the top of the screen. Click on the dropdown menu to show the options. Choose the number of desired colors - in this case, 16 colors. Confirm your selection by clicking "OK".
4. Convert to a Vector File
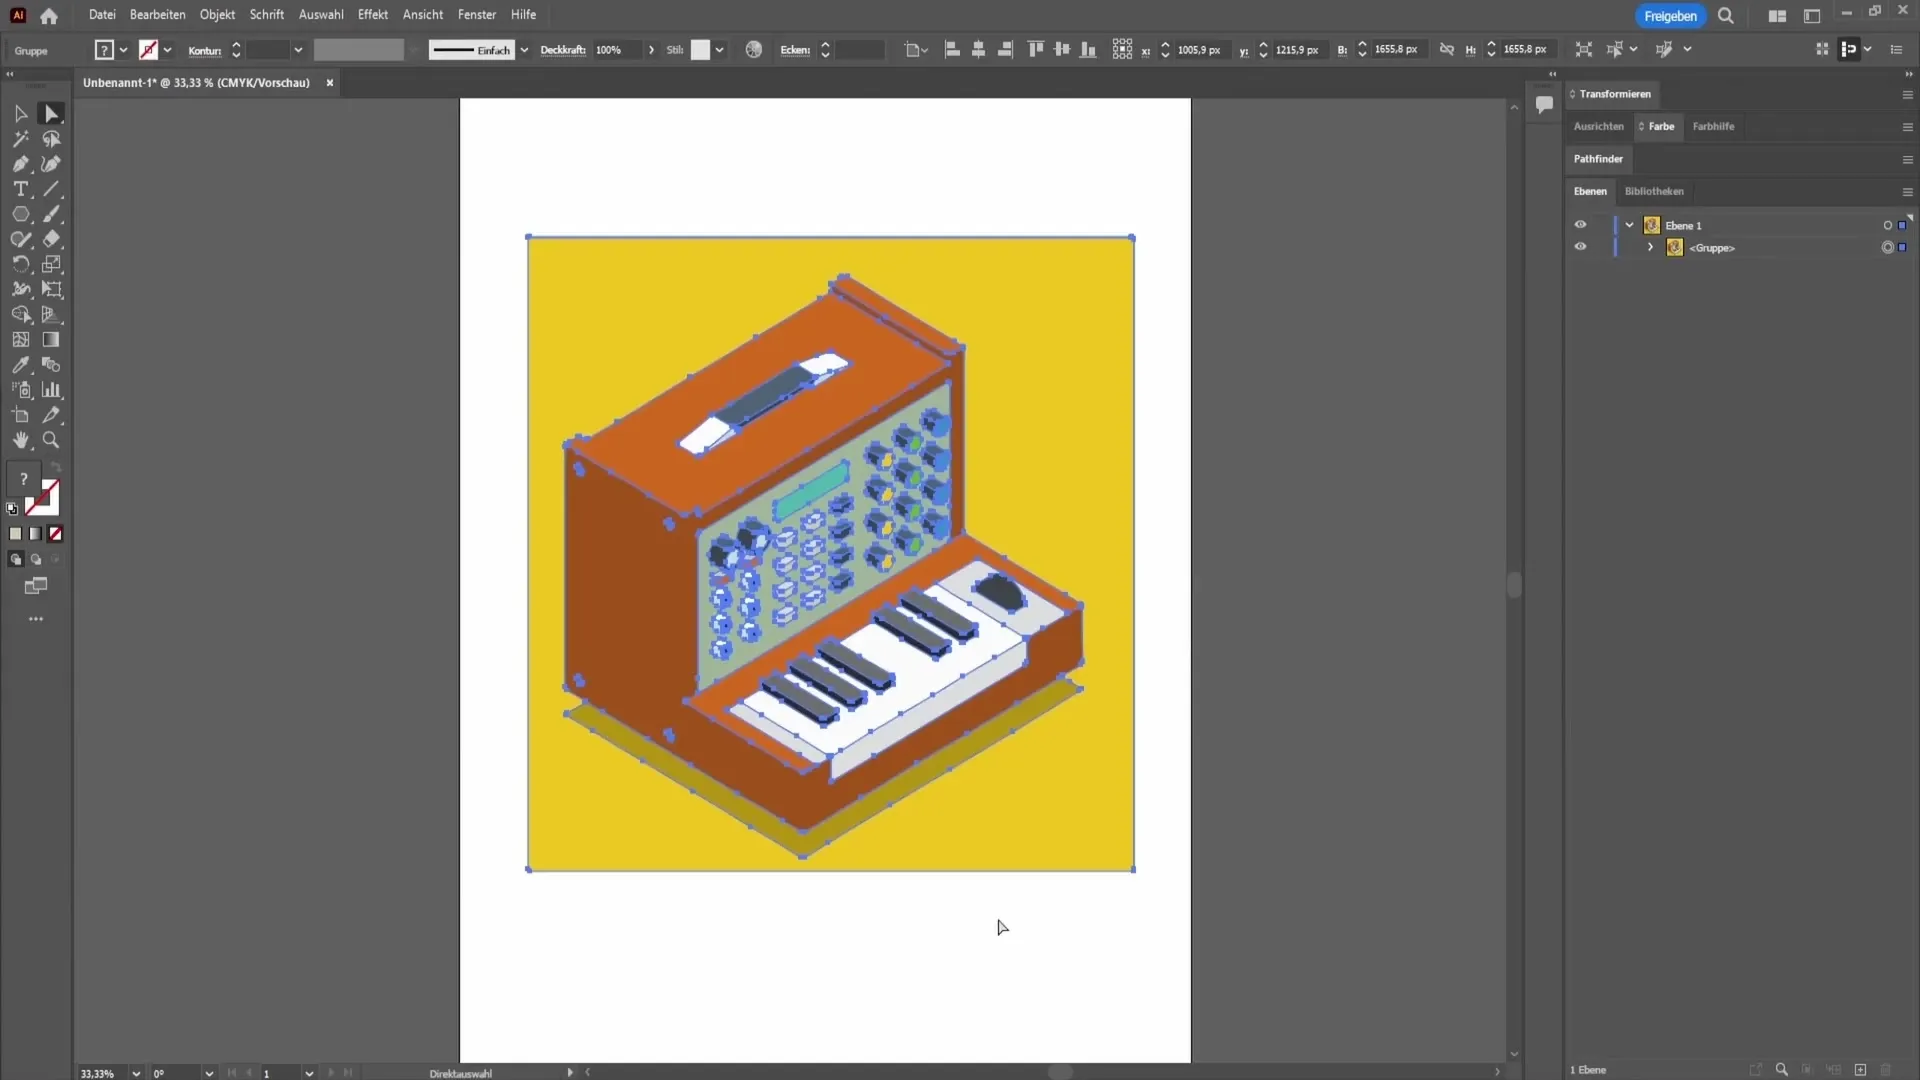
After selecting the colors, you will find the "Convert" button above. Click on it to start the conversion process. Adobe Illustrator will now process your pixel file and create a vector file that offers more customization options.
5. Editing the Vector Elements
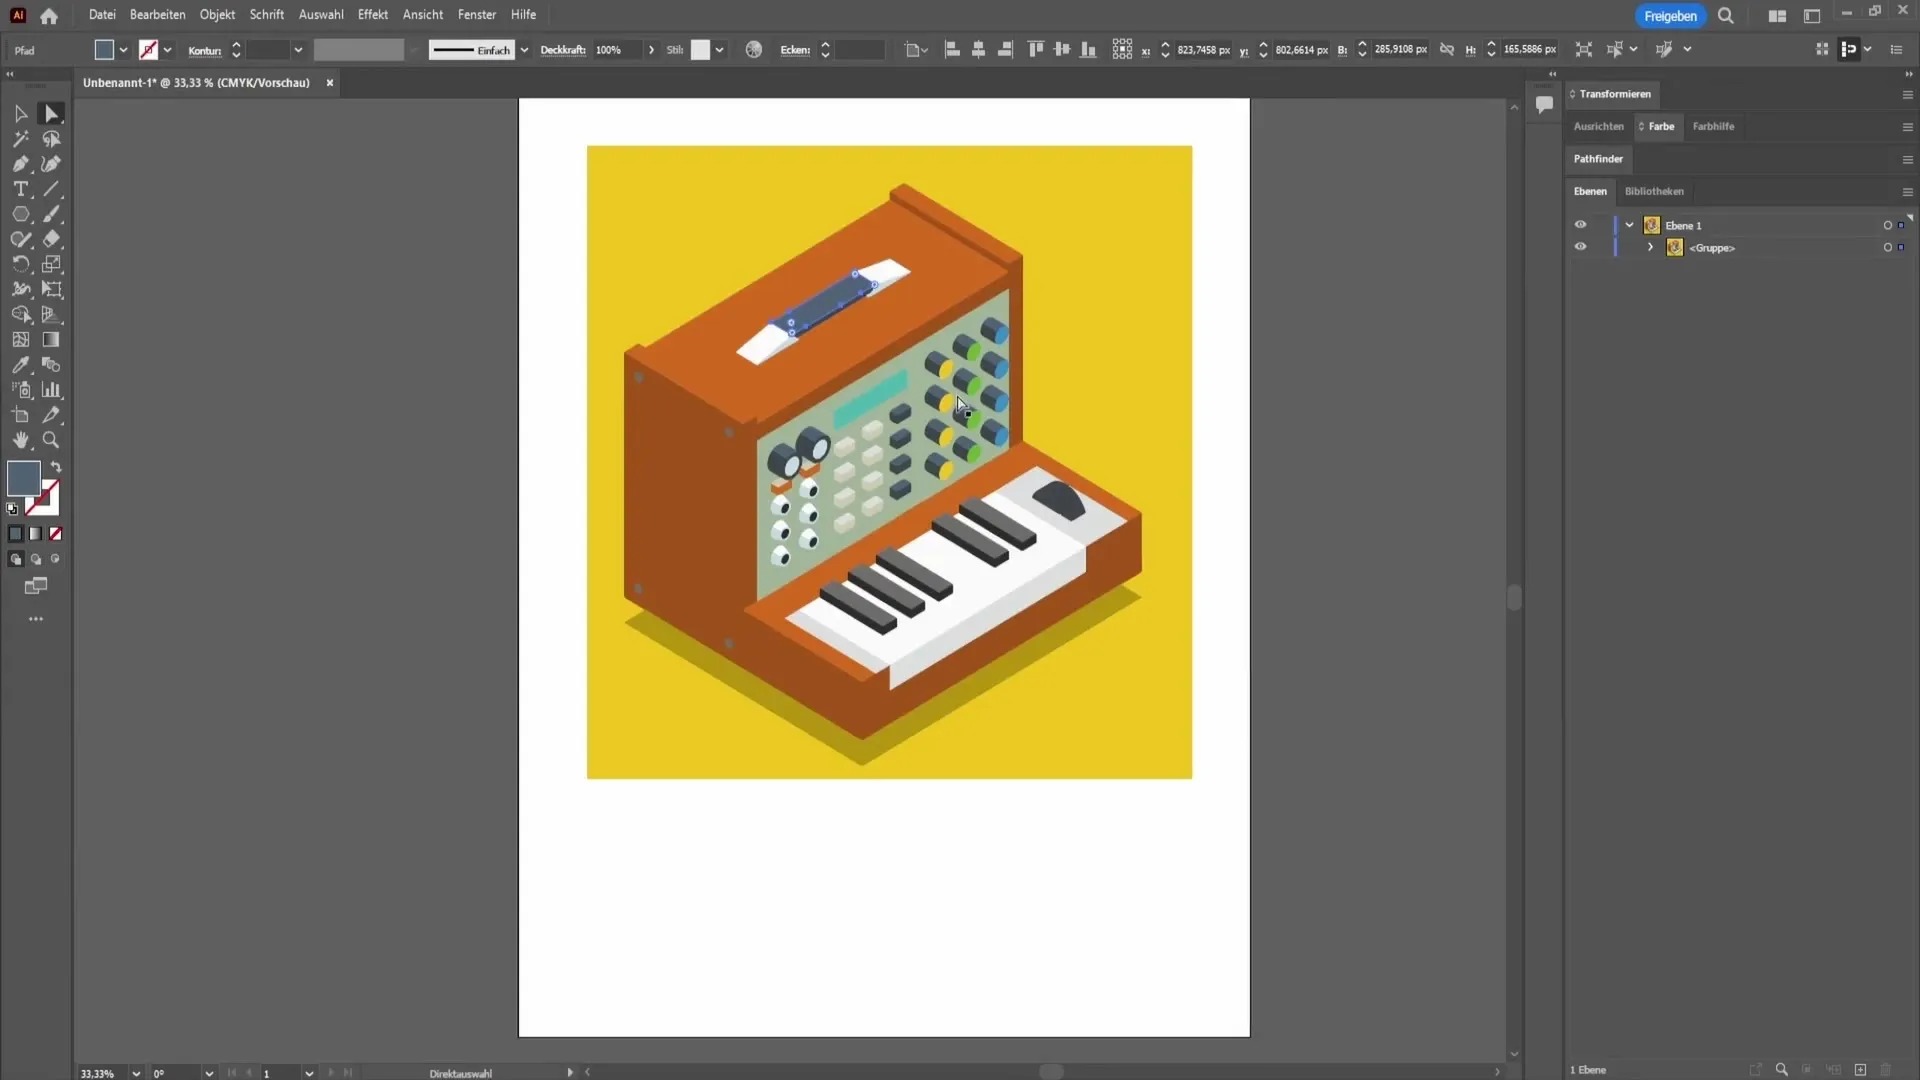
Once the conversion is complete, you can select individual elements of the vector file. Double click on the vector file to enter the group containing all converted elements. Here you can customize each element individually.
6. Customizing Individual Elements
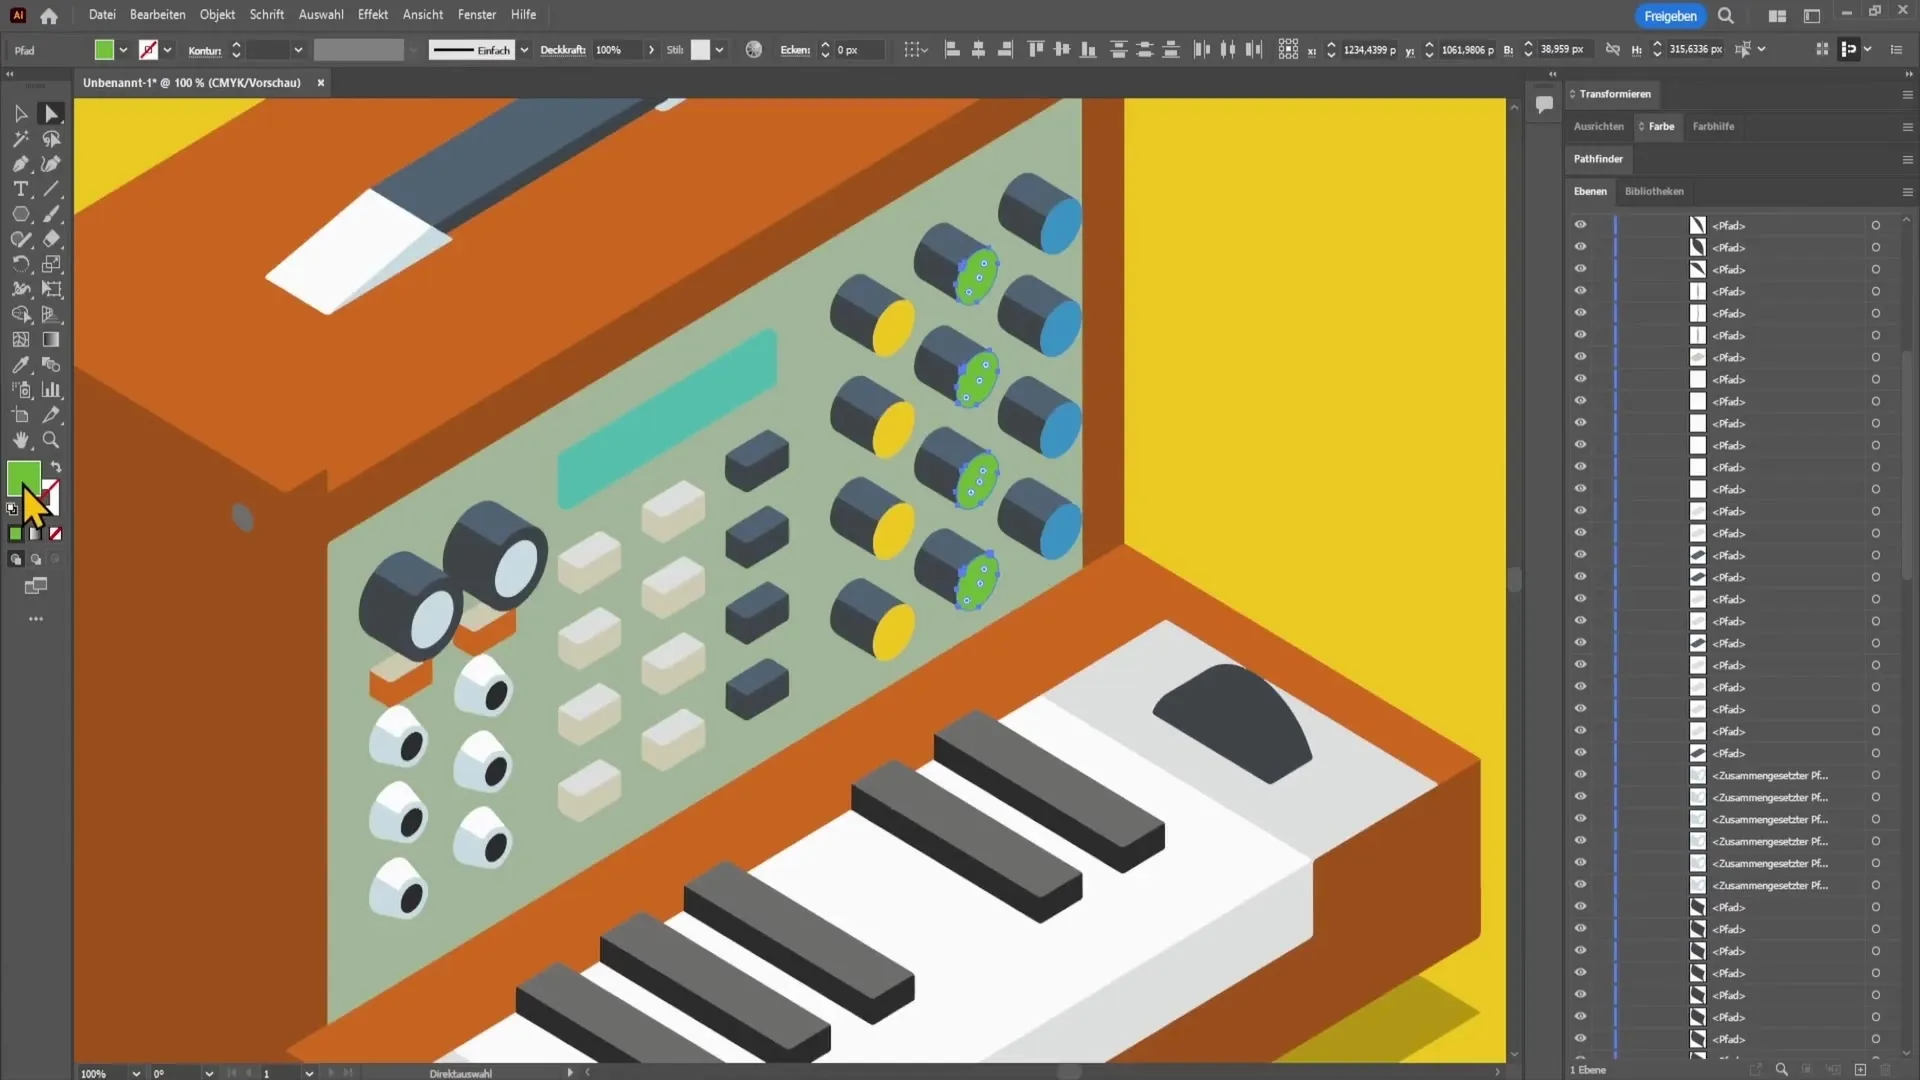
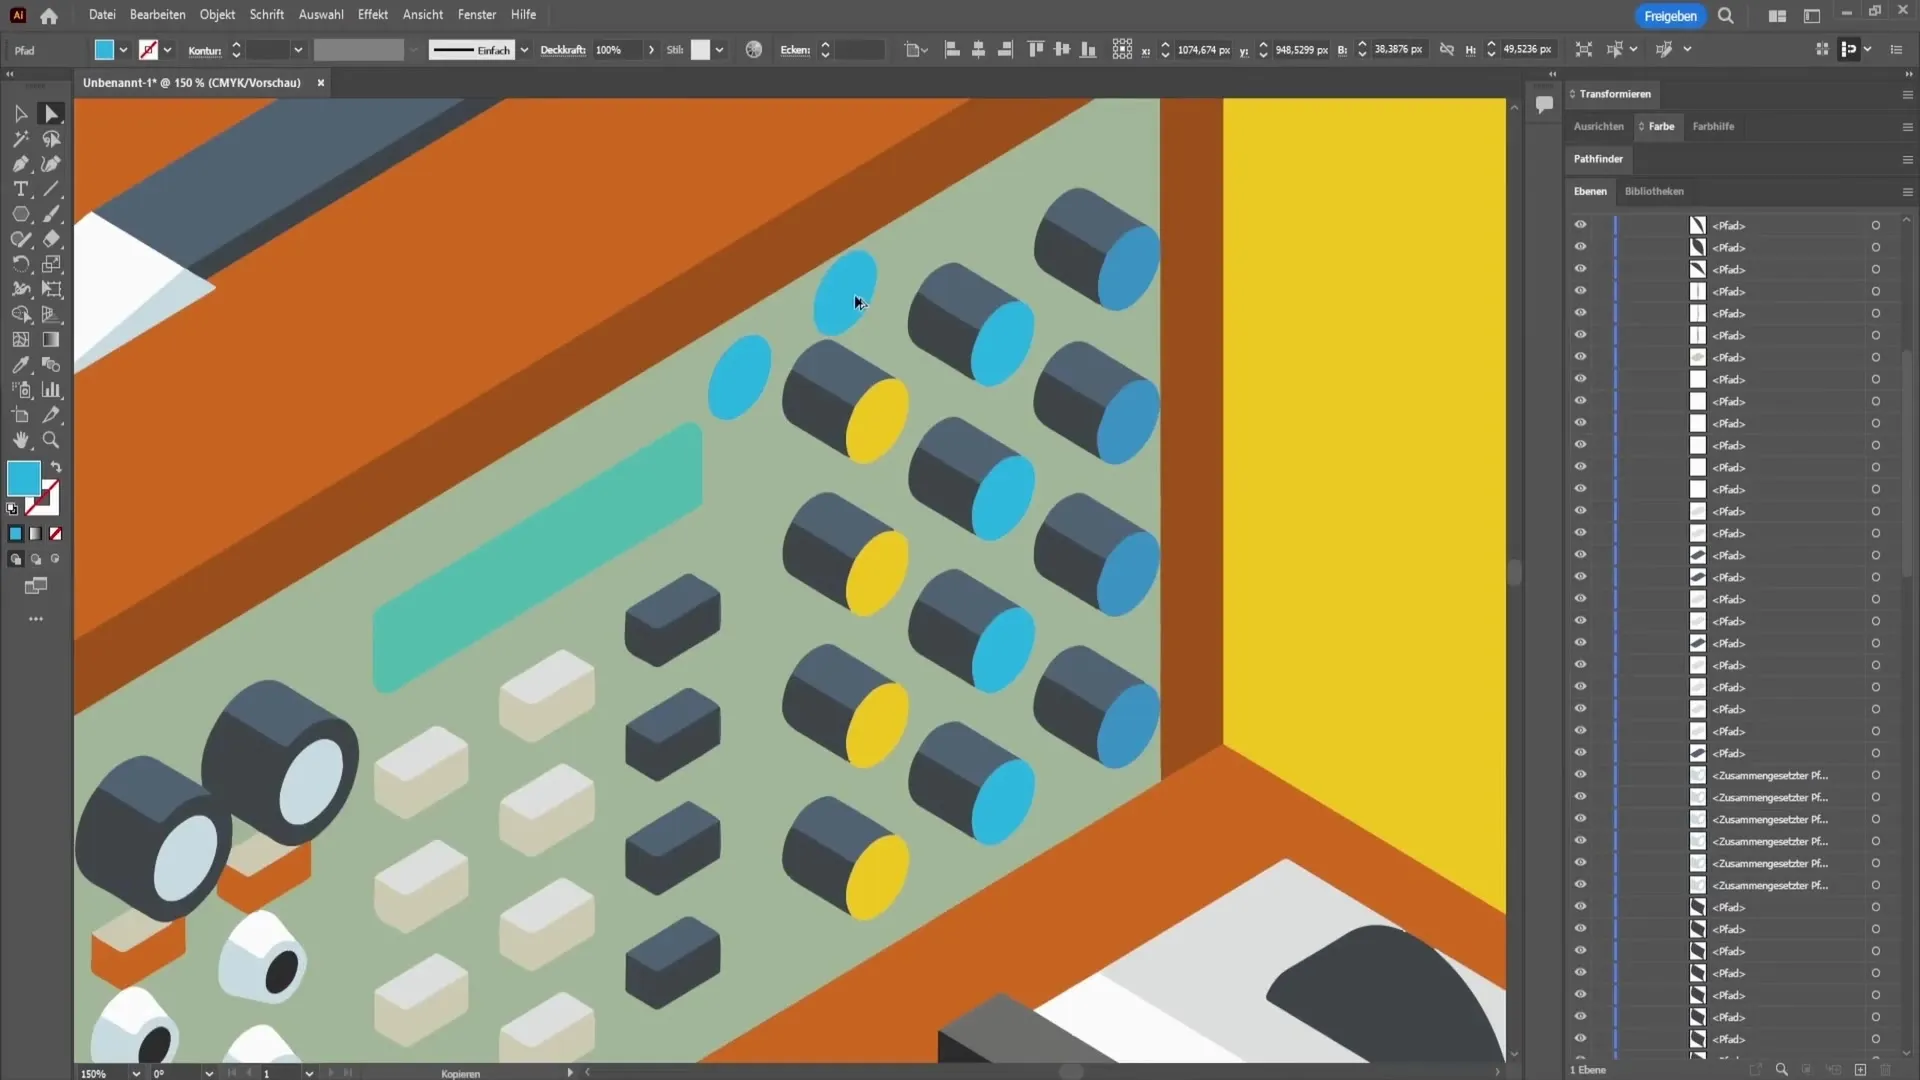
When you have the group open, for example, you can select the green elements and change their color. Hold down the Shift key and click the desired buttons to select them. Then right-click or double-click on the color field on the left side and choose a new color.
7. Making Adjustments and Modifications
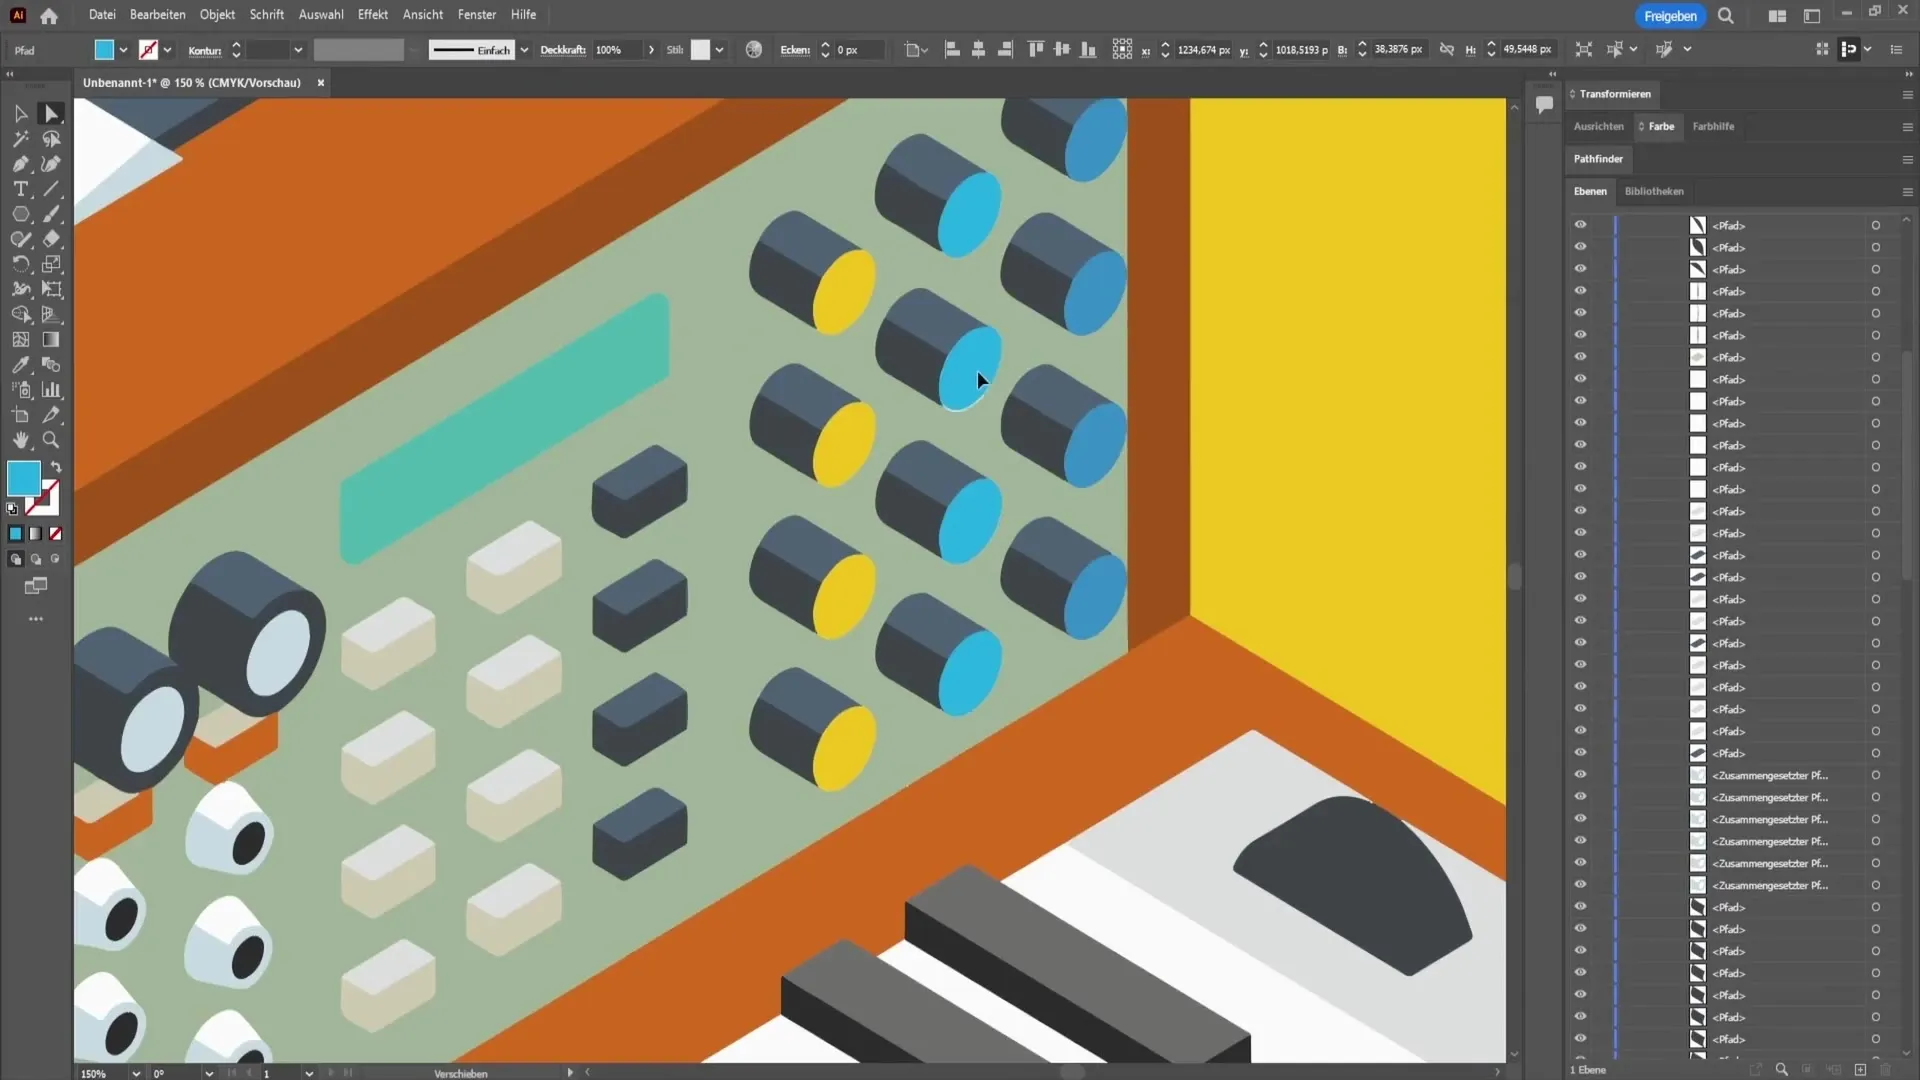
Now you have the opportunity to further edit the individual vector elements. You can move them, change their shape, or make other adjustments. For example, you could round the corners or move the points after the fact.
8. Copying Elements
If you need an element often, you can easily copy it. Hold down the Alt key while dragging the element. This will create a copy of the element which you can then position accordingly.
9. Removing Background
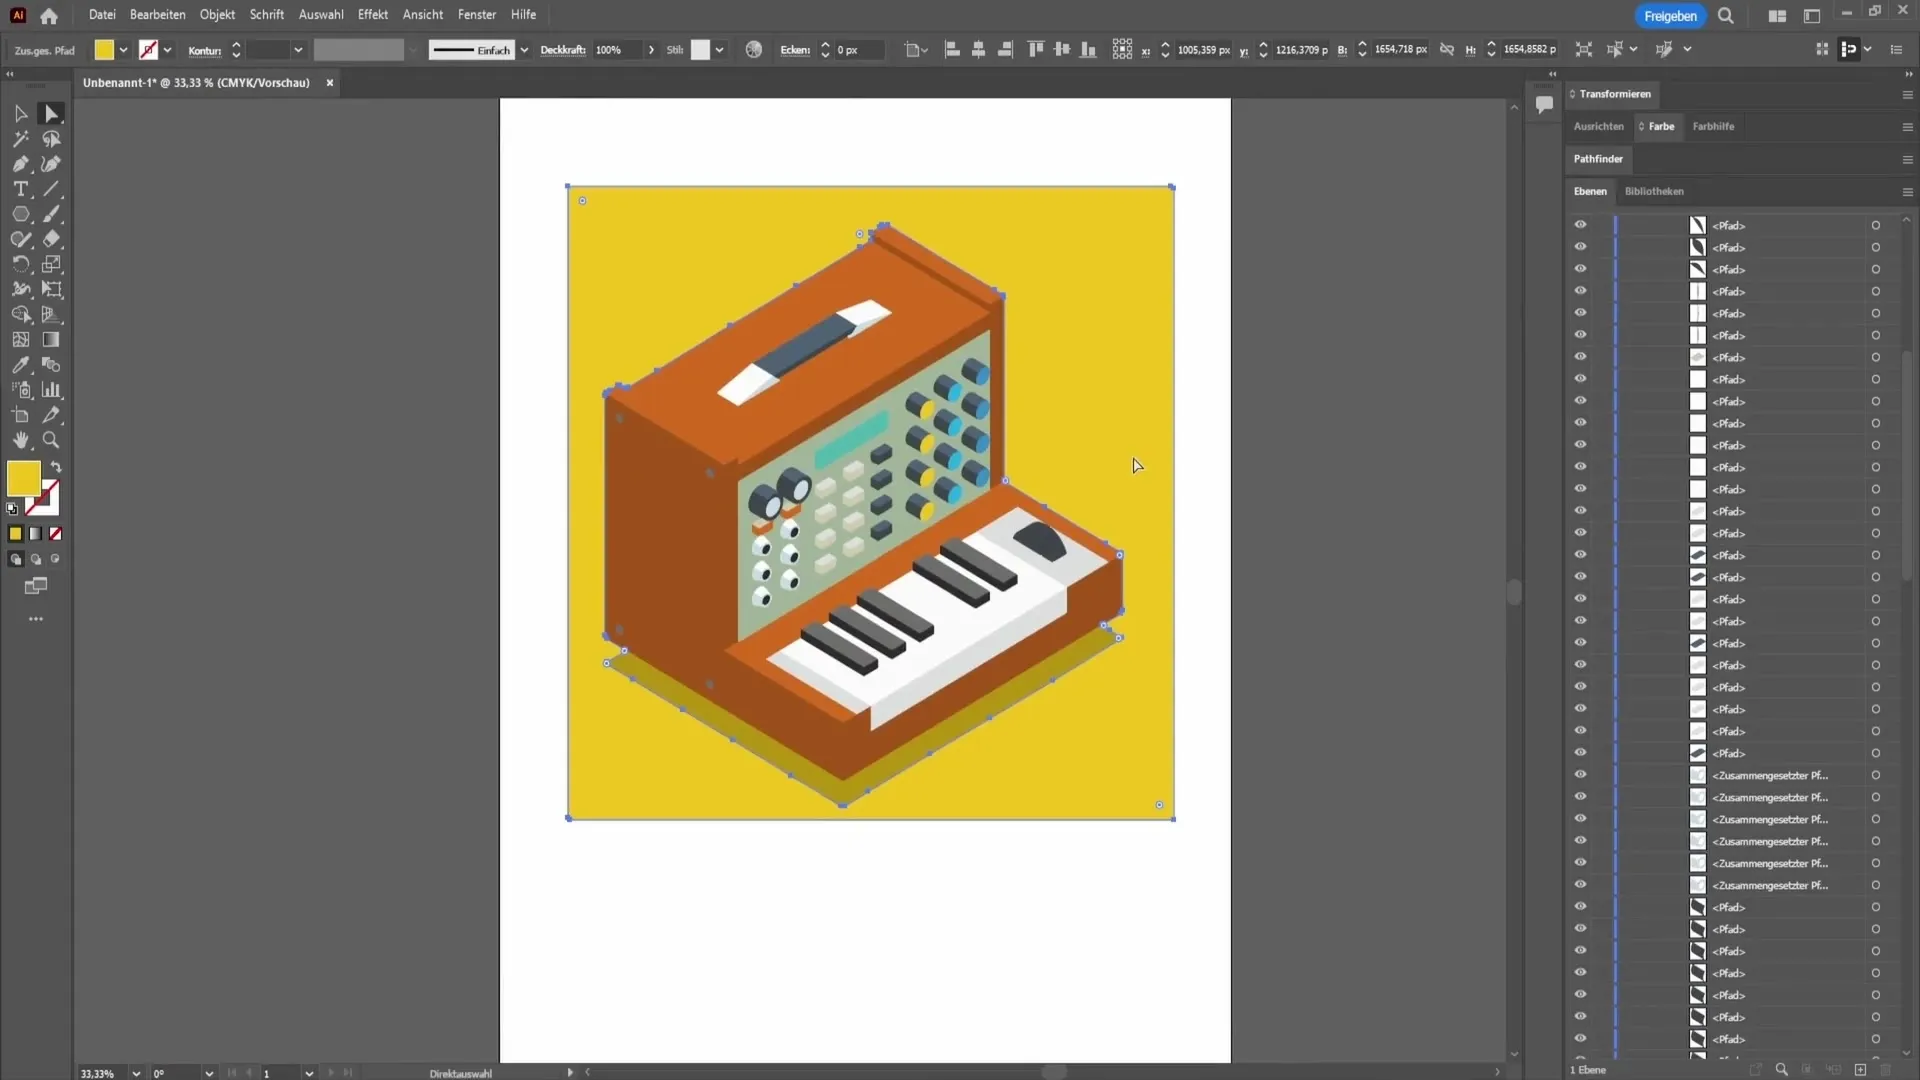
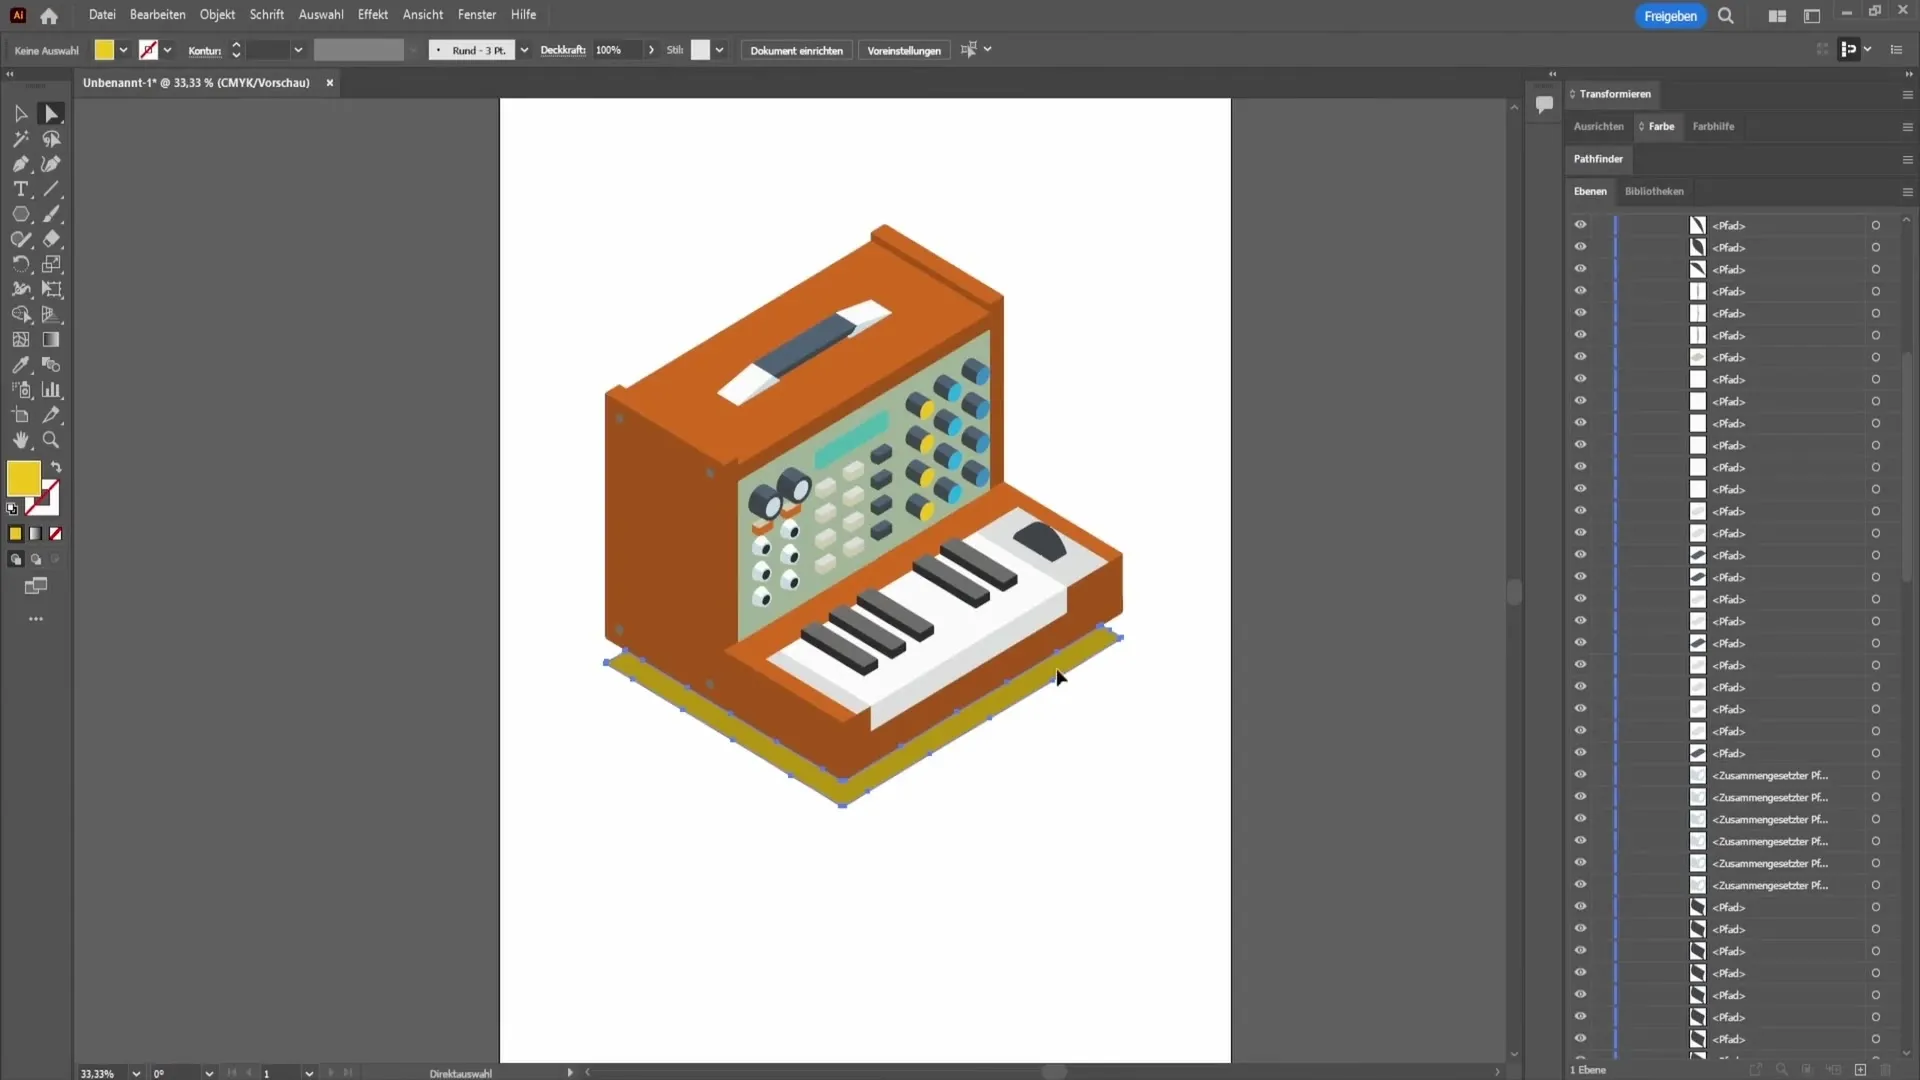
If you have a background that you do not need, you can simply remove it. Select the background and press the Delete key on your keyboard to delete it. This will make only the main subject visible.
10. Conclusion: Pixel and Vector Files
In summary, pixel files are ideal for digital use, but can quickly reach their limits in print work. Converting them to vector files is particularly useful if you want to print graphics in large sizes, as they do not become pixelated. Vectors also offer the possibility of post-editing in Illustrator.
Summary
In this tutorial, you have learned how to convert a pixel file into a vector file and how to individually edit the elements that have now been created. You are now able to make your graphics more professional and optimize them for various applications.
Frequently Asked Questions
How do you convert a pixel file to a vector file?You select the Image Trace tool in Adobe Illustrator and adjust the settings, followed by a click on "Convert".
What are typical pixel and vector file formats?Typical pixel files are PNG and JPEG; common vector files are SVG and EPS.
What are the advantages of vector files?Vector files can be enlarged or reduced without loss of quality and allow for detailed editing of elements.
