In this tutorial, I will show you how to effectively change colors in Adobe Illustrator. There are various methods to adjust the colors of your graphics, whether it's for individual elements or the entire composition. This is particularly helpful in giving your work the finishing touch or achieving a specific color palette. So, grab your mouse and let's get started exploring the different techniques!
Key Takeaways
- You can change the colors of individual elements by simply selecting and clicking.
- For a collection of objects, there are options to collectively change the color space as well as brightness and saturation.
- You can also use color selection to generate harmonious color tones.
Step-by-Step Guide
Firstly, ensure you are working with a vector graphic. If you have a pixel graphic, you must initially convert it to a vector format.
To vectorize a pixel graphic, first select the image. Then, go to "Image Trace" at the top and choose the option that suits your needs. Here, you can, for example, select "16 colors" to achieve the right color depth.

After selection, the image will be automatically vectorized. To finalize the changes, go to "Convert" at the top. You now have created a vector graphic that provides you with the necessary flexibility to change colors.
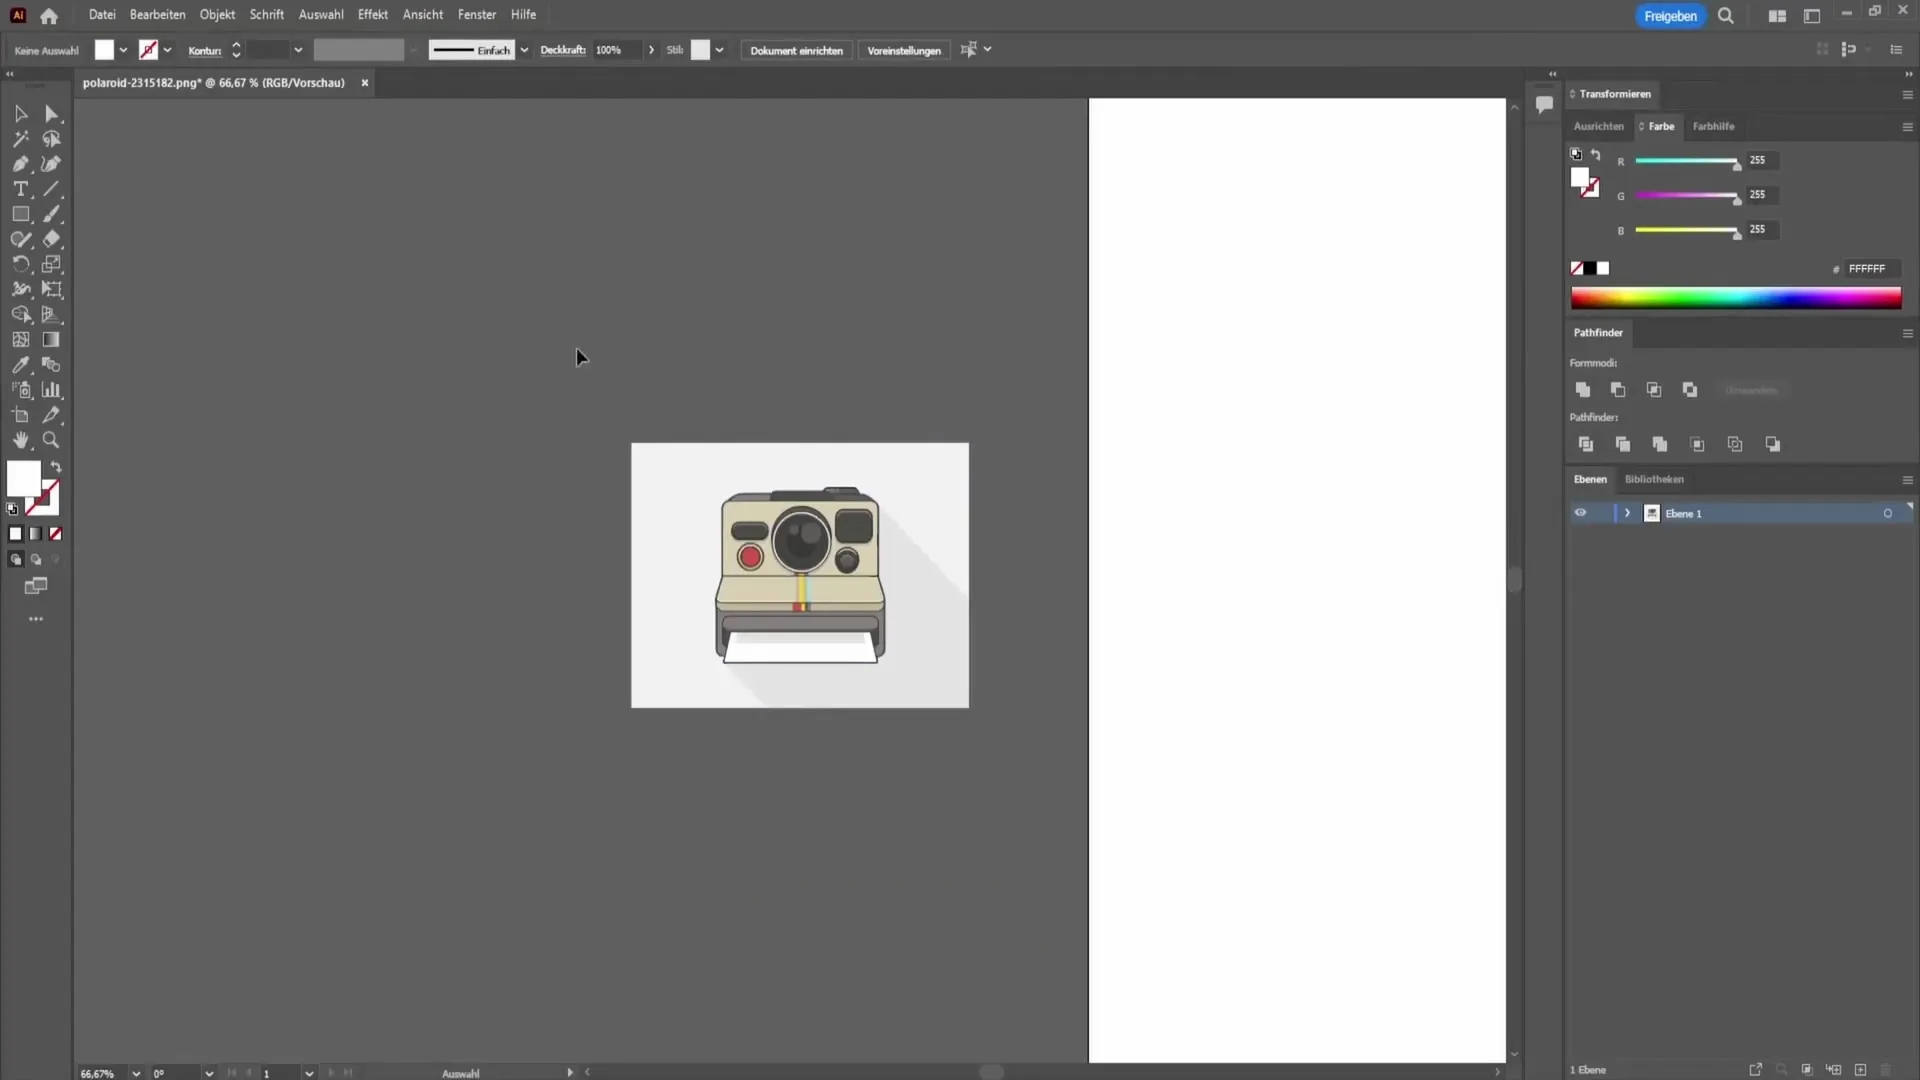
Now, use the "Direct Selection Tool." With this tool, select the background of your graphic. Simply press the delete key to remove the background. Now, only the actual graphic remains for color change.
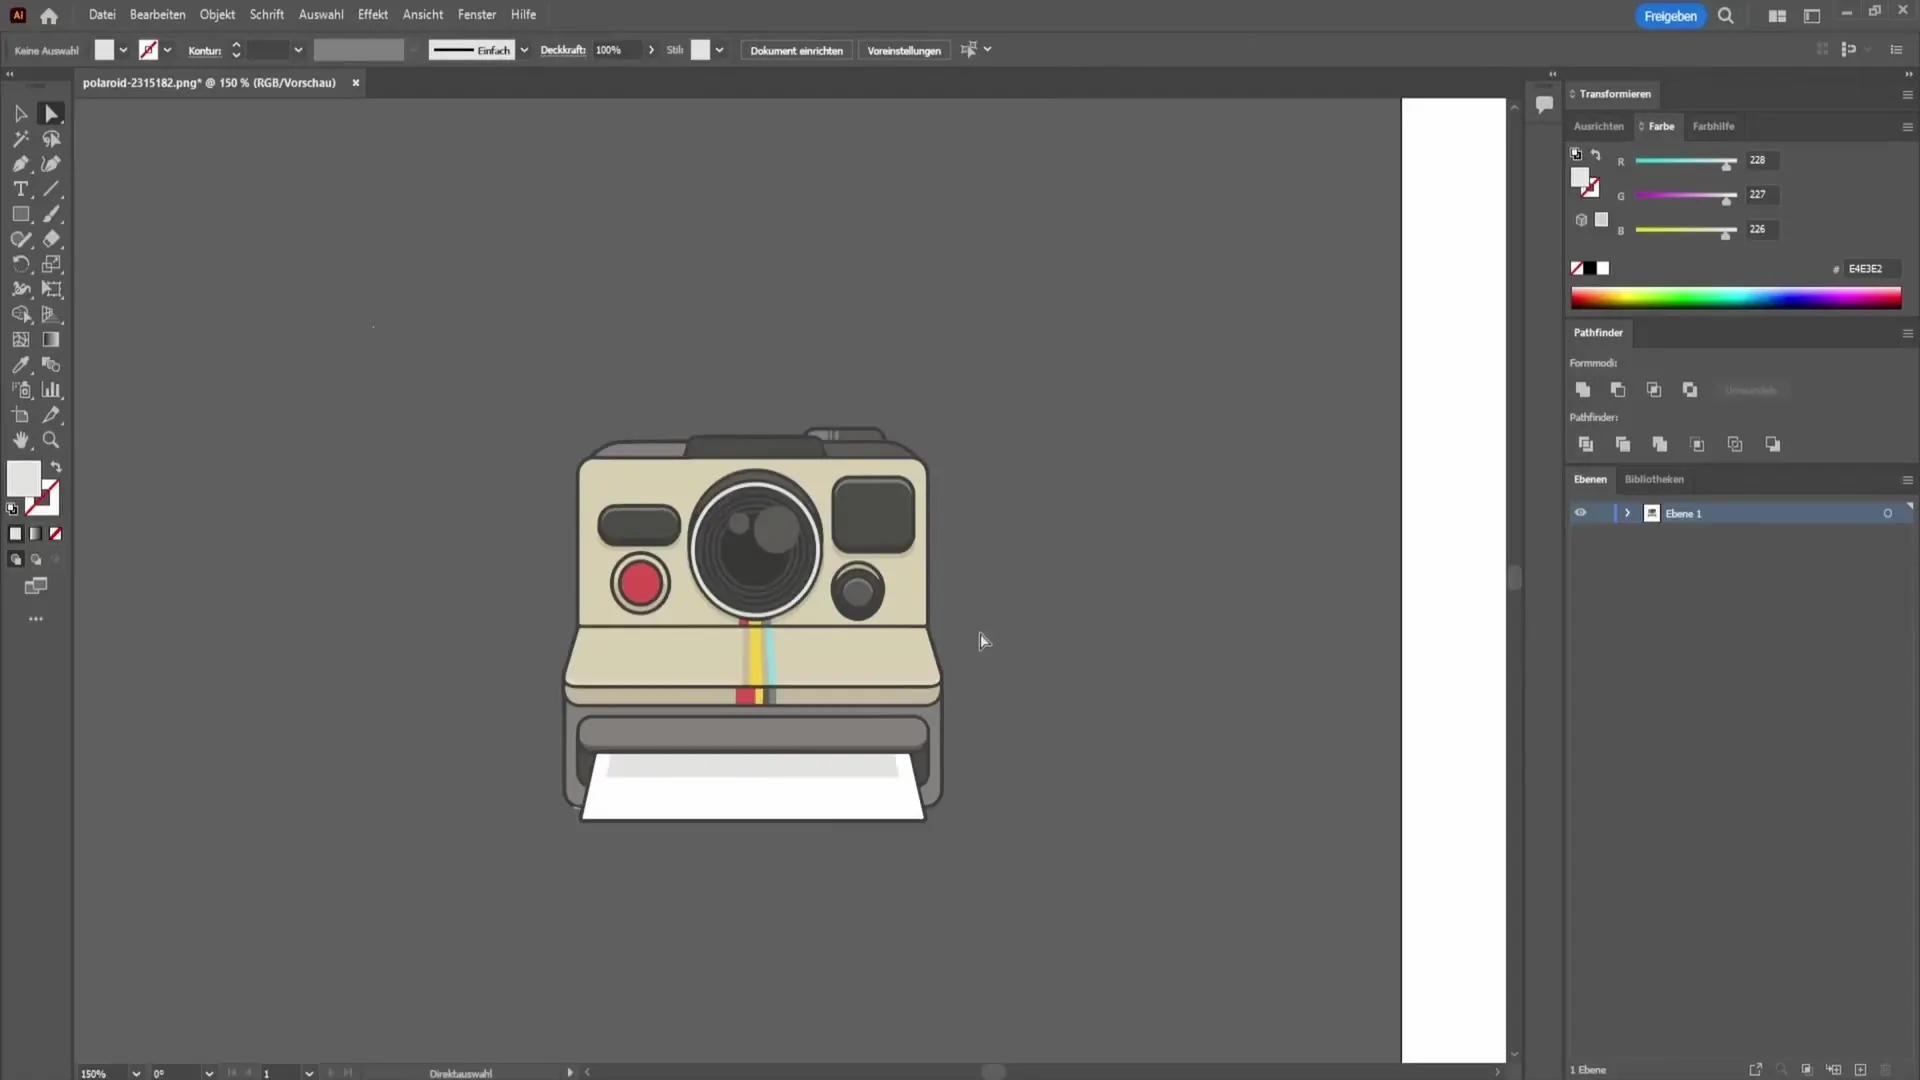
For the individual elements of your graphic, you can easily adjust the color. Click on the element whose color you want to change. On the left side, you will see the color fields. Double-clicking on the respective color field opens a selection window for color change. Choose the desired color and click "OK." The color of the element will be updated immediately.
If you want to change the color for the entire graphic, select all relevant objects. Then, click on the corresponding icon at the top to open the color window. Here, you can now make changes to all colors by adjusting brightness and saturation to achieve different effects.
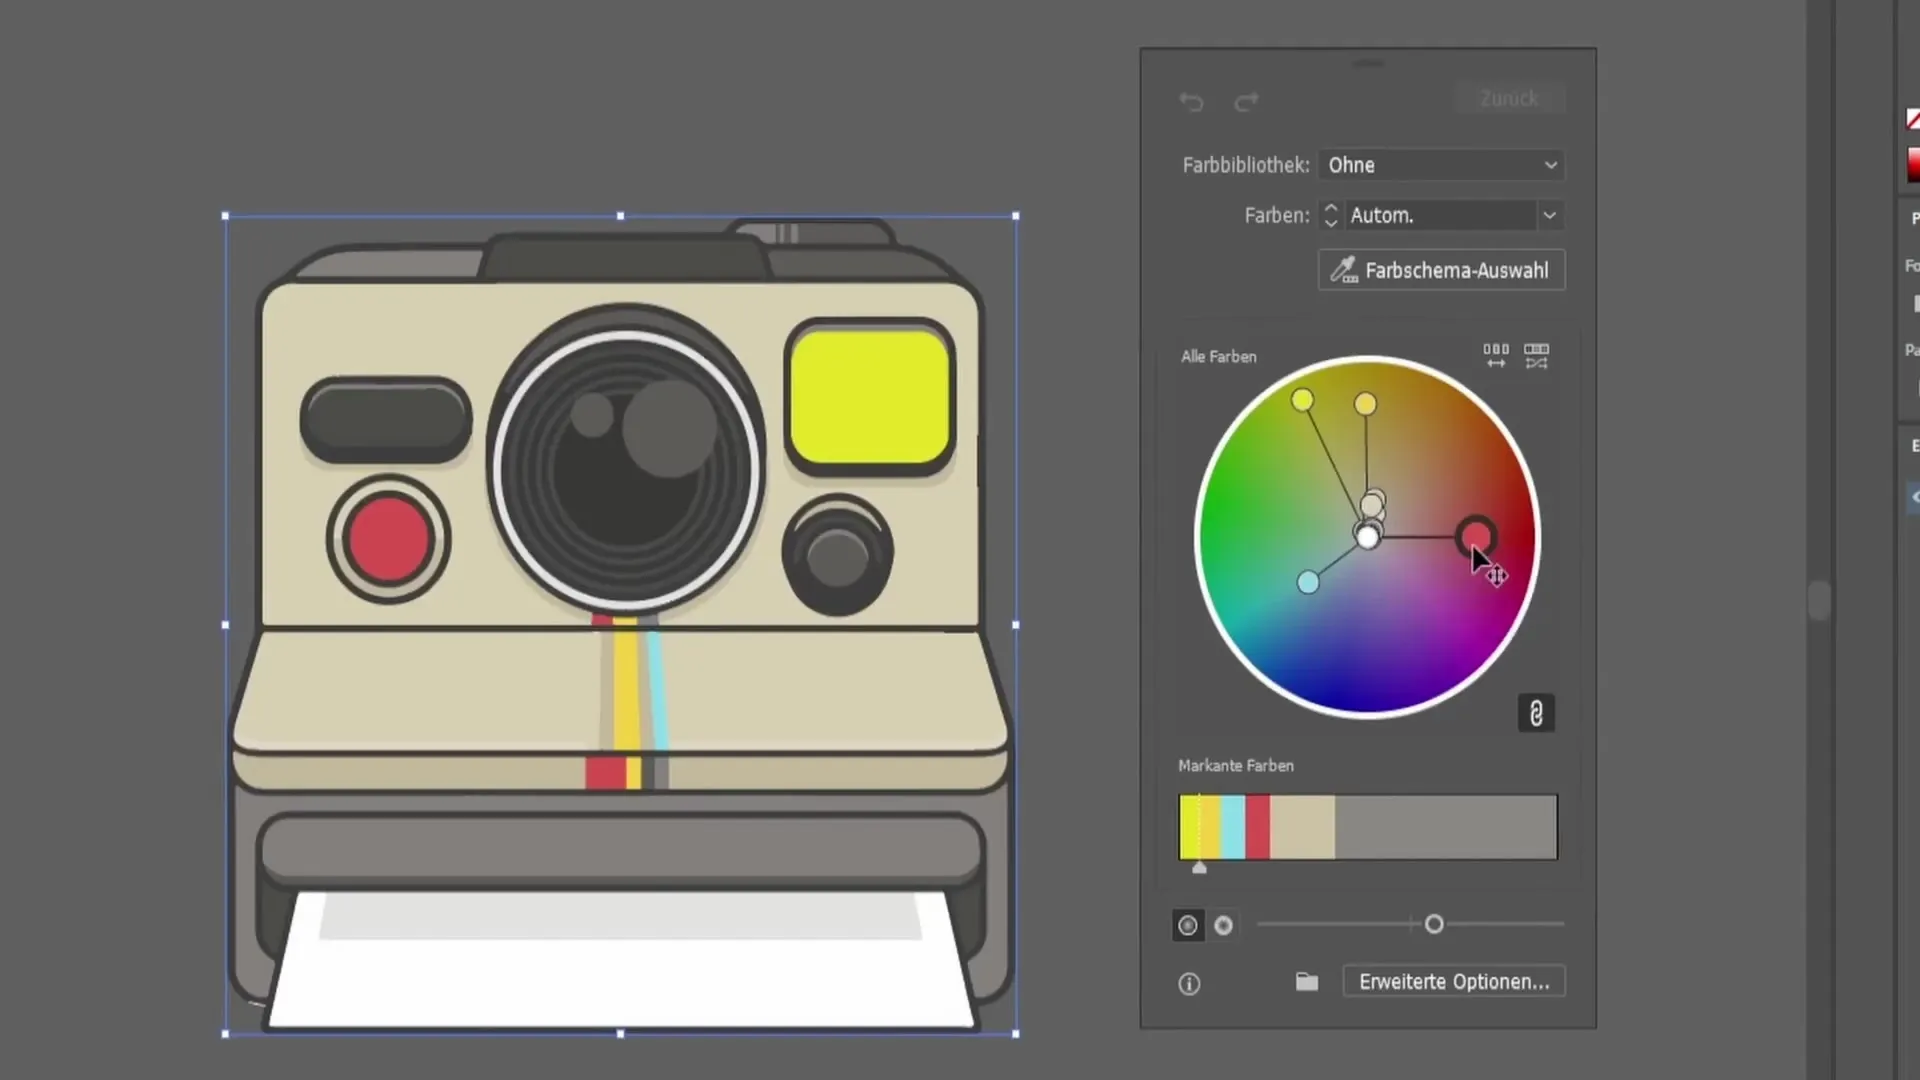
Another interesting option is adjusting the brightness and saturation of colors. To change the brightness, go to the first point in the color window where you will find a slider for control. Similarly, you can adjust the saturation at the second point, making the colors shine more intensely or become muted. These functions are ideal if you aim for dynamic color design.
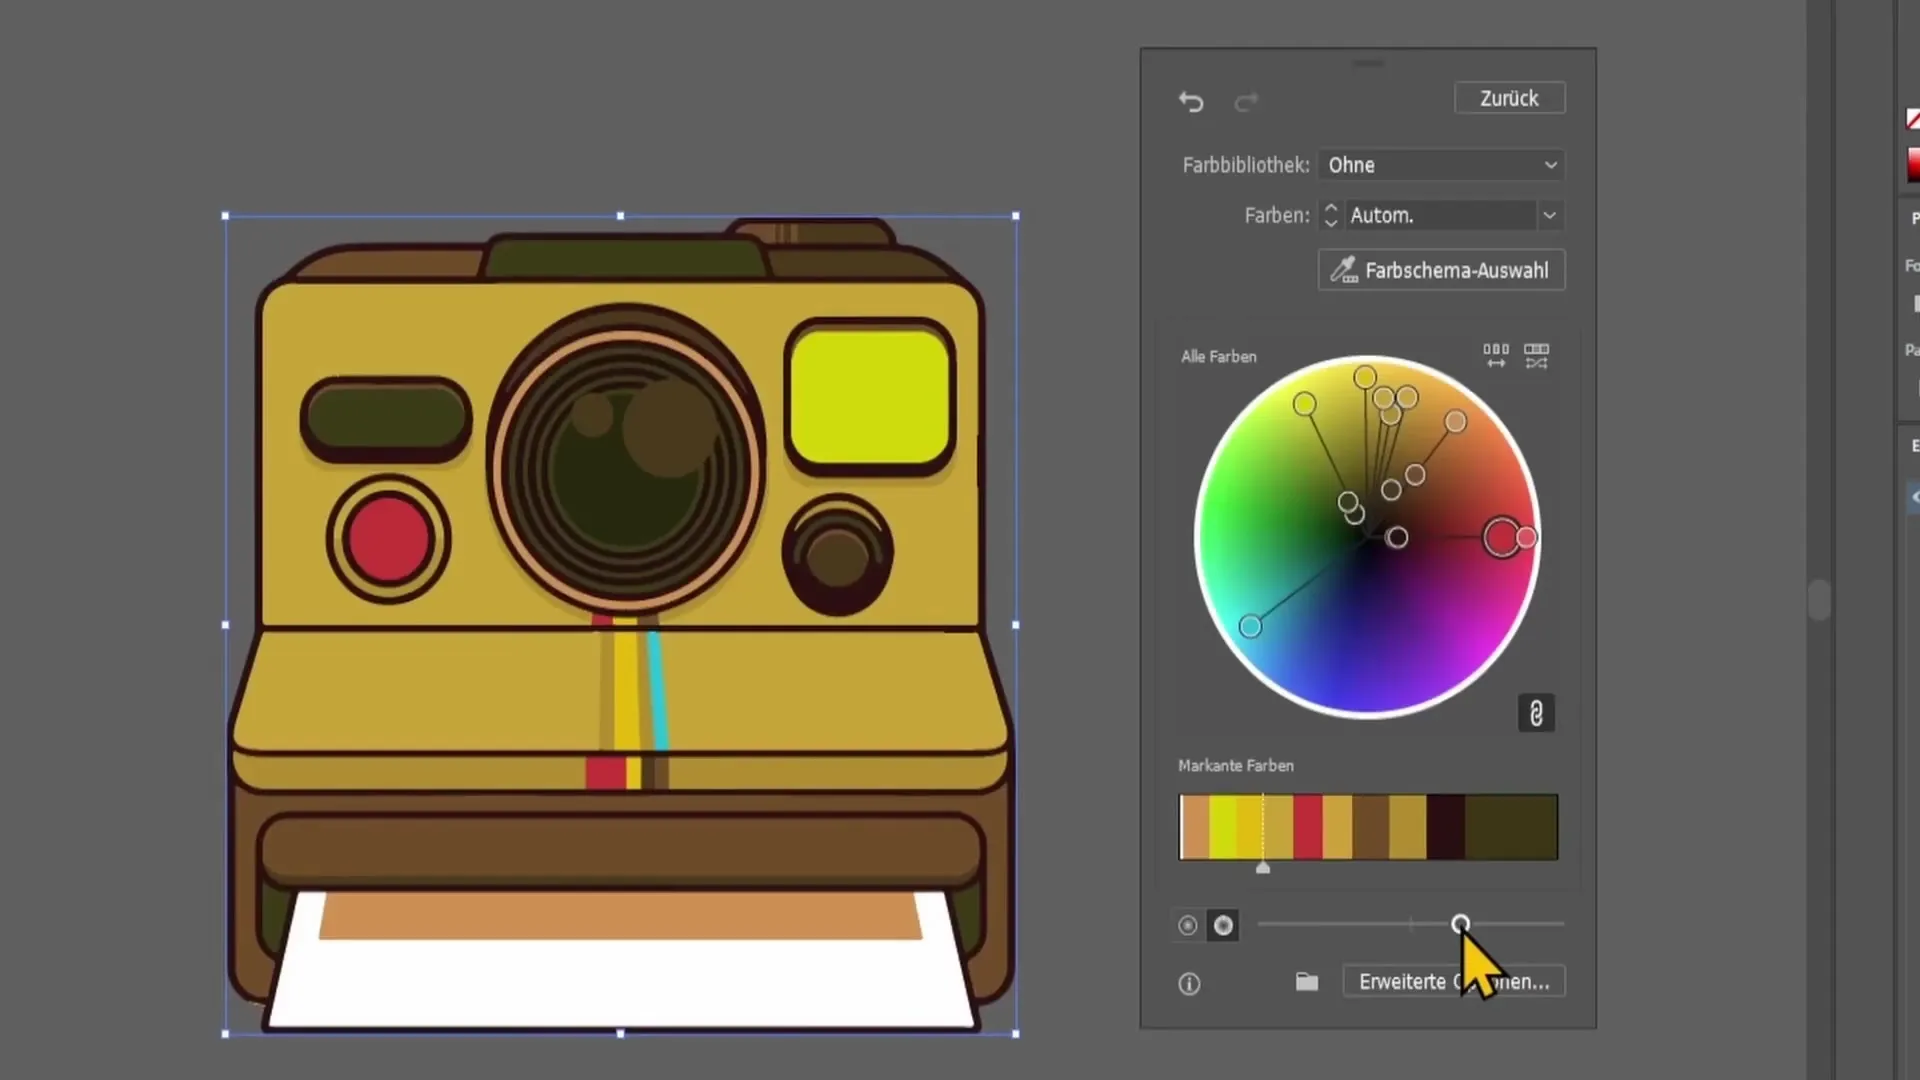
Additionally, you have the option to experiment with the Color Theme tool. Select the point to drag directly over a color palette and apply the chosen colors to your graphic. For example, if you want to use shades of orange, simply drag the selection over the corresponding colors.
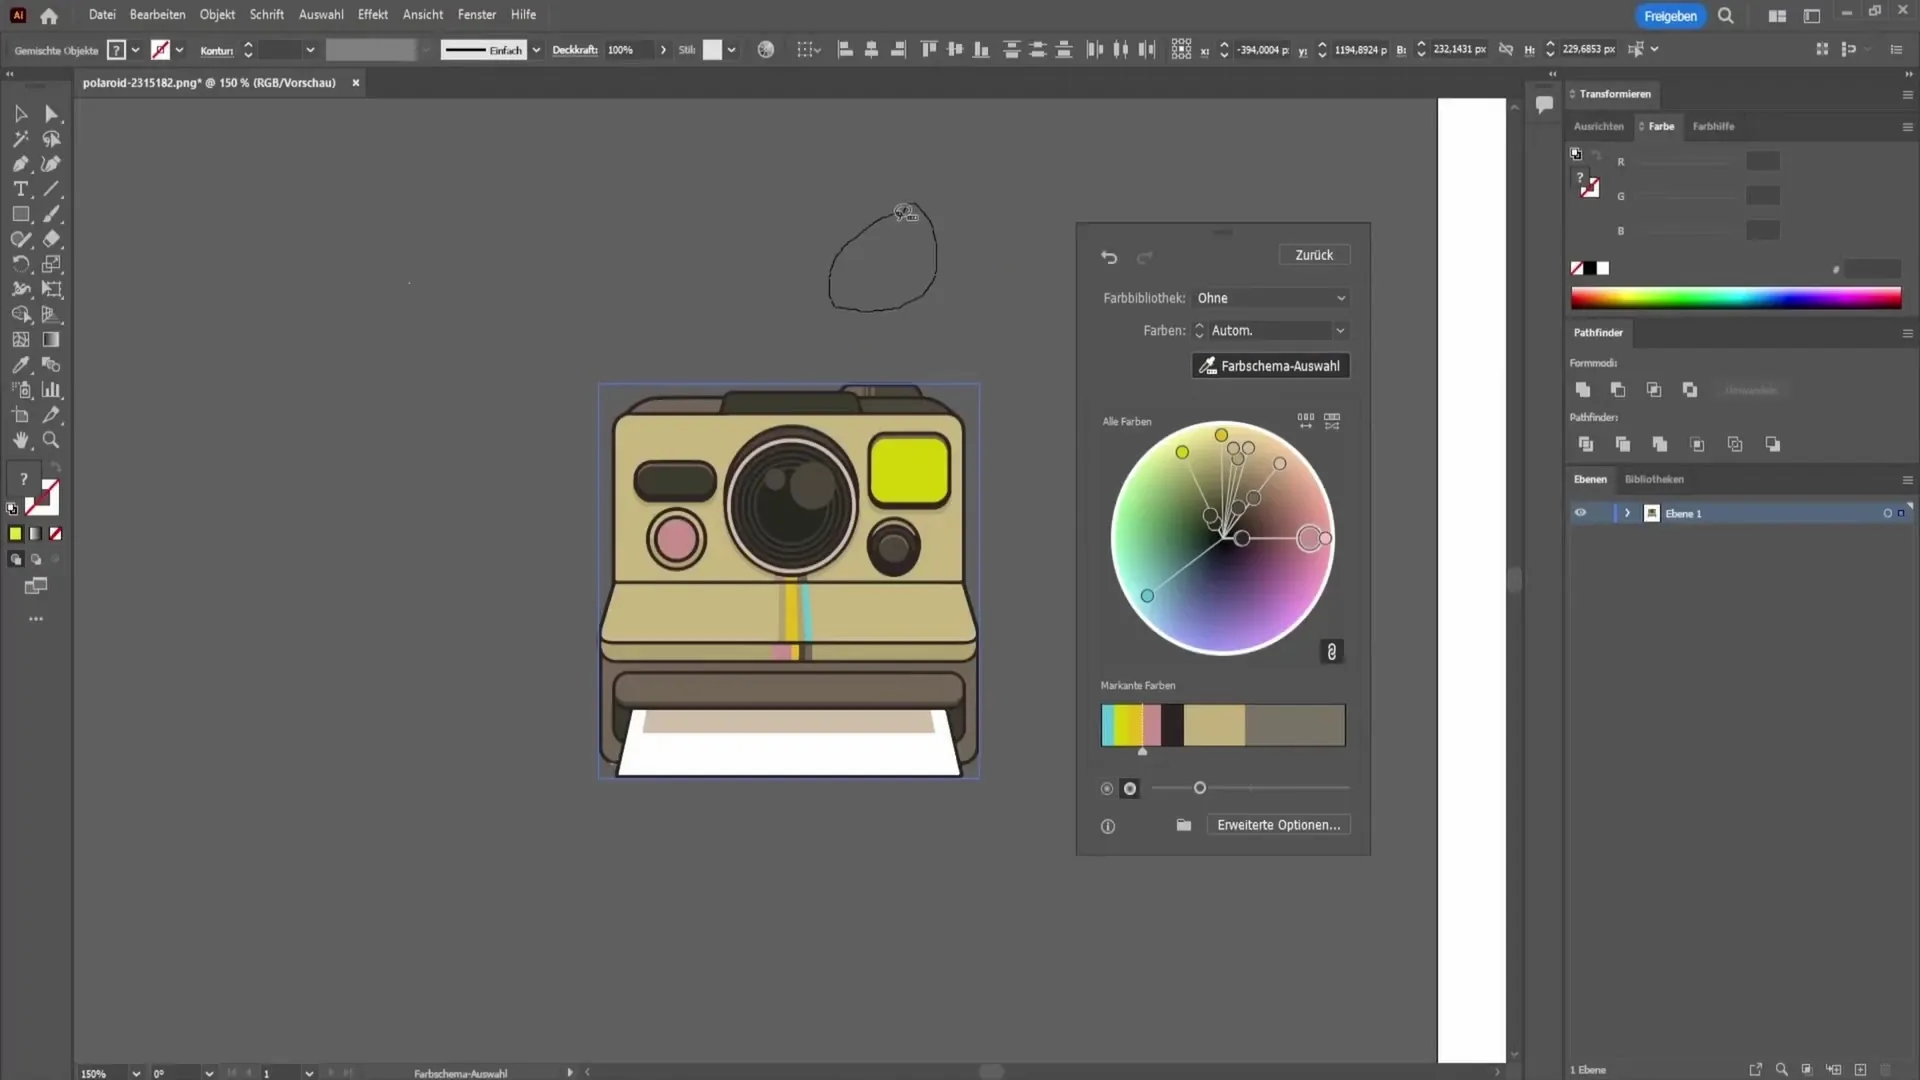
If you are satisfied with the result, just click on the icon at the top again to close the window, and the new colors will be applied to your project.
Summary
In this tutorial, you learned how to implement color changes in Adobe Illustrator for both individual objects and entire graphics. You learned methods for selecting, adjusting, and applying colors. With the right tools and techniques, you can ensure that your designs convey precisely the visual statement you aim for.
Frequently Asked Questions
How can I convert a pixel graphic to a vector graphic?Select the pixel graphic and go to "Image Trace," choose the appropriate number of colors, and click "Convert."
How do I change the color of a single object?Select the object, double-click on the color field on the left side, and choose the desired color.
Can I change the color of all objects simultaneously?Yes, select all objects, click on the color icon at the top, and adjust the colors in the color window.
Is there a way to adjust the brightness and saturation of colors?Yes, in the color window, you can adjust the brightness and saturation using sliders.
How can I coordinate colors harmoniously?You can use the Color Theme tool to drag over color palettes and make a harmonious color selection for your graphic.


