In this tutorial, you will learn how to create outlines in Adobe Illustrator. This tutorial not only covers the basics but also advanced techniques to add depth and variety to your designs. Whether you are working with simple shapes or creating complex designs, understanding the outline feature can greatly improve your work.
Key Takeaways
- Outlines are crucial for the design and visual interest of your designs.
- You can create multiple outlines for a shape, each with different colors and styles.
- With the various customization options for outlines, you can create creative and professional designs.
Step-by-Step Guide to Creating Outlines
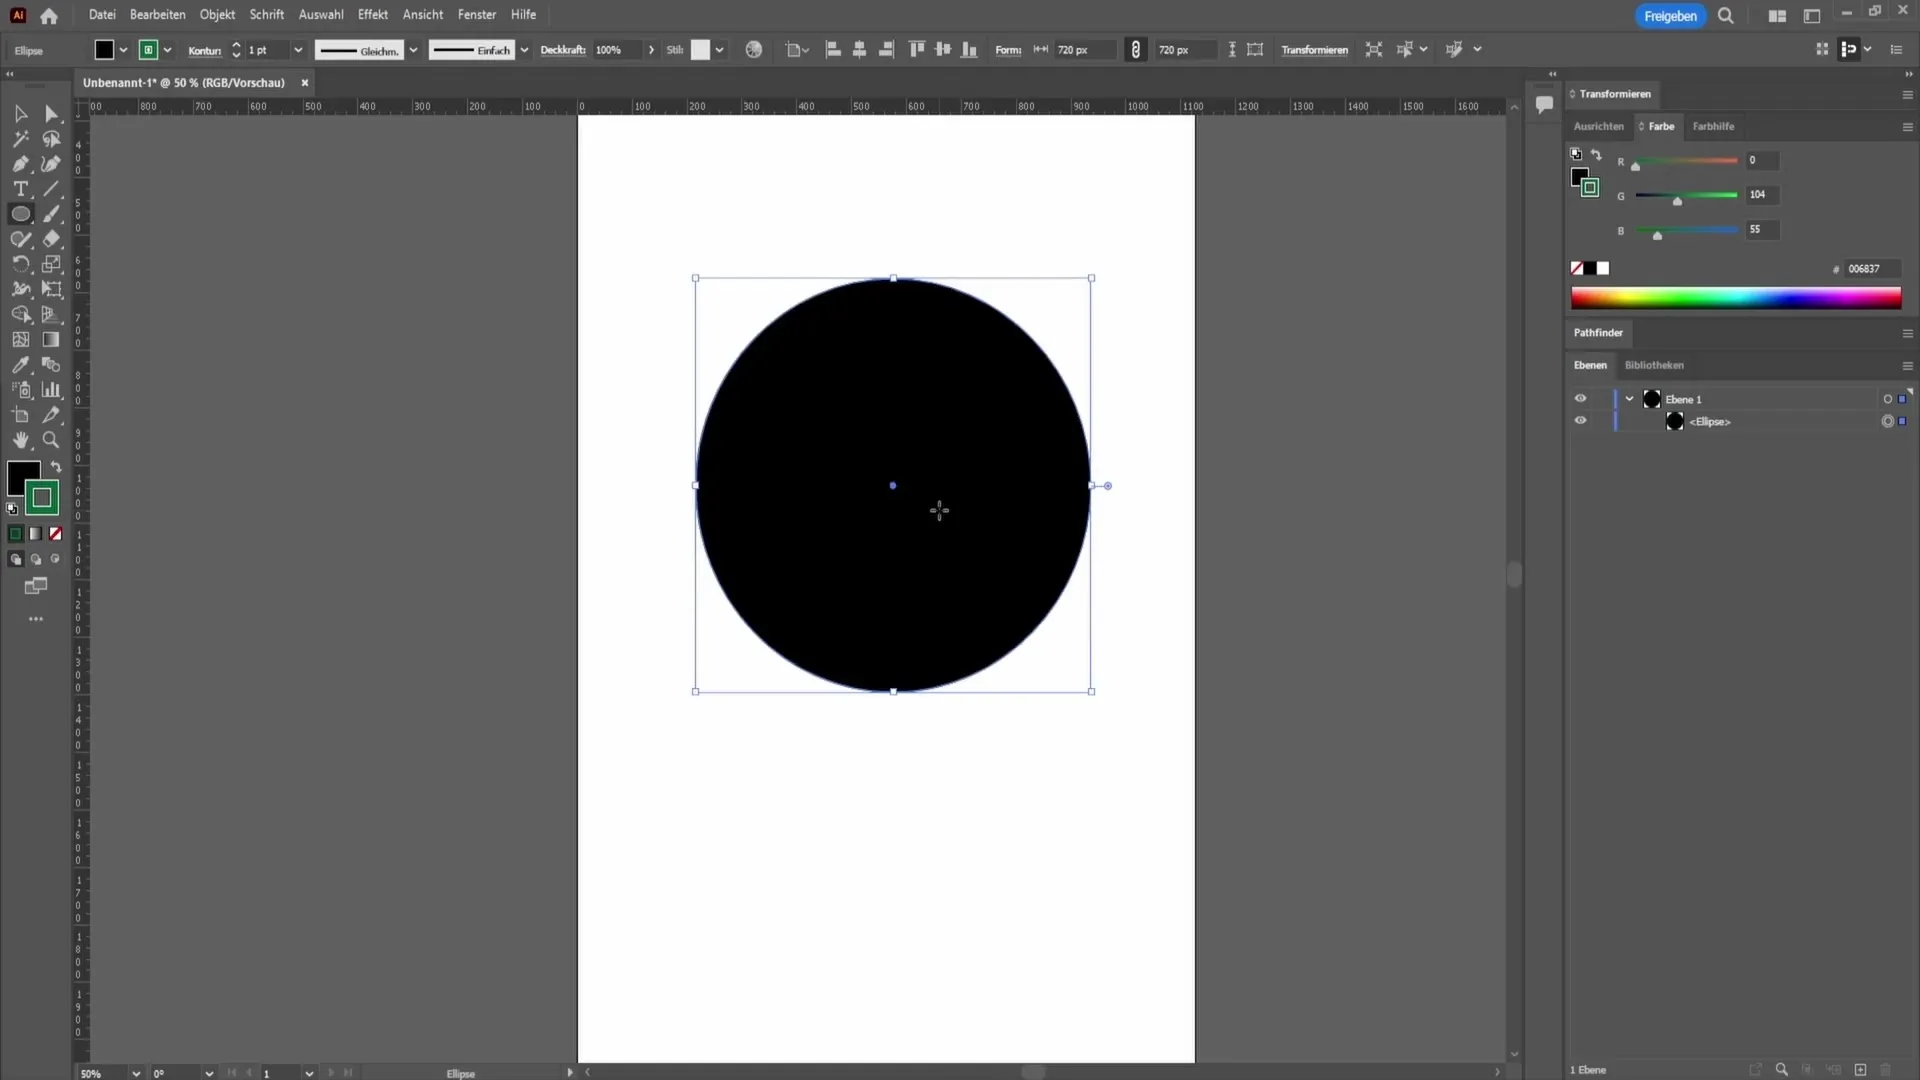
First, open Adobe Illustrator and create a shape that you want to transform. Here, I am using the ellipse tool to draw a circle.
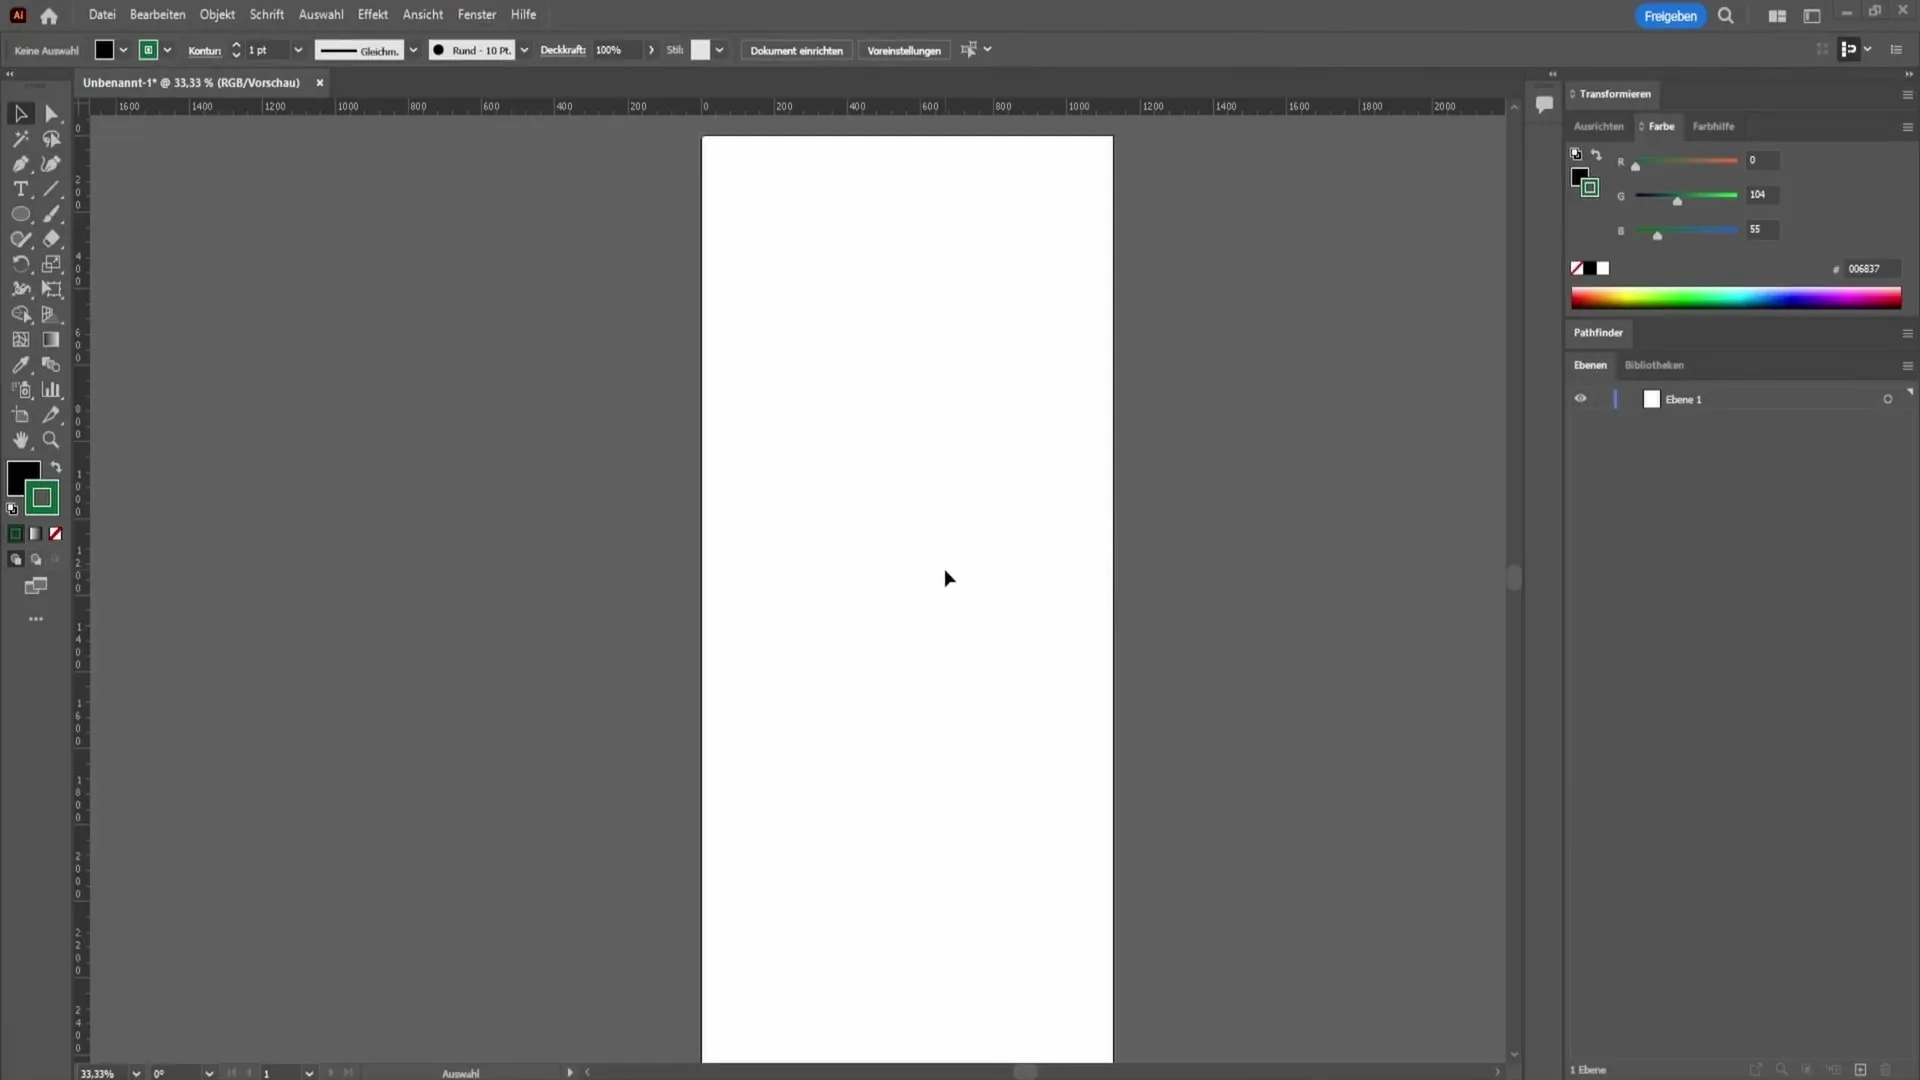
To create an outline for the circle, look at the options in the top left corner. Here you will find options for fill and outline. The first field is for the fill color, while the second is for the outline.
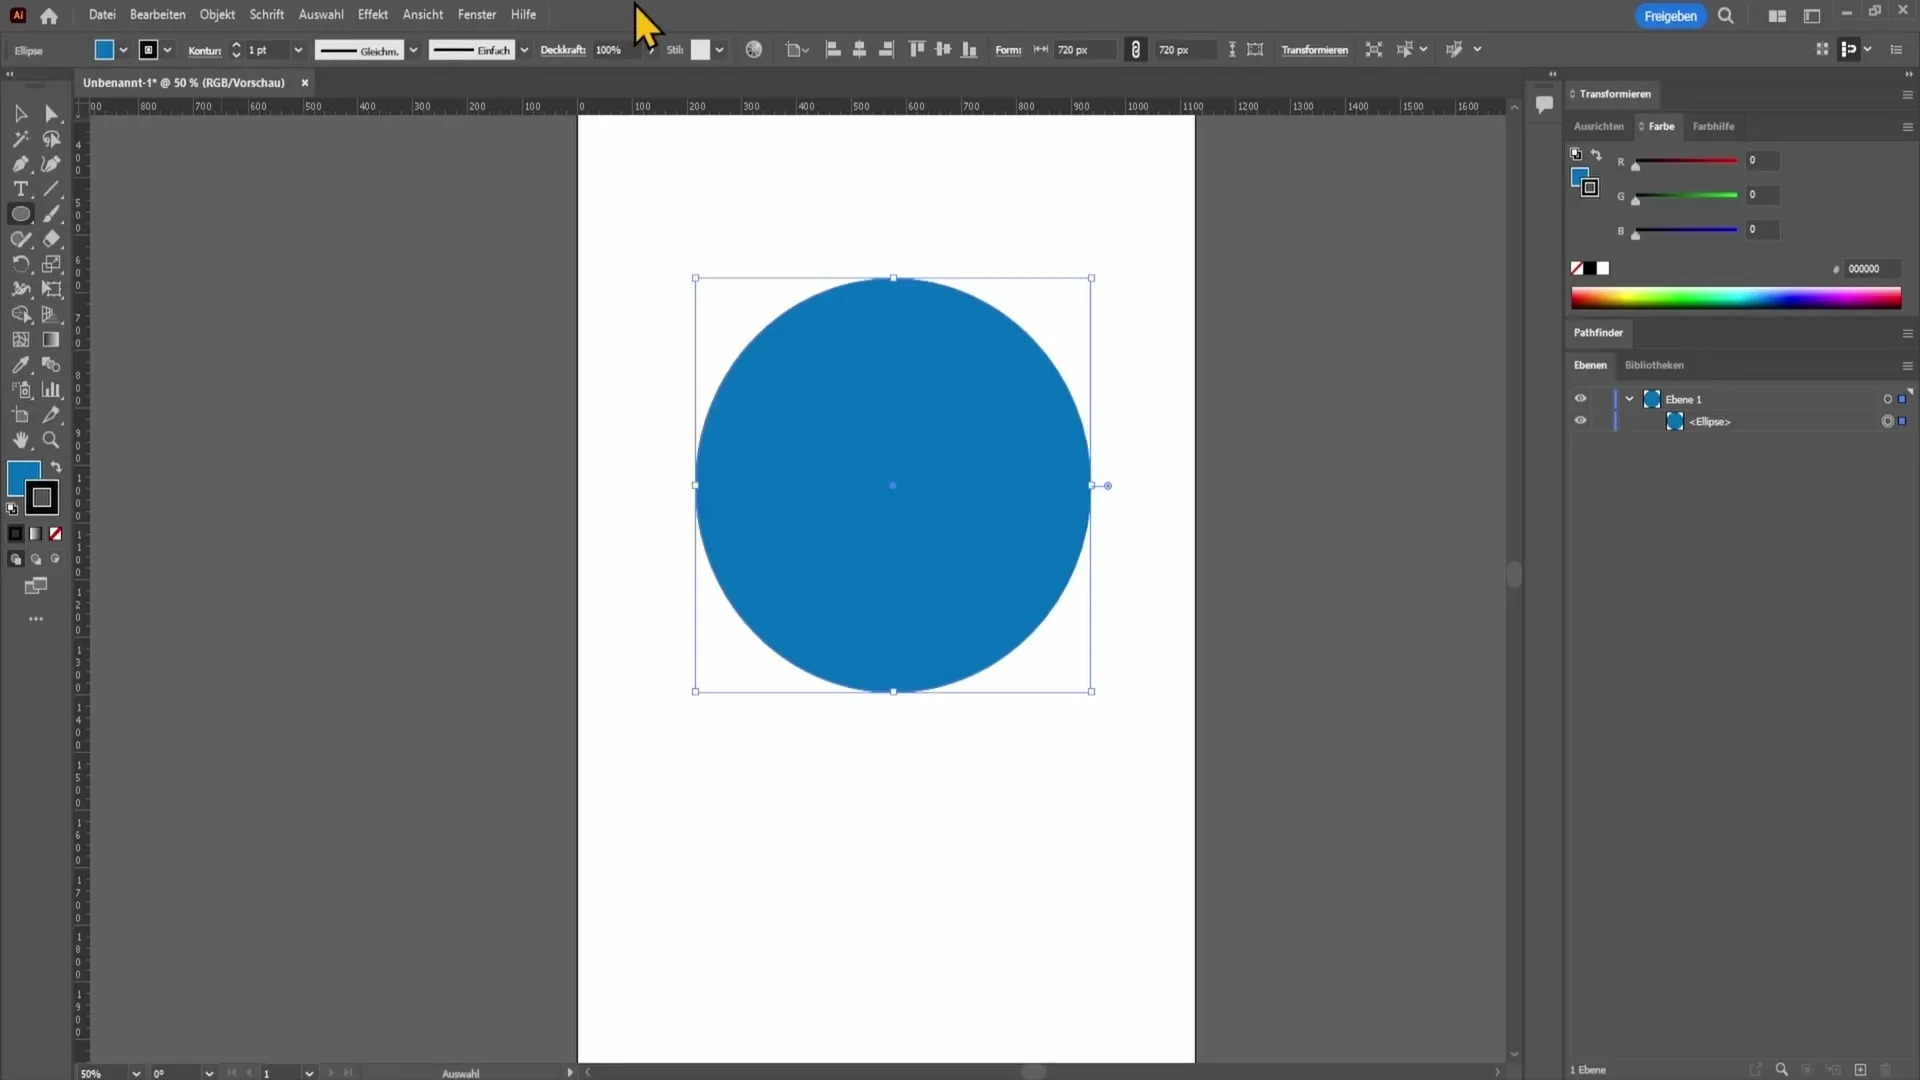
Select an outline color to add to the shape. For example, you can choose a black outline for the light blue circle. Simply click on the outline field and select the black color.
You may notice that not much has changed. This is because the outline is currently very thin. You need to adjust the outline thickness slider here to make the outline more visible. Move the slider up to increase the thickness of the outline.
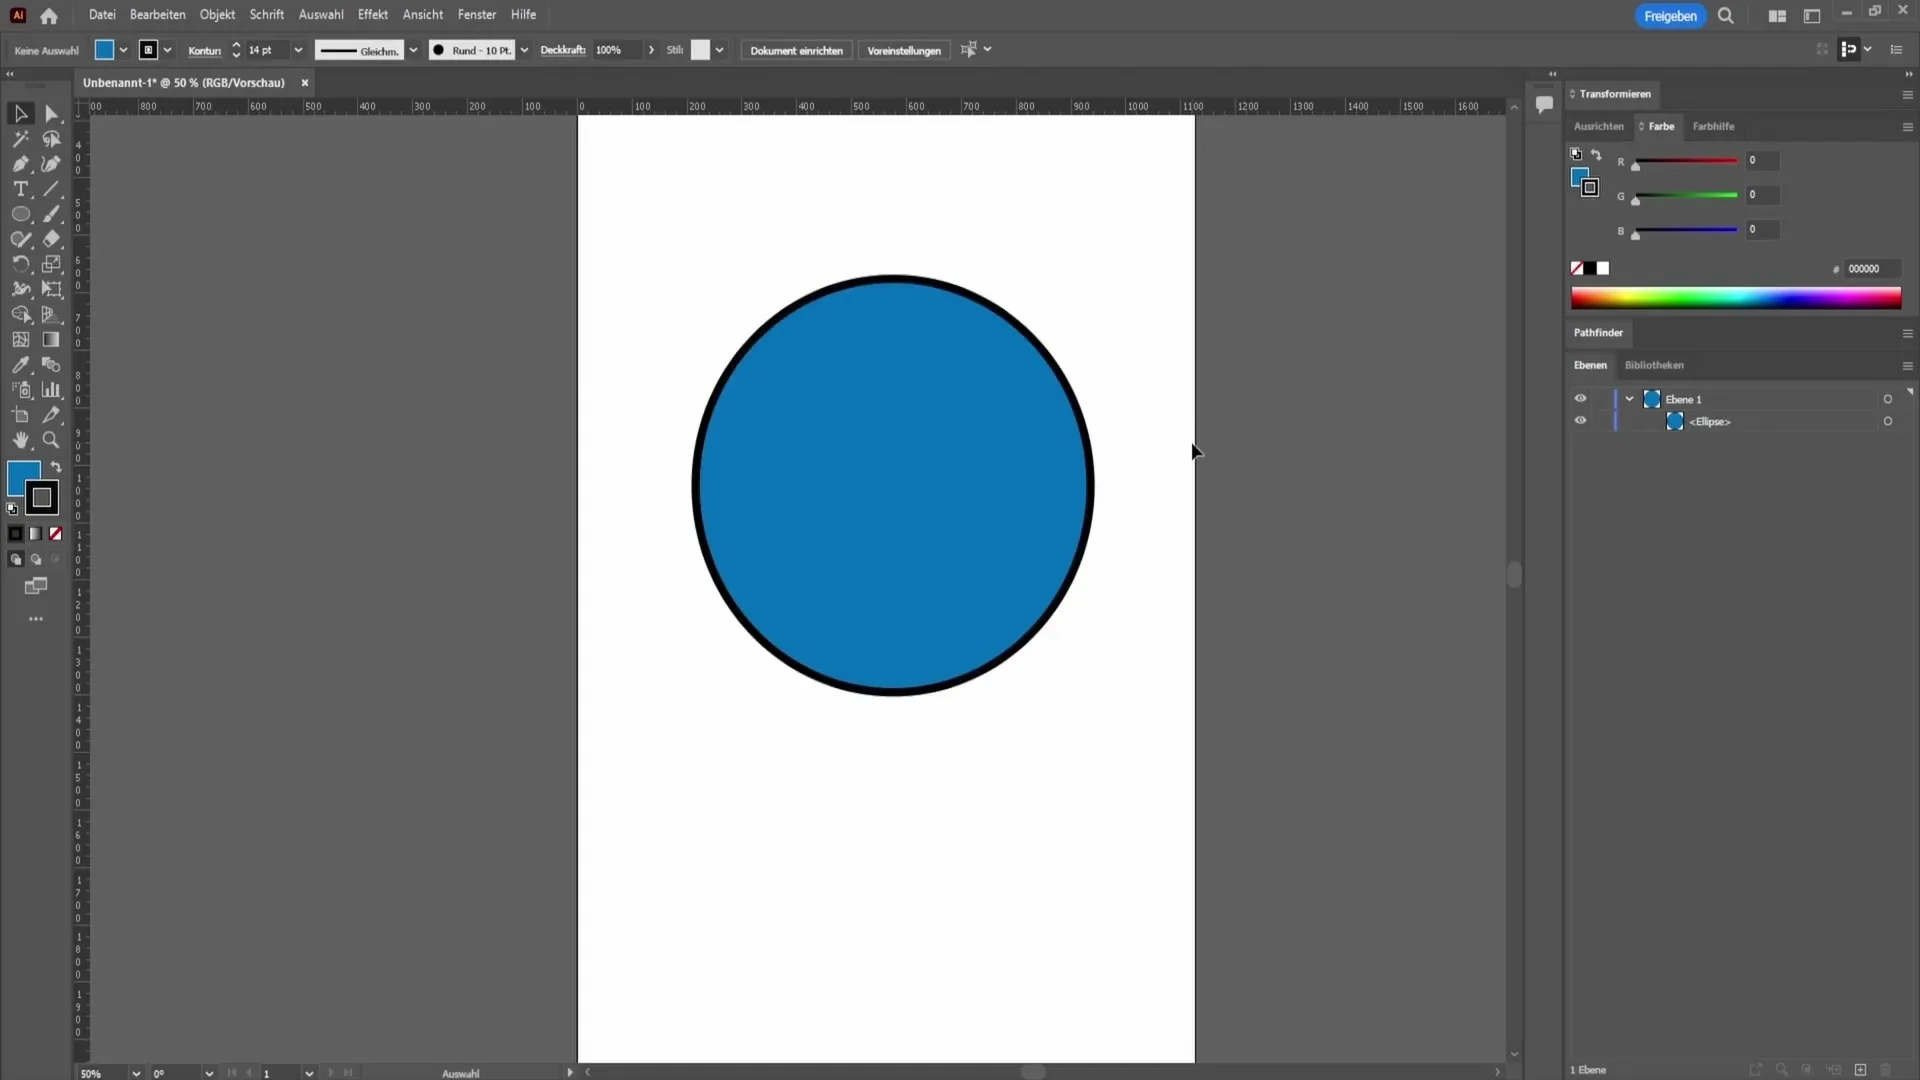
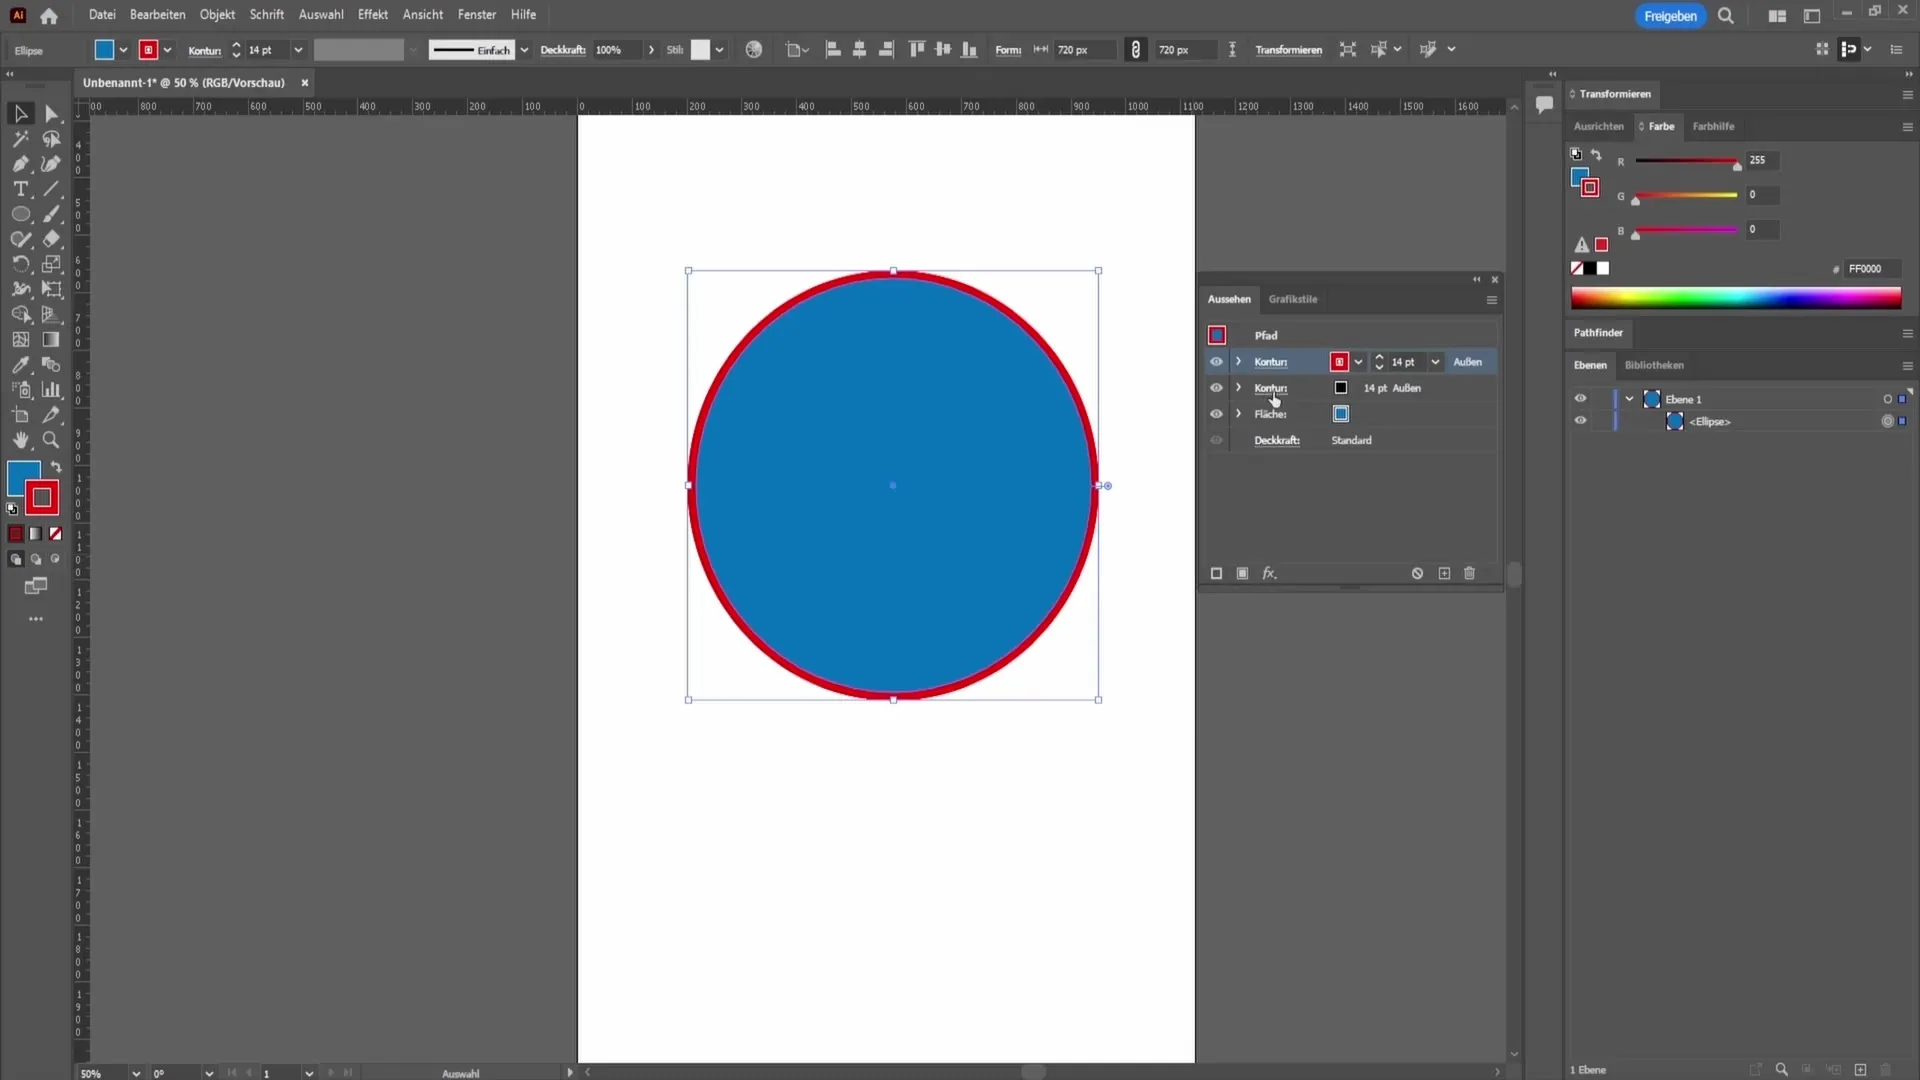
Now you have created a simple outline. However, if you want to add a second outline, such as a red outline outside the black circle, you should open the "Appearance" panel. You can find this under "Window" in the top menu bar.
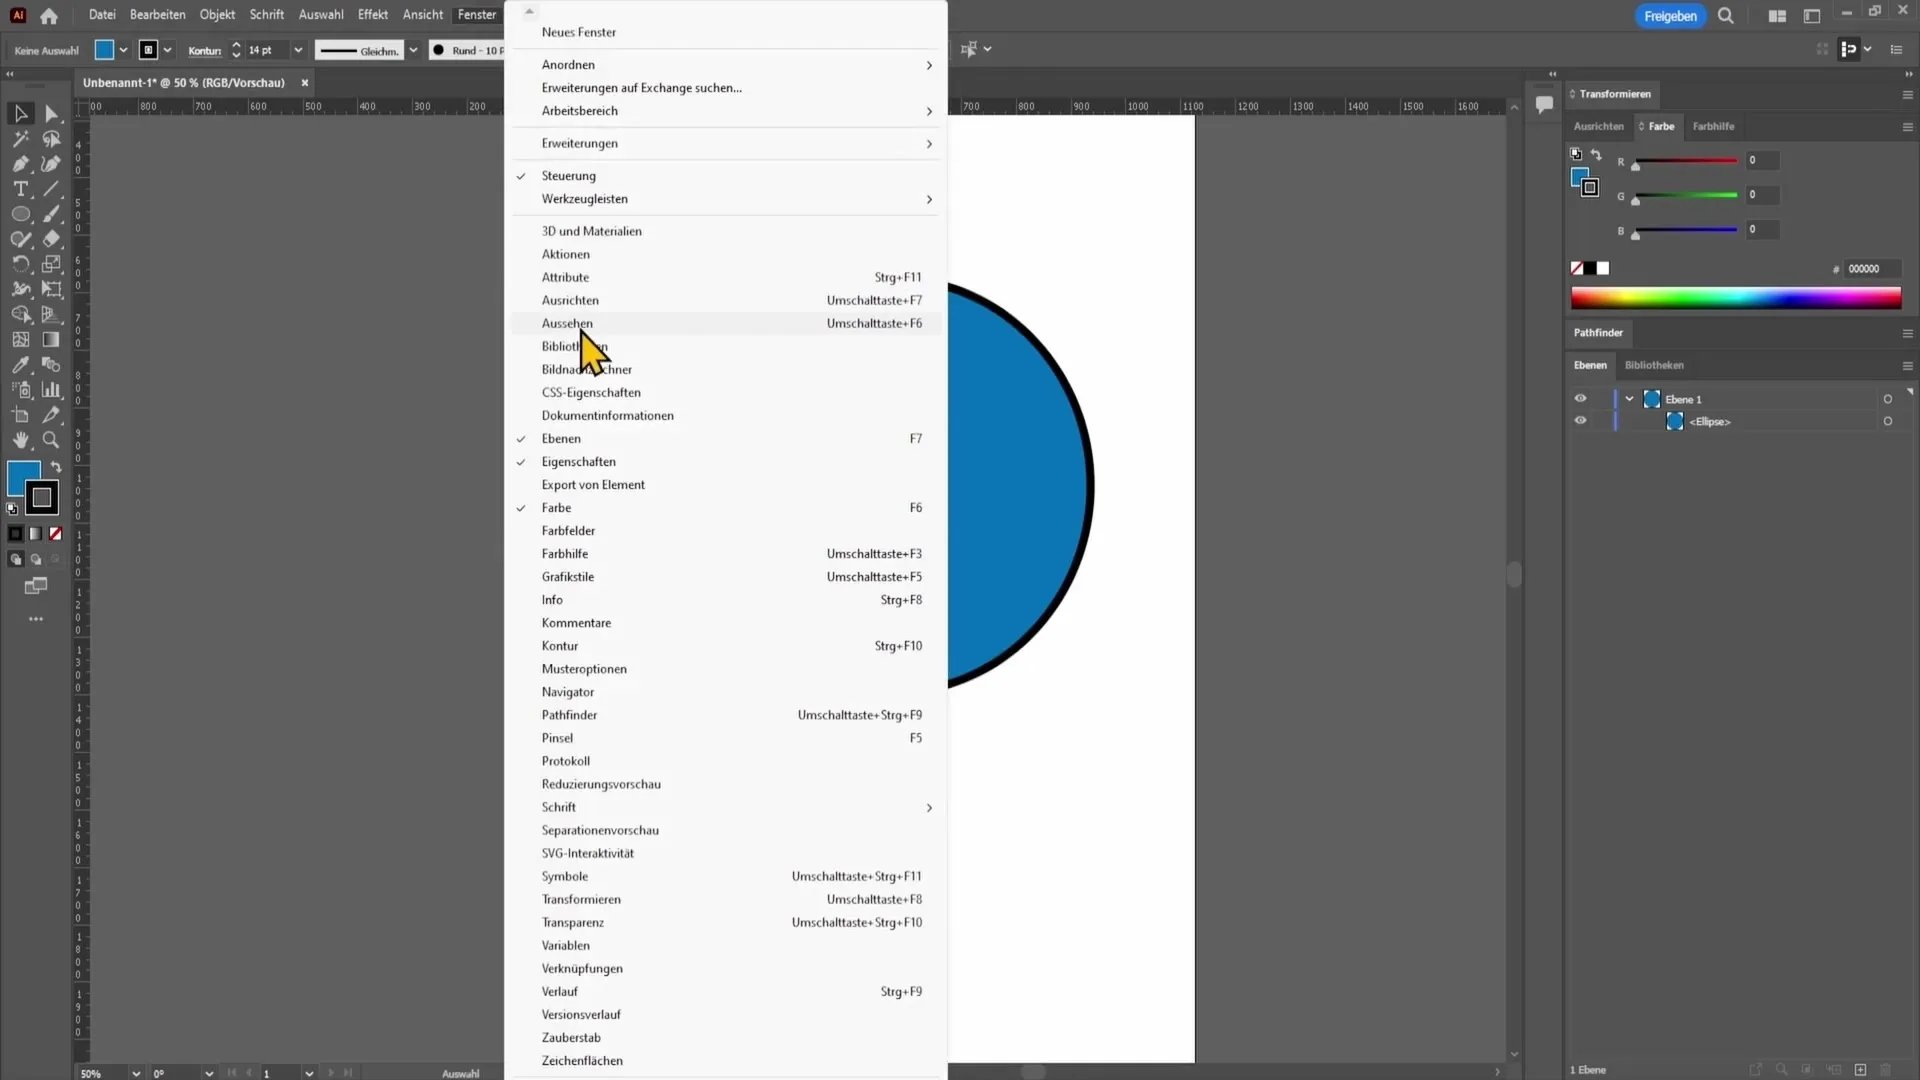
Once you have opened the Appearance panel, select your shape and click on the outline icon below the panel. There you have the option to add a new outline and change the color to red, for example.
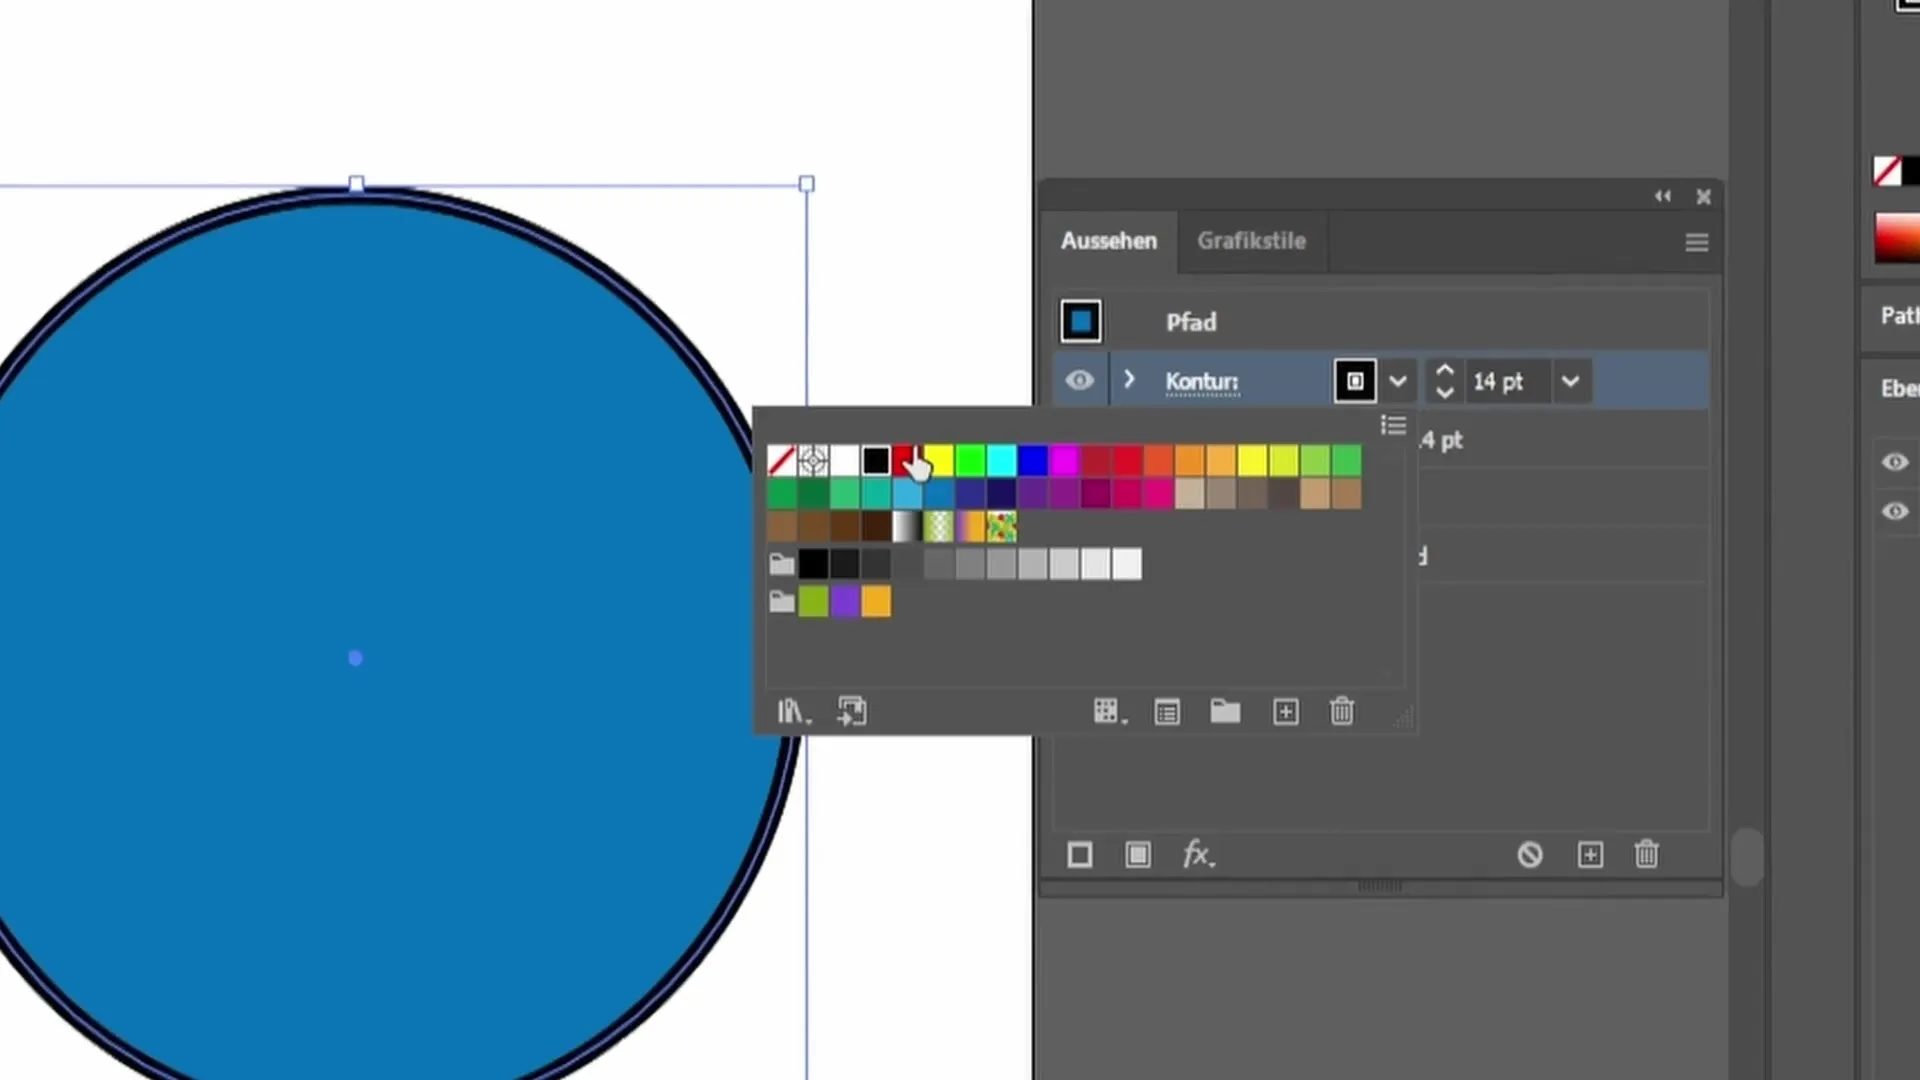
Increase the thickness of the red outline to make it visible. If you want to have the red outline outside and the black outline inside, you can adjust the alignments accordingly. Click on the red outline and set it to "align outside".
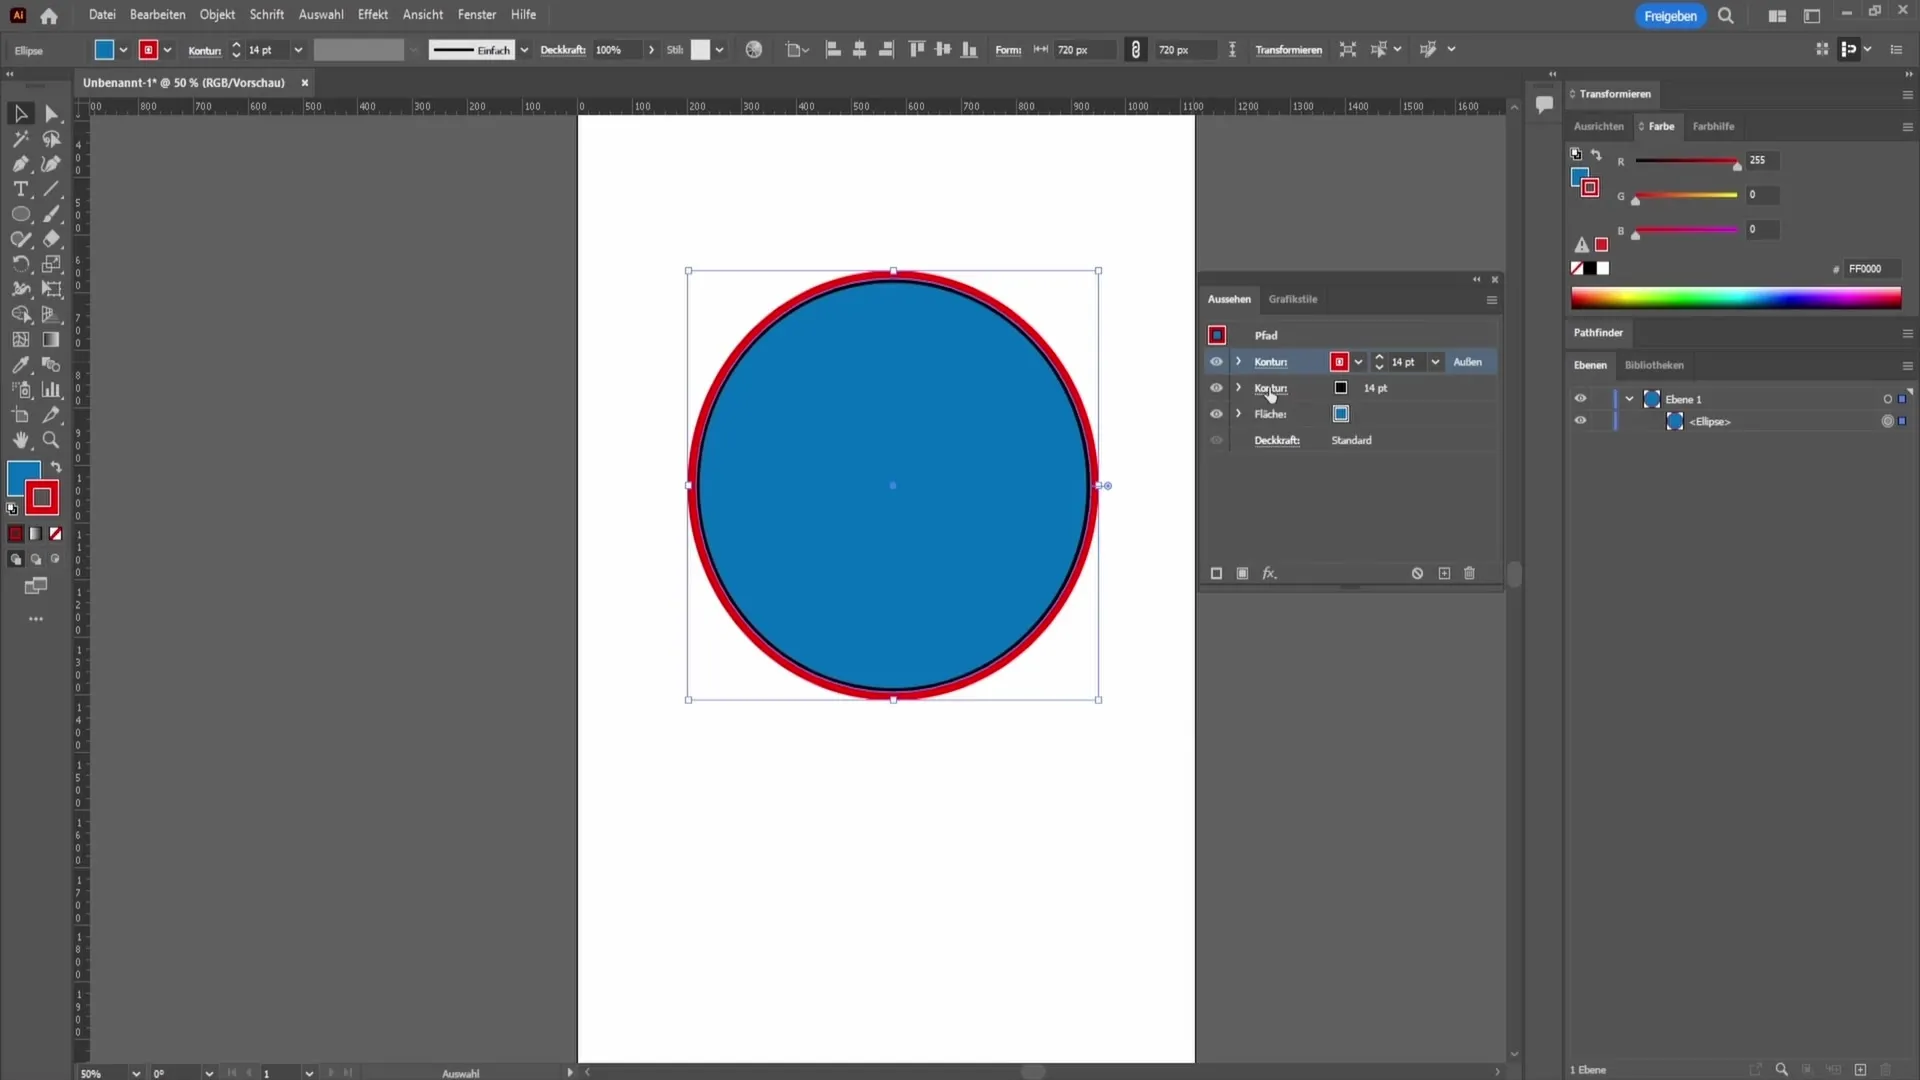
For the black outline, which is directly below the red one, choose "align inside". This way, you will have two equally thick outlines stacked on top of each other.
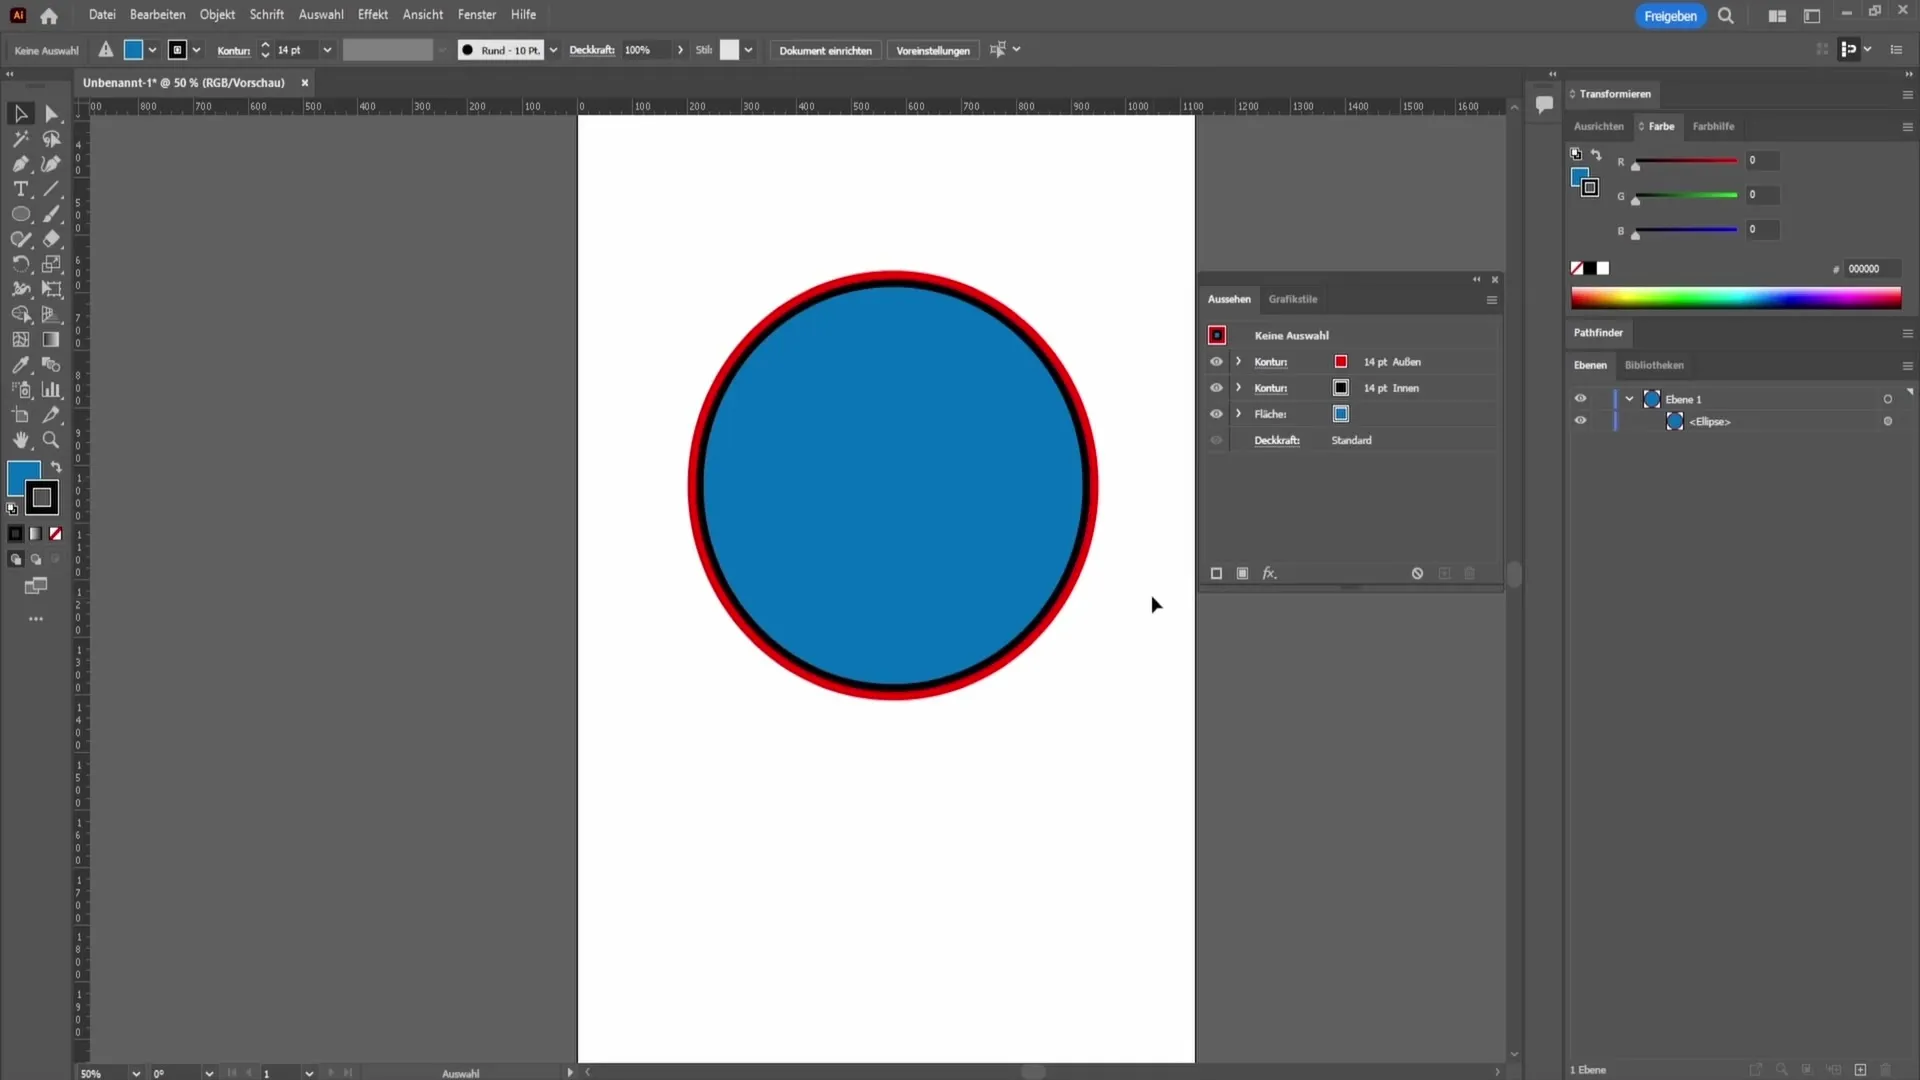
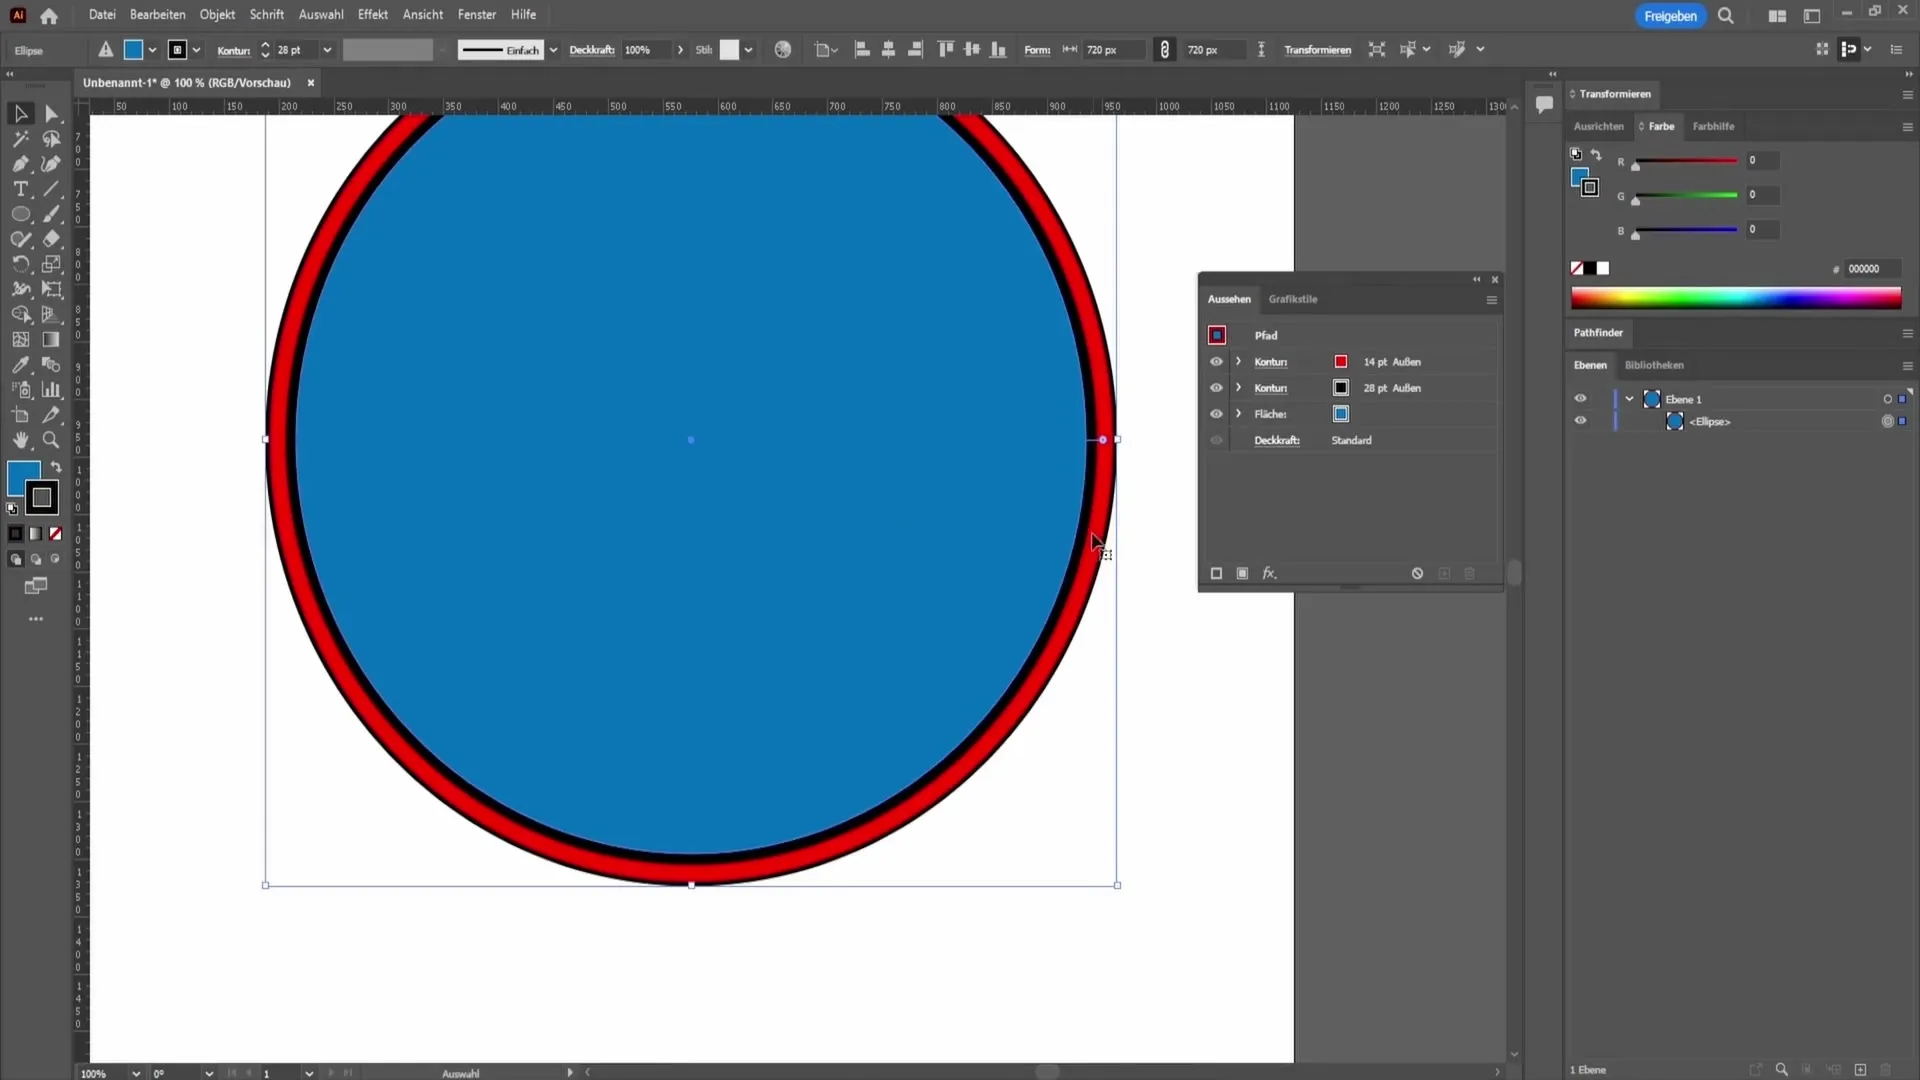
However, if you want to choose a different approach, you could align both outlines to the outside, depending on your design needs. Make sure to adjust the thickness of the lower outline so it does not protrude beyond the upper outline.
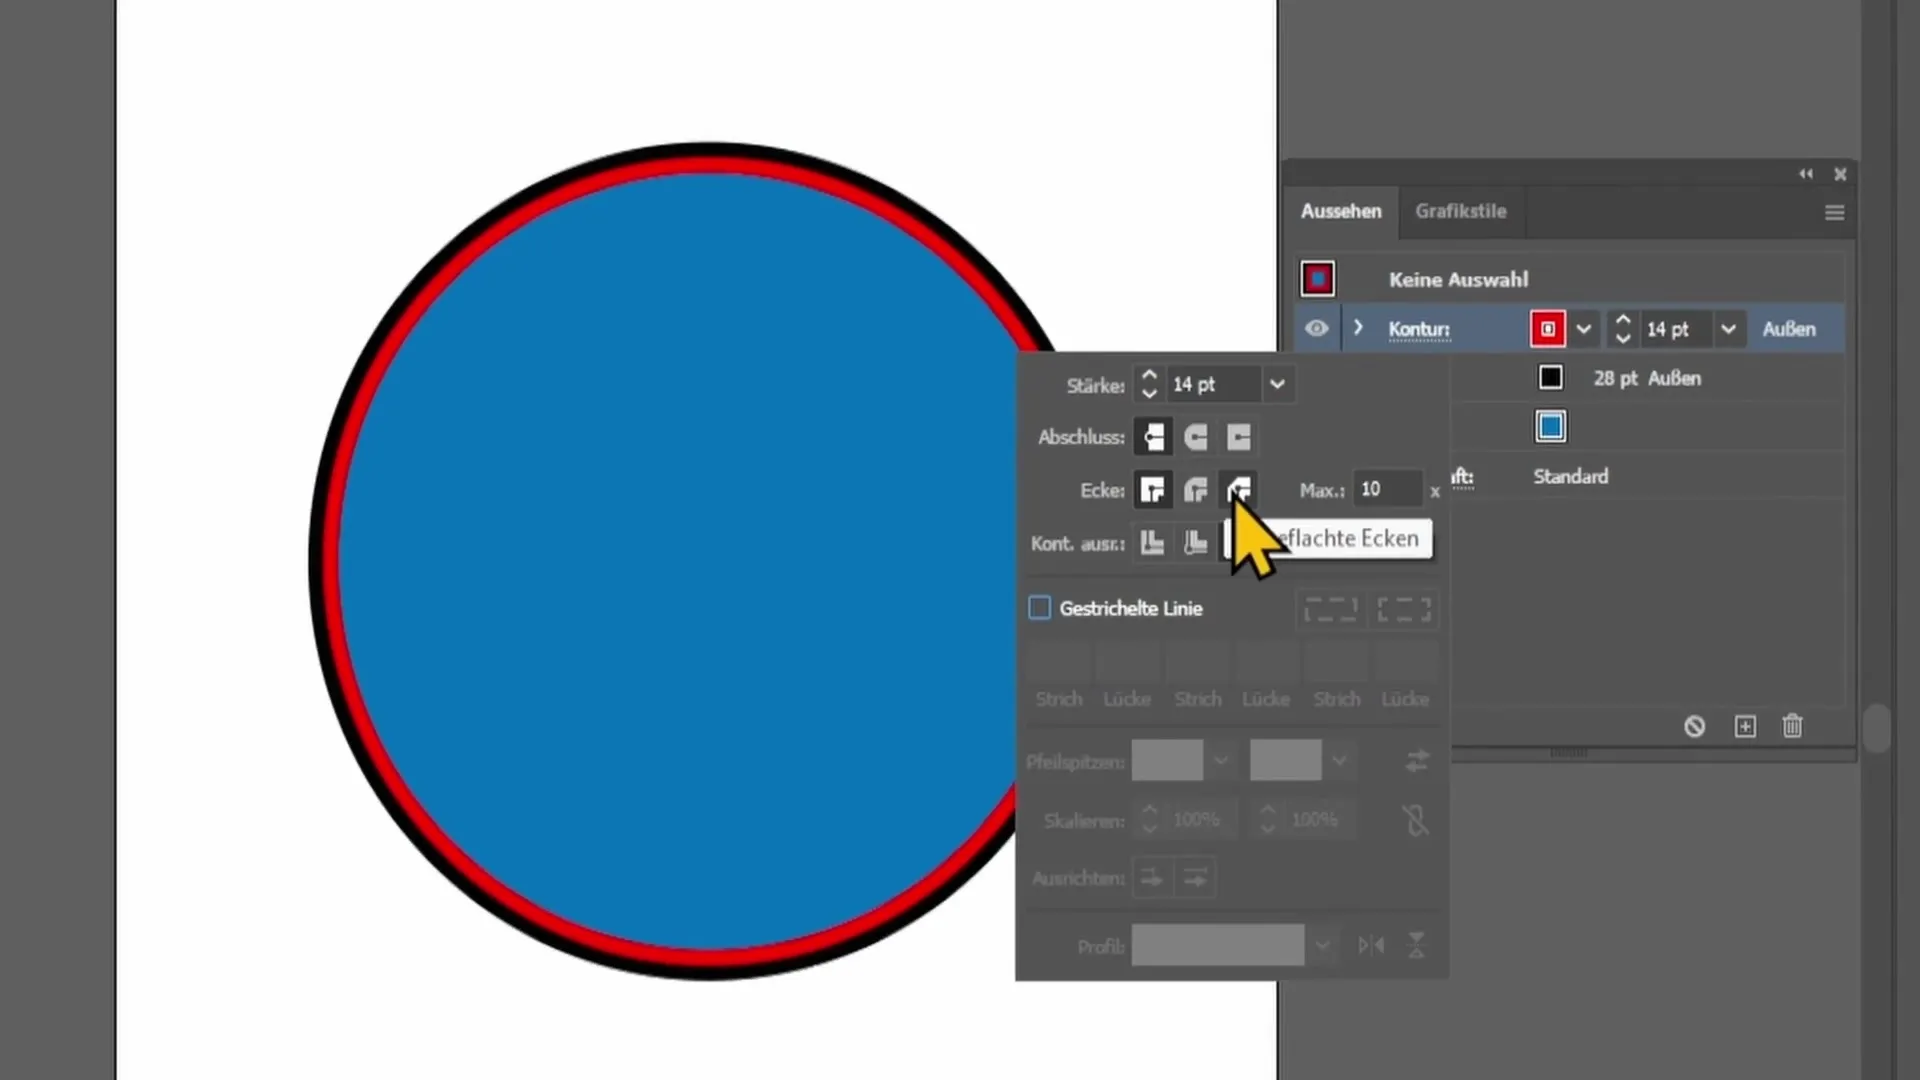
Another useful tool in the outline view is the option to create dashed lines. You can also find this when clicking on the outline. Here, you can style the corners of the outlines by adjusting the corner shape, for example, rounded or with a special offset.
In addition, you can click on the effects to add various filters to your design. For example, with "Move Along", you can adjust the distance between the outline and the shape.
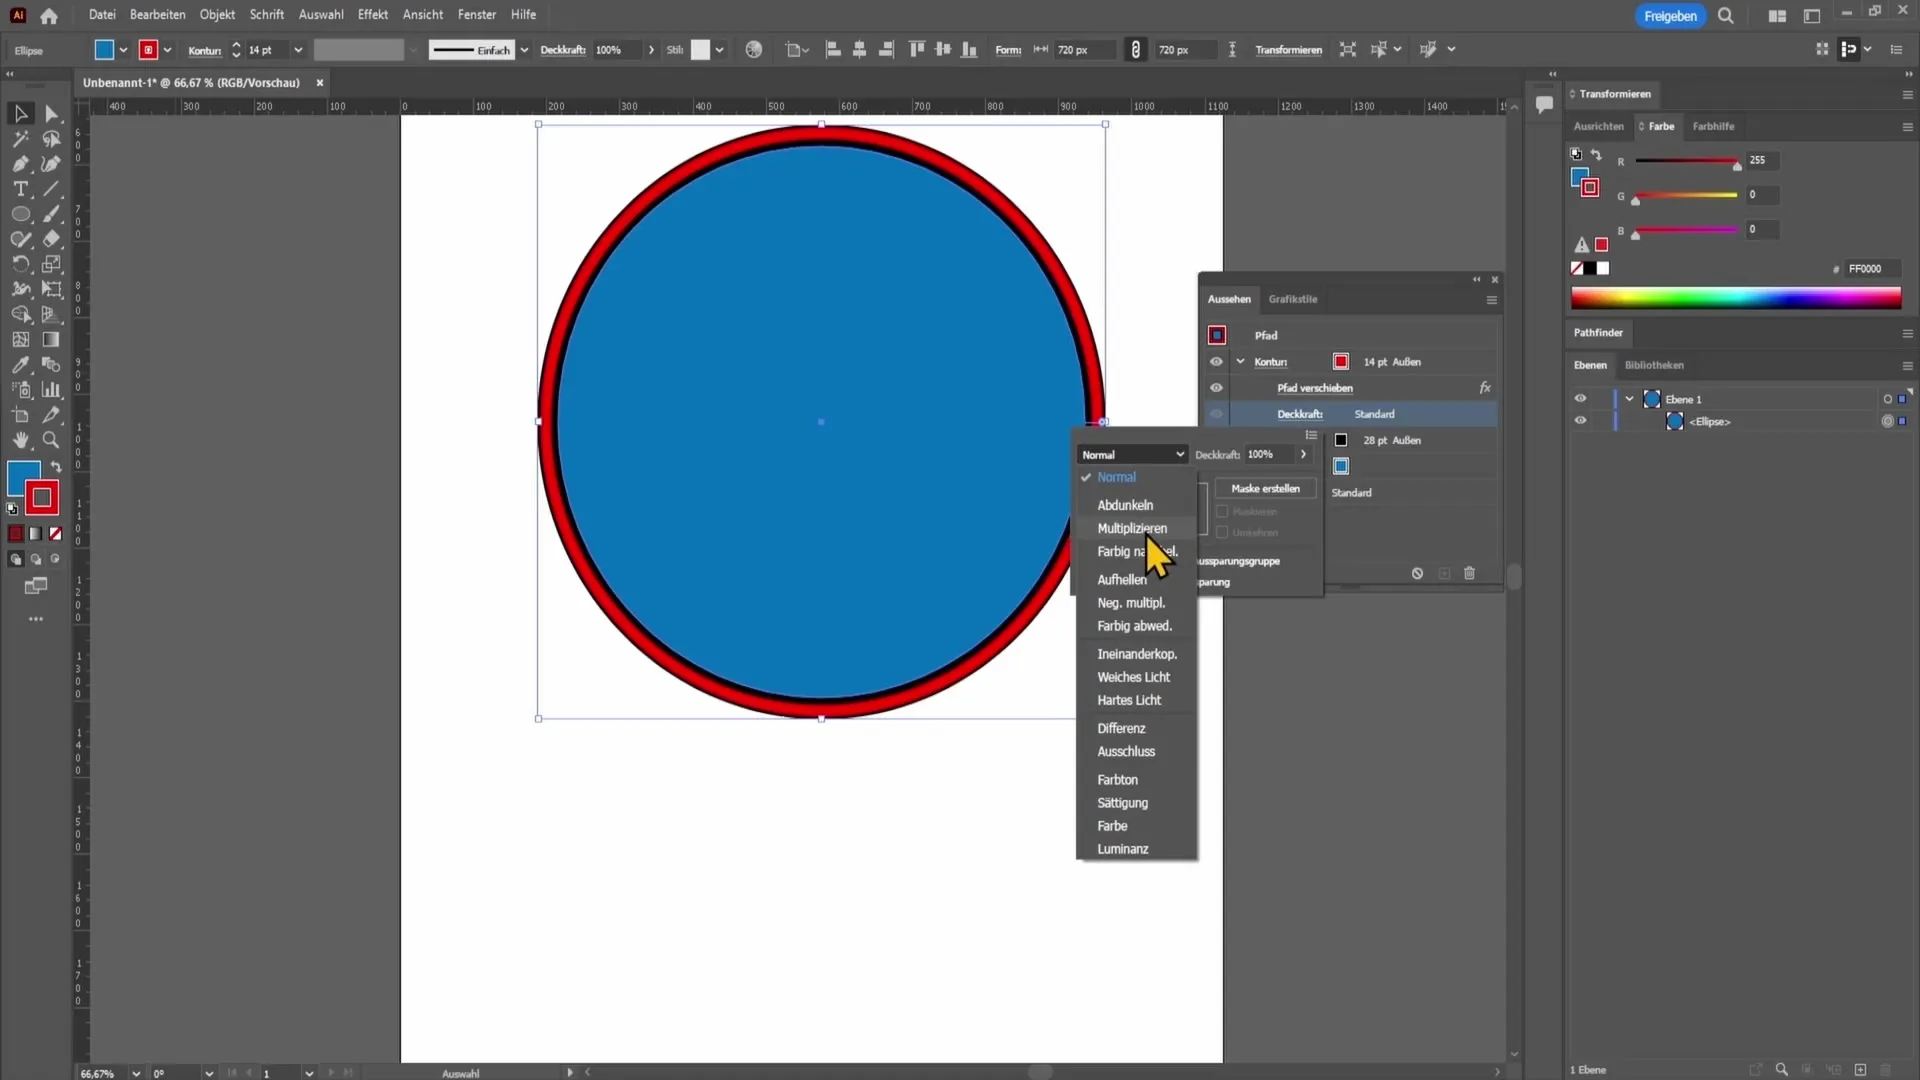
Another useful function is adjusting the opacity. You can reduce the opacity of the outline, making it more transparent and stand out under another element.
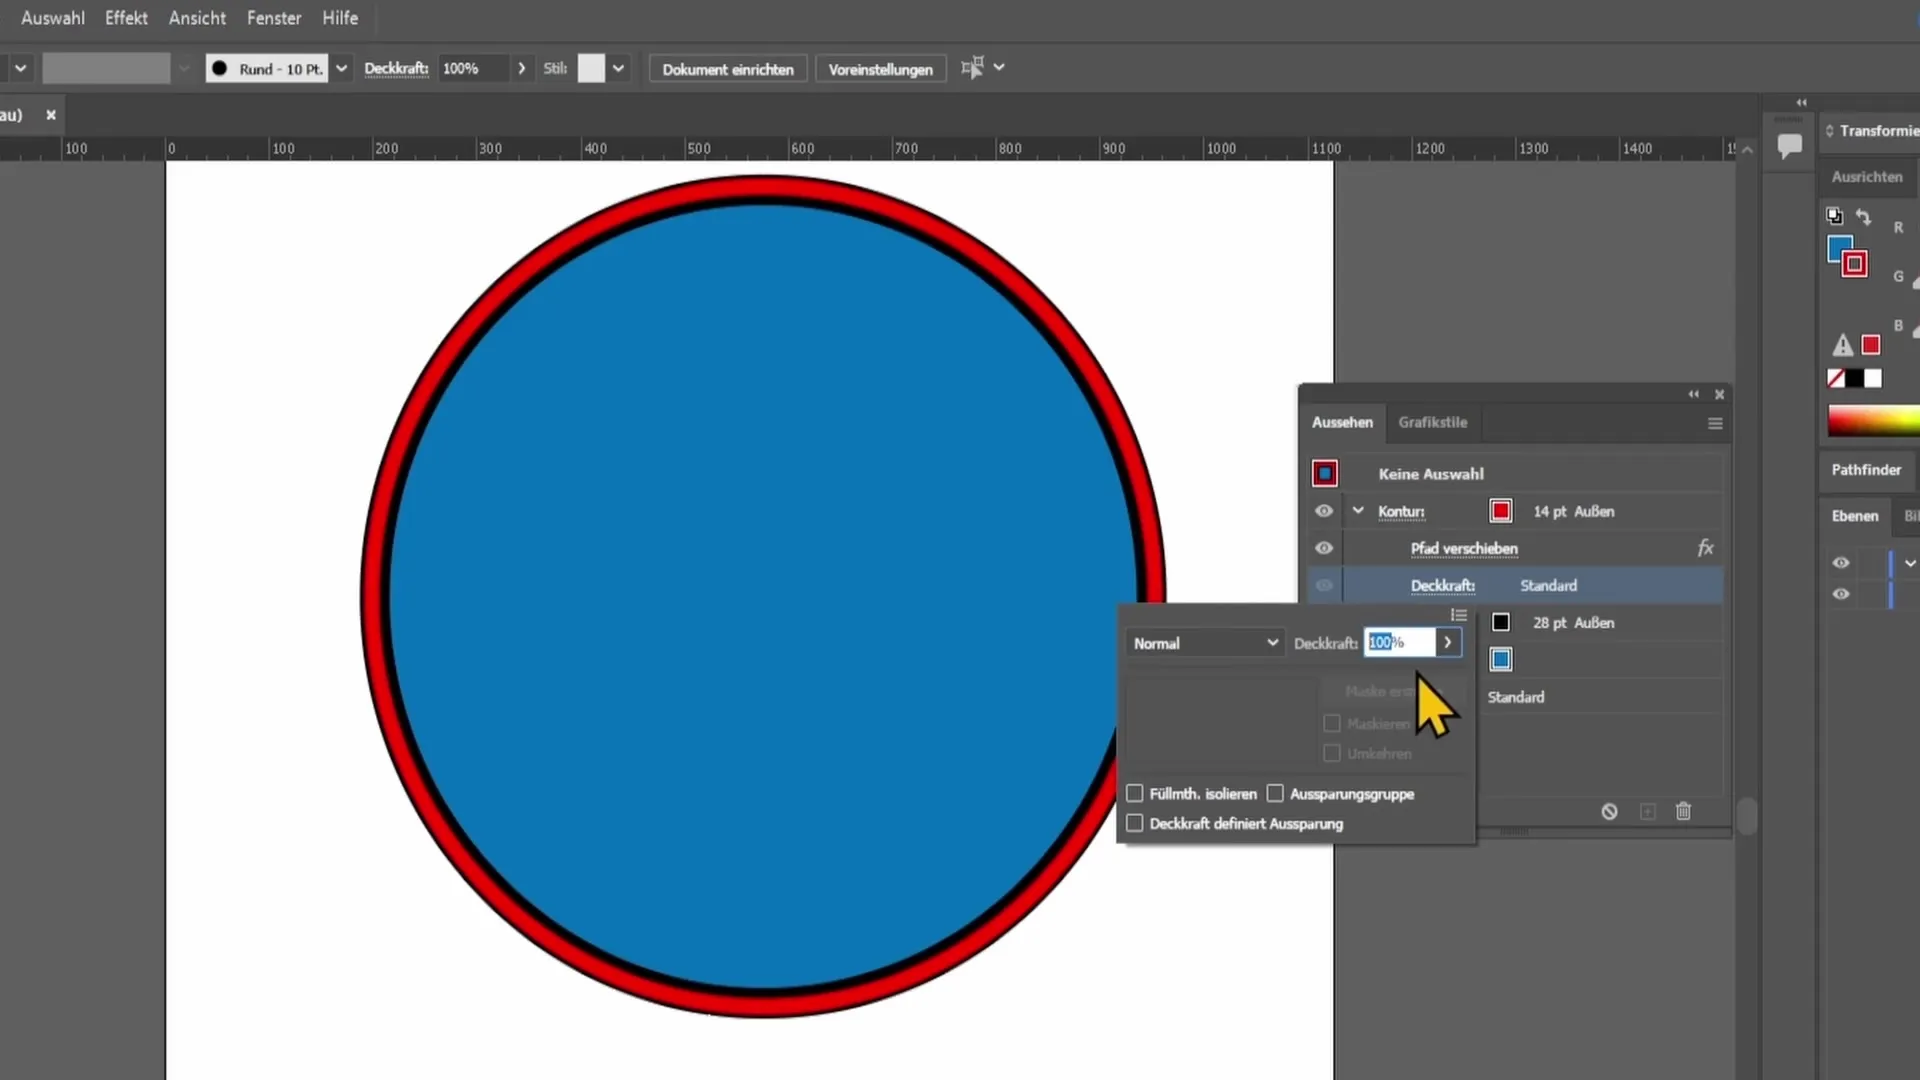
If you further reduce the opacity or adjust the blending modes, you can achieve fascinating visual effects. These techniques support you in creating creative and appealing designs.
Summary
In this tutorial, you have learned how to create, adjust, and create multiple outlines for a shape in Adobe Illustrator. The various functions and options for designing your outlines offer many creative ways to enhance the visual appearance of your designs.
Frequently Asked Questions
How can I change the thickness of an outline?You can change the thickness of an outline by moving the slider for the stroke weight in the outline area.
Can I create multiple outlines for the same object?Yes, you can create multiple outlines for an object and apply different colors and styles.
How can I create a dashed line?You can create a dashed line by selecting the stroke element and choosing the appropriate options for dashed lines in the stroke panel.


