In Adobe Illustrator, guides and grids can help you create precise designs and better align your illustrations. Experts use these features to ensure that all elements in a project are well placed. In this tutorial, I will explain to you exactly how to activate, adjust, and use guides and grids to optimize your workflow and improve your projects.
Key Takeaways
- Displaying and adjusting guides and grids improves the accuracy of your work in Illustrator.
- Shortcuts can significantly increase your efficiency when working with guides and grids.
- The ability to delete or lock guides gives you more control over your design.
Step-by-Step Guide
To use guides in Illustrator, you must first activate the ruler. This is usually done with the shortcut "Ctrl + R" or through the menu bar.
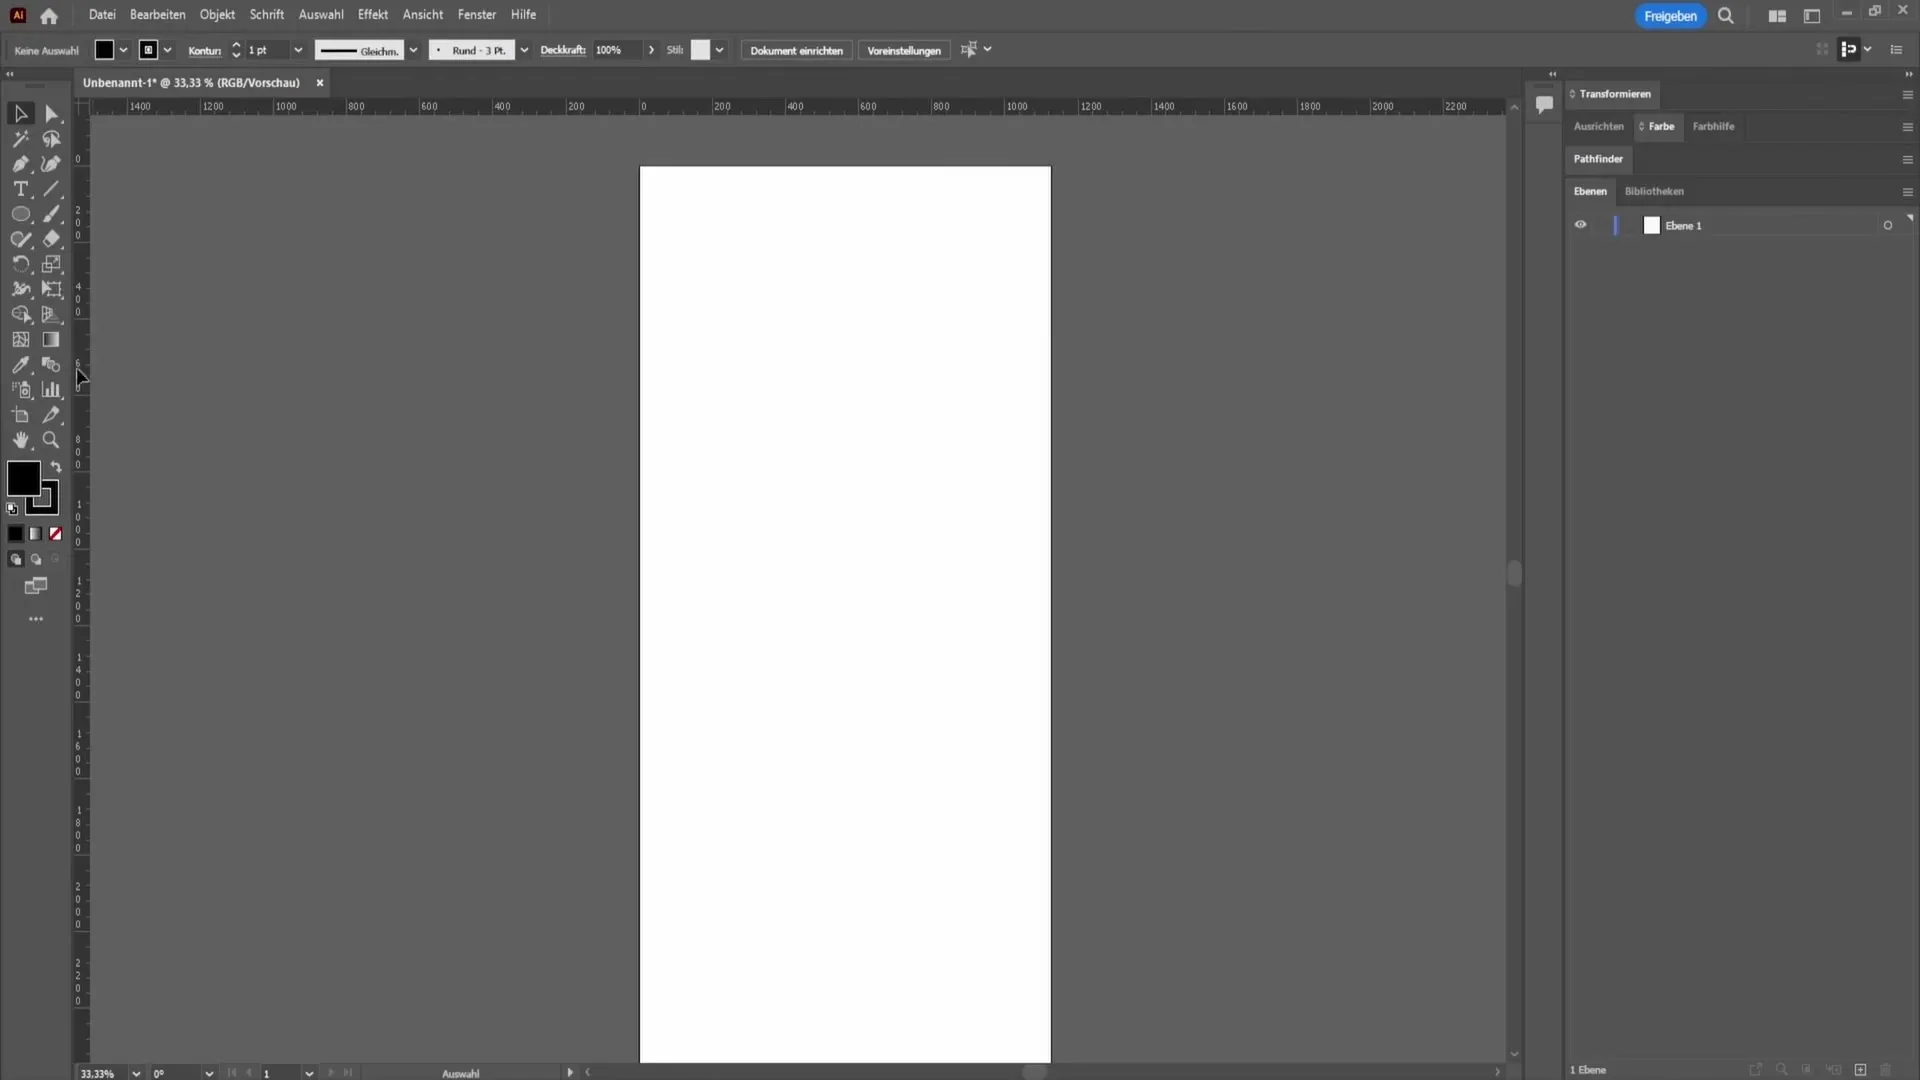
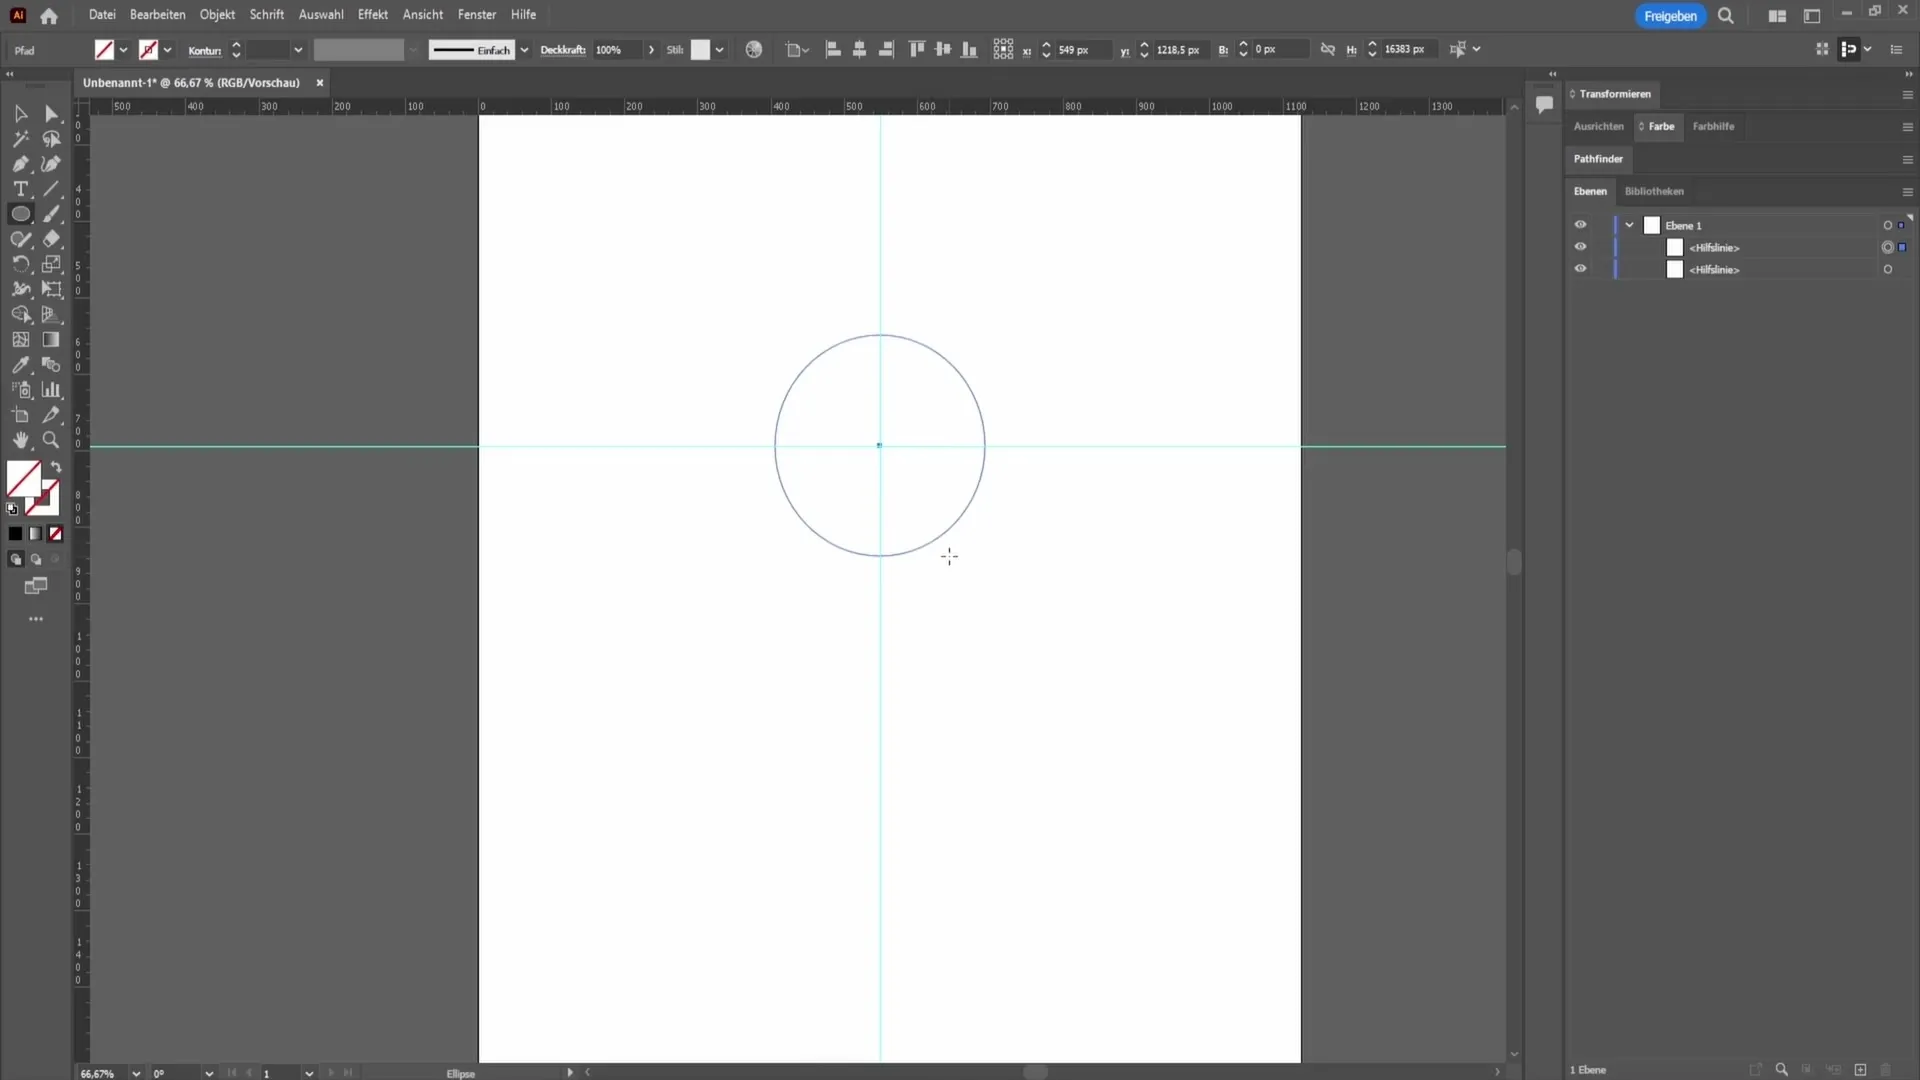
Once the ruler is visible, you can drag guides from the rulers using the left mouse button. These guides are helpful for placing precise intersections in your design.
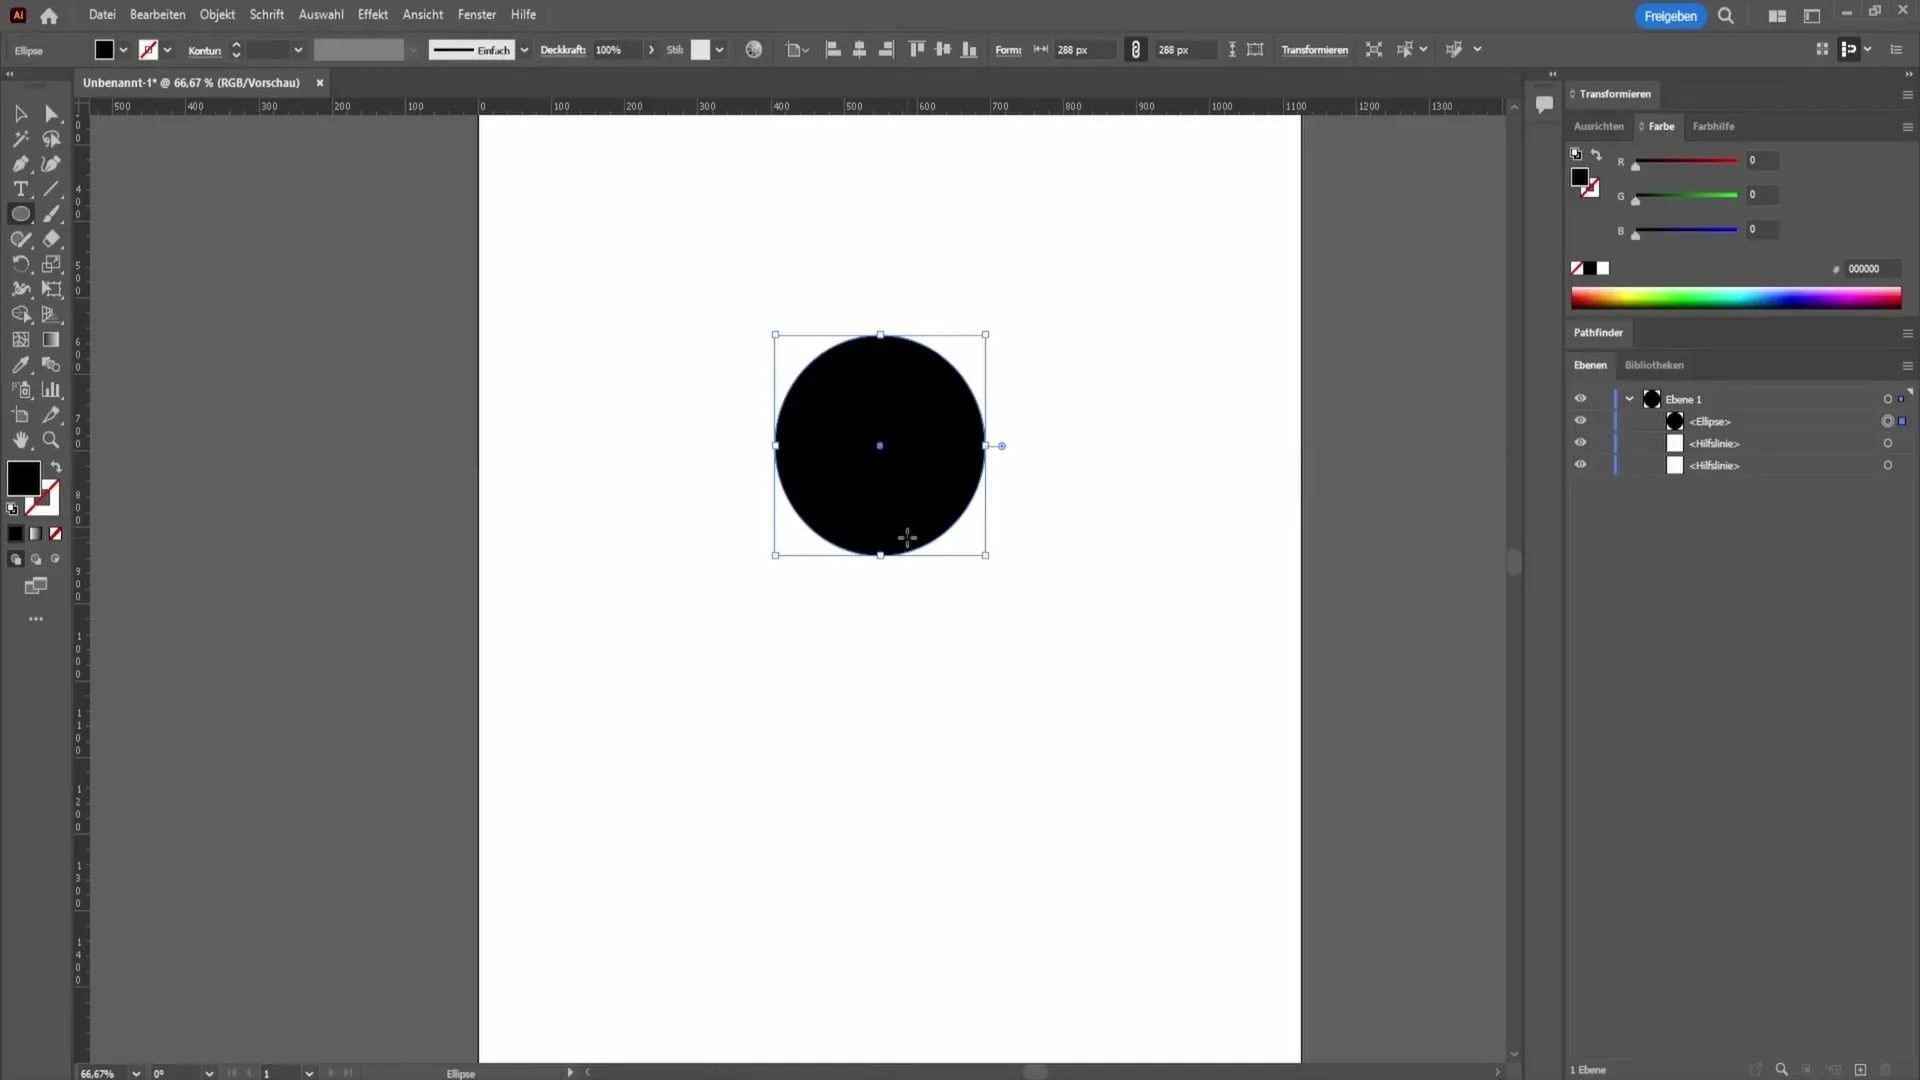
If you want to create a perfect circle with a guide, use the Ellipse tool. Hold down the Alt key while dragging to create a perfect circle. At the same time, you can hold down the Shift key to maintain the proportions.
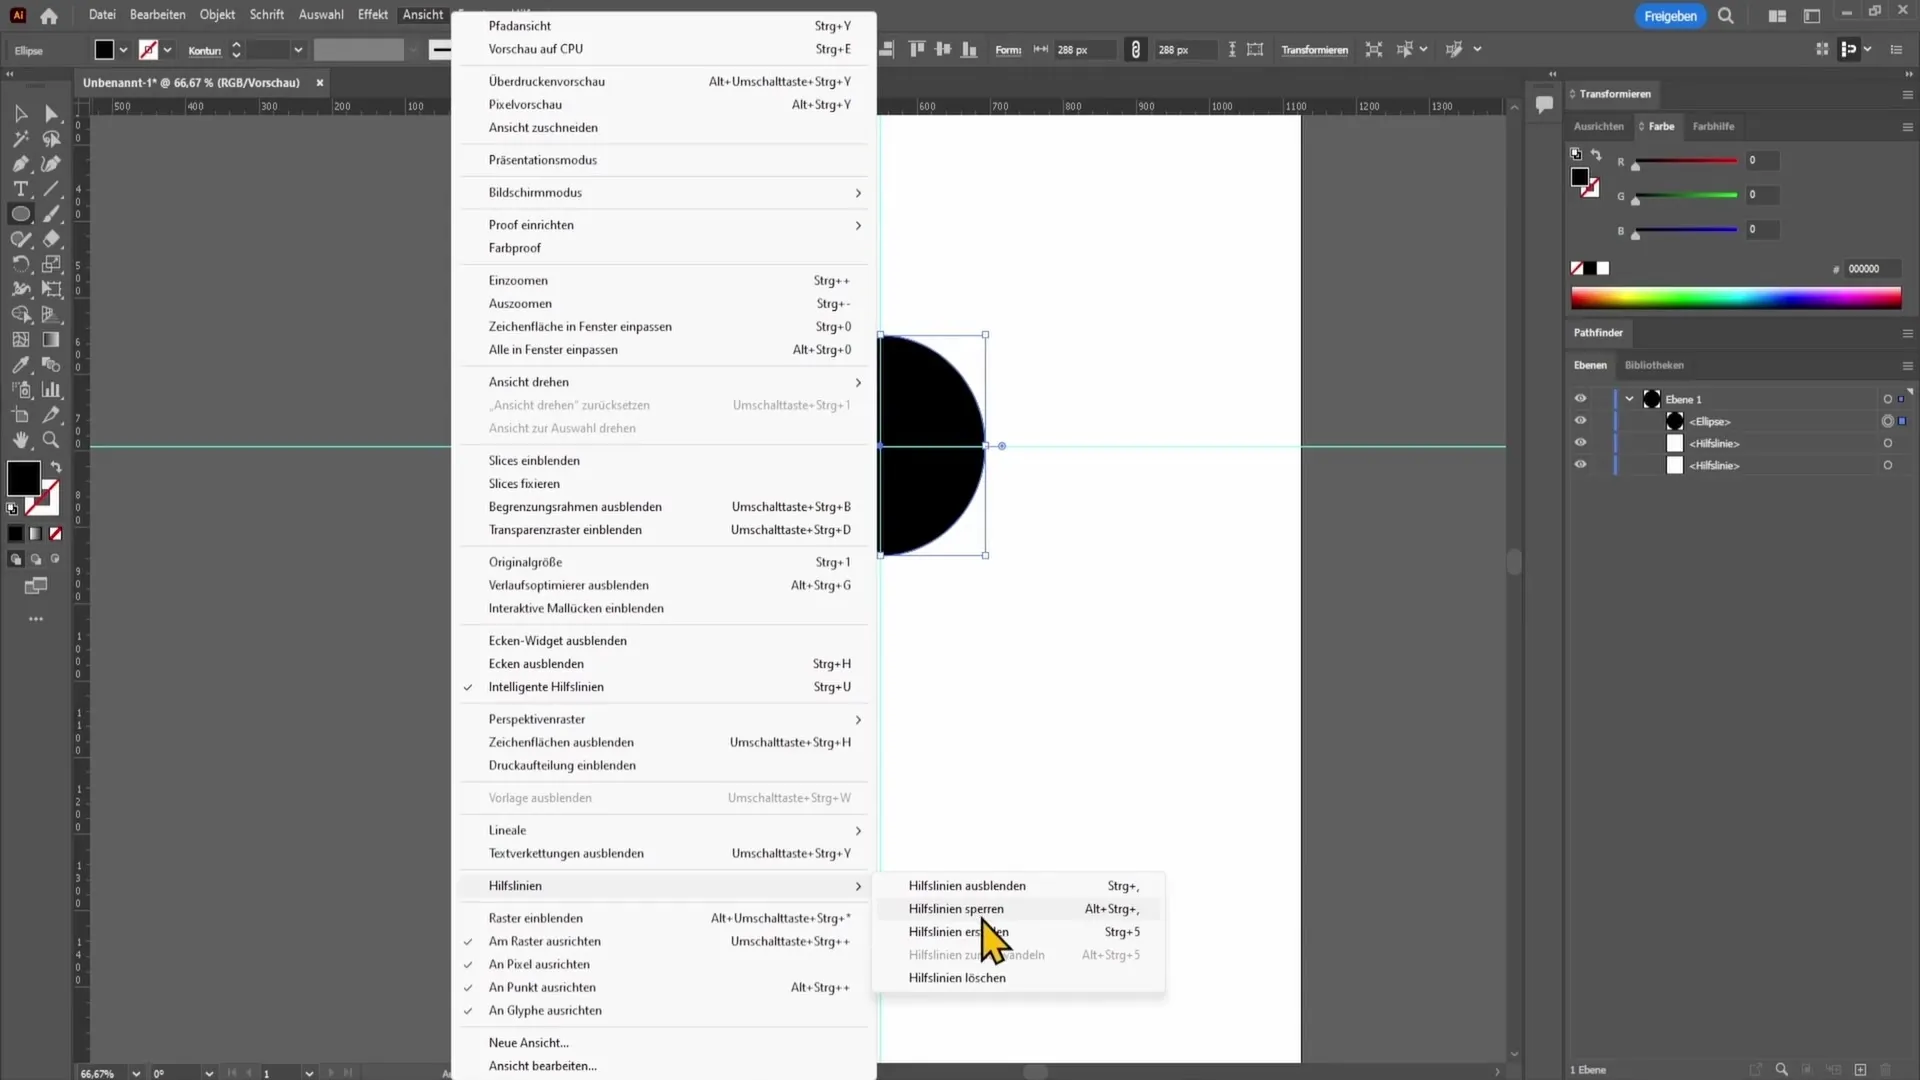
Guides are not only for aligning shapes; you can also hide them without deleting. To do this, go to the View menu and disable the guides. Alternatively, you can use the shortcut "Ctrl +," to temporarily hide the guides.
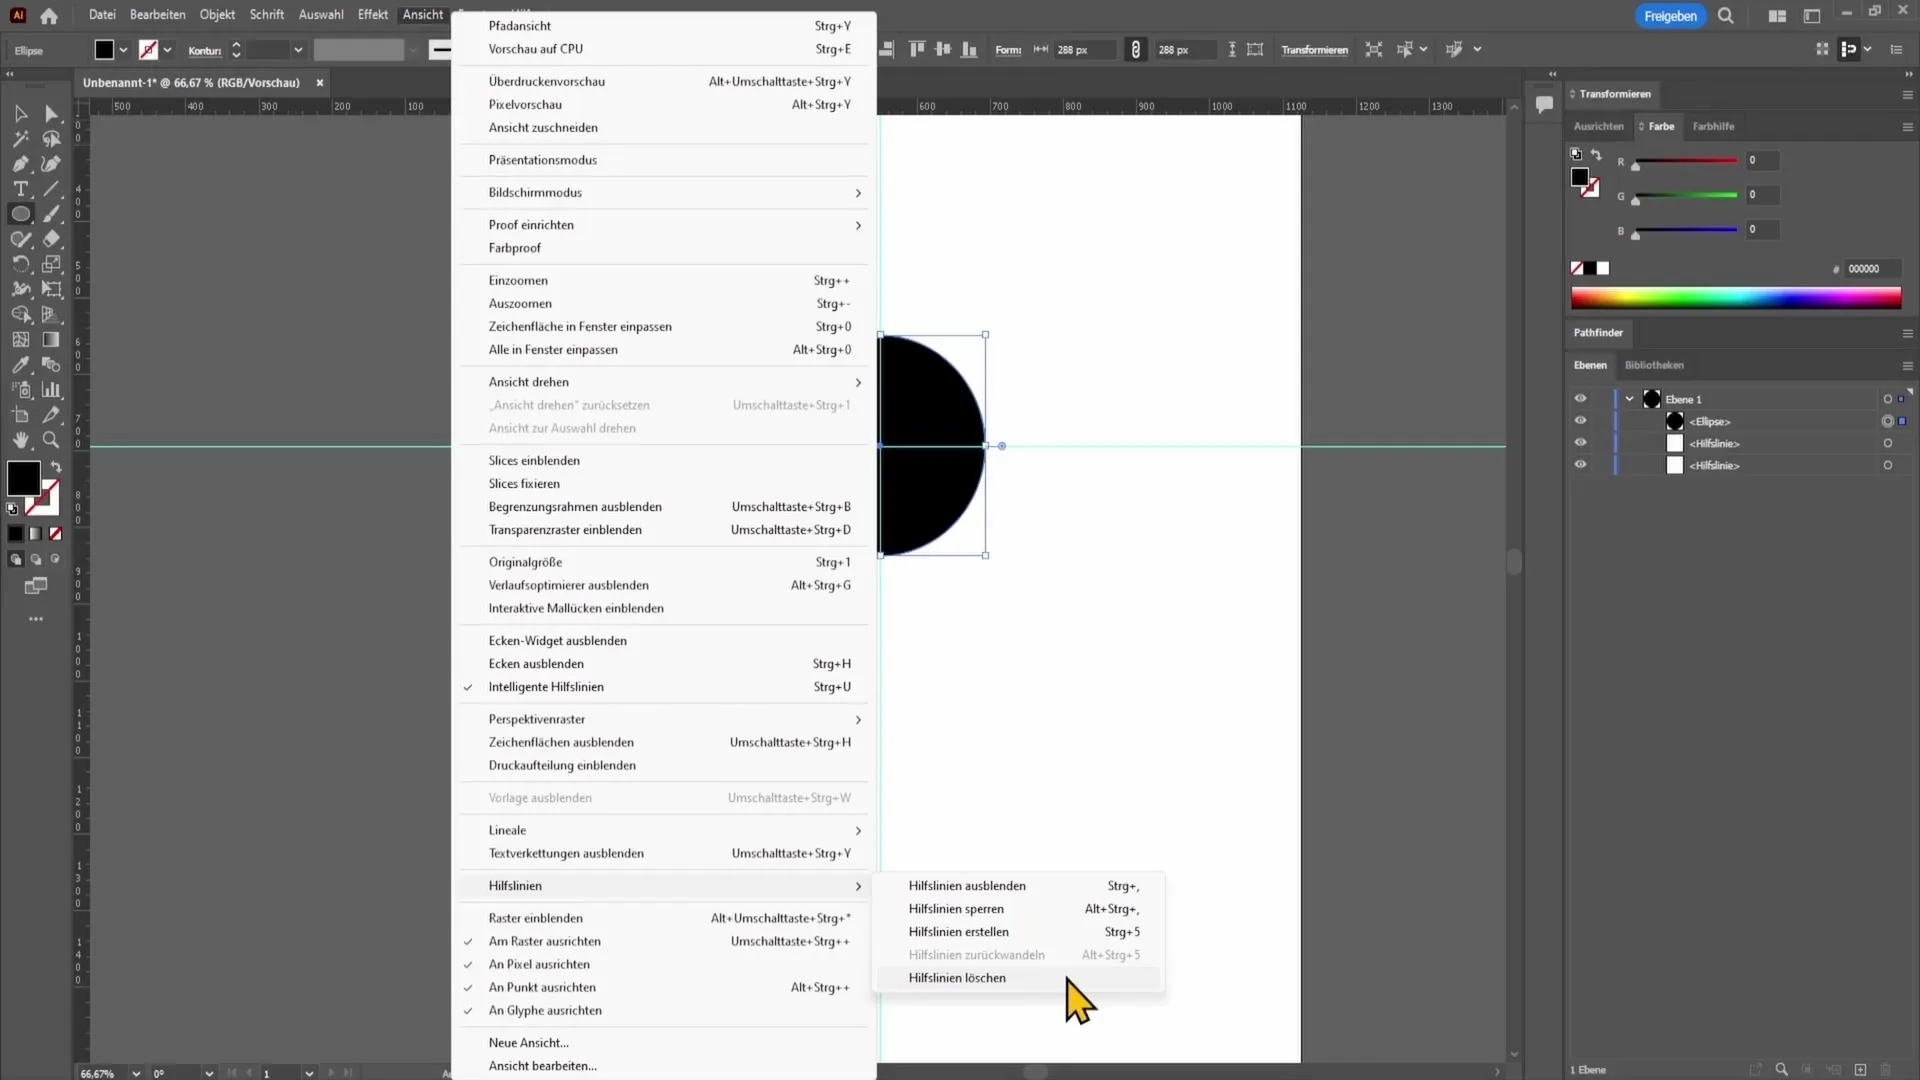
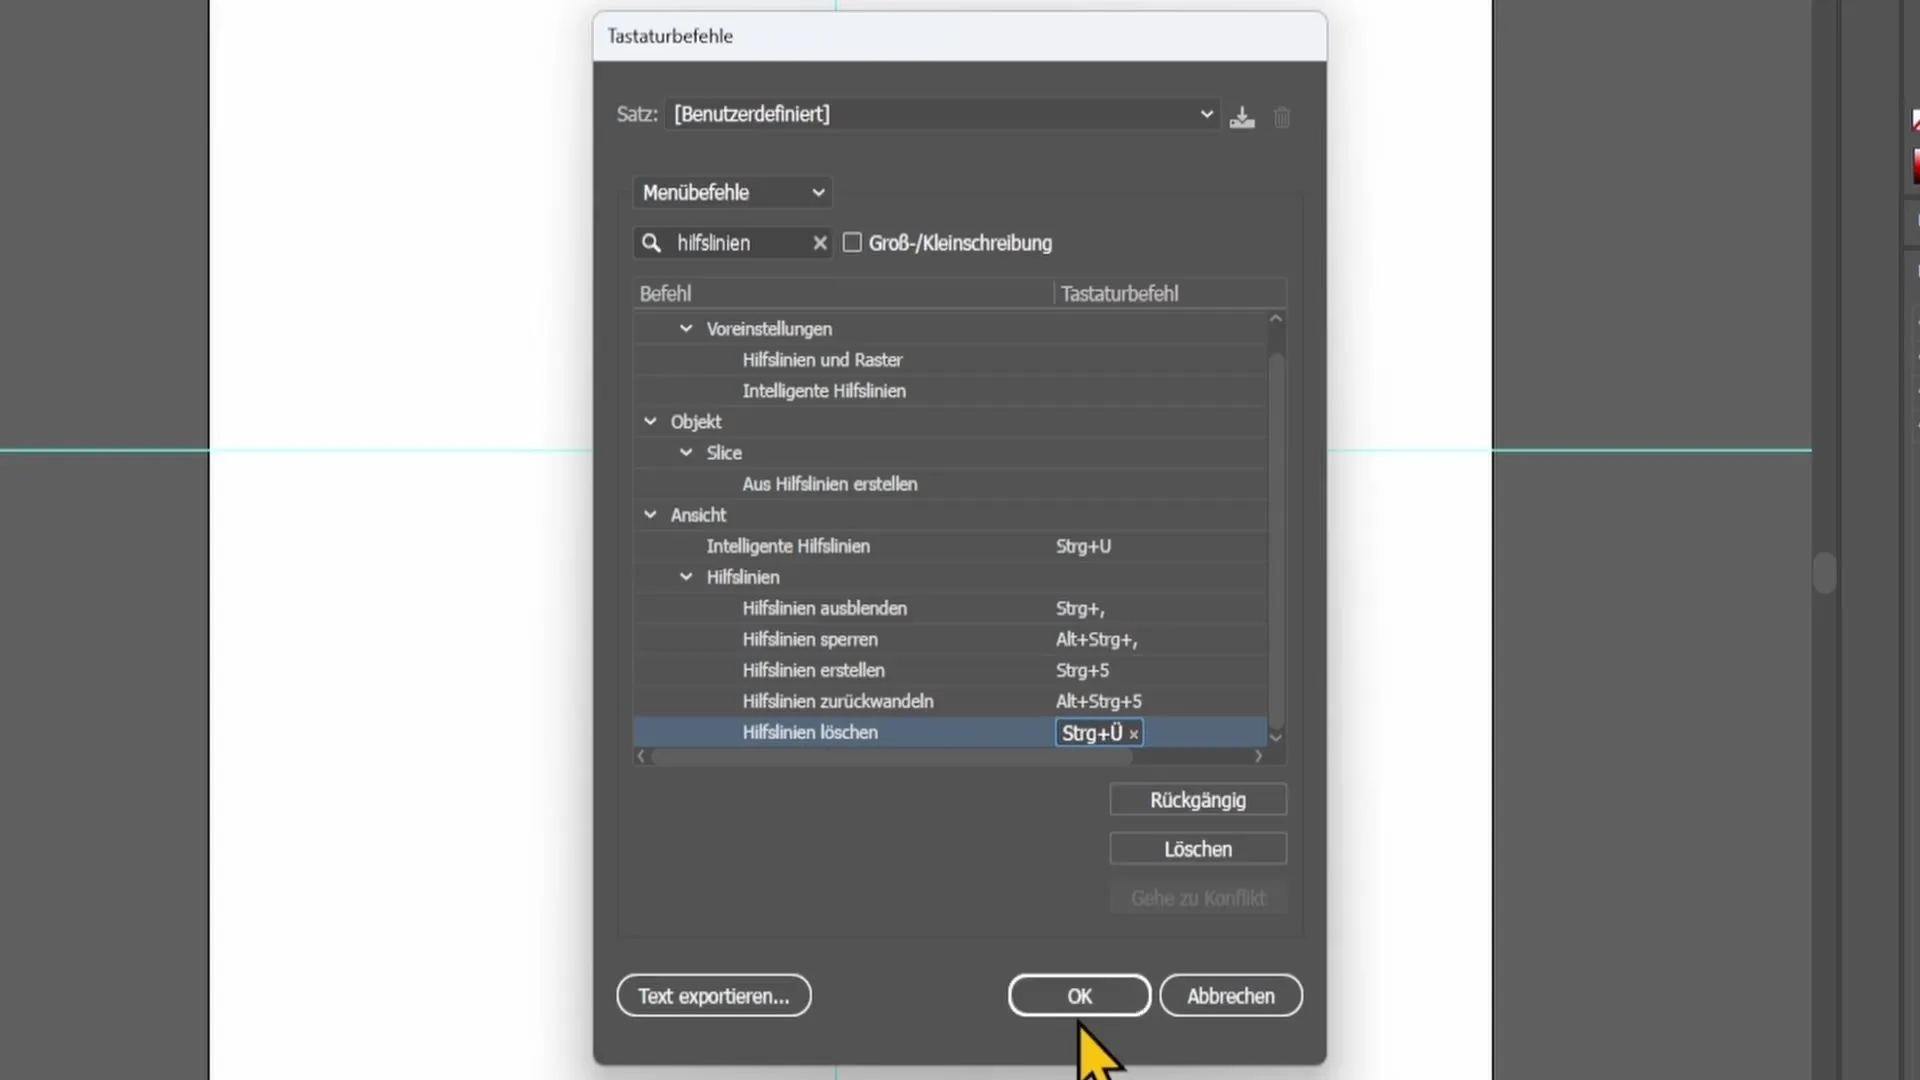
To delete guides, go back to View and select the Delete Guides option. Note that there is no shortcut for this. However, you can set up your own shortcuts if you use this function frequently.
To set a new shortcut for deleting guides, go to Edit and then to Keyboard Shortcuts. In the list of commands, find "Delete Guides." Click on it and set your desired keys, for example, "Ctrl + U". Click "OK" to save your new shortcut.
Another useful function is locking the guides. When you activate this, you cannot move a guide anymore. To do this, go back to the View menu to lock the guides.
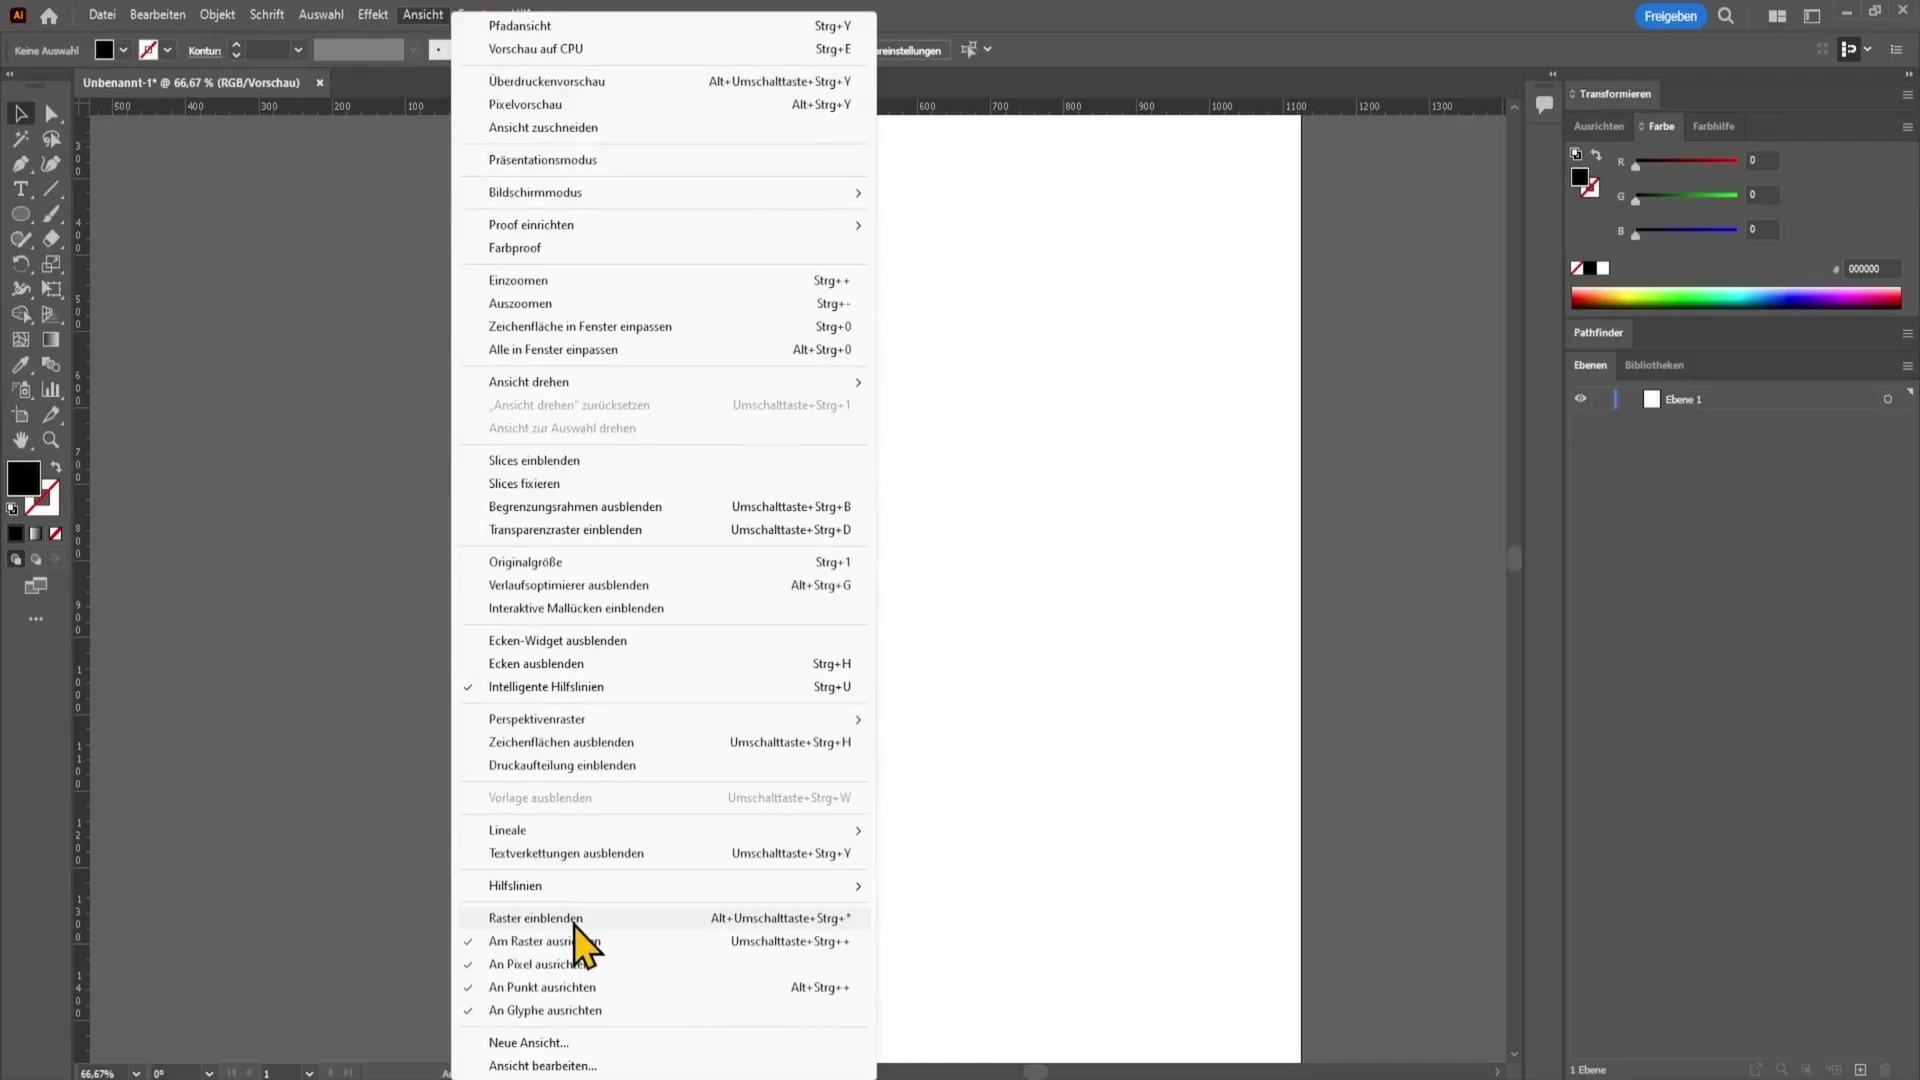
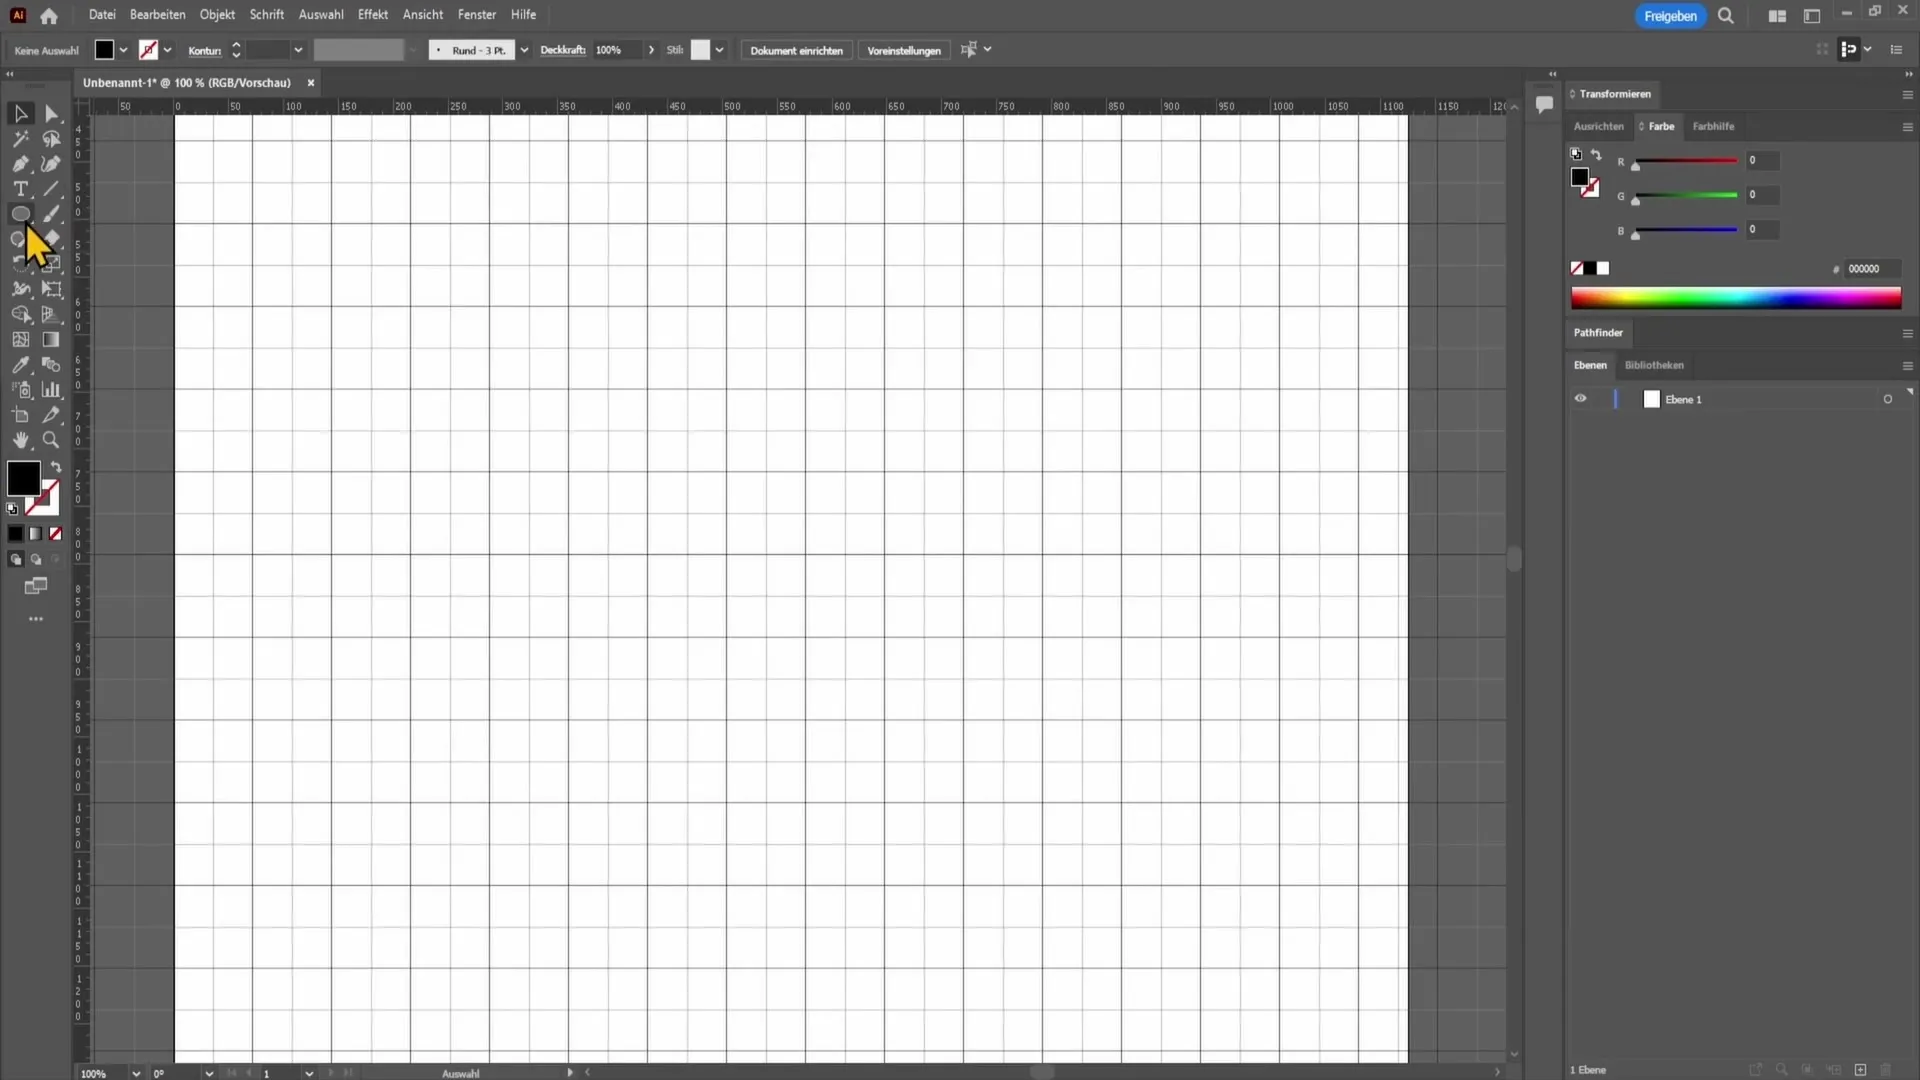
Now let's talk about grids. You can also activate grids through the View menu. The grids are displayed as light lines that help you align objects precisely.
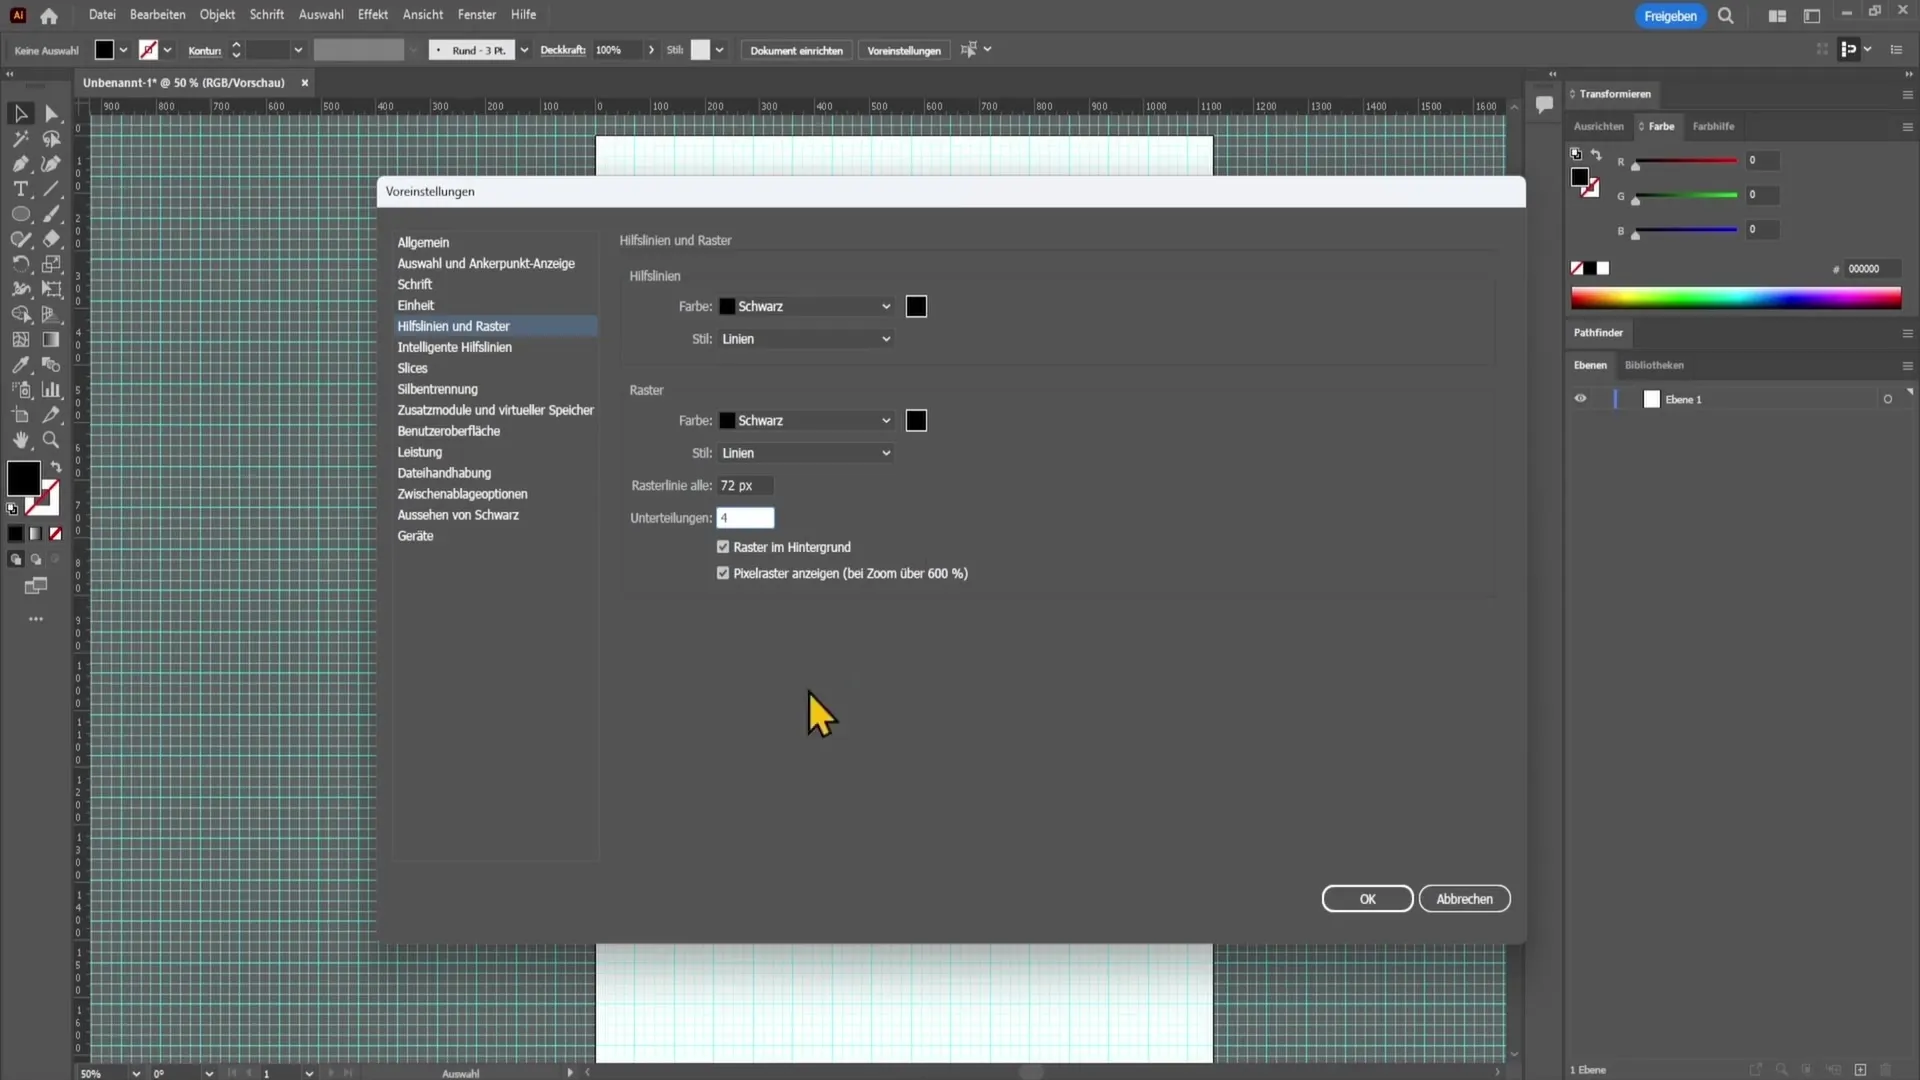
If the default grid color is not clearly visible, you can customize it. Go to Edit, then to Preferences, and select Guides and Grids. Here, you can adjust the grid color to make it stand out better from your background.
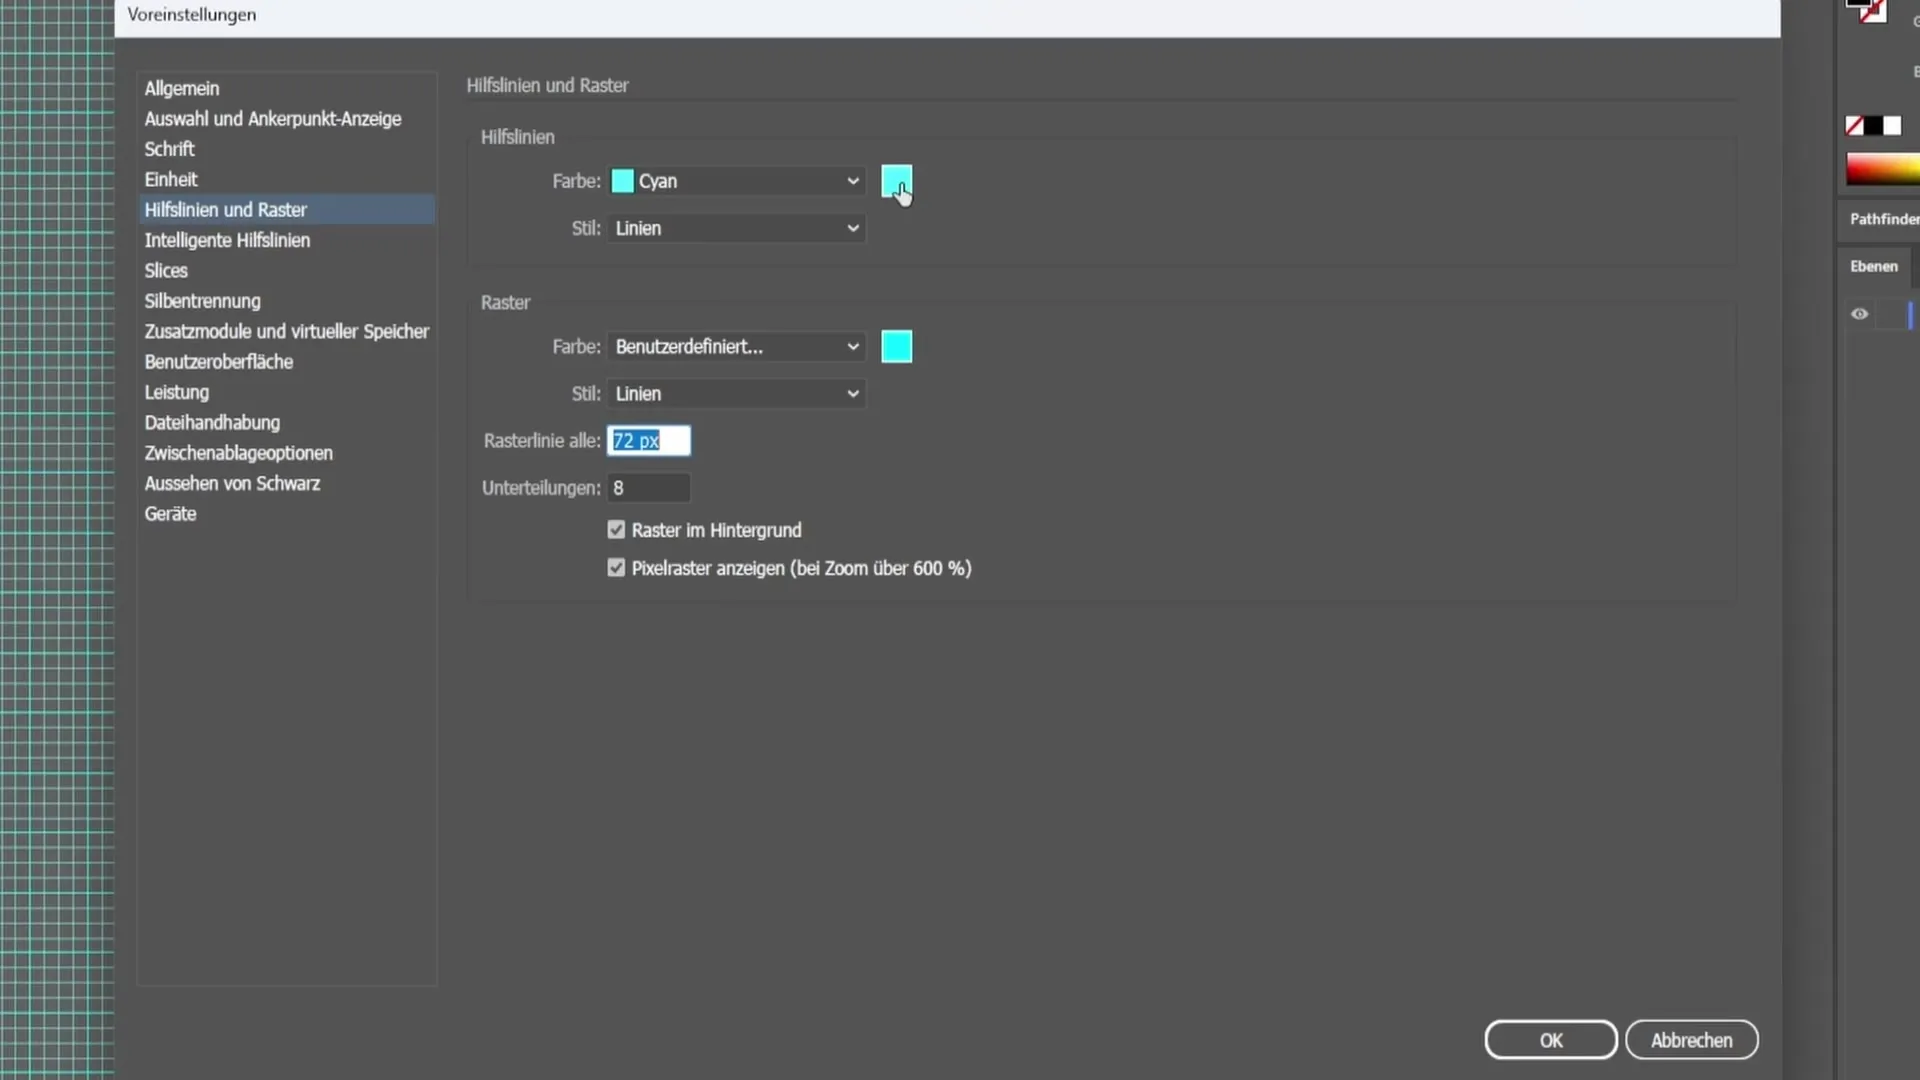
You also have the option to change the distribution of the grid lines. You can do this in the Preferences under Guides and Grids. Experiment with different values to find the best grid distribution for your project.
You can activate the snap-to-grid option to perfectly align your shapes to the grid. This feature is especially useful when creating more complex designs.
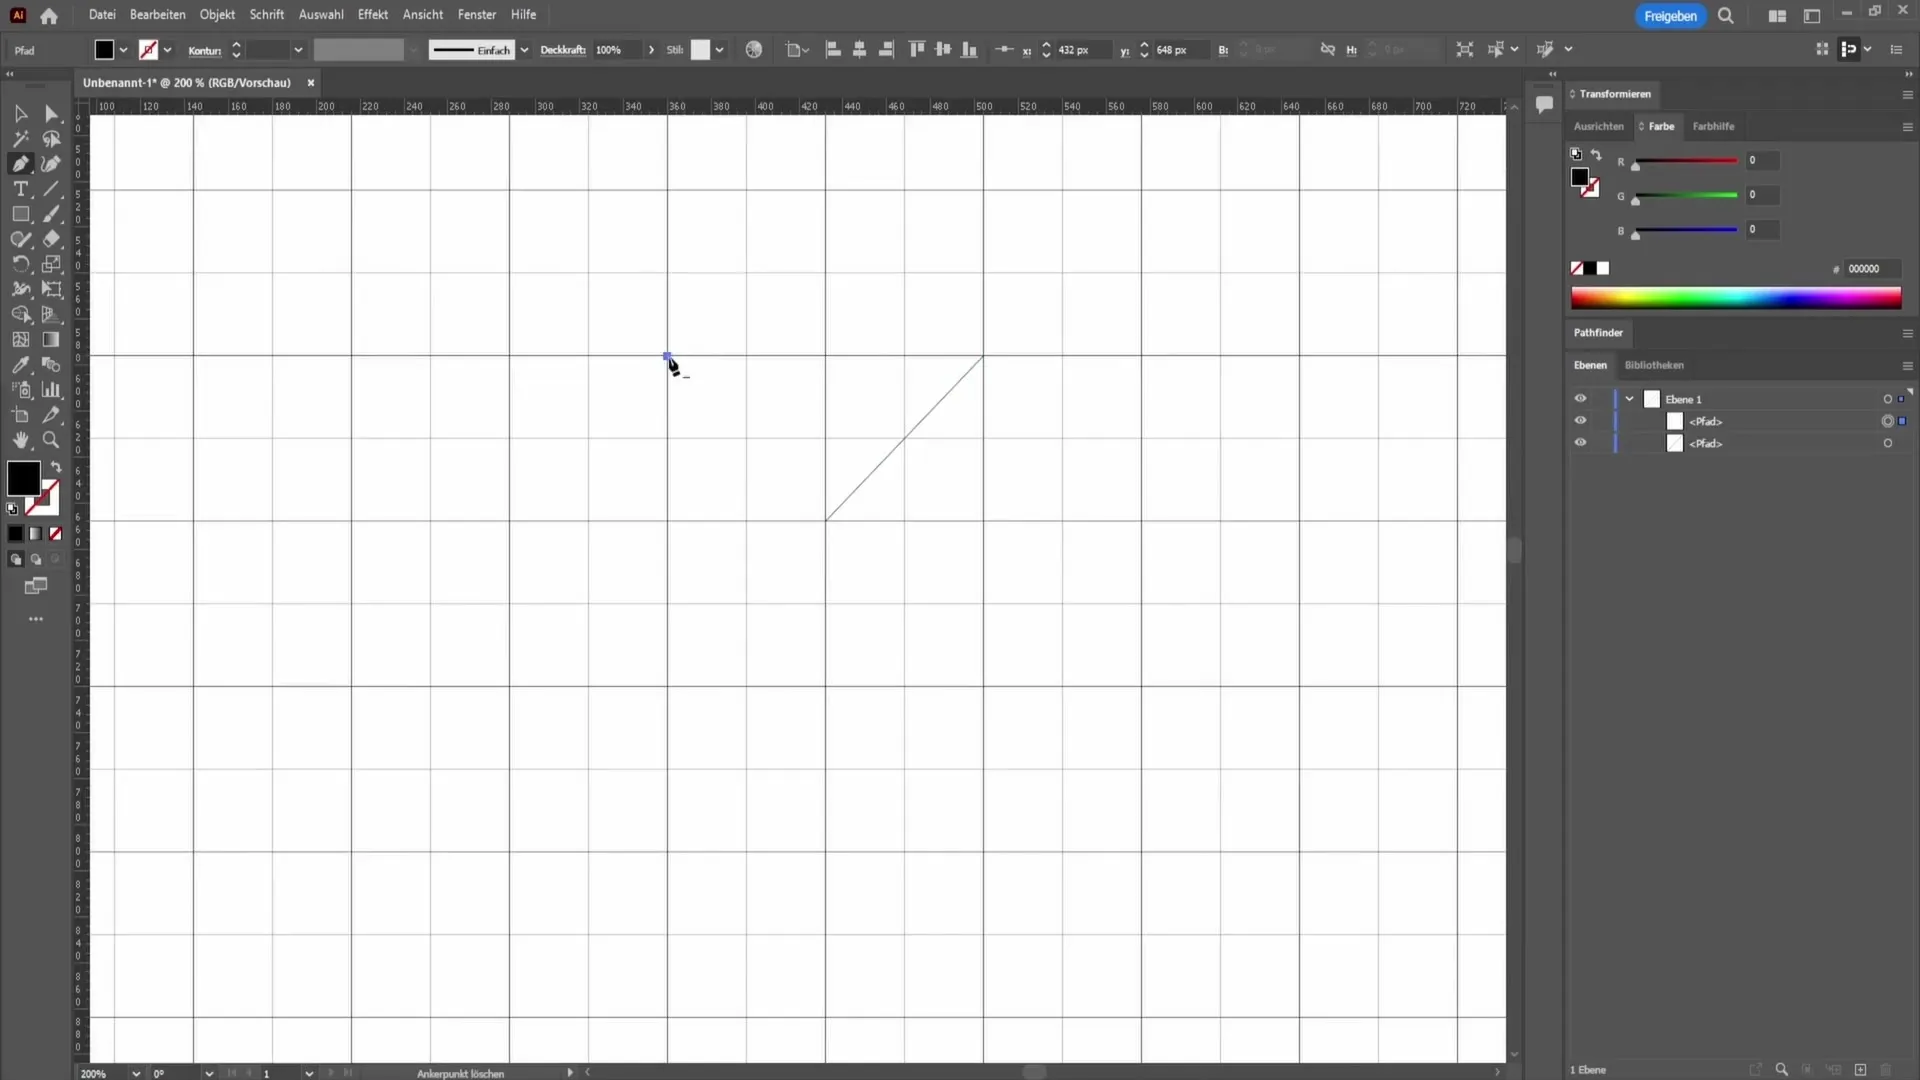
You can also work from point to point with the pen tool and use the grid for alignment. This makes it easier for you to create precise polygon designs, for example, by using typical shapes like triangles to represent complex designs.
Summary
In this tutorial, you have learned how to effectively use guides and grids in Adobe Illustrator. This significantly simplifies your design process from activation to customization to shortcuts.
Frequently Asked Questions
How do you show guides in Illustrator?You can activate guides by showing the ruler and dragging guides from the rulers with the left mouse button.
Is there a shortcut to hide guides?Yes, you can hide the guides using the shortcut "Ctrl + ,".
How can I change the grid color?Change the grid color in the preferences under "Guides & Grids".
Can I create my own shortcuts in Illustrator?Yes, you can set your own shortcuts under "Edit" → "Keyboard Shortcuts".
What does activating the grid show me?The grid shows you a series of lines that help align objects in your design precisely.


