In this tutorial, I will show you how to create realistic shadows in Adobe Illustrator. Whether it's for a sword, text, or a simple shape, the following steps will help you create an impressive drop shadow. By using the right colors and effects, you can give your designs more depth and make them look more professional.
Key Takeaways Creating realistic shadows in Adobe Illustrator is a simple yet effective technique. You will learn how to create and adjust shadows for different objects, such as shapes and text.
Step-by-Step Guide
Step 1: Select and Copy Layer
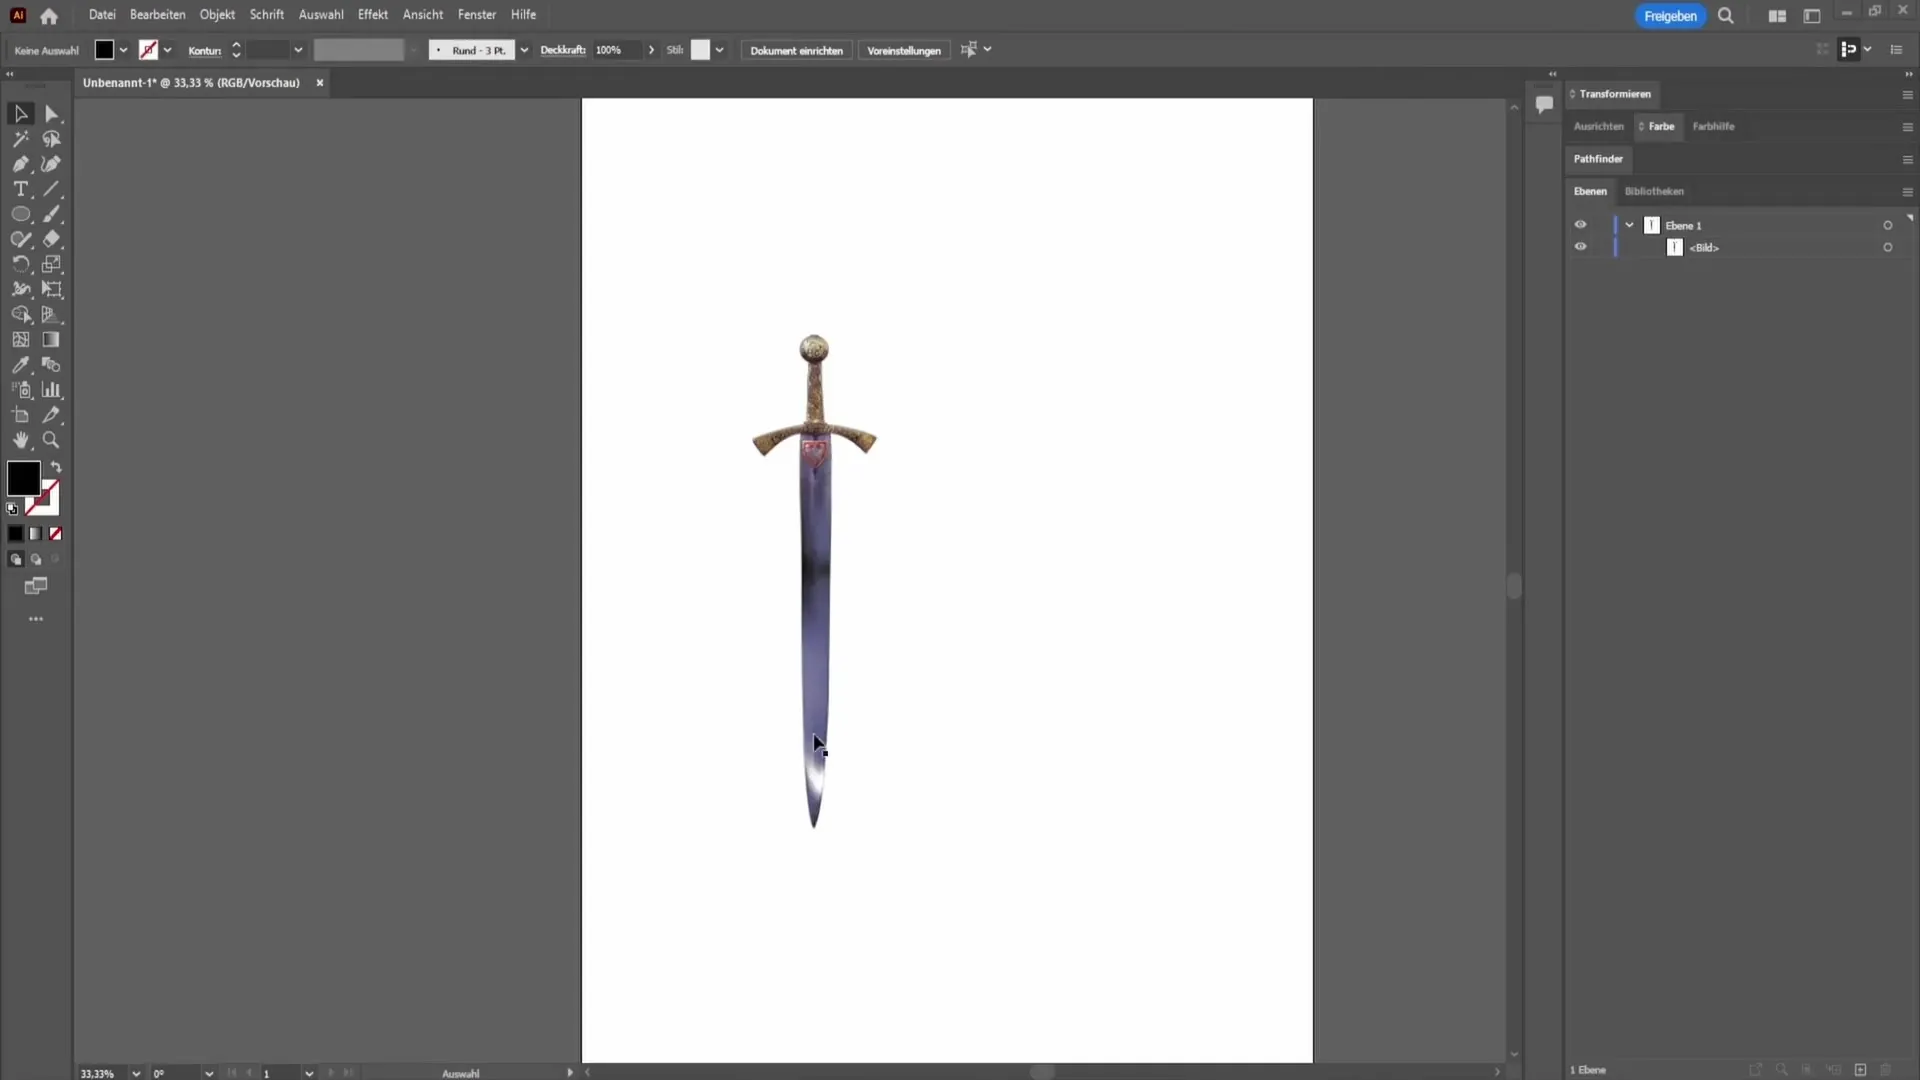
Start by selecting the layer where the object you want to add a shadow to is located. In this example, we will use a sword. Select the layer on the right side and then go to "Edit" and click on "Edit Colors".
Step 2: Adjust Color Balance
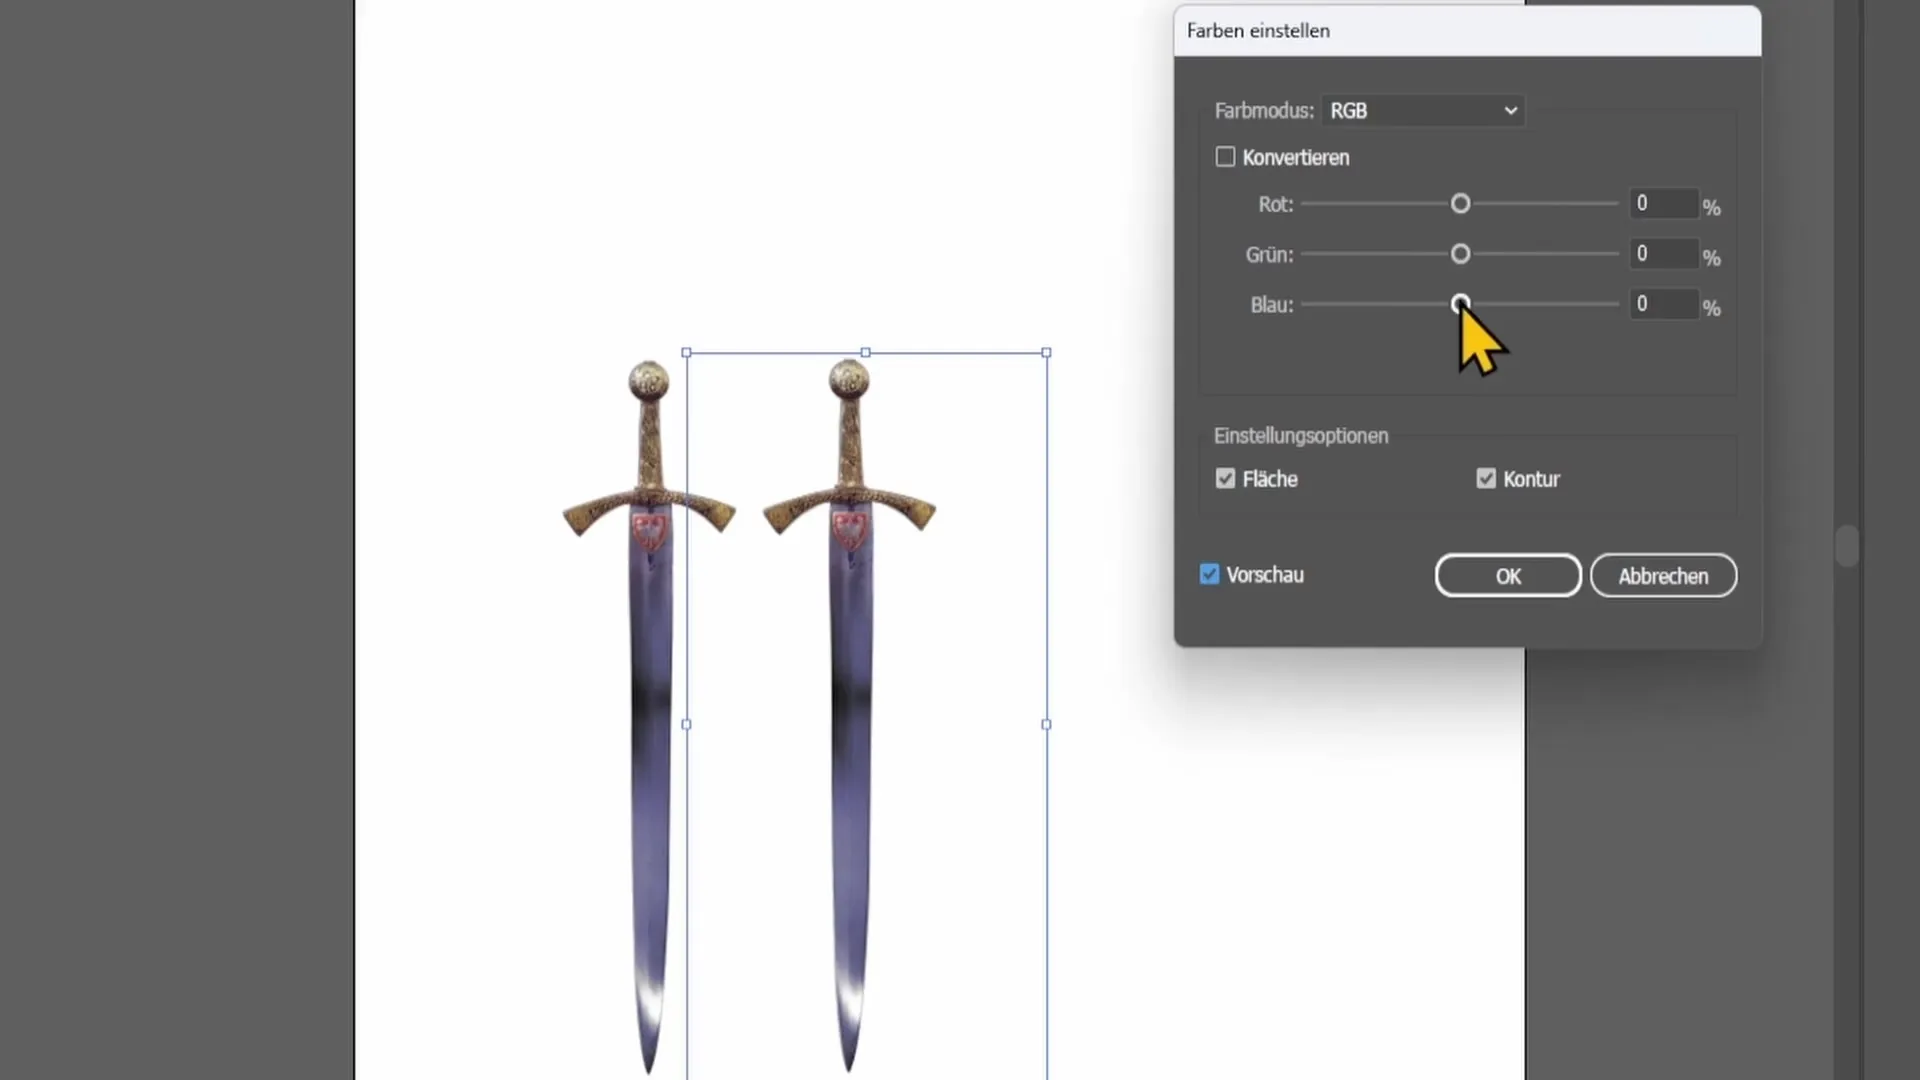
Now, activate the preview in the color options. You will see three sliders for Red, Green, and Blue. Move the Red and Green sliders down to -100. This will reduce the image to a blue tonality. To get completely black, drag all sliders to -100% to create an all-black image. Confirm this by clicking "OK".
Step 3: Adjust Opacity
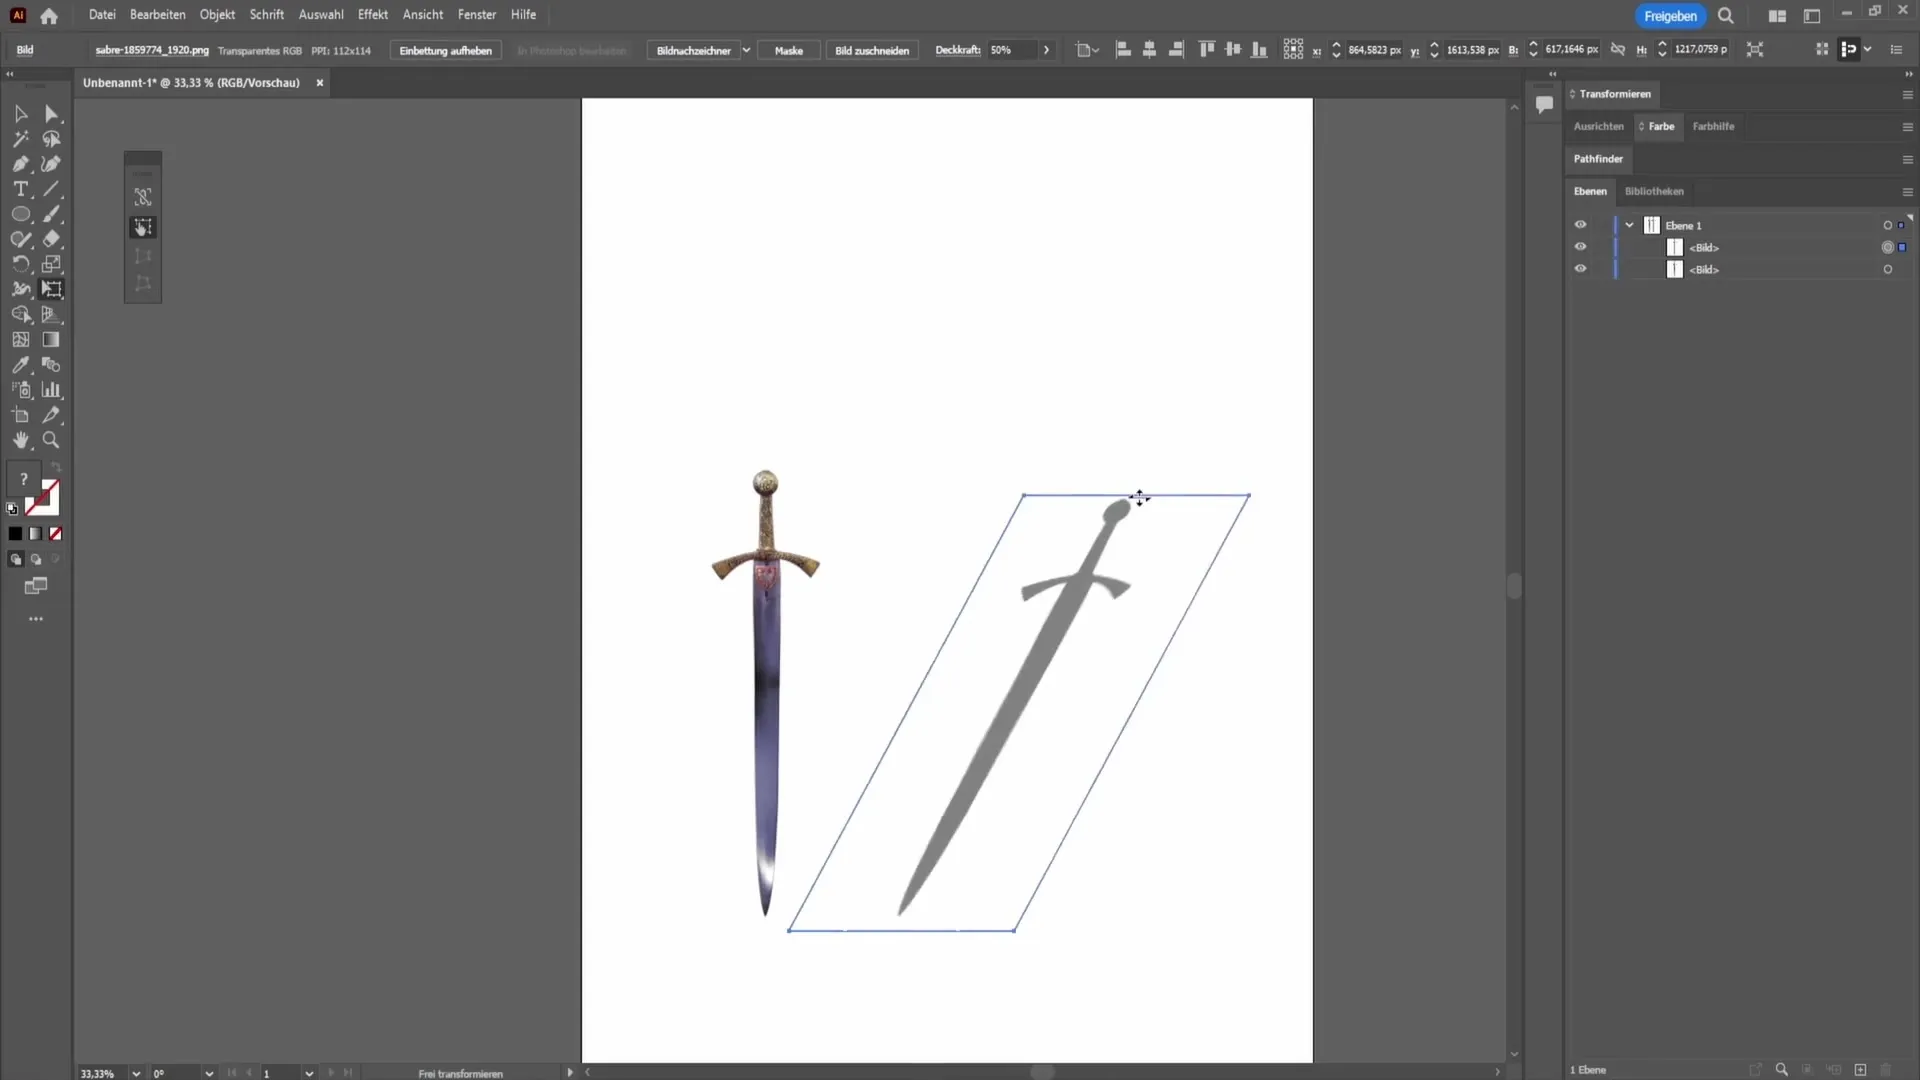
After adjusting the color balance, you need to reduce the opacity of the layer. Set the opacity to 50% and press Enter to confirm the changes. You will see that a realistic shadow has now been created.
Step 4: Transform Shadow
Now that the shadow has been created, you need to position it correctly. Select the Transform tool on the left side. This will allow you to align the shadow to match the sword. Make sure the tip of the sword aligns with the shadow; this will create a realistic effect.
Step 5: Add Drop Shadow to Text or Shapes
Now, I will show you how easy it is to add a drop shadow to text or a shape. Simply write text in your document and go to "Effects" at the top, then select "Stylize" filter to choose the drop shadow.

Step 6: Adjust Drop Shadow
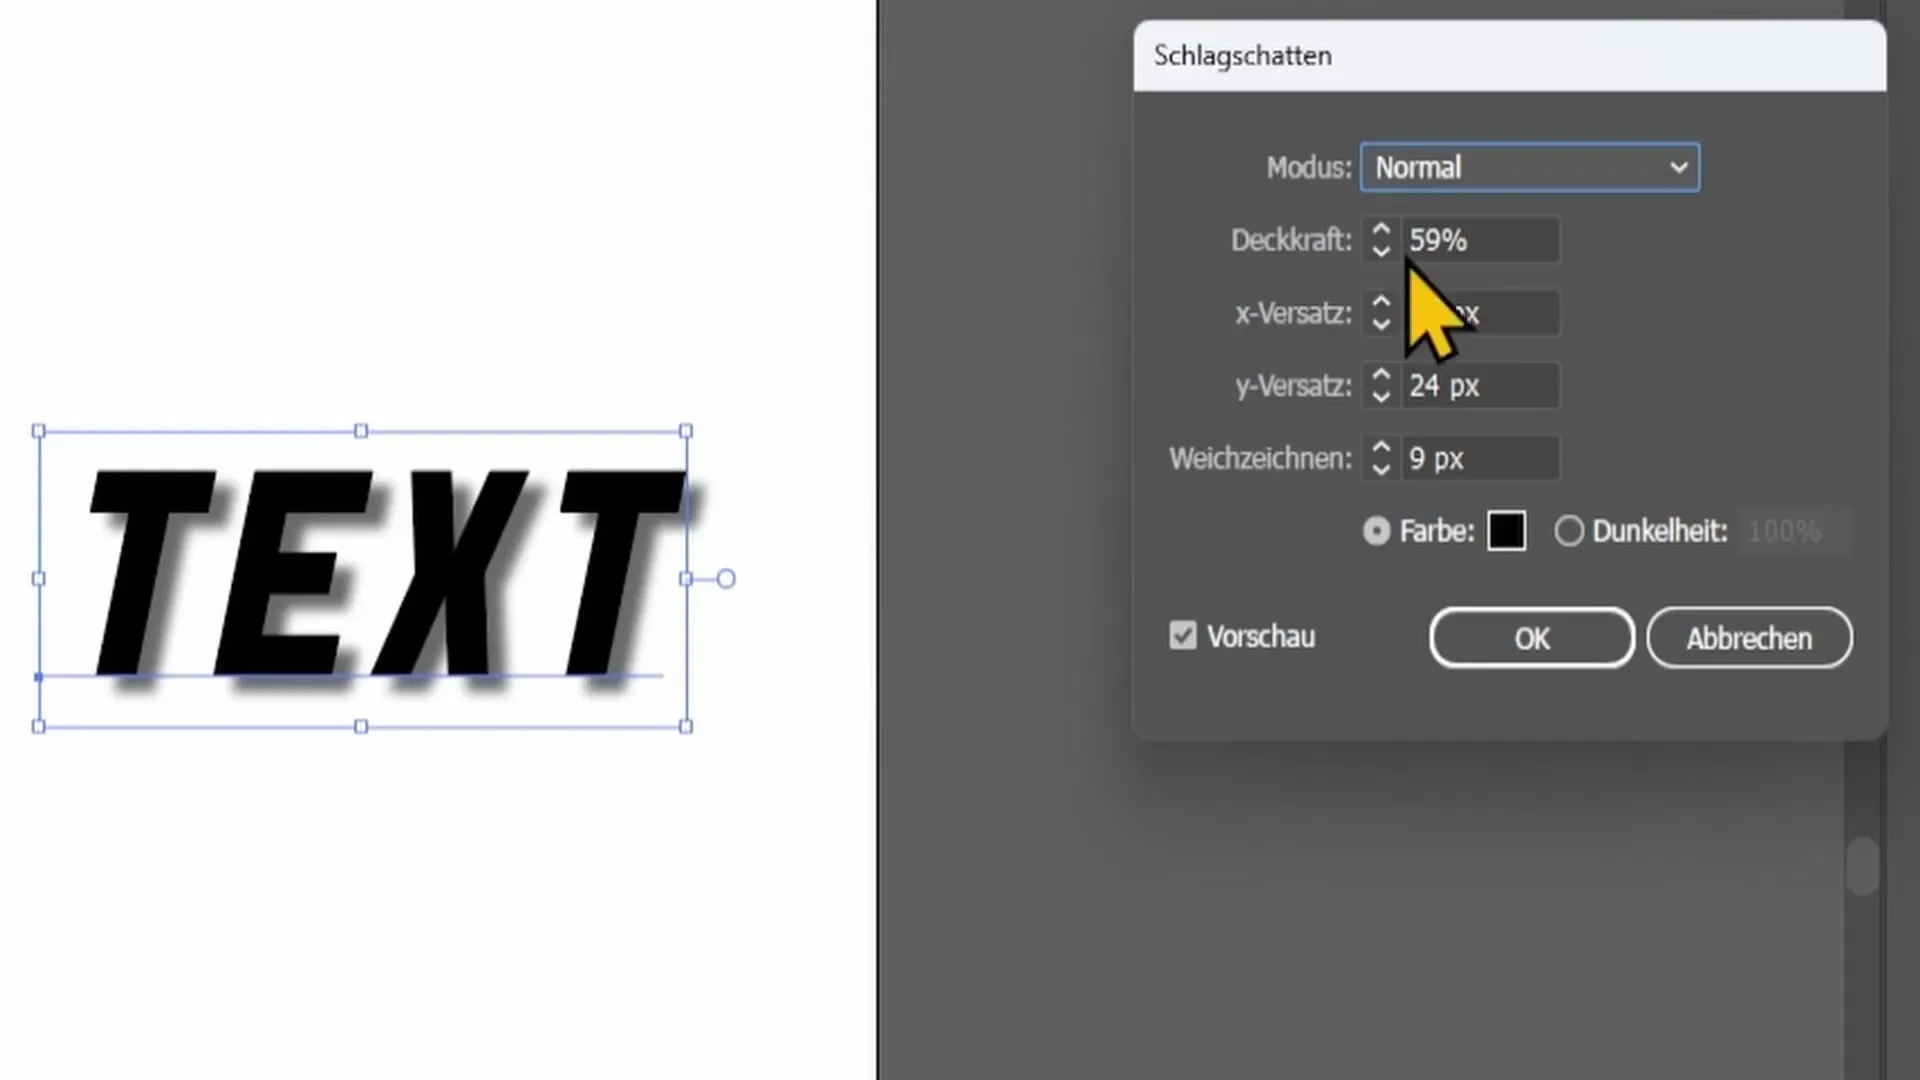
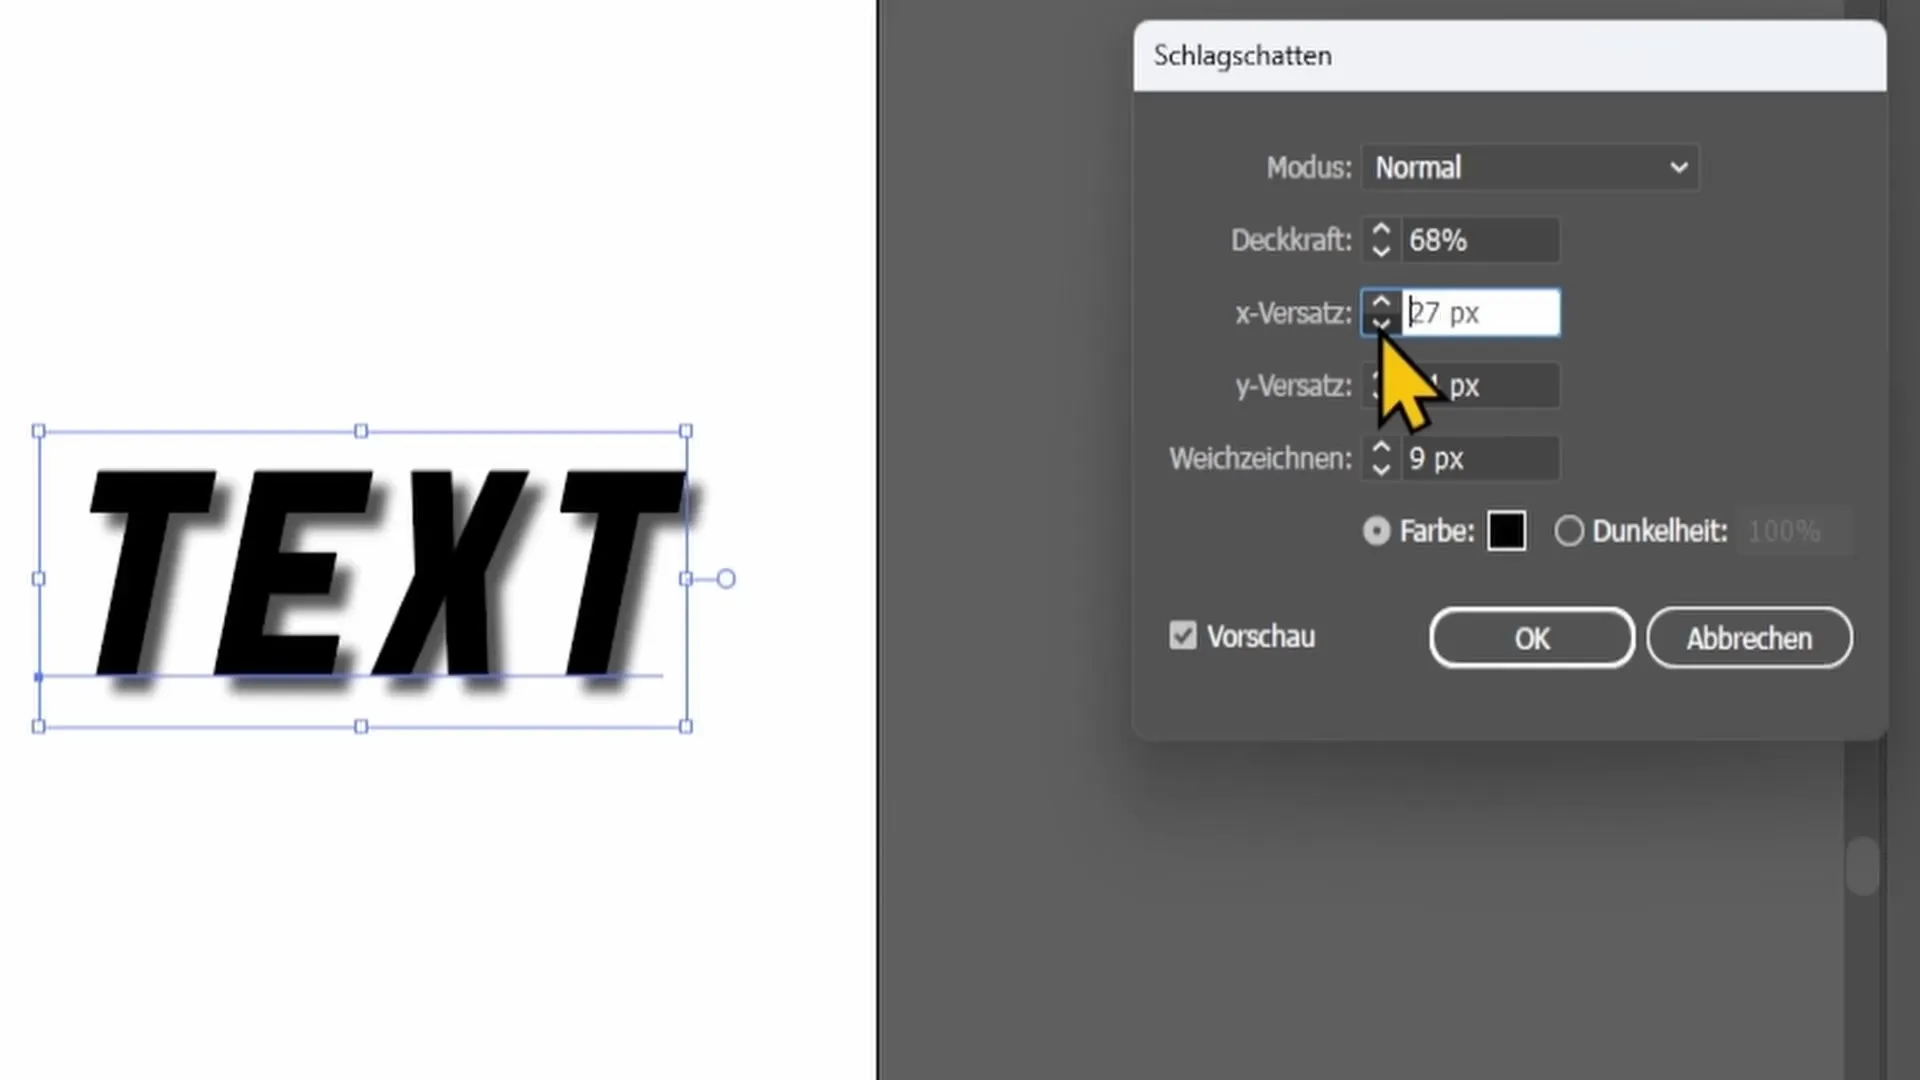
In the following menu, you can make various adjustments. Through the mode, you can select how the shadow interacts with the layers below. Usually, this remains on "normal". You can adjust the opacity of the shadow to make it appear more transparent.
Step 7: Offset and Blur
The X and Y Offset allows you to move the shadow horizontally and vertically. Experiment with these values to bring the shadow to the desired position. Additionally, you can adjust the blur value to make the shadow softer and more natural. A value of six to seven is a good starting point.
Step 8: Select Shadow Color
In addition, you have the option to adjust the color of the shadow. I recommend continuing to use black to achieve a classic shadow. Click "OK," and you have added the drop shadow.
Step 9: Add Drop Shadow to Shapes
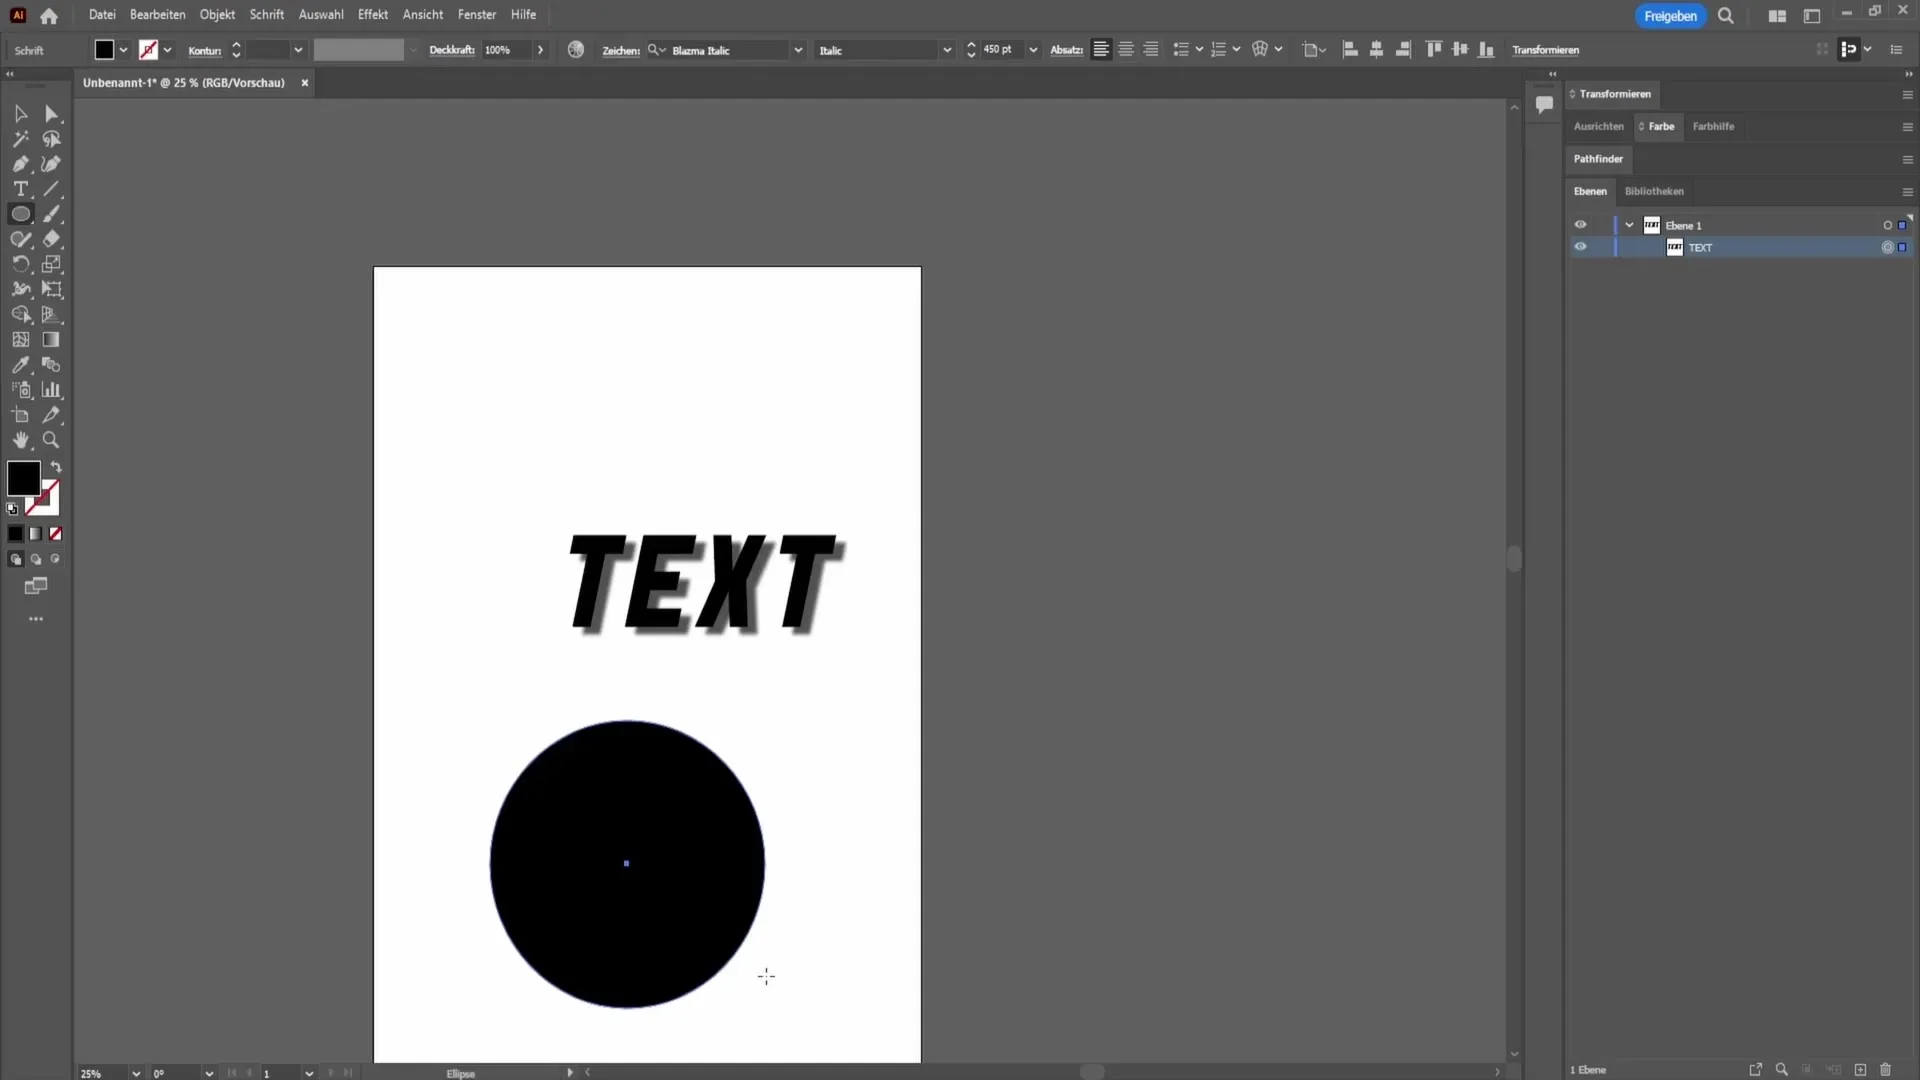
You can also apply this technique to shapes. Select the Ellipse tool on the left side and draw a circle. Add the drop shadow through "Effects" and "Stylize" filter, just like with text.
Summary
In this tutorial, you have learned how to create realistic shadows for objects in Adobe Illustrator, whether for complex shapes like a sword or simple texts. By adjusting color balance, opacity, and position, you can greatly enhance the impact of your designs.
Frequently Asked Questions
How do I add a shadow to a text object?You can add a shadow to a text object by selecting the text, going to the "Effects" menu, and selecting "Stylize" filters to apply the drop shadow.
How do I adjust the shadow for an object?You can adjust the shadow using the transformation tool and use the X and Y offset to change the shadow's position.
Can I change the color of the shadow?Yes, you can adjust the color of the shadow by changing the shadow color in the drop shadow settings.


