In this tutorial, I will show you how to underline text in Adobe Illustrator. Underlining text is a common method to highlight plain text or make it visually more appealing. Of course, there are various ways to accomplish this. I will explain to you step by step how you can easily do this.
Key Insights
- You can use the Line Segment tool to draw a line under the text.
- It is essential to choose the right stroke color and weight.
- You can use the Eraser tool to remove parts of the line to achieve an appealing design.
Step-by-Step Guide
To underline text in Adobe Illustrator, follow these steps:
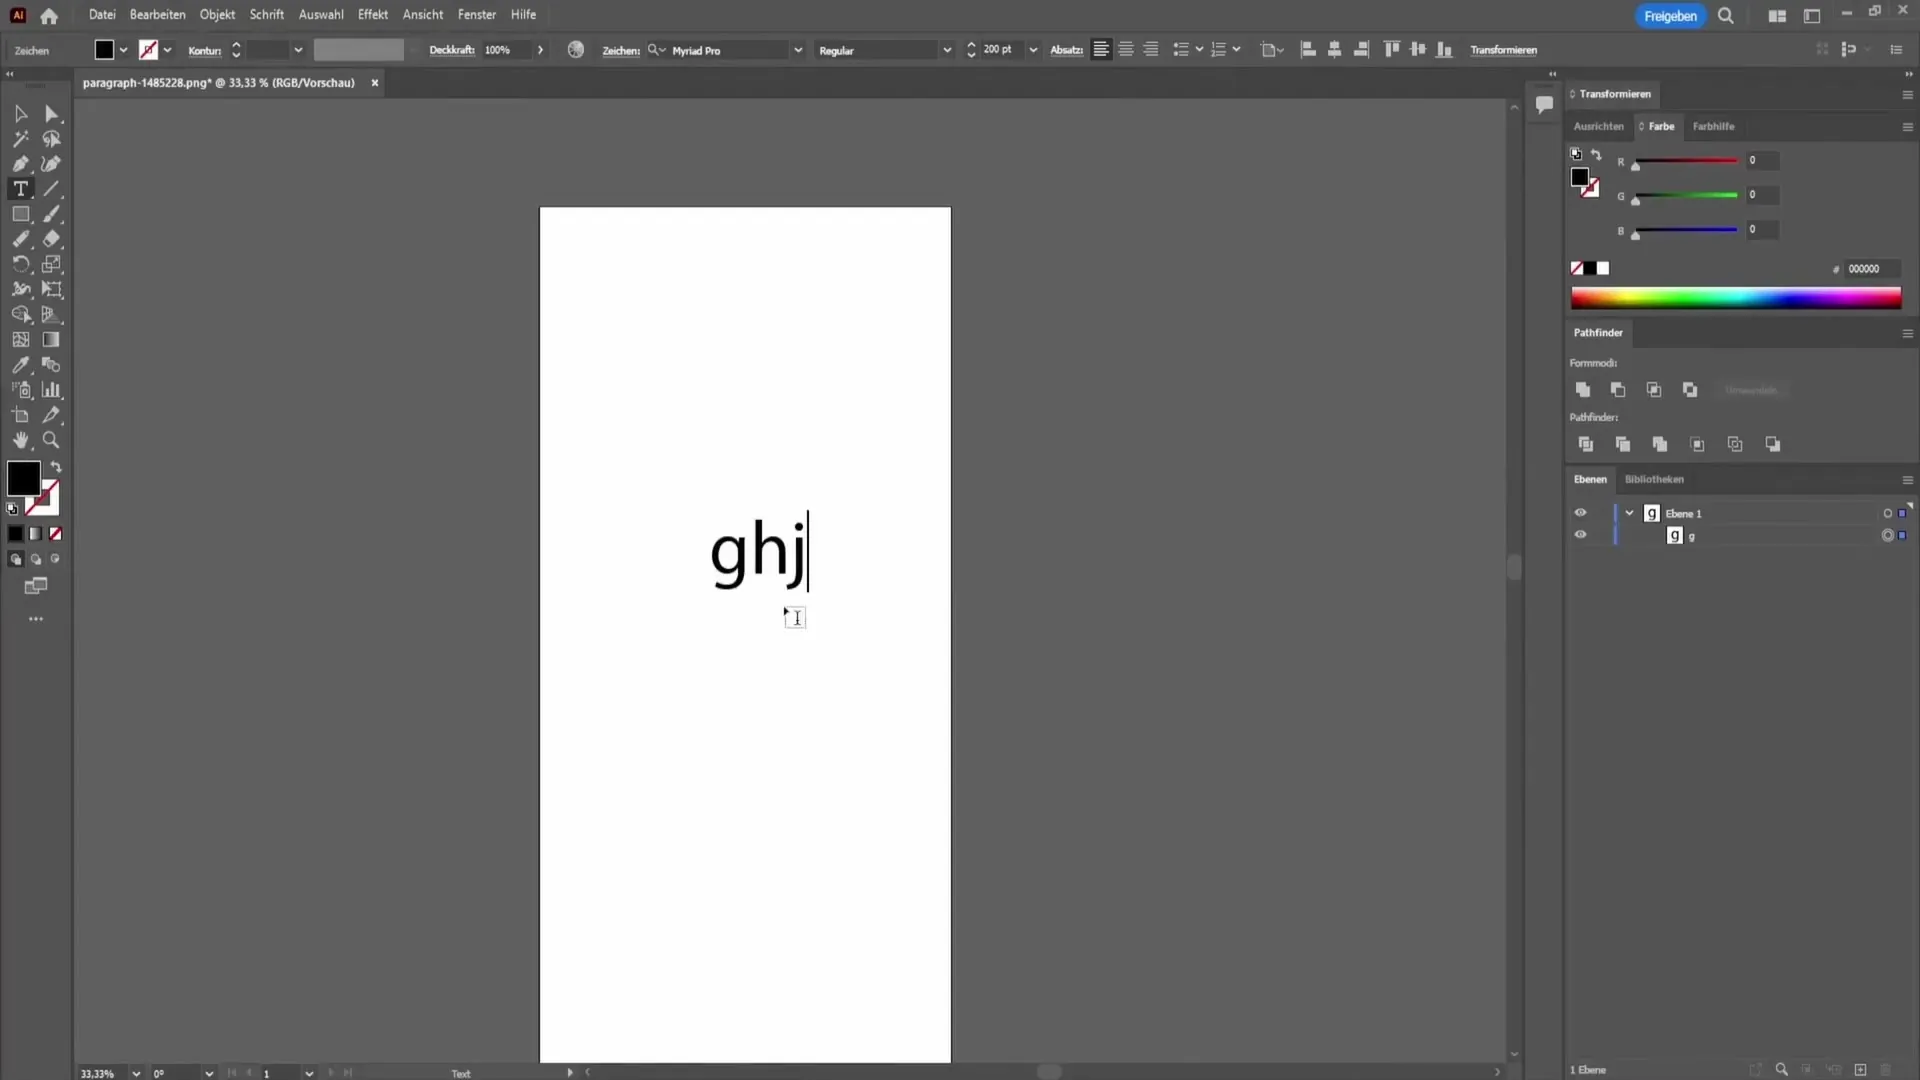
First, you need to create a text. Open Adobe Illustrator and select the text tool. Write your desired text in a text box. For example, you can simply enter "Here is my text." To make the text larger, for example, to 600 points, select the text and change its font size. Once you have completed this step, you should see your text in the desired size.
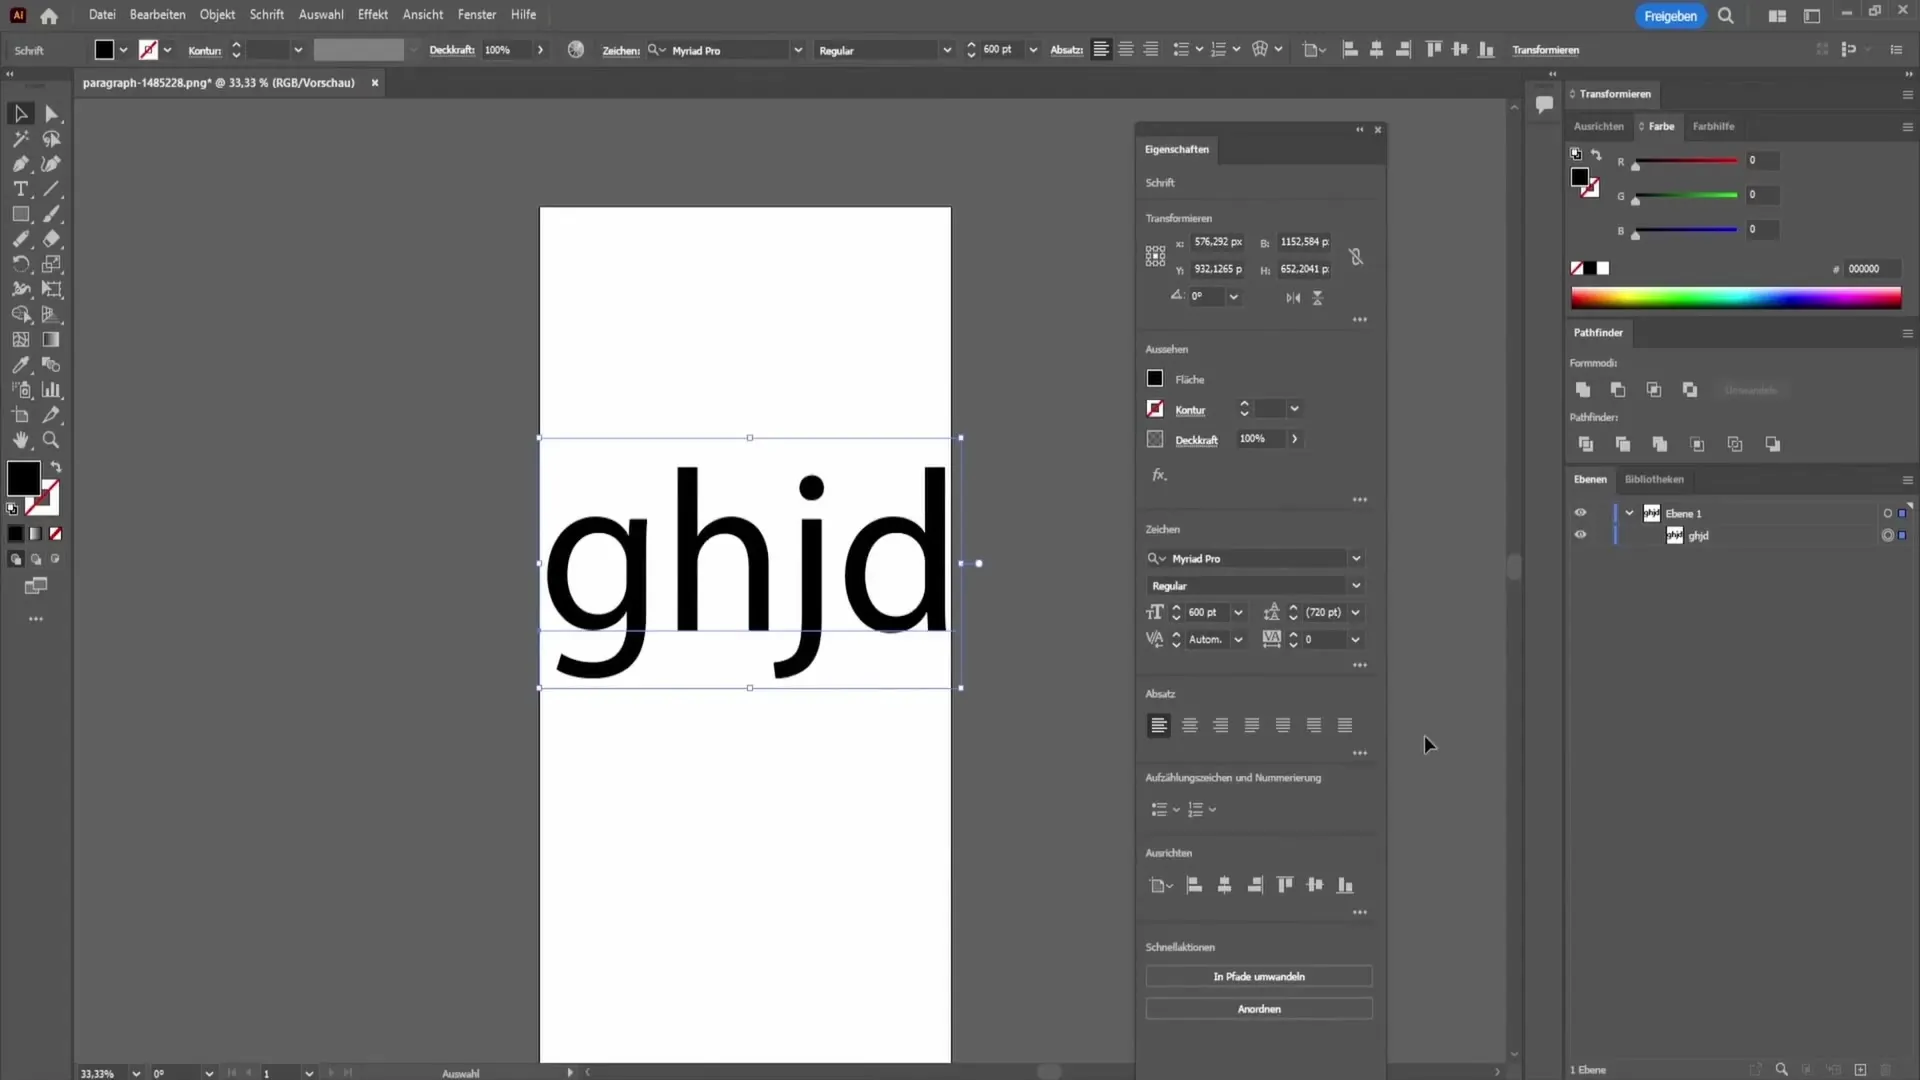
Now, let's take a look at the Properties panel. This is where you can adjust various attributes of your text. You will notice that there is no direct option to underline the text in the Properties panel. This is the moment where we need to get creative and resort to an alternative method.
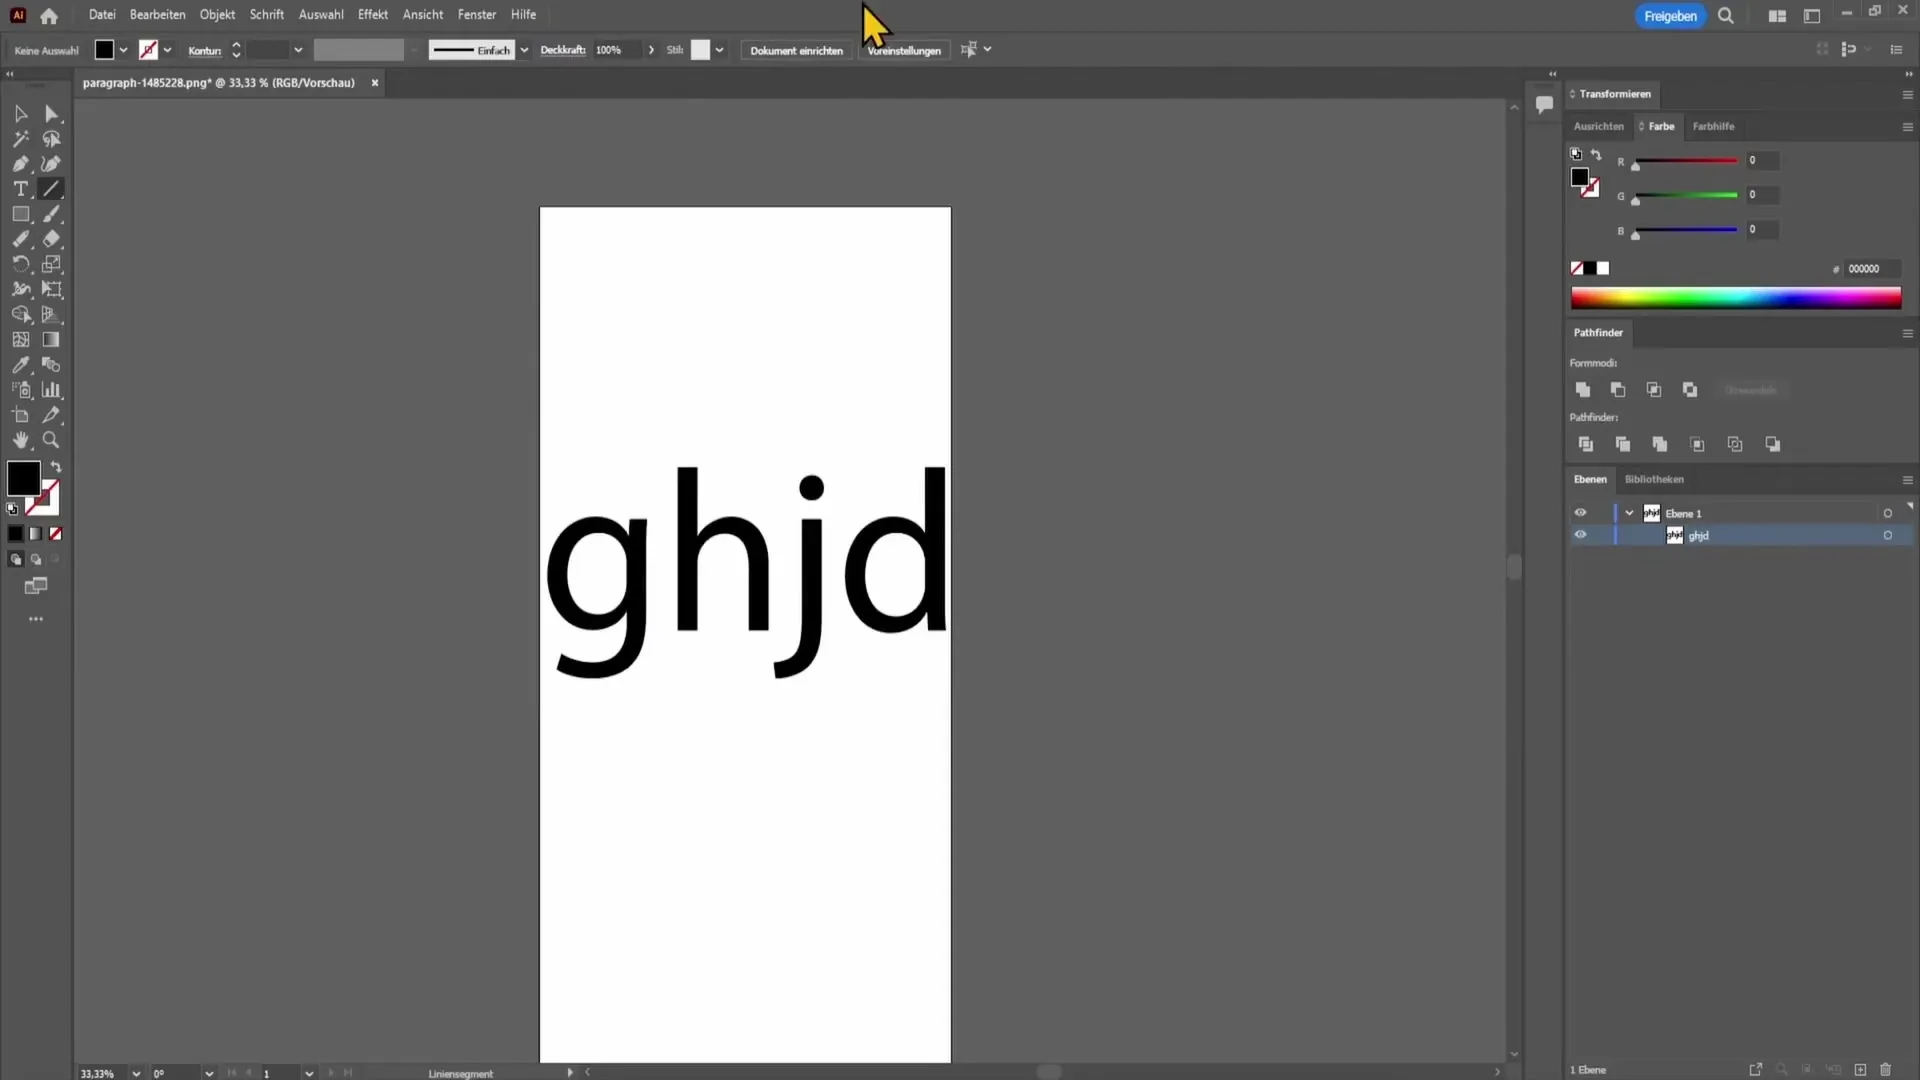
To underline the text, we will use the Line Segment tool. You can find this tool in the toolbar on the left side. Select it and hold down the Shift key while drawing a straight line under your text with the mouse. This will help you create a precise horizontal line that functions as an underline.
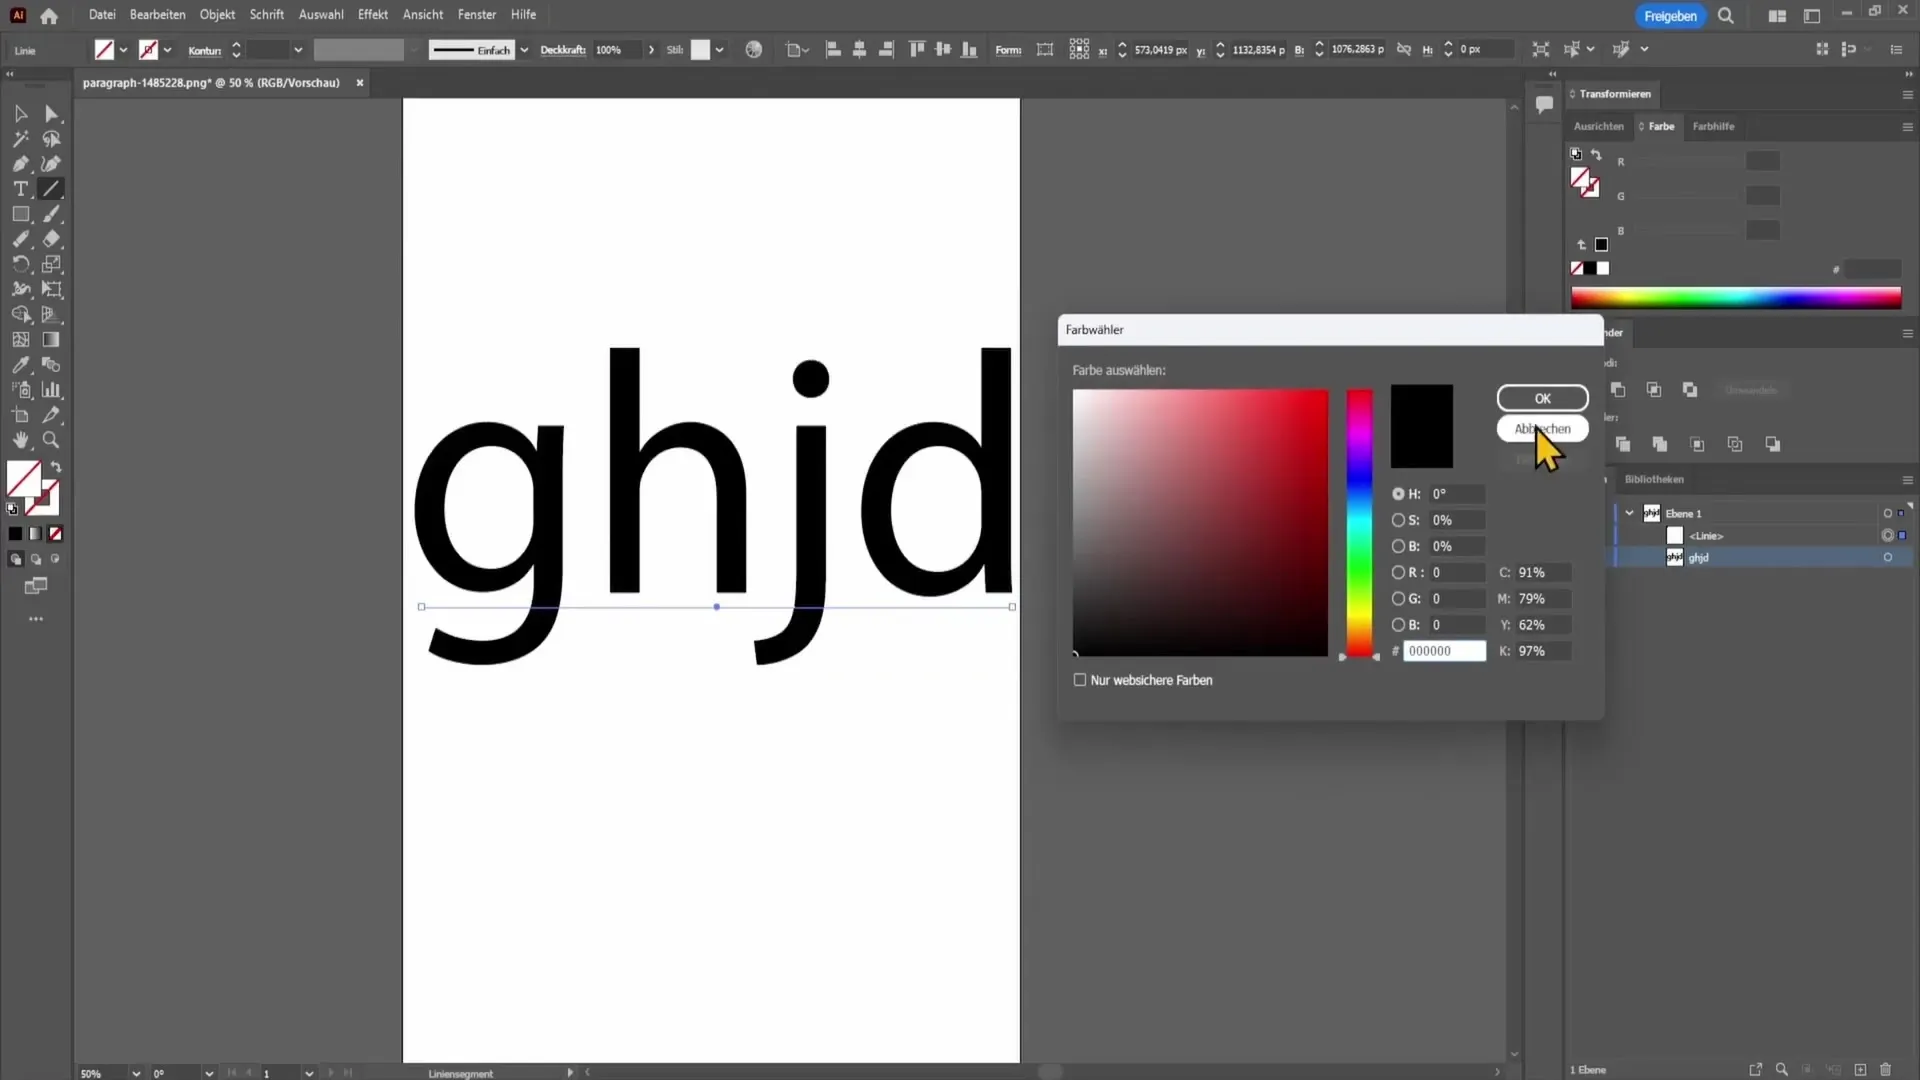
Once you have drawn the line, it may appear in a default color. You will notice that the line has no color or may not have the desired properties. To change this, focus on the stroke color in the toolbar. Choose a color that matches your text, for example, black. Click on the stroke settings and select an appropriate color.
Now you will want to adjust the stroke weight to ensure the line is clearly visible. Click again on the stroke option and set the line weight accordingly. A weight of 14 points may look good, but you can also increase it to 30 points depending on how prominent you want the underline to be.
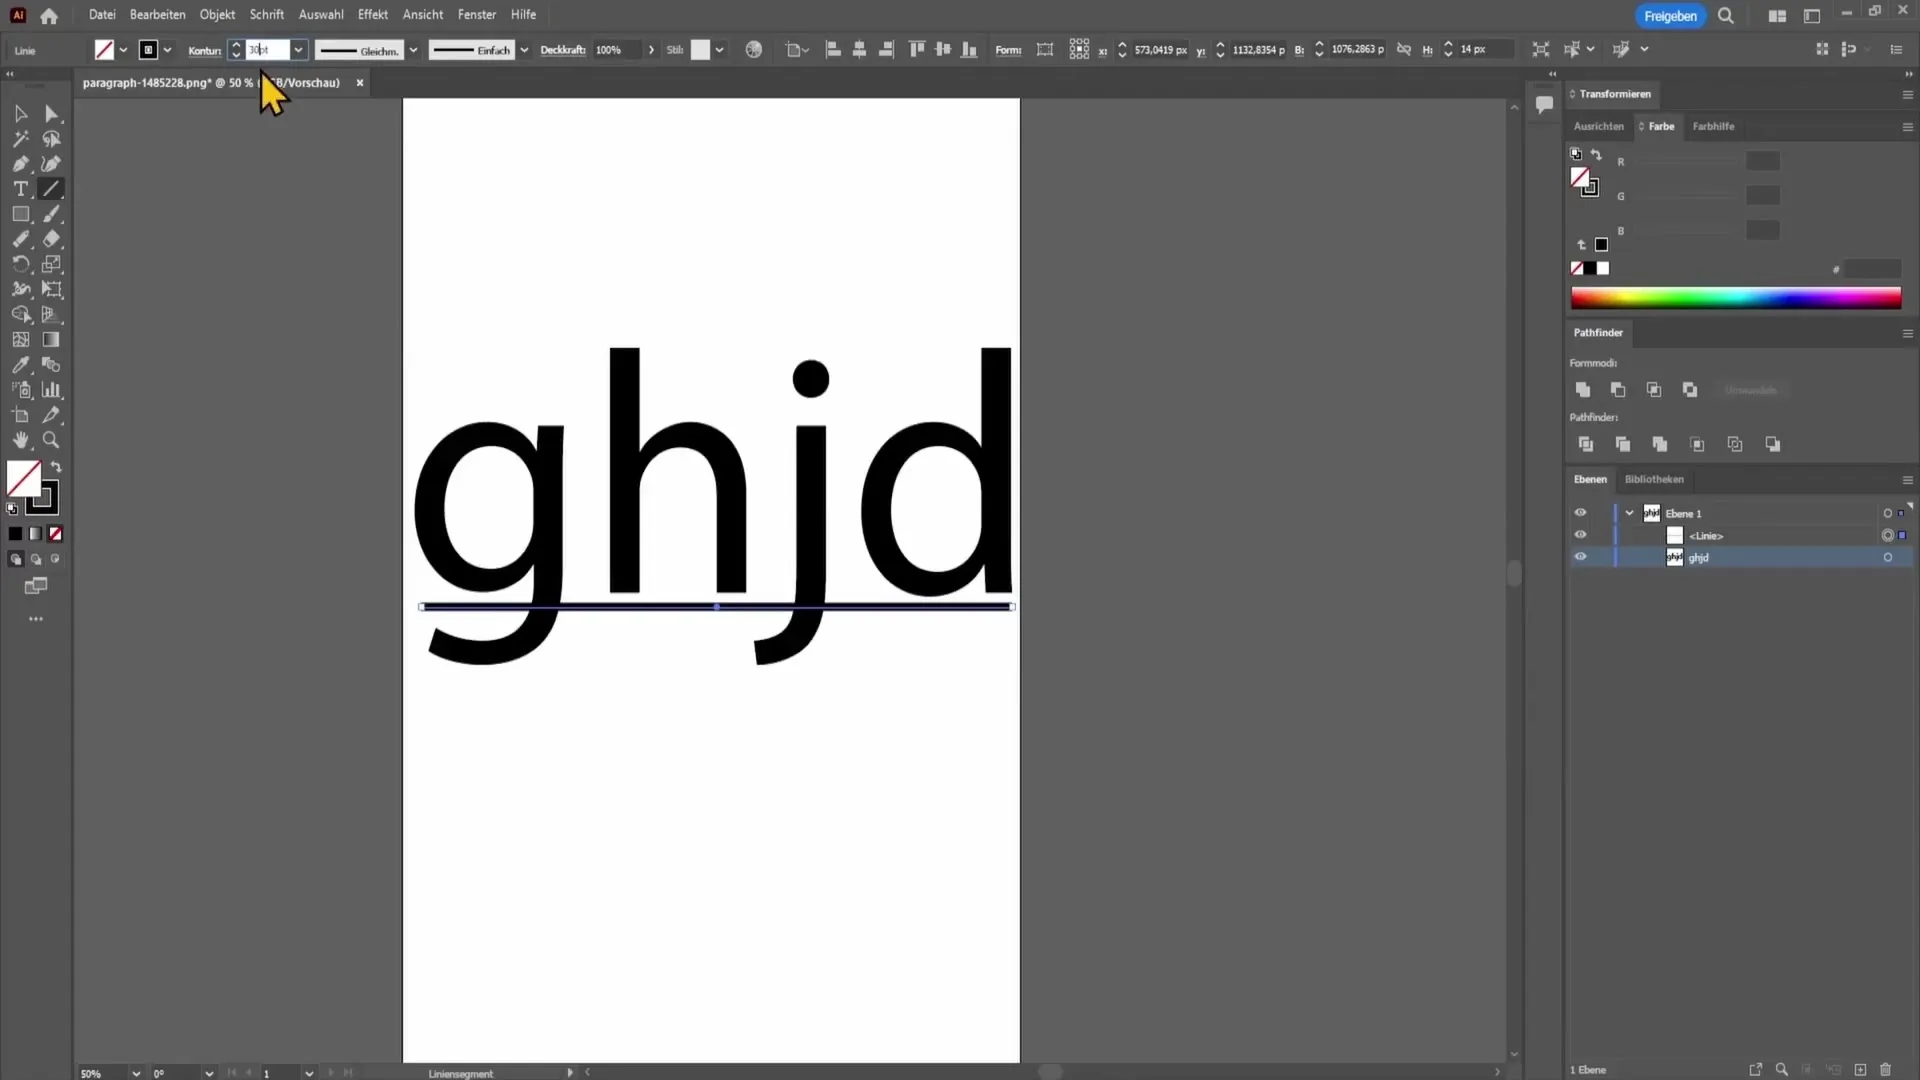
Now you have successfully placed the line under your text. You may feel that some letters like "G" or "J" are protruding beyond the line. If you prefer to have the line directly below the letters, you can work with the Eraser tool. You can find this tool in the group of pencils on the left toolbar.
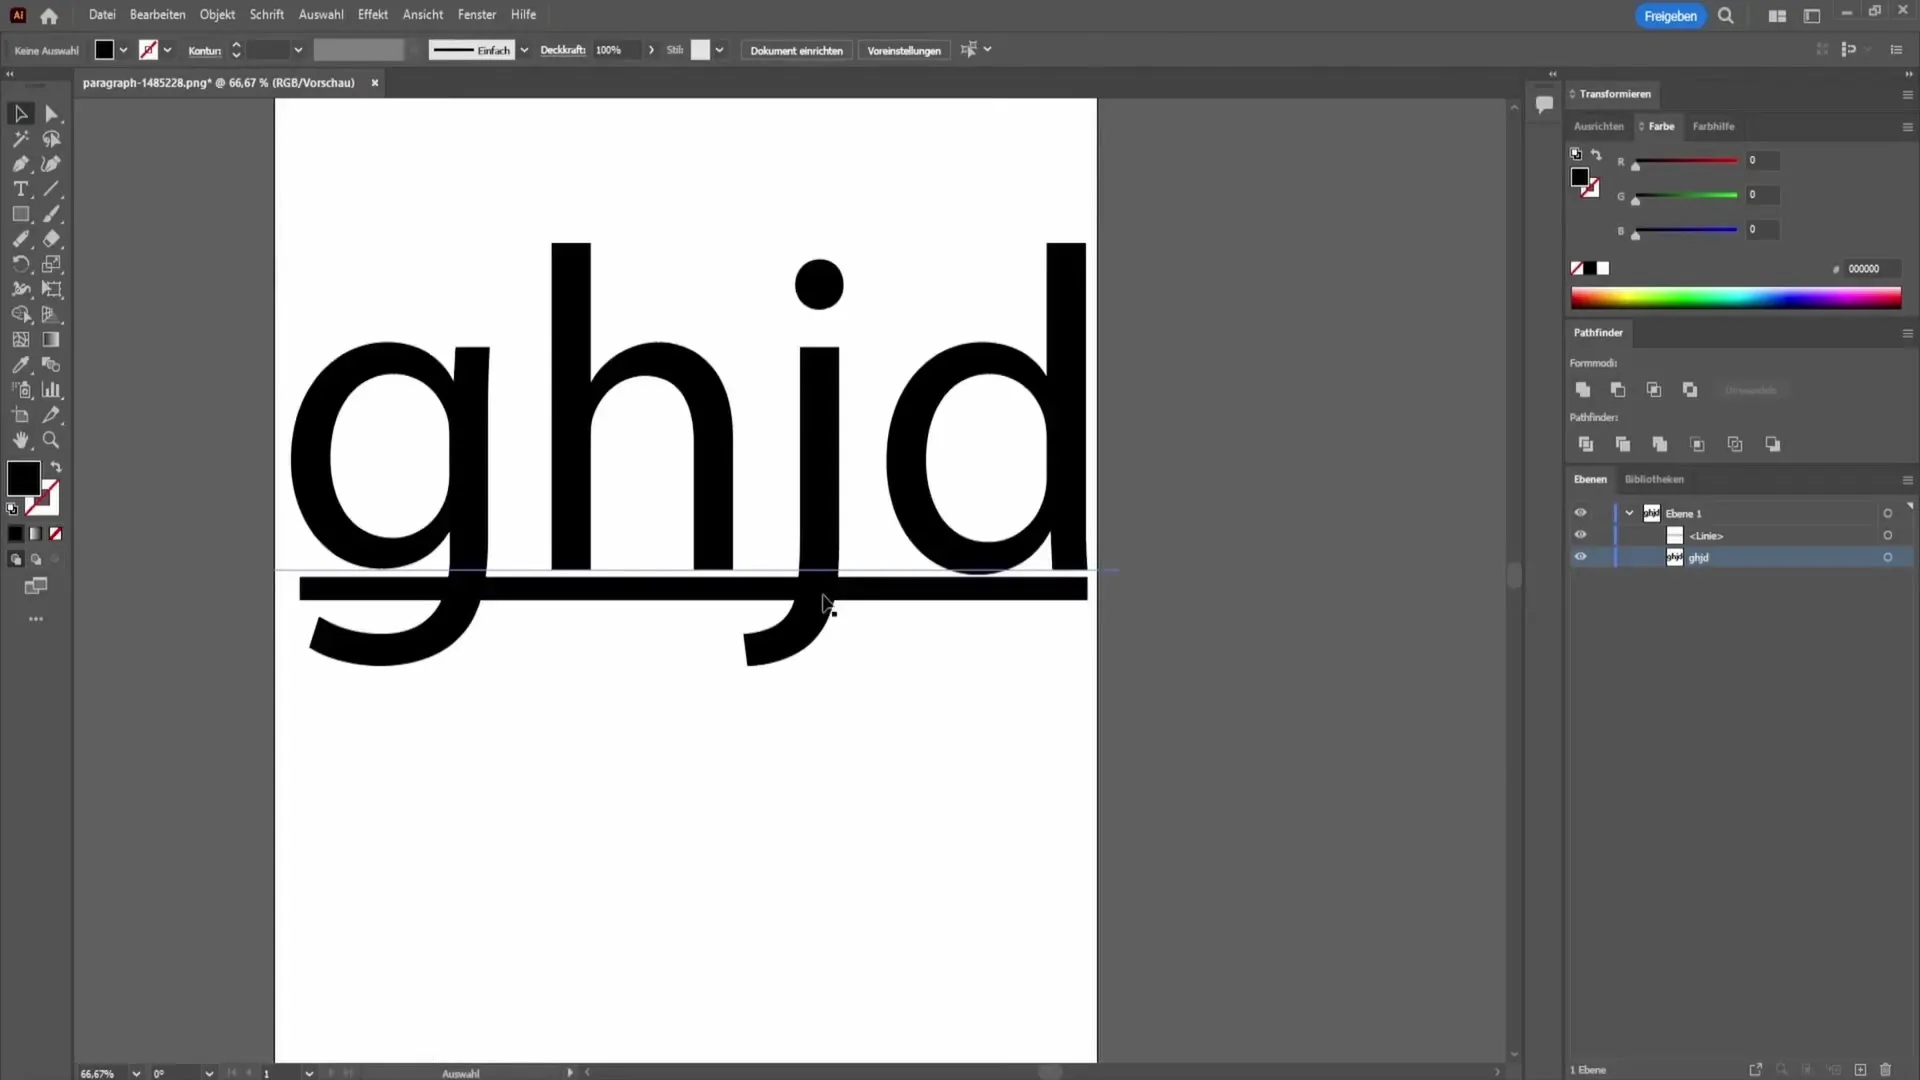
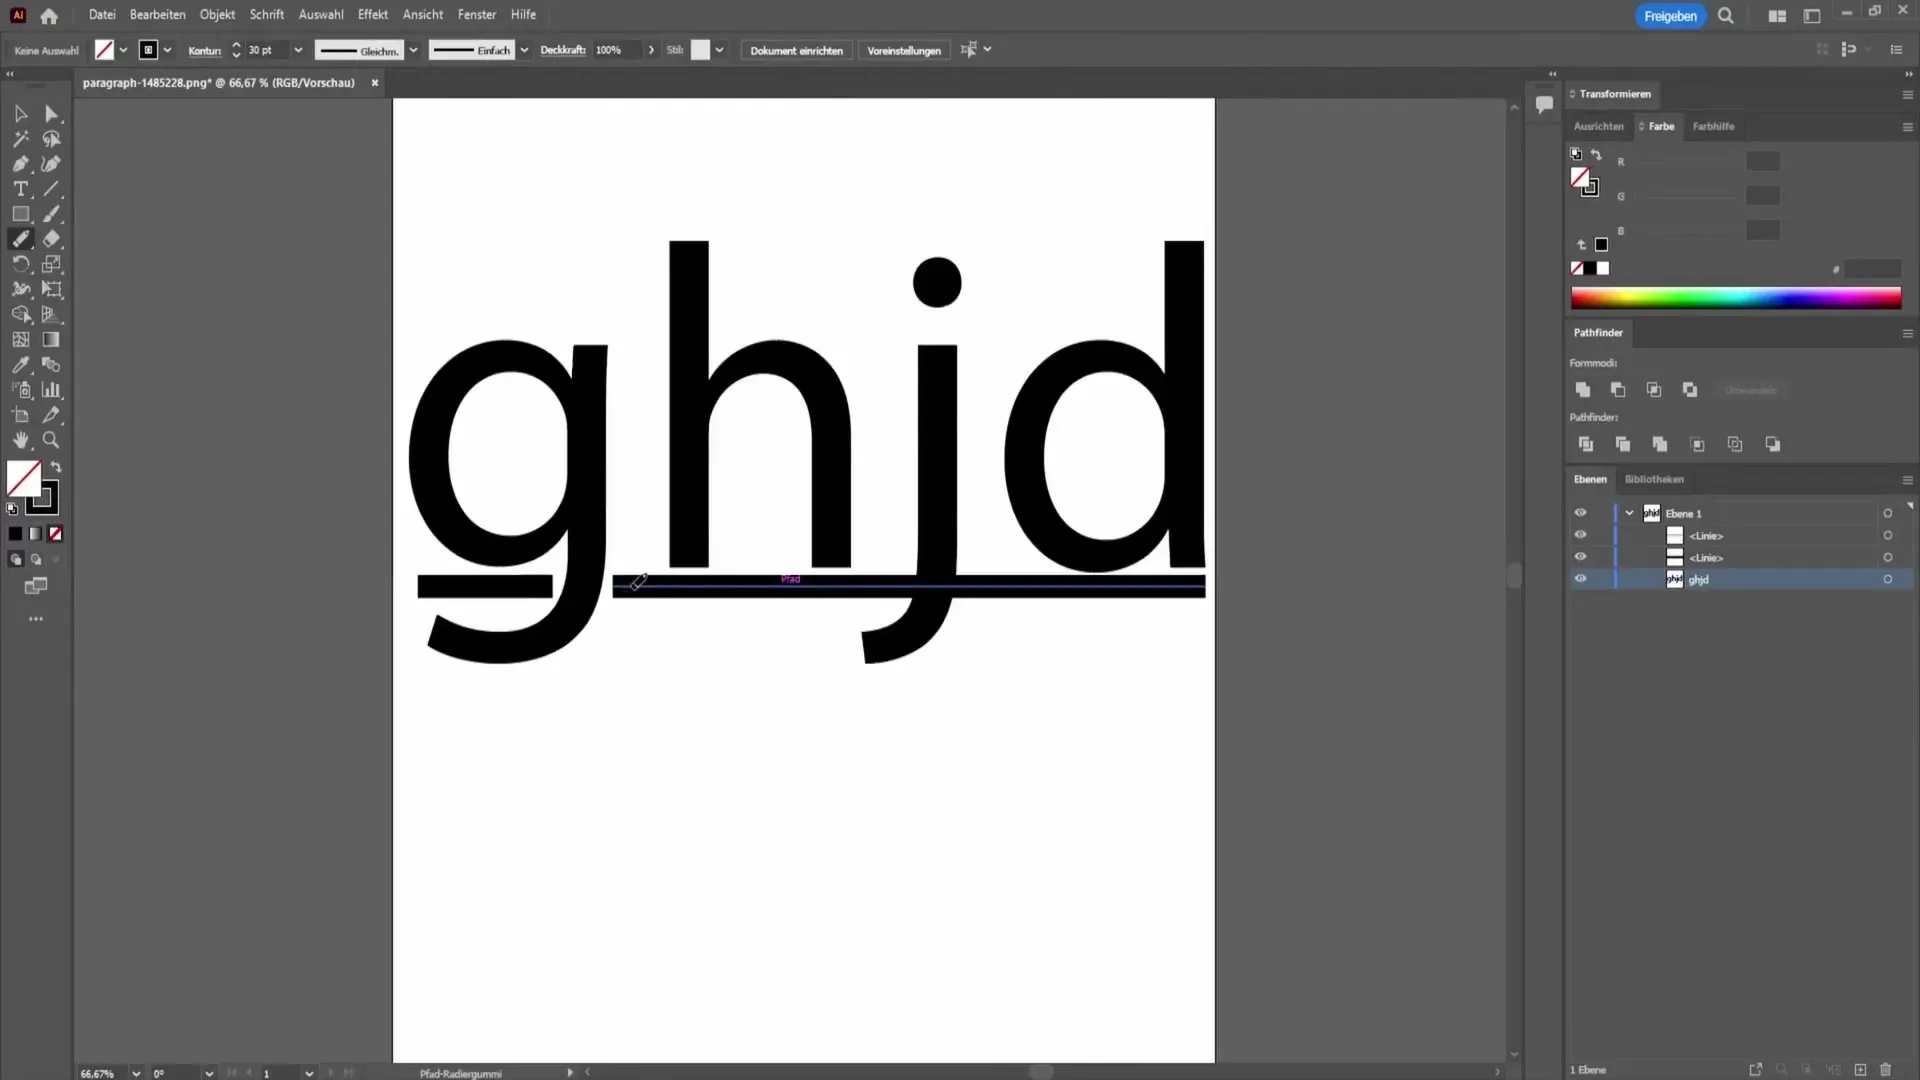
Select the line once. Now, place a point on the left side of the line and another point on the right side, approximately where you want to shorten the line. With the Eraser tool, you can easily remove the protruding part of the line. Simply click on the areas of the line you want to get rid of, and see how it disappears. The result is a clean underline that perfectly fits your text.
Summary
In this guide, you have learned how to underline text in Adobe Illustrator. We have explored the text tool, the Line Segment tool, and the Eraser tool to create an attractive and precise underline. The key is to select the right stroke color and weight to enhance the design of your text.
Frequently Asked Questions
How can I change the font size in Adobe Illustrator?You can adjust the font size by selecting the text and changing the size in the Properties window.
Can I create multiple lines under different texts?Yes, you can use the line segment tool for each text to create different underlines.
Can I adjust or change the underline later?Yes, you can select the line like any other shape in Illustrator and change its properties at any time.


