In this guide, I will show you how to easily create various shapes in Adobe Illustrator. We will go through the essential tools and techniques that will help you enhance your designs creatively. Whether you are a beginner or already have some experience in Illustrator, this guide contains useful hints and helpful steps to make it easier for you to get started.
Key Takeaways
- You can create basic shapes such as rectangles, circles, and many others with the shape tools.
- The Pen tool allows you to create more complex and individual shapes.
- With the Shaper tool, you can easily draw geometric shapes that are flexible to adjust.
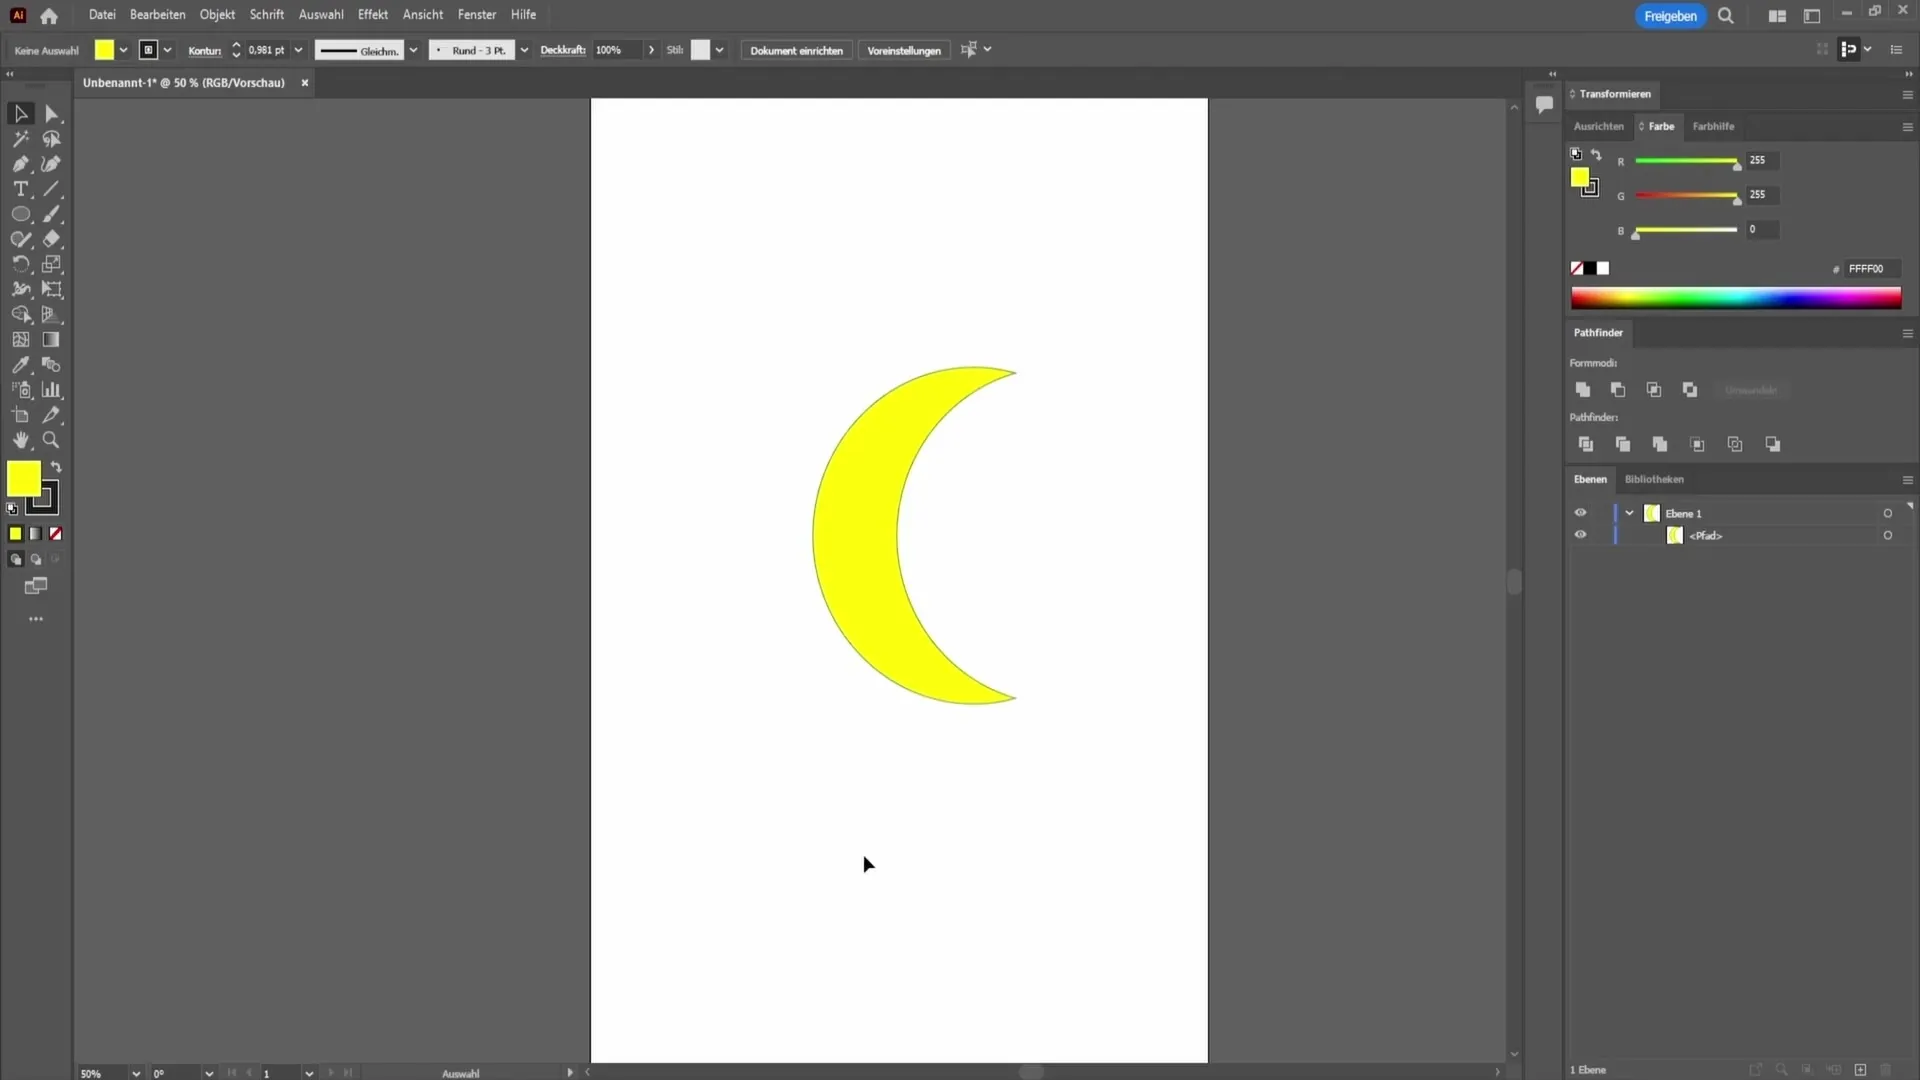
- Techniques like shaping forms help create interesting figures such as crescent moons.
Step-by-Step Guide
Basics of the Shape Tools
Starting off, let's look at the basic shape tools. With these tools, you can easily create shapes that you can then customize as needed.
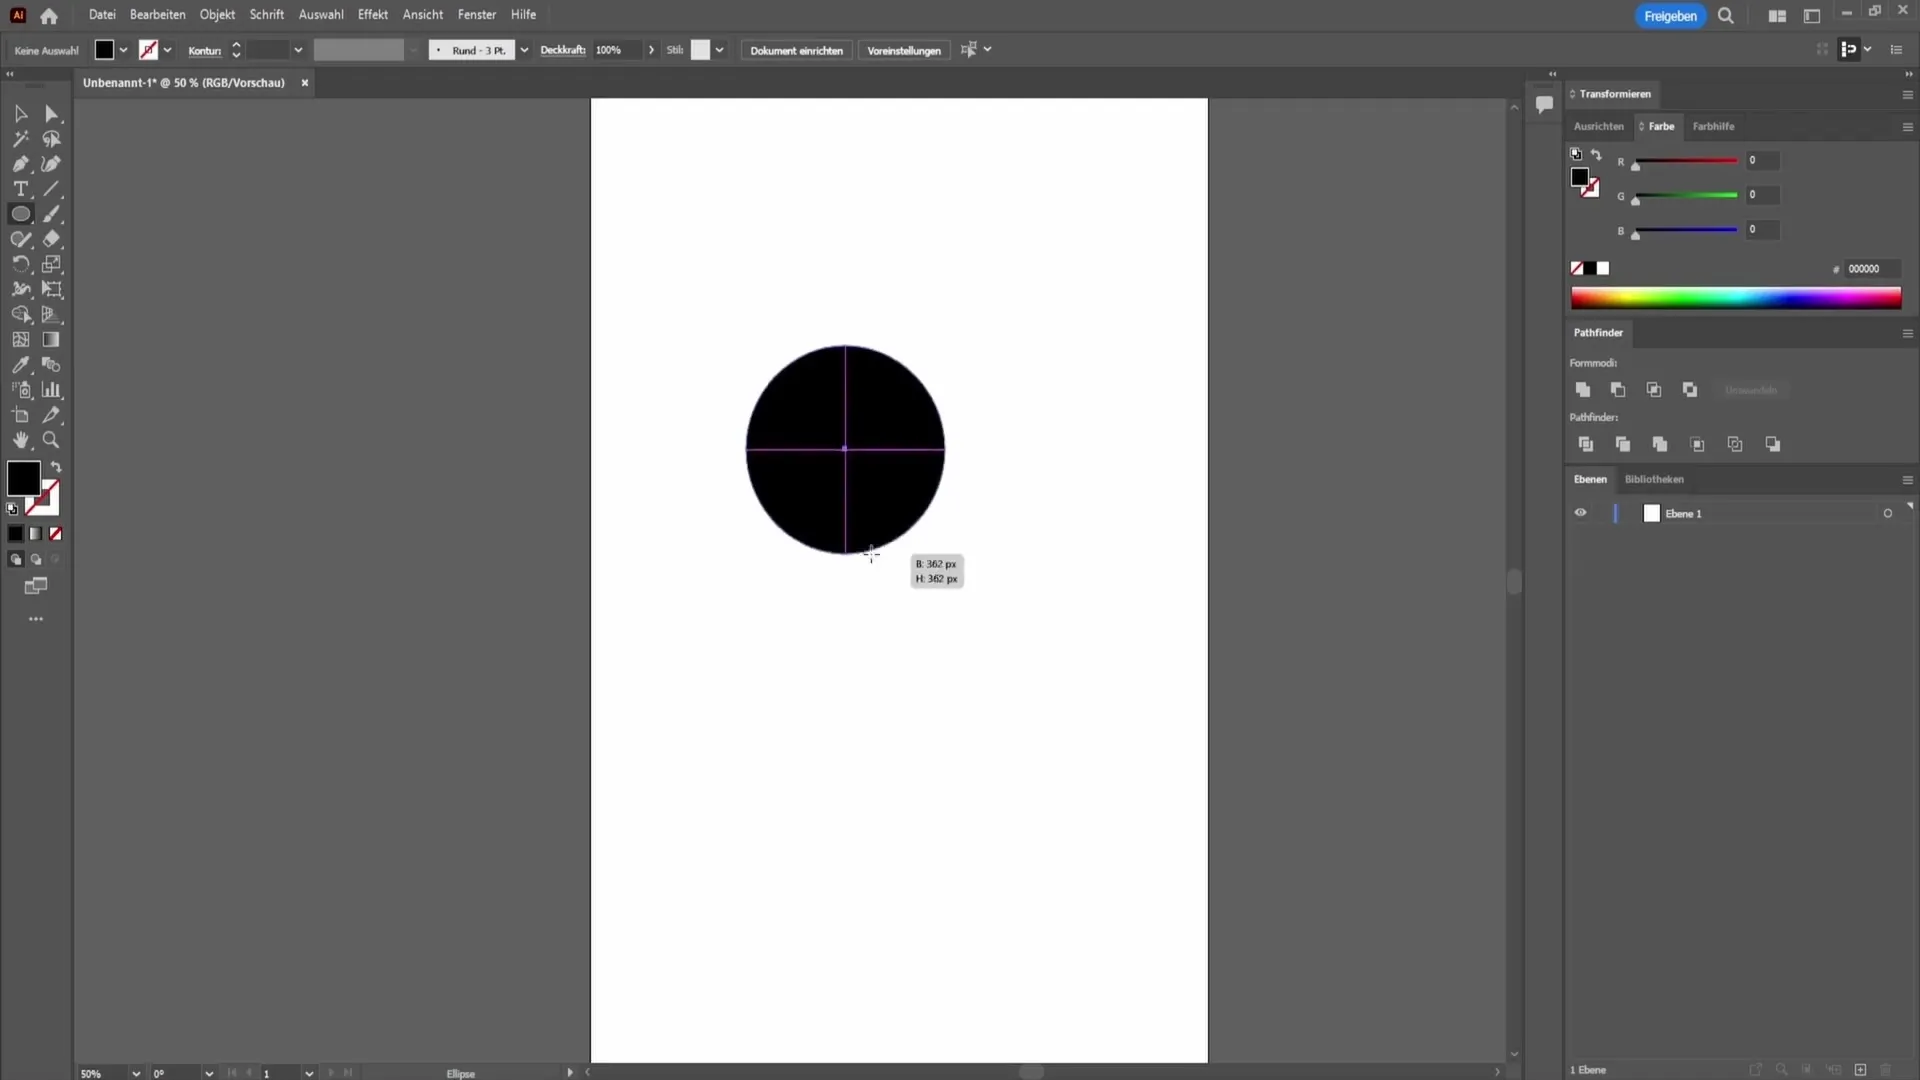
Select the Rectangle tool from the toolbar. With this tool, you have the option to create a simple rectangle or a rounded rectangle. To draw a perfect circle, hold down the Shift key while dragging the mouse. Once you release the Shift key, you can adjust the circle proportionally.
Adjusting Colors and Strokes
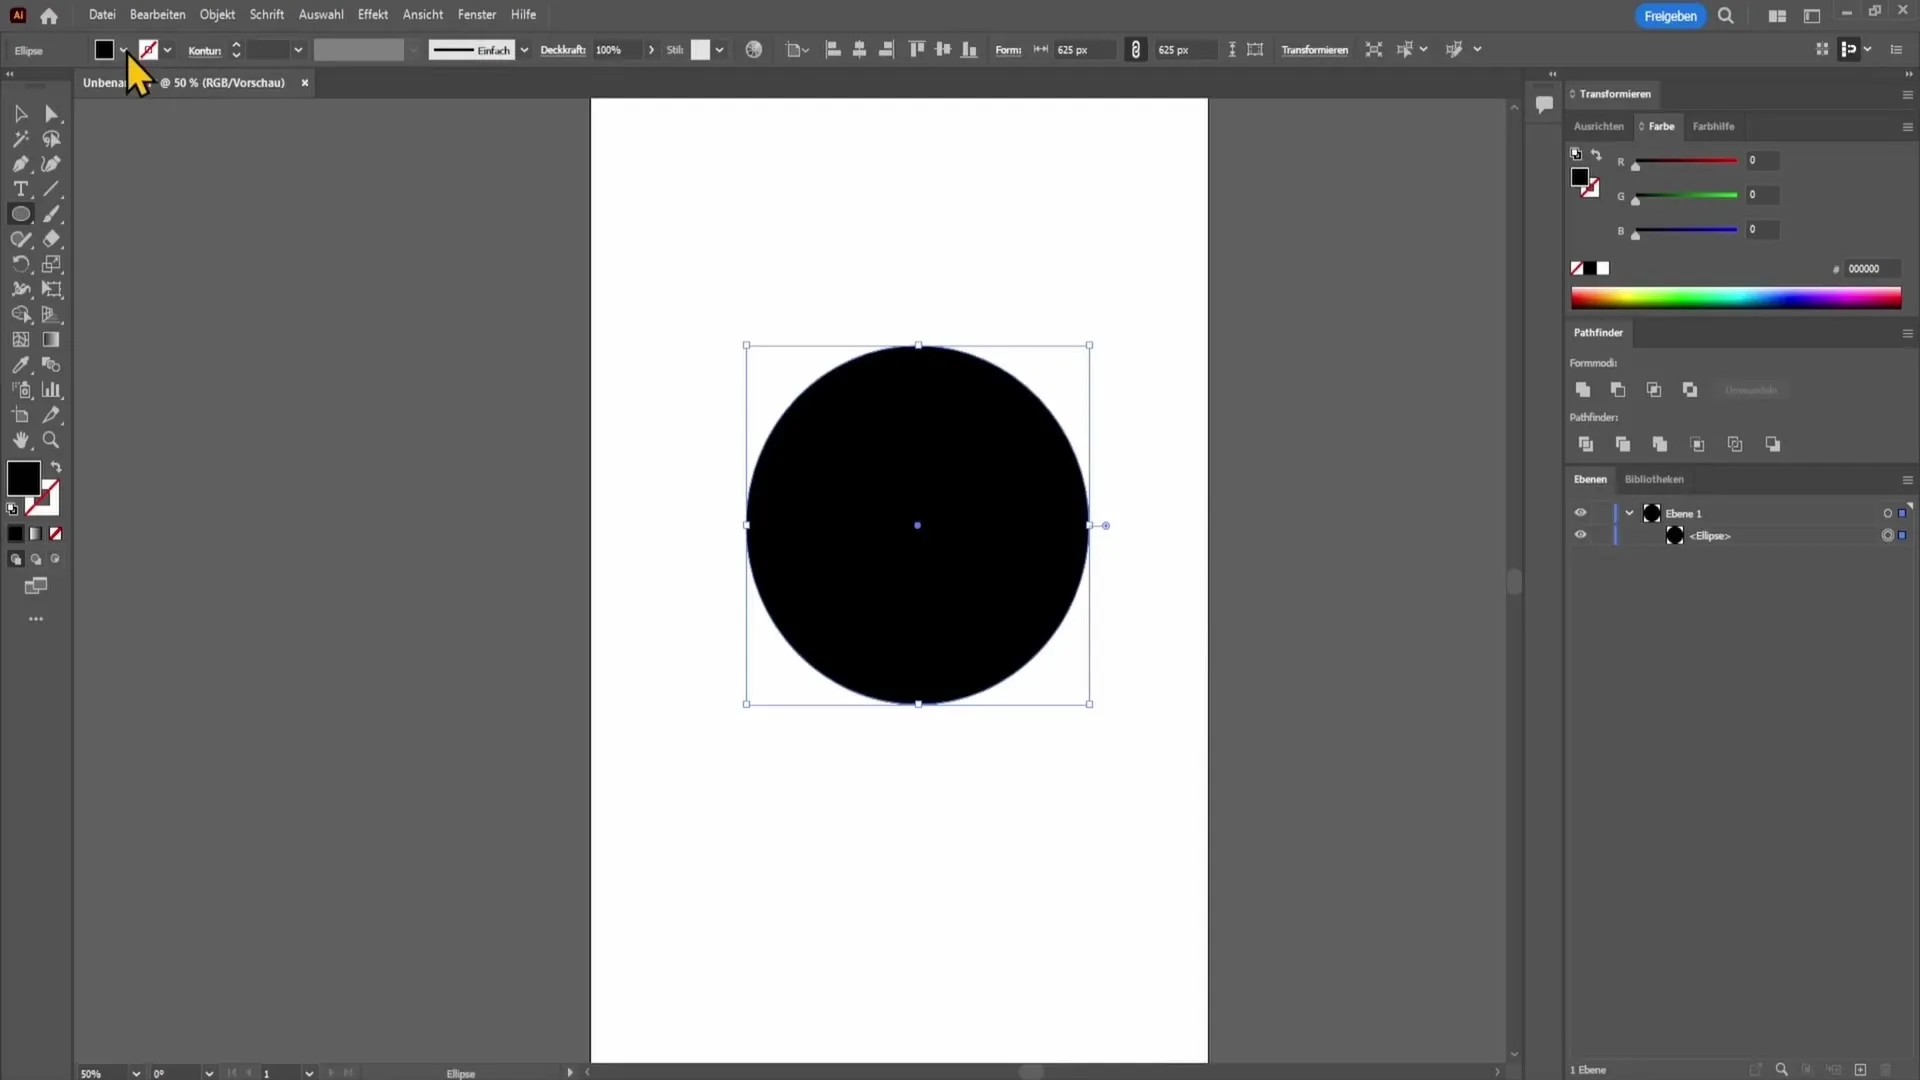
Once you've created your shape, you may want to change the color or stroke. Go to the top toolbar where you can adjust the fill and stroke color. You can change the fill color or switch entirely to a stroke.
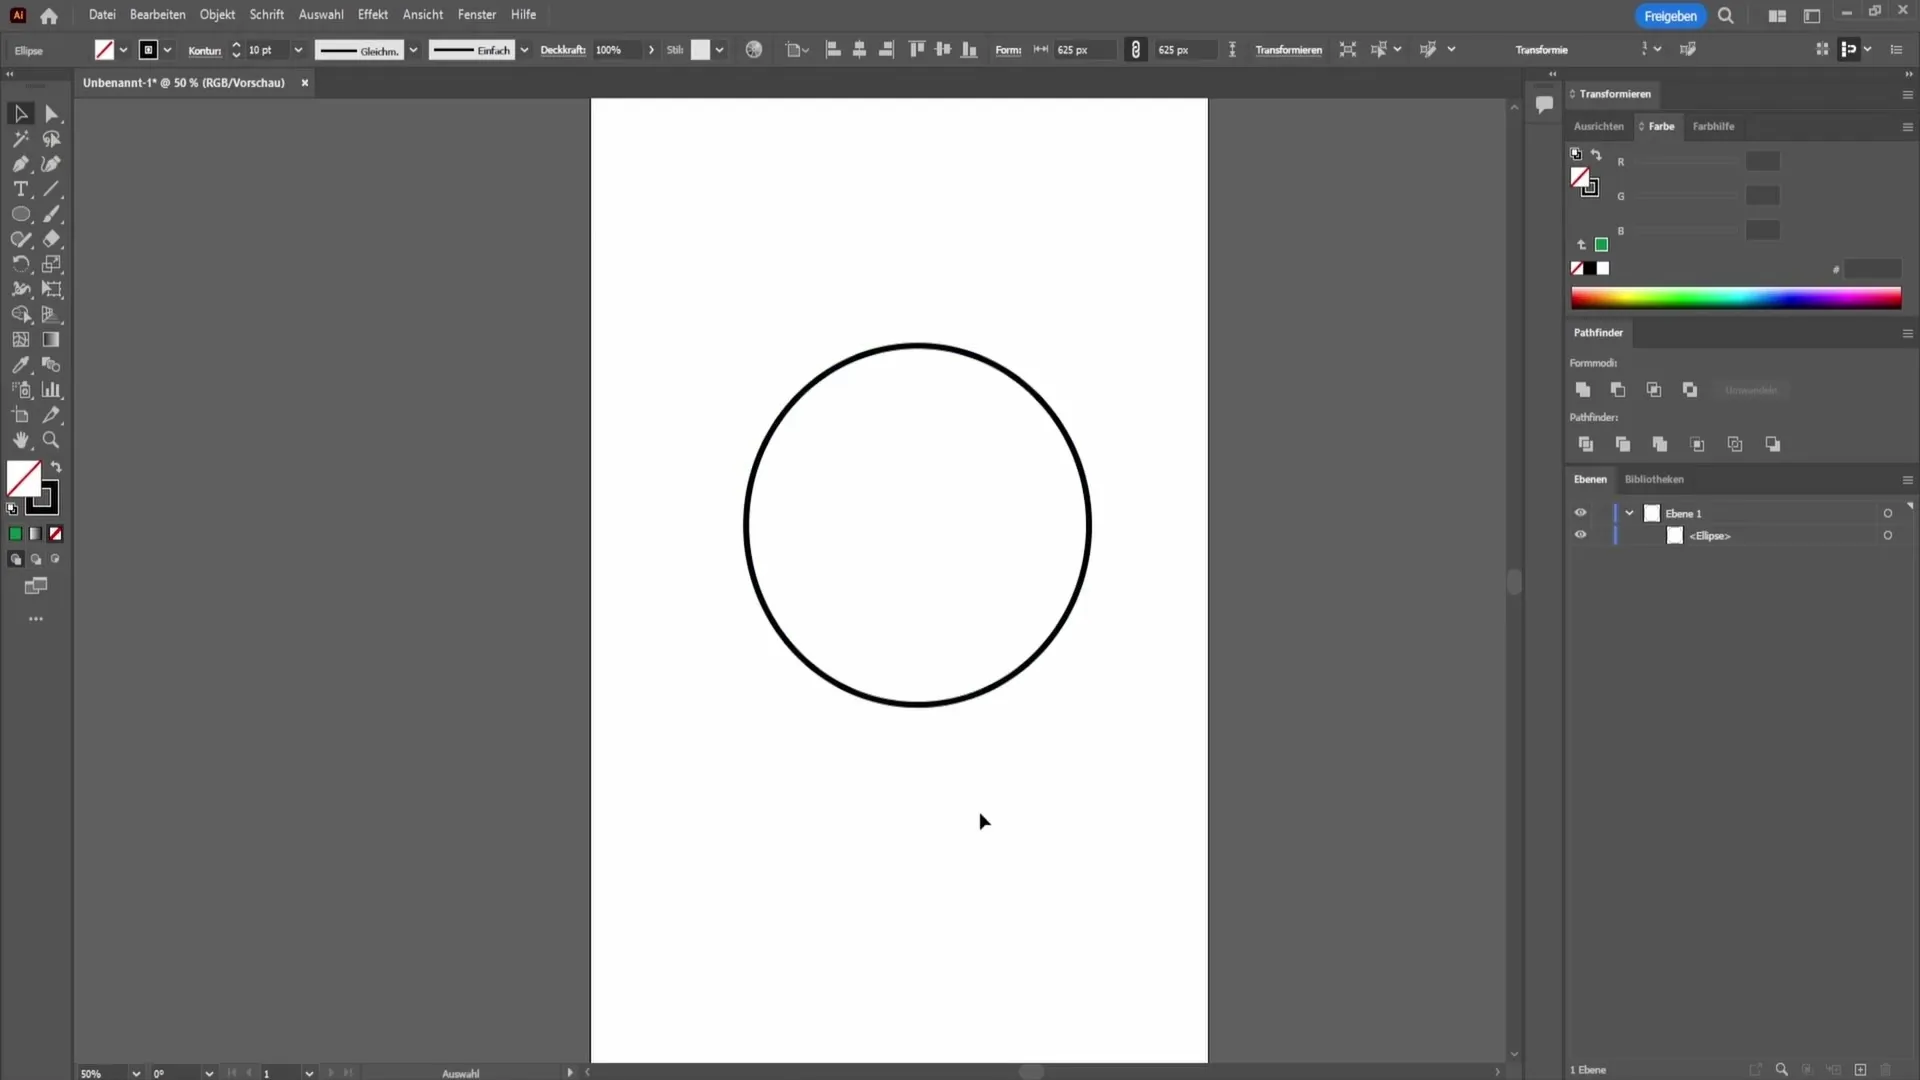
Select a different color by clicking on the color picker. To have no fill, go to the red line and choose the desired stroke color on the right. With the slider function on the right side, you can increase or decrease the stroke weight to achieve the desired design.
Creating Shapes with the Pen Tool
The next tool we will use is the Pen tool. With this tool, you take control and can create more complex shapes by placing points and connecting them.
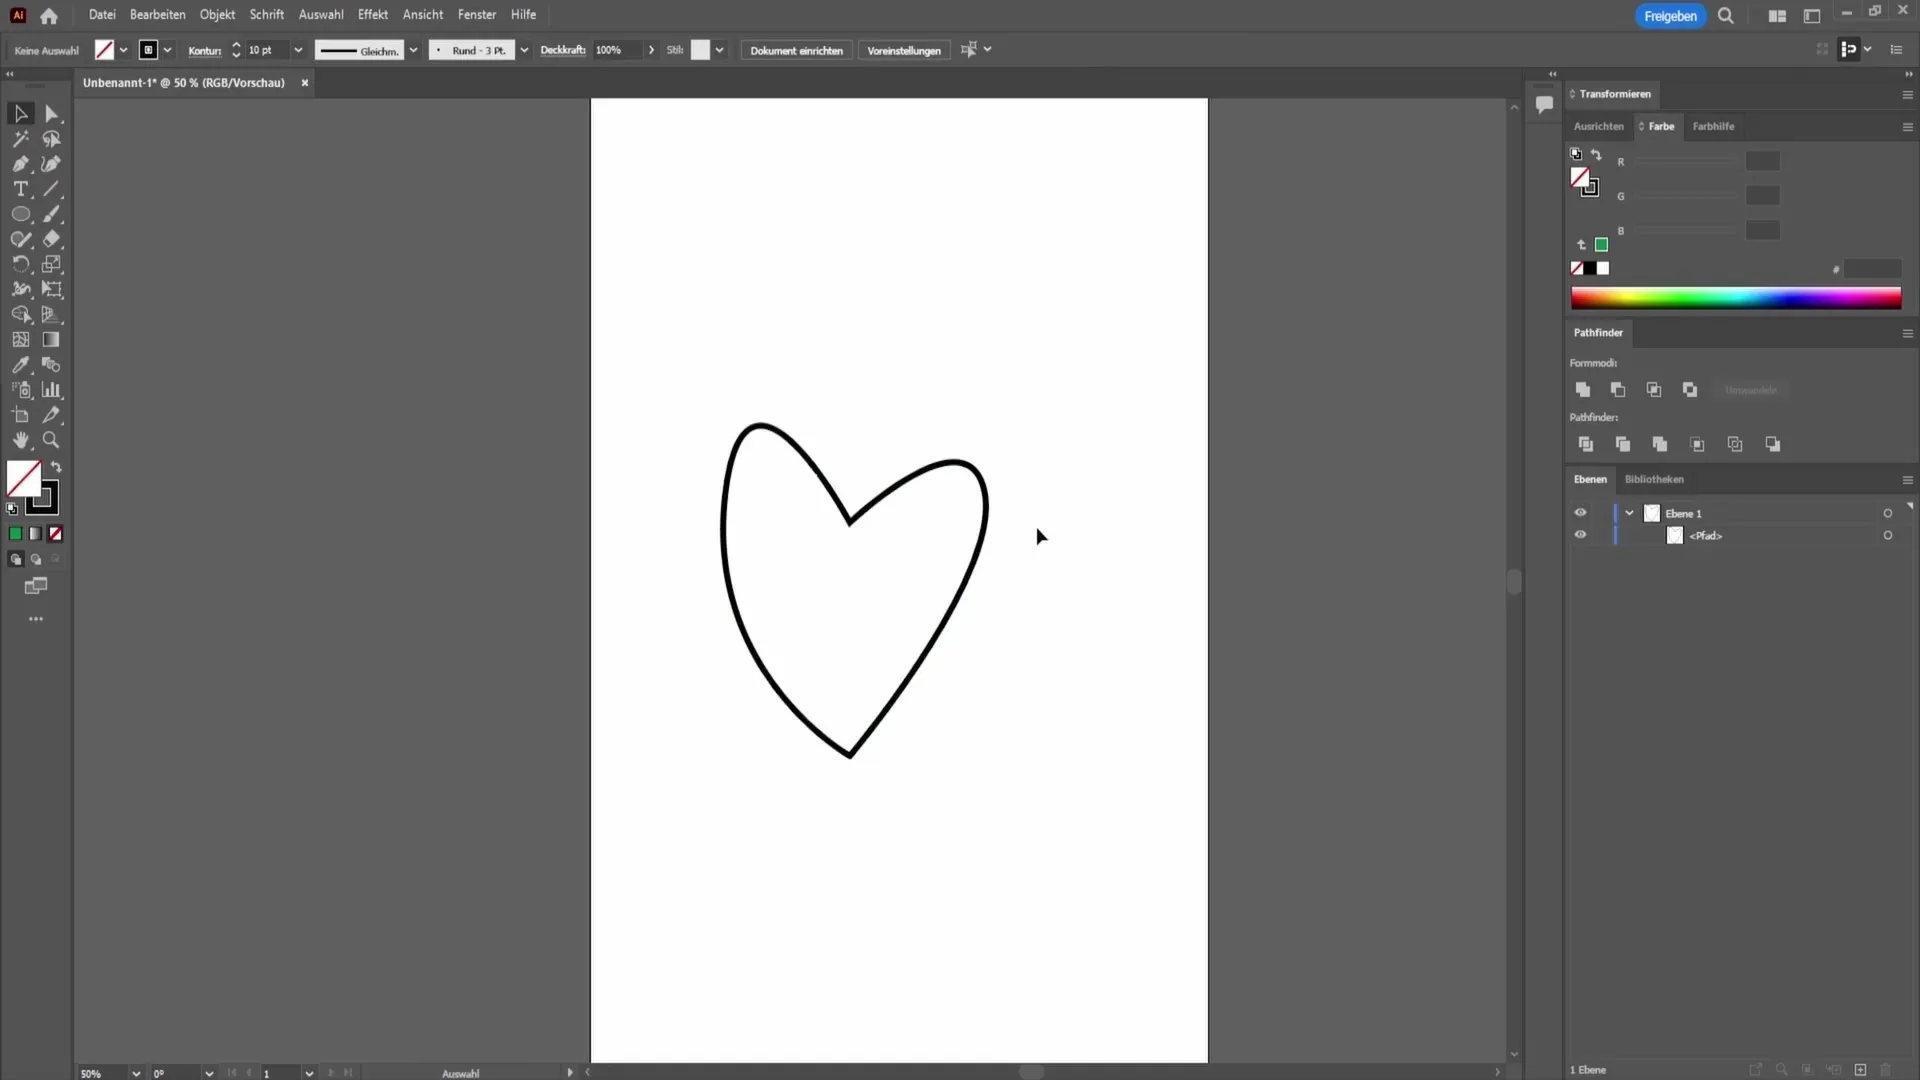
Place the first point, then draw a line and place the next point. Hold down the left mouse button to create arcs and vary the shape as you wish. Once you have closed the path, you can create an individual shape like a heart, for example.
Using the Shaper Tool
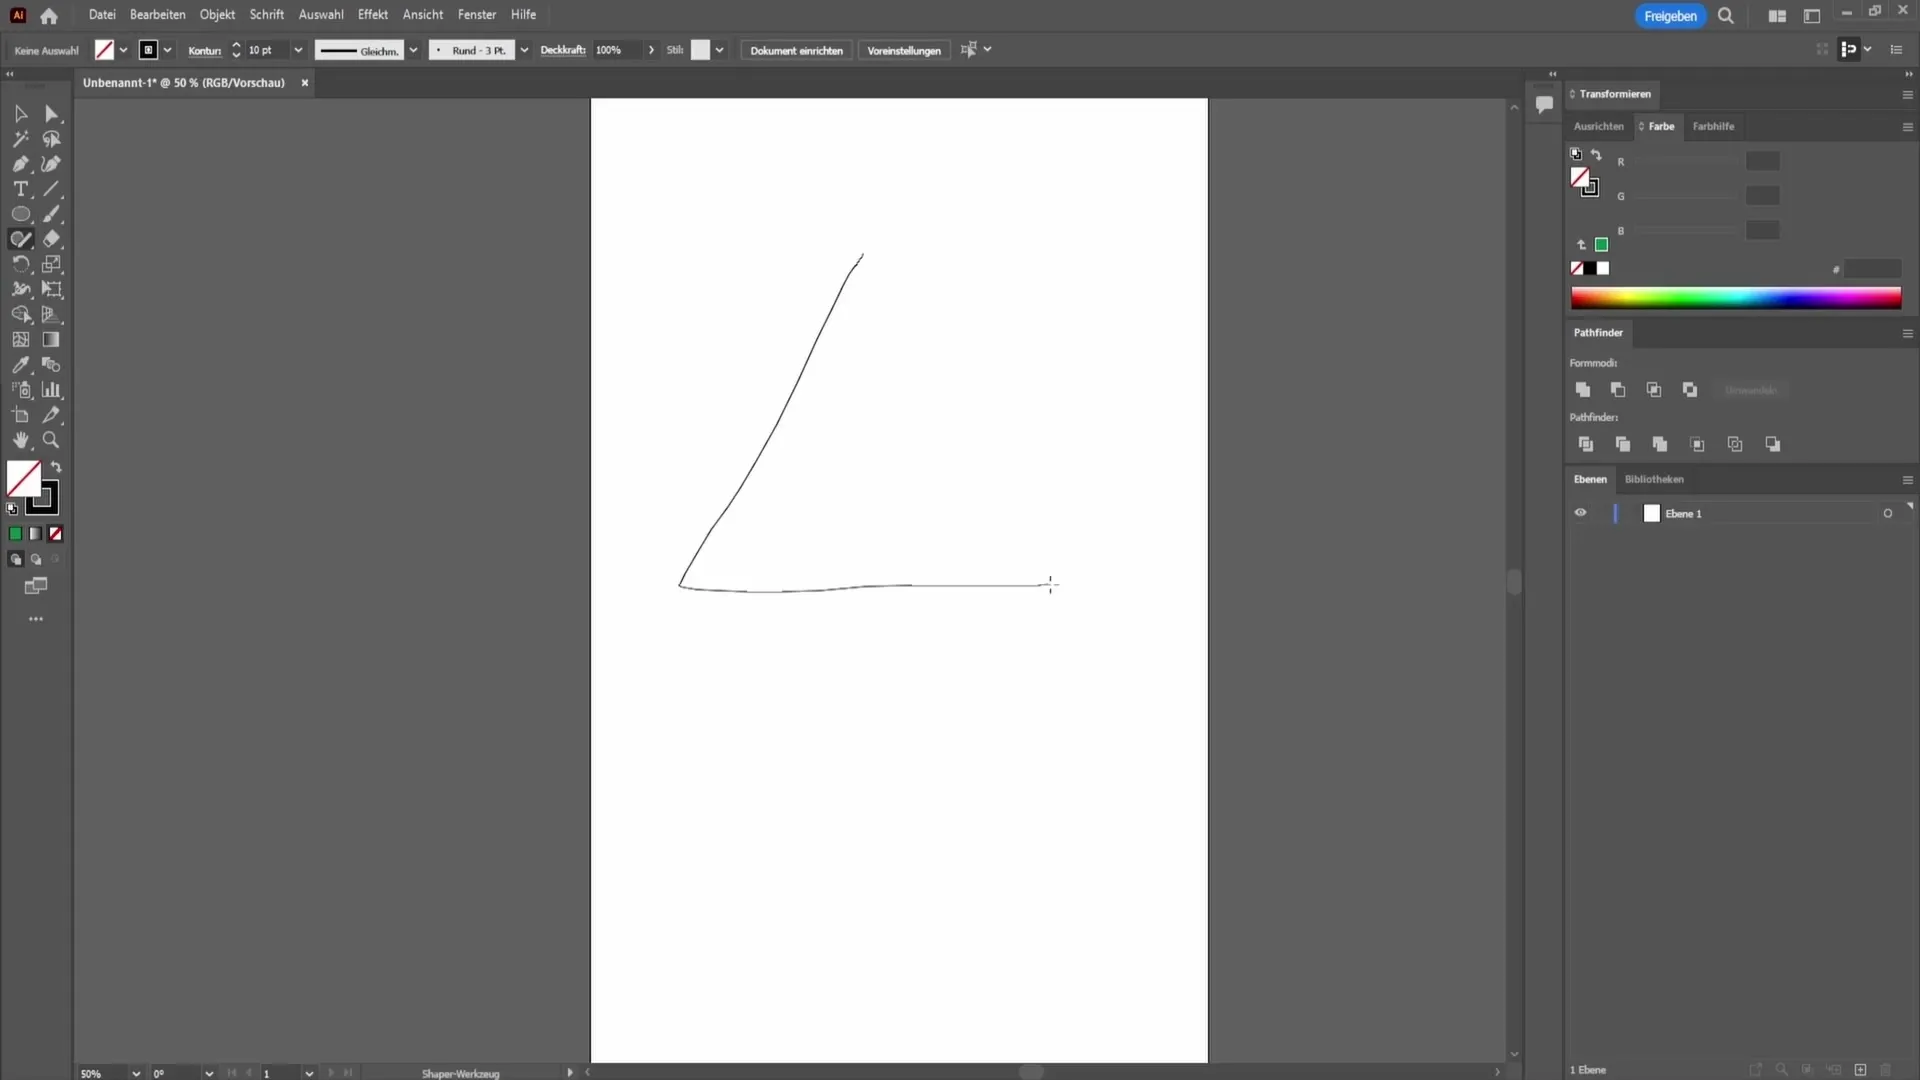
The Shaper tool is a great way to easily draw and modify geometric shapes. To give an example, select the tool and draw a triangle.
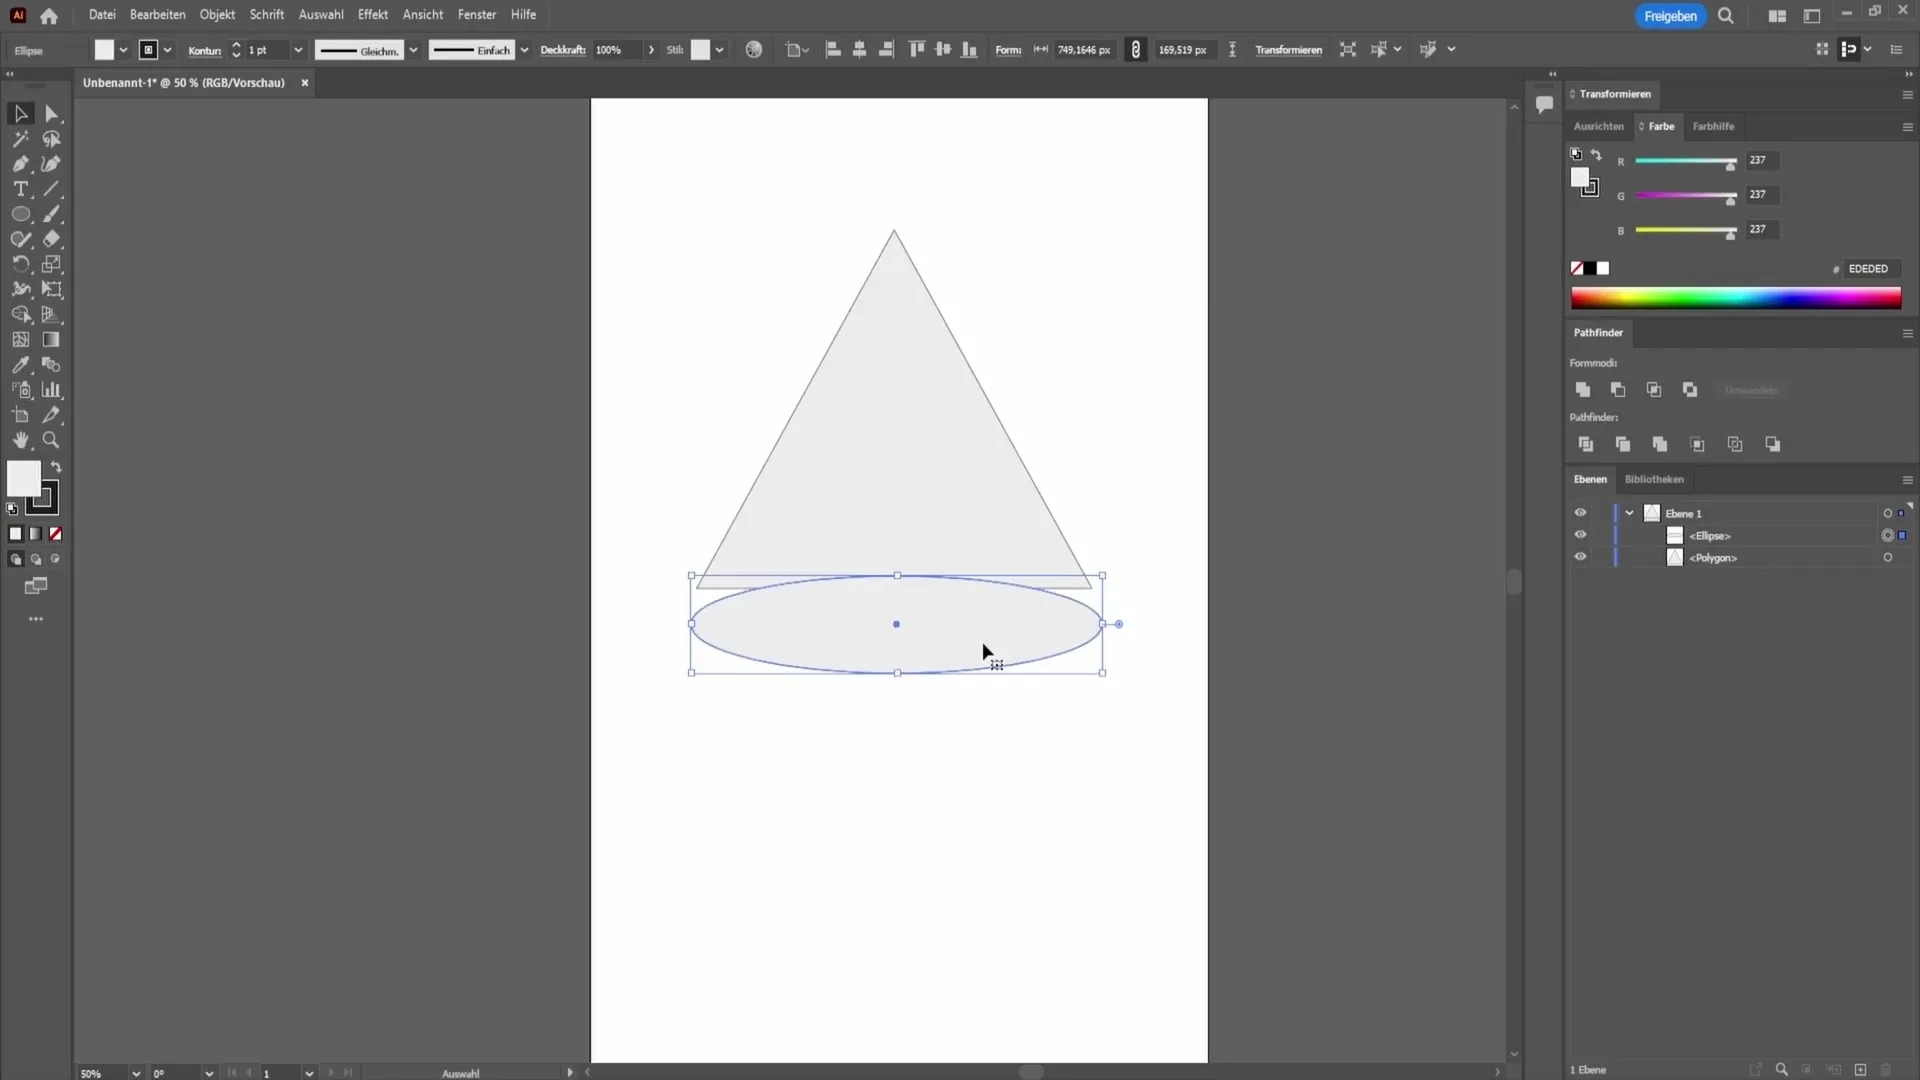
Once the triangle is created, you can get creative and adjust the object to your liking, representing an egg or another shape, for instance.
Trimming a Shape
Finally, I will show you a technique commonly used to create interesting designs like a crescent moon.
Start by creating a circle and fill it with yellow color. Then, with the Alt key, drag a copy of the circle. Fill this copy with black and position it so that it is on top of the yellow circle.
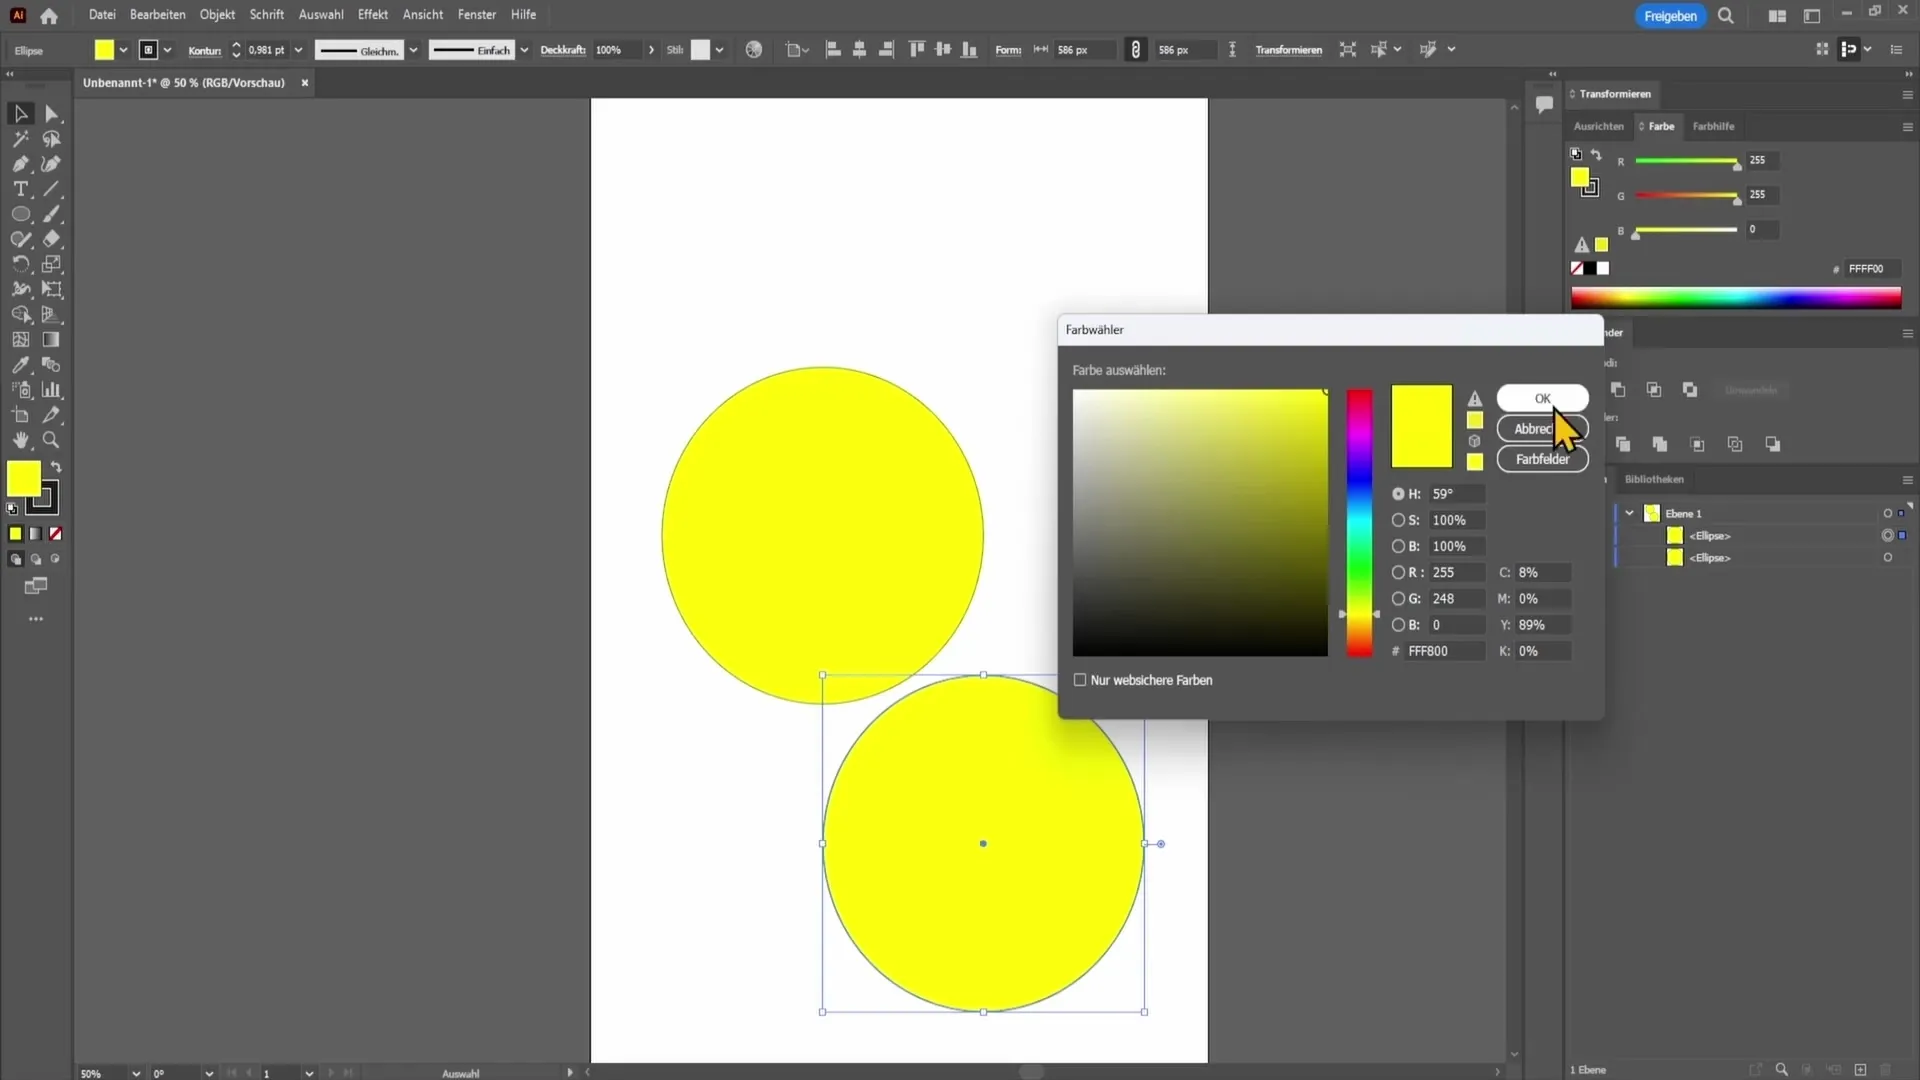
To create a crescent moon, select both circles and go to the Pathfinder option (found under the Window menu) and choose the Minus Front symbol. The result you will see as a crescent moon.
Summary
In this tutorial, you have learned how to create shapes in Adobe Illustrator using different tools. You have learned how to draw basic shapes, adjust colors, and even create more complex designs.
Frequently Asked Questions
How do I create a perfect circle in Illustrator?Hold down the Shift key while dragging with the Ellipse Tool to create a perfect circle.
Where can I adjust the colors for my shapes?You can adjust the colors in the top toolbar under Fill and Stroke color.
What is the difference between the Pen and Shaper tool?The Pen tool allows you to draw complex shapes by placing points, while the Shaper tool allows you to create and modify simple geometric shapes more easily.


