In this tutorial, I will show you how to insert an image into a shape in Adobe Illustrator. This is a fundamental technique that helps you create appealing designs and effectively utilize images. Whether you are starting a creative project or working on an important design, inserting an image into a shape can significantly enhance your layout. Let's get started right away and go through the steps in detail.
Key Takeaways
- You can easily import images by dragging and dropping them into Adobe Illustrator.
- Using shapes such as an ellipse as a mask for your image gives you control over its display.
- The process involves creating a clipping mask to insert the image into the shape.
Step-by-Step Guide
To insert an image into a shape, please follow these steps:
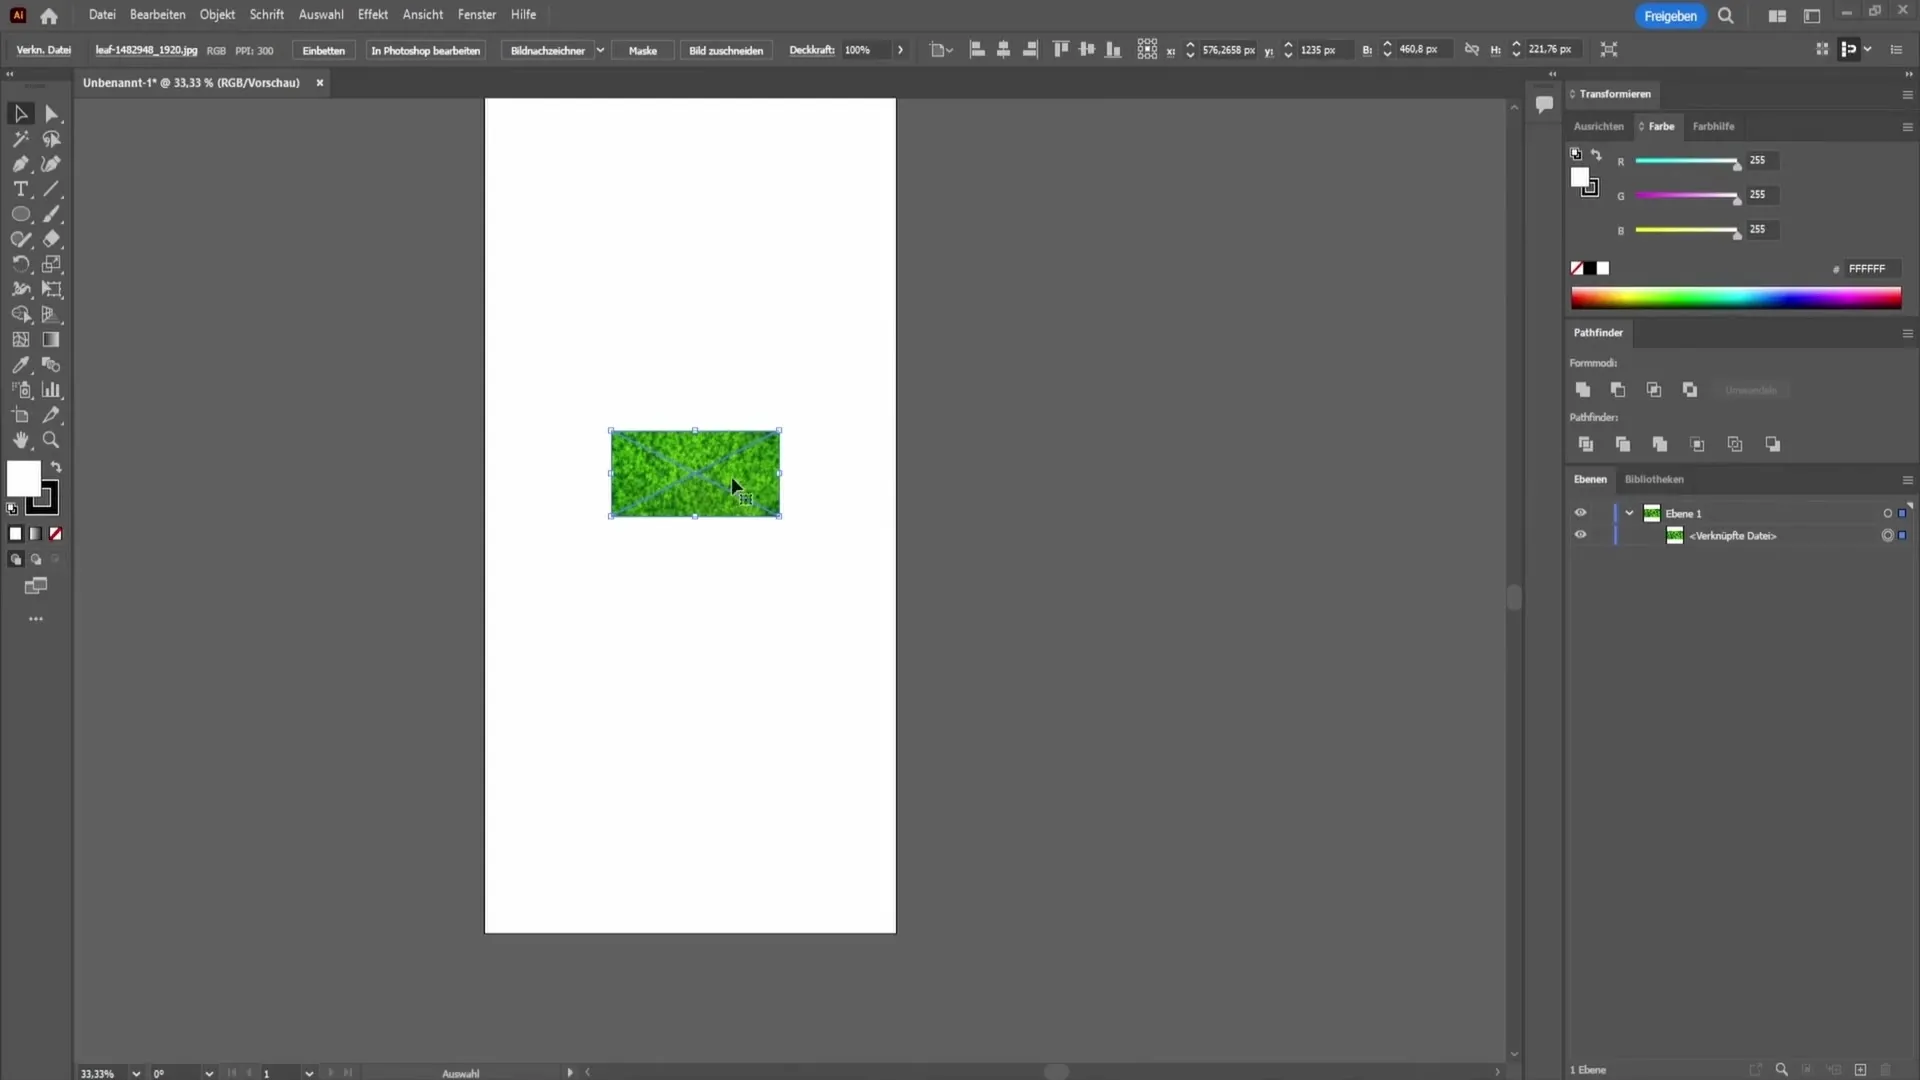
First, you need the image you want to insert. You can easily drag and drop it into your Illustrator document. While doing so, hold down the Shift key to ensure the image is scaled proportionally. You can now enlarge the image to achieve the desired size.

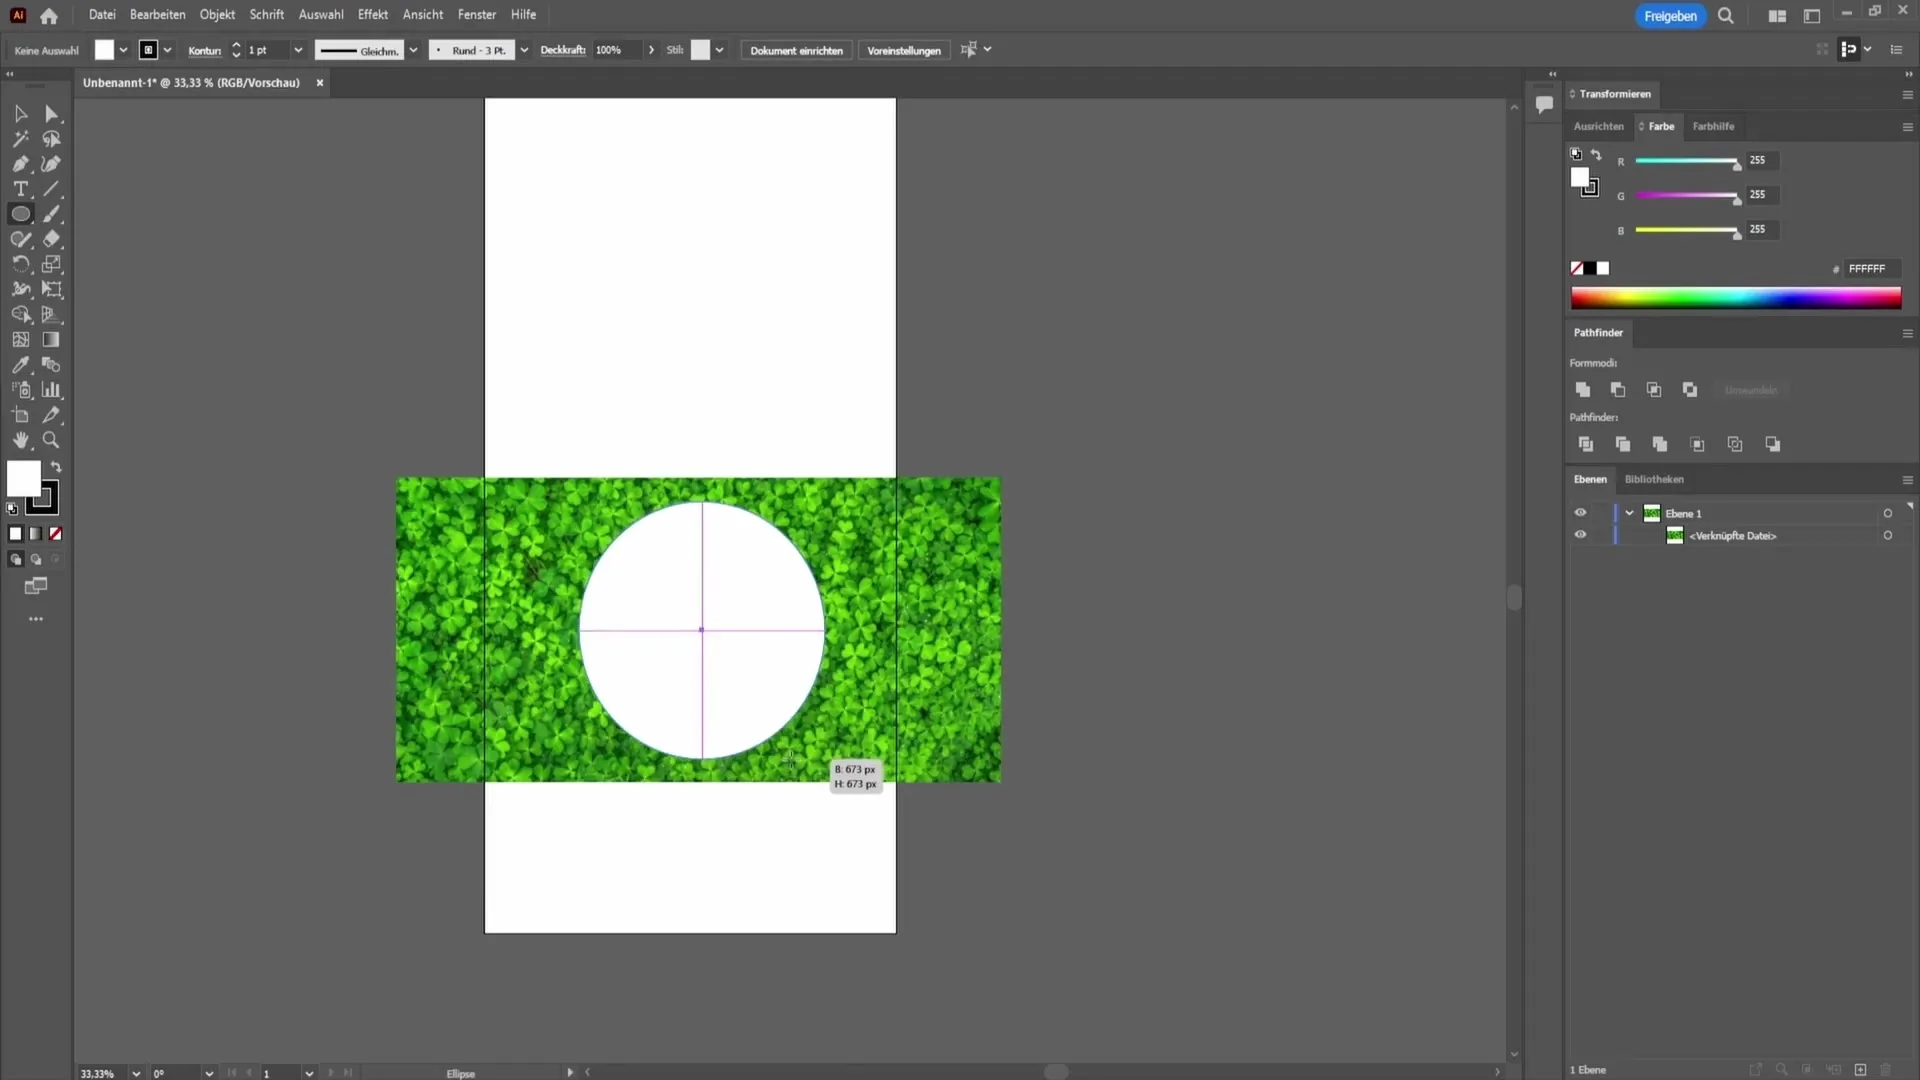
In the next step, it is important to choose the shape into which you want to insert the image. In this case, I recommend using an ellipse, but you can also choose any other shape you prefer. Drag the ellipse while holding the Shift key to keep it uniform and not distorted. Make sure the shape does not go beyond the image.

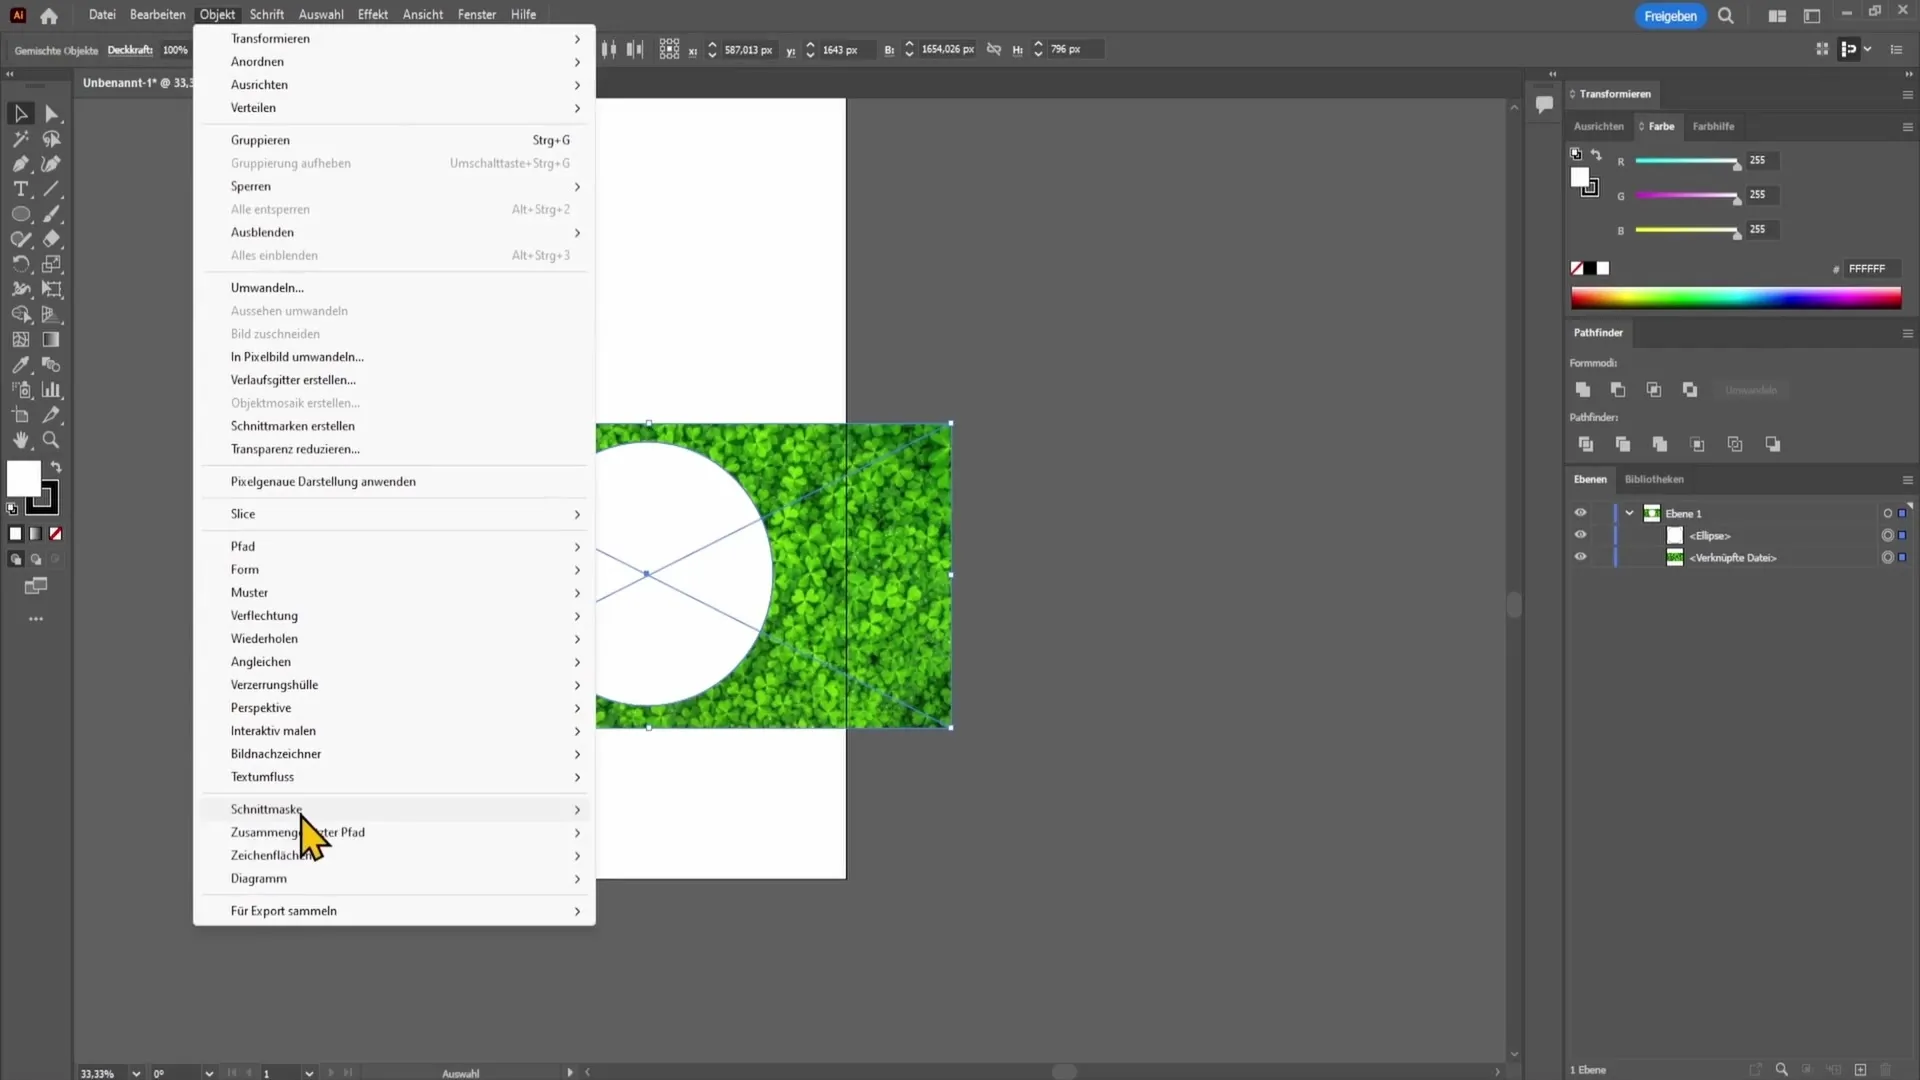
Now that you have both the image and the shape, select both elements. To do this, click on the image with the selection tool and hold down the Shift key while also selecting the shape. Once both shapes are selected, go to the top menu bar and click on "Object".

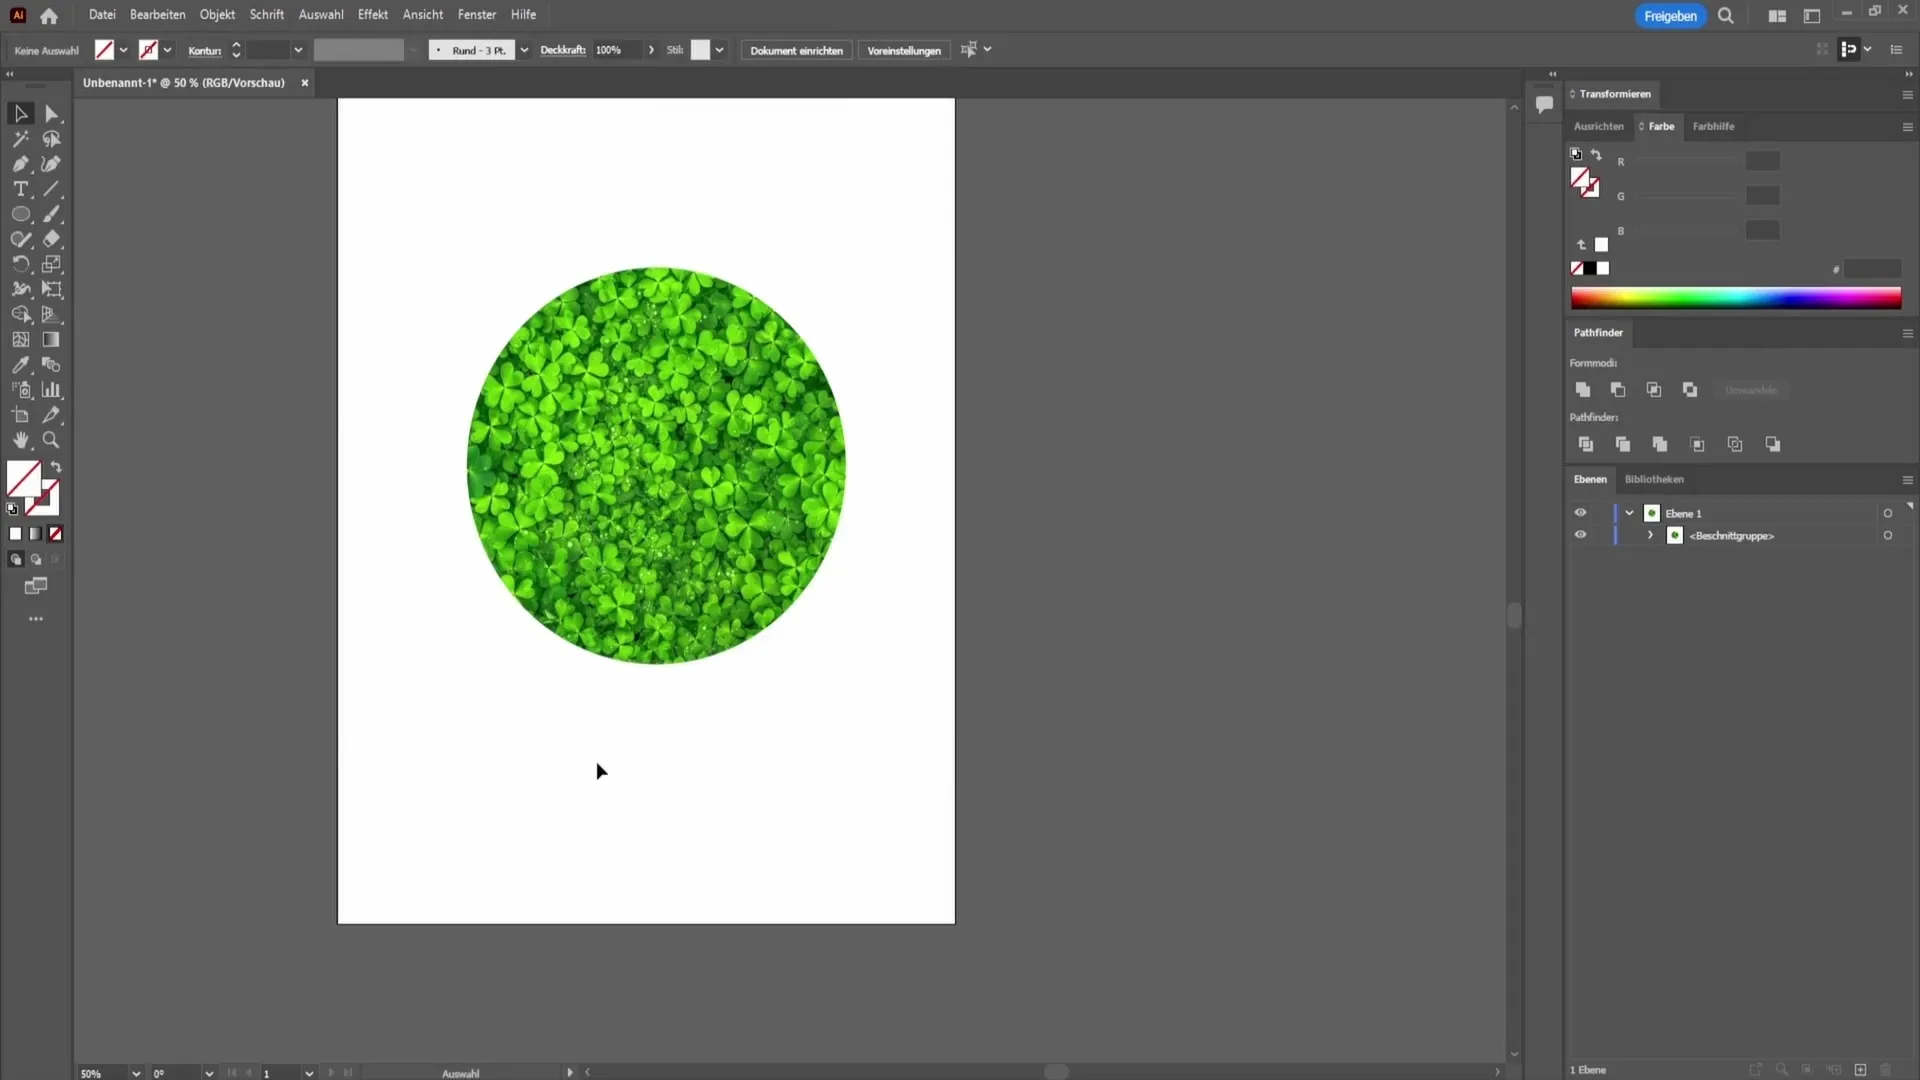
In the dropdown menu, choose the option "Create Clipping Mask". This step will insert your image within the selected shape. You should now see the image in the desired shape, perfectly tailored to the ellipse.

Summary
Inserting an image into a shape in Adobe Illustrator is a simple process that offers you many creative possibilities. You can quickly import images, choose any shape, and adjust your image perfectly by creating a clipping mask. With this technique, you have the tool to refine and enhance your designs.
Frequently Asked Questions
How do I import an image into Adobe Illustrator?You can drag and drop an image into your document while holding down the Shift key.
Can I use any shape to insert an image?Yes, you can use any shape you want as long as it can be created in Adobe Illustrator.
What happens if the image overlaps the shape?If the image overlaps the shape, it will not be correctly displayed in the desired shape. Make sure the image stays completely within the shape.


