In this tutorial, I'll show you how to write text on a path in Adobe Illustrator. This technique is especially useful when creating creative designs where the text follows a specific shape or goes around an object. Whether you are designing a logo, a poster, or another graphic, writing text on a path can give your design a special touch. Let's get started.
Key Takeaways
- You create a path with the Ellipse Tool.
- The text is added using the special text tool for paths.
- You can customize the text and choose different fonts and styles.
Step-by-Step Guide
Firstly, you need a path for your text. You can simply create this path using the Ellipse Tool. Select the Ellipse Tool from the toolbar. Make sure to turn off the fill color and set the stroke to a black line of about eight points thick.
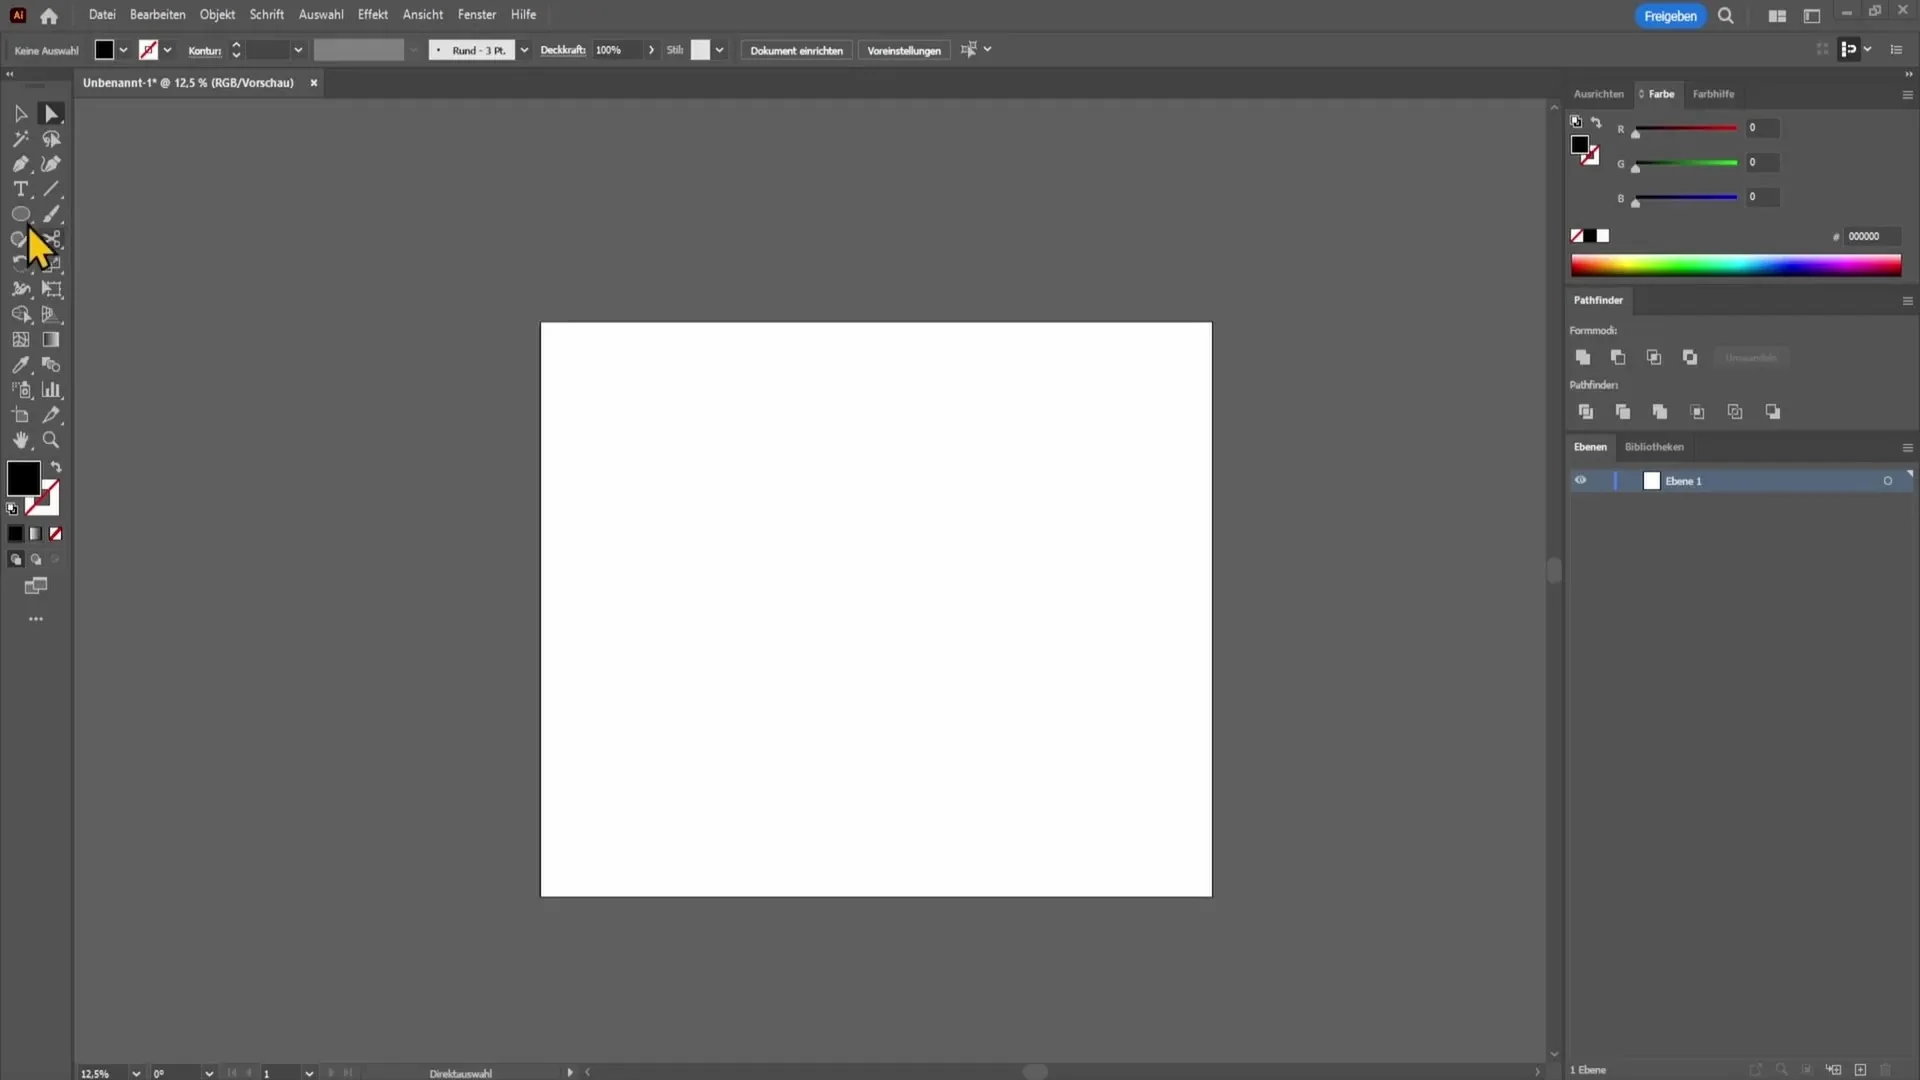
Then draw a circle. You can hold down the Shift key to create a perfect circle, or adjust the shape according to your preferences. Once your circle is ready, you can align it using the Spacebar to move it to your desired position.
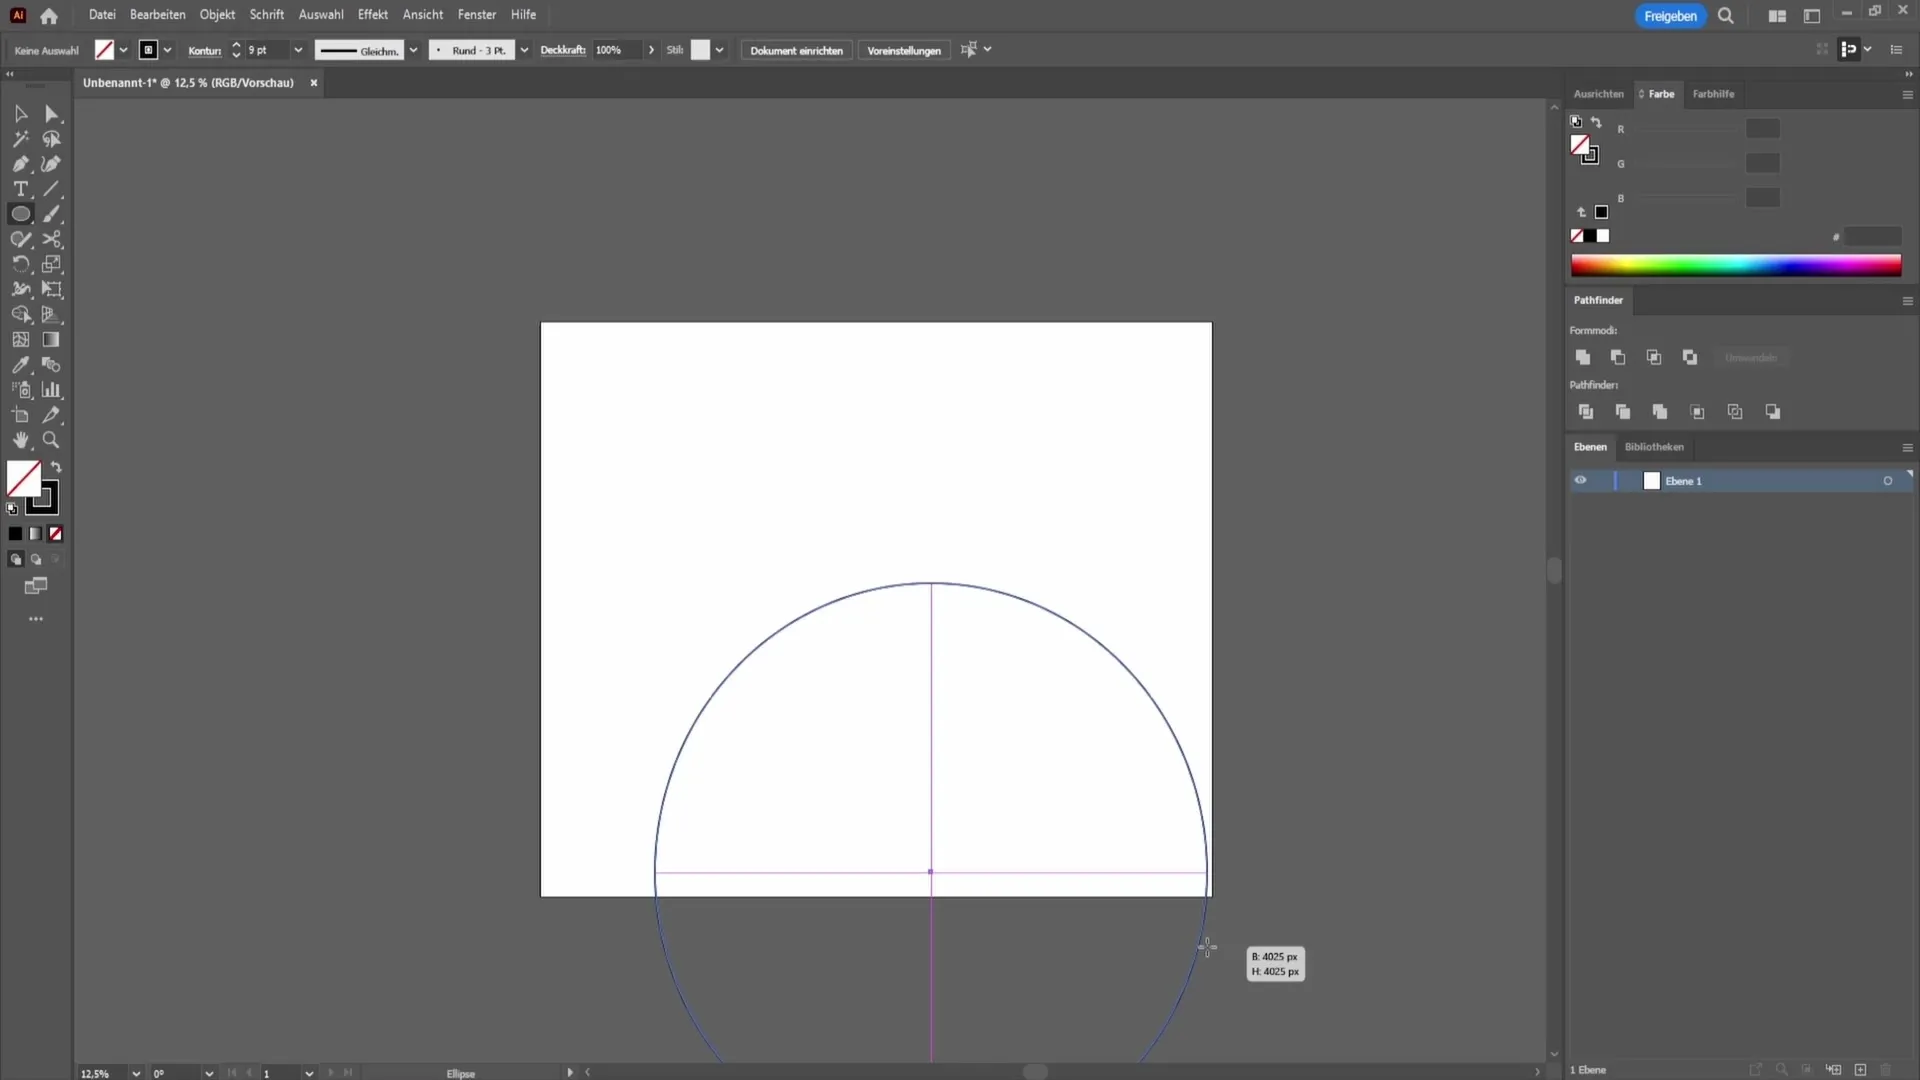
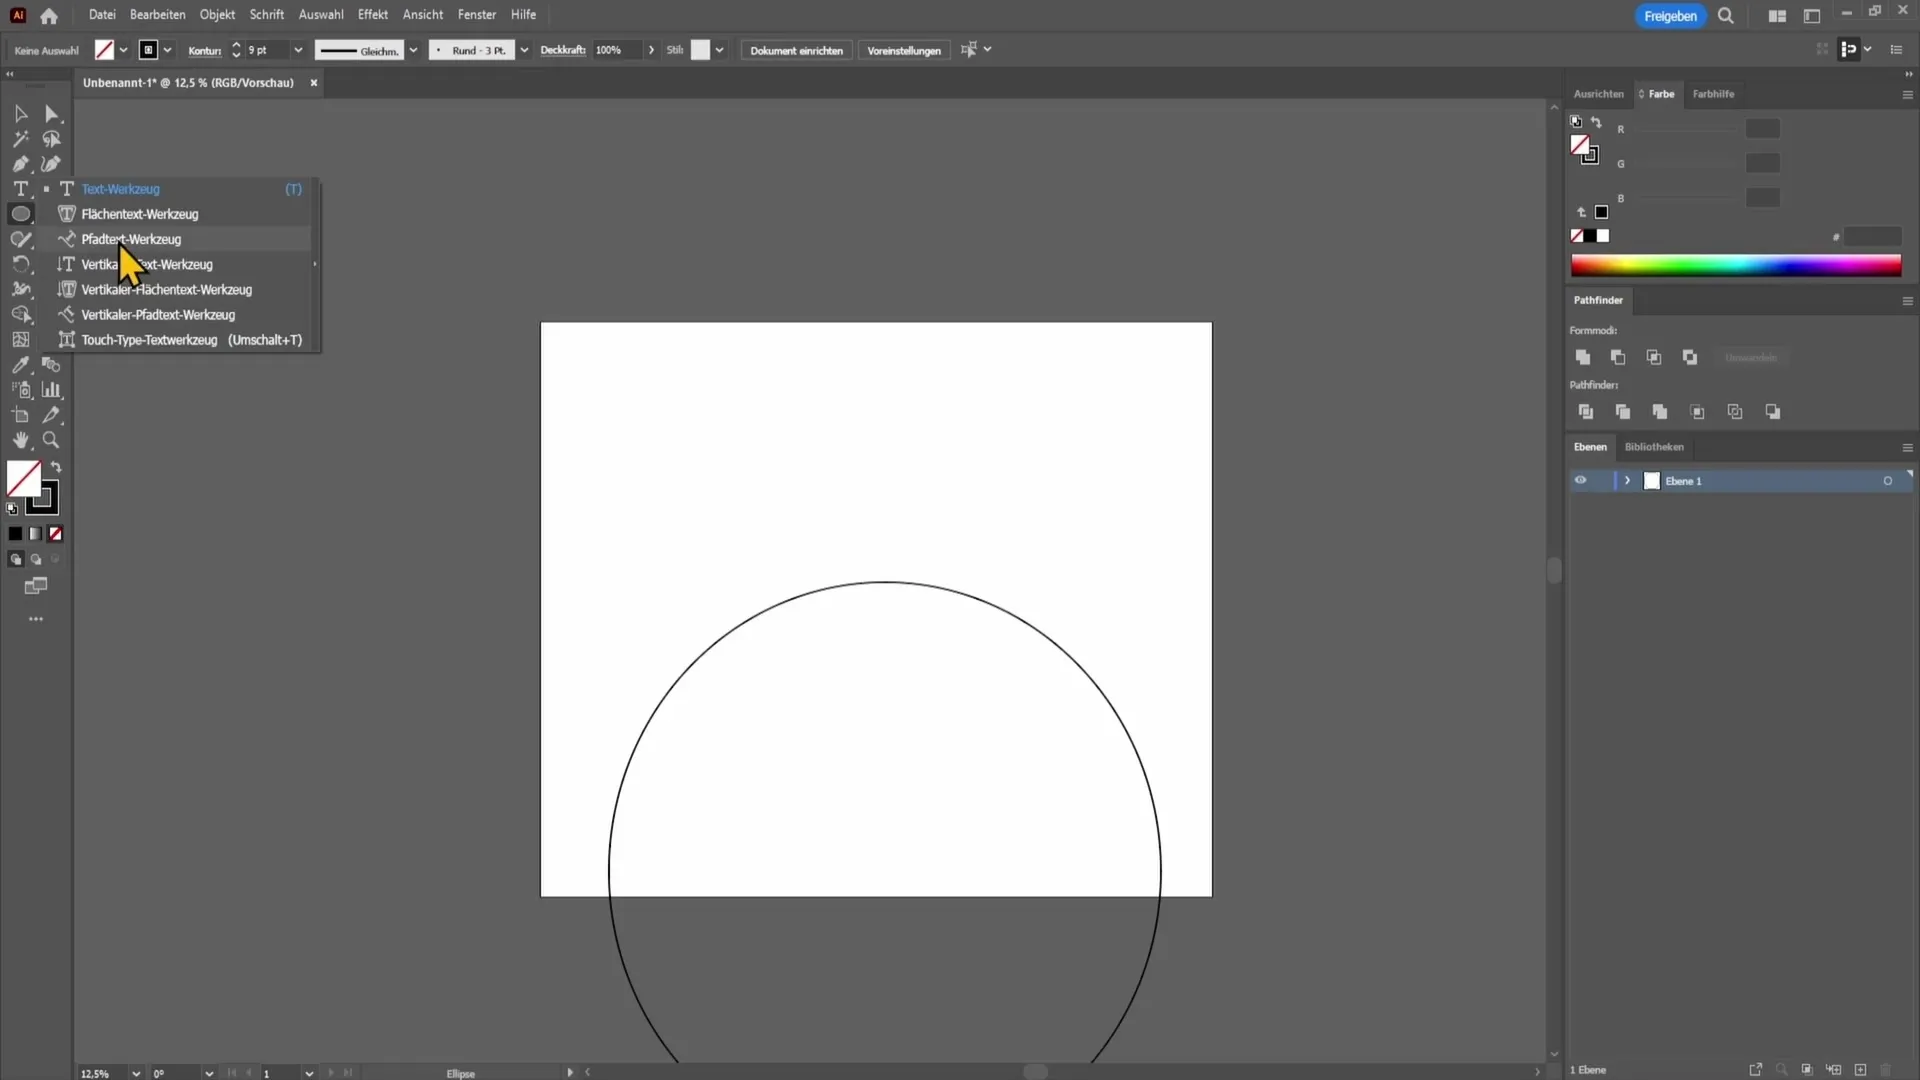
Now we have our path. To write text-based content on this path, you need a special tool from the text tool group. Right-click on the text tool and choose the "Type on a Path" tool.
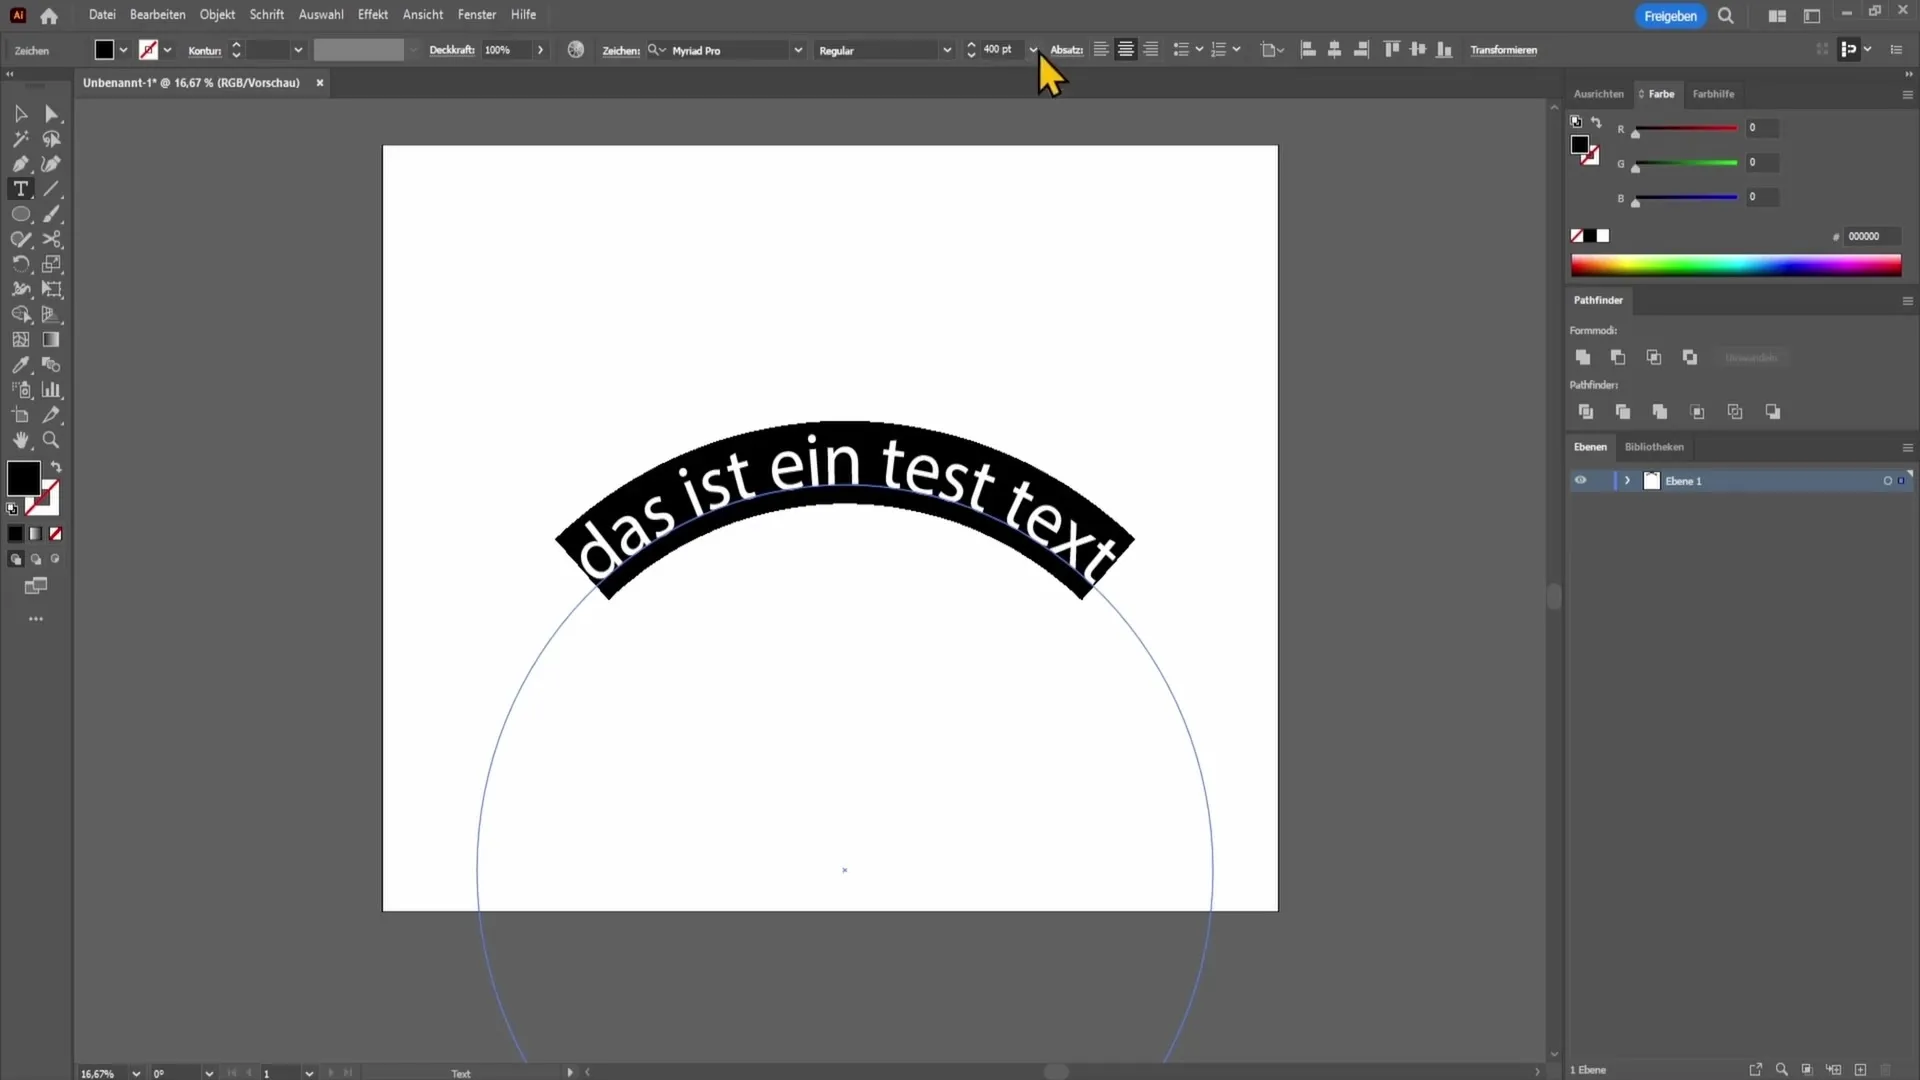
Now you can click on your path with the Type on a Path tool. Type your desired text, for example, "This is a test text". You will see the text adapting to the path. To place the text in a better position, you can use the selection tool to redefine the starting and ending points of the text.
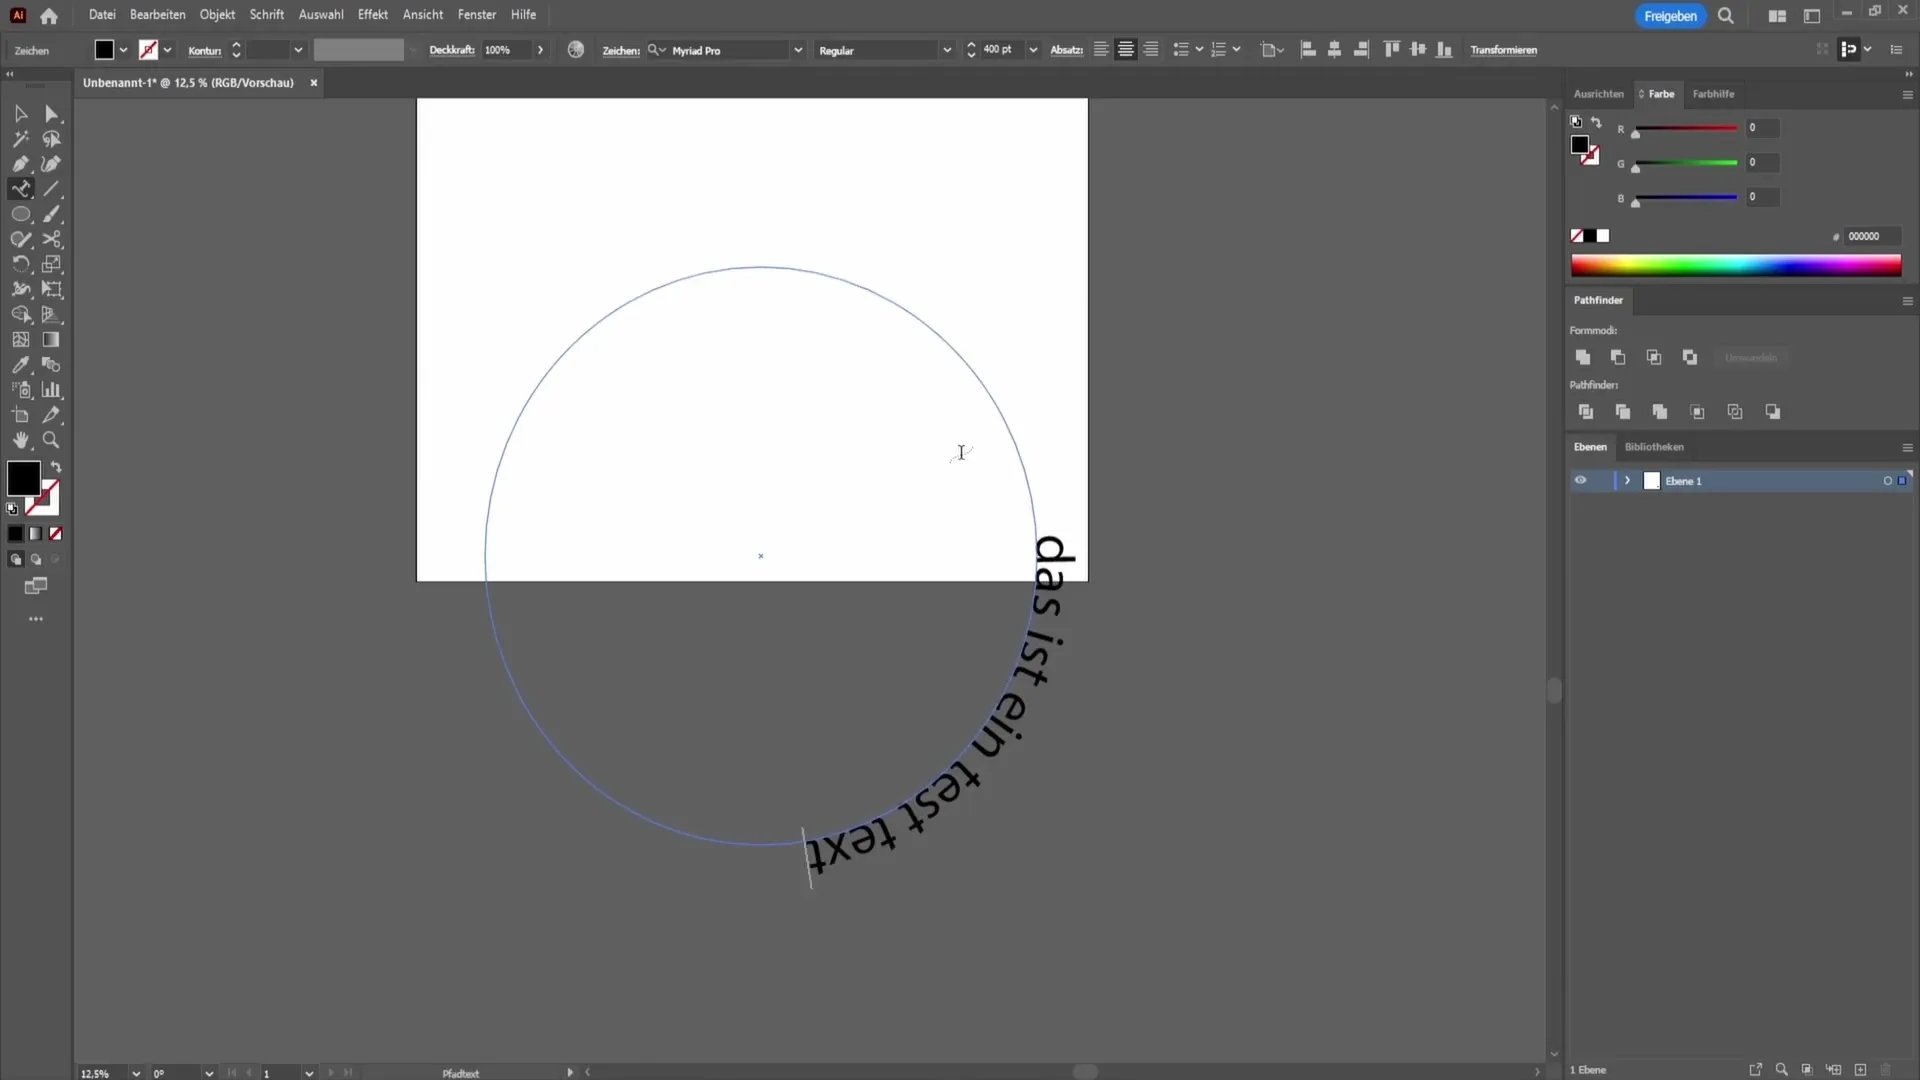
Select the text and drag the two square handles to change the text's placement. You can zoom in to adjust the position more precisely.
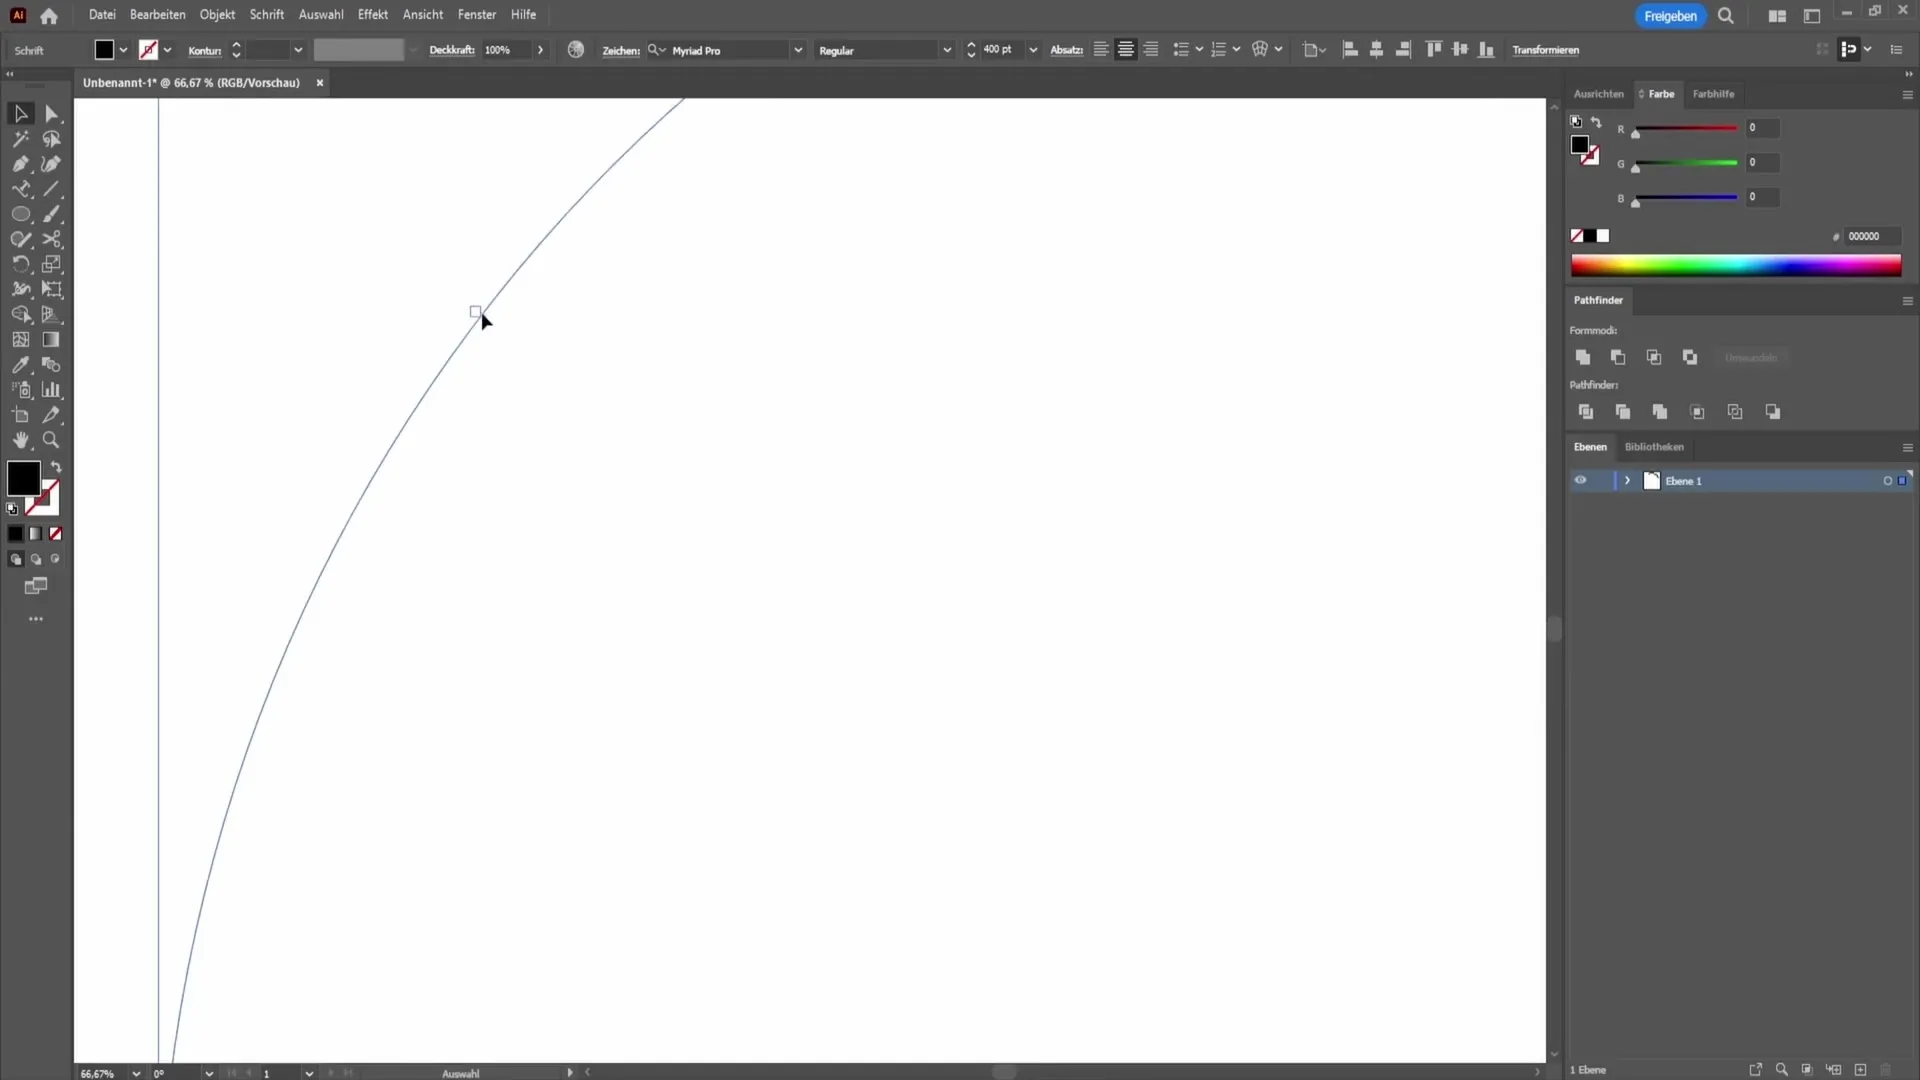
If you're not happy with the text and want to customize it, simply double-click on the text to highlight it. Here you can change the font size, font type, and other properties.
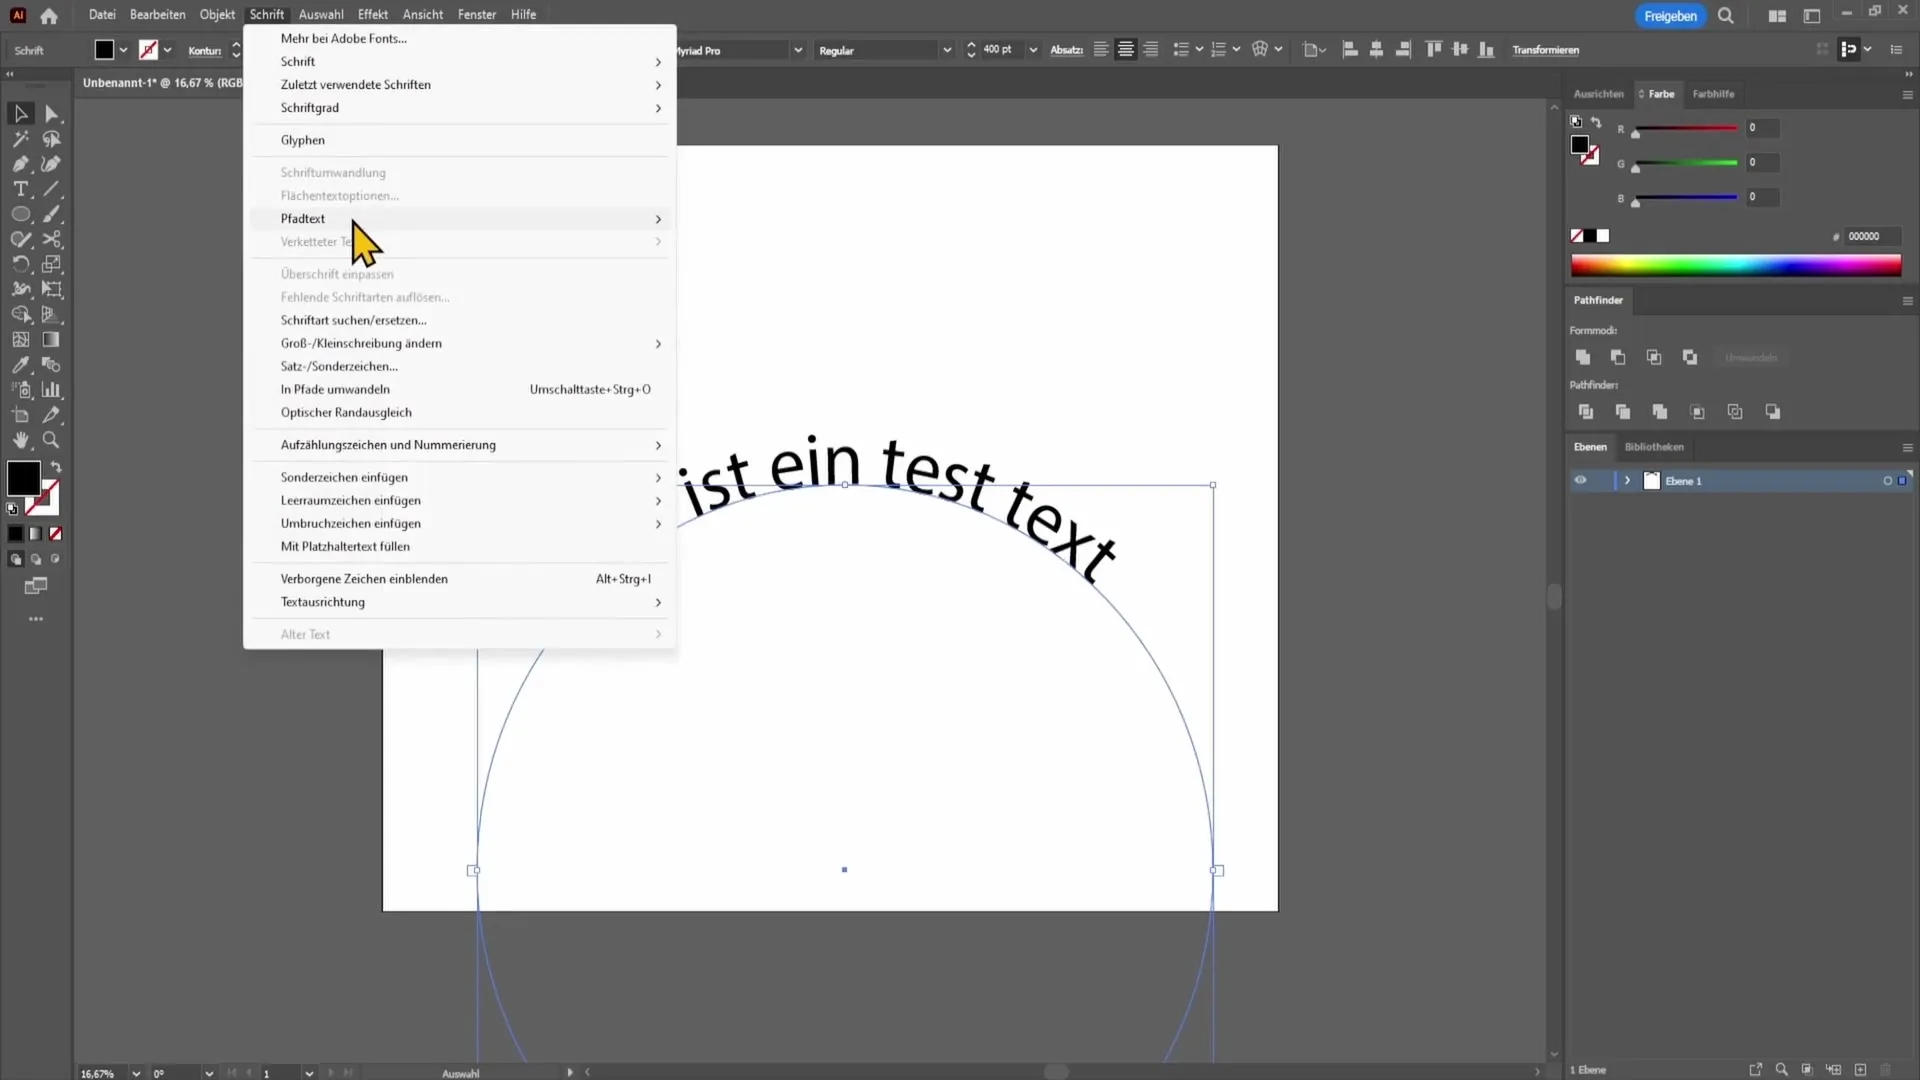
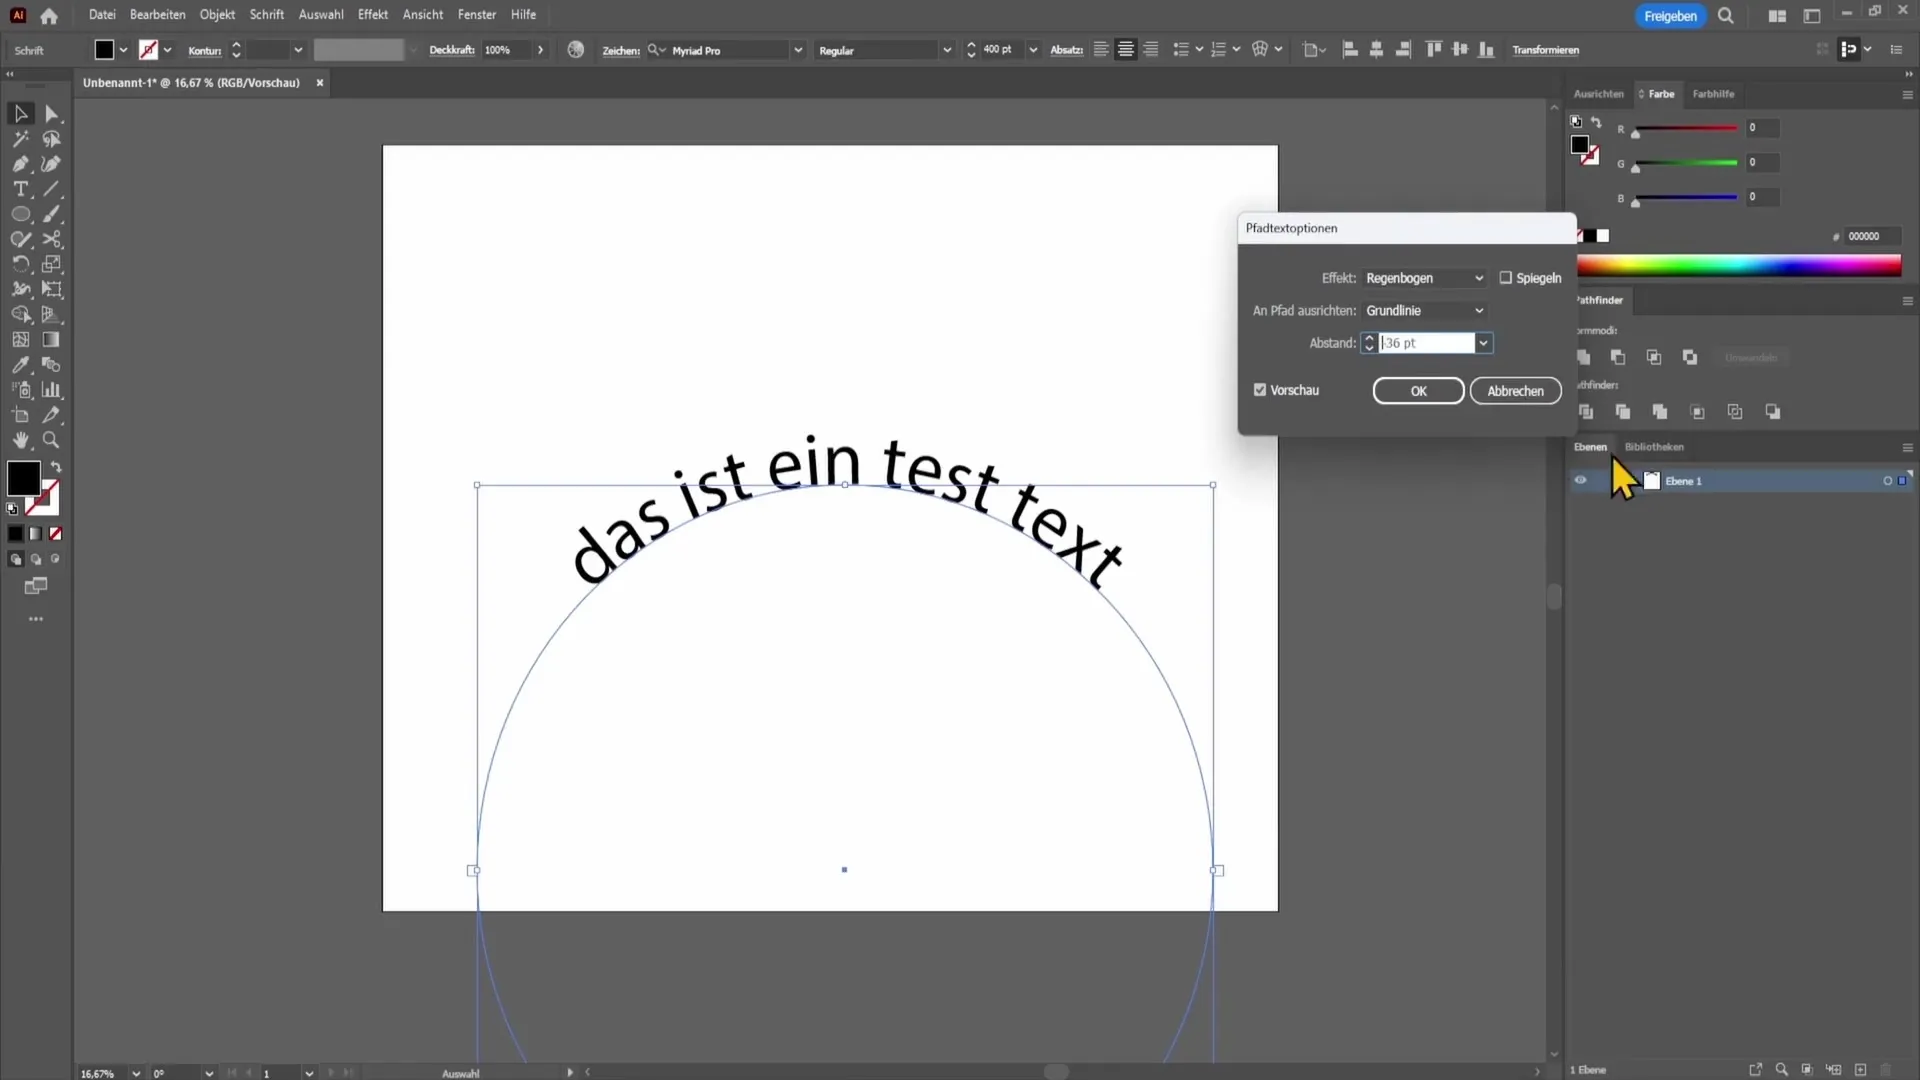
To align the text in the center, select the path and navigate to "Type" in the top menu. There you will find the "Type on a Path" option. Click on it and choose "Type on a Path Options".
Activate the preview in the new window on the right side to see the changes immediately. Here you can apply different effects to the text. For example, you have the option to create a rainbow effect or choose the asymmetry.
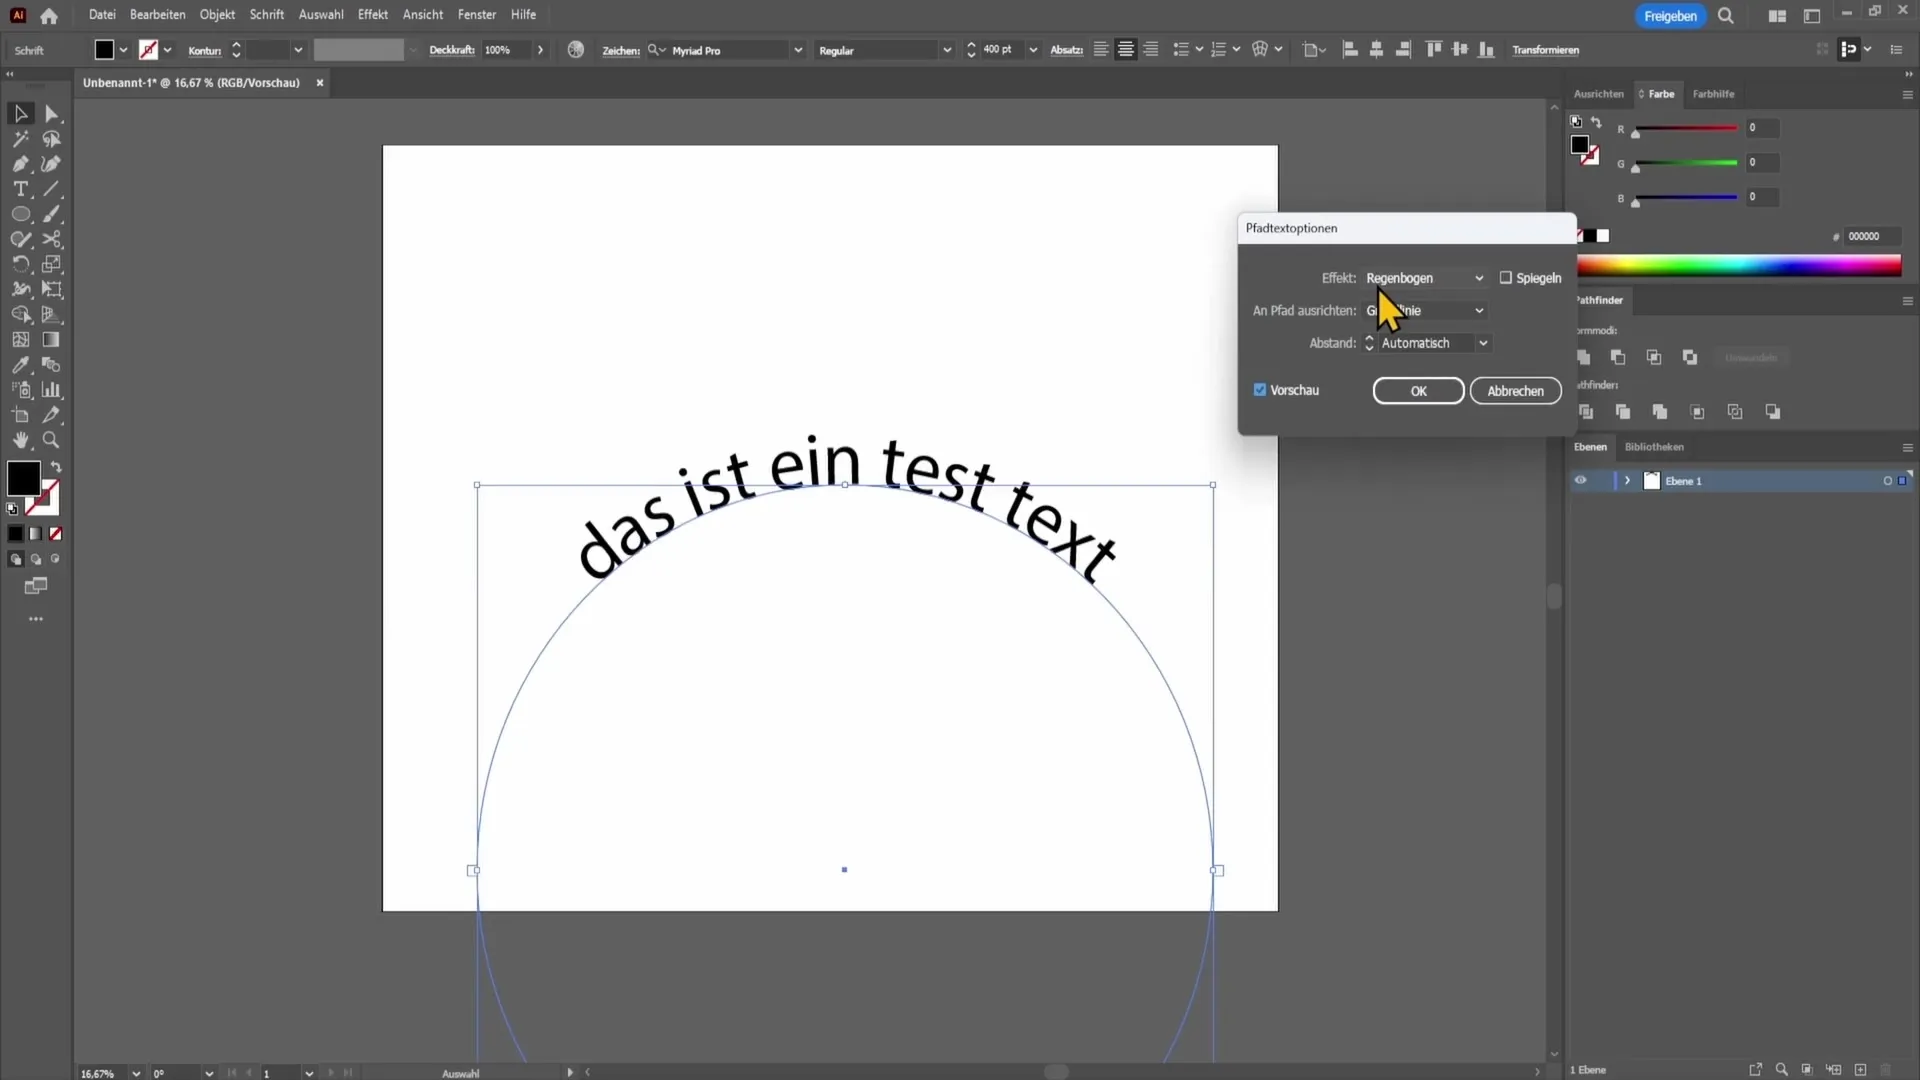
Once you are satisfied with the appearance, click "OK". You can also adjust the letter spacing. If needed, you can set it to -36, for example, or increase it to 18. Make sure the spacing looks harmonious.
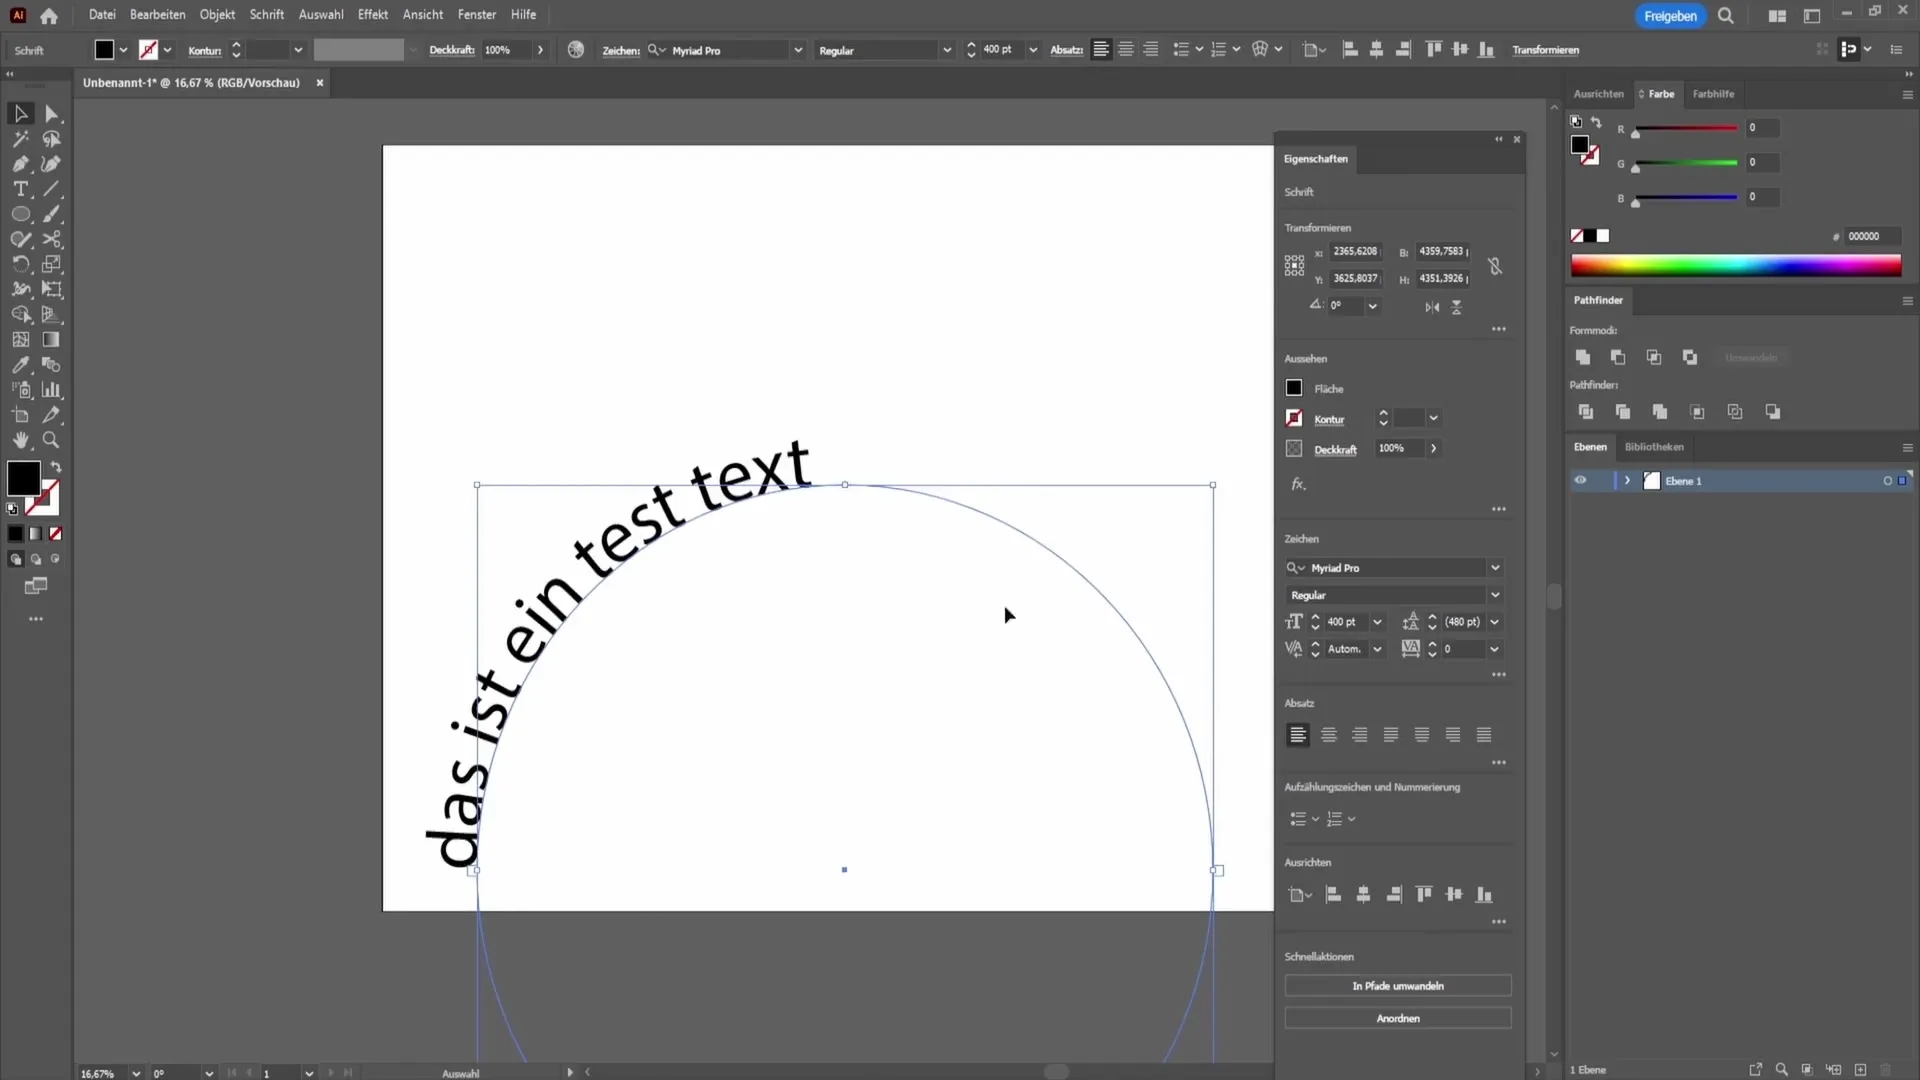
After editing the text exactly as you envisioned, I would like to show you one more option. Go to "Window" and select "Properties". Here you can customize many more options.
When the text is selected, you have the option to adjust the text alignment in the paragraph section. You can align the text to the left, right, or center.
If you want to create your own path, select the Pen tool. Disable the fill and choose black for the stroke with a size of about eight points. Draw your own path that you want to use later for the text.
Now select the Type on a Path tool again and click directly on your newly drawn path to place the text.
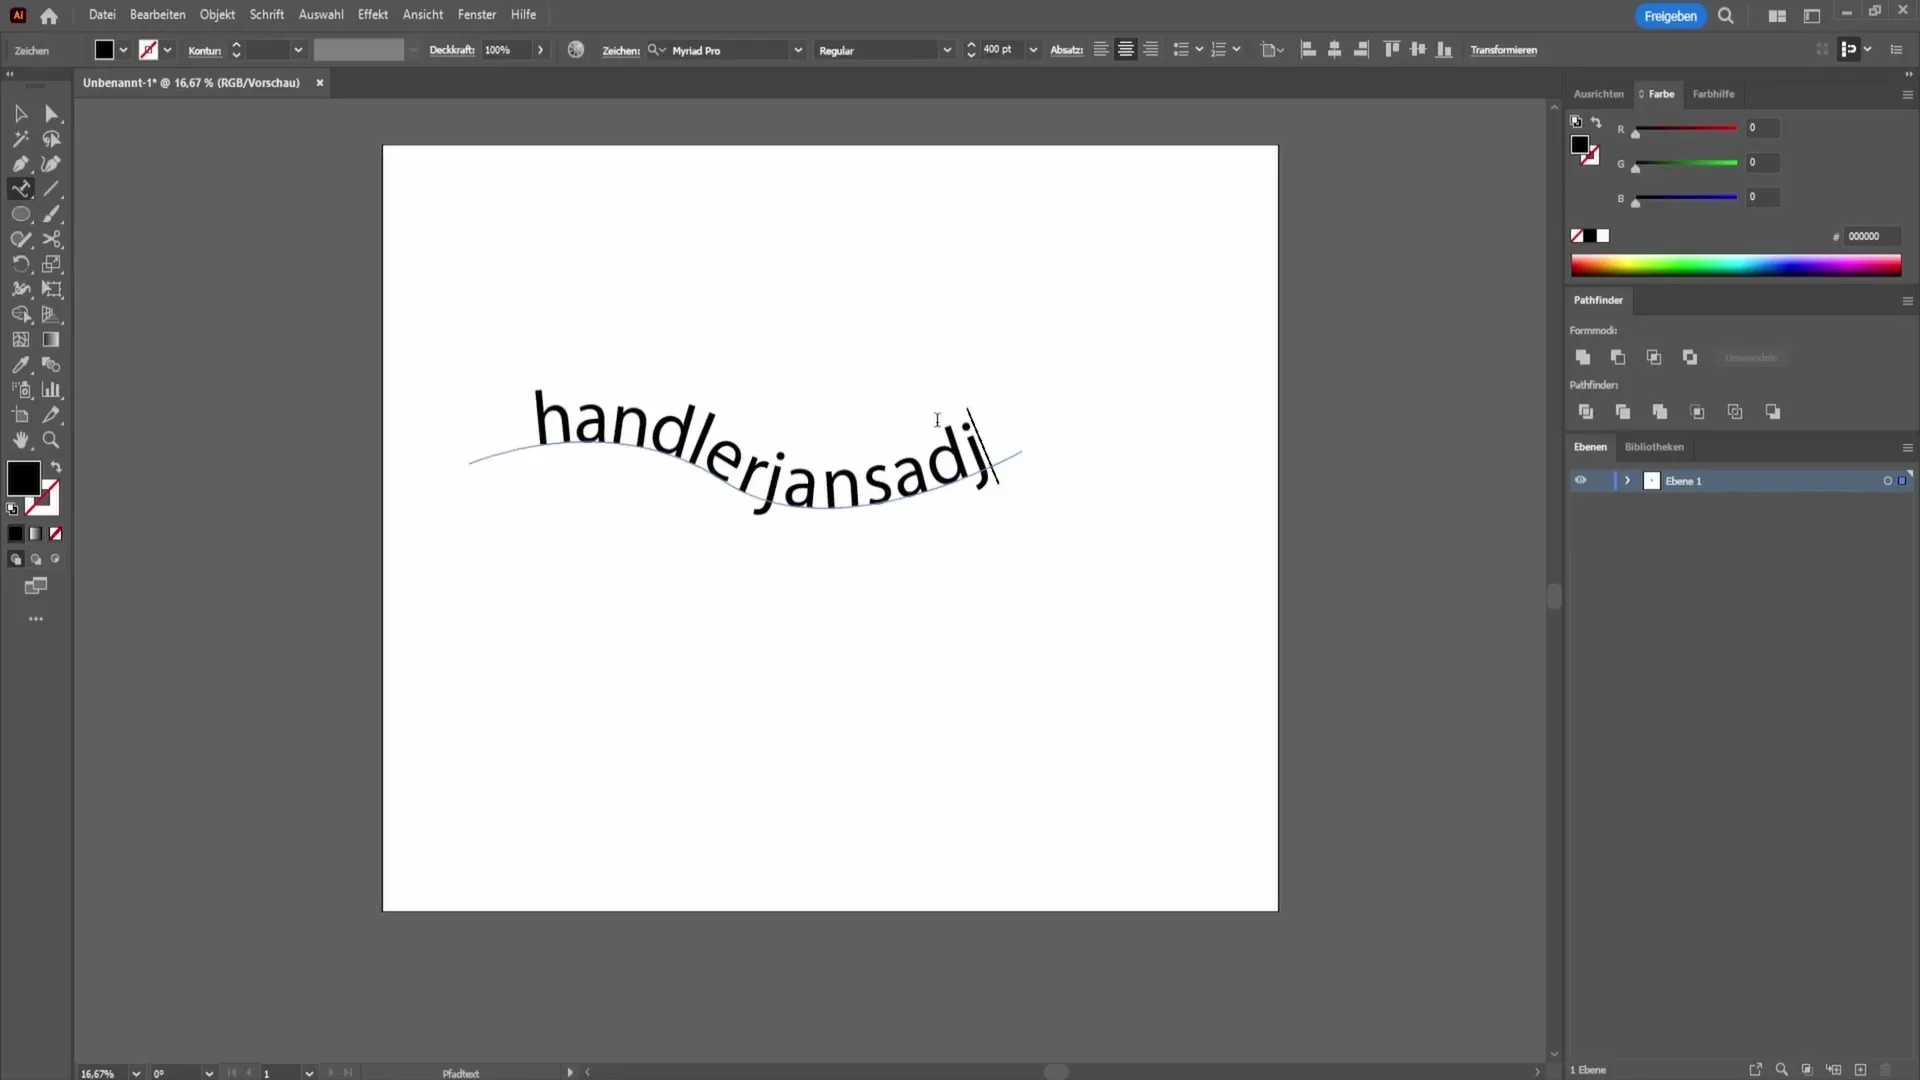
Once you are satisfied with your design, press the control key and click outside to secure your text.
Summary
In this guide, you have learned how to write text on a path in Adobe Illustrator. We created a path, added textual content, and made various adjustments to perfect your design.
Frequently Asked Questions
How do I create a path in Adobe Illustrator?You can create a path using the Ellipse tool or the Pen tool.
What can I do if the text is not in the right place?Use the Selection tool to drag the text handles and adjust the position.
Can I change the font in text on a path?Yes, you can adjust the font and size at any time by selecting the text.
How can I apply special effects to the text?Go to "Type" and choose "Type on a Path Options" to try out different effects.
What happens if I want to apply text to my own path?Select the Pen tool to draw your own path before using the Type on a Path tool.


