In this guide, you will learn how to remove the background from images and drawings in Adobe Illustrator. Removing a background can often be necessary to highlight the main object or to further process it for various design purposes. There are different methods to achieve this, and I will show you two of the most common techniques: the simple method using the Image Trace feature and the clipping path tool. This guide is geared towards users of all experience levels and will help you expand your skills in Adobe Illustrator.
Main Takeaways You can effectively remove the background from images and drawings in Adobe Illustrator using two methods: 1) by converting them into vector files using the Image Trace feature, and 2) by precise clipping using the clipping path tool. Both methods require some practice but yield professional results.
Step-by-Step Guide
Let's start with the first method for removing the background.
Simple Method Using Image Trace
First, we will work with a simple vector file. If you have a raster file, you can select it using the Direct Selection tool.
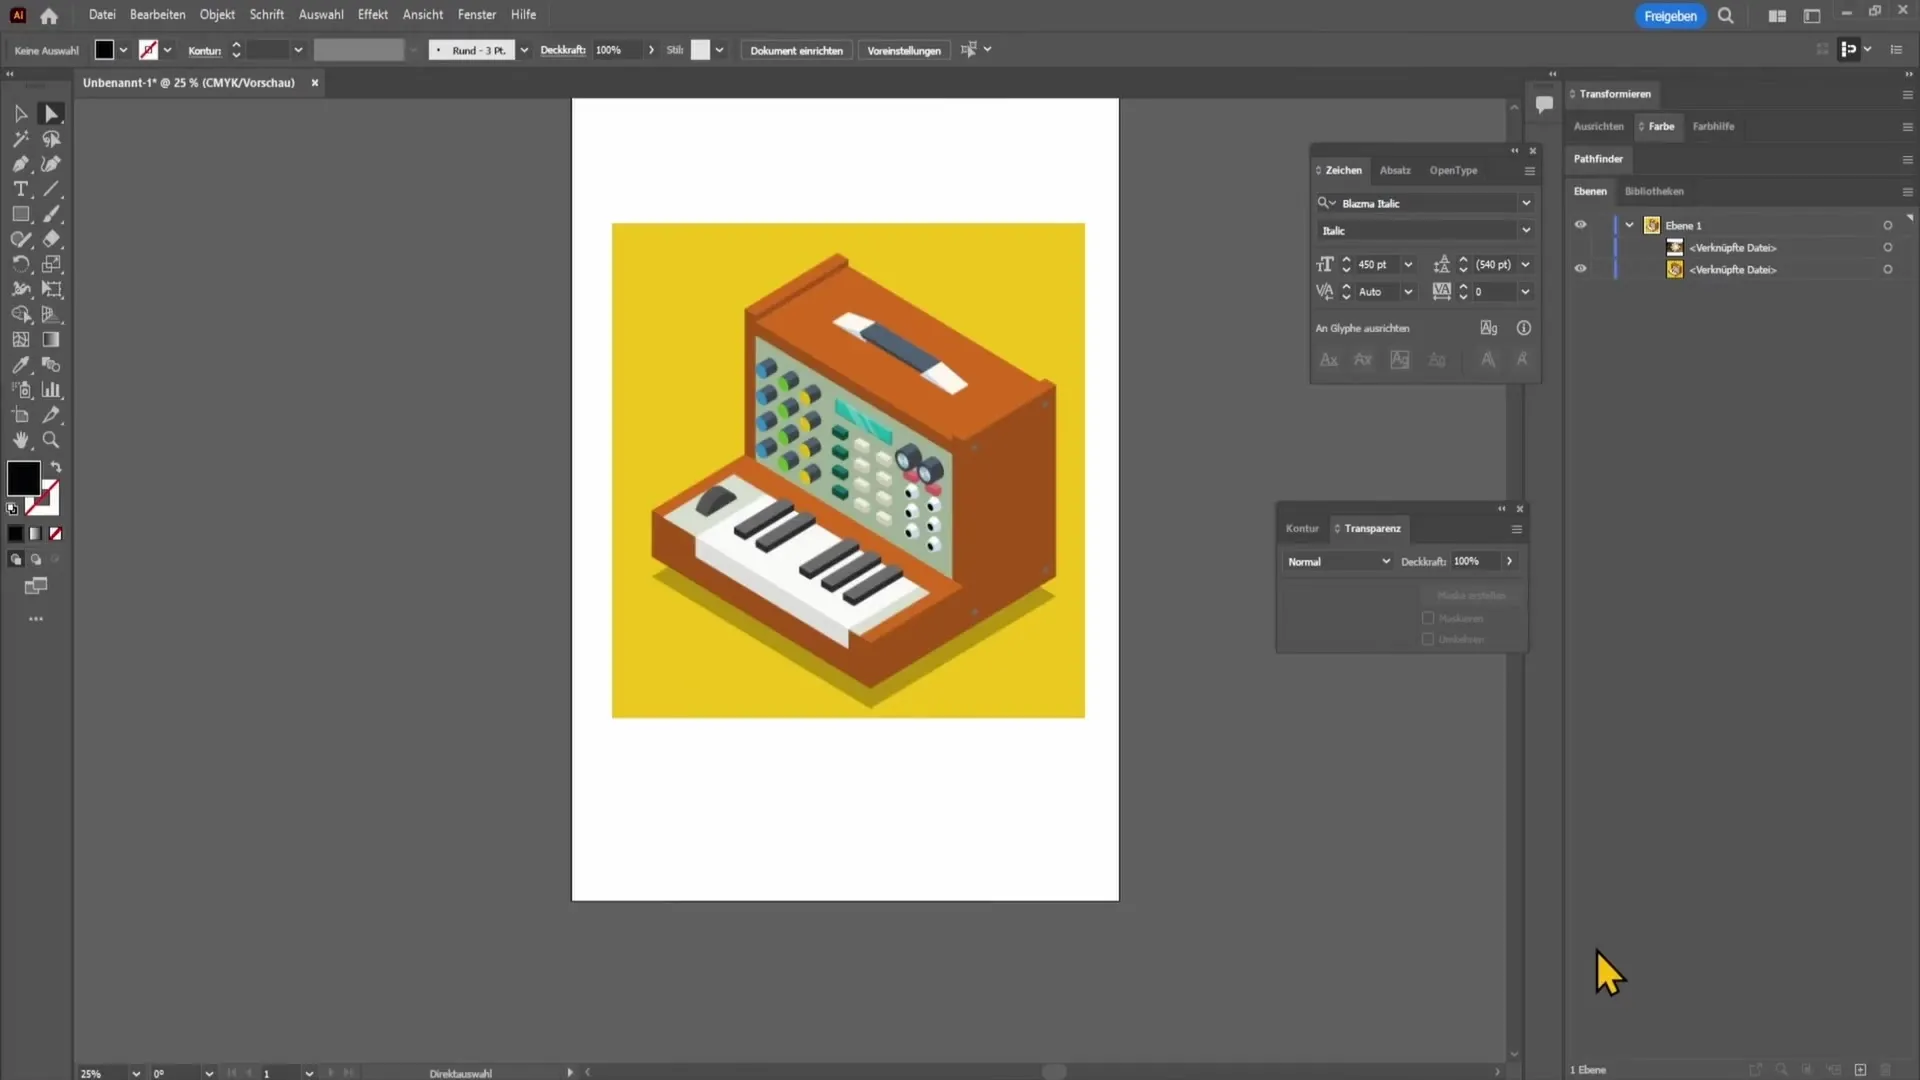
Once you have selected the file, click on Image Trace at the top. Here, select the "16 Colors" option.
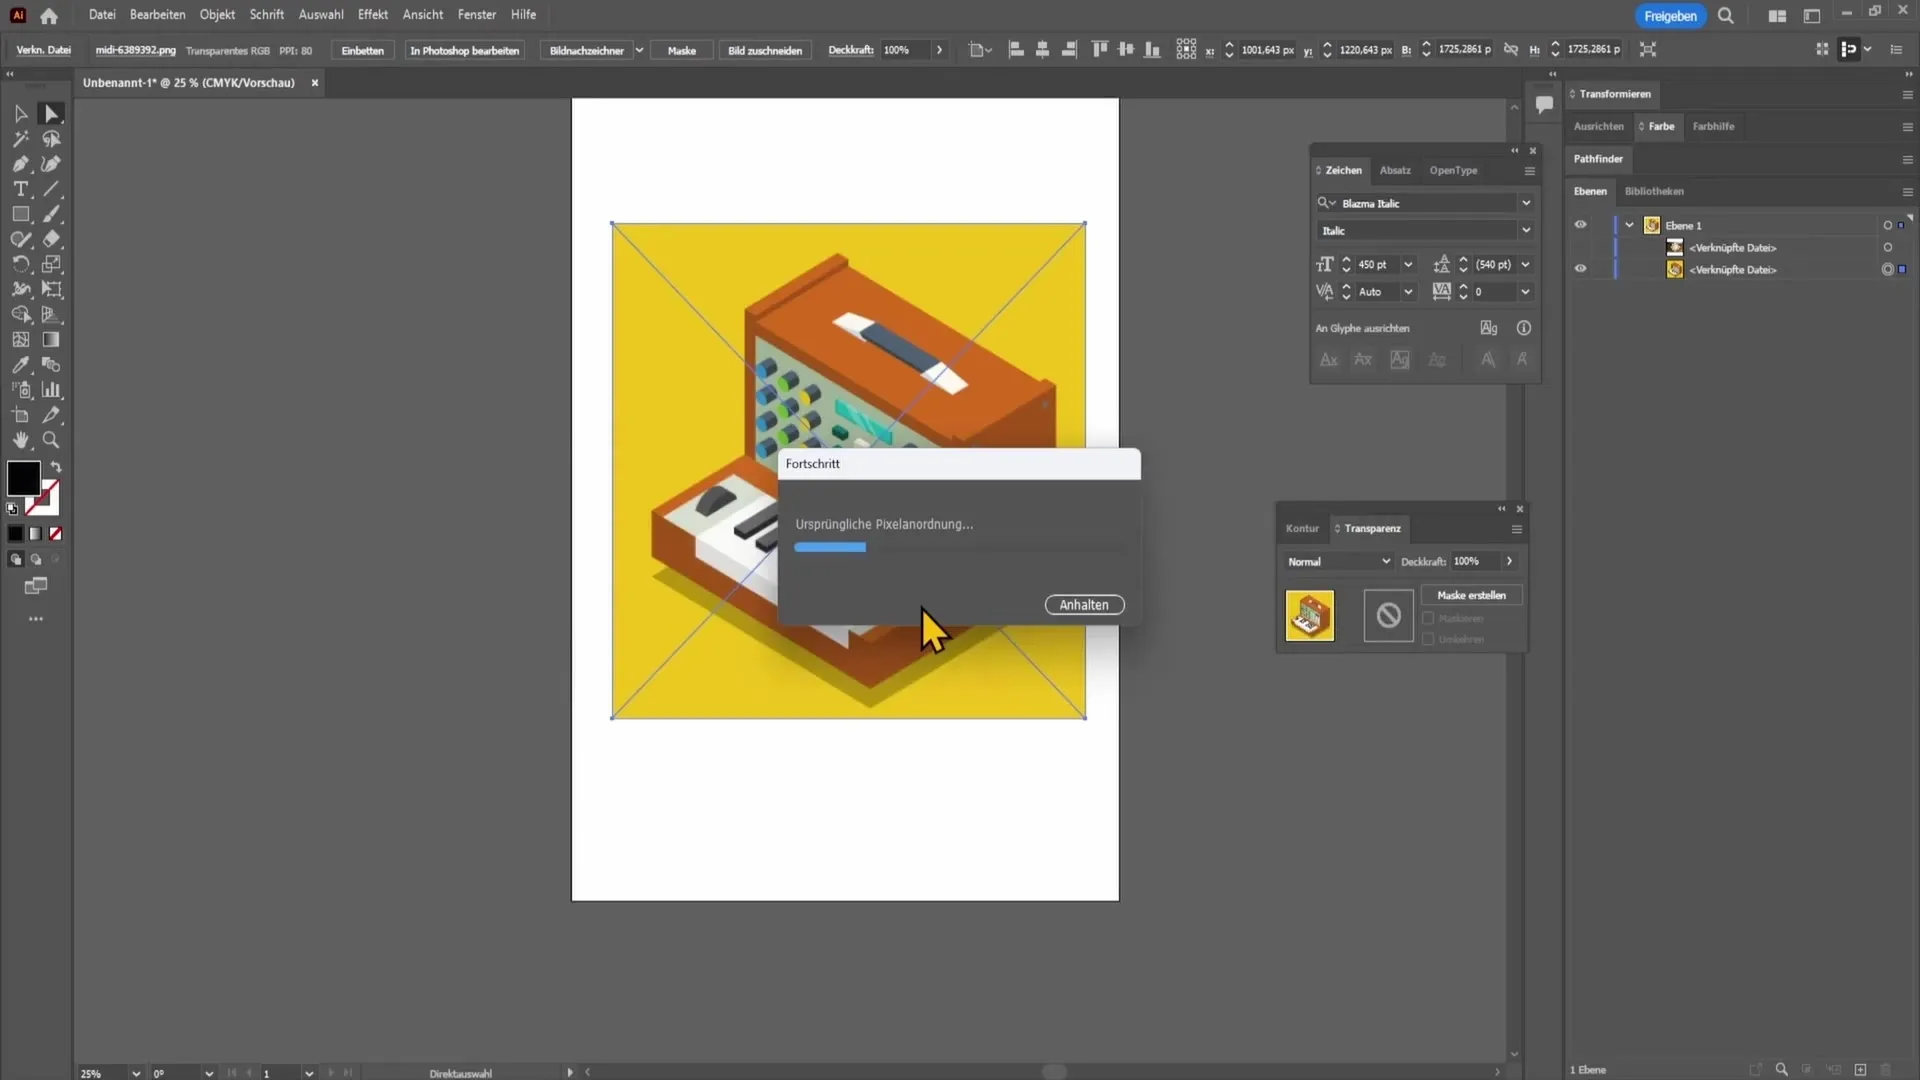
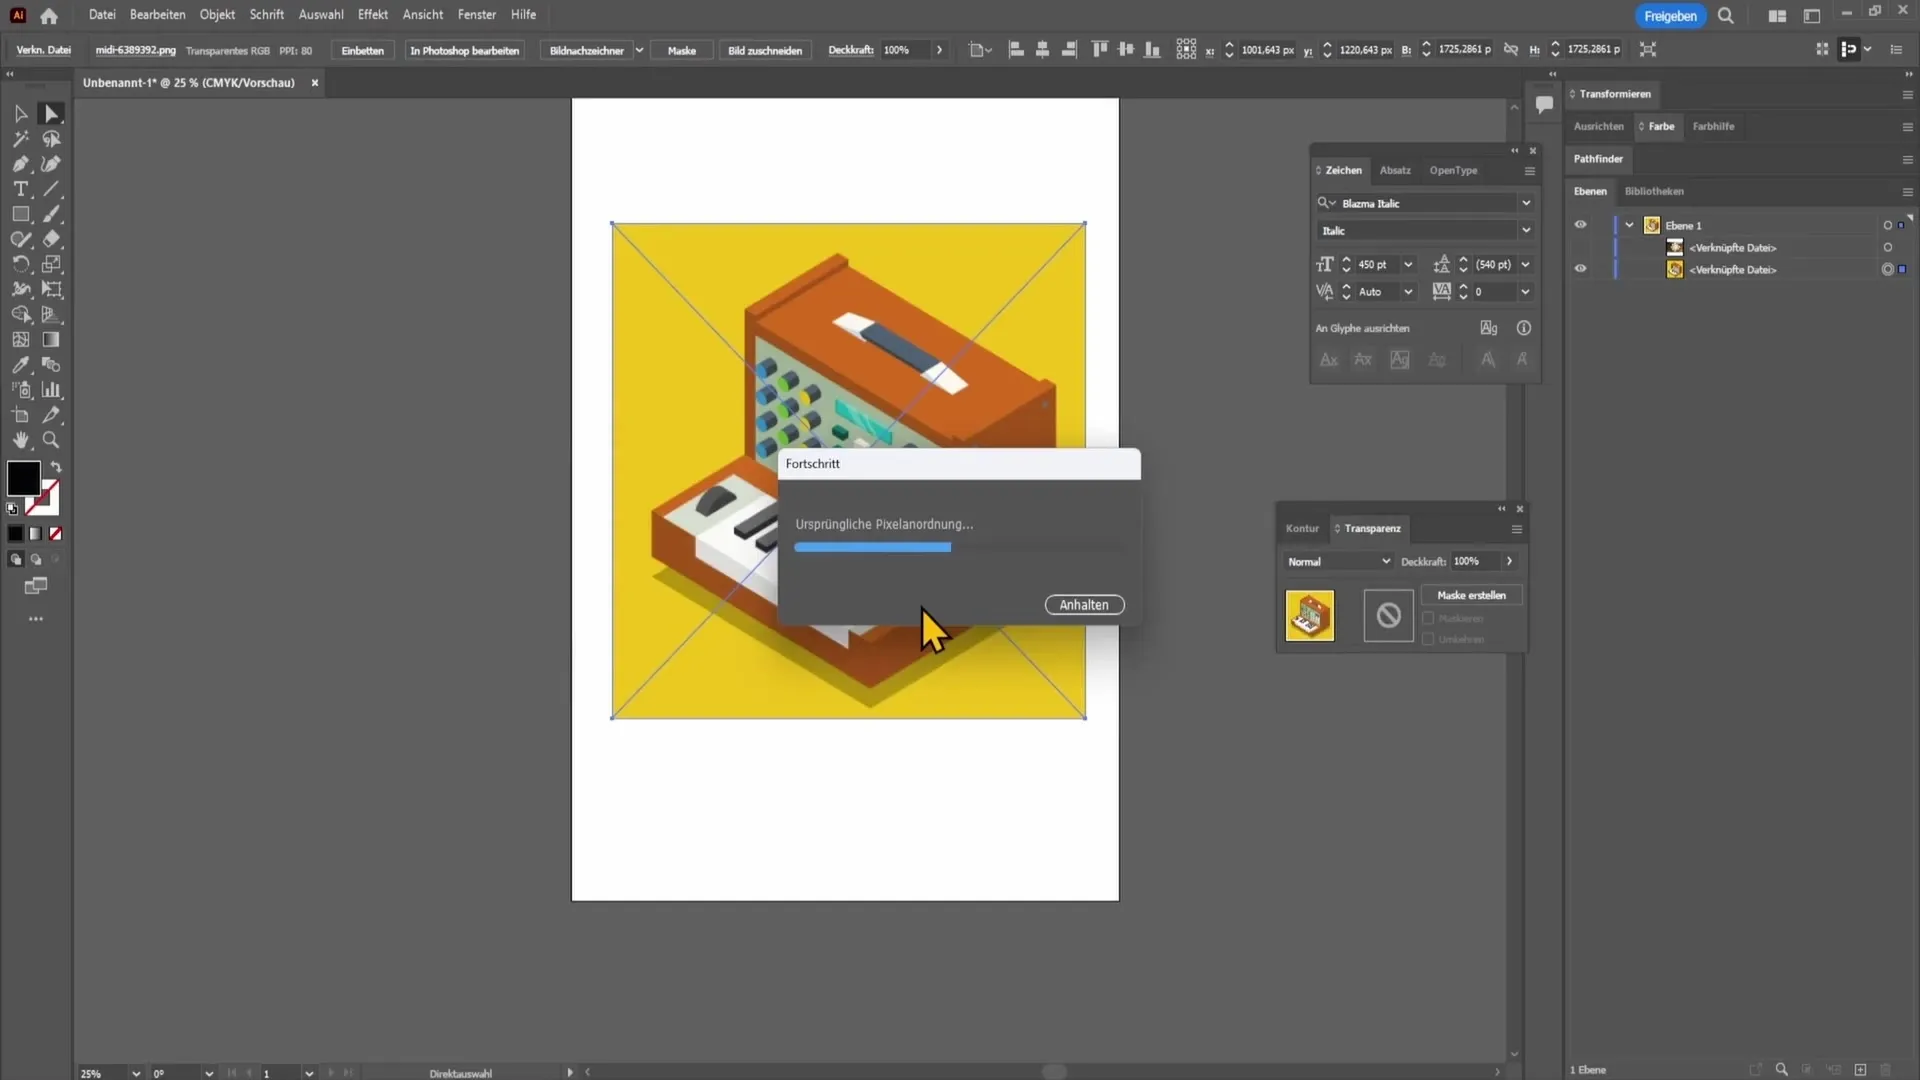
Click "OK" and wait a moment while Illustrator generates the file for you.
Once this conversion is complete, click "Expand." You have now successfully converted the raster file into a vector file.
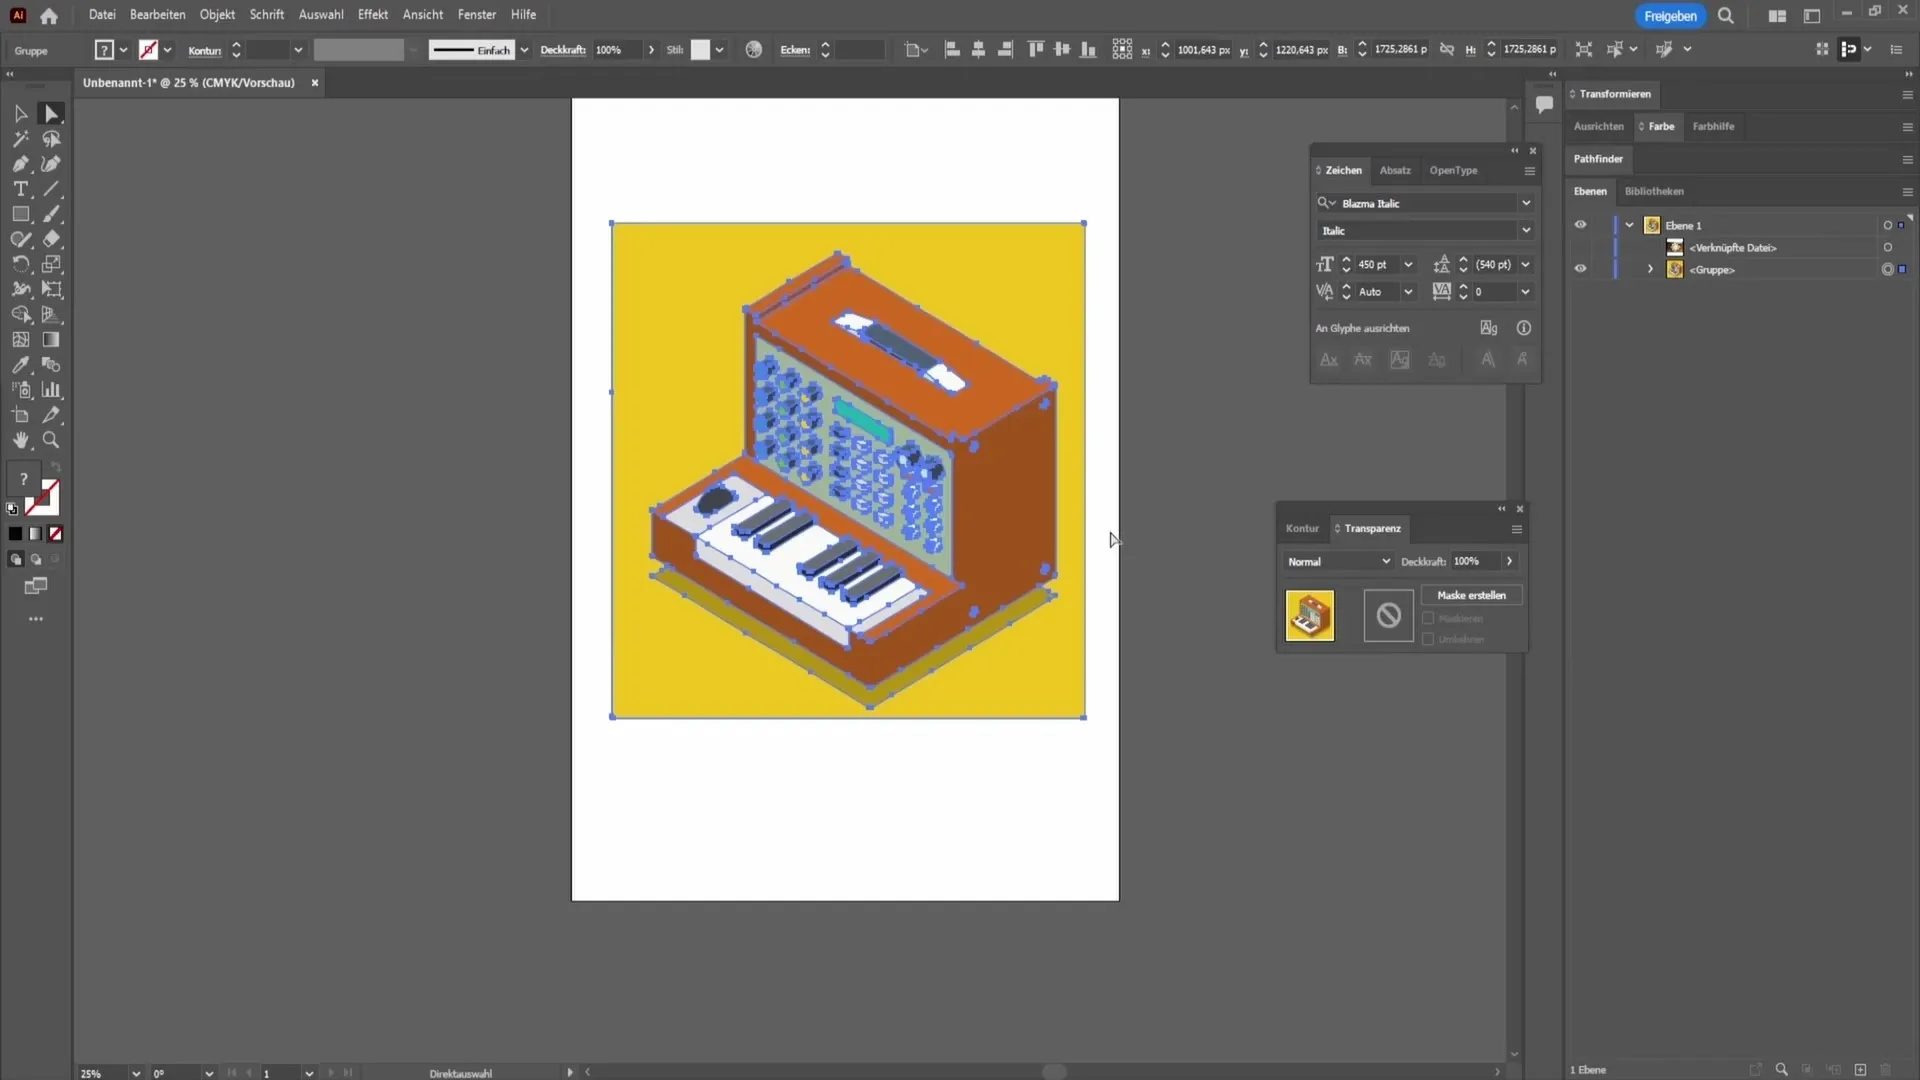
Now click outside to deselect, then select the background. Press the Delete key.
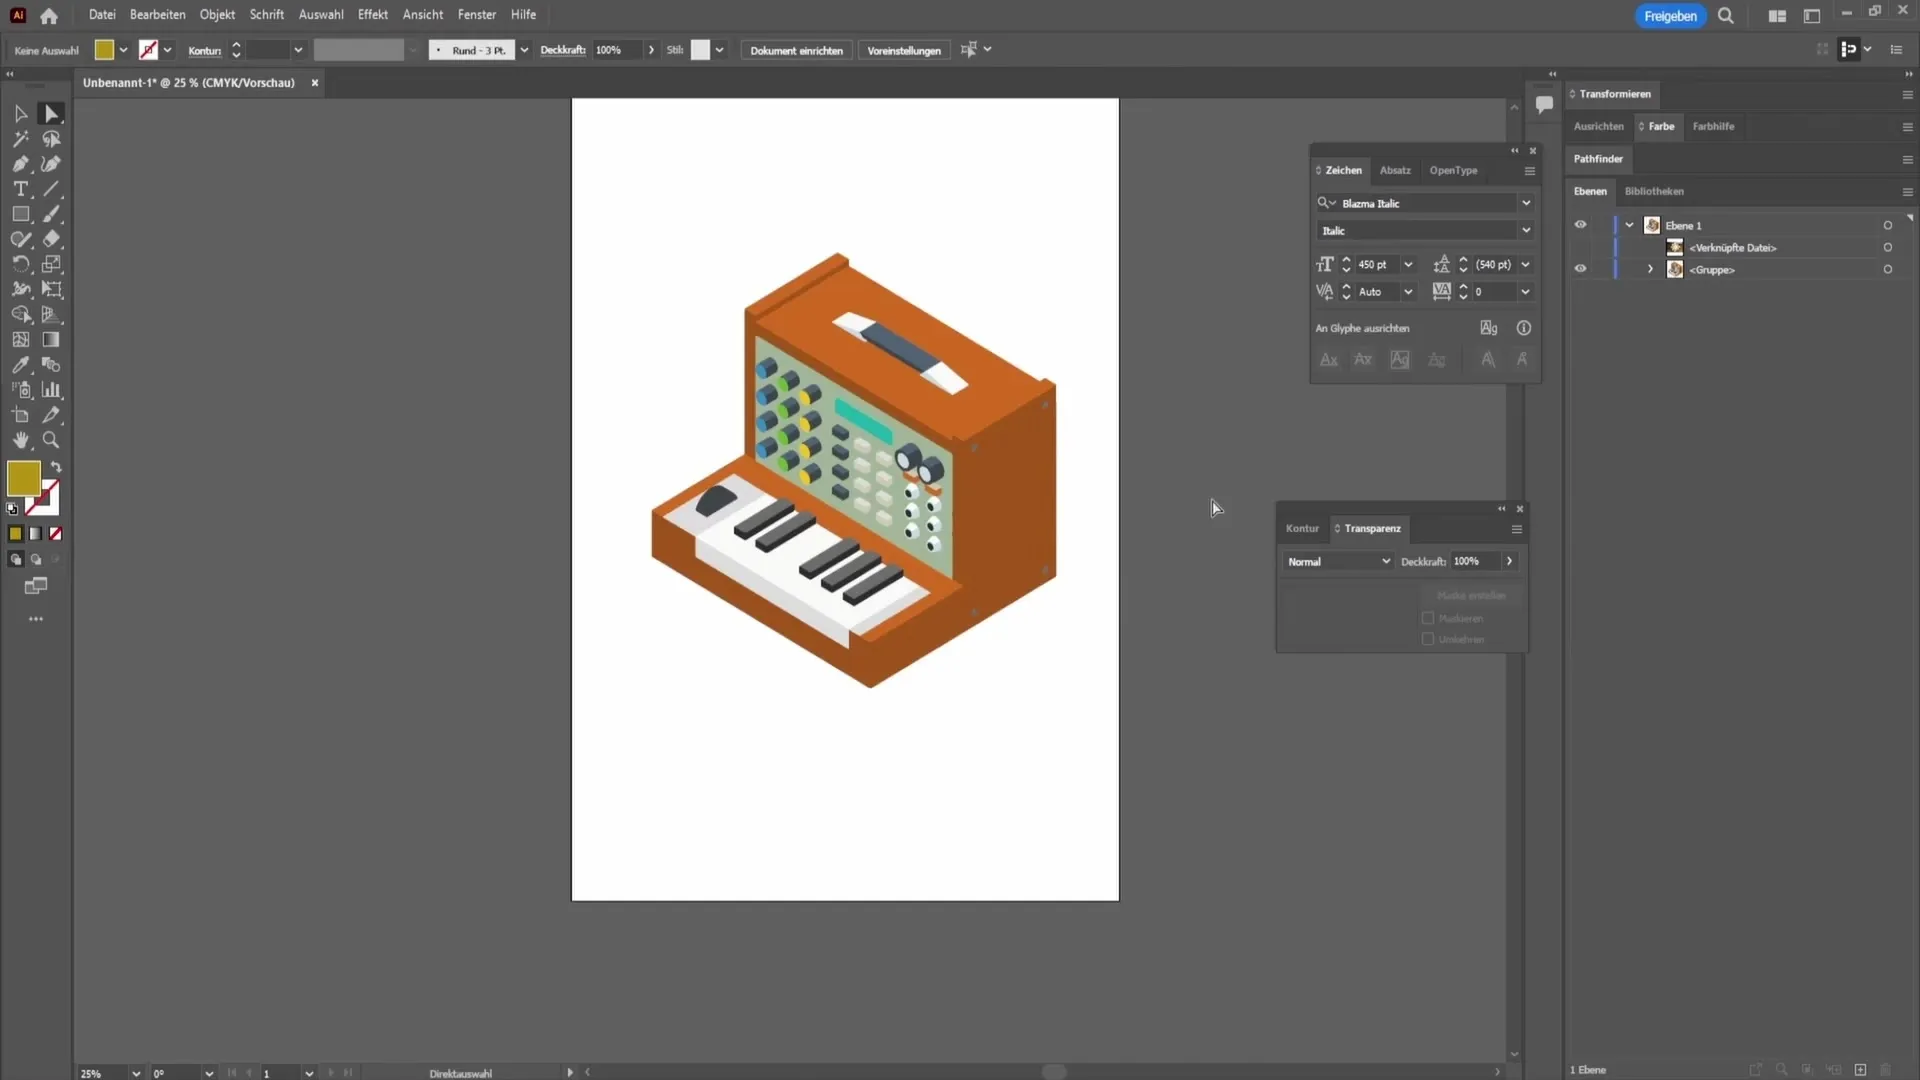
Voilà, the background is removed! If you export the image now as a PNG file, the white background will not be included in the export.
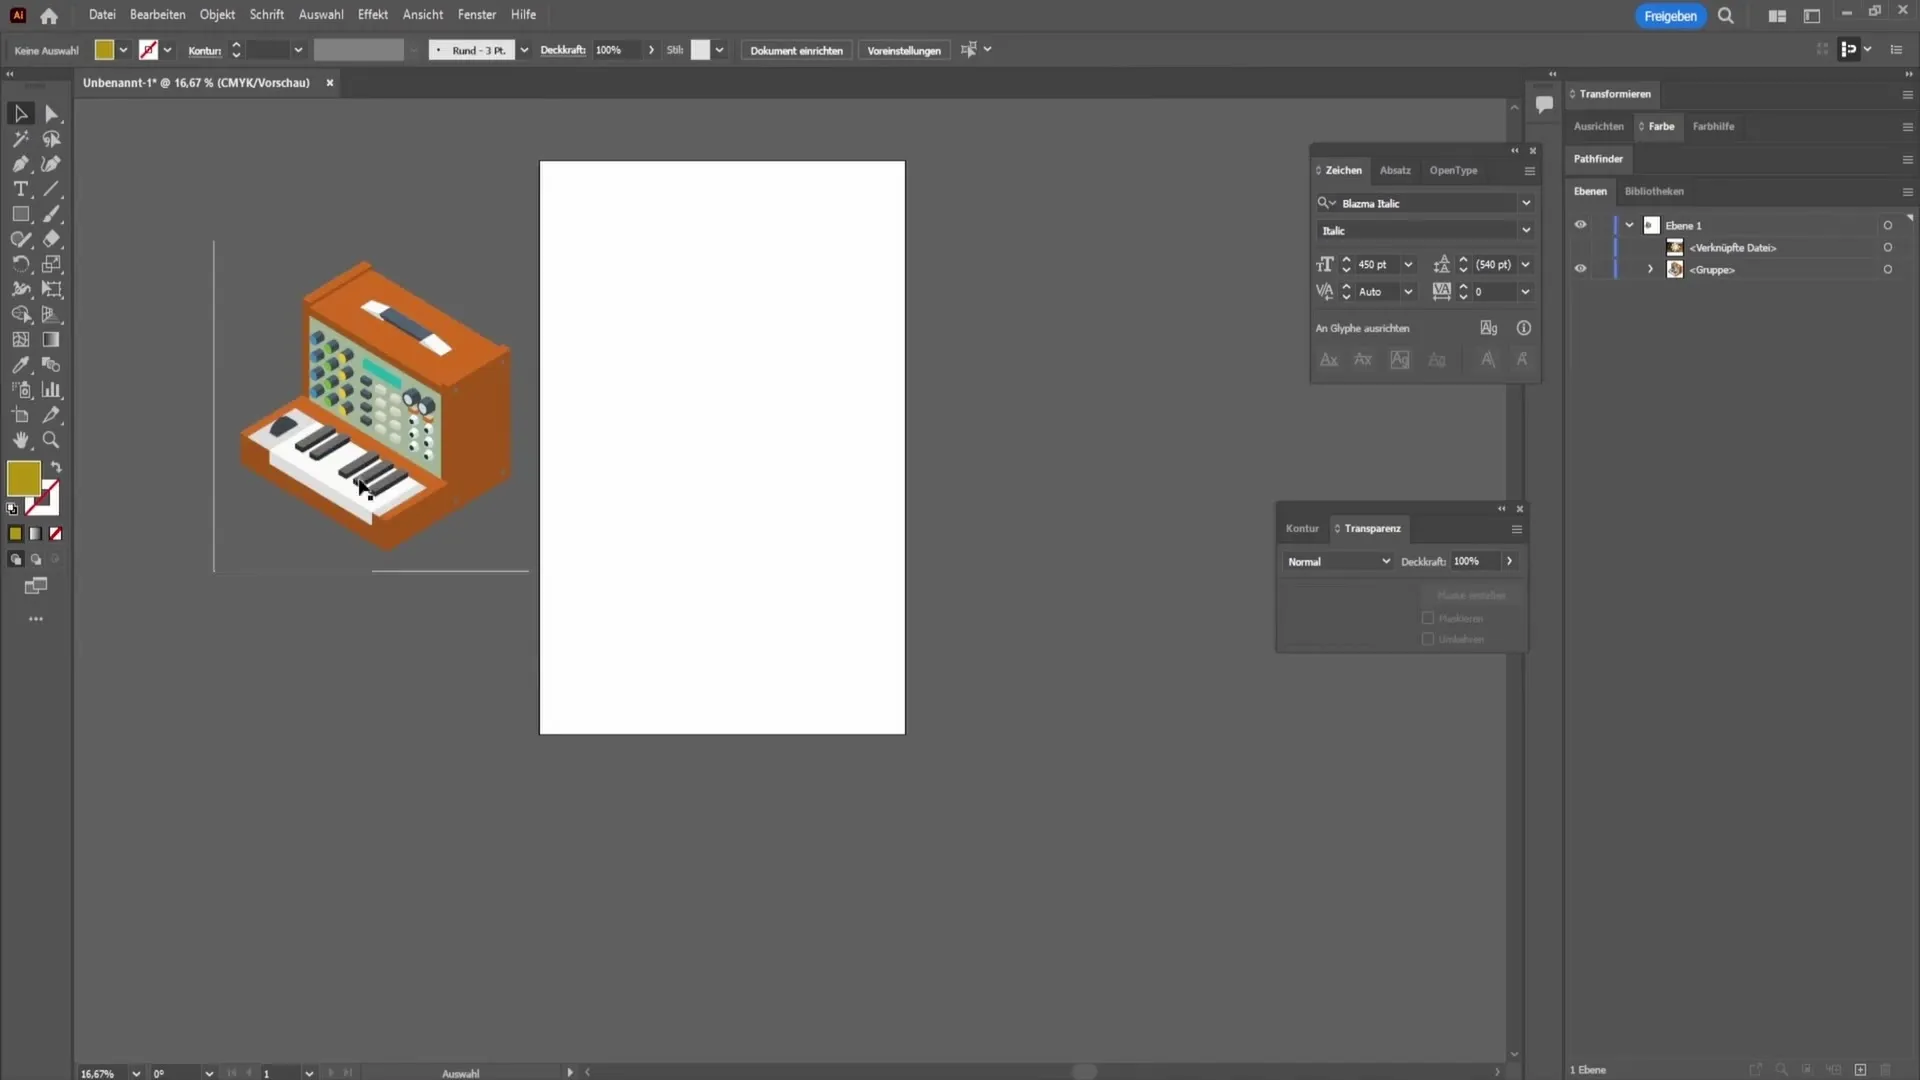
That was the simple method. Now, let's look at the second method, which is useful for more complex objects.
Clipping with the Clipping Path Tool
In this next step, you have loaded a photo in Adobe Illustrator and want to clip out only a specific object, like a coffee cup.
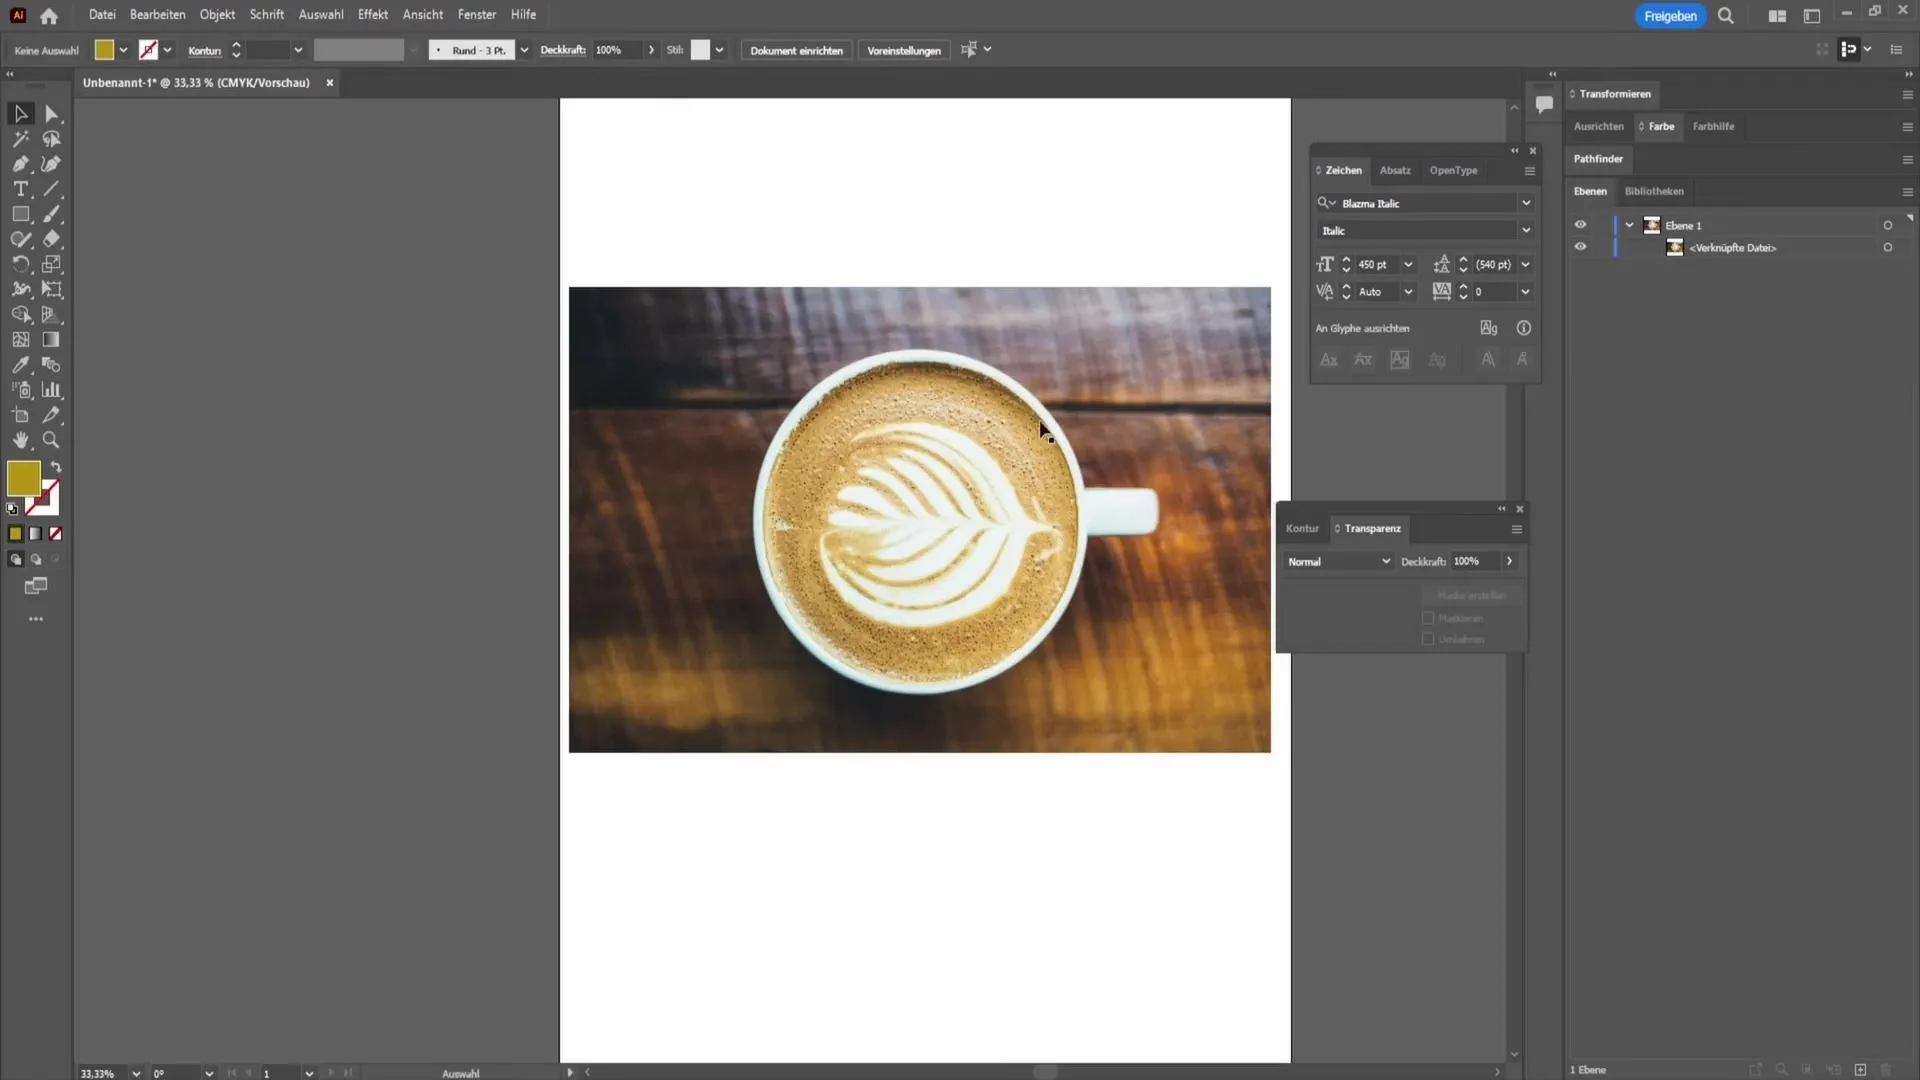
For this, you cannot use the Image Trace feature. Instead, we need to clip the object using the clipping path tool found on the left side.
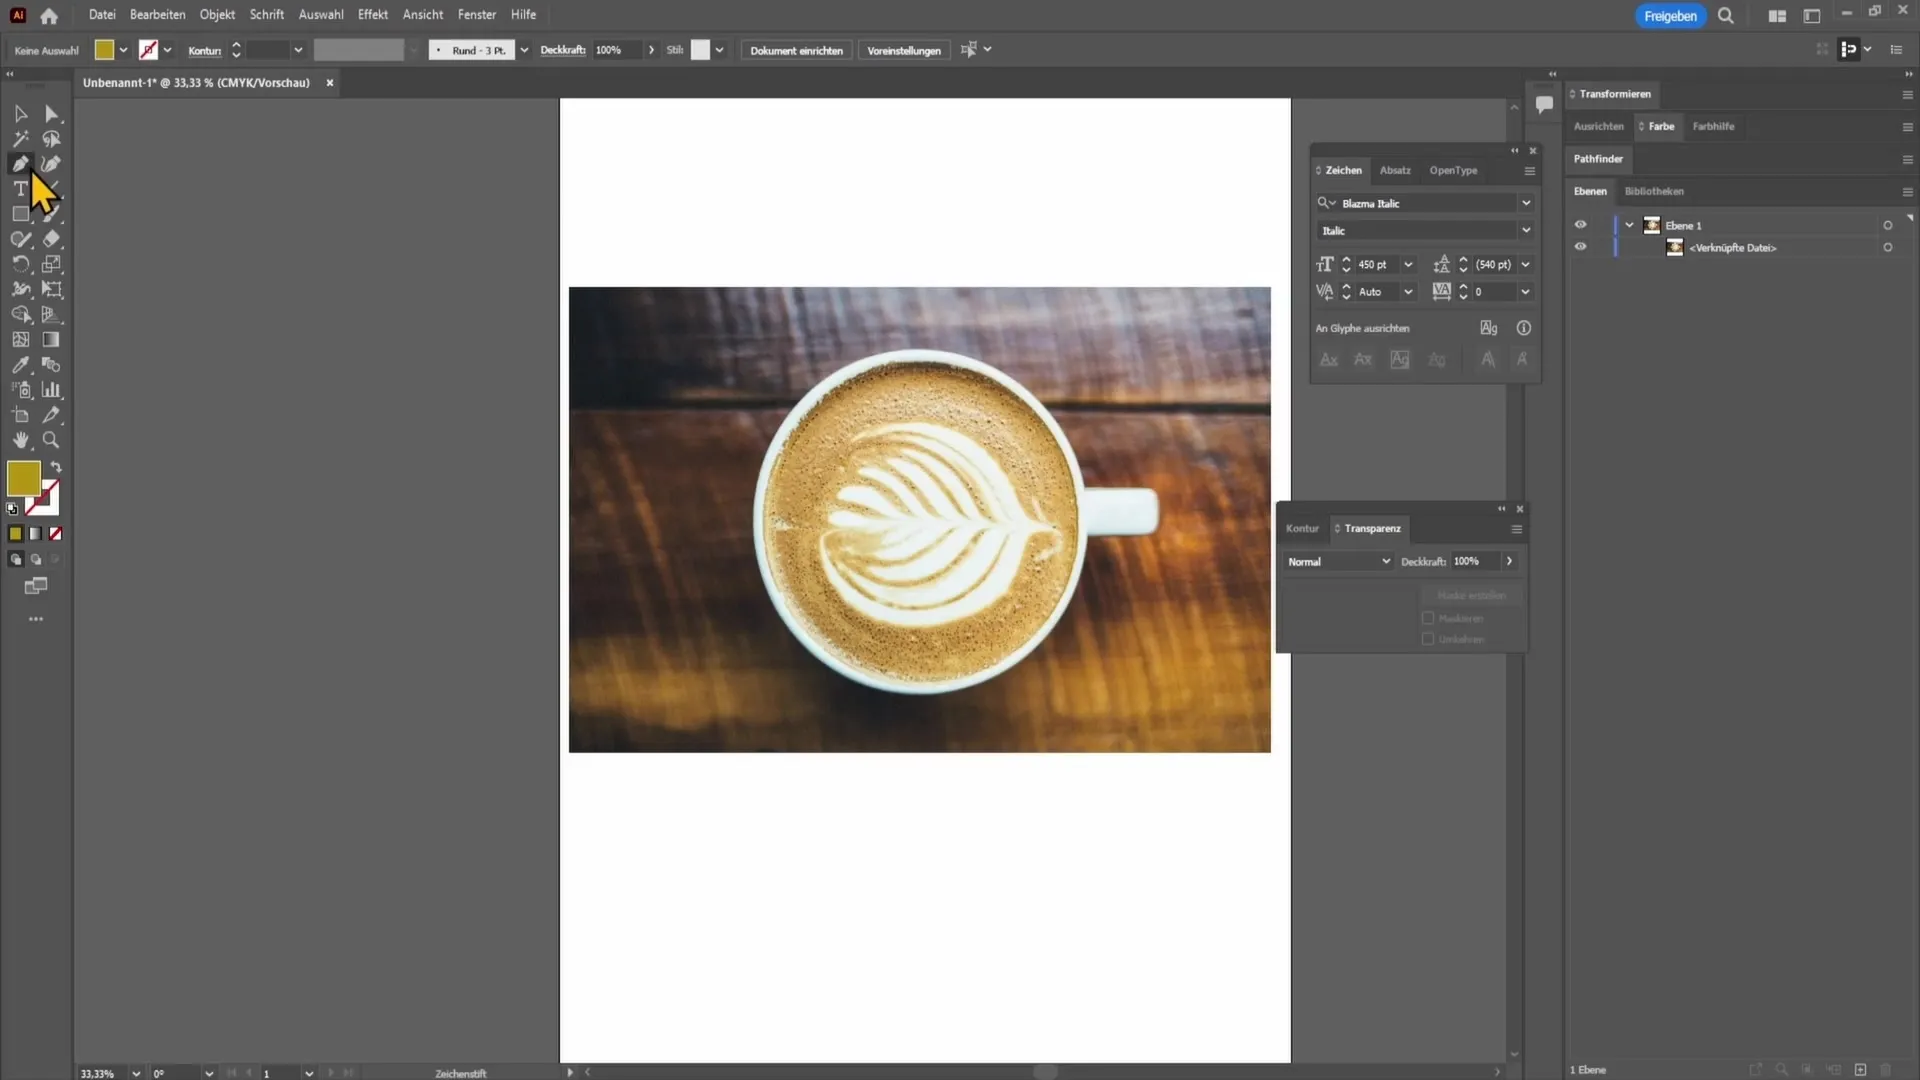
It's important to turn off the fill and also hide the stroke to avoid confusion.
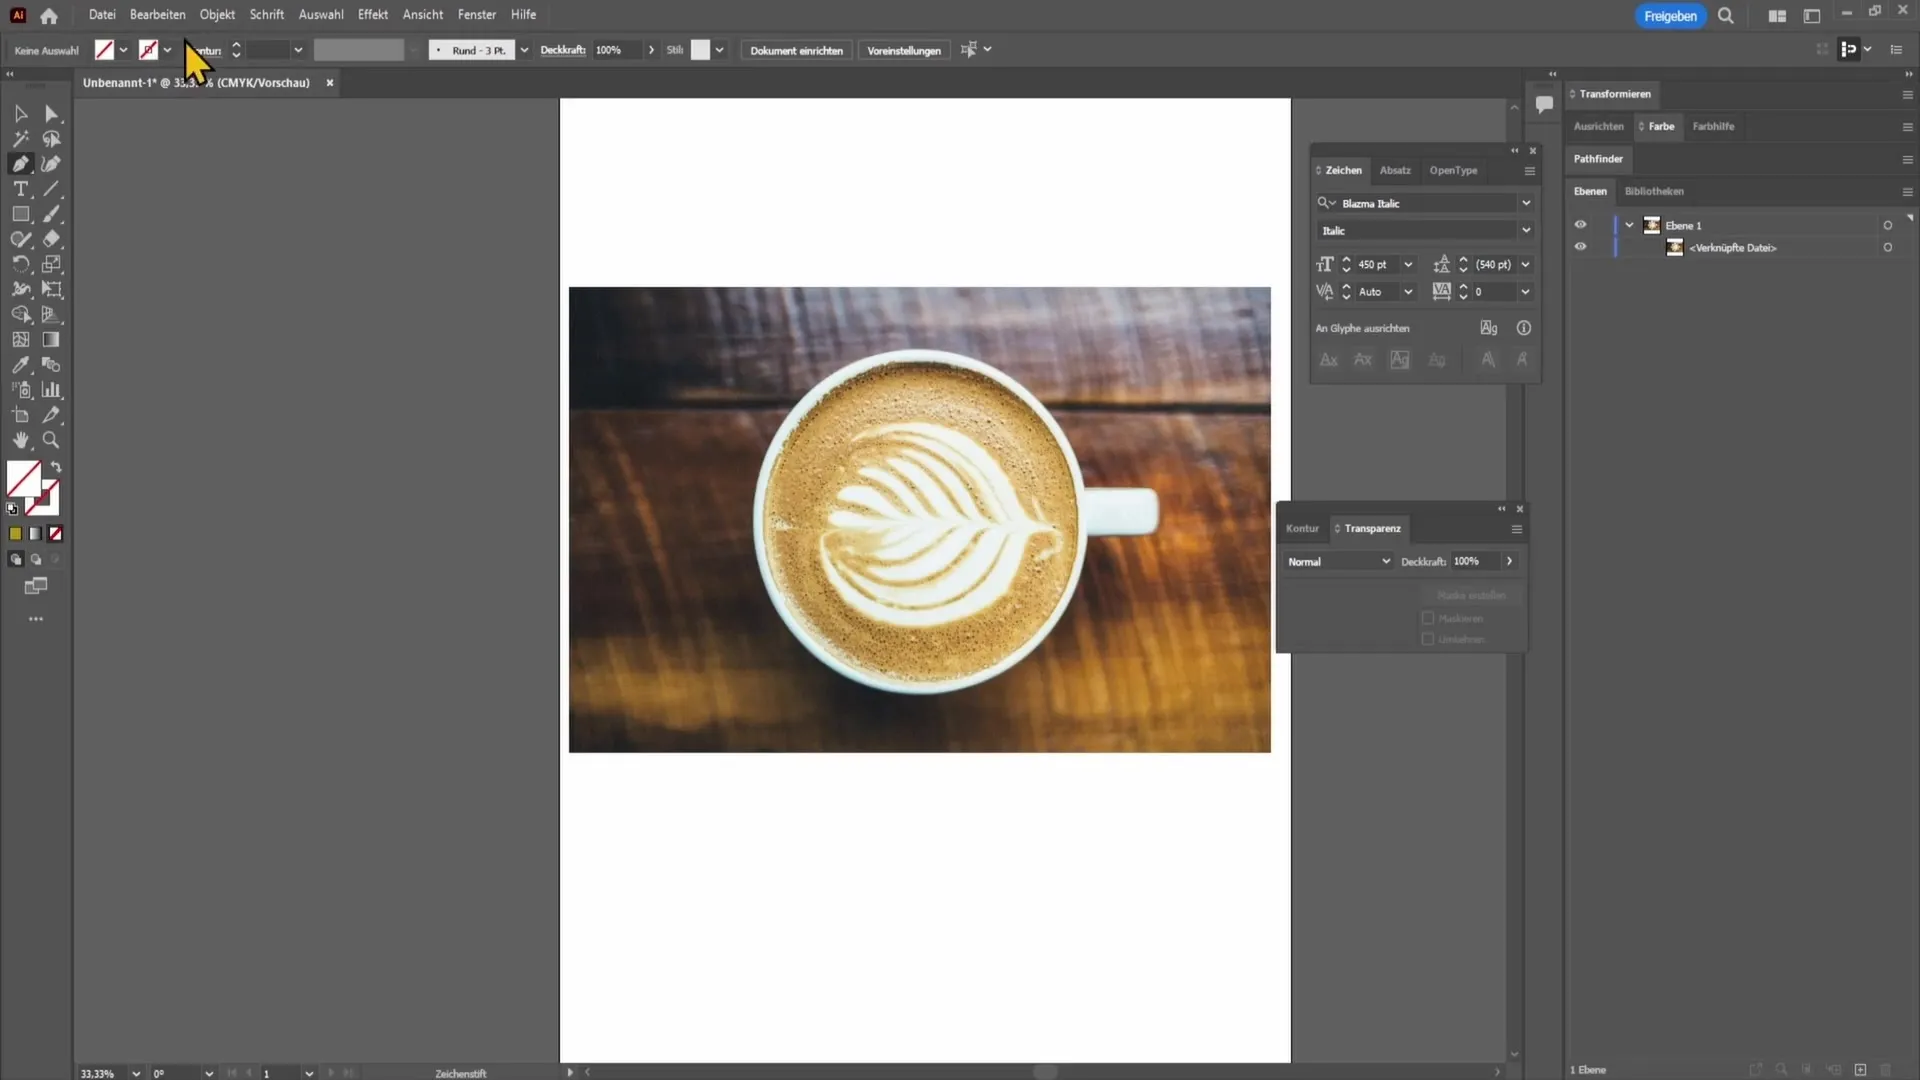
Zoom in a bit closer now. Place your first point, then go to the other side to place the next point.
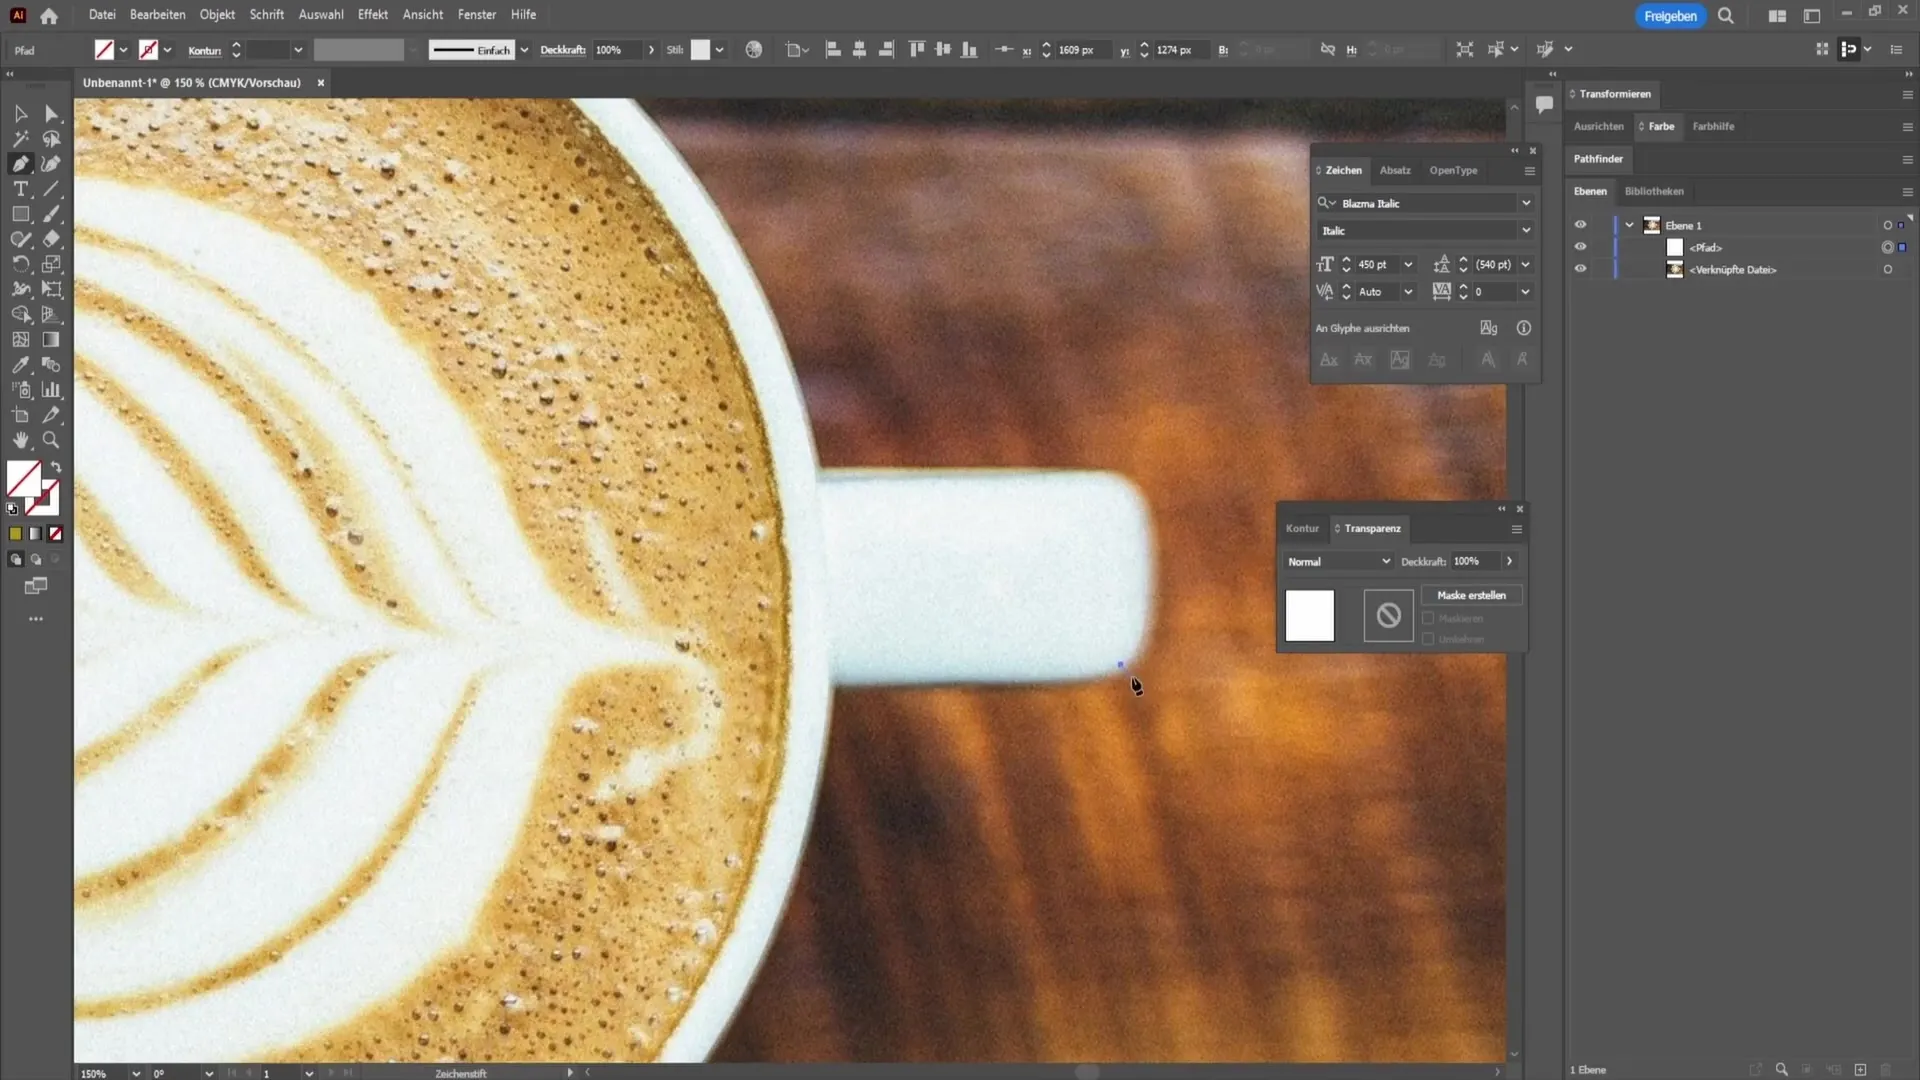
Hold down the left mouse button to create a curve. A tip: Hold down the Alt key to make it easier for you to remember the last point.
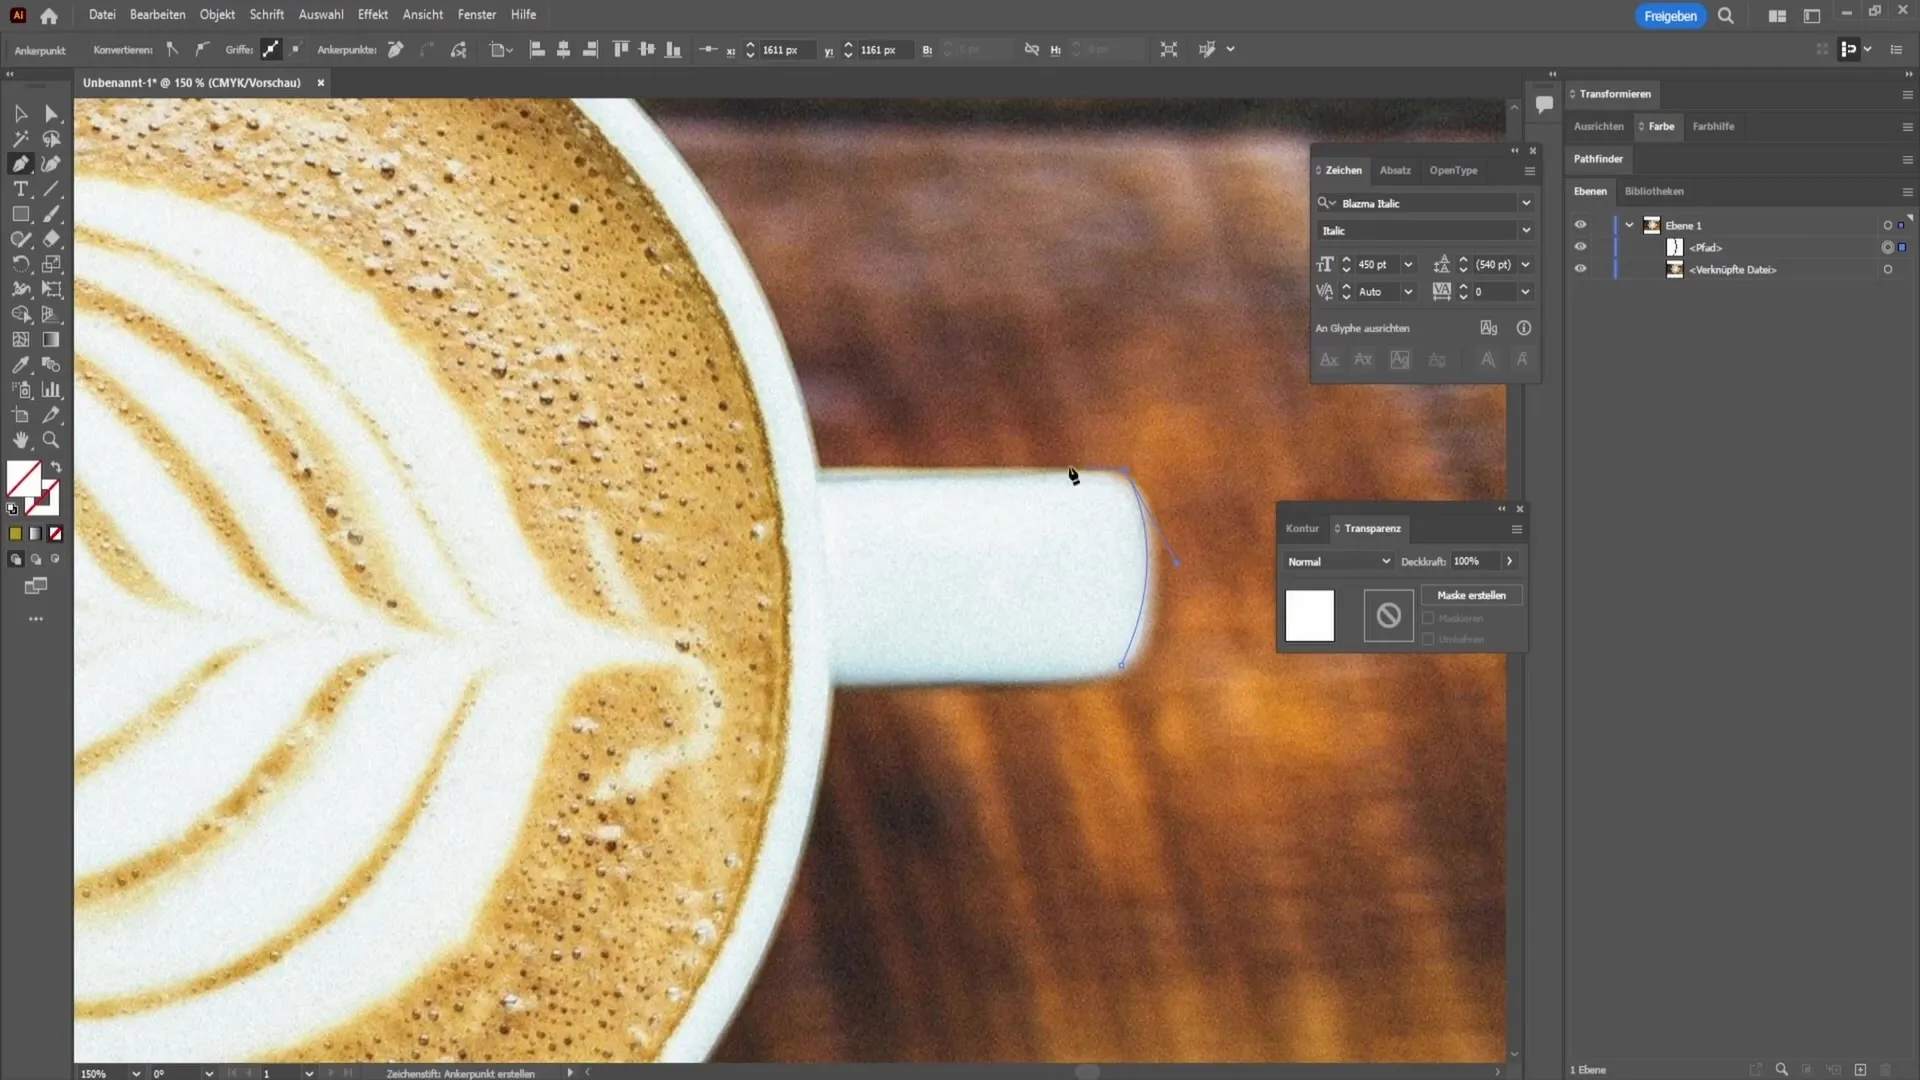
Then move to the other point and draw the curve along until you have clipped out the coffee cup.
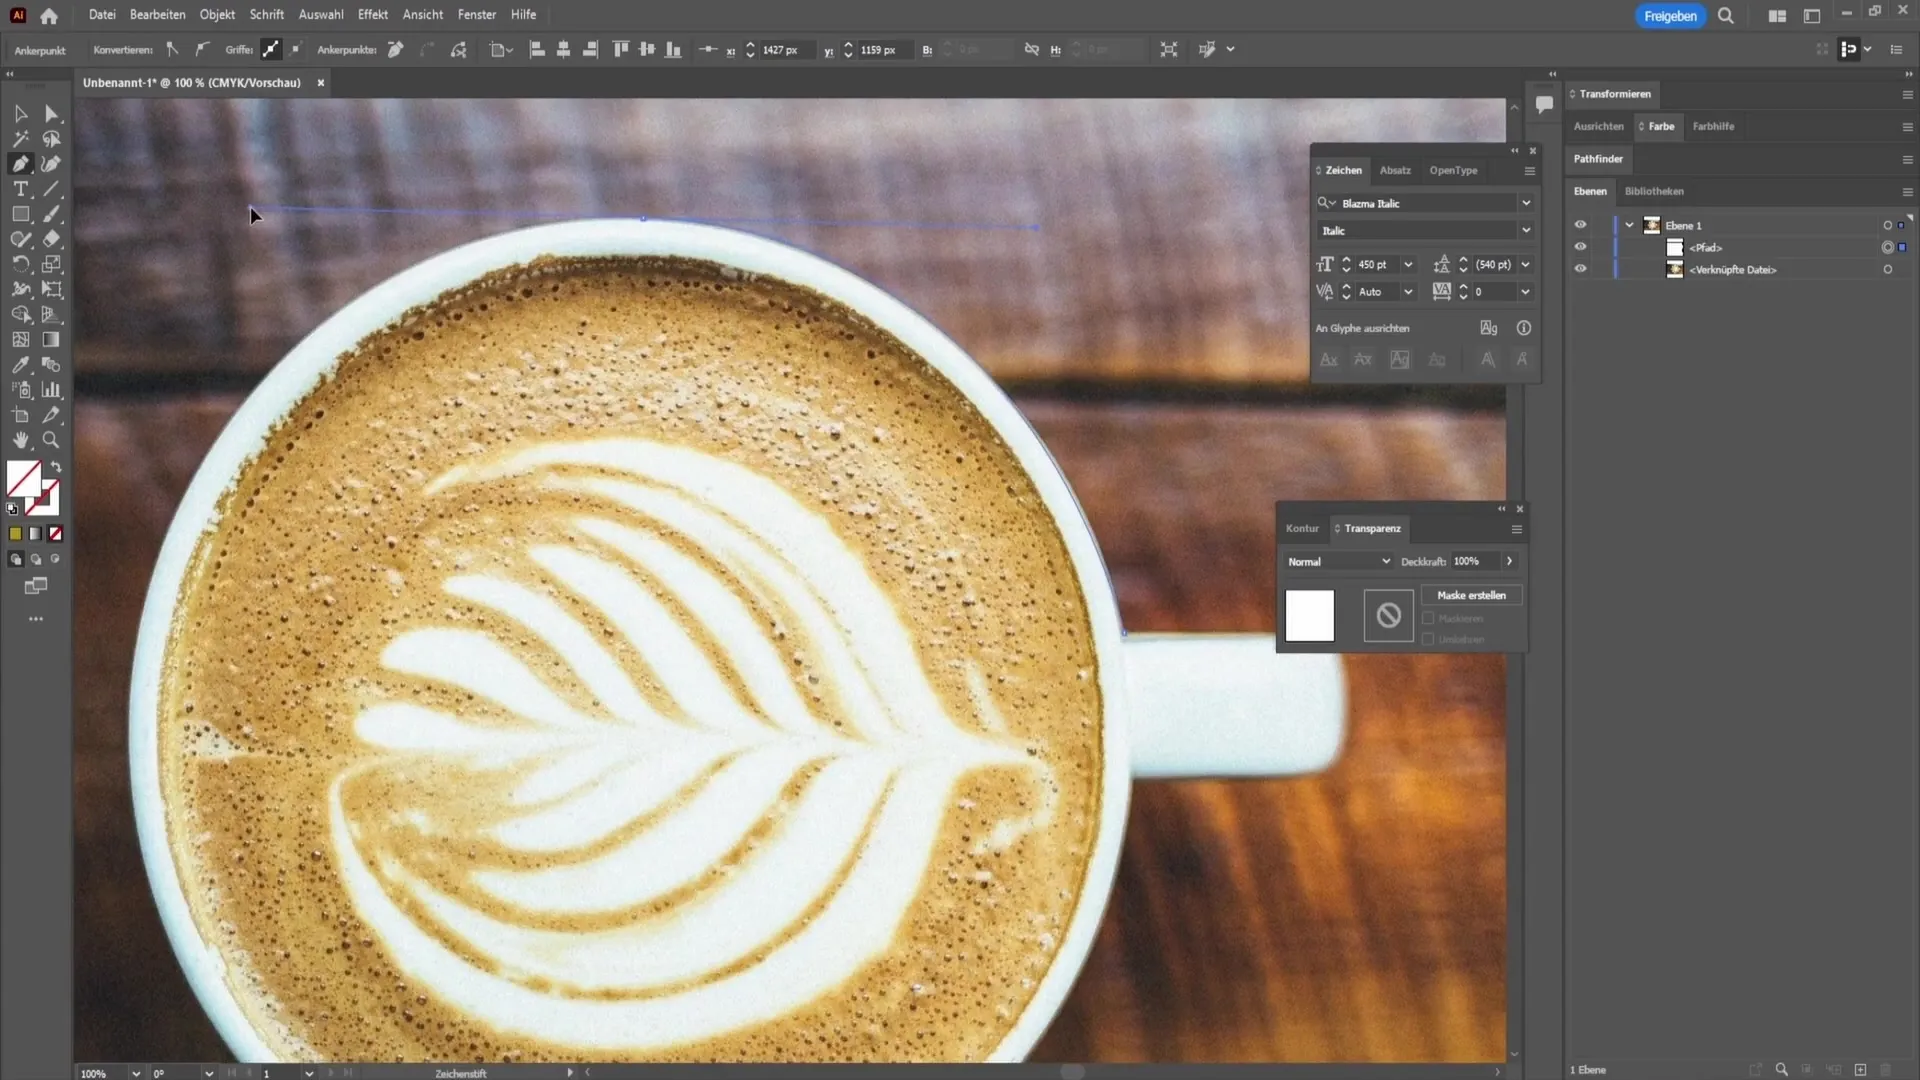
To complete the extraction, simply click on the last point while holding down the Alt key.
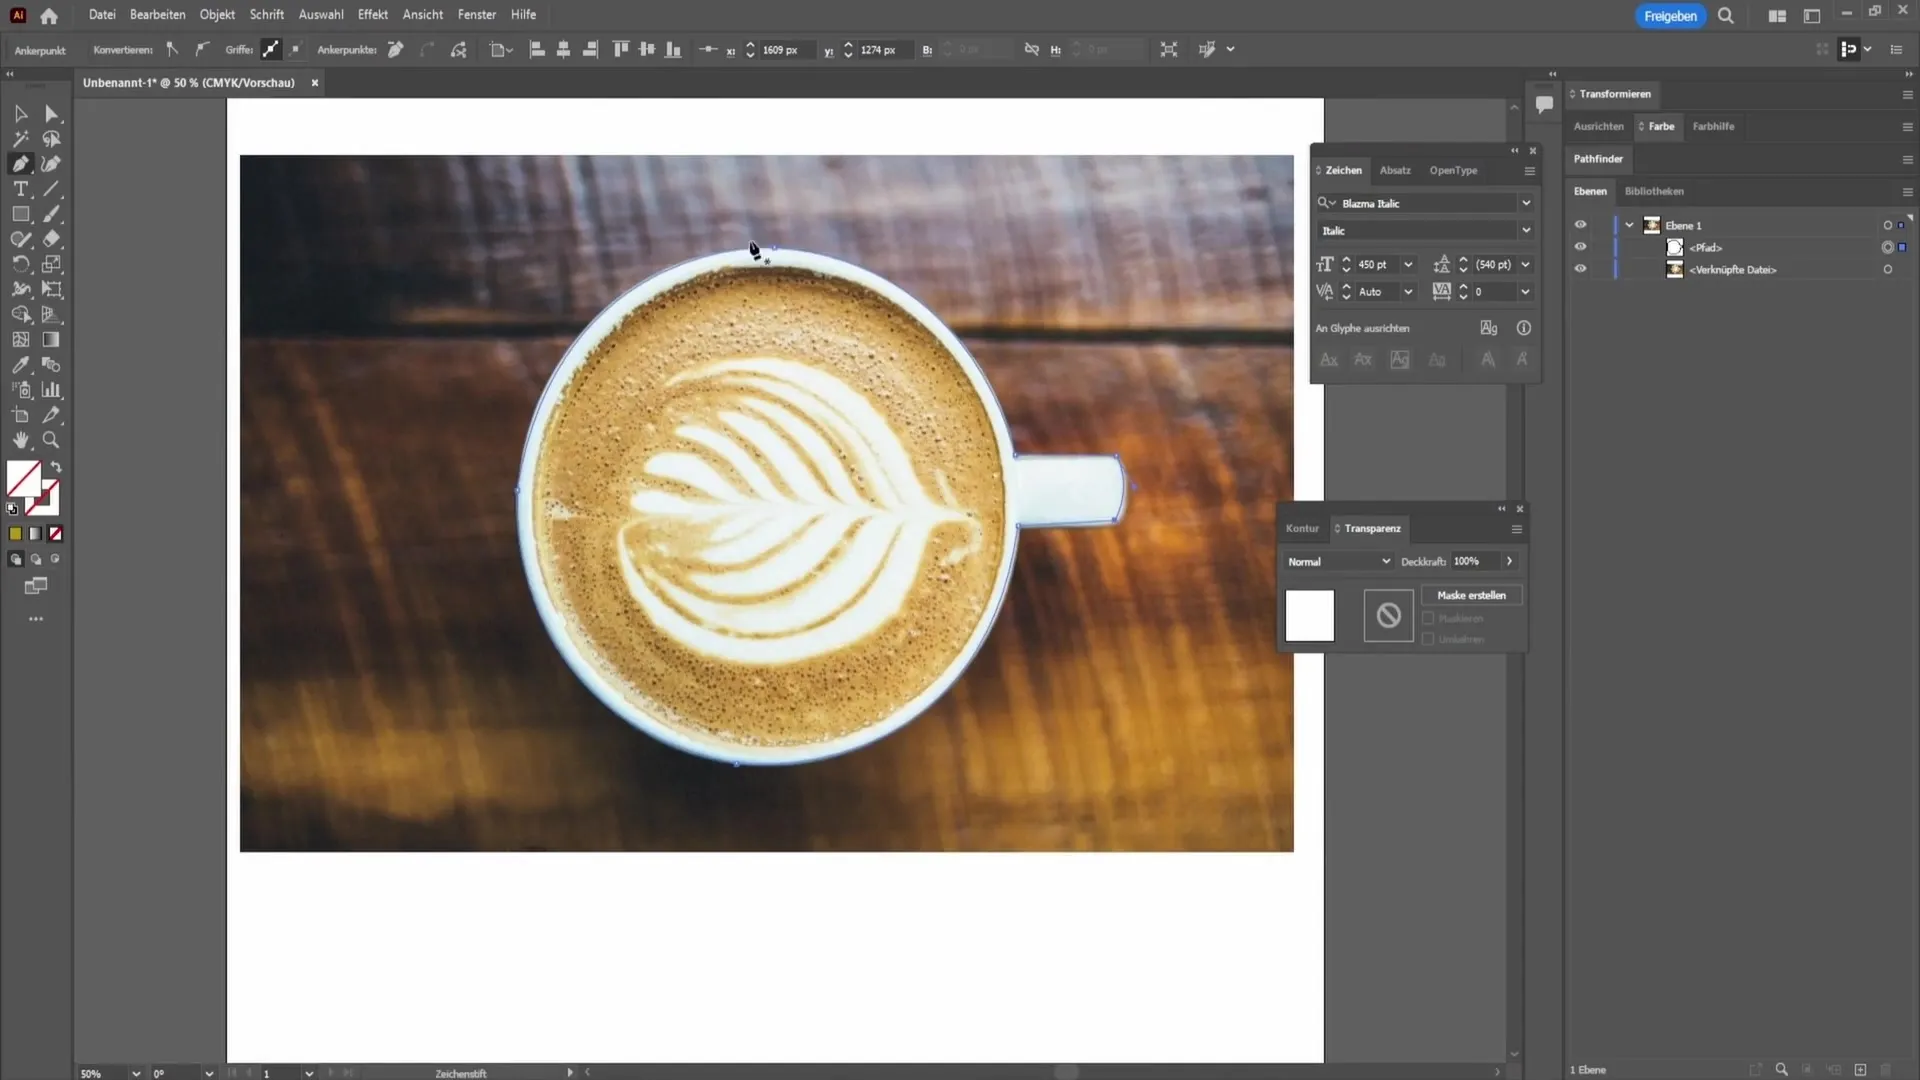
Once the extraction is complete, you need to display the transparency window.
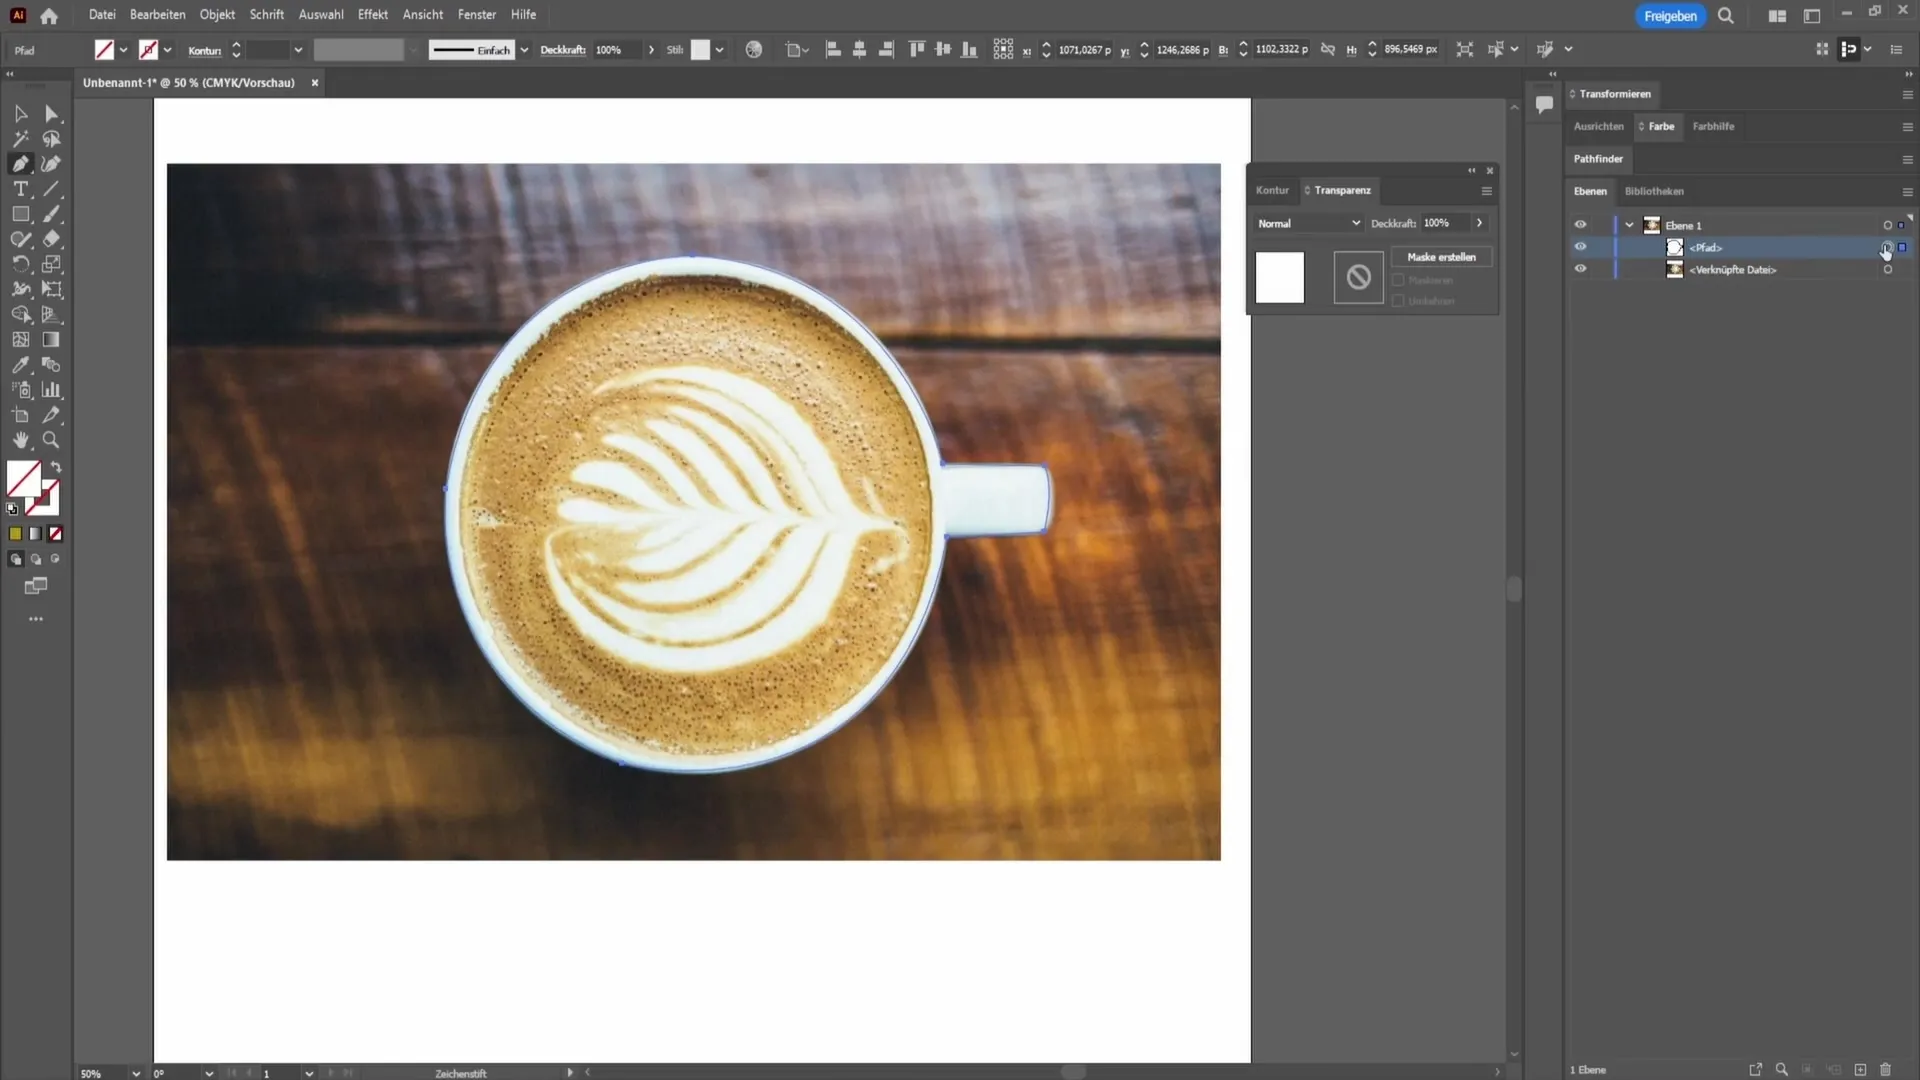
Double-click on the path to select the color white. Also, select the underlying layer and click on "Create Mask".

Now you will see your coffee cup without a background. To make it more visible, you can create a black area.
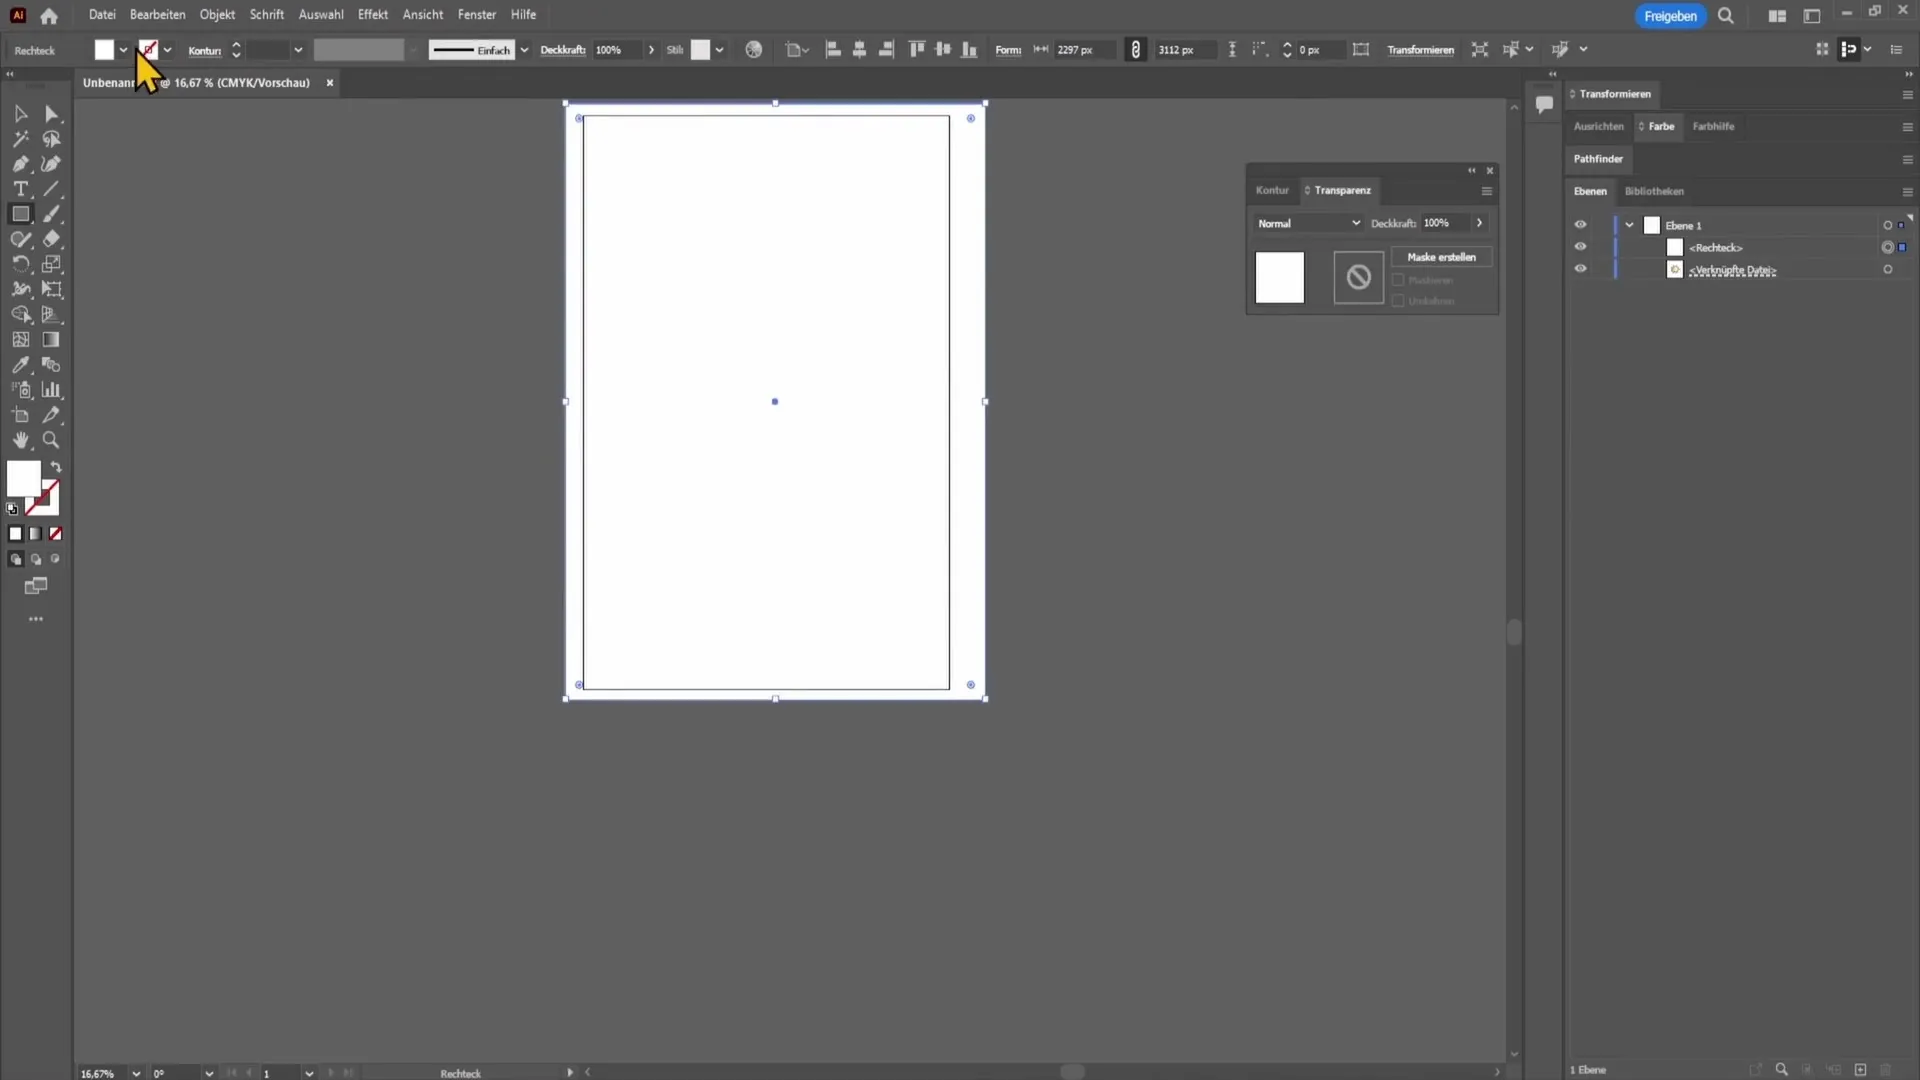
Drag this below the image so you can see your extracted object clearly.
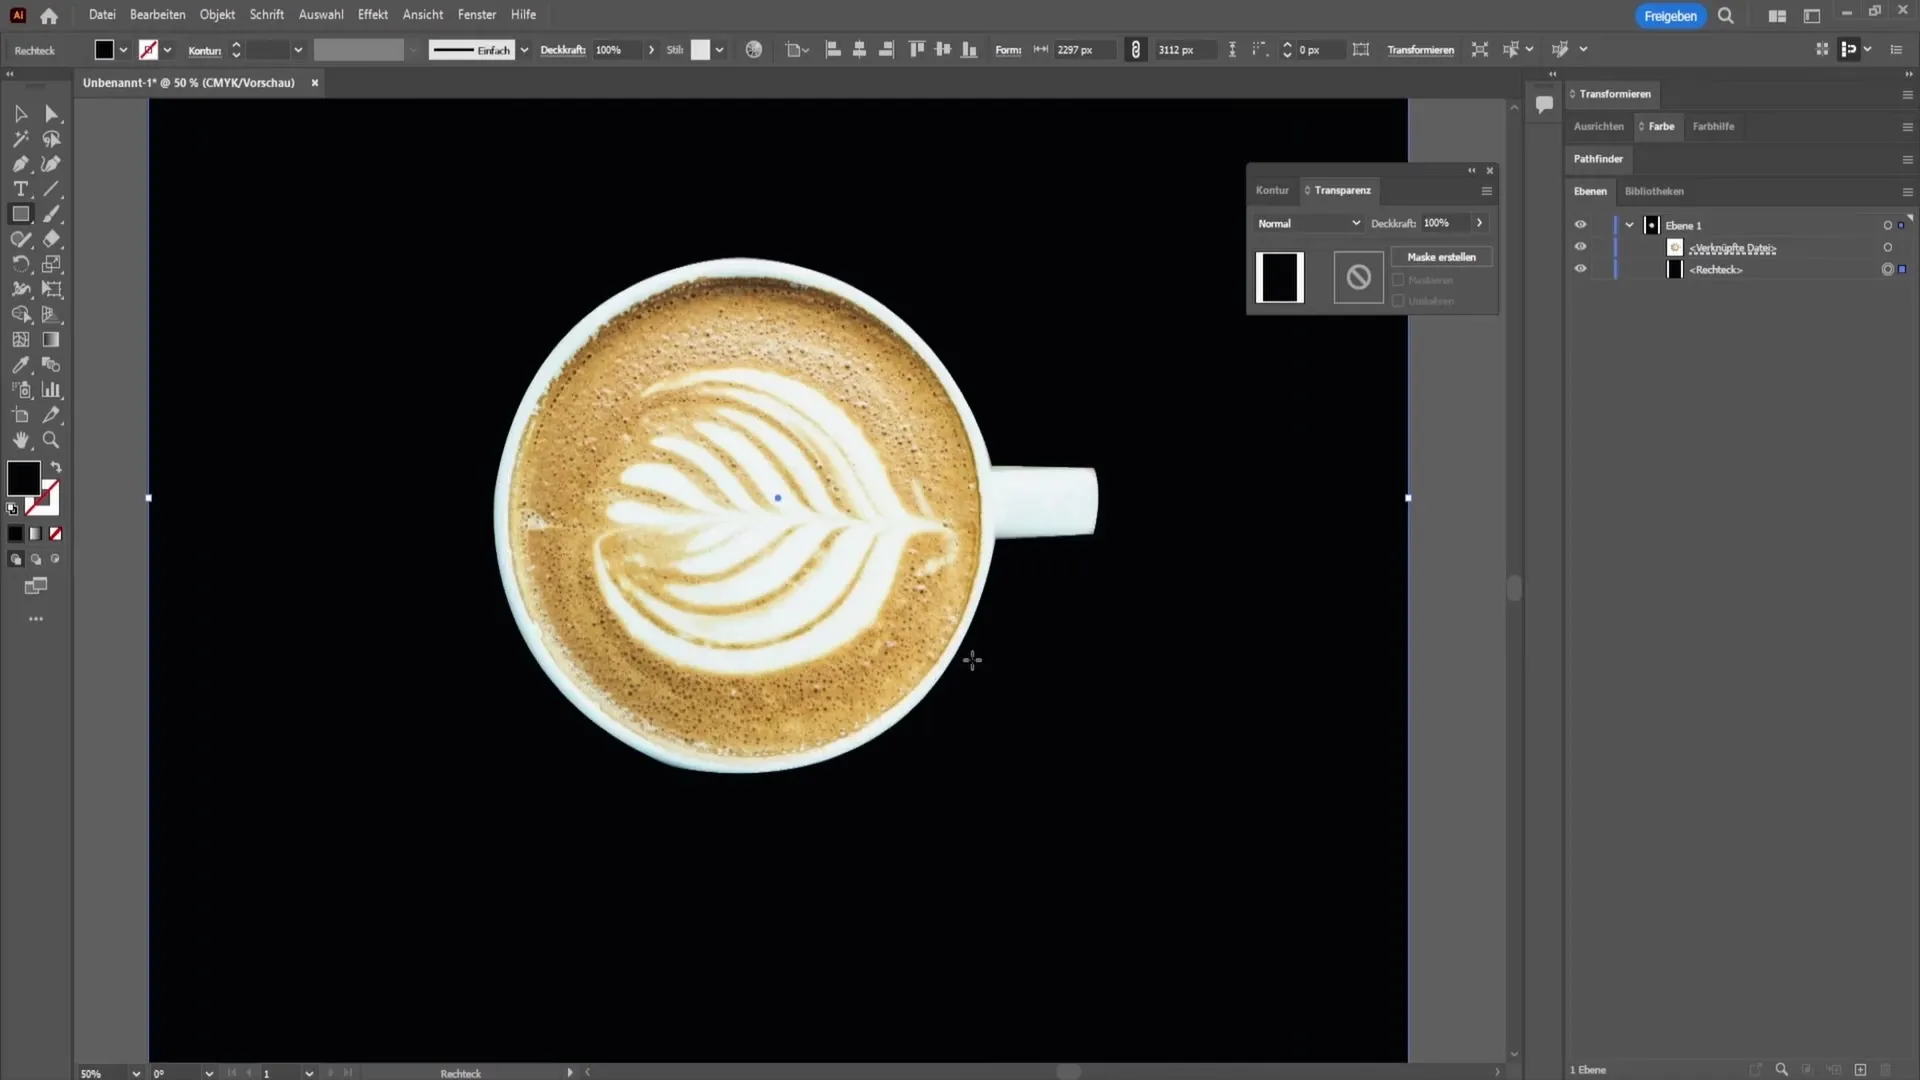
If you are not satisfied with the selection, you can adjust it at any time. Simply select the layer, click on the mask symbol in the transparency window, and edit the points as desired.
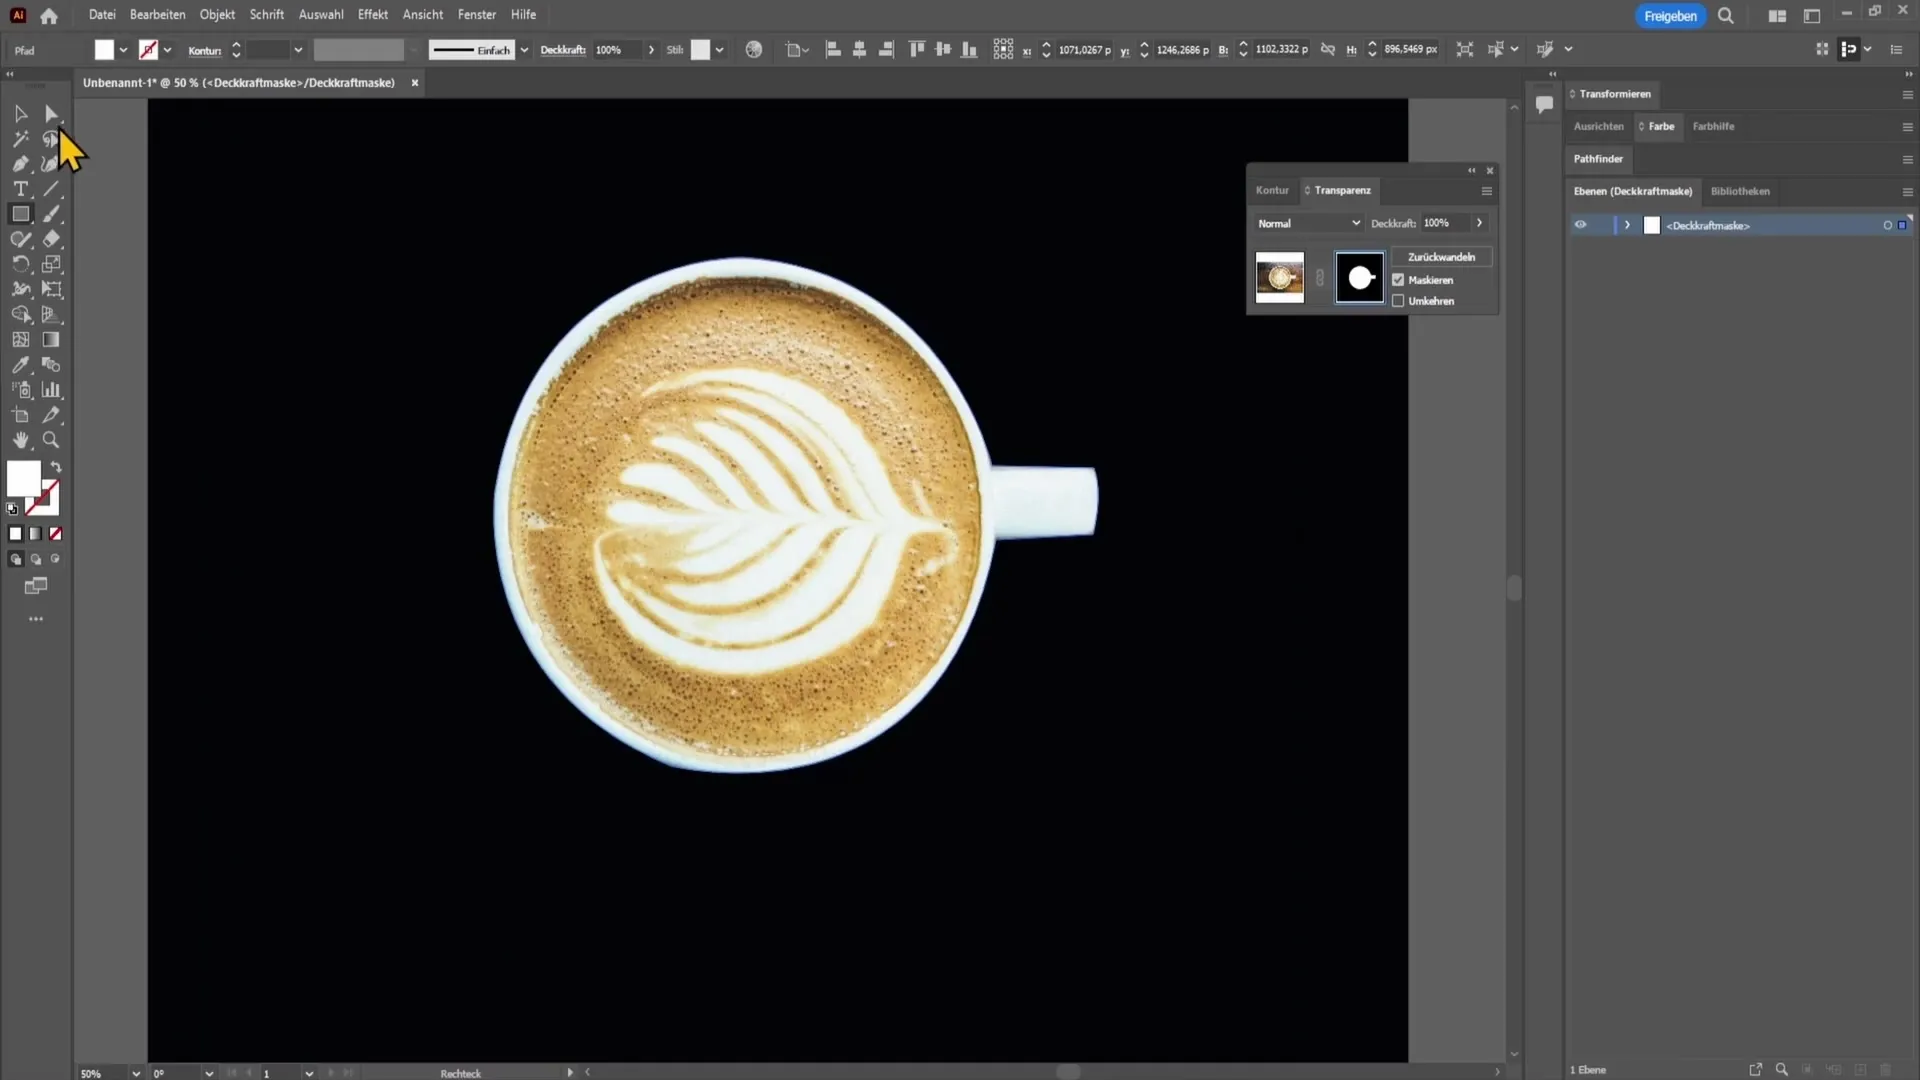
If you are in the mask and want to draw something, use Ctrl + Z to go back, and click on the image again.
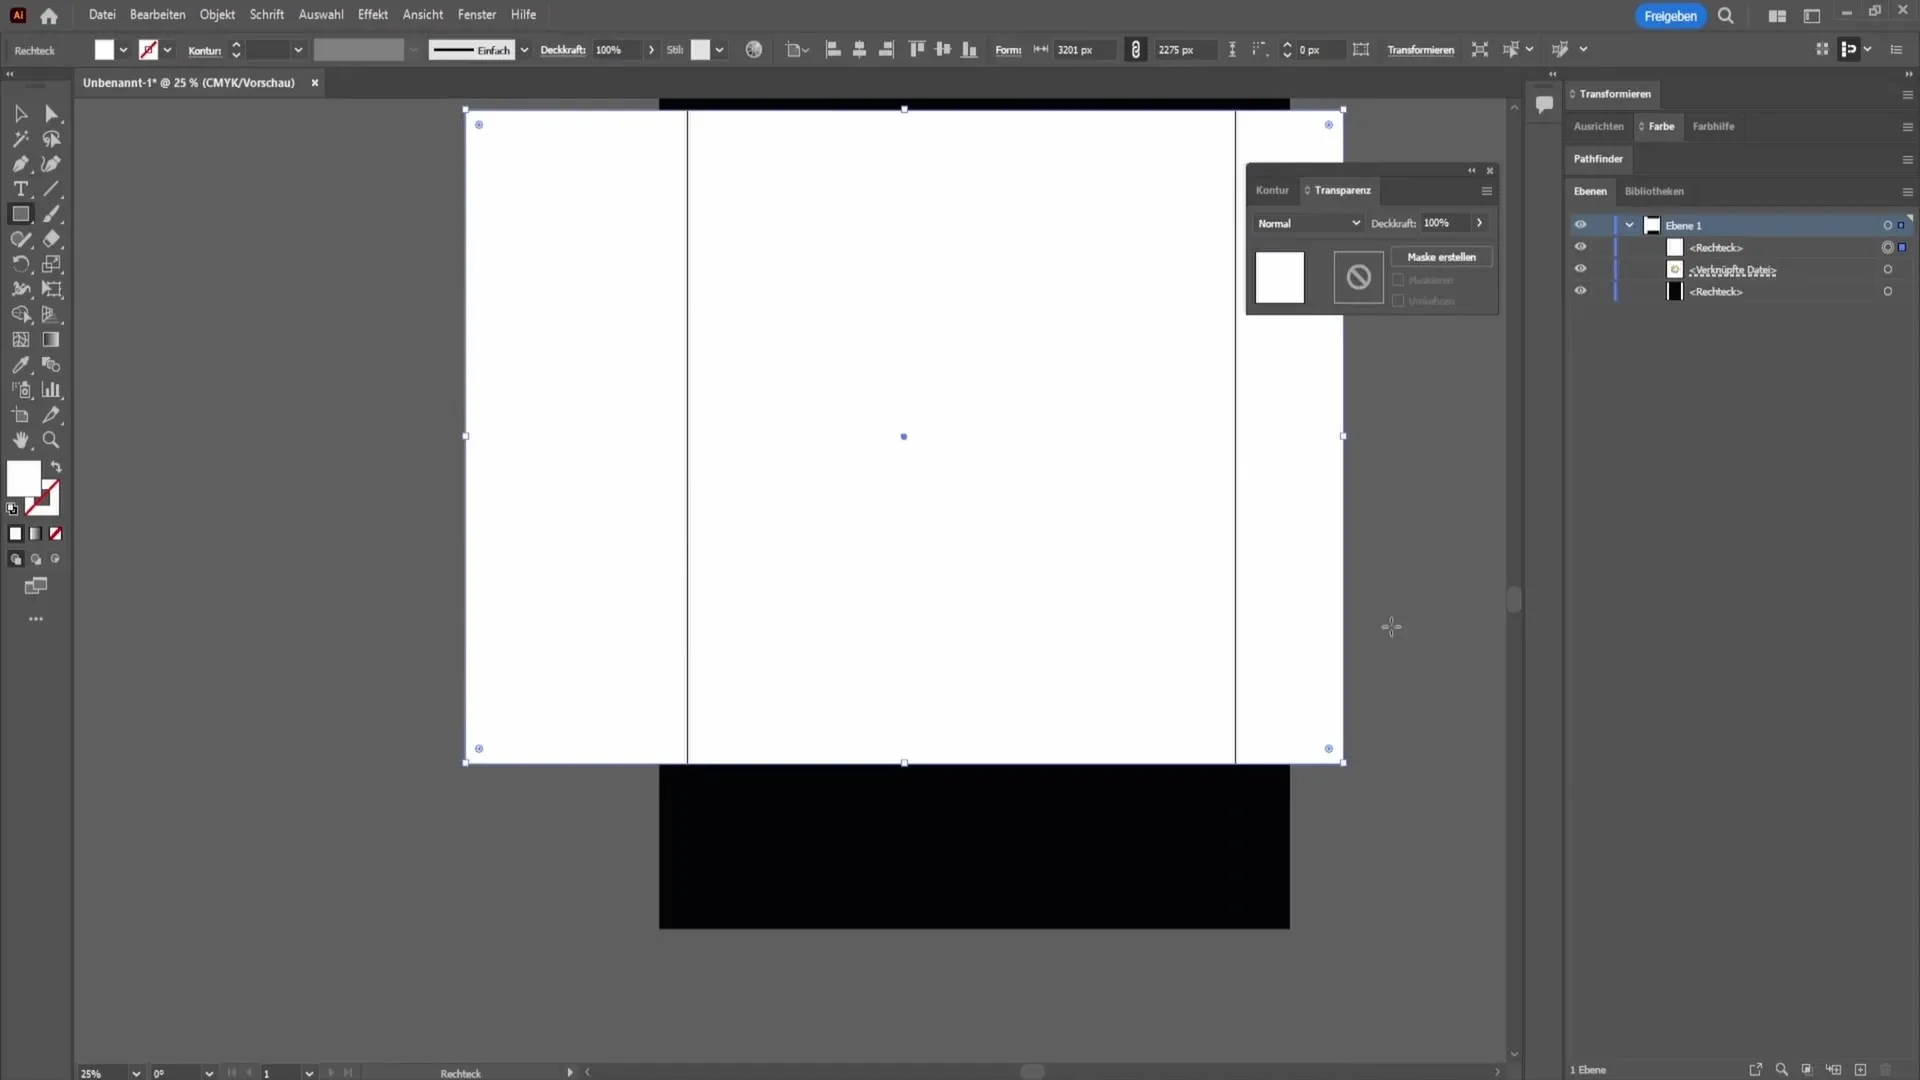
This way you can work smoothly without encountering any issues.
Summary - Removing Background in Adobe Illustrator
In this tutorial, you have learned how to easily remove the background in Adobe Illustrator using two different methods. The first method uses the Image Trace tool, while the second method is based on the Pen tool. Both techniques are useful for achieving professional results.
Frequently Asked Questions
How can I ensure that the background is not exported with a PNG file?When you export your image as a PNG, the background will not be exported as long as you have removed it beforehand.
Can I adjust the extraction at any time?Yes, you can improve the selection at any time by adjusting the mask.
What tools are needed to remove a background?You need the Direct Selection tool, the Image Trace tool, and the Pen tool.


