Have you edited an image and want to view the results of your work in the context of the original image? Color Efex Pro 4 provides you with versatile functions to conduct before-after comparisons and optimize your creative vision. In this guide, I will show you how to use the various features of the software to evaluate your edits and achieve the best results.
Main Insights
- Color Efex Pro 4 allows a direct comparison of edited and unedited images.
- Background colors can be adjusted to influence the impression of your edits.
- The software offers various views for a clear comparison.
Step-by-step Guide
The following steps will help you to conduct effective before-after comparisons in Color Efex Pro 4.
Step 1: Start Image Editing
Start by loading your image into Color Efex Pro 4. You may have already performed a black-and-white conversion or made other adjustments to your image. Make sure your edits are active to see them in the subsequent comparison.
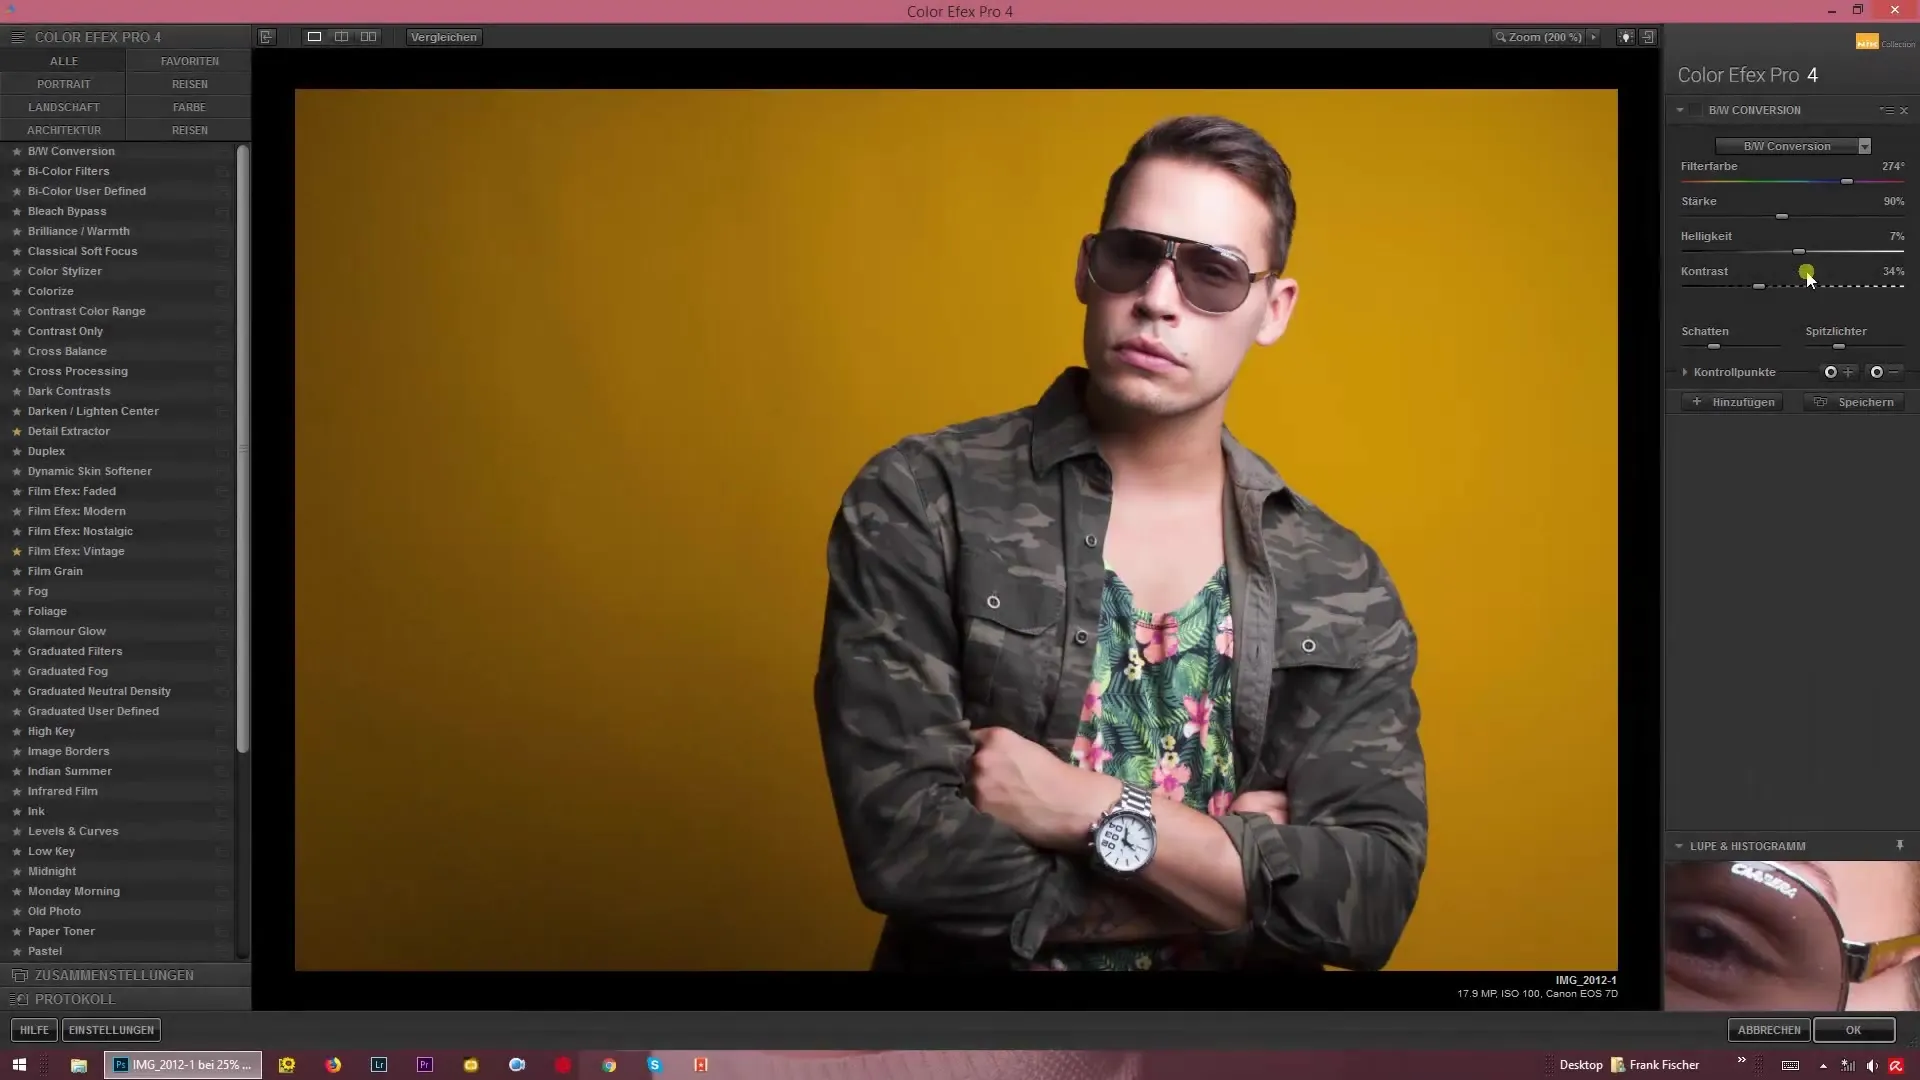
Step 2: Activate Before-After Comparison
If you want to see the original state of your image, you can uncheck the box for the edit. This will display the image in its original form. You can switch between before and after at any time by checking the box again. However, this only works for one filter at a time.
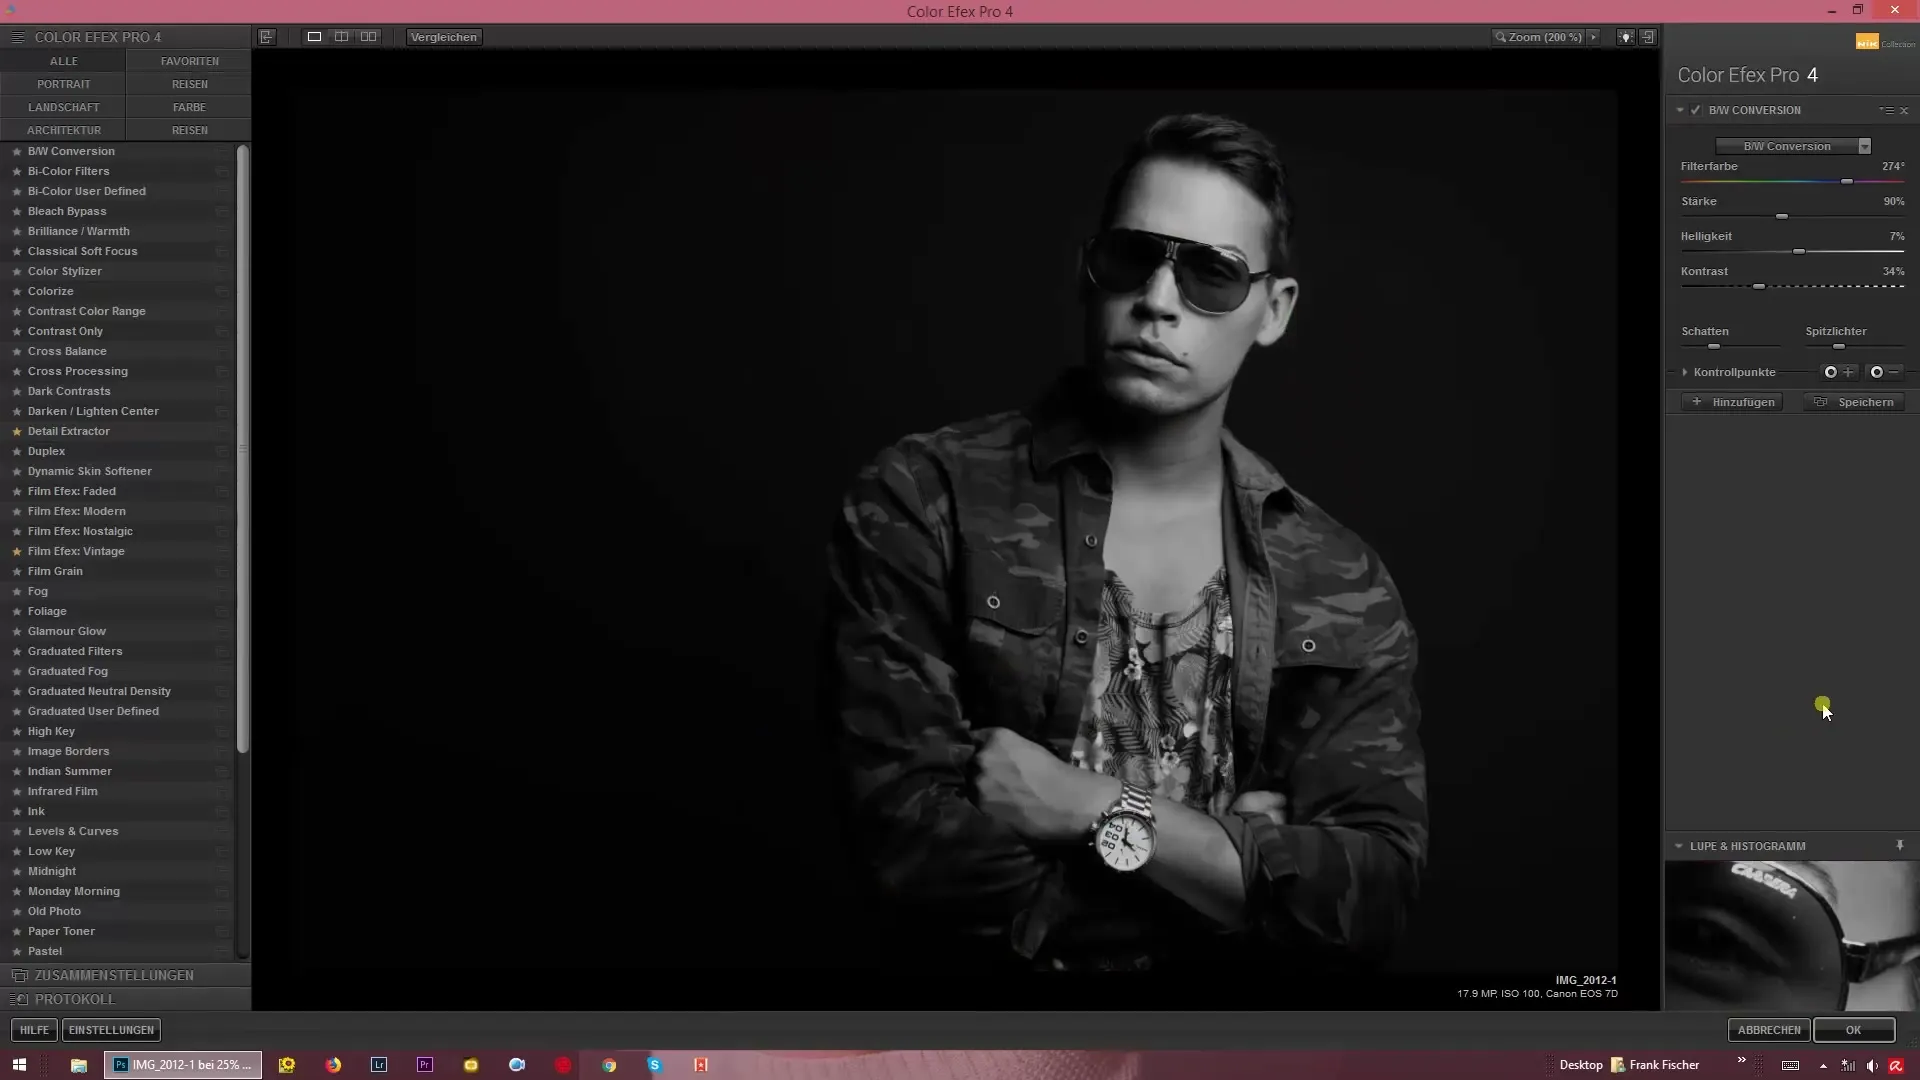
Step 3: Use the Preview View
To compare multiple filters simultaneously, the preview view is extremely helpful. Activate the split preview by moving the cursor over the red line and clicking with the left mouse button to slide the image back and forth. This allows you to see almost instantly what changes you have made to your image.
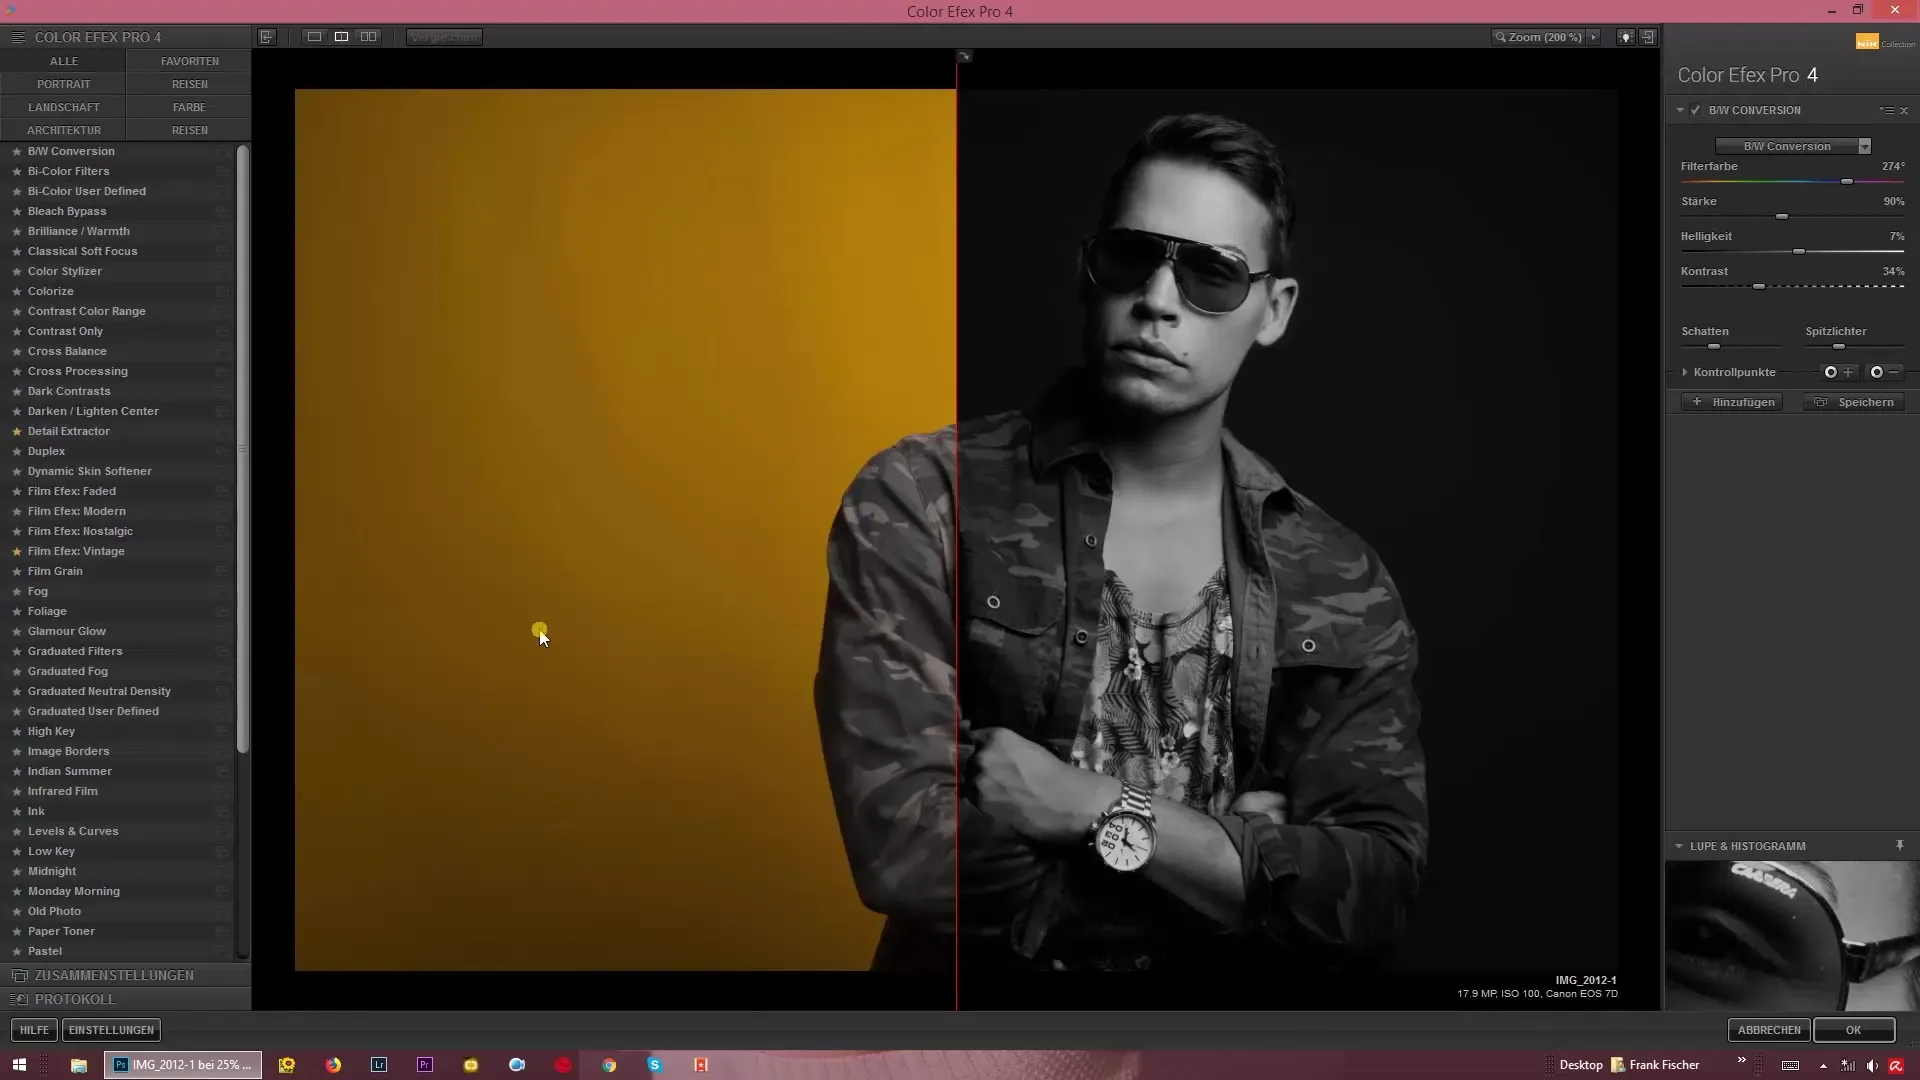
Step 4: Vertical and Horizontal Image Comparison
If you want a vertical comparison between before and after images, use the corresponding arrow button. This allows you to adjust the views so that you can view the image from top to bottom. A horizontal comparison can also be made by clicking the two arrows in the middle, positioning the image left and right. This is particularly useful for portrait images, as it provides maximum space for comparison.
Step 5: Adjust the Background Color
An important aspect when evaluating your edit is the background. By pressing the light bulb, you can switch between different background colors: white, neutral gray, or black. This helps you assess how your edited image looks in different environments.
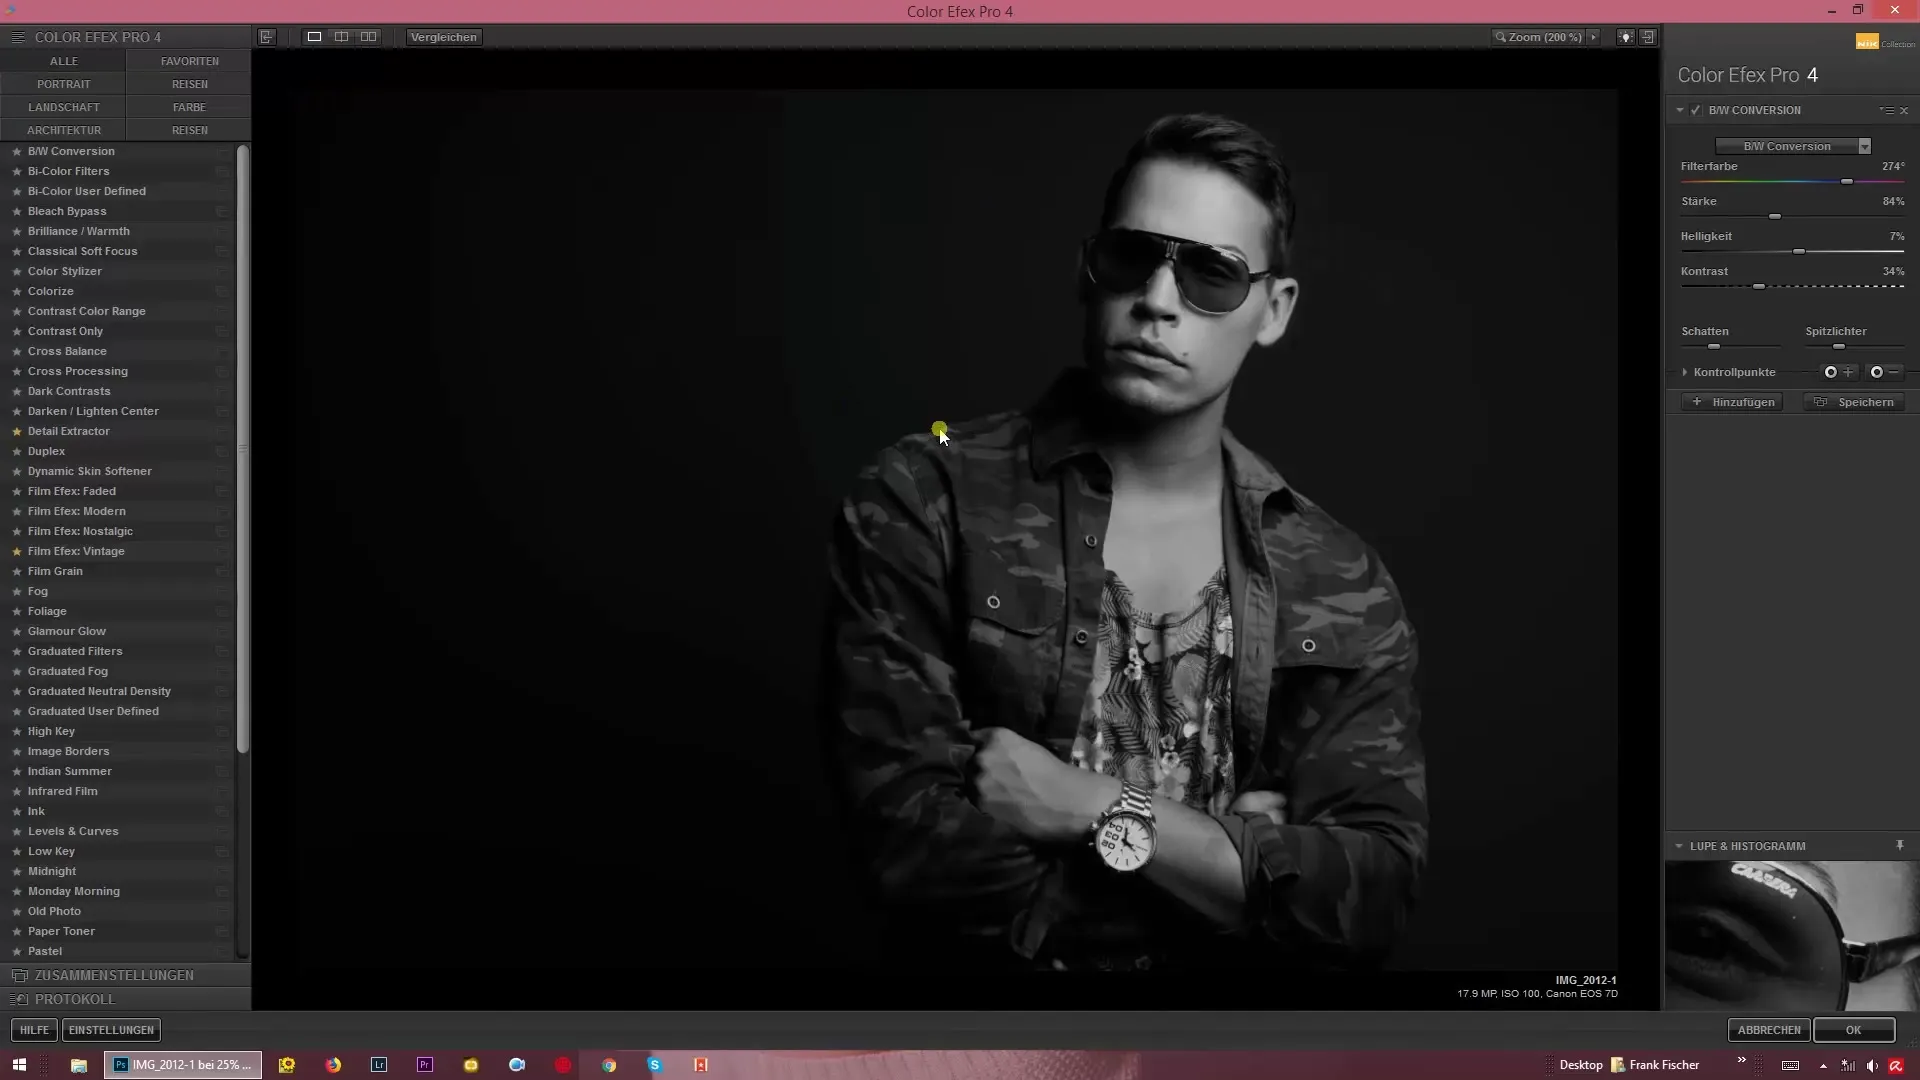
Step 6: Fade In and Out of Windows
To optimize your workspace, you can easily hide the side windows by clicking the corresponding button. This gives you a clearer view of the edited content without distractions from the windows.
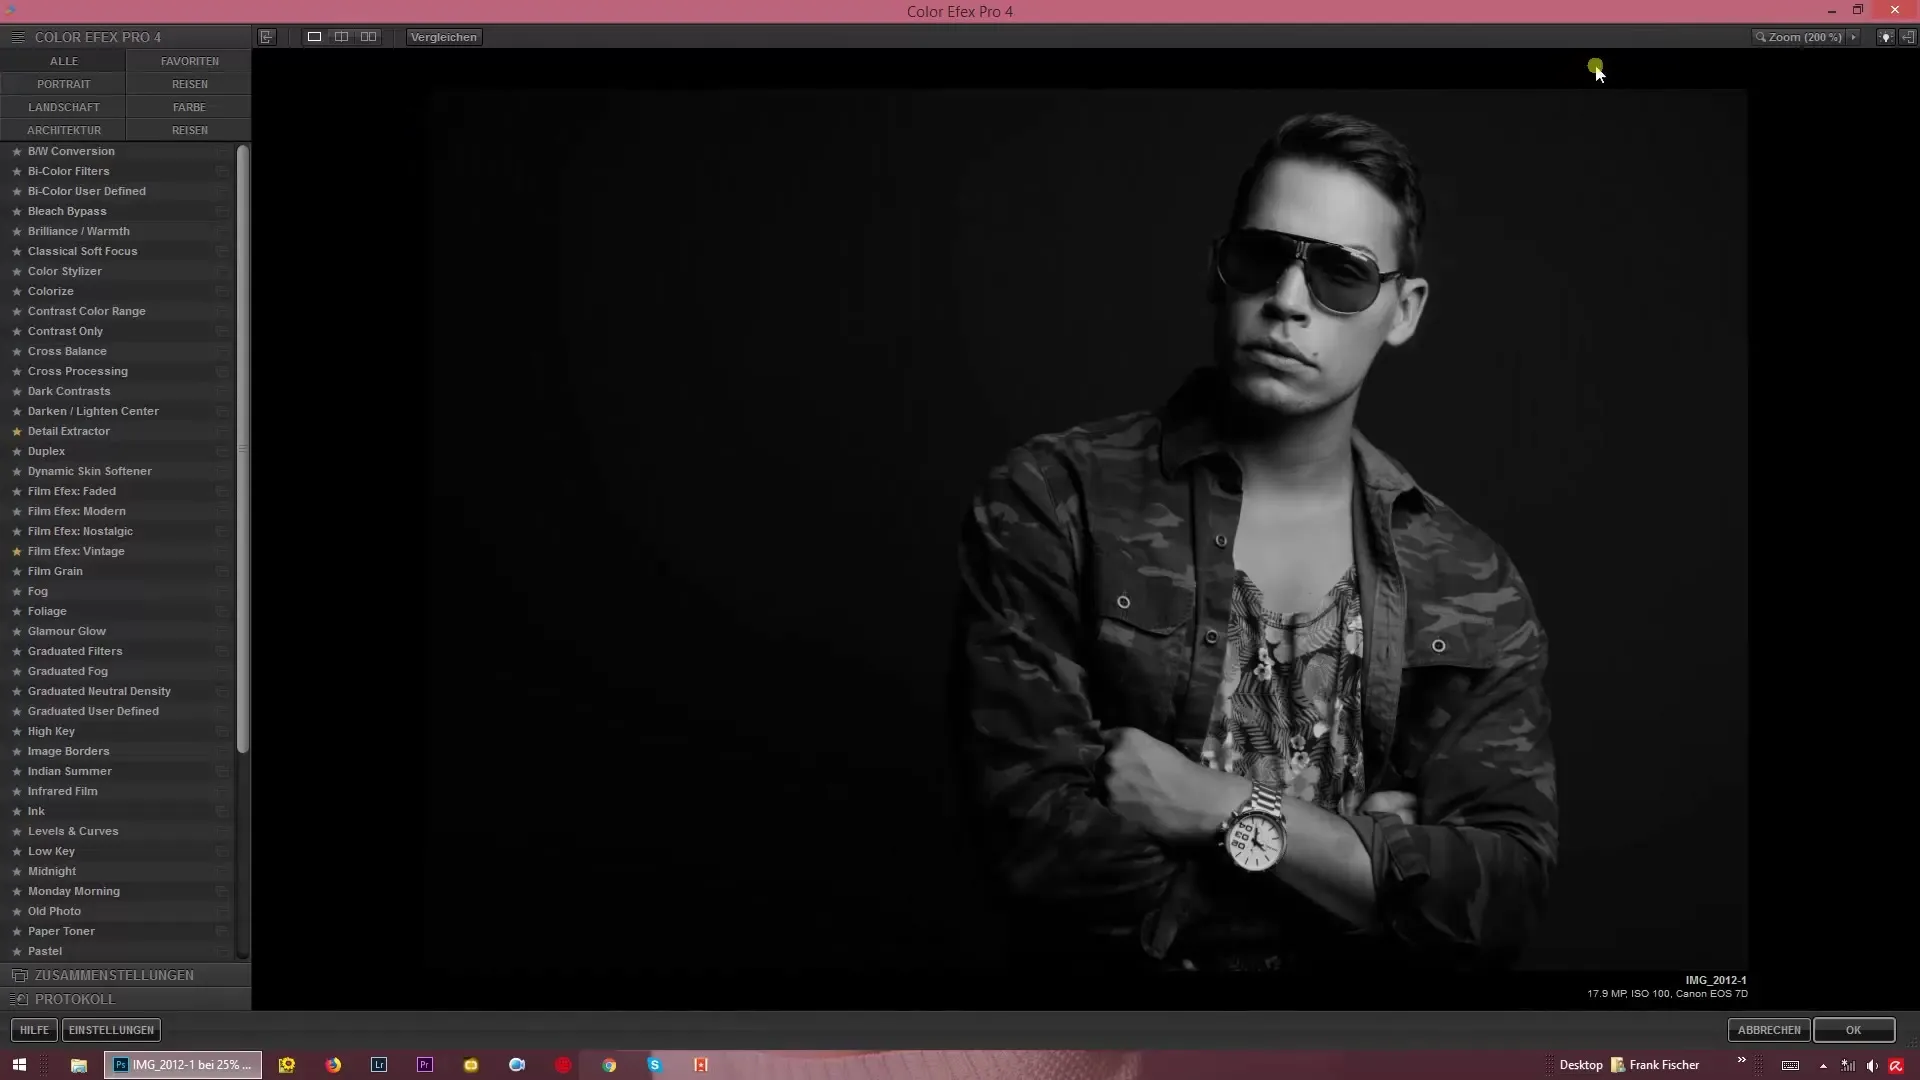
Step 7: Shortcut for Filter View
Use the comparison button to get a quick view of your before and after images. This way, you can check the impact of your edits at a glance without changing the view of the windows.
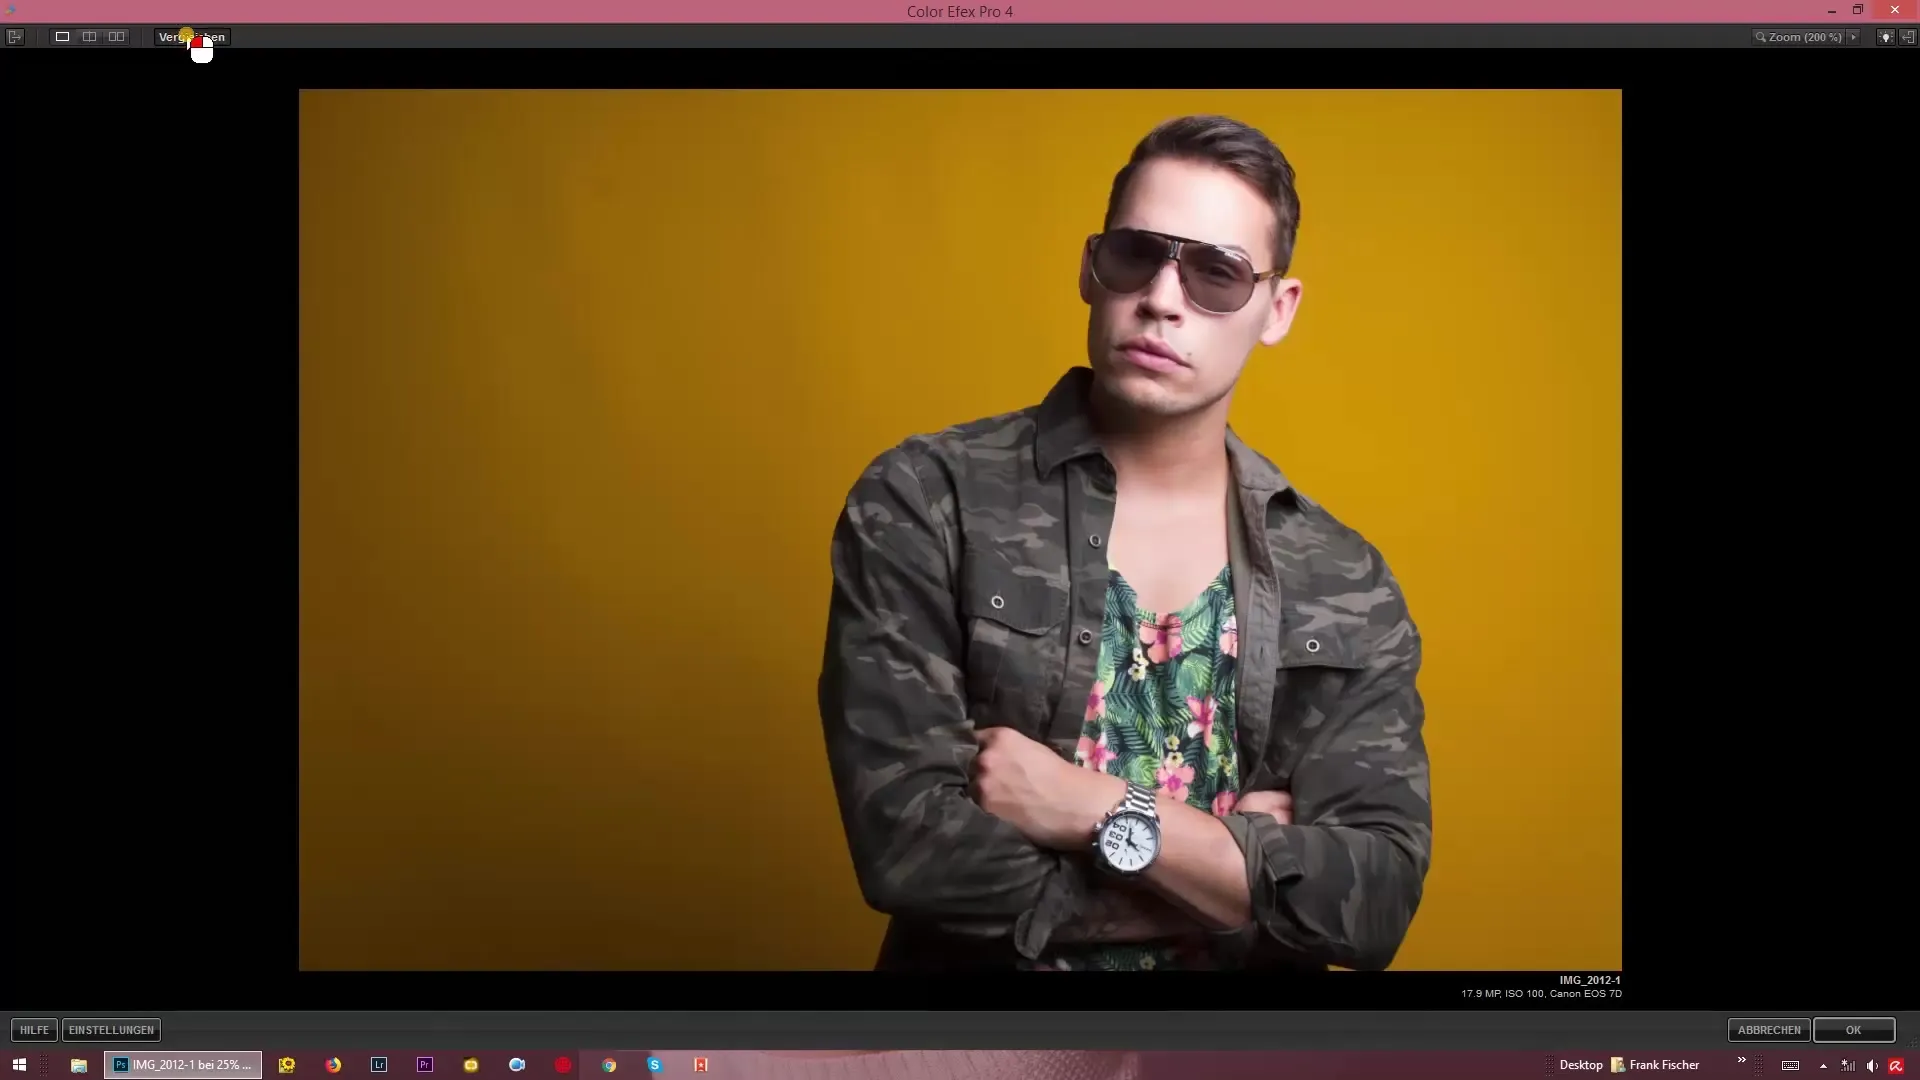
Step 8: Undo and Final Review
If you are not satisfied with a specific image, you can easily undo your changes by pressing the Tab key. This will make all windows disappear, giving you a clear overview of your image in the chosen background color.
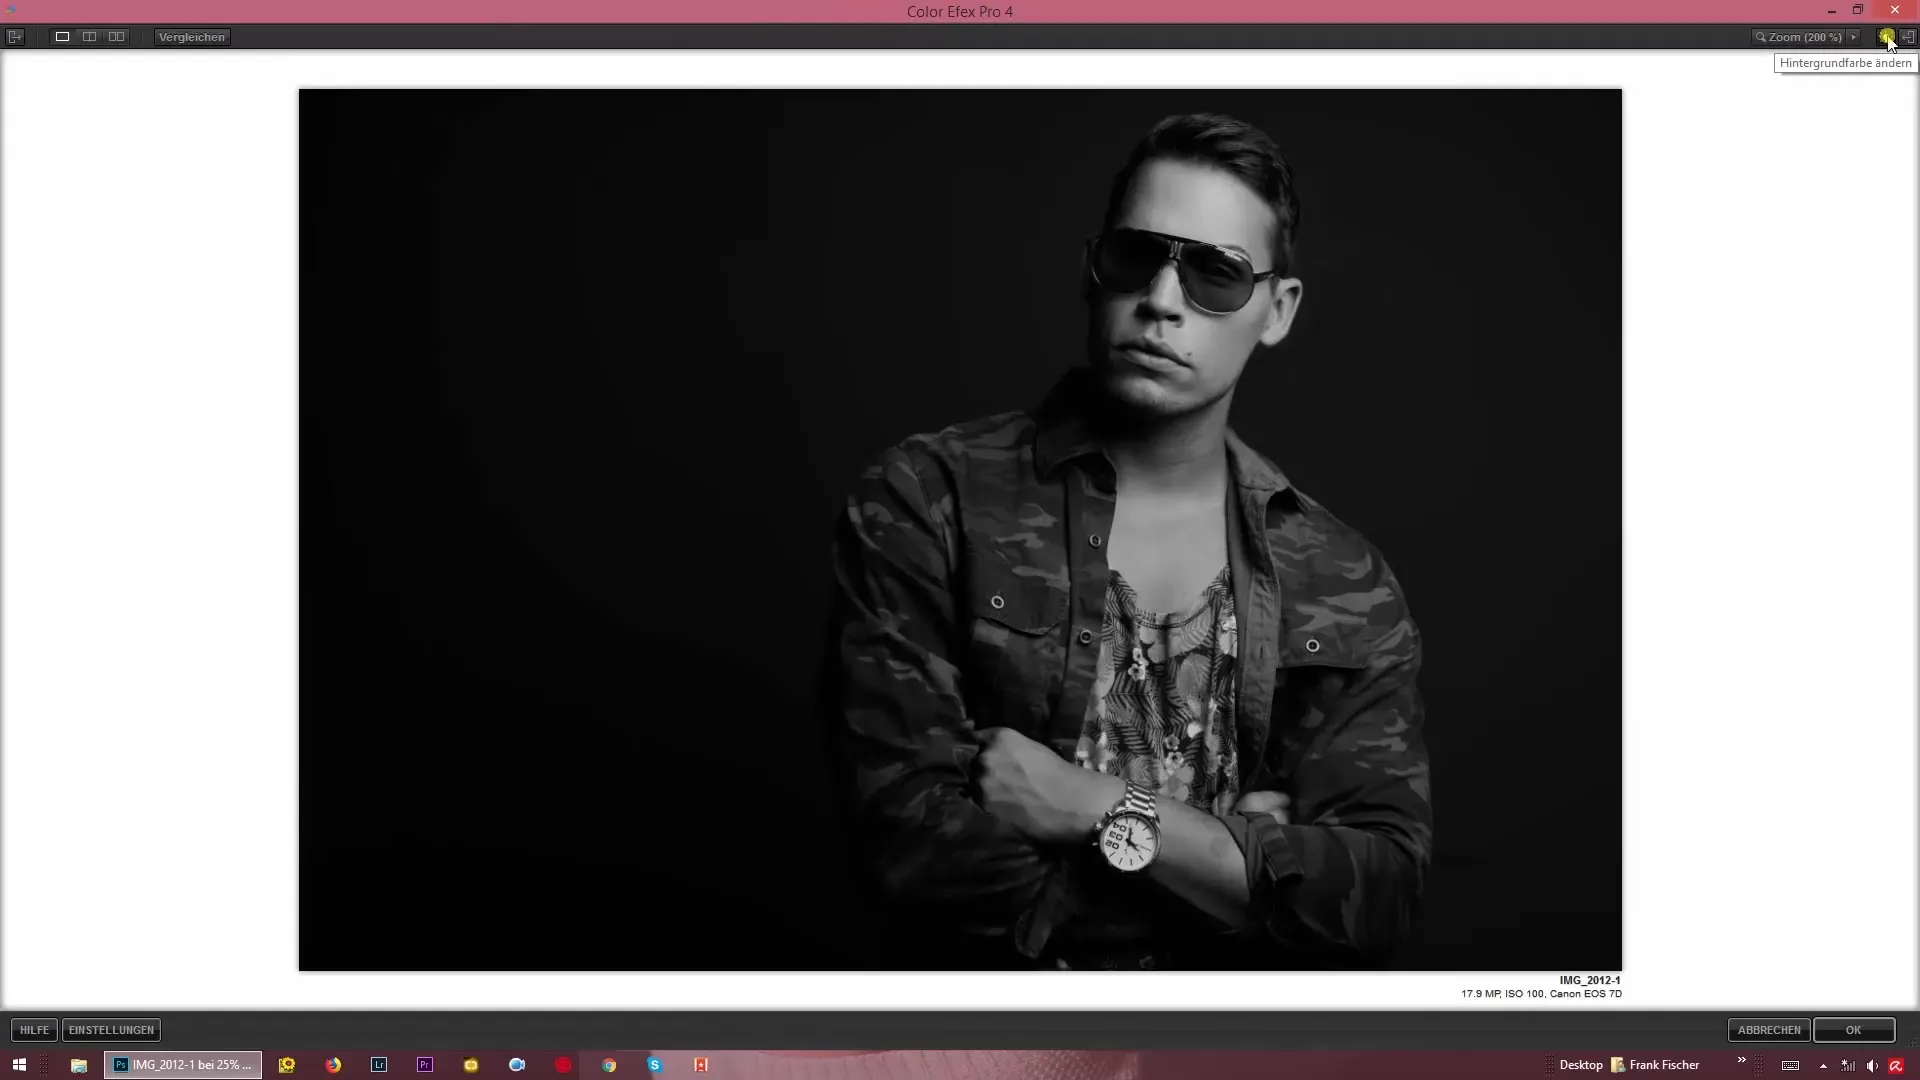
Summary - Guide to Using Color Efex Pro 4 for Before-After Comparisons
By following the steps described above, you will be able to effectively edit your images using Color Efex Pro 4 and conduct before-after comparisons. The options to choose different background colors and views allow you to evaluate and adjust the best results of your edits.
Frequently Asked Questions
How can I see the black-and-white conversion in Color Efex Pro 4?You can check or uncheck the box for the edit to see the conversion.
How do I switch between different filter views?Use the preview view to quickly compare different filters by sliding back and forth.
Can I change the background color during the editing process?Yes, you can adjust the background color at any time using the light bulb.
What should I do if I no longer need the side windows?The side windows can easily be hidden by clicking the corresponding button.
How can I undo changes?By pressing the Tab key, you can quickly undo changes and toggle the visibility of the windows.
