Working with image editing software like the Nik Collection can often be crucial for improving the quality of your photos. Notably, the control points in Color Efex Pro 4 are considered one of the standout features. They allow you to apply effects precisely to selected areas of the image. Here you will learn how to make the most of this feature.
Key Insights
- Control points allow for targeted application of effects to specific areas of the image.
- It is possible to apply effects only to selected colors or brightness ranges.
- You can duplicate and adjust control points to achieve consistent results.
Step-by-Step Guide
To unleash the power of control points, follow these steps:
1. Introduction to Control Points
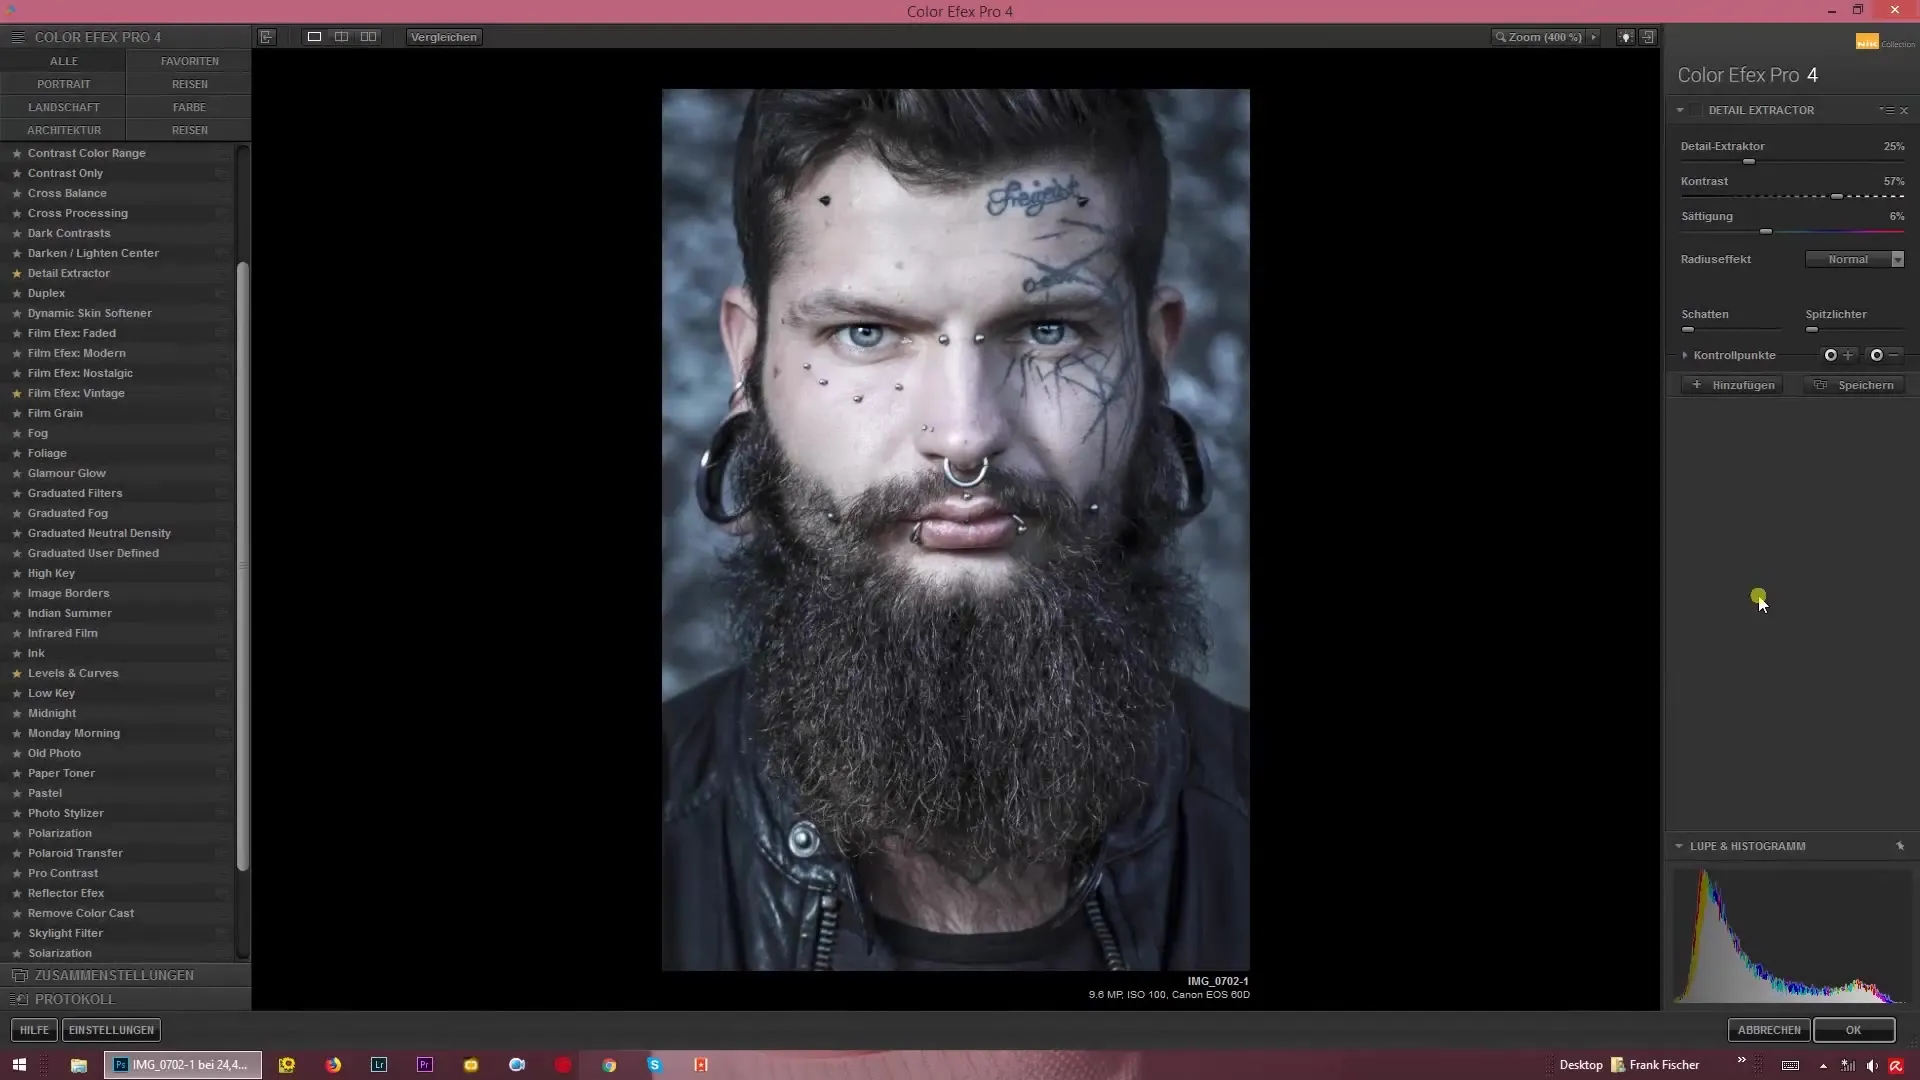
Start by selecting an effect you want to apply to your image. I am using the Detail Extractor here, for instance. The control over specific areas of the image is crucial to show the full effect of the enhancement.
2. Adding Control Points
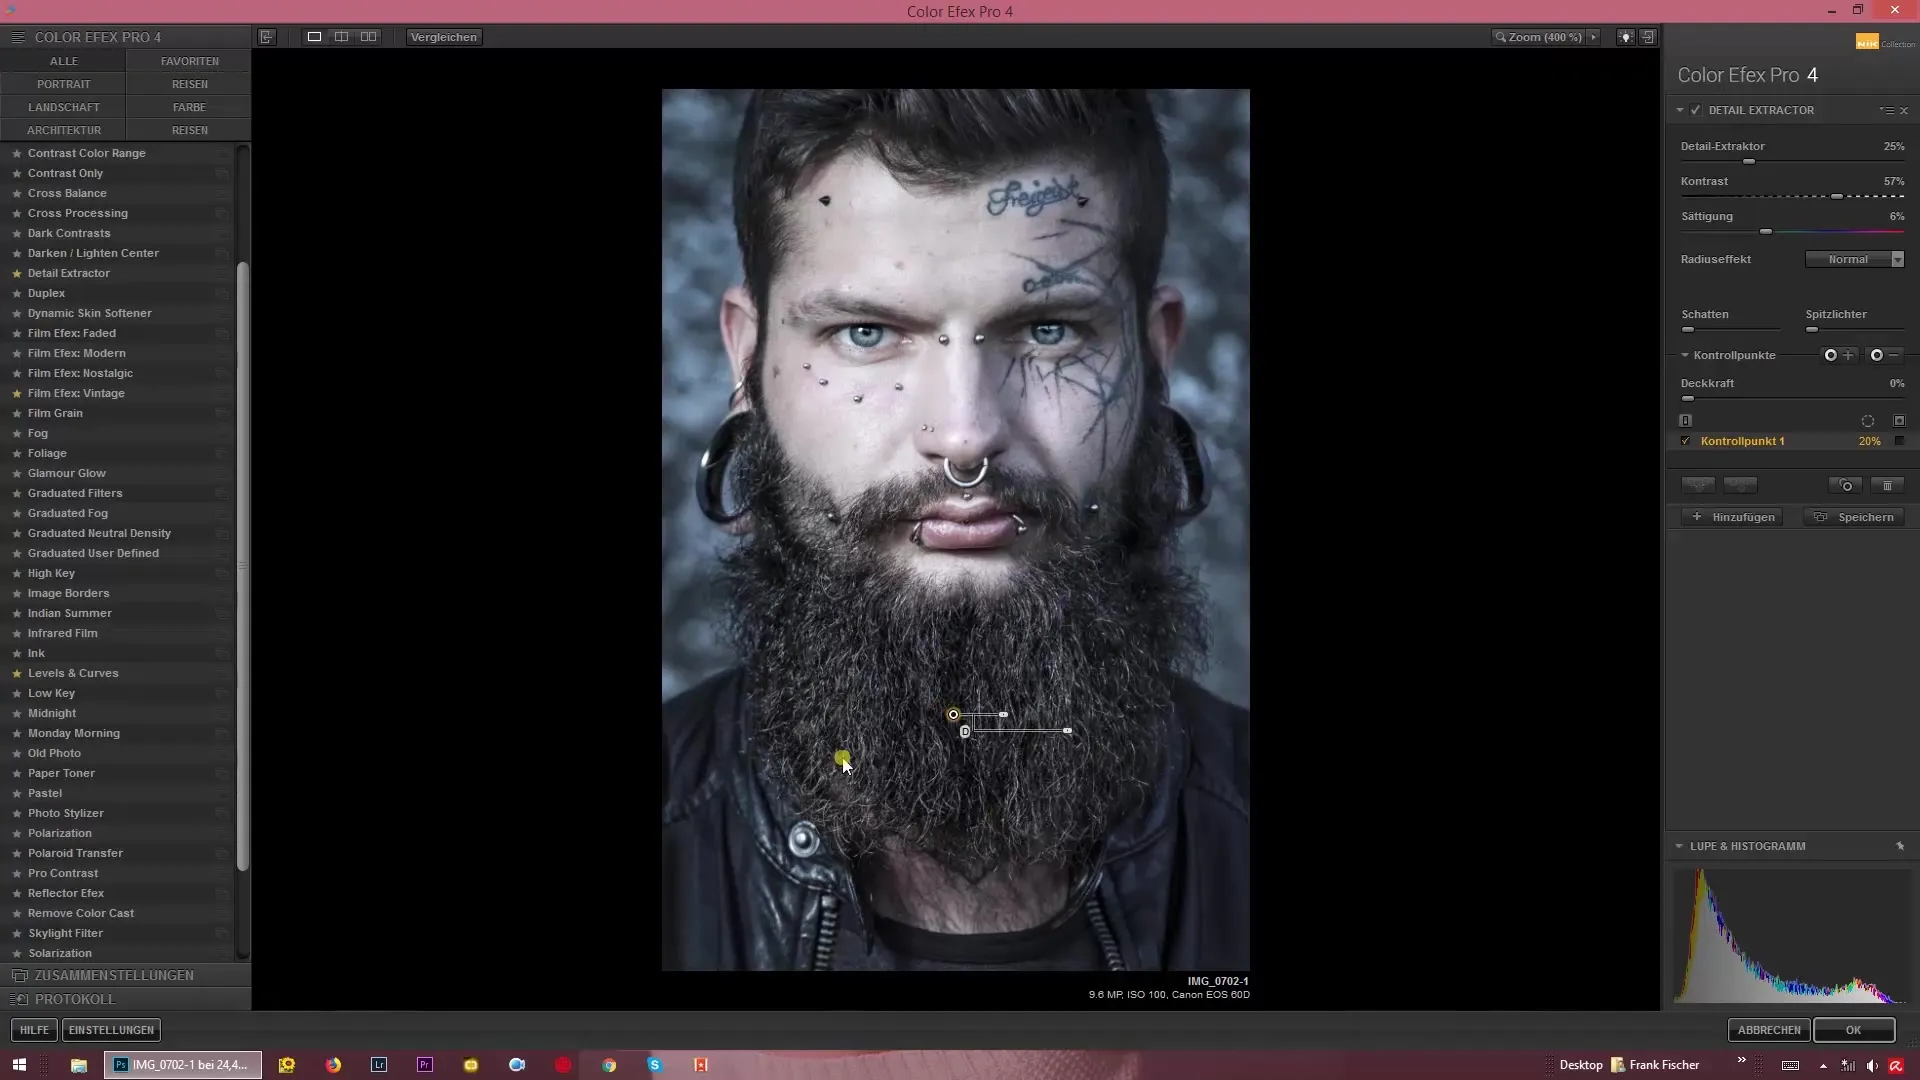
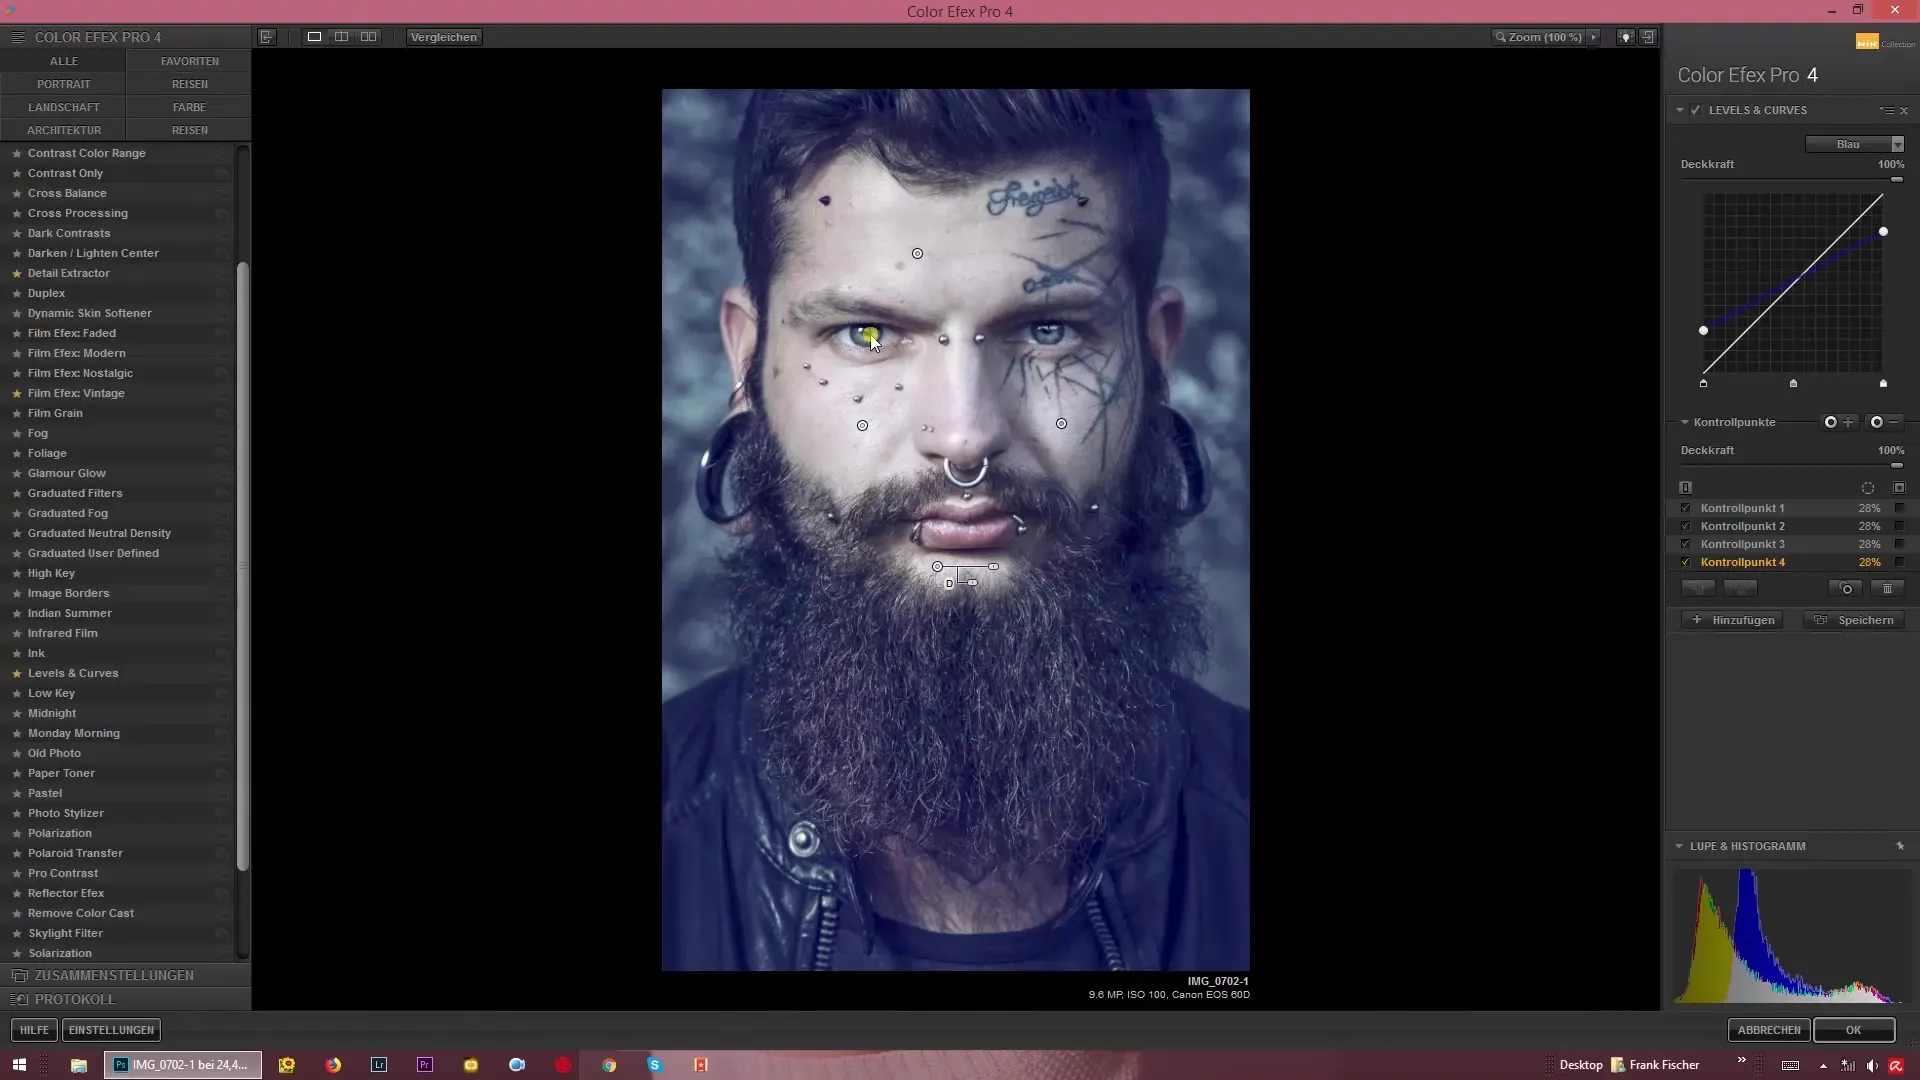
To insert a control point, click the plus symbol in the filter toolbar. This activates an initialization of the effect at the location of the control point.
3. Adjusting the Range of the Control Point
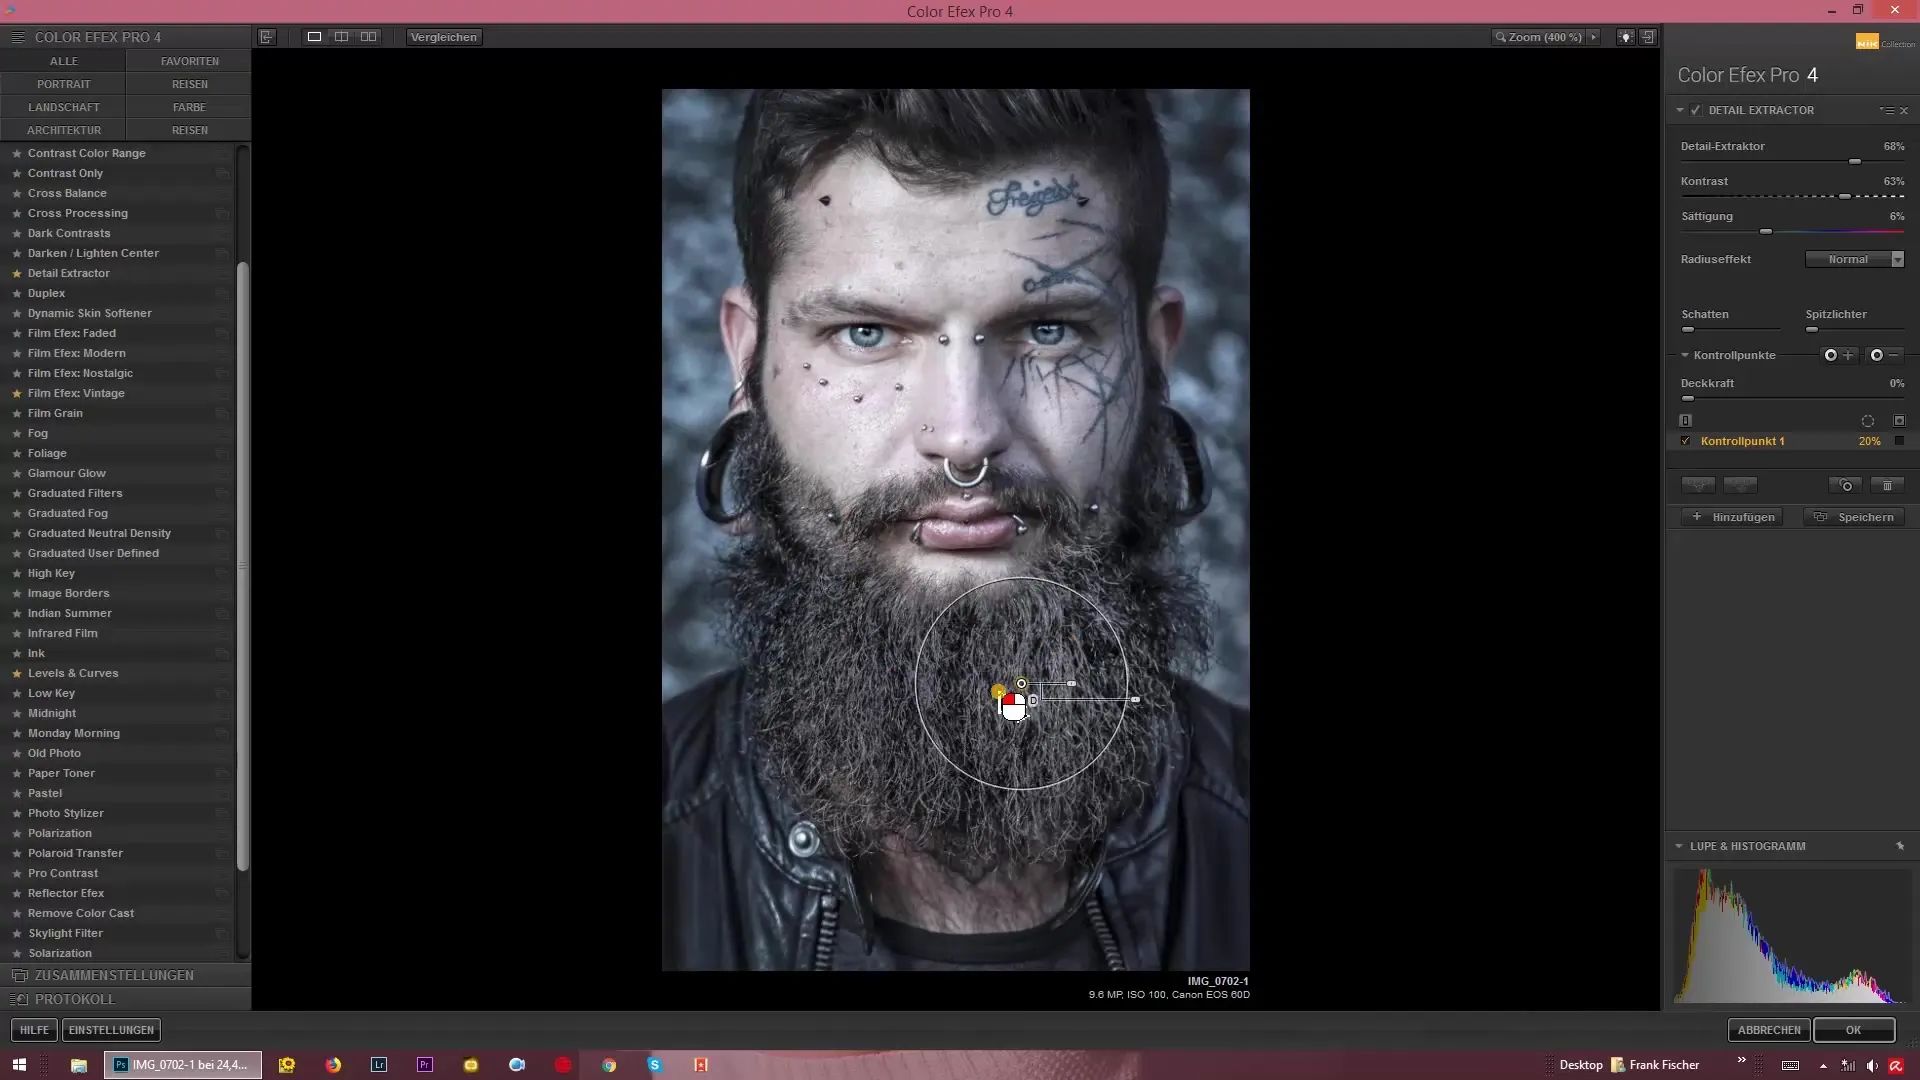
The added control point is indicated by a circle that defines the range of the effect. Move this circle to the desired positions. Note: The effect is only applied within the same colors and brightness levels.
4. Fine-Tuning the Effect
Ensure that the effect only affects the desired area. Do this, for example, by tightening the circle or blending with other colors in the vicinity. You can enhance the effect for better visibility.
5. Visualizing Effects
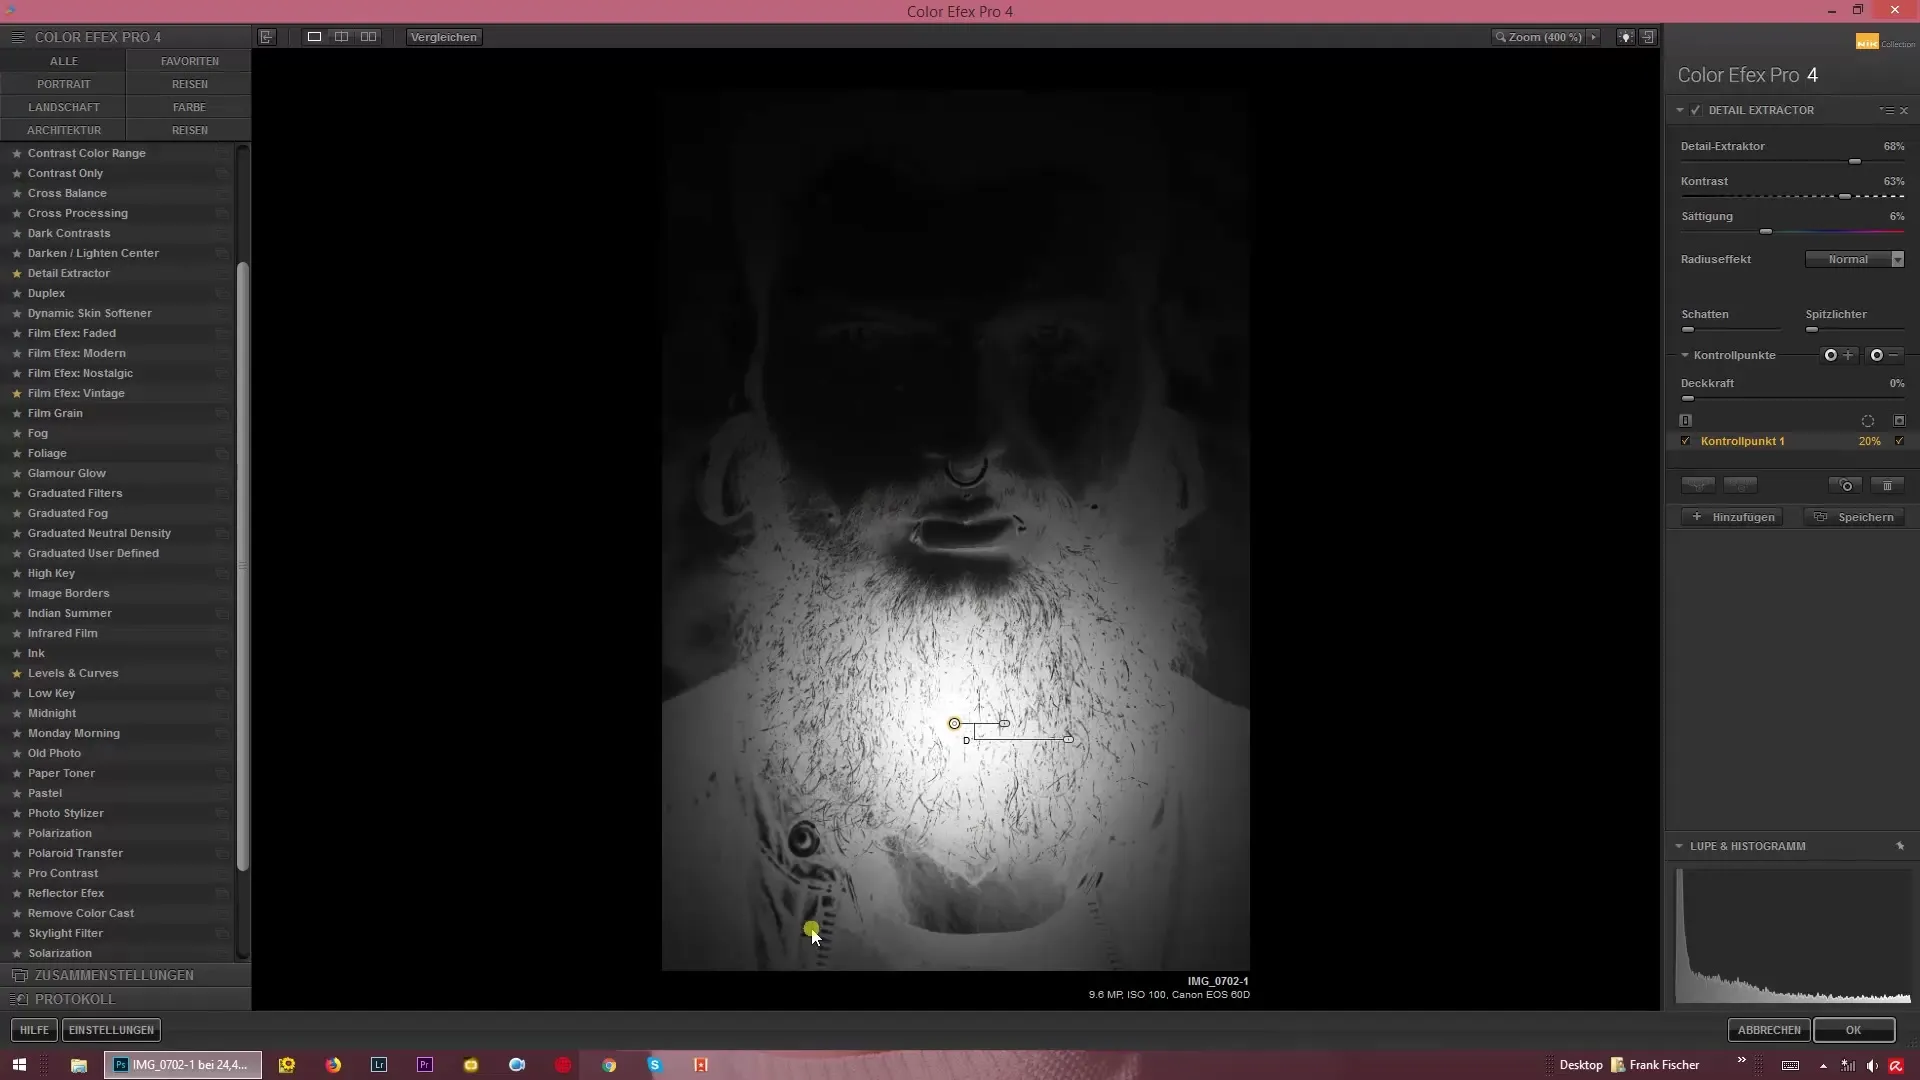
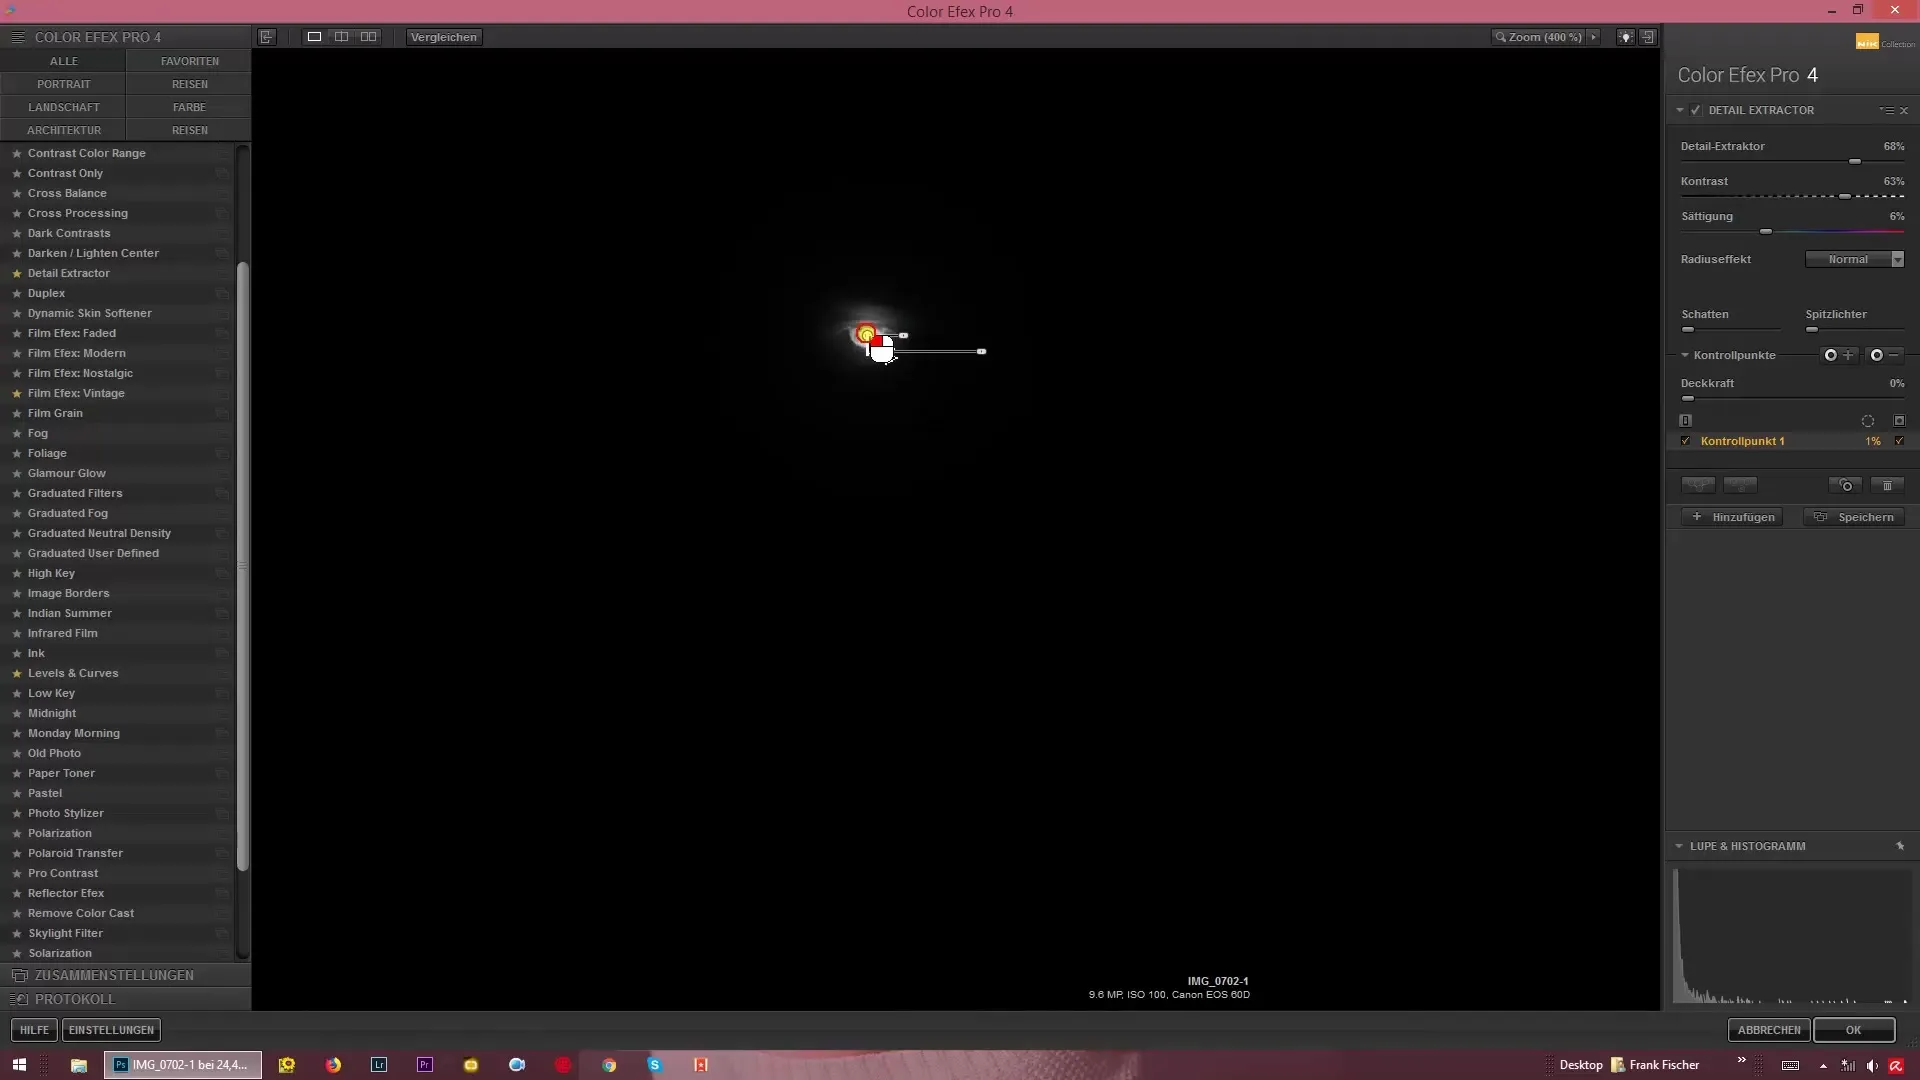
Click the information icon (checkmark) to see which areas are affected by the effect. Anything that is brightly displayed will be captured by the effect, while anything darker will be excluded.
6. Selectively Editing Different Areas
Apply the effect specifically to certain areas such as skin or eyes by placing another control point. Make the radius small for precise adjustments.
7. Duplicating Control Points
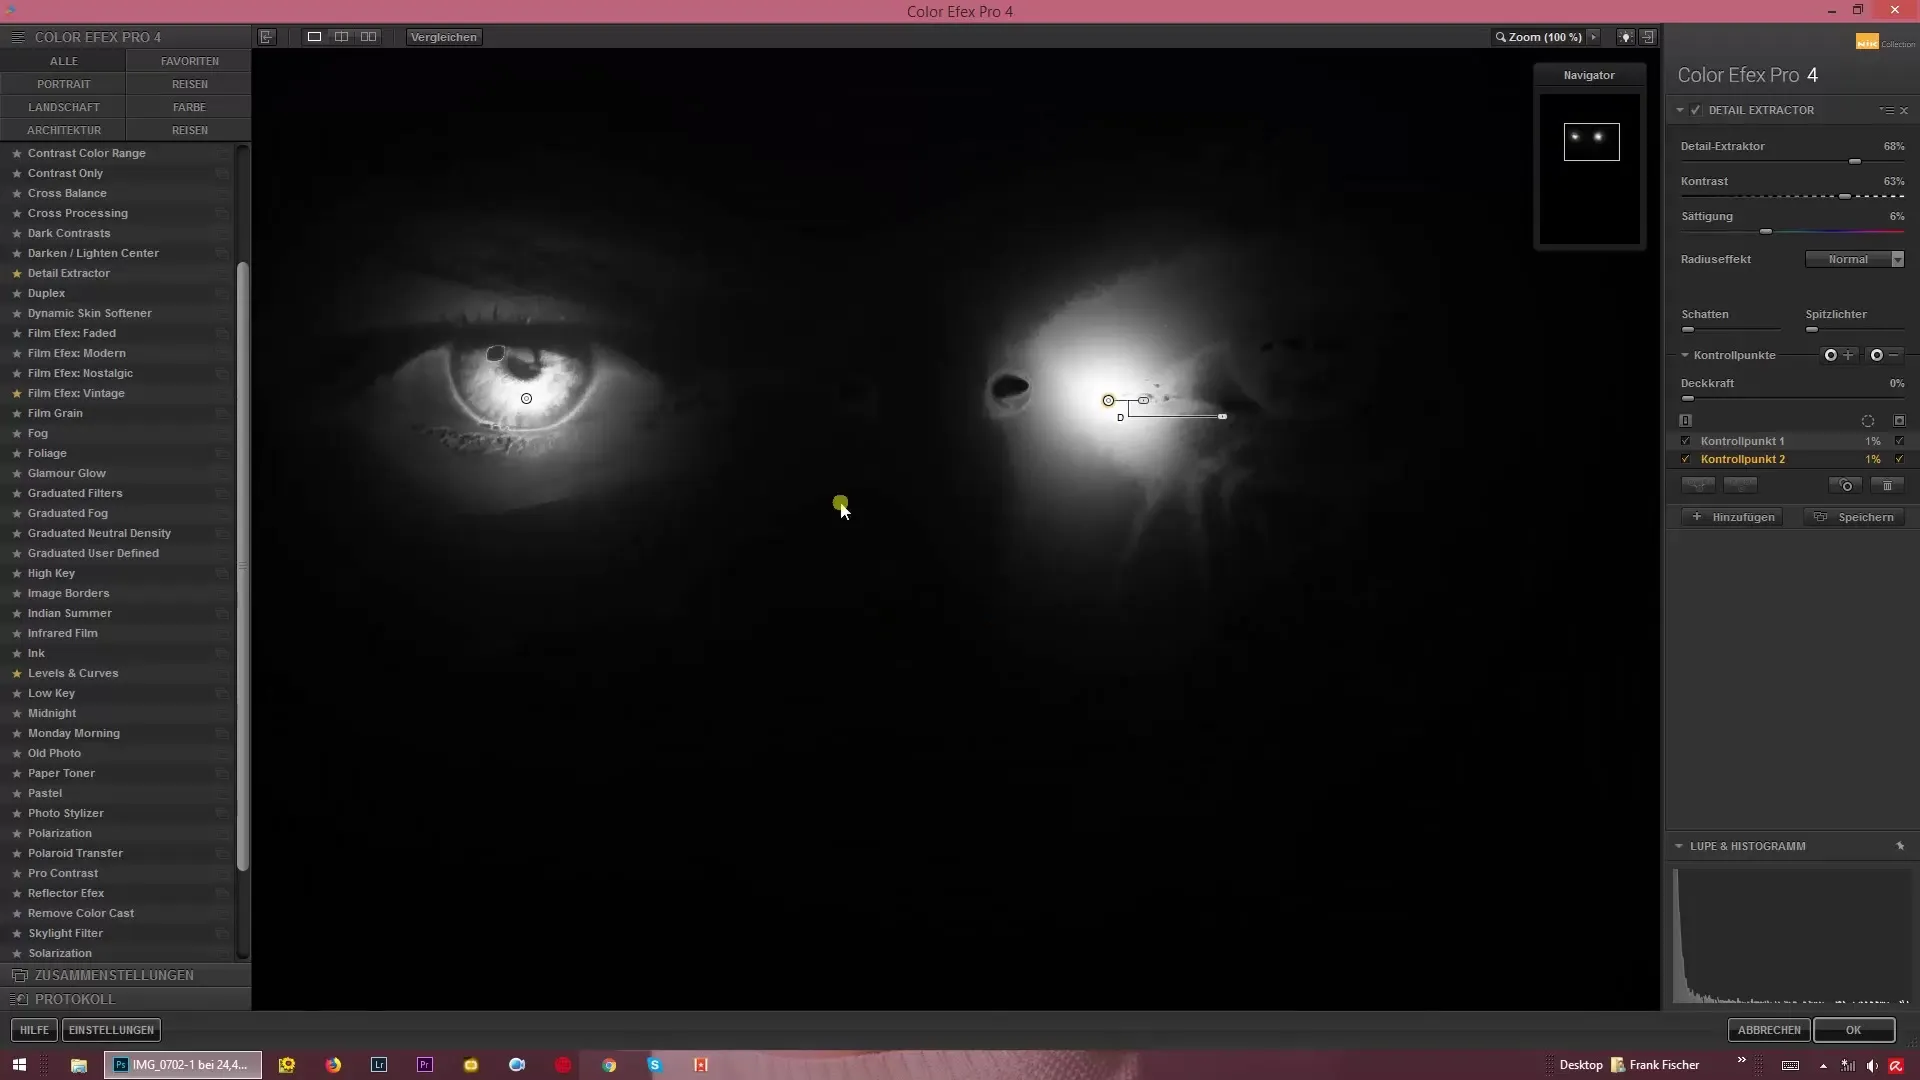
To apply the effect to other areas, you can duplicate it by holding down the Alt key. Then drag the new control point to the location where you want to apply the same effect.
8. Managing Control Points
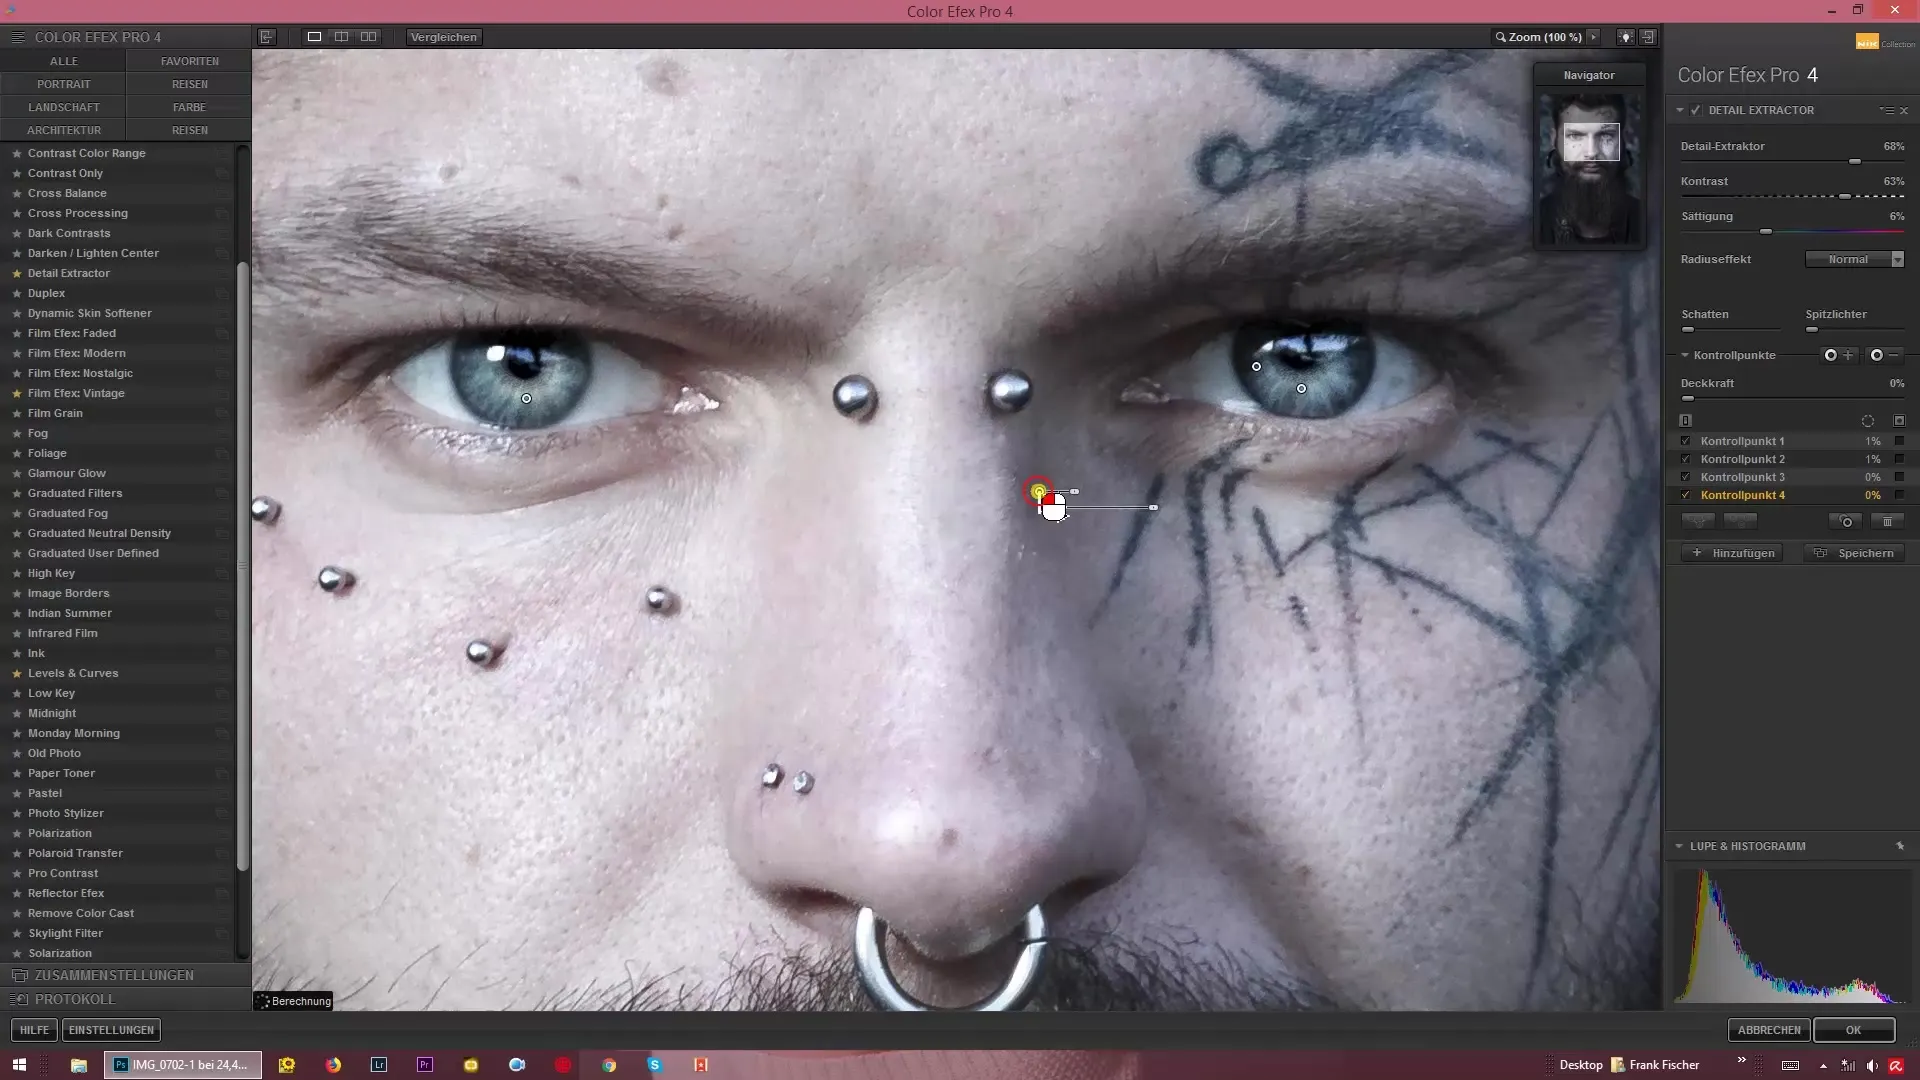
You can hide or delete control points as needed. These functions are helpful for quickly switching between different settings or making adjustments.
9. Applying Masking Techniques
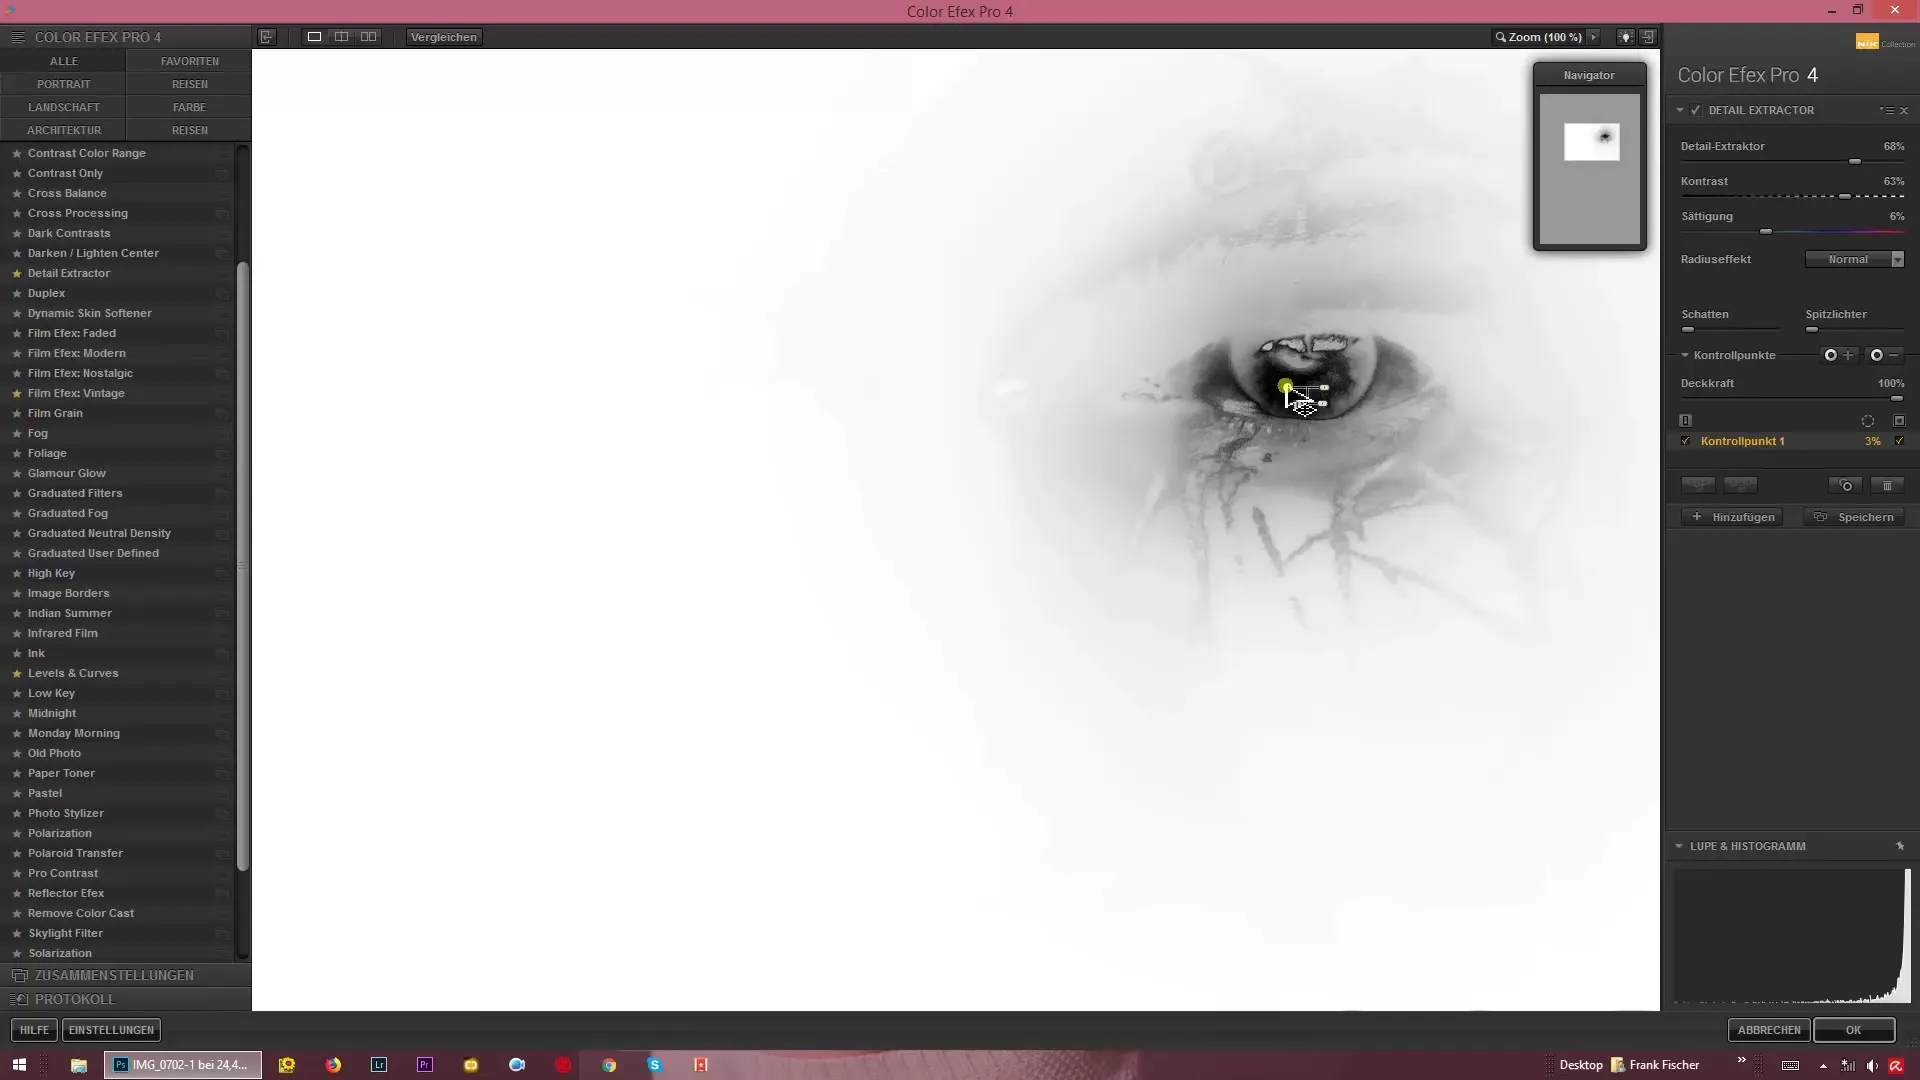
Each control point functions like a mask. Areas that are black under the control point will not receive any effect, while white areas will allow the effect to penetrate maximally. Use this technique for targeted adjustments throughout the image.
10. Continuing Education and Experimentation
Take time to thoroughly engage with control points. Experiment with different settings to discover which effects work best for your image edits.
Summary - Nik Collection: Effective Use of Control Points in Color Efex Pro 4
By using the control points in Color Efex Pro 4, you can apply effects specifically to certain areas of the image and achieve professional results. It's worthwhile to continually expand your skills in this area and comprehensively explore the various functions of the software.
Frequently Asked Questions
How do I add a control point in Color Efex Pro 4?Click the plus symbol in the filter toolbar.
Can I apply effects to specific colors?Yes, the control points only affect similar brightness and colors.
How do I duplicate control points?Hold down the Alt key and drag the control point to the desired location.
What does the checkmark do in the preview?It indicates which areas are captured by the effect.
How can I delete control points?Click on the control point and then on the delete symbol.
