With the right tools, you can significantly improve the colorfulness of your images. The "Contrast Color Range" filter in Color Efex Pro 4 is a powerful tool for enhancing the color contrasts in your images. However, using this filter also carries risks, such as the creation of blown-out areas. In this guide, I will show you how to apply the filter effectively and subtly so that you can achieve spectacular results without compromising image quality.
Key insights
- The “Contrast Color Range” filter allows fine adjustments of color contrasts.
- Be careful not to use the sliders too extreme to avoid color breaks and blown-out areas.
- A careful approach with the various sliders is necessary for optimal image editing.
Step-by-step guide
Step 1 – Select the filter
To work with the filter, open your image in Color Efex Pro 4 and select the “Contrast Color Range” filter. You can choose the filter from the menu or the filter list.
Step 2 – Make initial adjustments
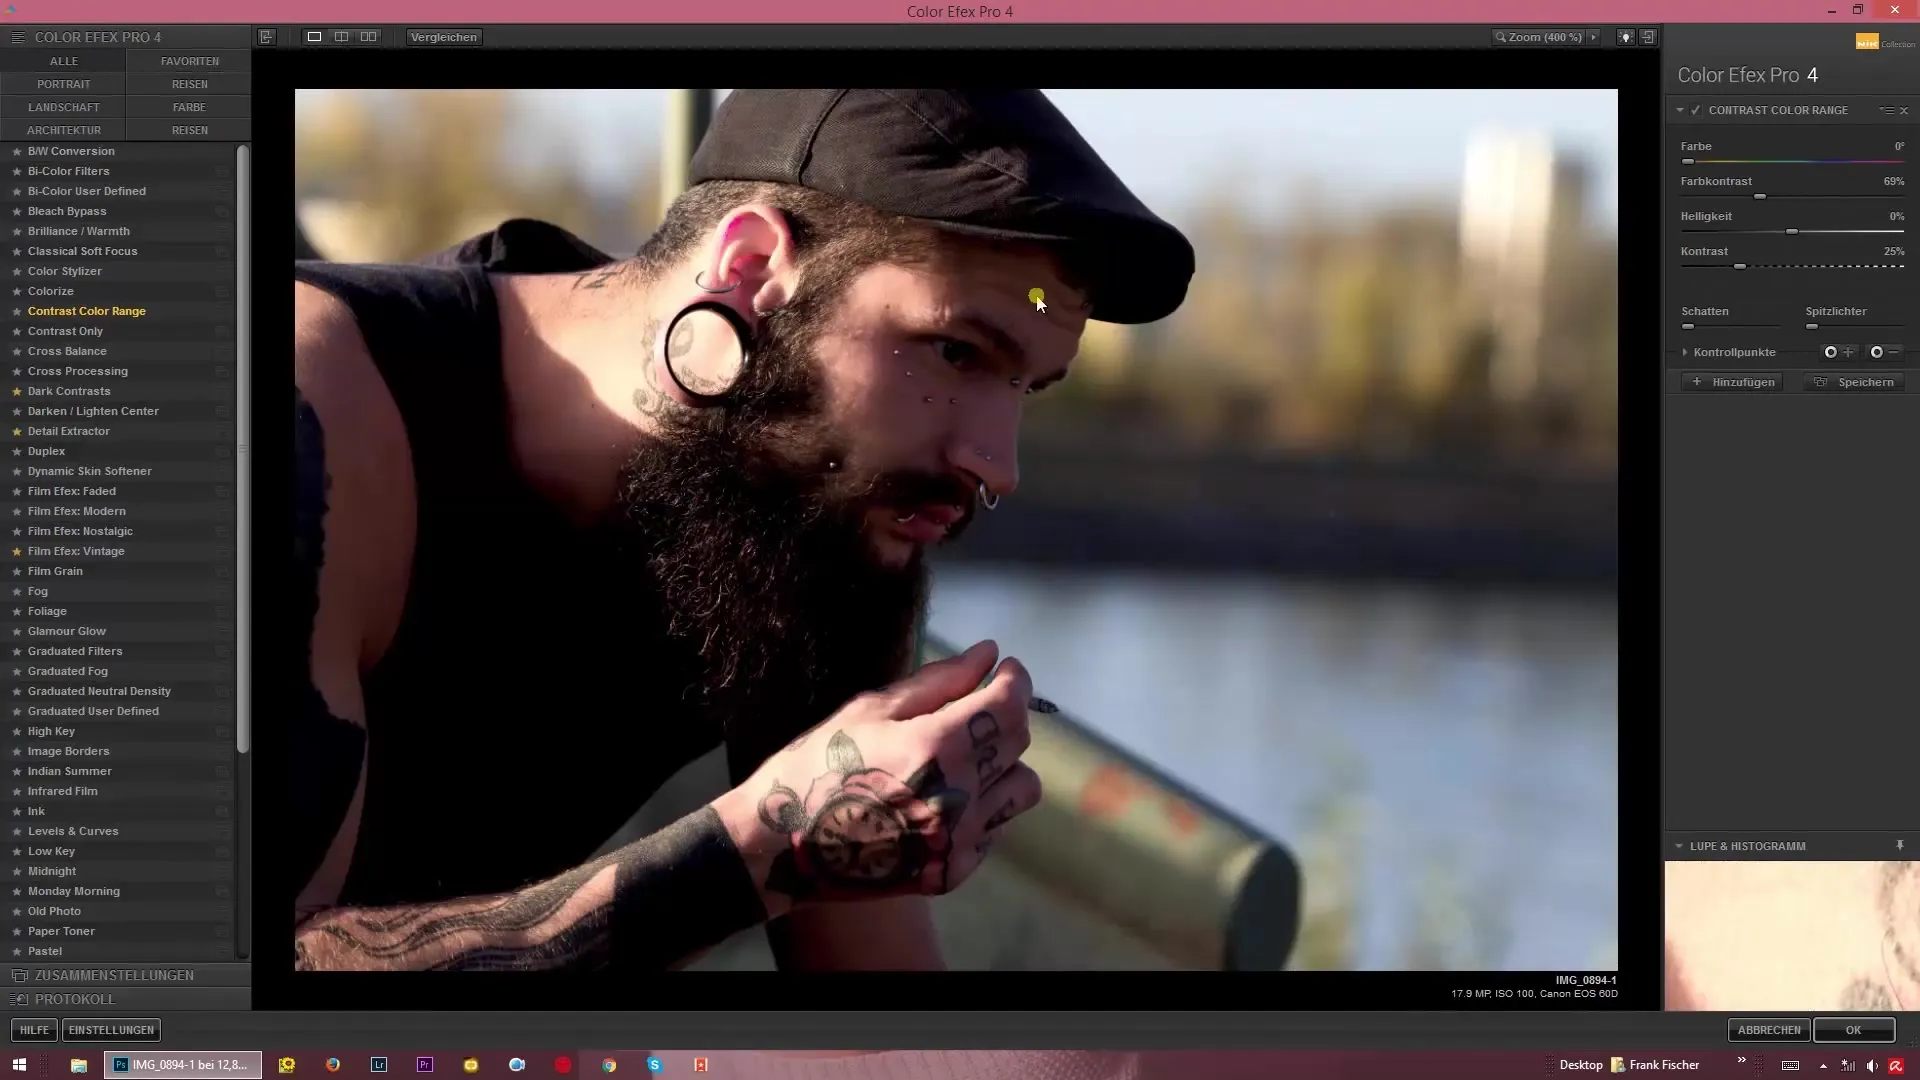
Once you have selected the filter, you will notice that the image changes immediately. This is because the preset values are not set to zero. Take a moment to observe how the image effect changes as you adjust the values.
Step 3 – Increase color contrasts
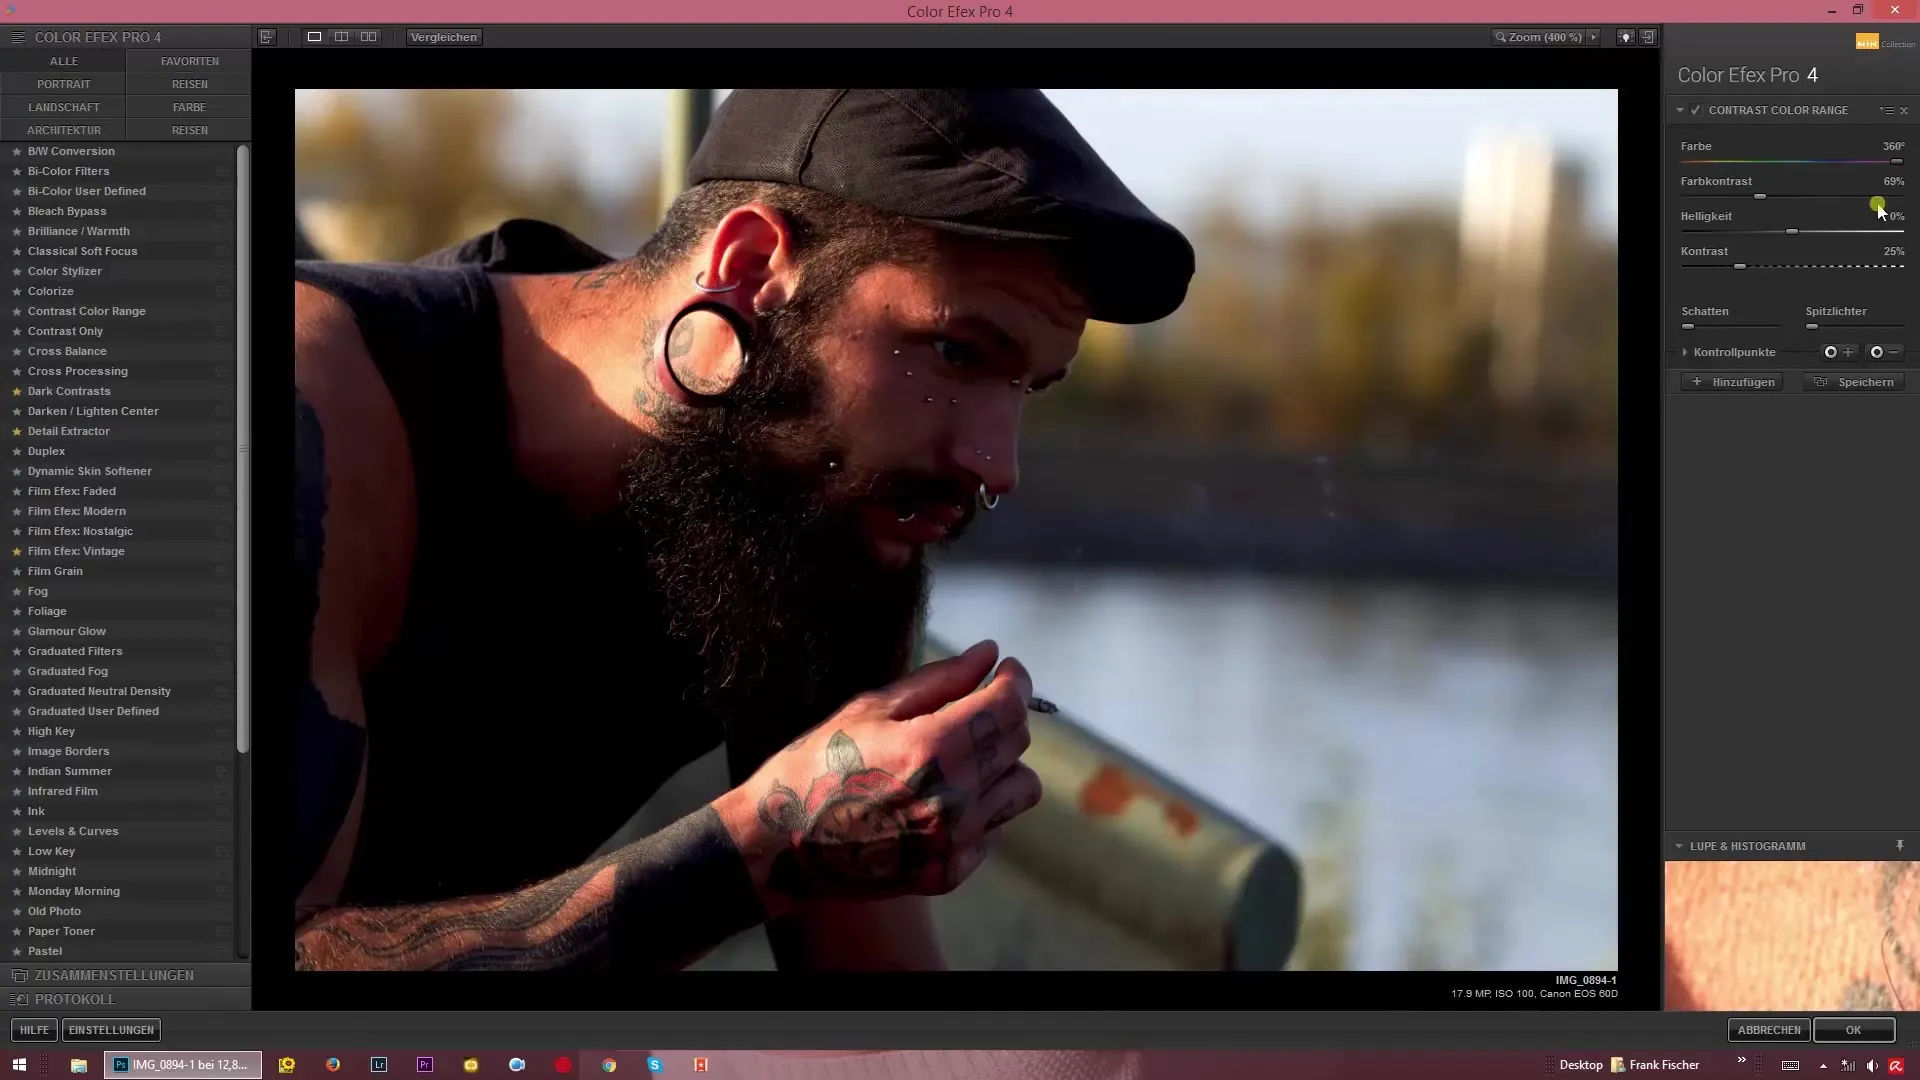
Now you have the opportunity to increase the color contrast. Move the corresponding slider to the right to strengthen the effect. Note that the image can quickly take on a reddish tint if you choose values that are too high.
Step 4 – Fine-tune color contrast
There is a specific slider for the color contrasts that allows for deeper adjustments. Move the slider up carefully. Be aware that at extreme values (e.g., 200%), the image can appear heavily emphasized and washed out.
Step 5 – Avoid magenta tinting
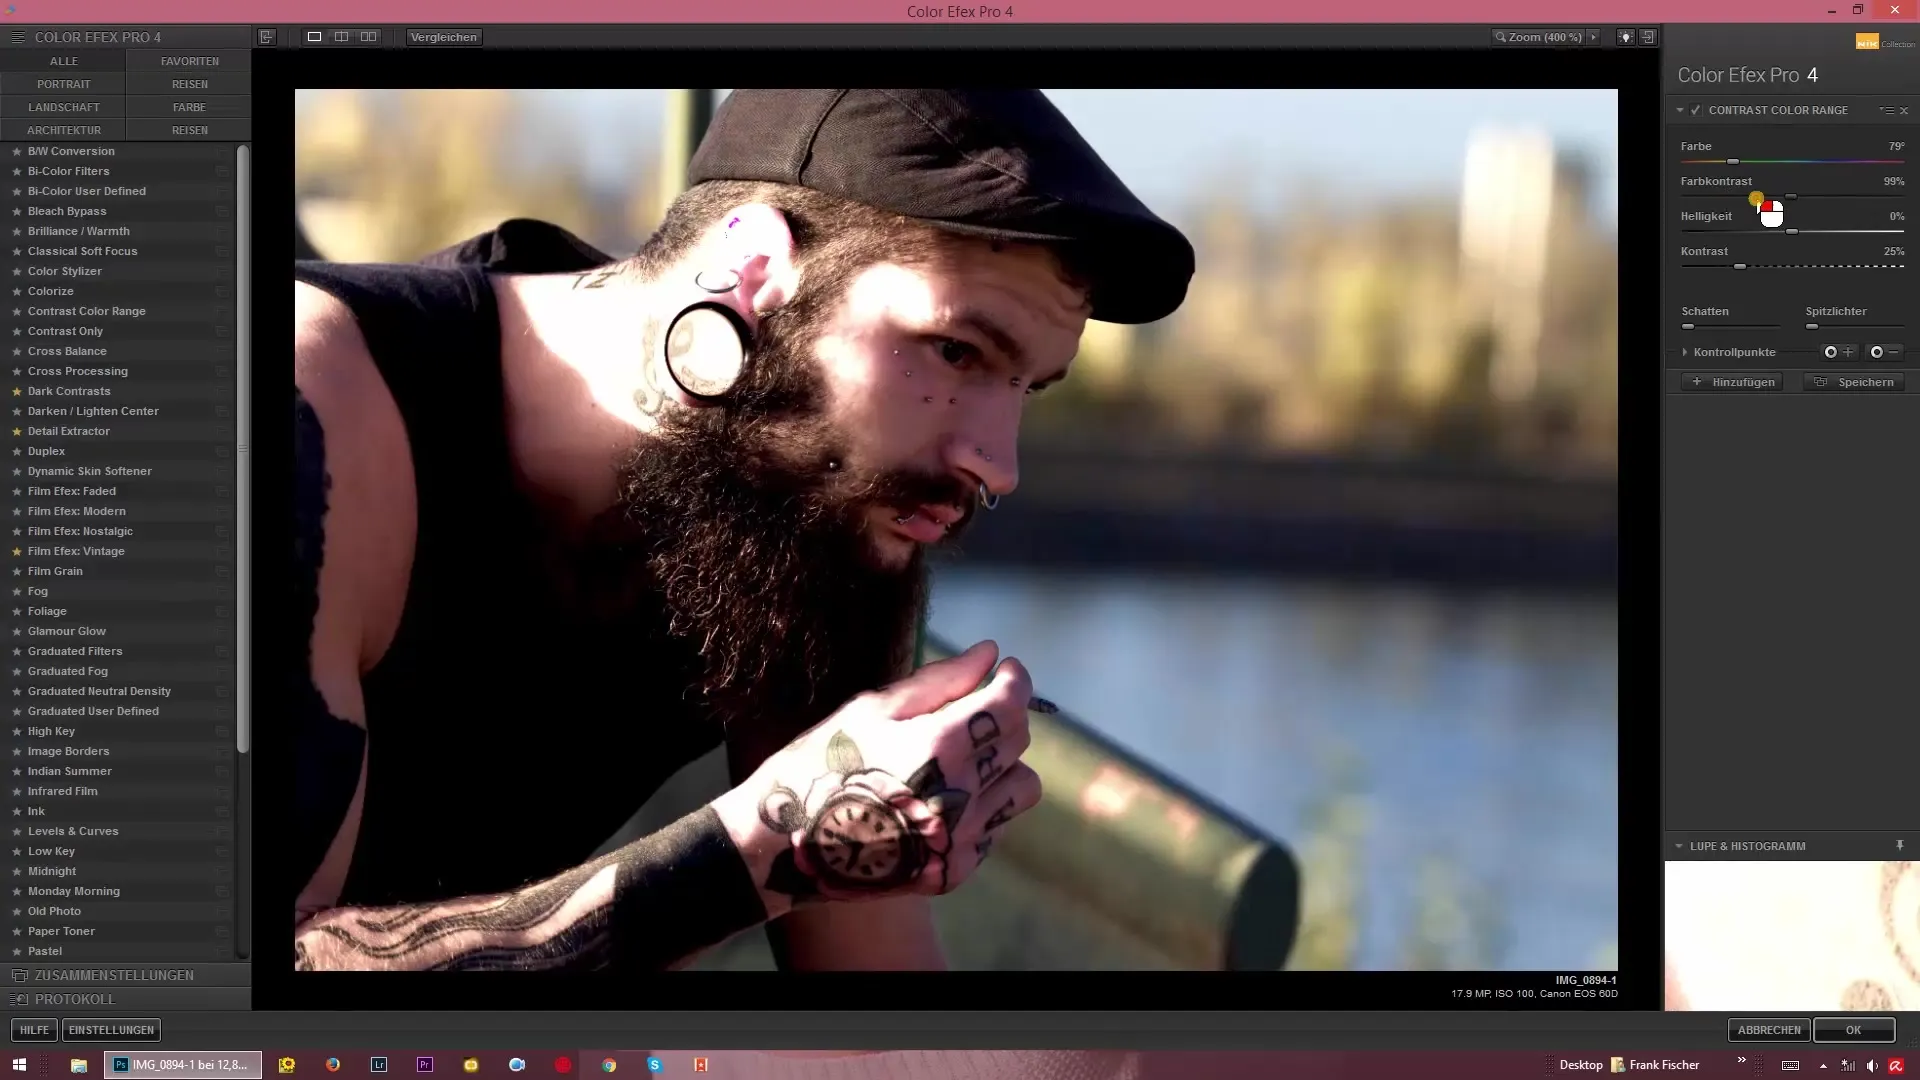
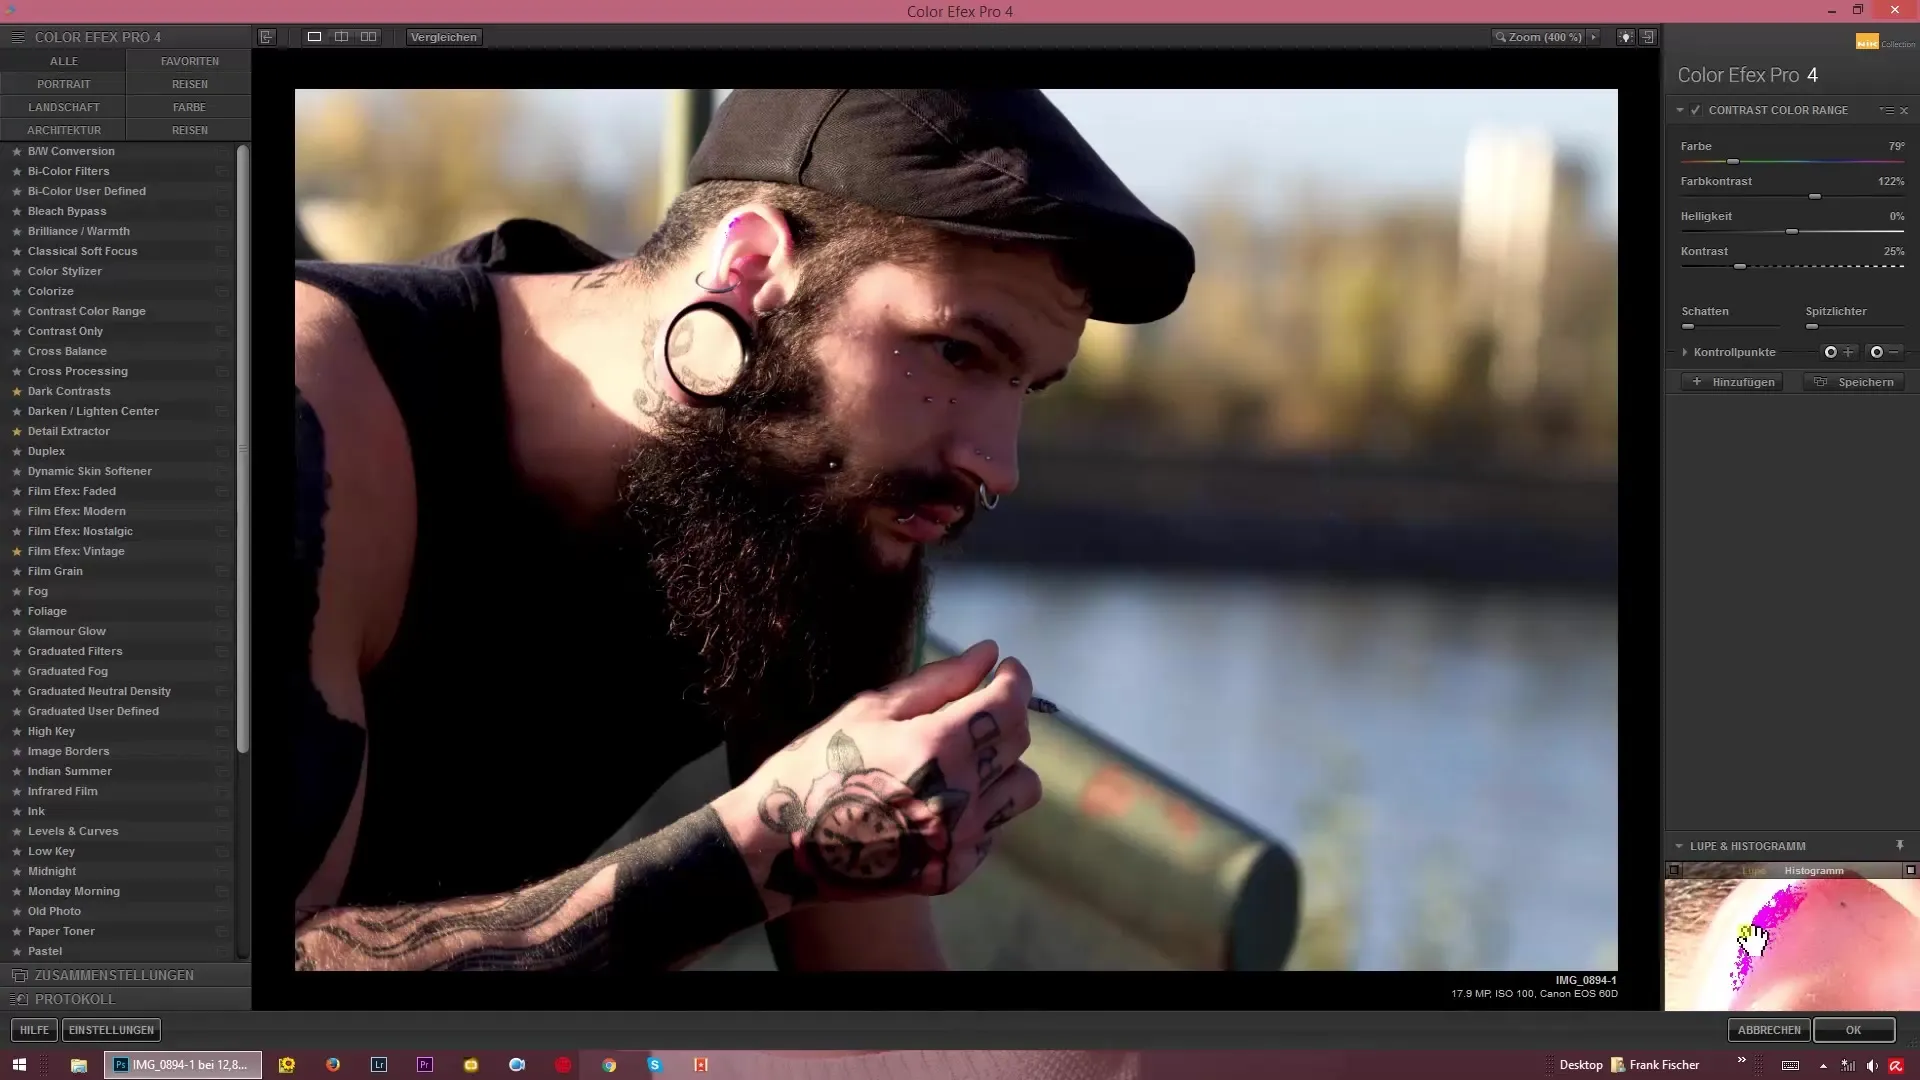
An important aspect of working with the “Contrast Color Range” filter is the potential creation of magenta spots in the image. Be sure to regularly check how the changes affect the color balance of your image. Set the slider so that the image remains balanced.
Step 6 – Adjust brightness
The brightness slider is another useful tool that you should use wisely. Setting the brightness slider to 100% will give you an almost pure white image. The opposite occurs when you reduce it to a minimum; then a very dark mood enters the image.
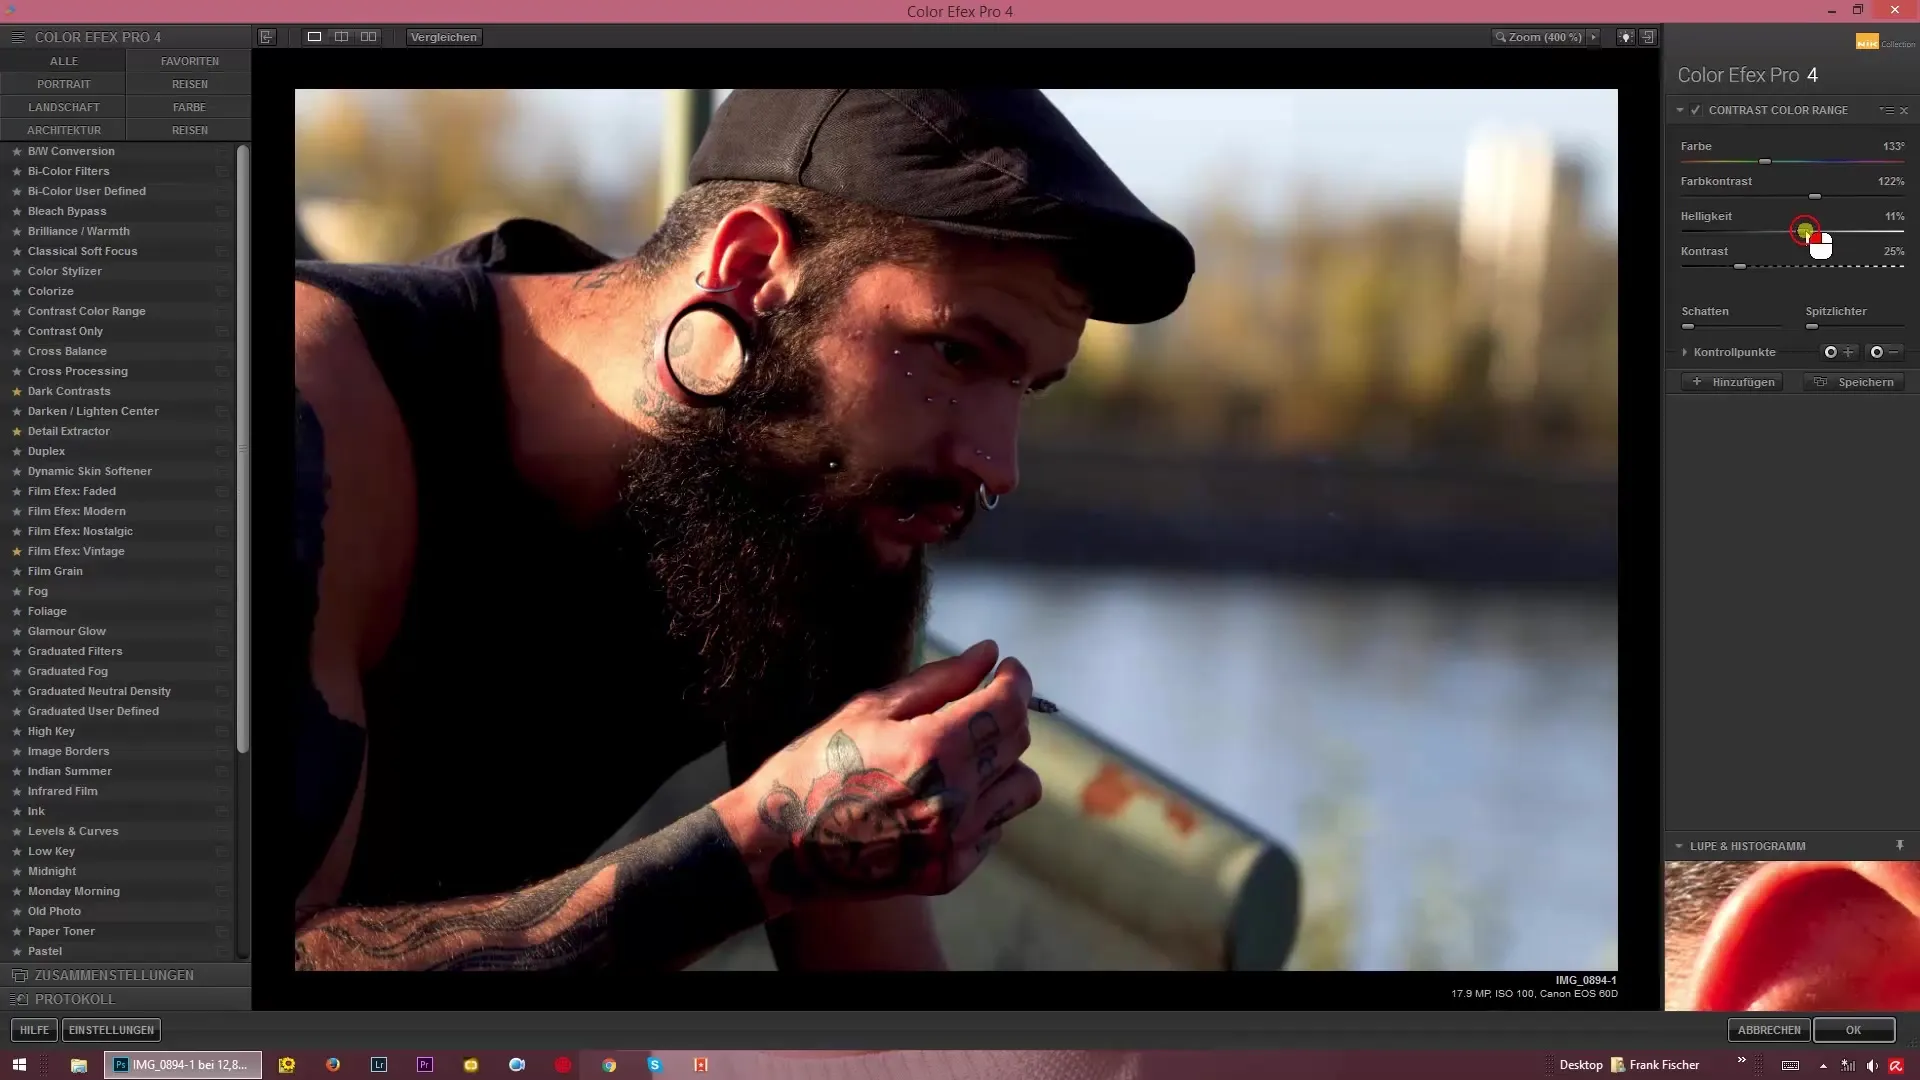
Step 7 – Use the contrast slider
Use the contrast slider to darken the shadows and lighten the highlights. Also, move this slider carefully to avoid unwanted blown-out areas. Fine adjustments are crucial here to achieve the desired effect.
Step 8 – Final adjustments
Take a close look at your image again. Consider whether you want to adjust further color nuances or contrasts. The filter offers many options, but it is important not to overdo anything. Thoughtful handling leads to excellent results.
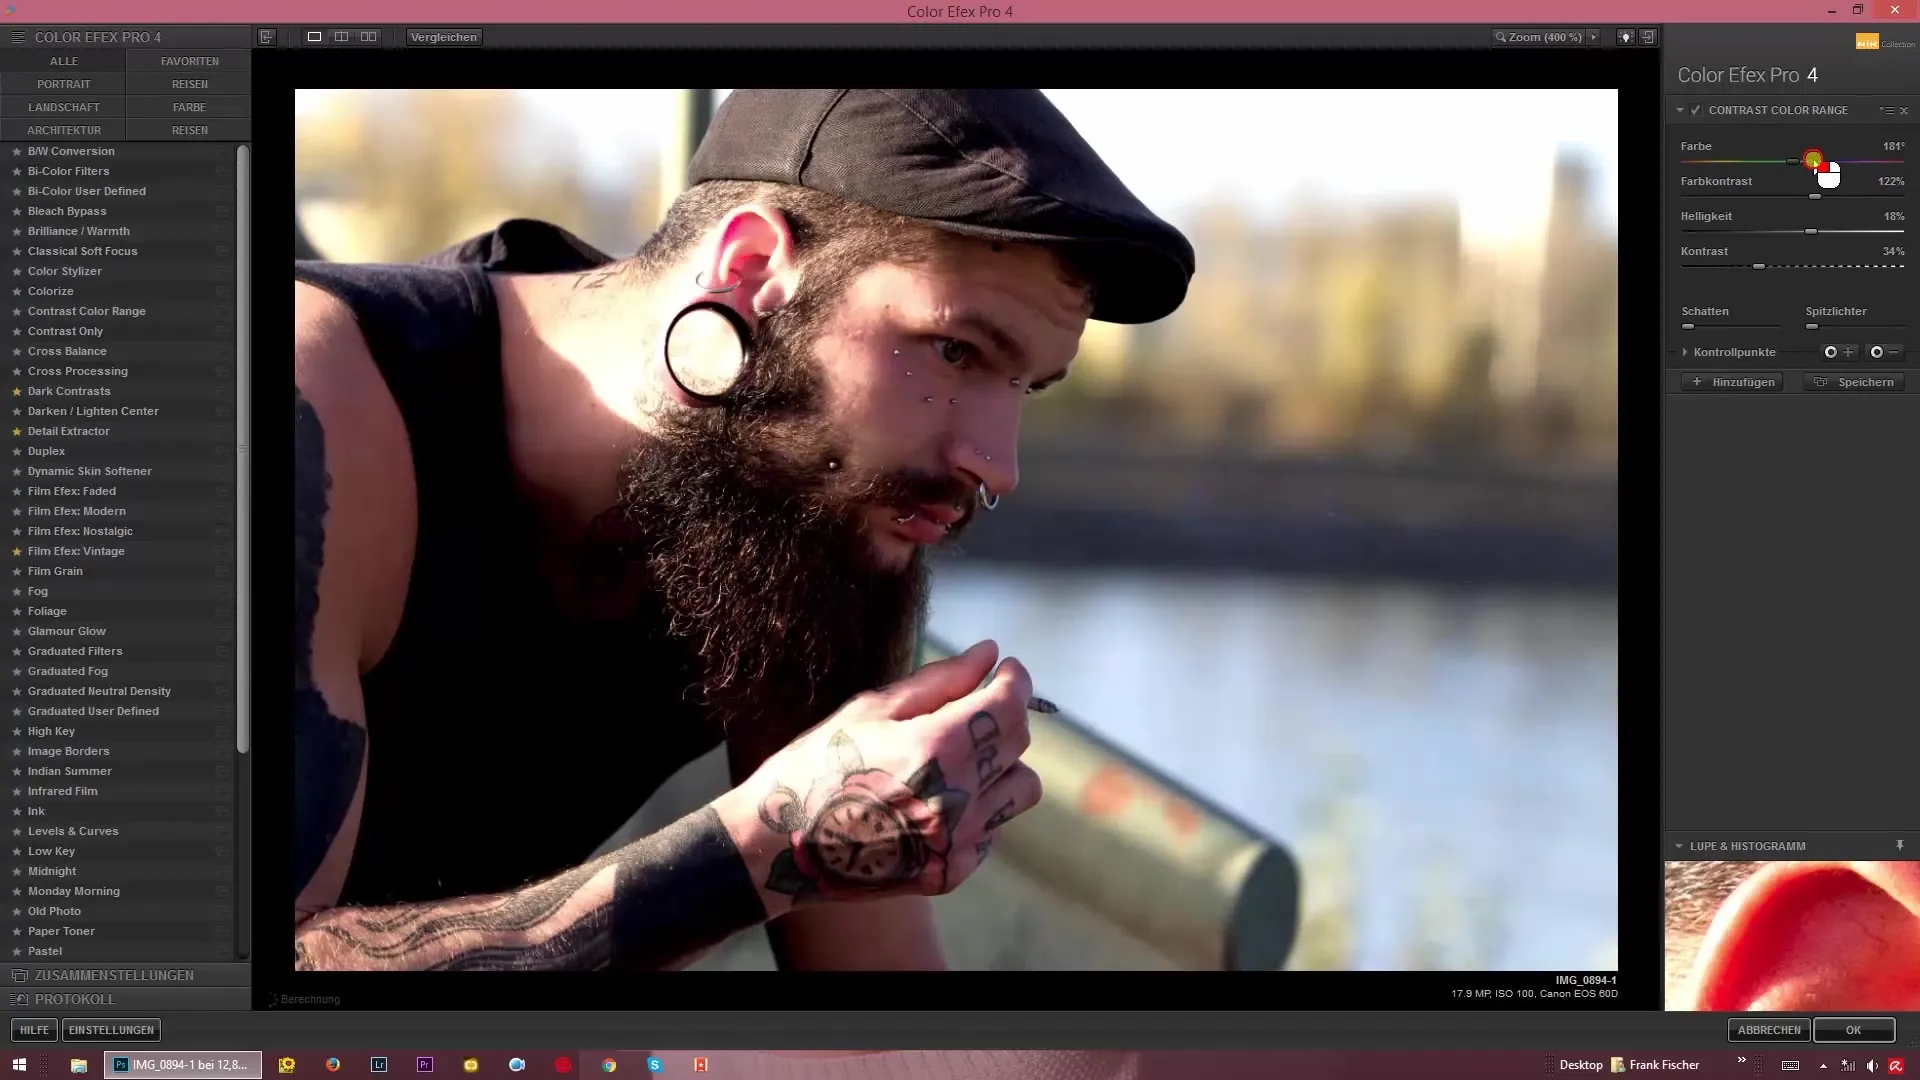
Summary – Crisp color contrasts with Color Efex Pro 4: 14 Contrast Color Range optimization
In this guide, you learned how to improve your color contrasts with the “Contrast Color Range” effect in Color Efex Pro 4. Apply the various sliders thoughtfully to achieve impressive results without jeopardizing image quality. Remember that a gentle, subtle application often leads to the best results.
Frequently asked questions
What does the "Contrast Color Range" filter do?The filter allows for the adjustment of color contrasts in an image.
How do I avoid blown-out areas?Use the sliders in moderate ranges and regularly check the image.
Can I see the color effect before saving?Yes, you can observe the changes in real-time as you adjust the sliders.
If I like the result, can I save it?Yes, save your image after editing it in the desired format.
When should I make brightness adjustments?If you want to create a specific mood in the image, play with the brightness slider.


