Bright and airy images are the epitome of High Key photography. They are characterized by an overemphasis on bright tones and create a soft, often dreamy atmosphere. In this tutorial, I will show you how to create High Key images using Color Efex Pro 4. I will explain the key features and give you tips for ideal image editing.
Key insights
- High Key means overexposure to create bright and airy images.
- Make sure that clothing and skin tones do not have any blown-out areas.
- Experiment with different sliders in Color Efex Pro 4 to achieve the desired effect.
Steps to Create High Key Images
If you want to work with High Key, you begin with a suitable foundation. The first step is best done with an image that already has a bright background. This makes editing and achieving the desired High Key look easier.
Step 1: Choose an Image
Select an image with a bright background or a light color palette. You can use a portrait photo or another subject that fits well into the High Key aesthetic.
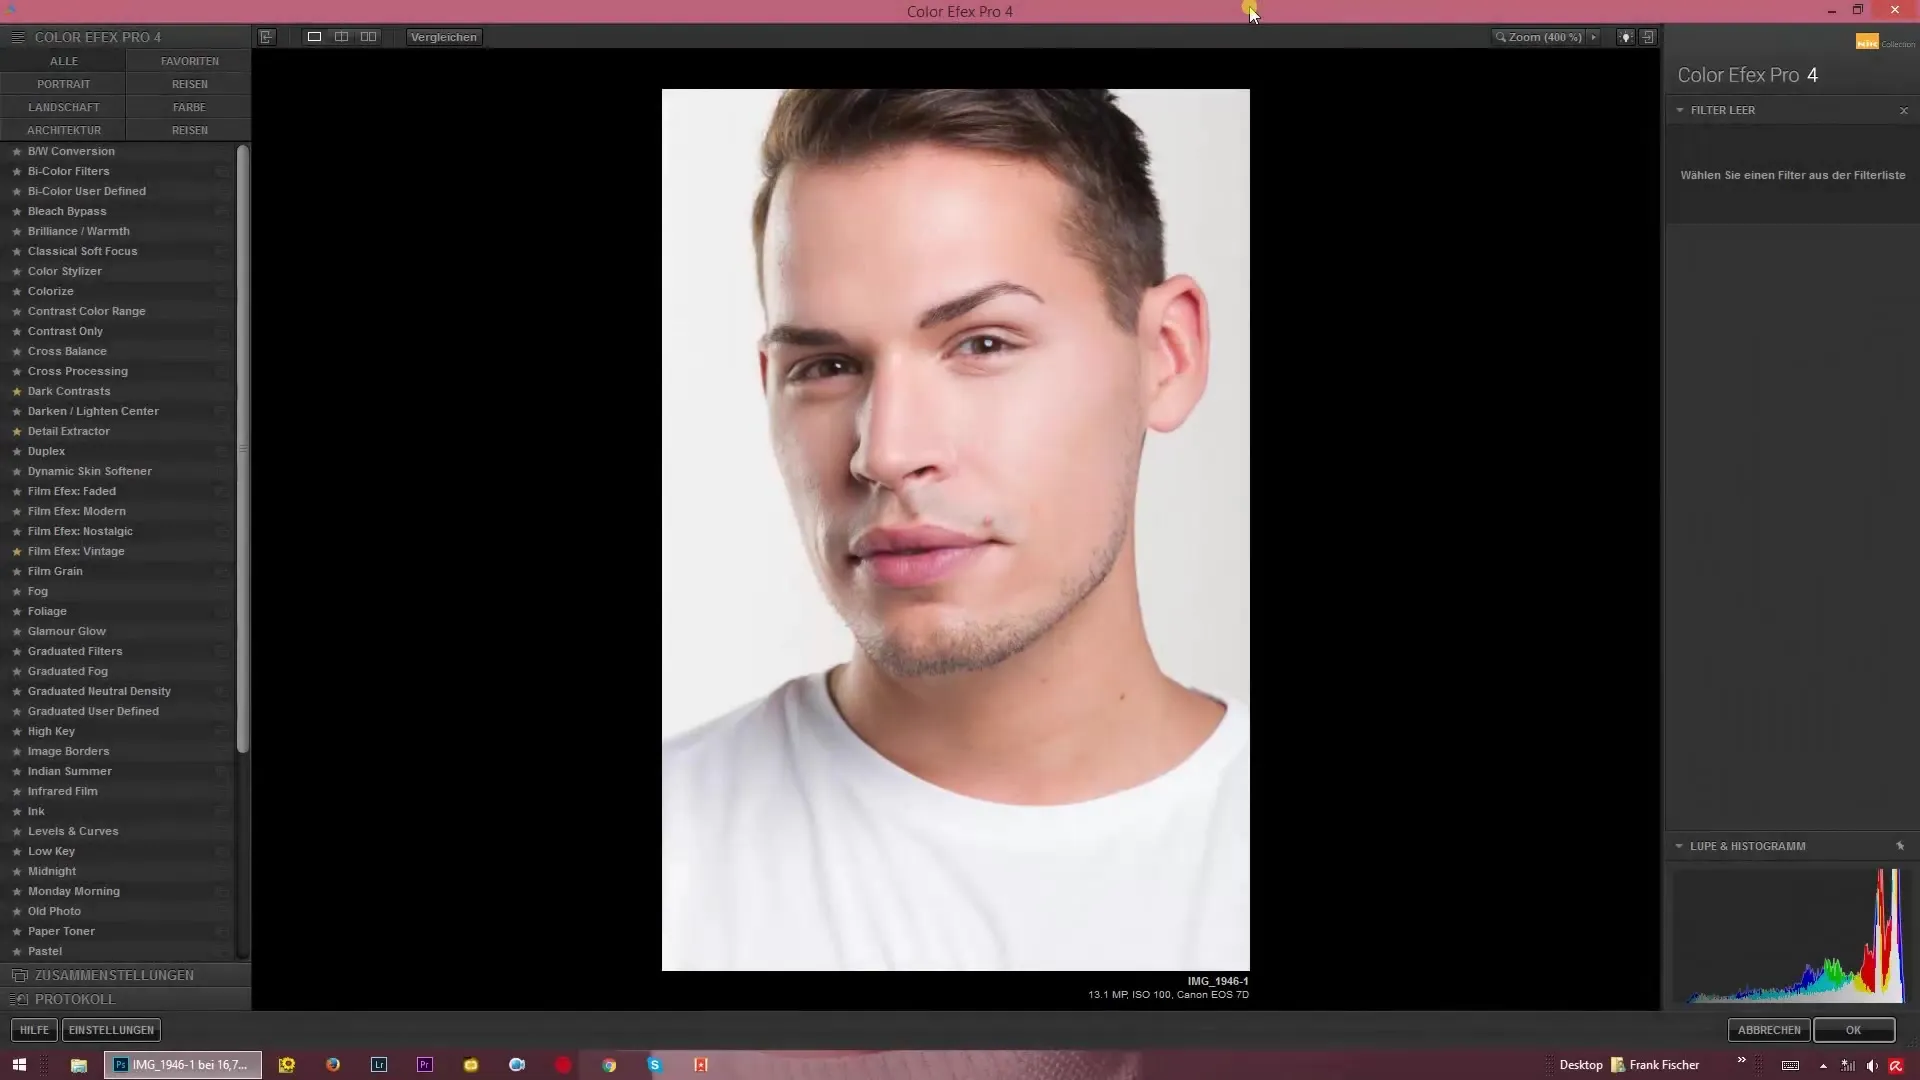
Step 2: Open Color Efex Pro 4
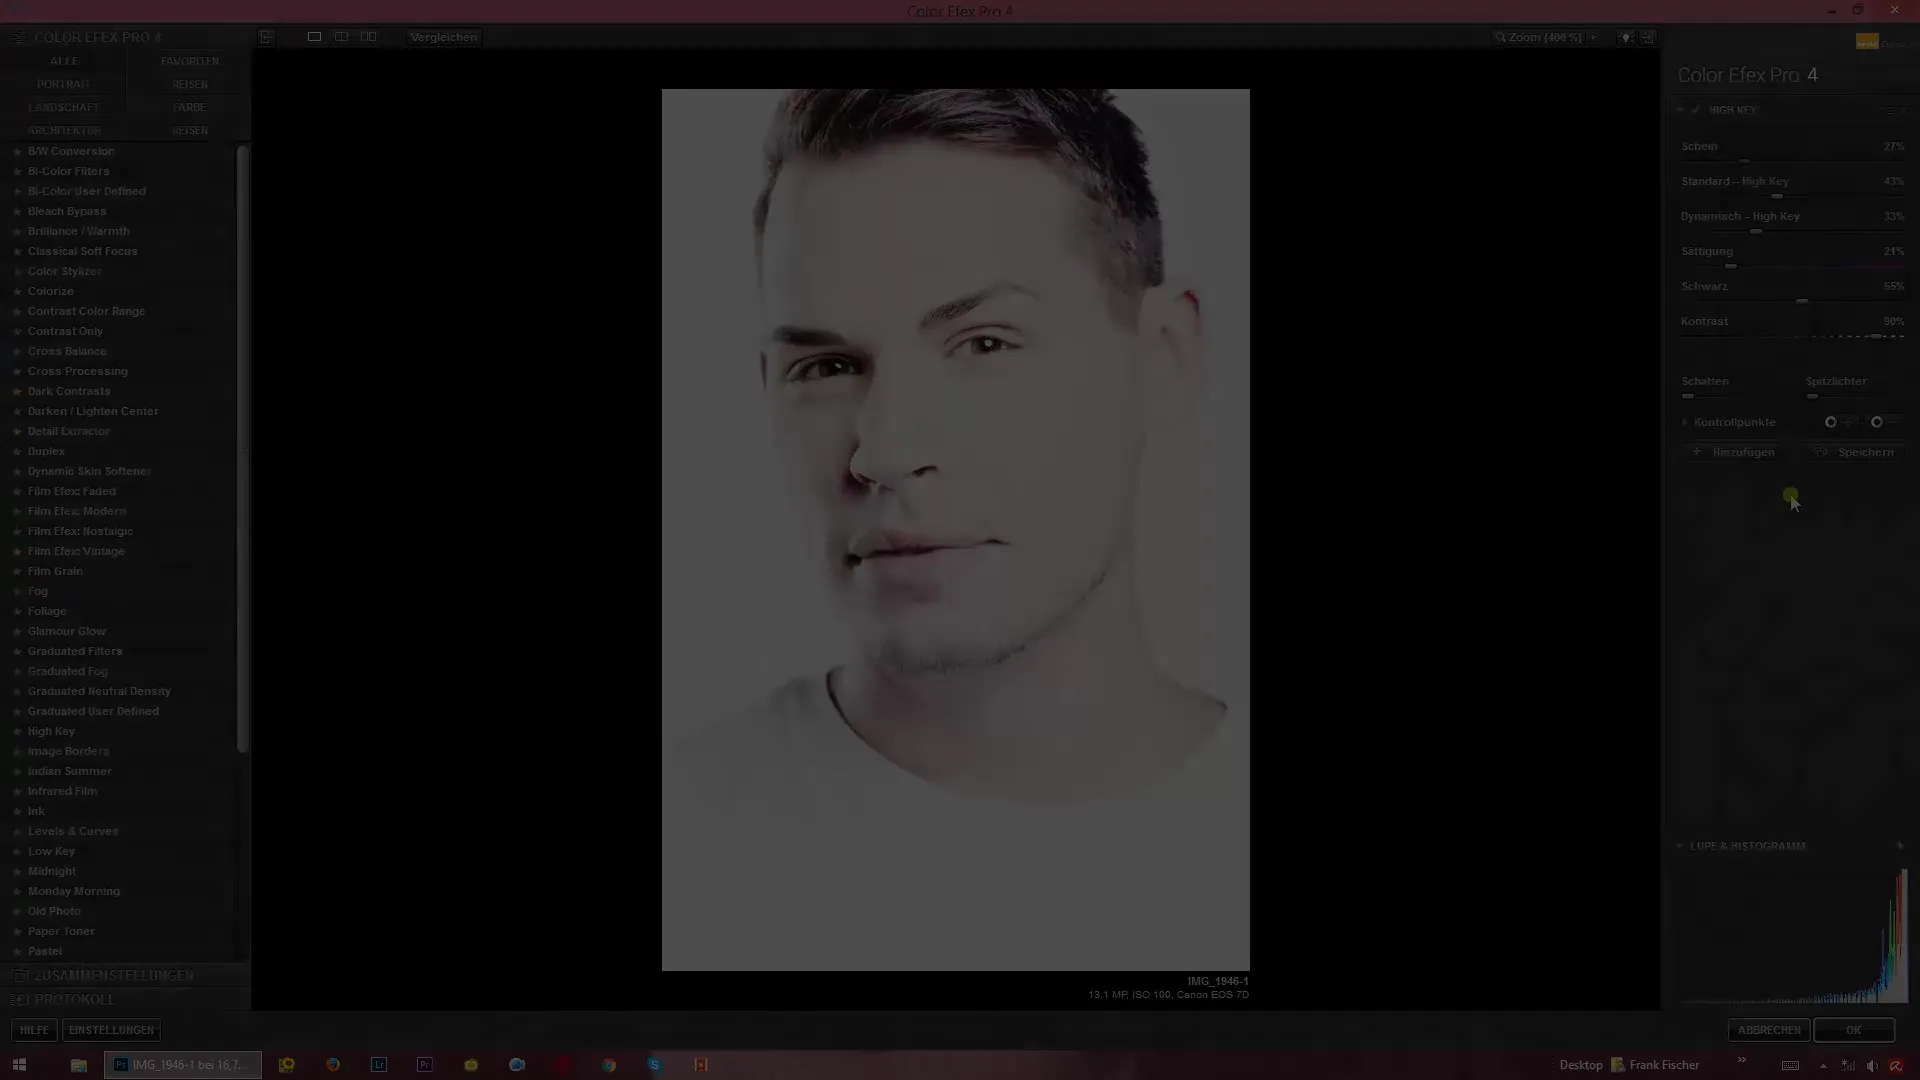
Launch Color Efex Pro 4 and load your chosen image. Make sure you have the option in the user interface to apply different filters to enhance your image. You particularly want to find the High Key slider.
Step 3: Apply High Key Slider
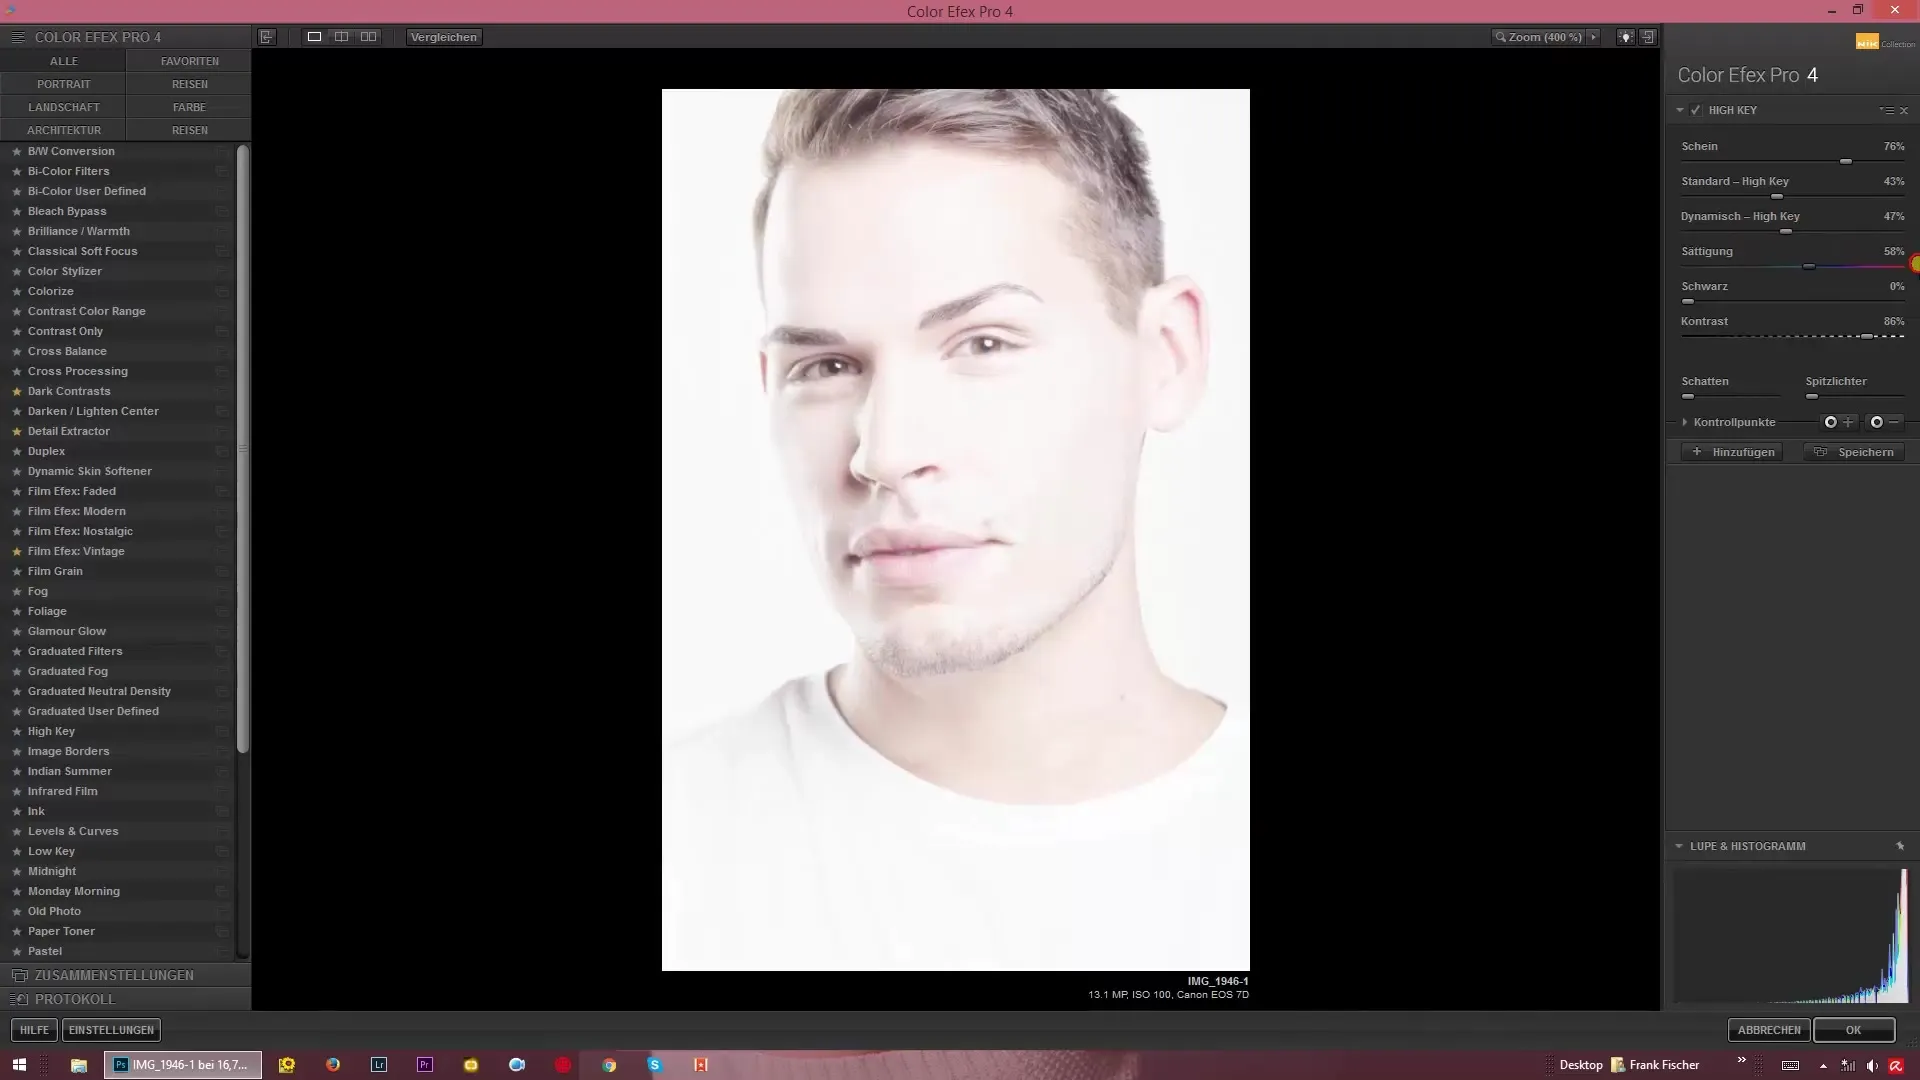
In the menu, you will find the High Key slider. Click on it and observe the adjustments to your image. Here you can adjust the brightness and achieve creative effects.
Step 4: Adjust Contrasts
An important aspect of creating High Key images is handling contrasts. Use the appropriate slider to emphasize the dark and mid tones. Try to find a balance that gives your image the desired "wow" effect without losing details.
Step 5: Adjust Vibrance and Saturation
Experimenting with vibrance is crucial. You should also reduce the saturation by about 50% to achieve a harmonious image. Remember that the goal is to keep the colors soft so that the image tones do not appear too intense.
Step 6: Use the Black Slider
The black slider helps you to darken the very deep areas of the image. This can be helpful for highlighting contrasts and giving depth to the image.
Step 7: Optimize Contrast Slider
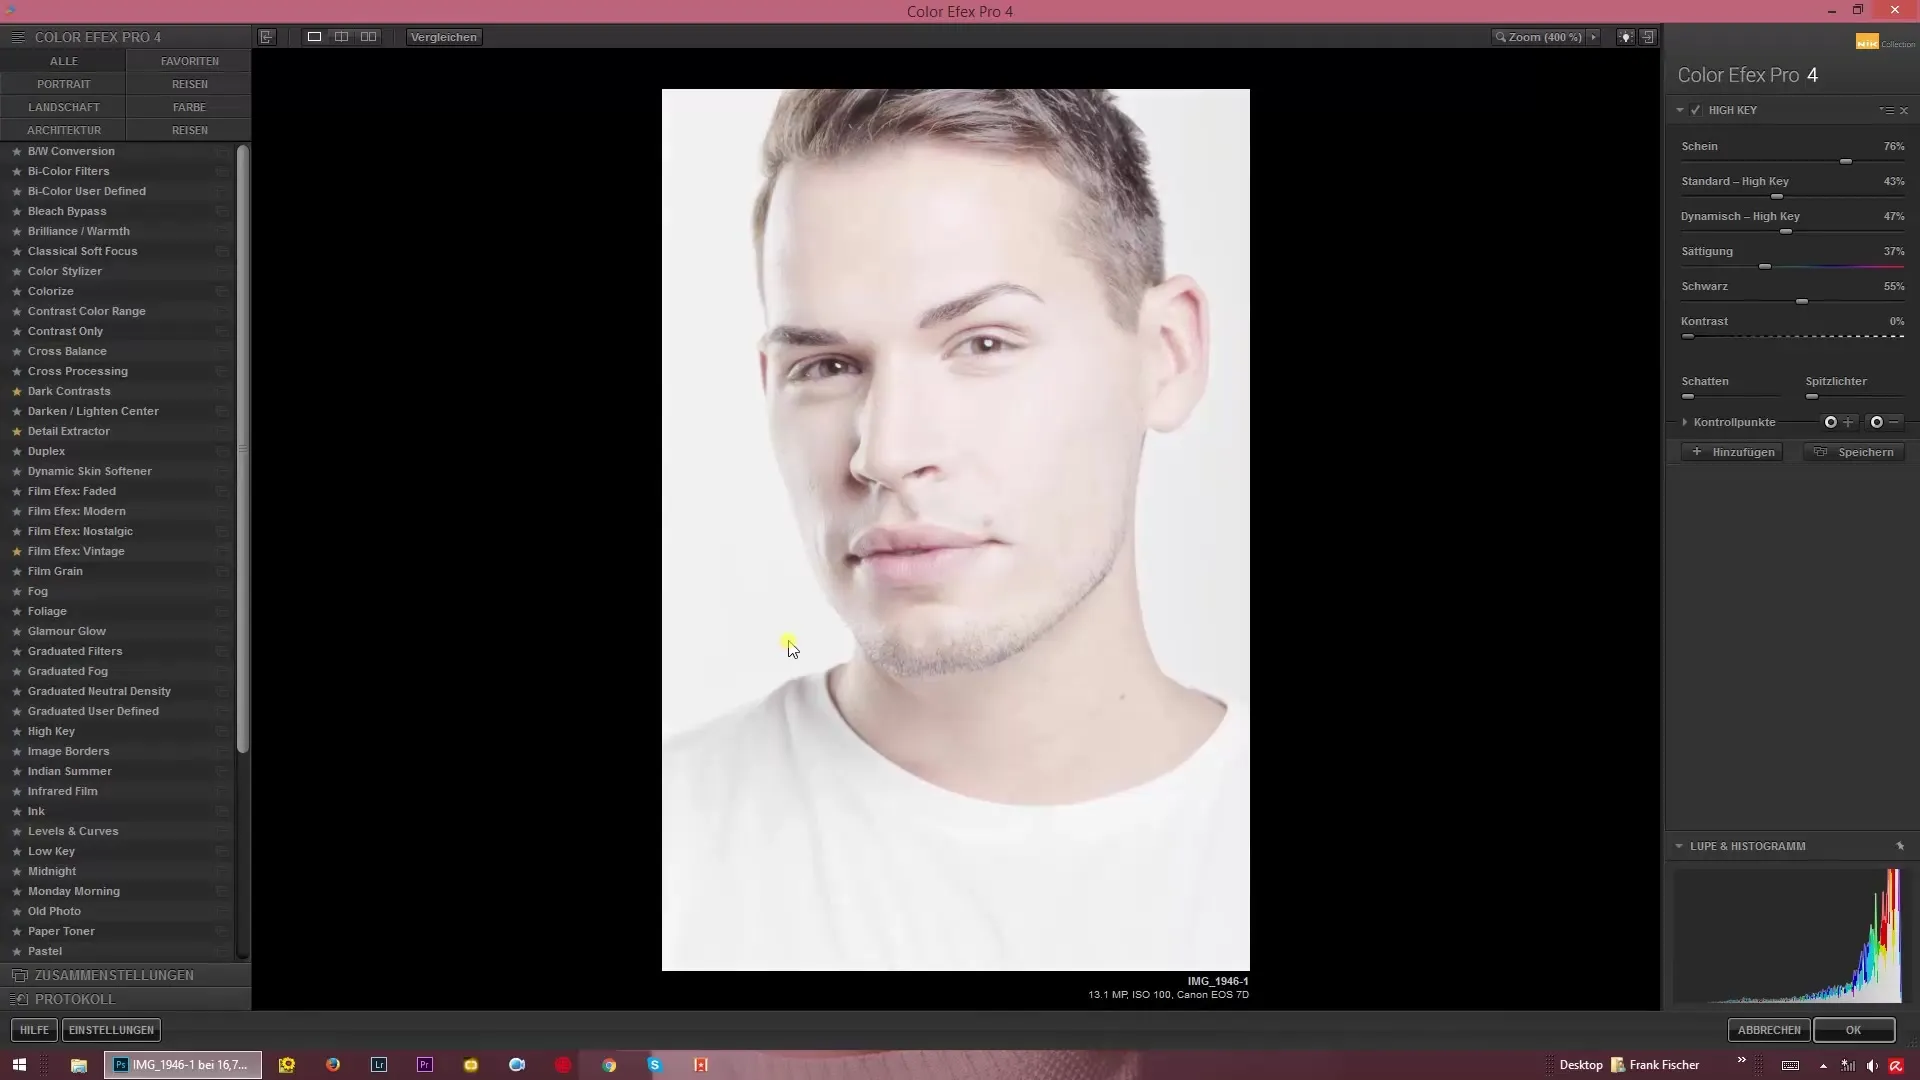
Test the contrast slider. Move it up to create high contrasts or down for a softer image effect. A medium balance often provides a well-rounded overall image.
Step 8: Make Final Adjustments
Make final adjustments to the sliders to optimize the image to your liking. It can be helpful to edit the sliders step by step and see live how your image changes.
Step 9: Save the Image
Are you satisfied with the result? Save your edited image in the desired format and enjoy your new High Key masterpiece!
Summary – High Key Techniques with Color Efex Pro 4
In this guide, I showed you how to create impressive High Key images with Color Efex Pro 4. You learned the importance of the original image, the use of the High Key slider, and fine-tuning contrasts. Now it’s up to you to be creative and experiment!
