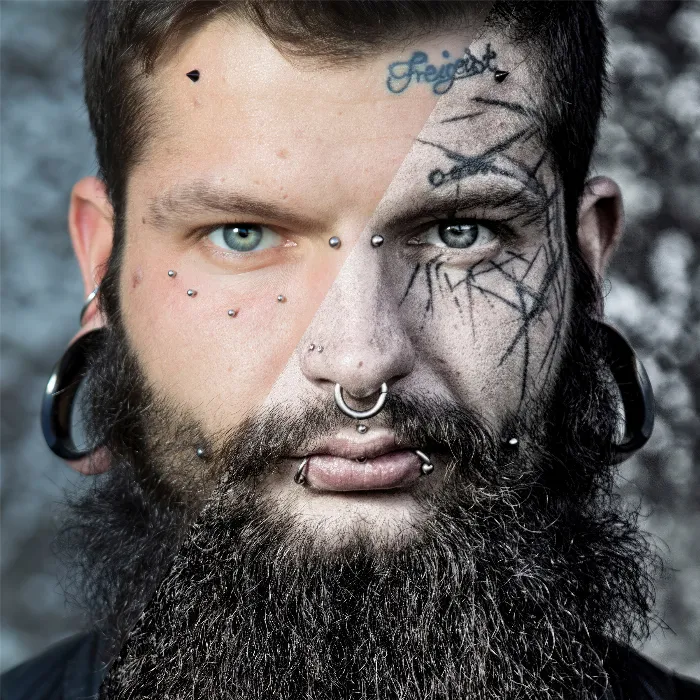
Low-Key photography offers a fascinating way to create moody and atmospheric images. In contrast to high-key photography, which plays with bright, well-lit scenes, low-key photography revolves around the play of shadows and darkness. With Color Efex Pro 4, you can effectively implement this technique. In this guide, I will show you step by step how to edit an impressive low-key image.
Key insights
- Low-key means that the image is heavily underexposed to create dramatic effects.
- It is important to keep the exposure controlled during the shooting process.
- In Color Efex Pro 4, you have various tools at your disposal to specifically design low-key effects.
Step-by-Step Guide
First, open Color Efex Pro 4 to begin editing. Load your source image that you want to transform into a low-key image. Note that the image should not already be extremely underexposed, as you will then have little room for adjustments.
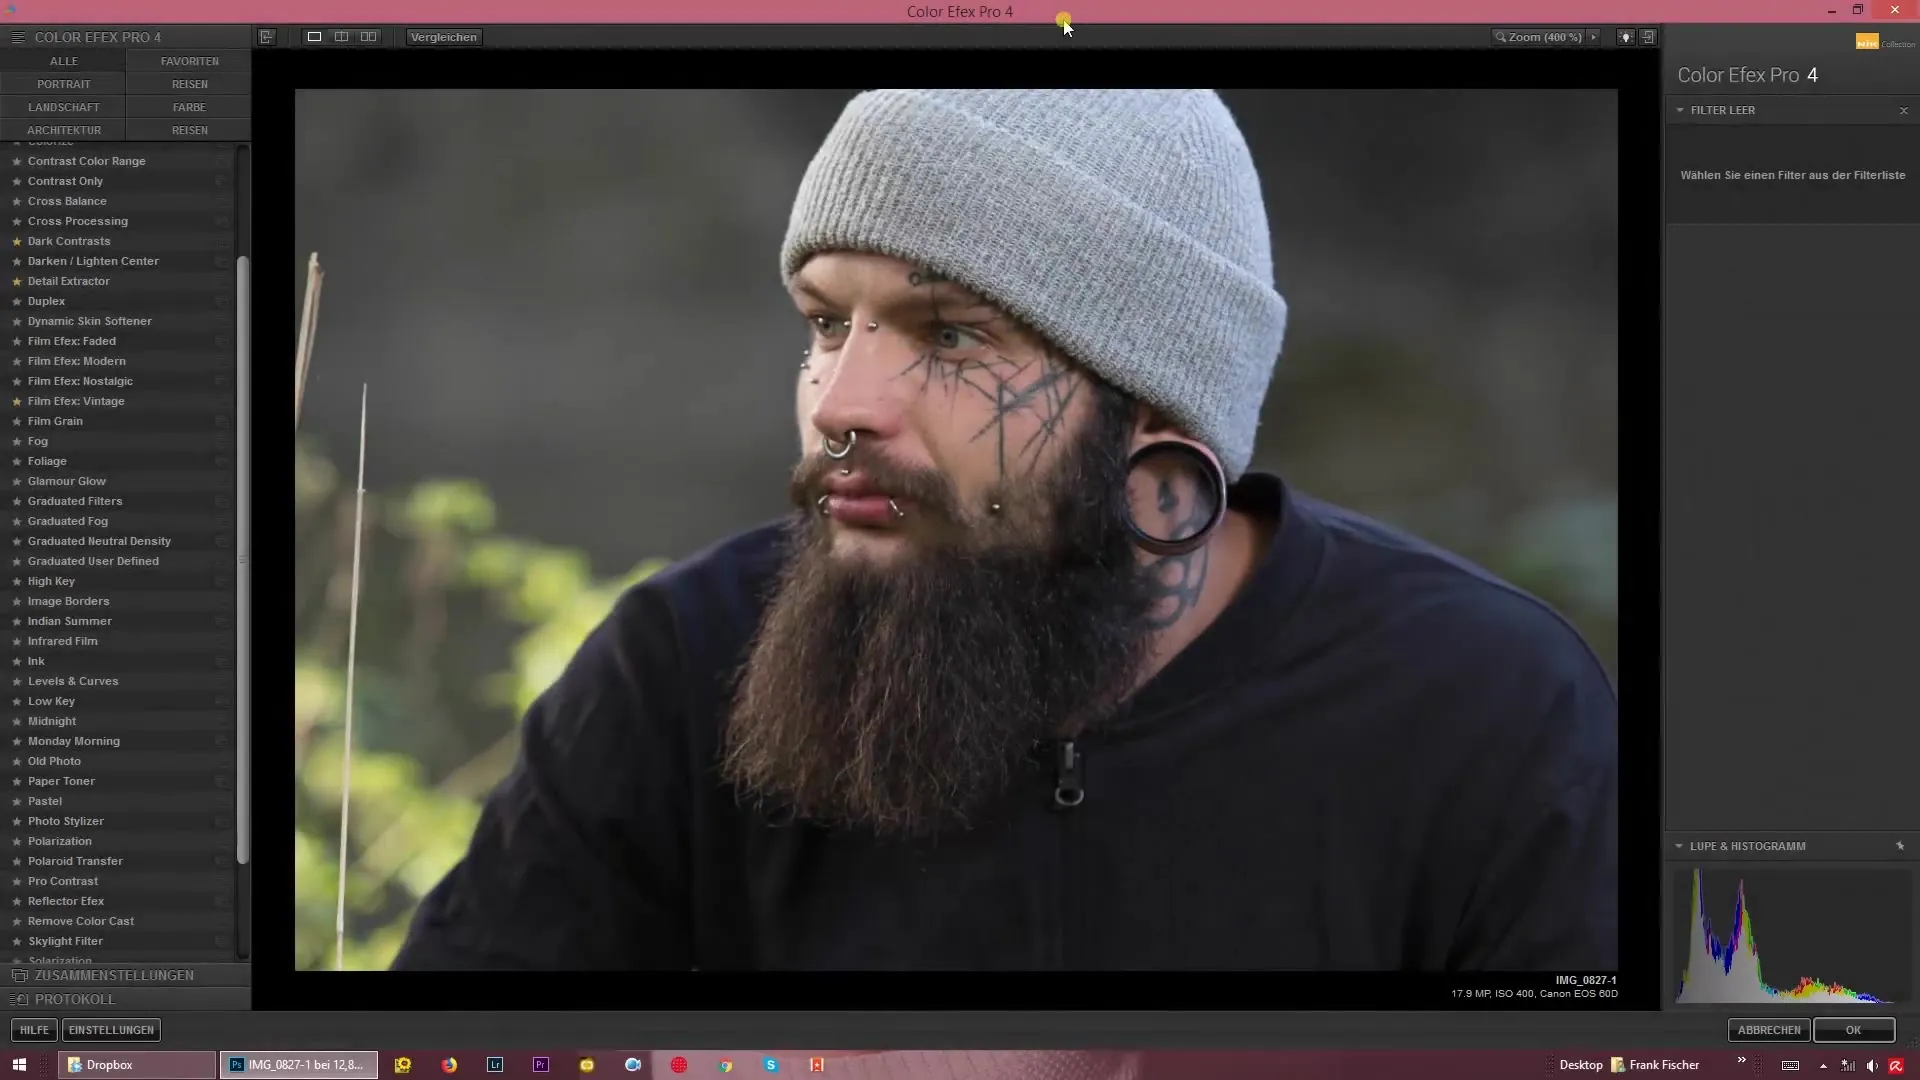
Once the image is loaded, you will find the low-key options on the left side. Here you already have presets that you can use to design your image. Choose one of the available presets to establish a first foundation for your editing.
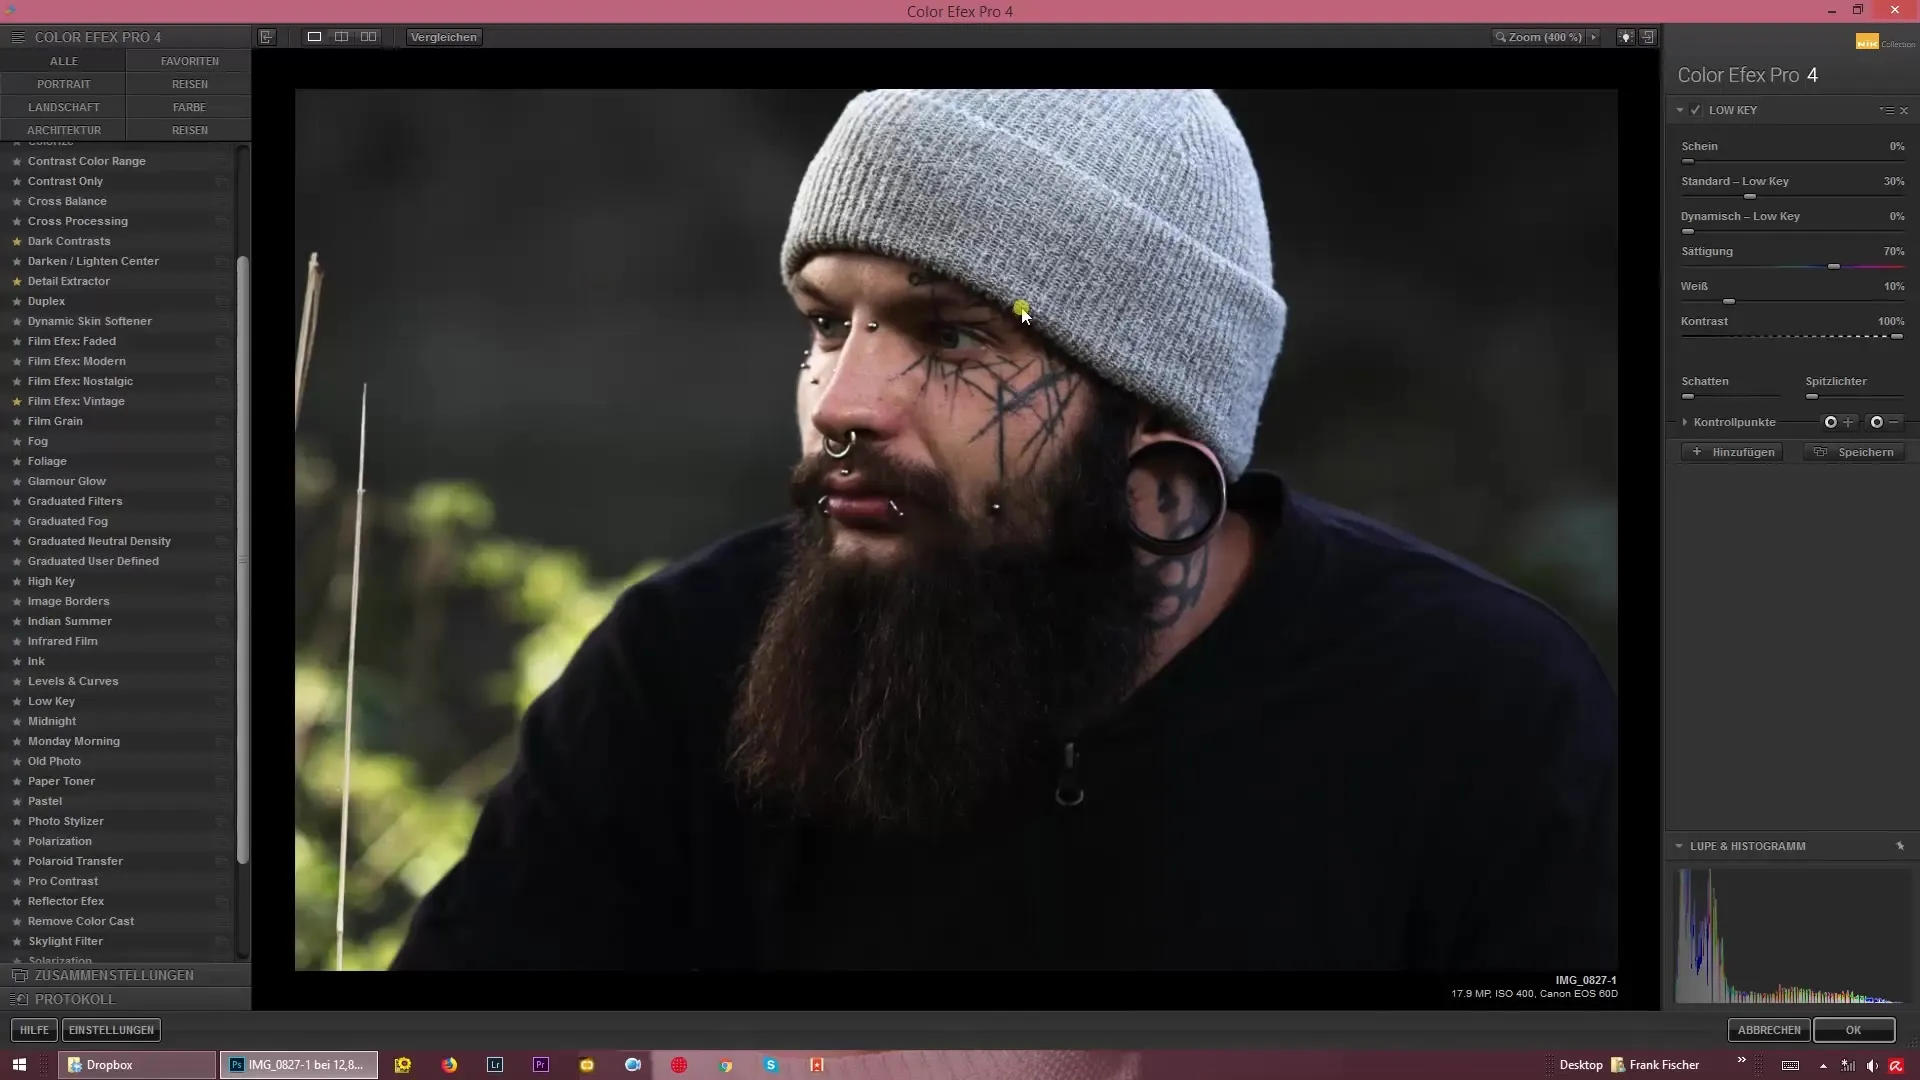
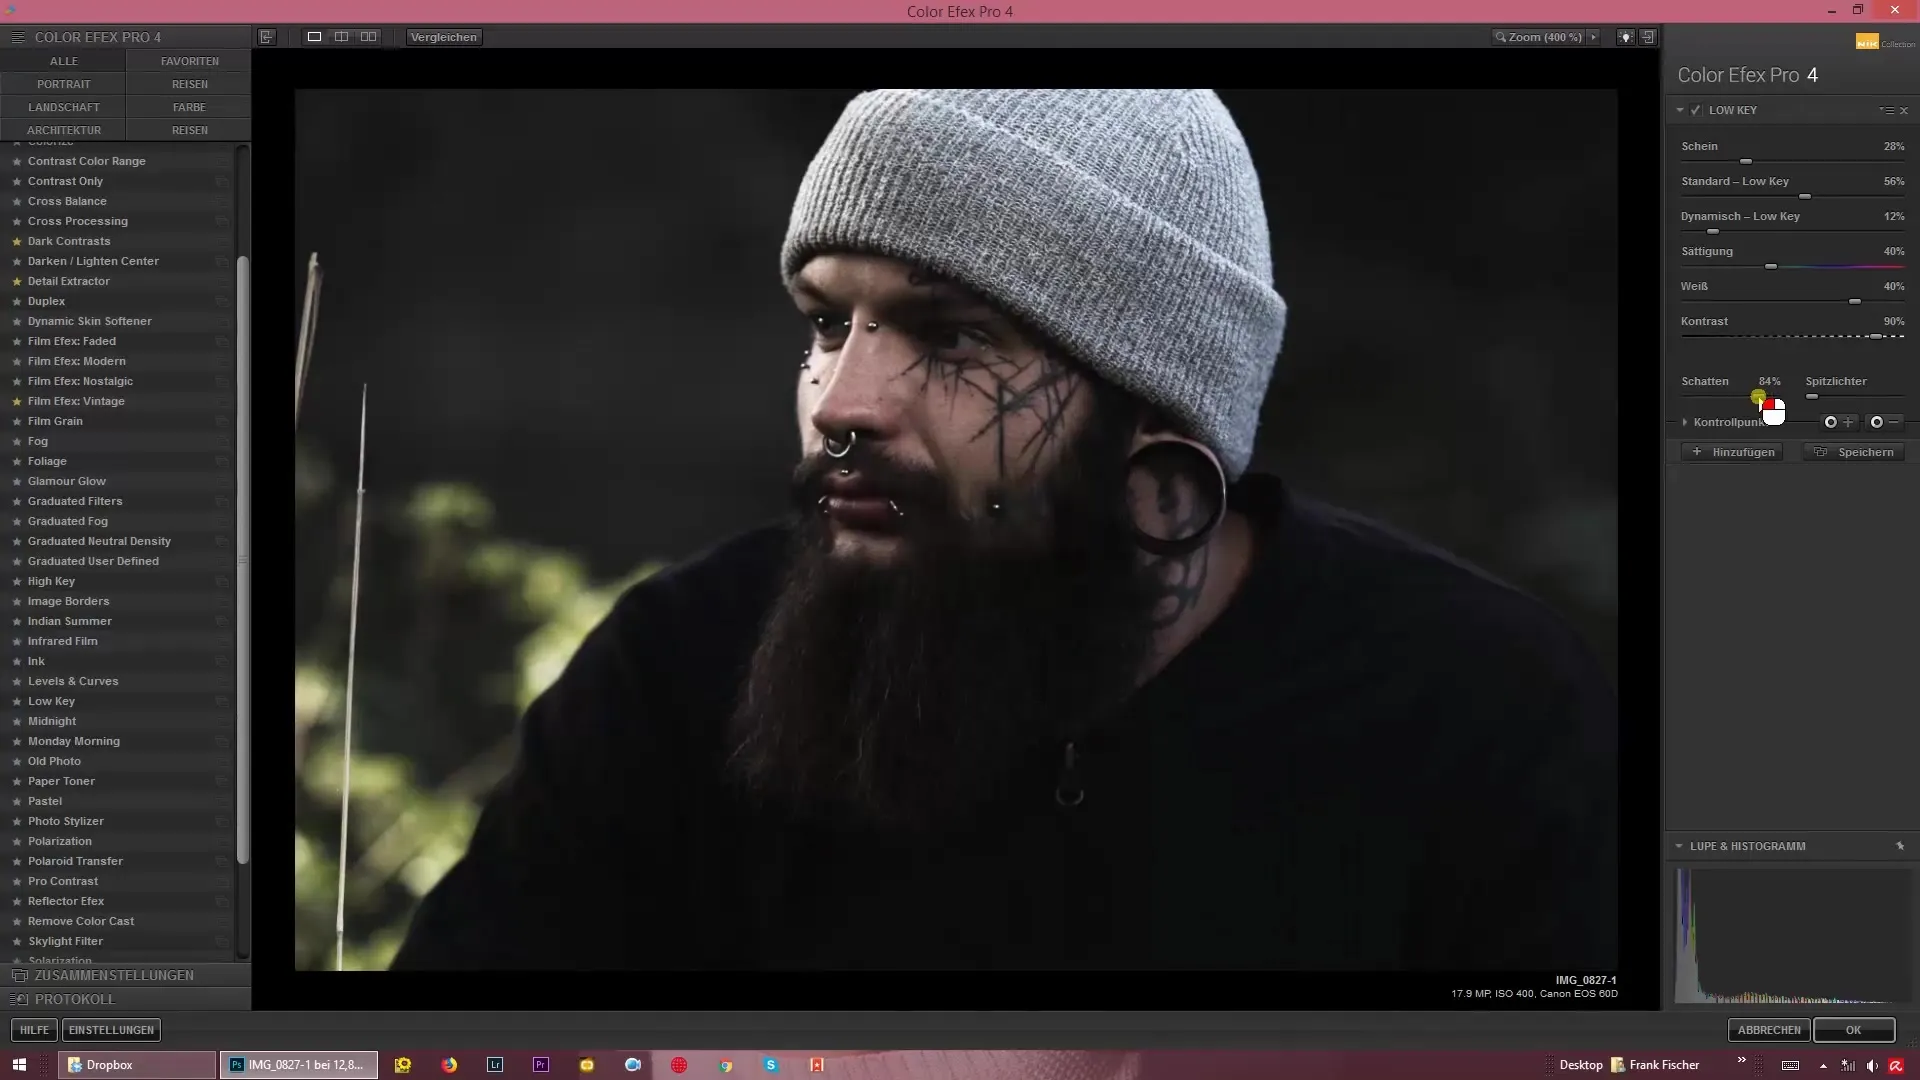
Now you can experiment with the various settings. At the beginning, you should adjust the intensity of the low-key effect. There is a slider for “Glow”. By reducing or increasing this value, you can control the brightness of the lights in your image. Underexposed areas often appear dramatic; increase the glow if you want to bring more light to certain parts of the image.
To further refine the low-key effect, you should also use the dynamic low-key slider. This allows you to control the lights in your image without brightening the entire image. Pay attention to the histogram to observe the distribution of bright and dark areas.
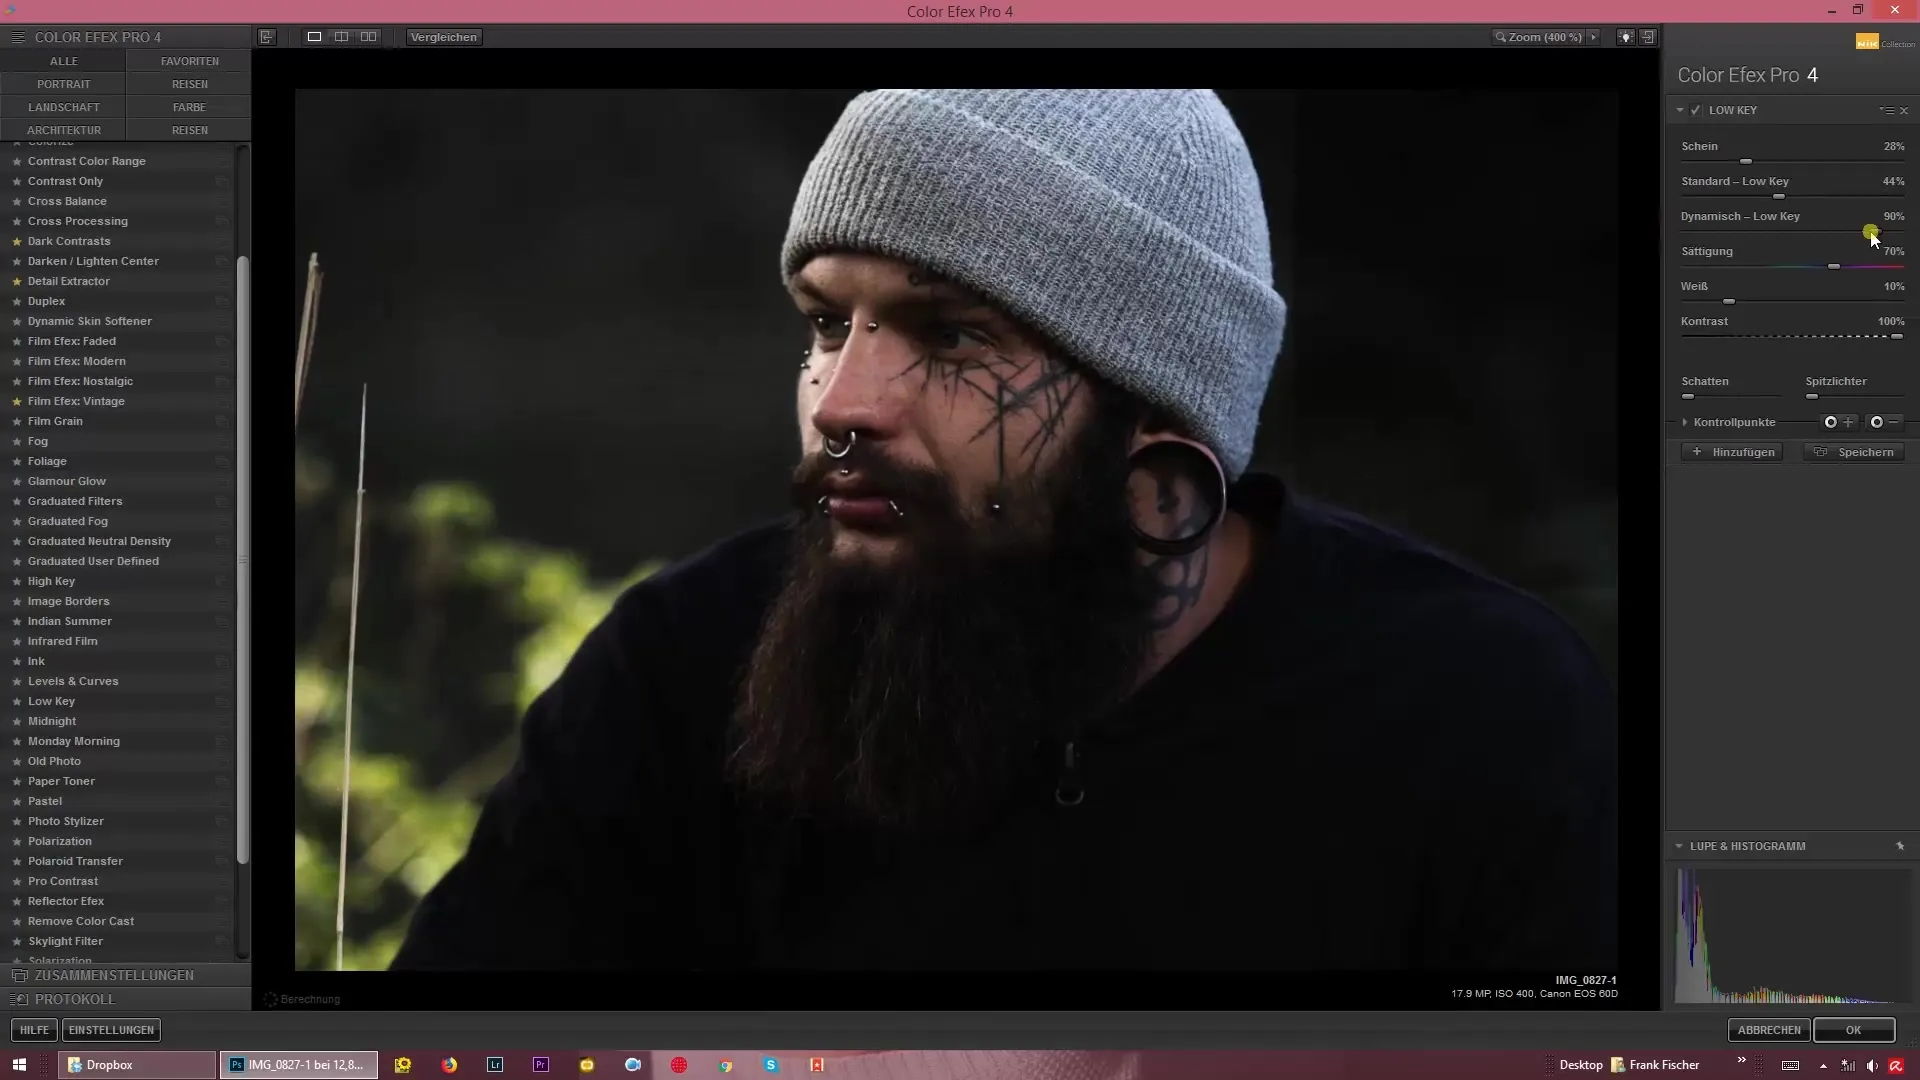
As you move the lights slider, you will see how the brightness changes. Pull the lights to the left to create more intense shadows and highlight the deep areas of your image. Feel free to experiment to find the settings you like best.
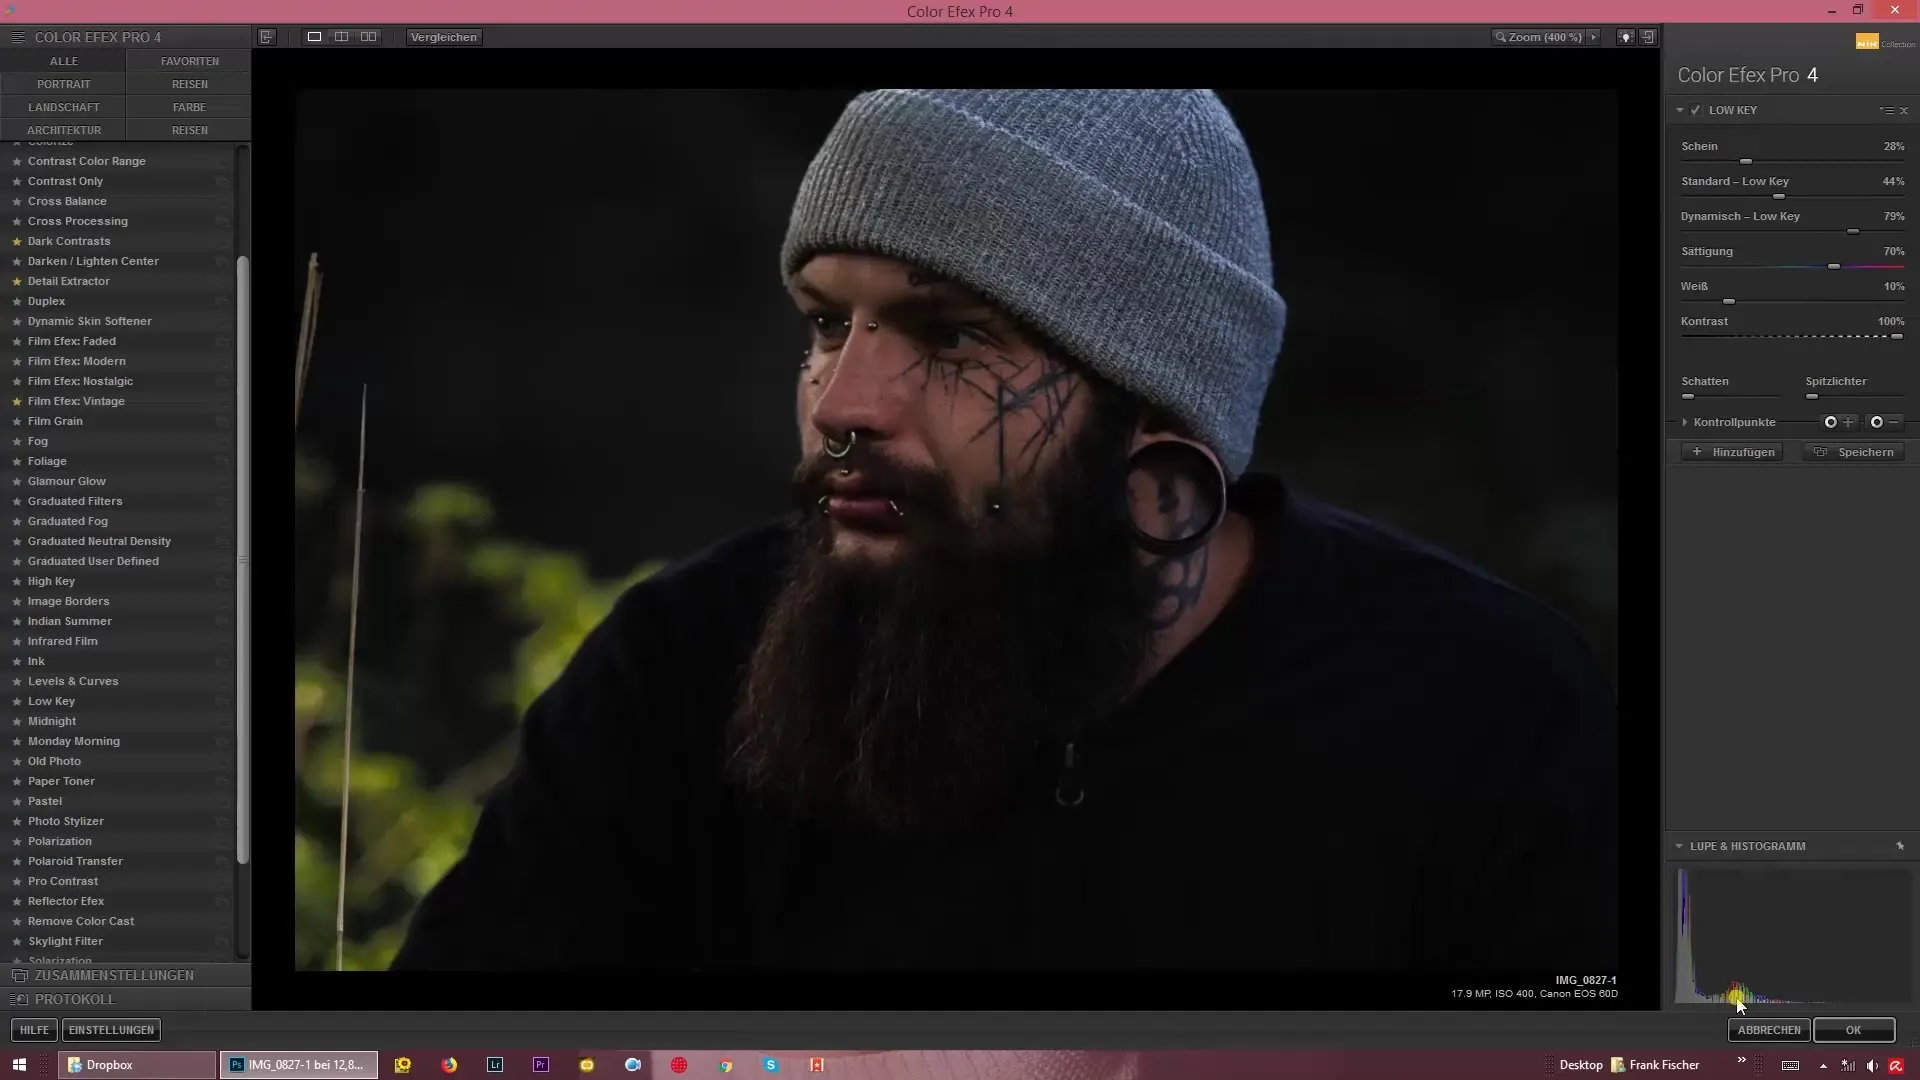
Another important aspect of the adjustments is saturation. Here you can adjust the colors of the image to make them either more vibrant or muted. For a strong low-key image, desaturated colors are often recommended to place more focus on the dark shadows.
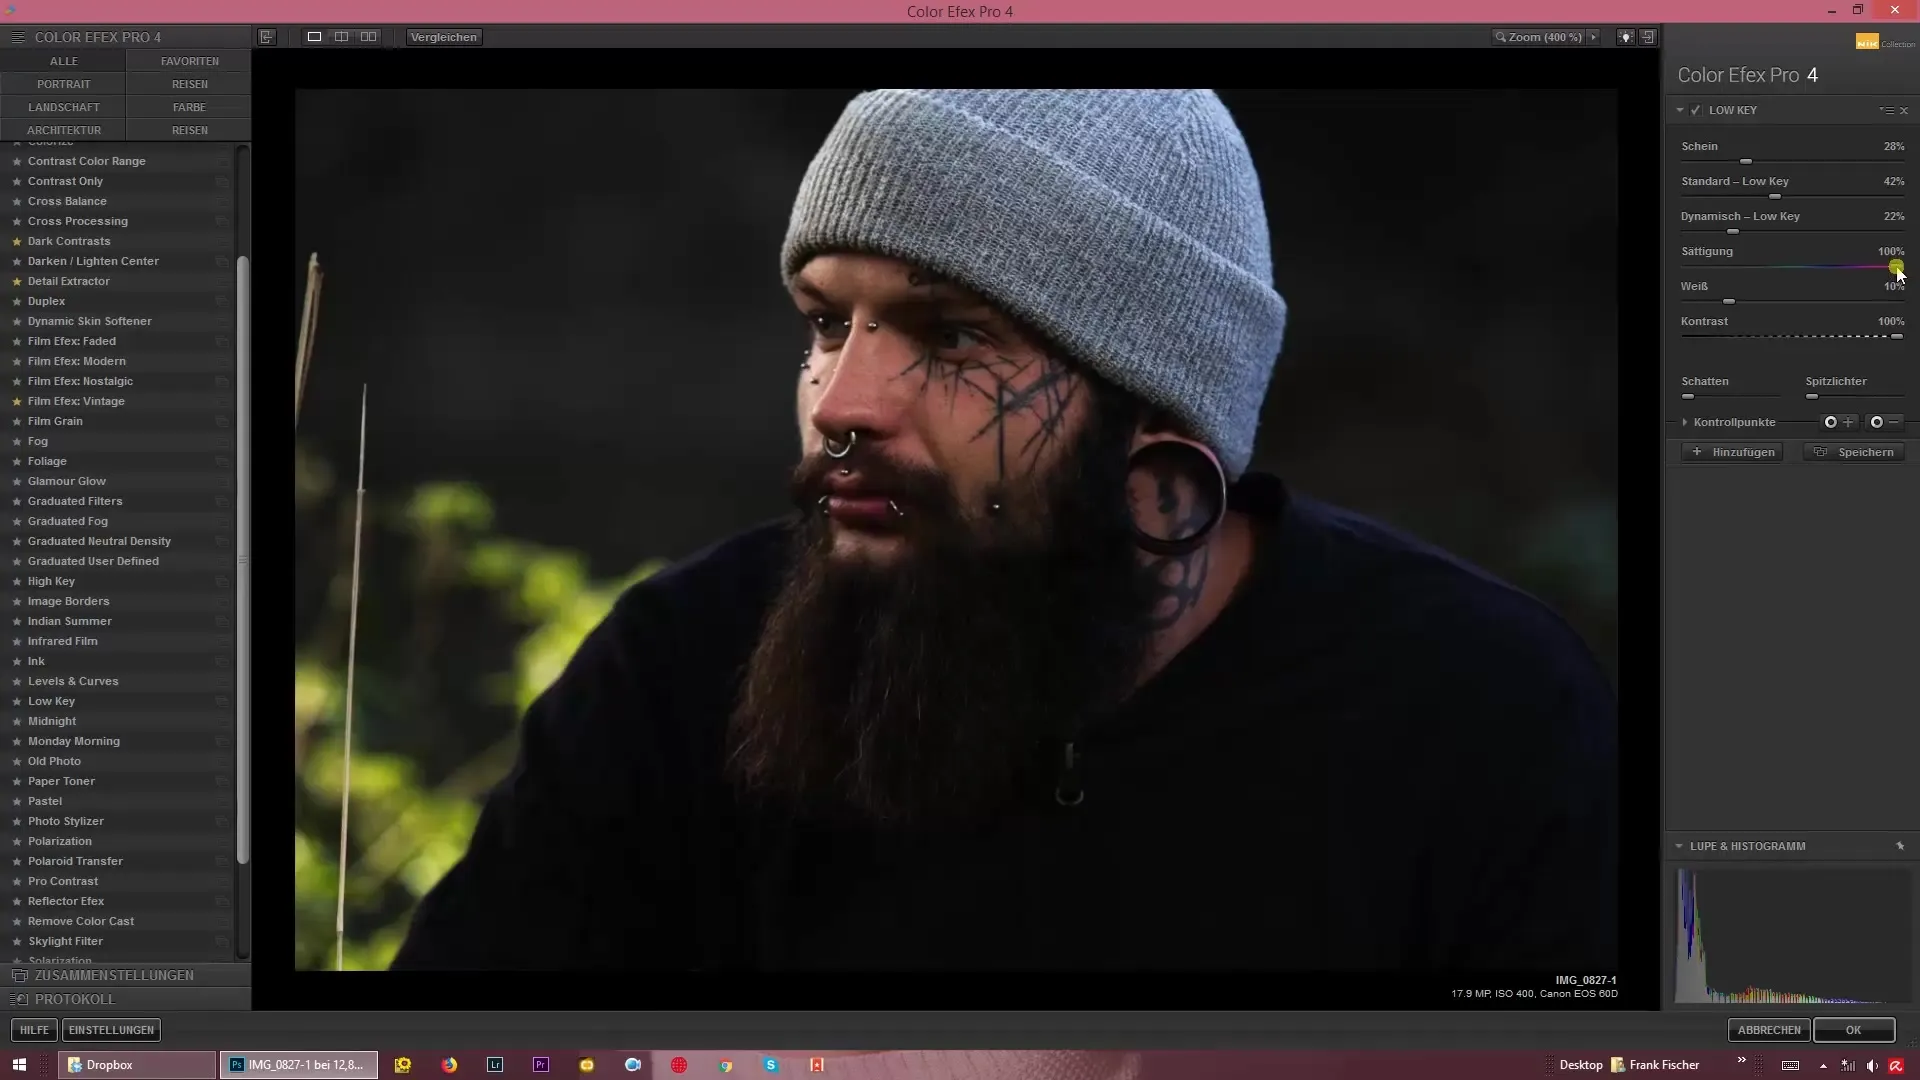
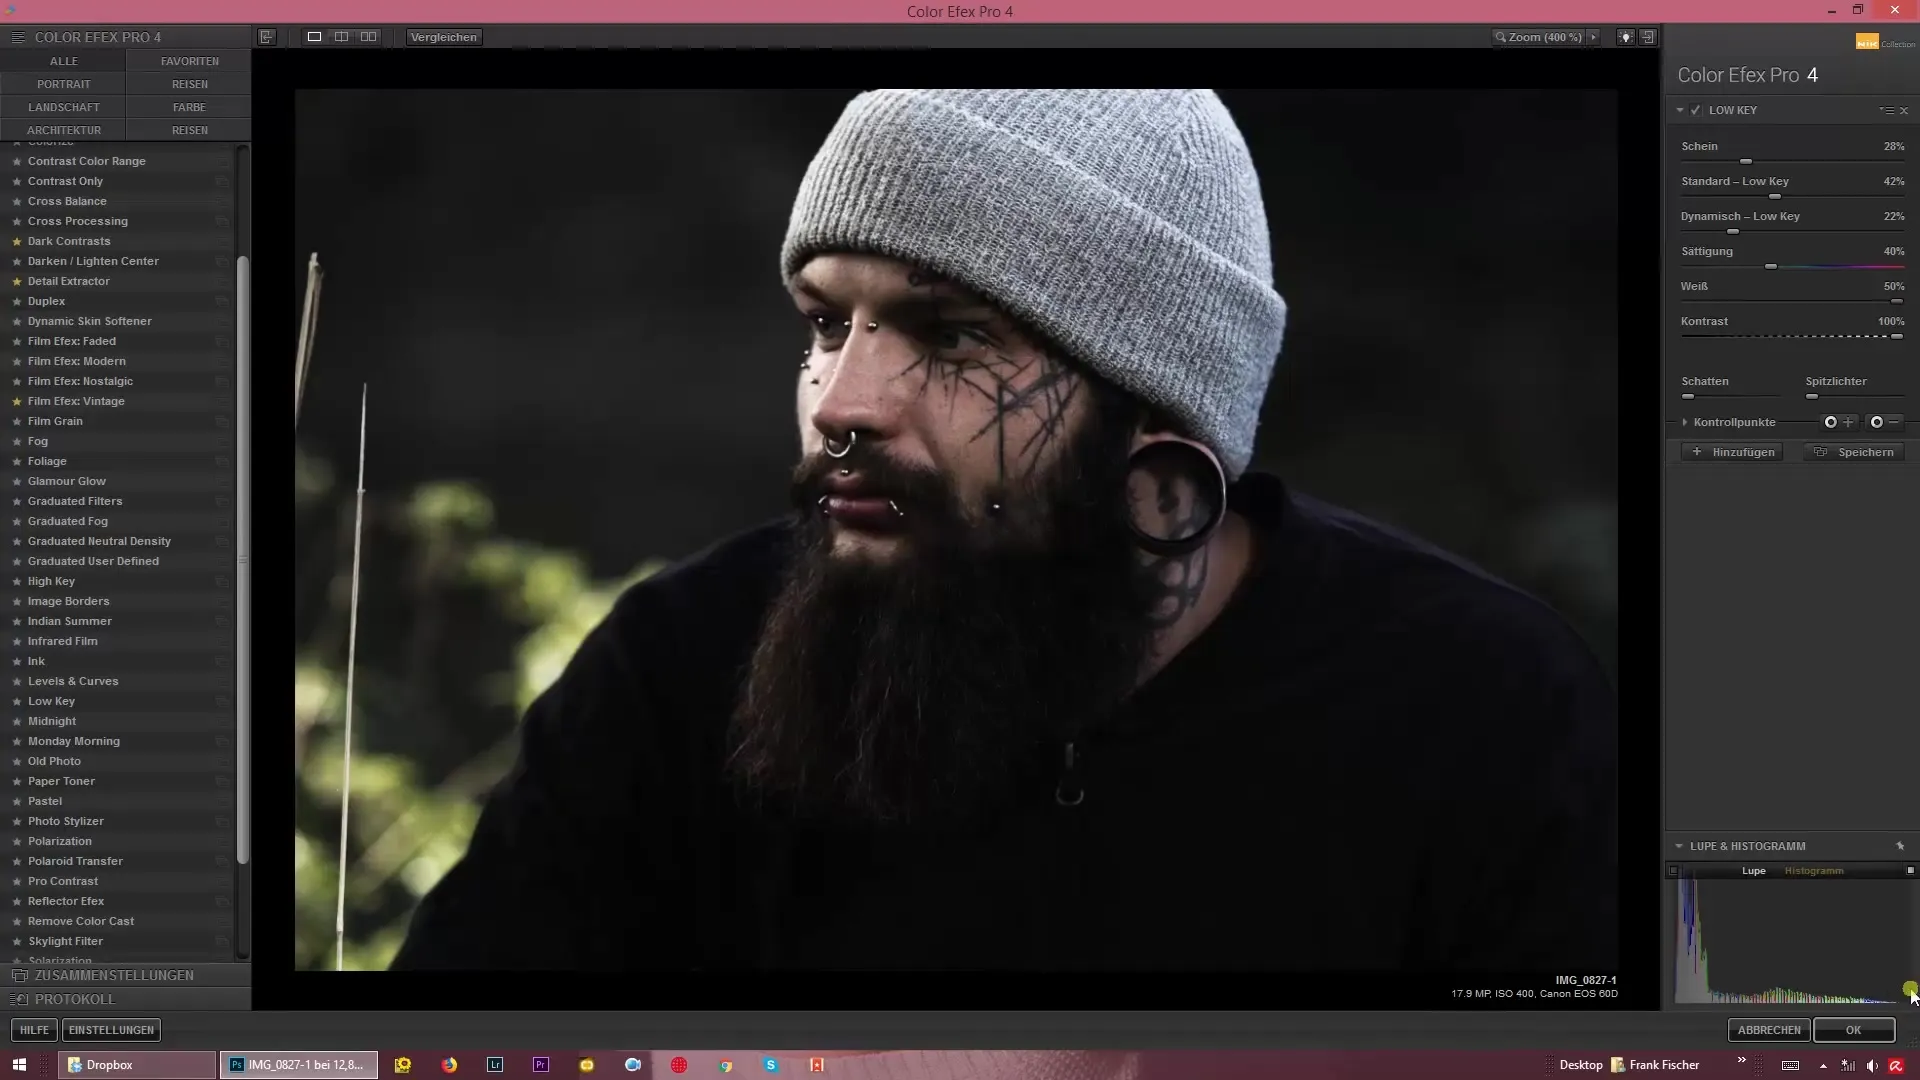
Additionally, you have the option to use the white slider to control the brightness in the light areas. Be careful not to overexpose the lights to maintain the low-key effect.
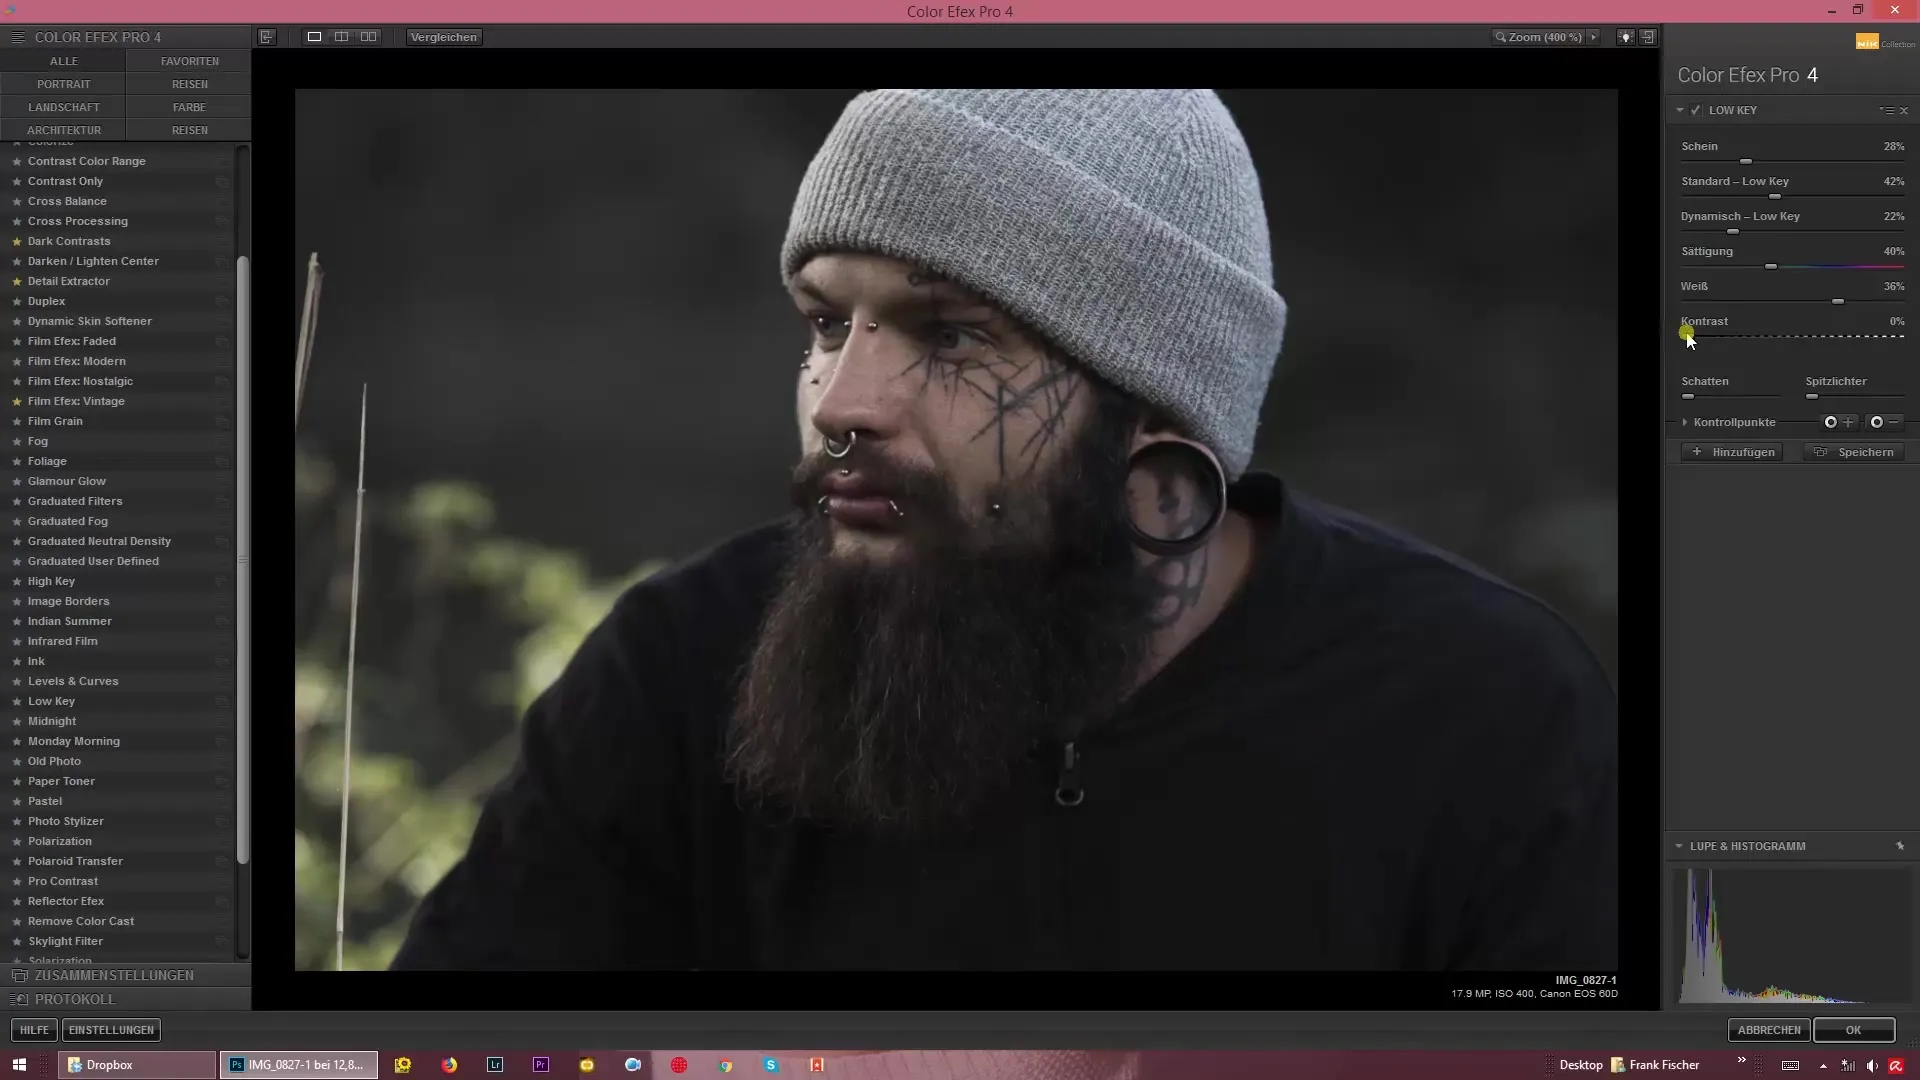
Contrast is a fundamental element in low-key editing. A higher contrast makes the image appear more dramatic, while a lower contrast can make the image look flat. Experiment with this until you achieve the desired image effect.
A final adjustment you can make is lightening the shadows. Sometimes you may want to bring out specific details from the shadows while still maintaining the low-key effect. Ensure that this is done only minimally so that the mood of the image is not lost.
Once you are satisfied with the adjustments, save your result. You should now have created an impressive low-key image that offers both mood and depth. Enjoy experimenting with these techniques!
Summary – Guide to Creating Low-Key Images with Color Efex Pro 4
In this guide, you have learned how to effectively create low-key images with Color Efex Pro 4. Playing with light and shadow gives your photos a unique atmosphere. Use the tips and techniques to express your creativity and achieve unique results.
Frequently Asked Questions
How does low-key photography differ from other styles?Low-key photography focuses on dark areas of the image and minimal lighting, creating a dramatic mood.
Do I need special camera settings for low-key images?It is helpful to set the exposure so that it serves the low-key aesthetic and is not too bright.
How important is post-processing for low-key images?Post-processing is crucial for achieving the desired mood and proper lighting direction.
What are the most common mistakes when creating low-key images?A common mistake is overexposing the image or losing the desired shadow details.
