Adding noise to images can open up an interesting dimension of image editing. With the “Film Grain” filter in Color Efex Pro 4, you have the opportunity to give your photos a nostalgic flair, which is especially impressive in black-and-white shots. In this guide, you'll learn how to effectively add noise to your images while creatively working with the effect.
Key Takeaways
- The “Film Grain” filter transforms your images and adds artistic grain to them.
- With different sliders, you can adjust the intensity and hardness of the noise.
- Especially great results are achieved with black-and-white and night shots.
Step-by-Step Guide
To ensure you understand all the steps for applying the “Film Grain” filter in Color Efex Pro 4, here is a detailed guide.
Step 1: Select Filter and Prepare Image
Open Color Efex Pro 4 and select the image to which you want to add noise. Navigate to the available filters and click on “Film Grain.” This ensures that you have the desired options at hand.

Step 2: Activate Film Grain
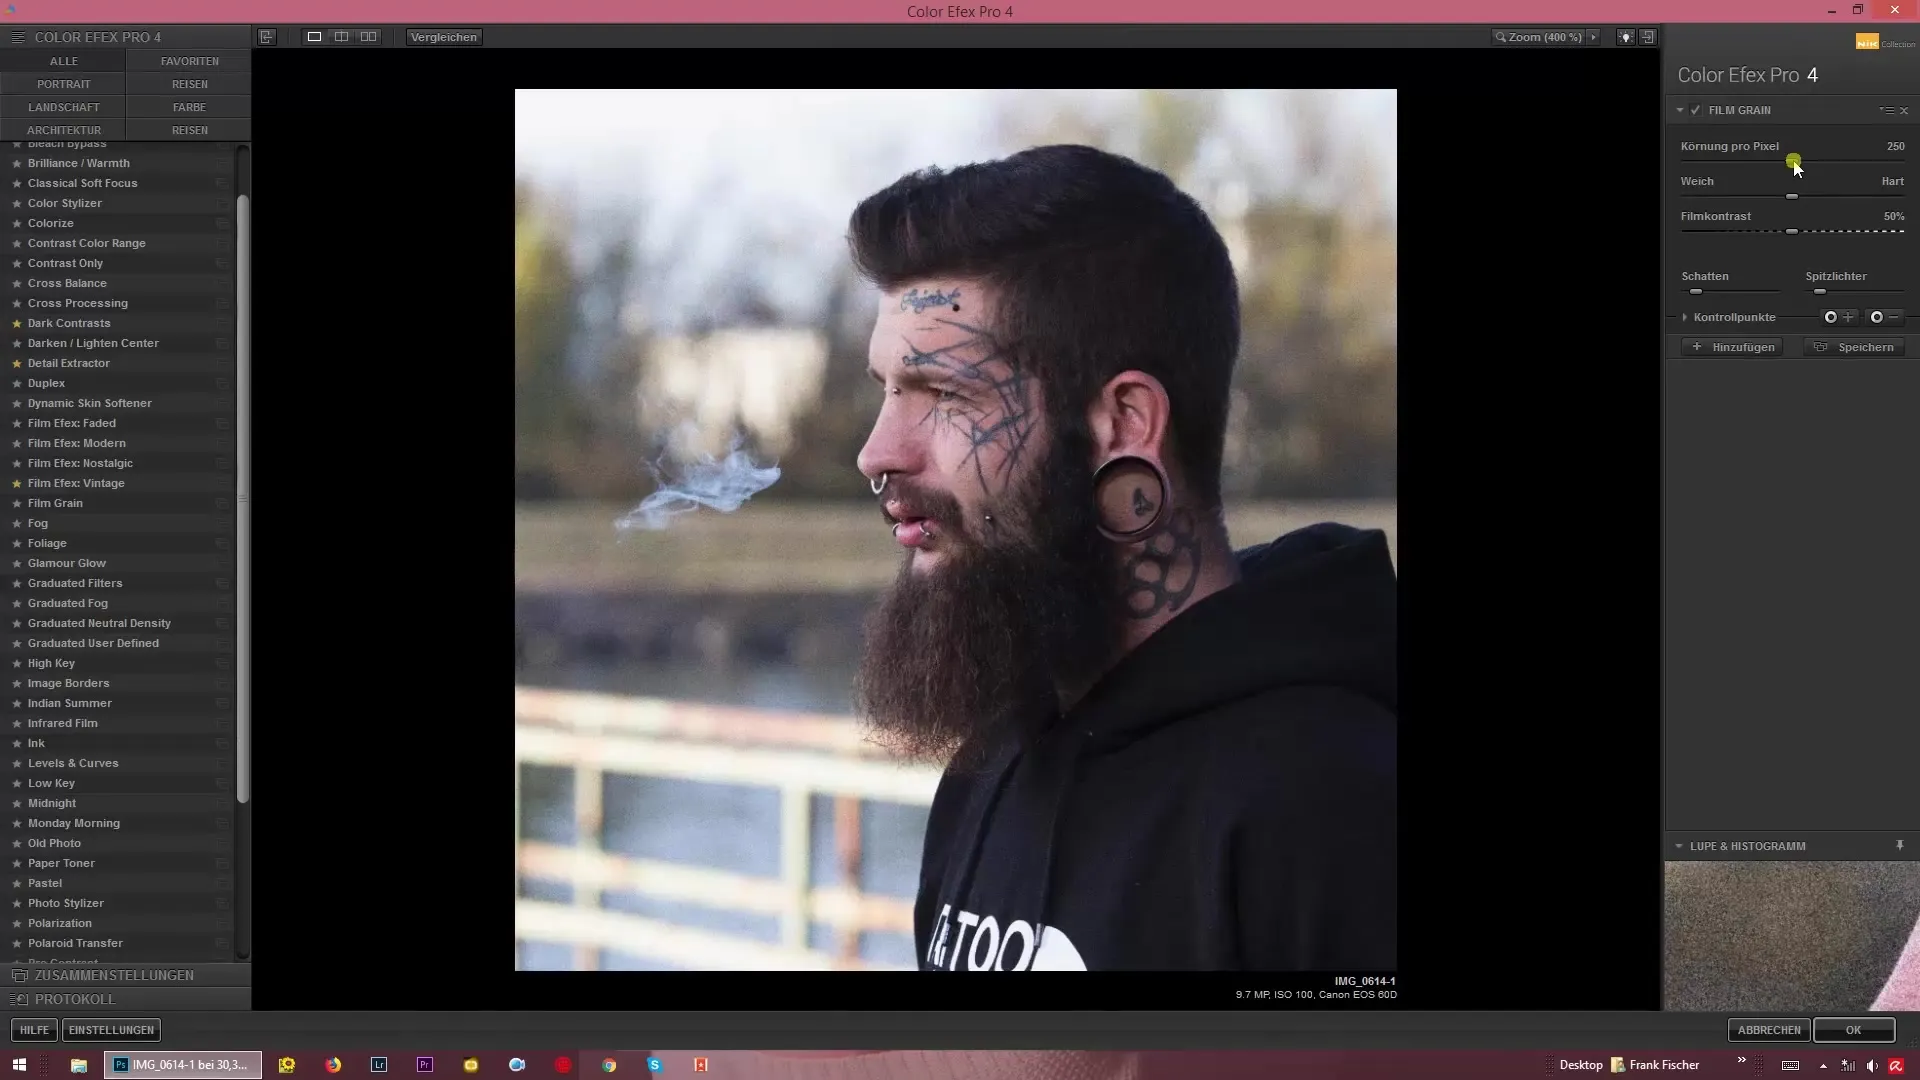
After selecting the “Film Grain” filter, you immediately see the effects on your image. The filter generates a grain that is particularly vividly displayed in the preview. You can observe the changes closely in the zoom view, allowing you to precisely remove or intensify the effects.
Step 3: Adjust Noise
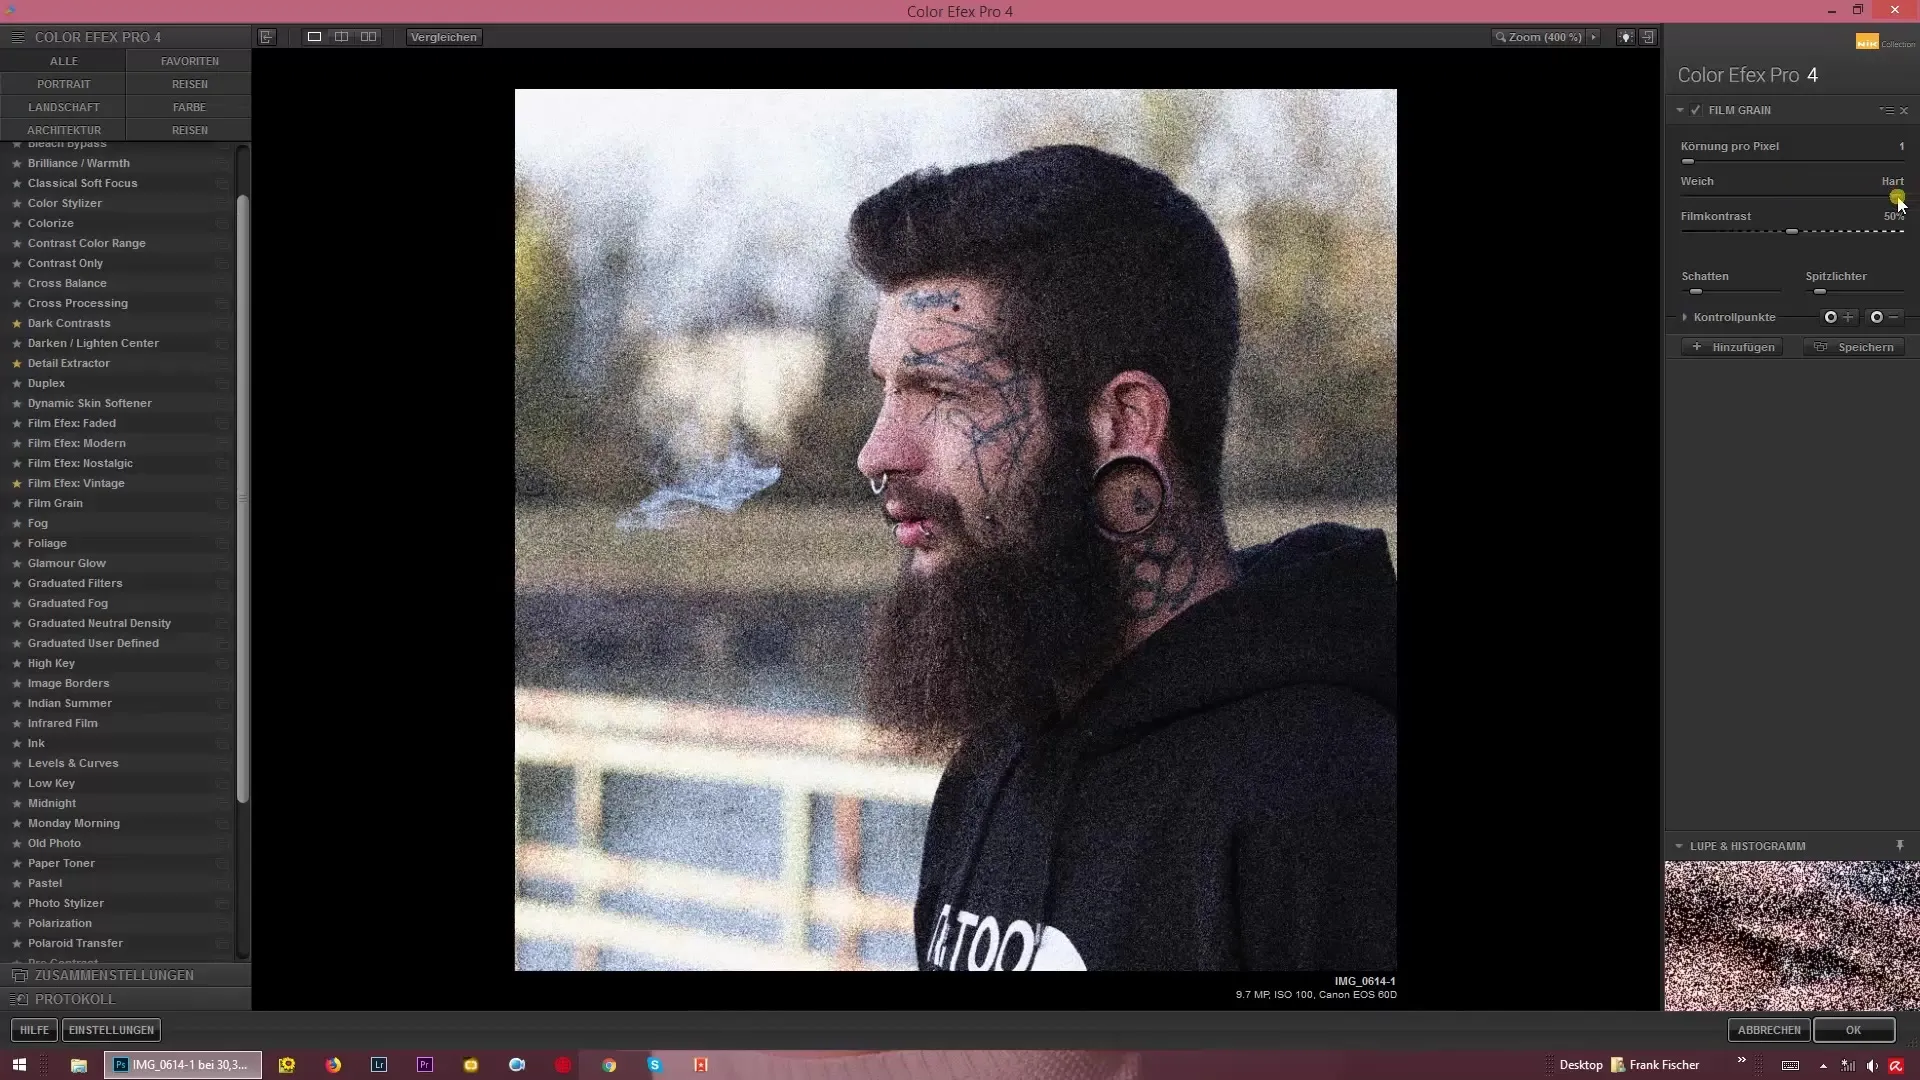
The next step is to use the noise slider to adjust the grain per pixel. If you turn the slider to a high level, the image becomes very noisy. On the other hand, if you pull the slider down, you significantly reduce the noise and get a smoother image.

Step 4: Adjust Pixel Hardness
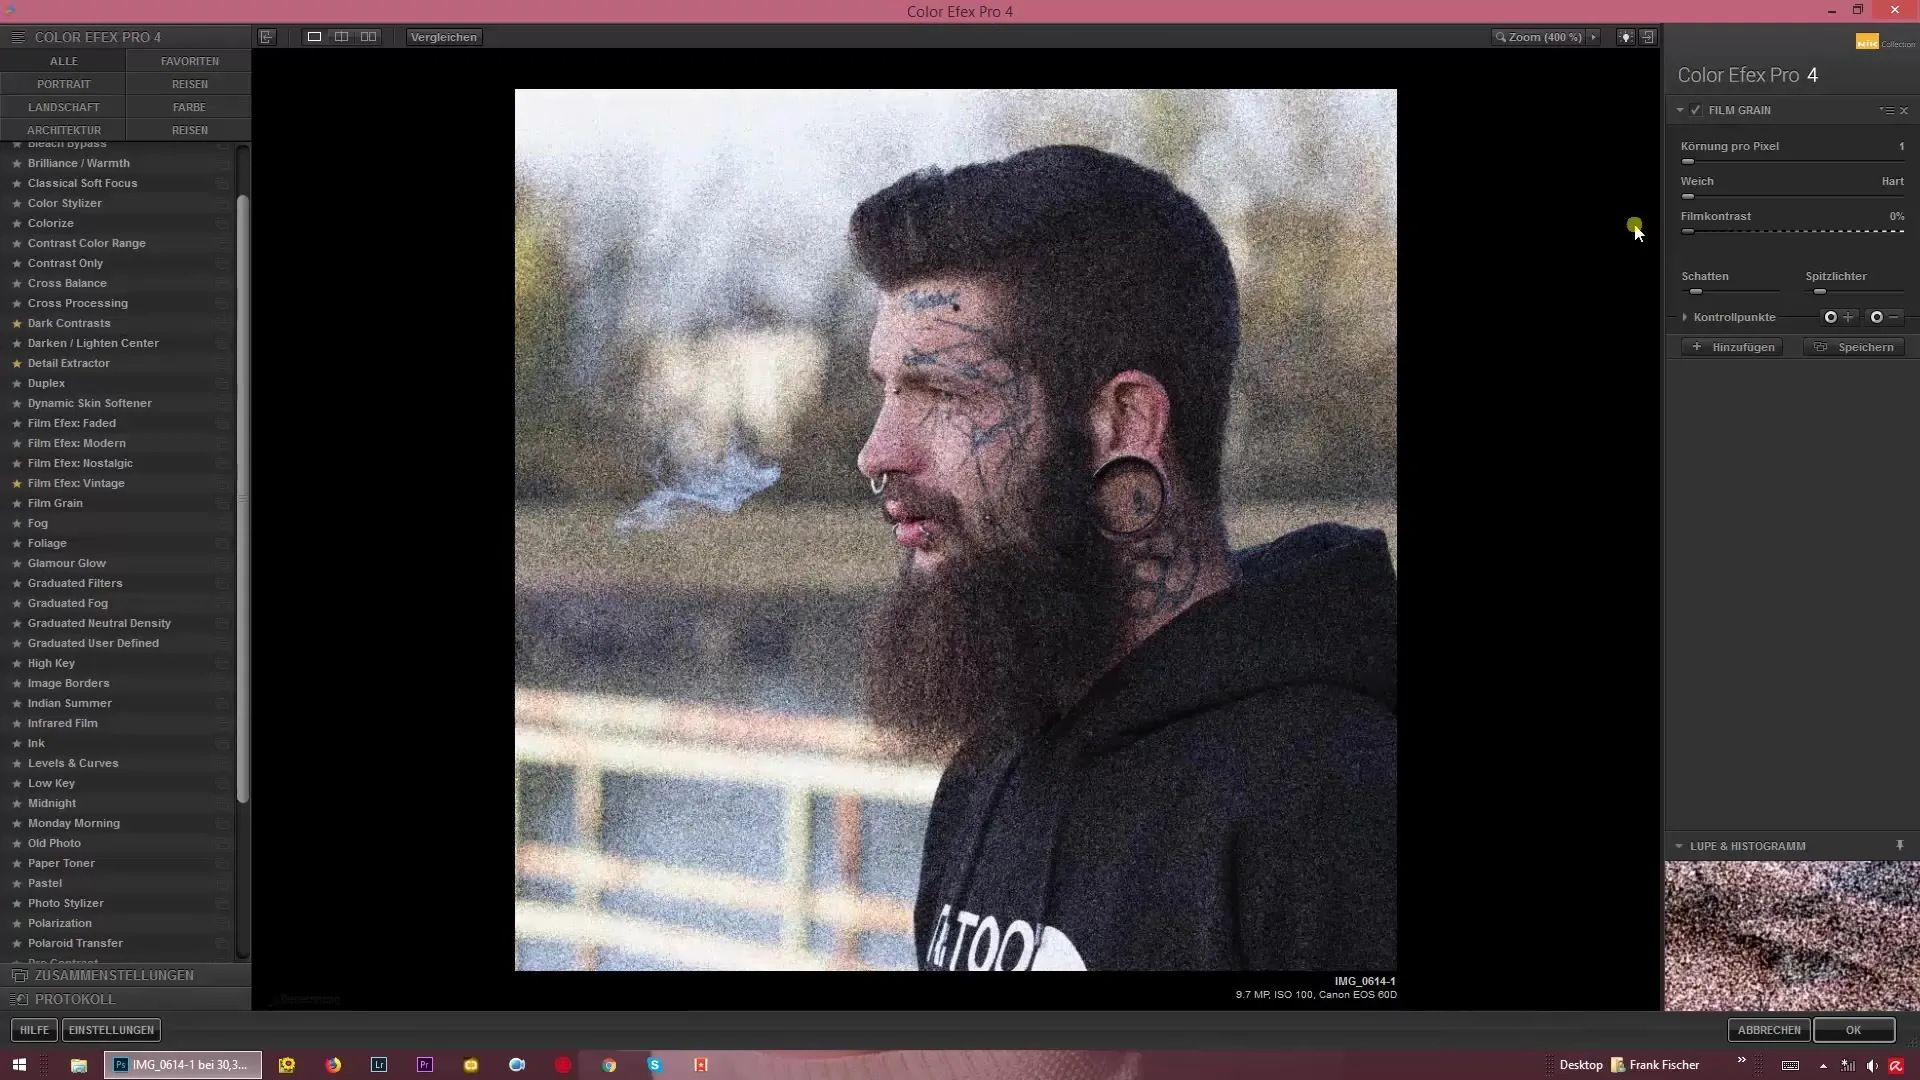
Next, adjust the hardness of the pixels. Move the corresponding slider and watch how the texture of your shot changes. Note that strong noise can create a specific, cool effect for some images.

Step 5: Increase or Decrease Film Contrast
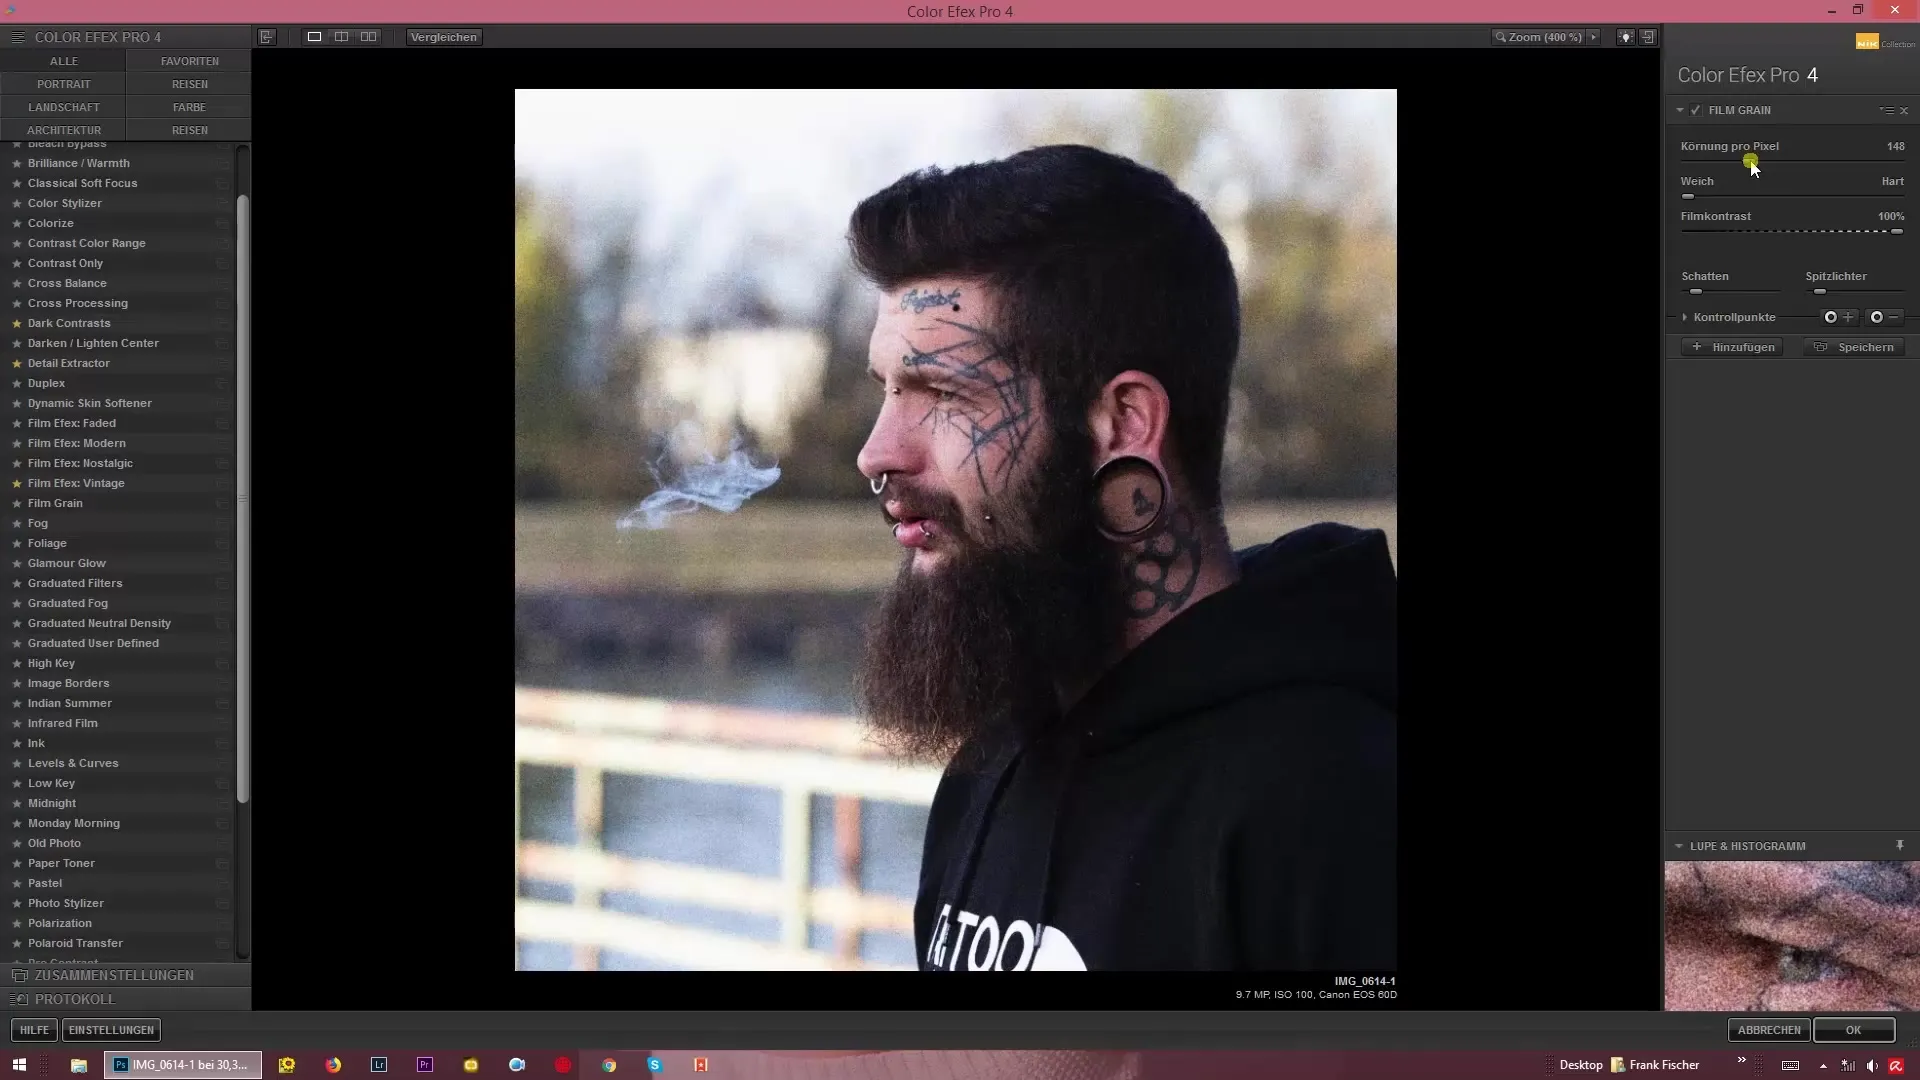
Another notable feature is the ability to adjust the film contrast. Here you have the choice of whether the image should appear fainter or if you want to increase the contrast. This creates dramatic effects that make your images more interesting.

Step 6: Finalize and Save
After you are satisfied with the settings for noise and contrast, you can review your changes. Experiment a little until the image meets your expectations. Then save the final image. And just like that, you’ve given your image a new, artistic life!

Summary – Noisy Memories – Adding Film Grain with Color Efex Pro 4
Adding noise with the “Film Grain” filter in Color Efex Pro 4 opens up many creative possibilities for you. You can individually adjust the intensity, hardness, and contrast of the grain to achieve impressive visual effects. Experiment with different settings and discover how your images come alive through the use of noise.
Frequently Asked Questions
What are the benefits of using noise in images?Noise can give images depth and create that nostalgic character that is particularly pronounced in black-and-white and night shots.
How can I adjust the Film Grain filter in Color Efex Pro 4?You can adjust the intensity and hardness of the noise as well as the film contrast using the corresponding sliders.
What types of images are best suited for the noise effect?The effect works particularly well with black-and-white images or night shots to achieve a rougher, more intense effect.
Is it difficult to use the Film Grain filter?No, the operation of the filter is intuitive, and with the visual preview, you can see in real time how your adjustments affect the image.
Can I reset the effect at any time?Yes, in Color Efex Pro 4, it is easy to go back and undo adjustments until you are satisfied with the result.

