Shortcuts
Shortcuts can not only be used as they are in CINEMA 4D, but you can also create them yourself. And in the form that you may already know, namely the M-groups ...
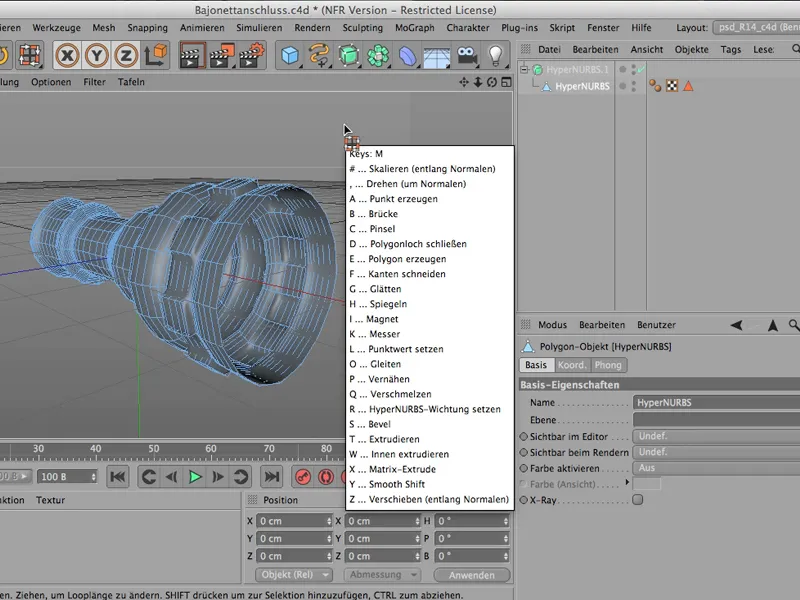
... or the N-groups...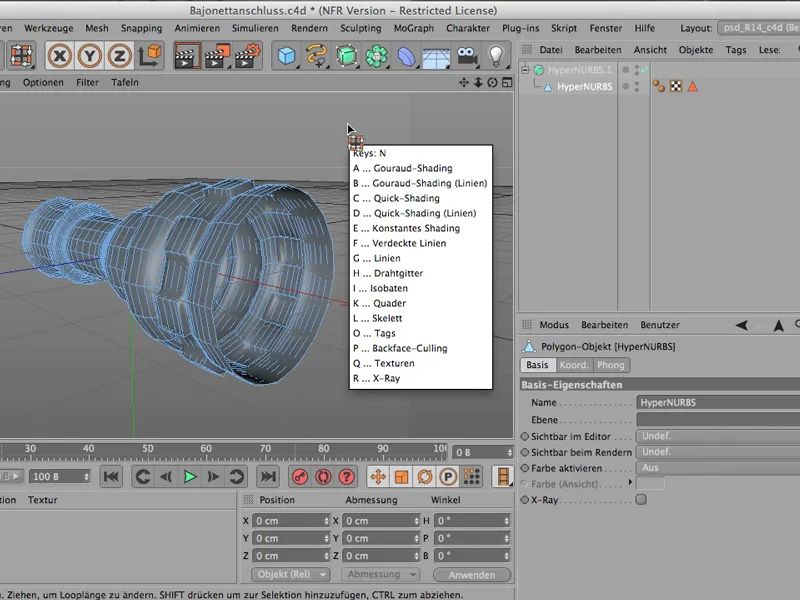
... or the U-groups. All these commands can be accessed with a second letter via these shortcuts.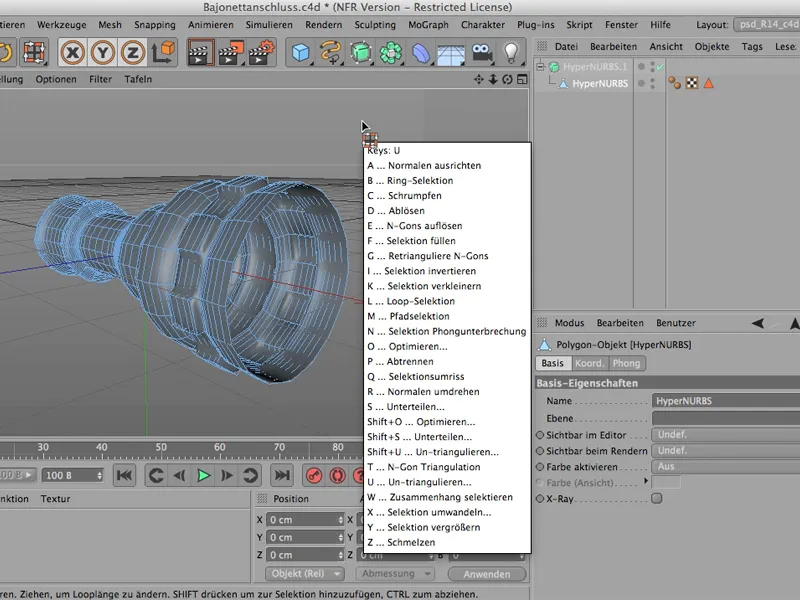
And I would like to show you how you can do this yourself using the example of the panels. Panels is a term that can be found in the Editor menu. If you go to Panels>Arrangement, ...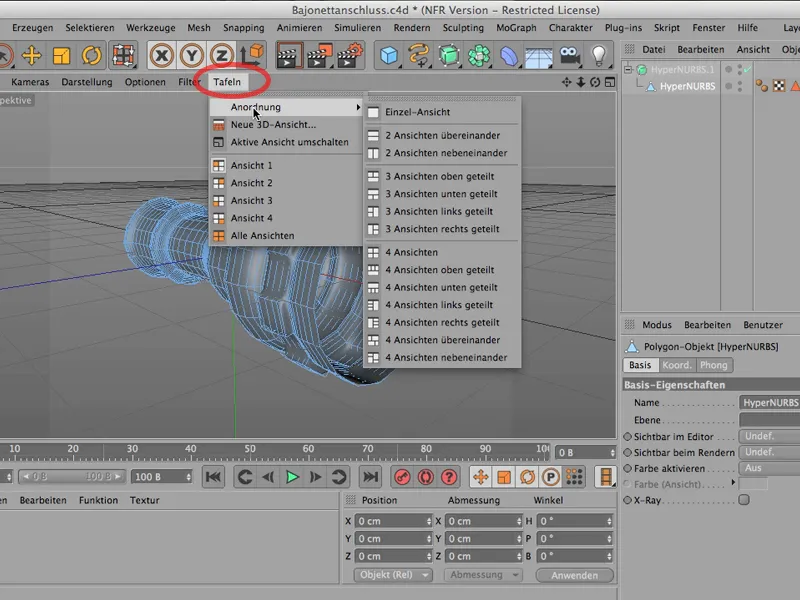
... you can either display things on top of each other ...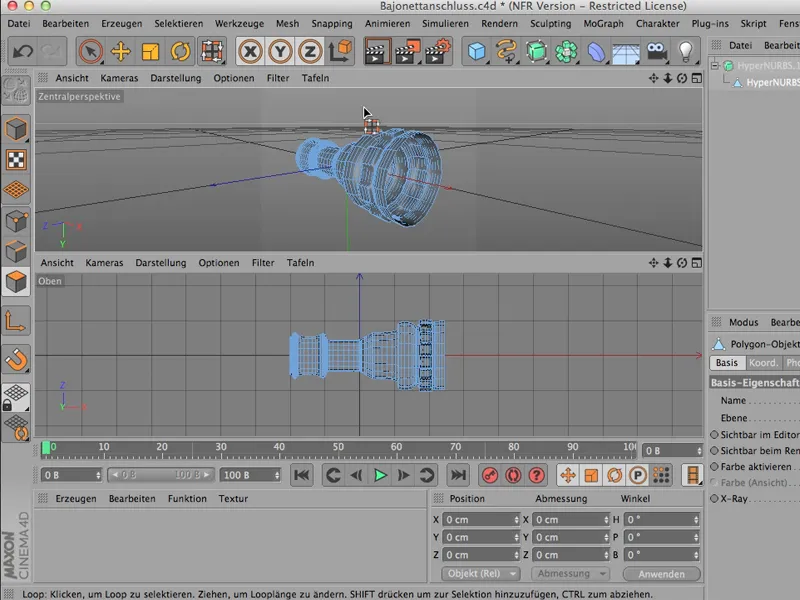
... or all four views. This would be the same as clicking on the circled symbol. So you can simply select different types of combined views. This is certainly very often the case when designing.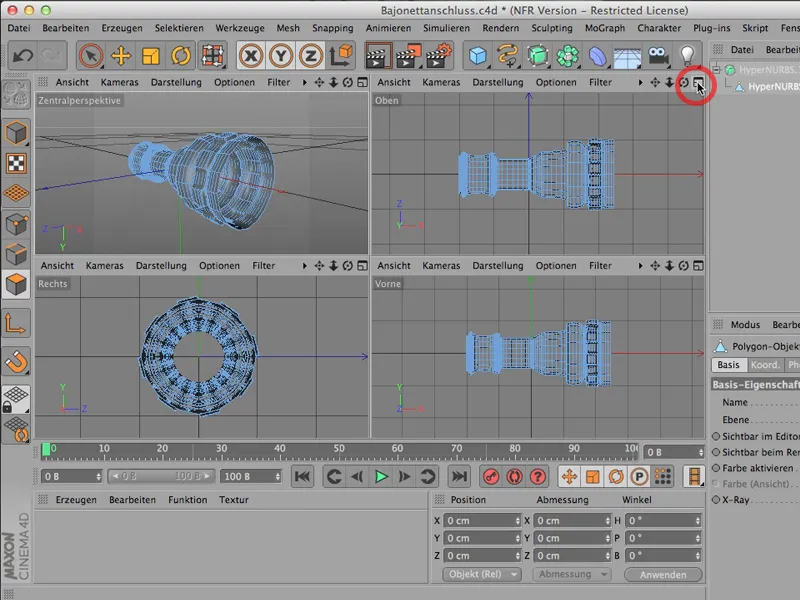
And it is precisely these frequently occurring things that are useful if you gradually acquire a larger and larger treasure trove of shortcuts.
Let's do that now; via Window>Customize>Customize commands we get this pretty big thing. Every command is included here and each command can be assigned its own shortcut.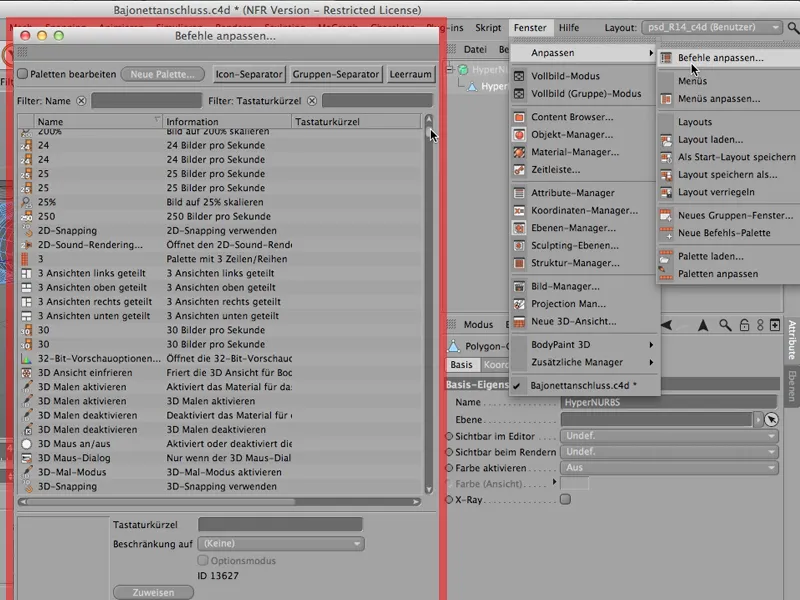
Here we are at the four views - that's what I've just done - and this is exactly where I would like to assign my own shortcuts. Let's take a look at these four views. If there is nothing behind them (split left, next to each other, etc.), then these are the four views with equal rights.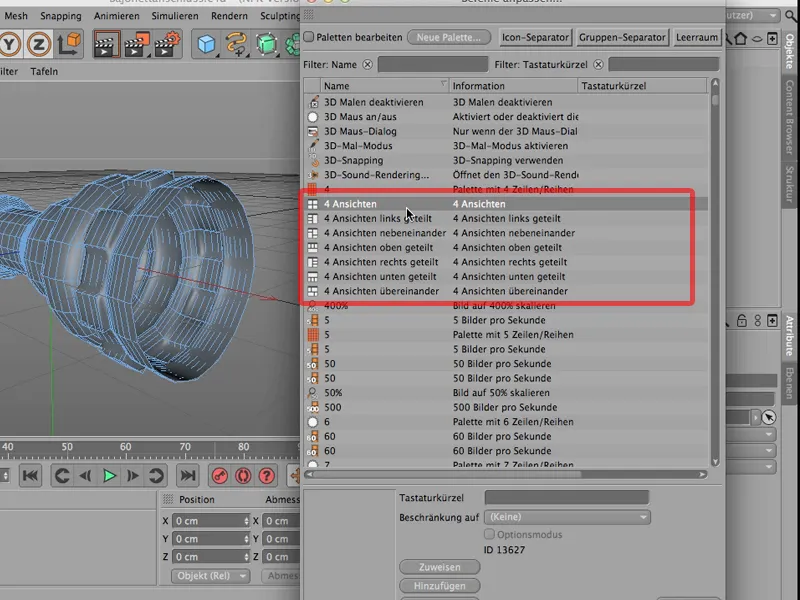
I'll give them the shortcut 4A. And - this is important: you must also assign it afterwards.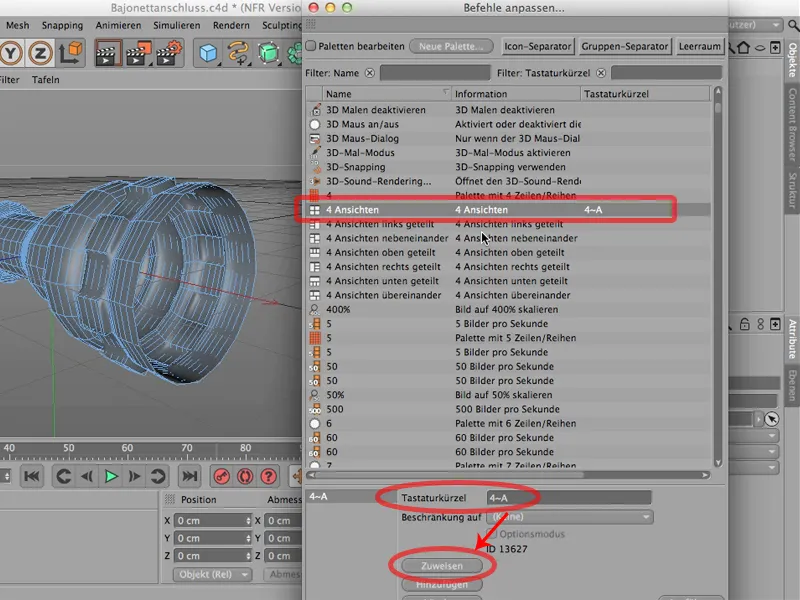
And something else important: If I go on and assign 4B for the split views on the left, I click in quick succession. So don't wait too long, but enter 4B directly and quickly. If you first enter 4 and then think for a while about which letter you could add, CINEMA forgets the 4 and only writes the B instead. So pay attention to that.
Then I also assign that and maybe 4 views next to each other. That could then be 4C. So, still assigning and so you could continue now. You could also assign 4D here; of course, it depends a bit on what you actually need from these views.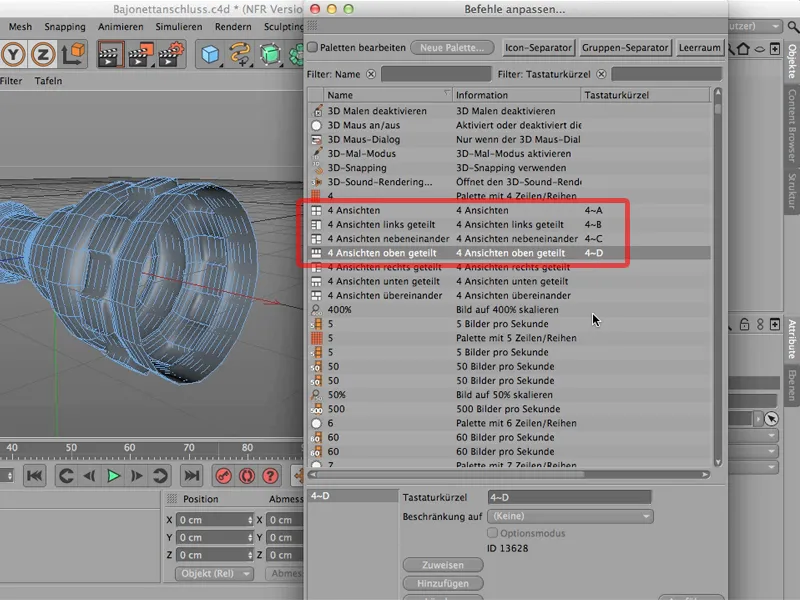
Now let's take a look at what this actually looks like. It's assigned, so we can simply close it again. So I click on the 4 and you can already see: Yes! That's our shortcut of 4, our shortcut list of 4, and now I no longer need to do it in quick succession, I can now choose: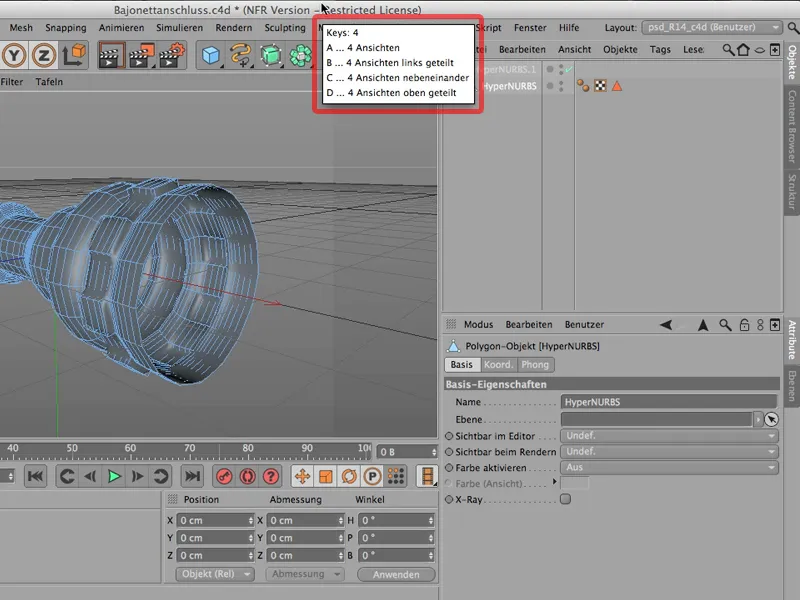
I would like to have the 4 views equally; then I simply tap the A behind them. Or tap the 4 again. Now I'd like to split them to the left. That would be B. It would look like this and might not be so bad for designing. You have a large perspective window and have all the top, right and front views in a relatively small space: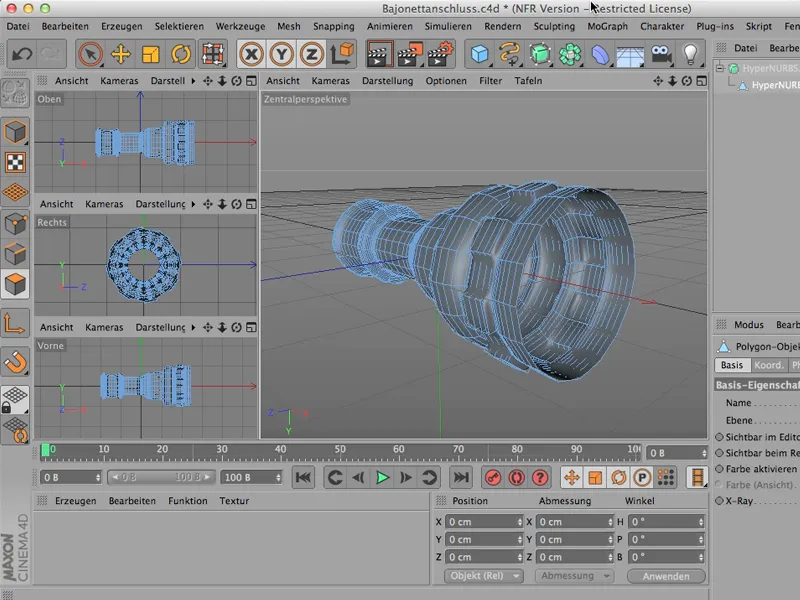
If you have assigned these shortcuts and you realize that you have made a mistake or that this is not fast enough for you or you would have preferred to use the command for something else, then you can go back to the Customize>Customize commands window and can of course simply delete the things again. Simply click on it and click on Delete. And you've got rid of all your commands.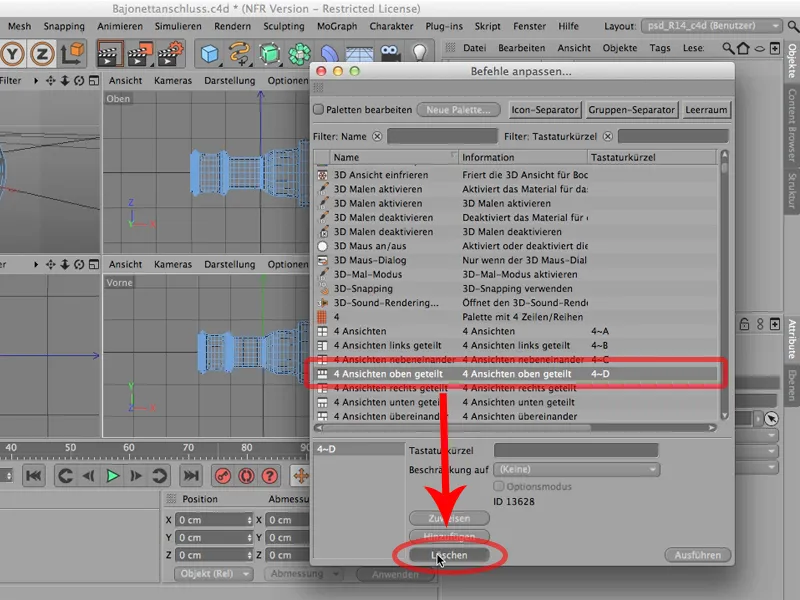
It is therefore definitely worth creating your own list of shortcuts that you use relatively frequently.
Layout
CINEMA 4D comes with a very specific layout.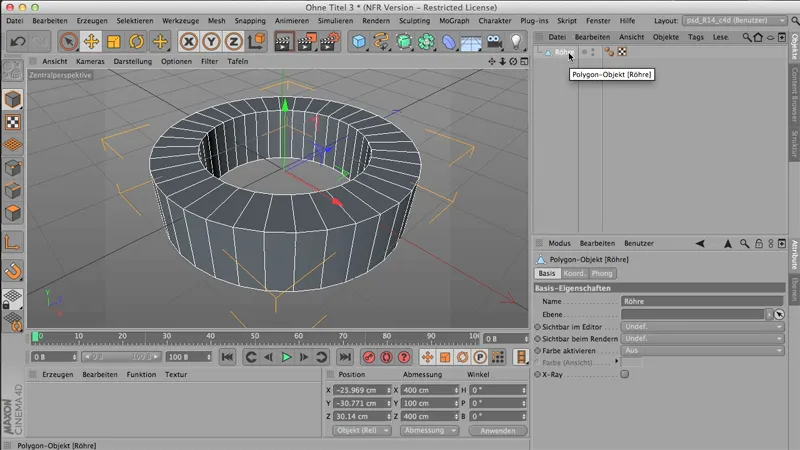
The layout is either light or dark - you can set this in the program preferences. If you prefer a dark layout, you can choose between light and dark in the interface.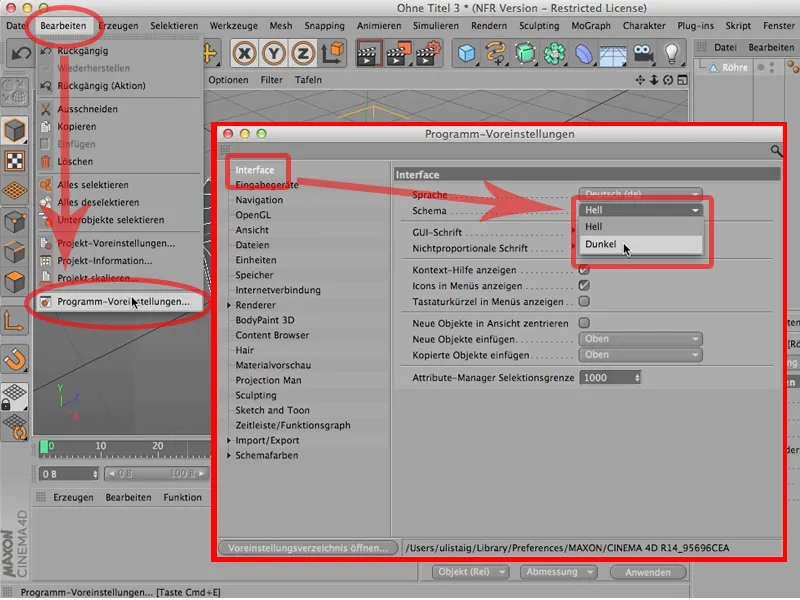
I find the light one nicer, but that's a matter of taste.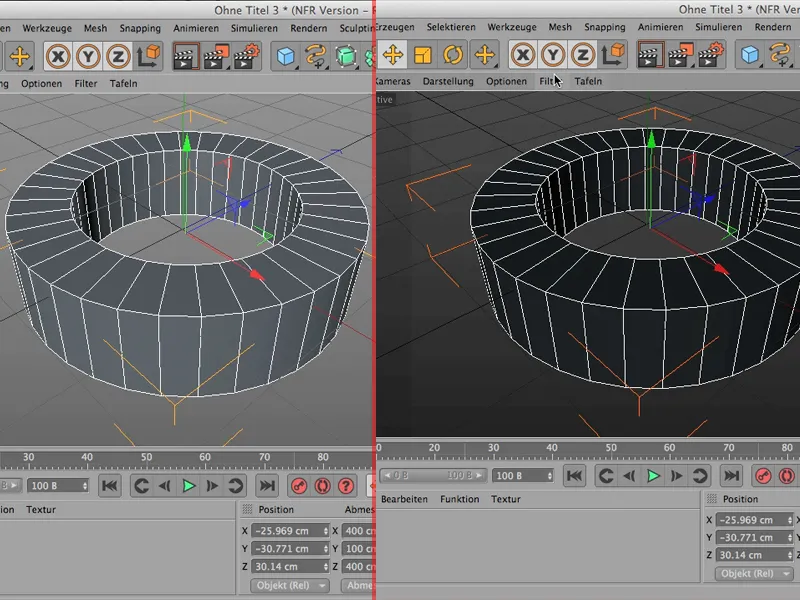
That's the most important thing about the layout in terms of color.
Of course, you can still place all the managers, i.e. the palettes, wherever you want within CINEMA 4D. I click on the object manager here, for example, and you can see this little plus at the back. As soon as I click on it, I have the object manager and can move it around freely if I want to.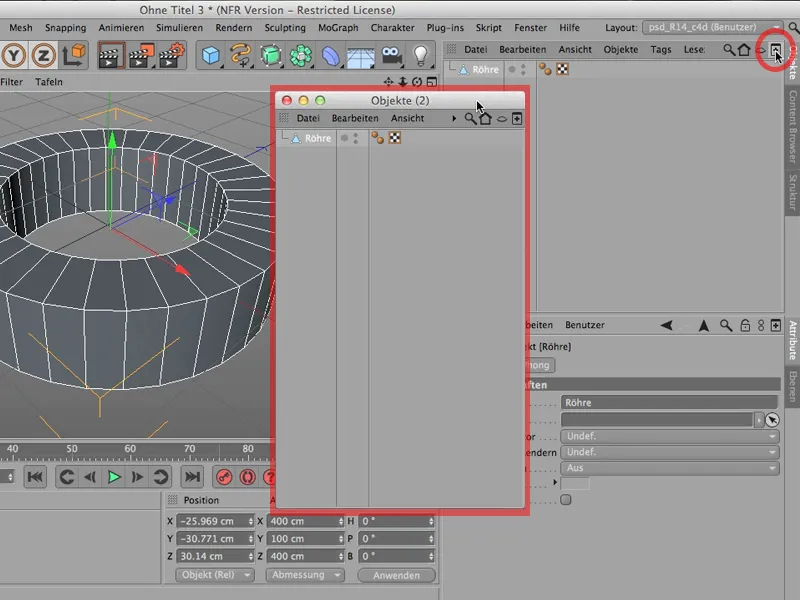
I can move it to another screen, but I can also simply click it away again when I've finished, and - notice that the object manager still remains here at this point.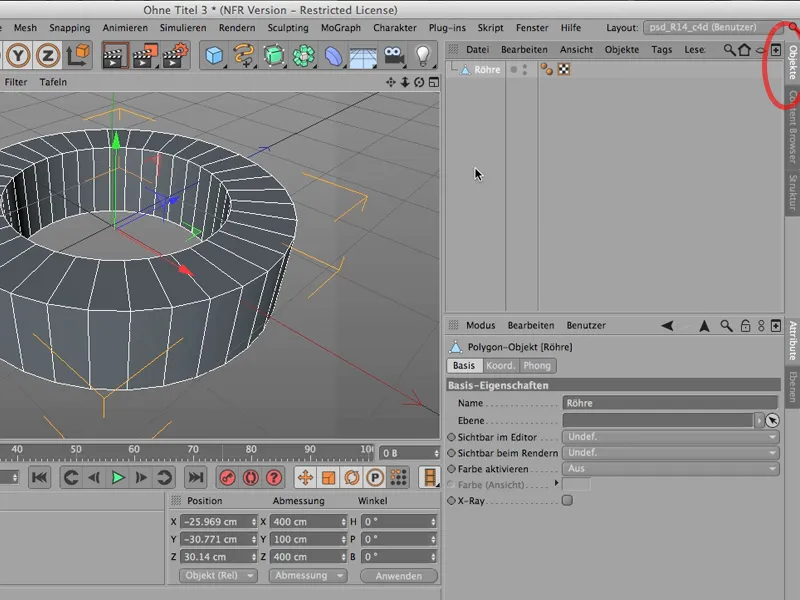
If I really want to get rid of it, I have to do it a little differently, then I have to click on the selected icon and the first thing I find at the top is the Undock command. I can then click on it ...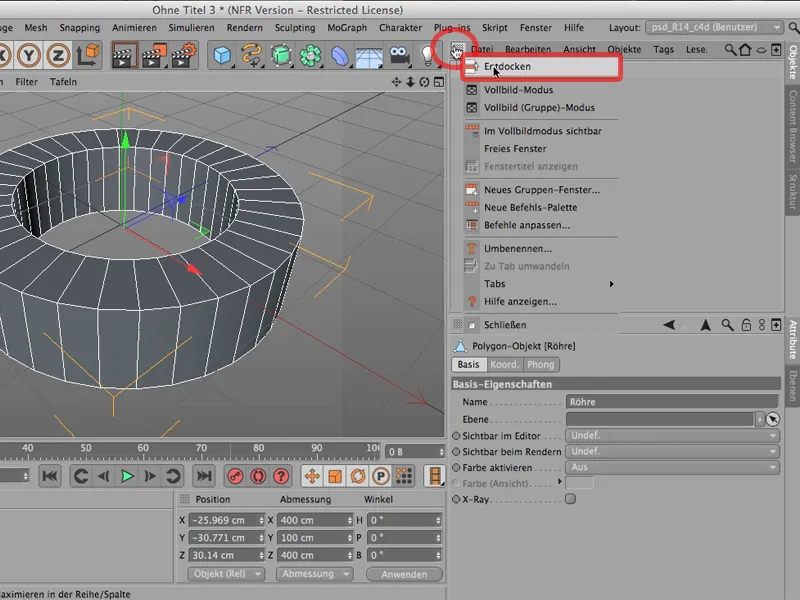
... and now I've really pulled the thing out of here. It's now really only here, its size and shape can be changed here and it's no longer in the front.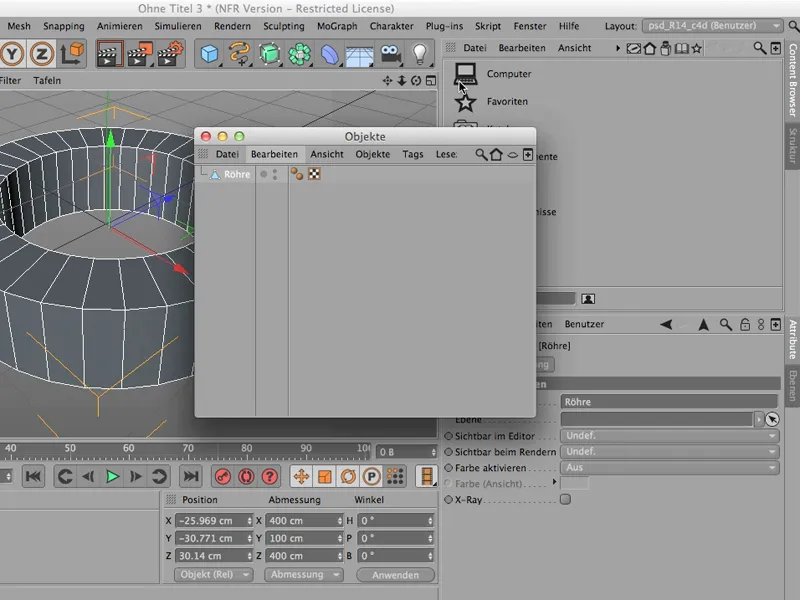
If I don't need it at all for a while (I might), I'll just click it away. Then I get really sad, because of course I need it again immediately - so Window>Object Manager... there it is again ...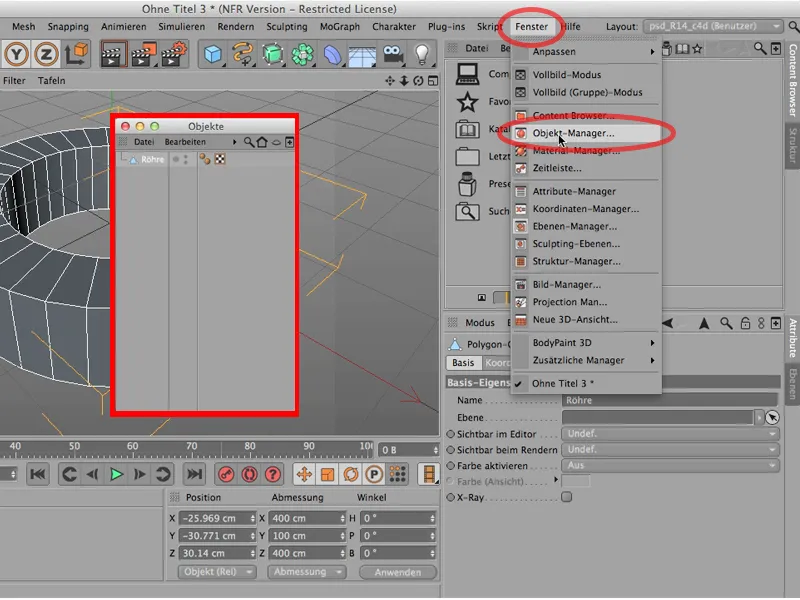
... and I can now insert it here again. So either I simply add it here or I do it by clicking directly on this tab, then my object manager is also inserted here.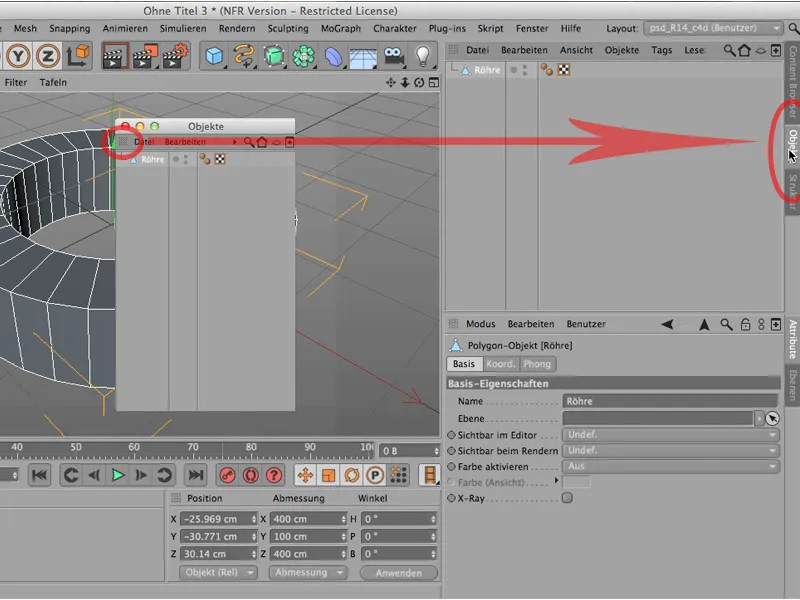
That's a very practical thing. Of course, it can happen that it becomes too confusing, i.e. that you have simply moved too many things, such as the material manager. I undock it, then click it away, then I do the same here with the coordinate manager, undock it too and click it away.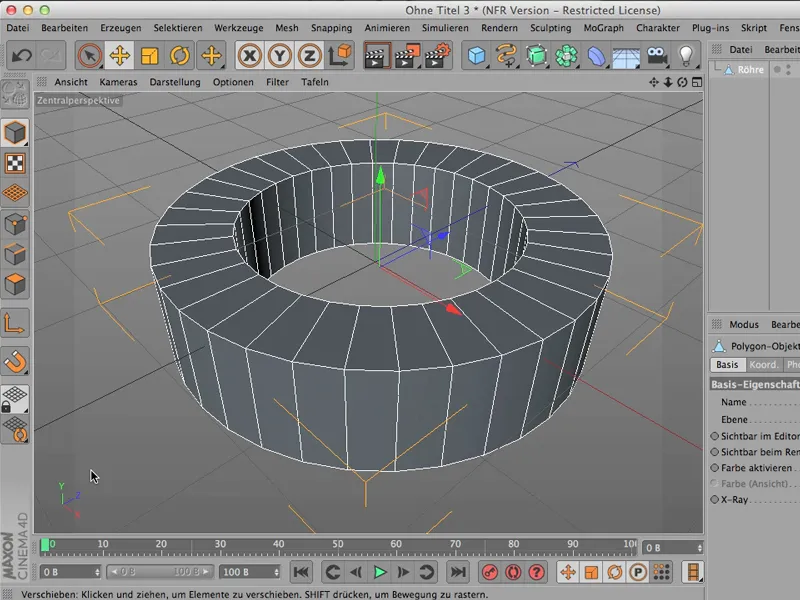
The advantage of this is that we suddenly have a lot more space here. So sometimes it really makes sense to do something like this, but it could well be that at some point you say: That's not it, I want to go back to my old layout, maybe even the one I once saved, then you can simply go back to the top via Layout and get where you were just now. This is either the standard layoutor, in my case, the layout for PSD-Tutorials.de.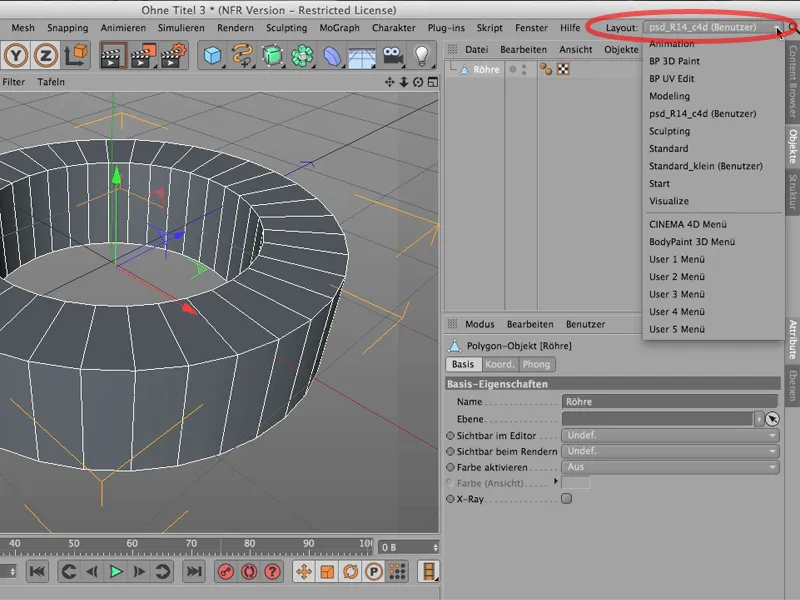
You have also seen - just as a little hint - that you can also switch over to BodyPaint, for example, at the top of the layout. If you remember it from older versions - it was always here ... this layout change.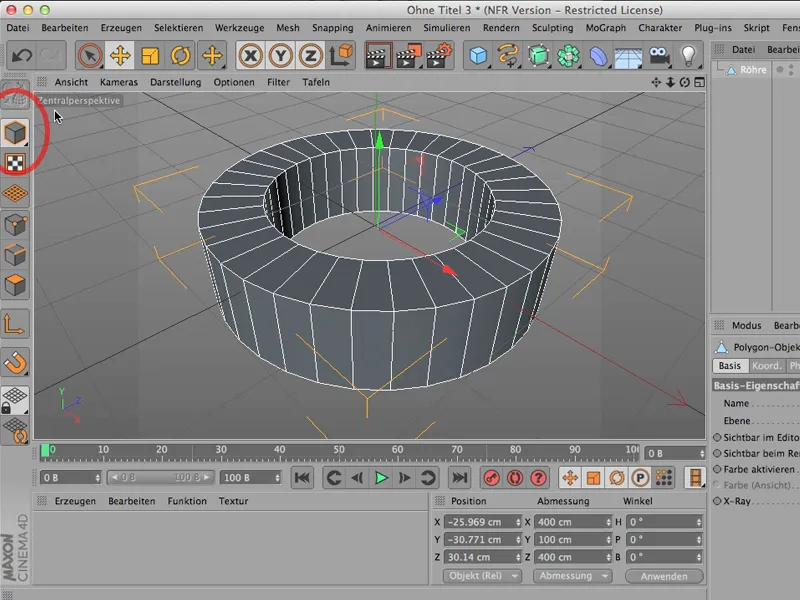
But now it's up here: This is how you get to BodyPaint 3D Paint or BodyPaint UV Edit, you can also get to Modeling this way.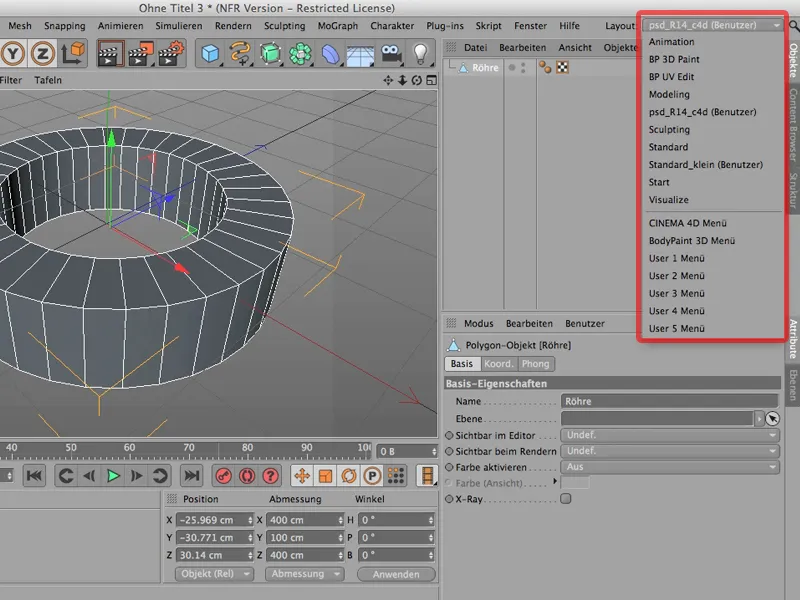
These are the different layouts that you can define here. You can change them yourself and you can return to your old layout at any time.
