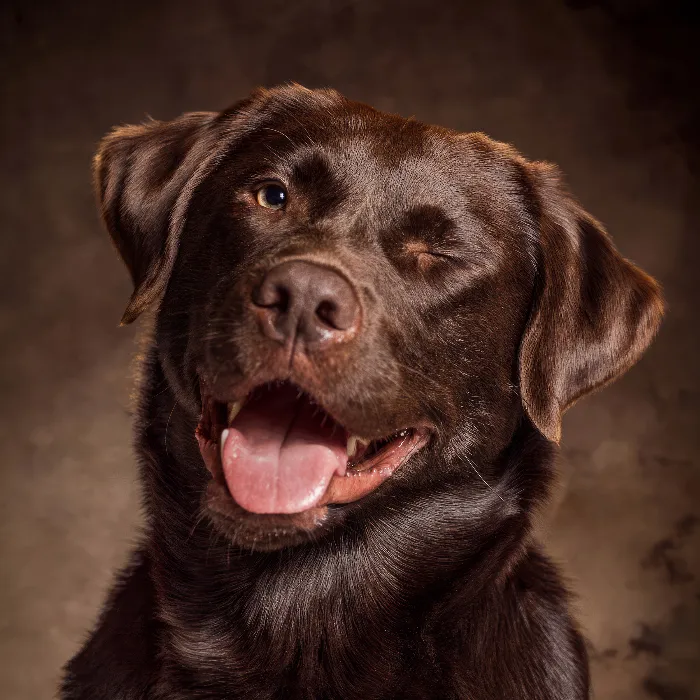
Anyone who wants to take dog portraits in the studio faces the challenge of finding the right camera and flash settings to achieve impressive results. In this guide, you will learn what specific values you should set on your camera and the flashes so you can get the best results. You will be guided step by step through the process so that you understand exactly how to use the technique optimally.
Key Insights
In this guide, you will learn that you should operate your camera in manual mode. The exposure is controlled through the flash settings while you should pay attention to a low ISO sensitivity and adjust the white balance. You will also learn how to set the flashes appropriately to achieve the desired lighting conditions for your shots.
Step-by-Step Guide
1. Choose Manual Camera Settings
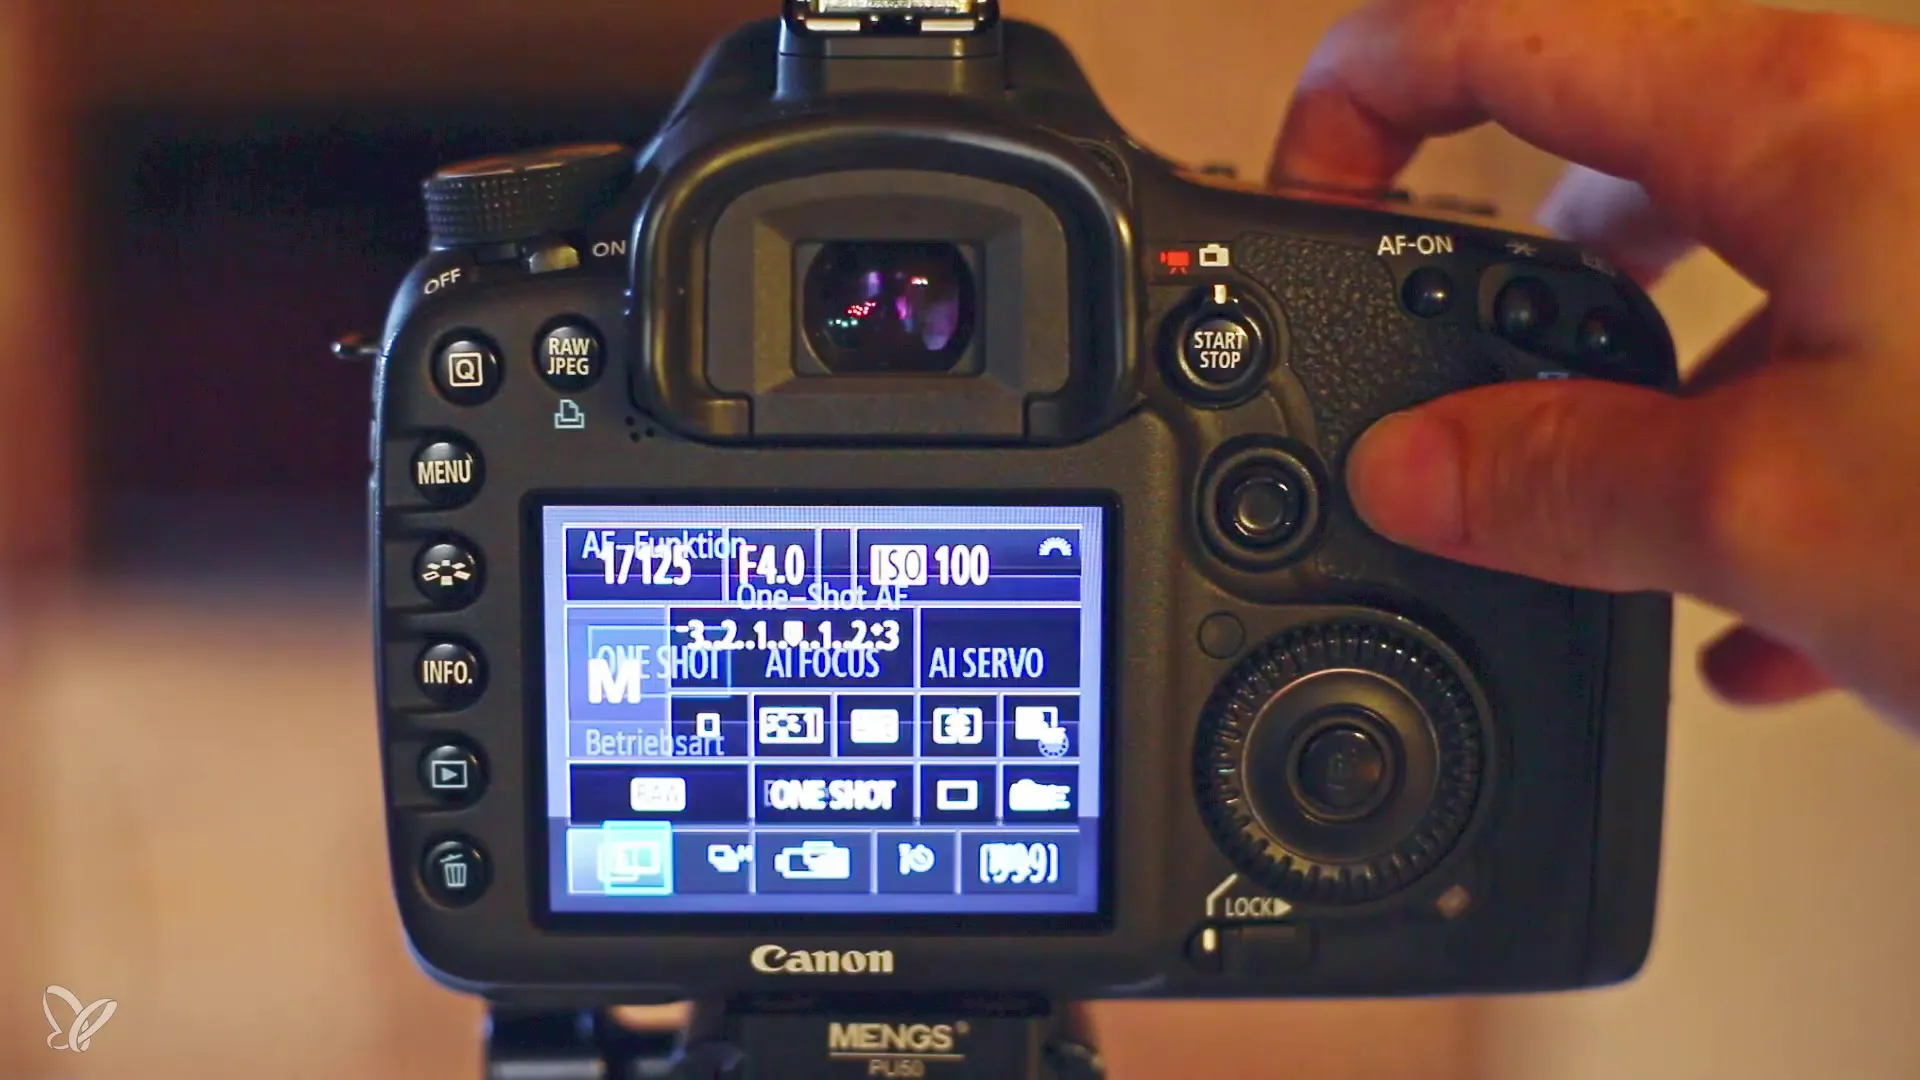
First and foremost, it is crucial to switch your camera to manual mode. This can be easily set using the mode dial on your camera. This mode is important as it gives you control over the exposure in the image and allows you to regulate brightness solely through the flashes.
2. Set Exposure Time and Aperture
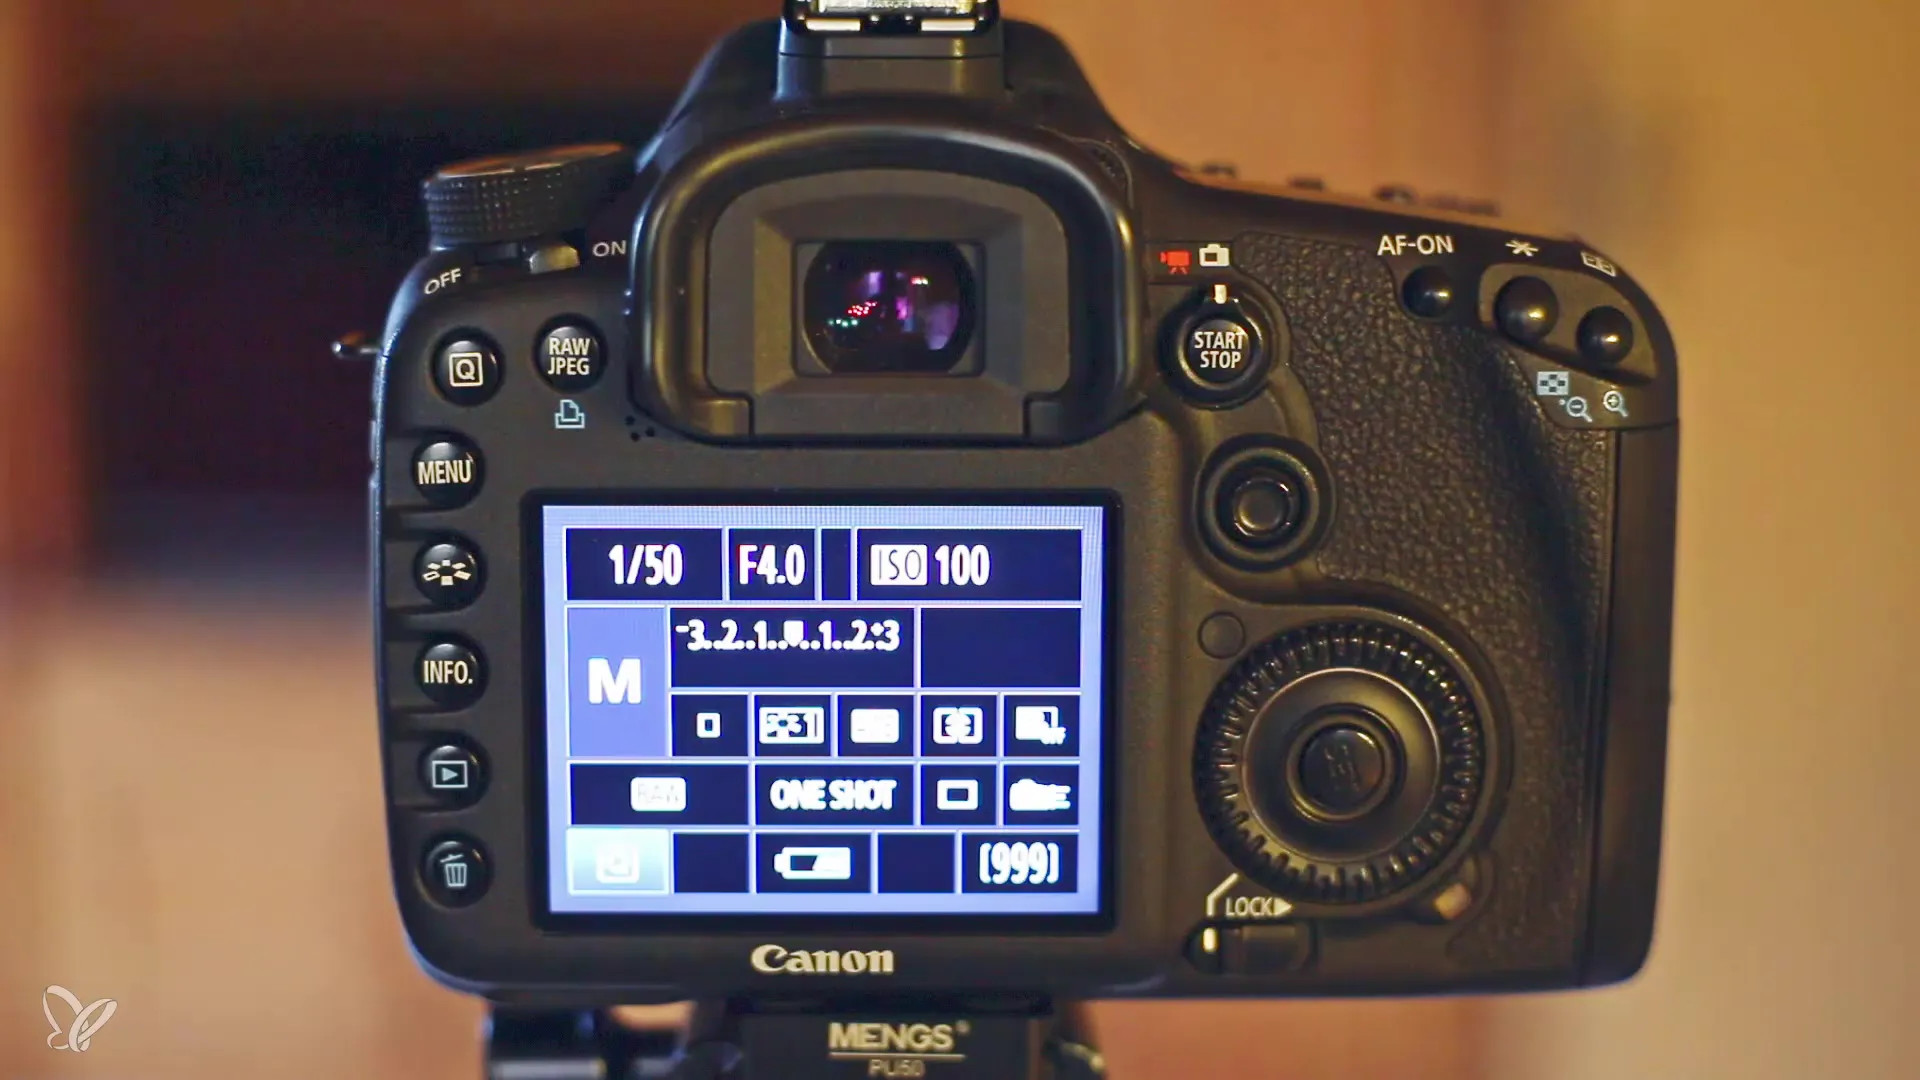
For the exposure time, you should choose a time of 1/125 seconds. This value corresponds to the flash sync time and is ideal for photography with flash. For the aperture, you can use the maximum aperture of your lens. In this example, we are using a 70-200 mm lens with an aperture of 4. These values remain constant during the shooting.
3. Set ISO Sensitivity
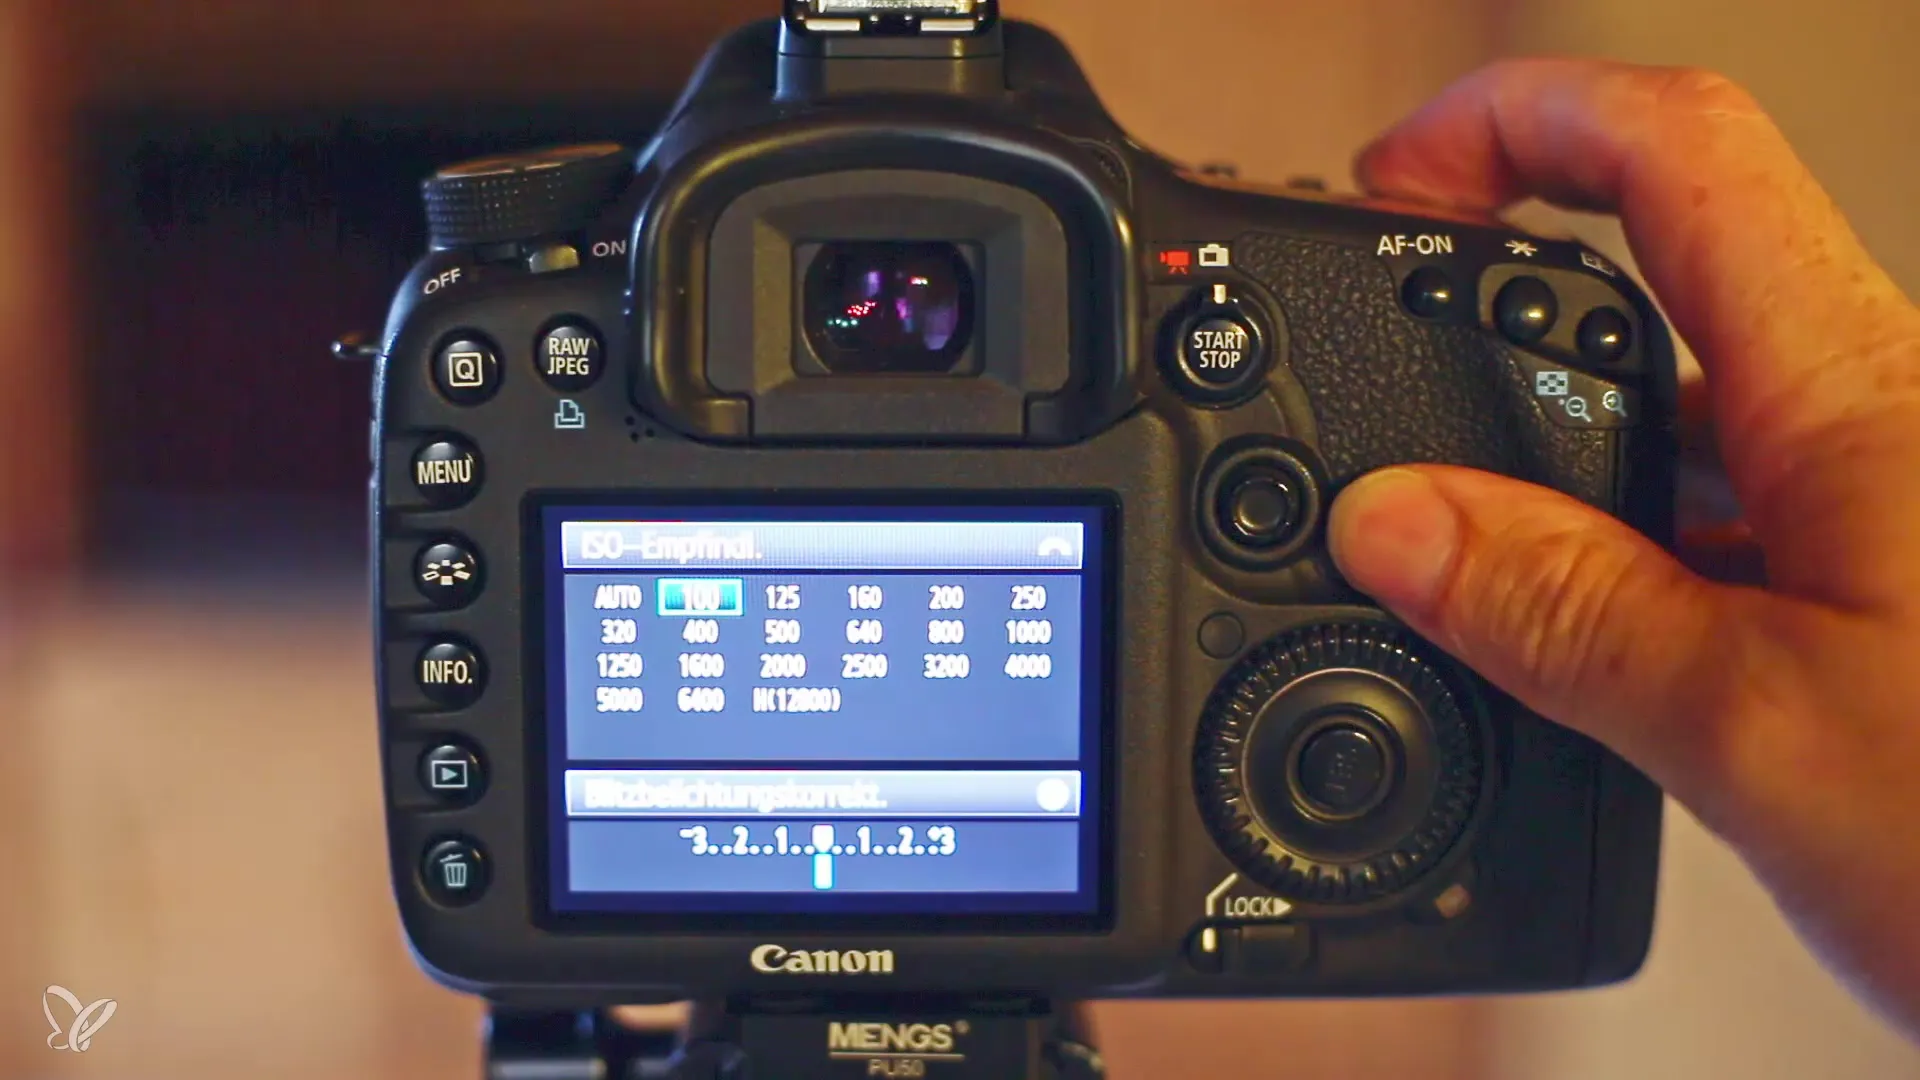
Always stay at the lowest sensitivity available in the studio. In most cases, this means setting the ISO to 100. If your camera has a native ISO value of 50, you can also select that. There is no reason to increase the sensitivity since we can add more light through the flashes if the image appears too dark.
4. Set White Balance Manually
The white balance plays a vital role, especially when working with flashes. Make sure you set the white balance to the "Flash" setting. An automatic white balance could determine the color temperature from the surroundings, which can be unreliable when combined with a flash. Alternatively, you can manually input the exact color temperature in Kelvin if you have that information.
5. Prepare Flash Settings
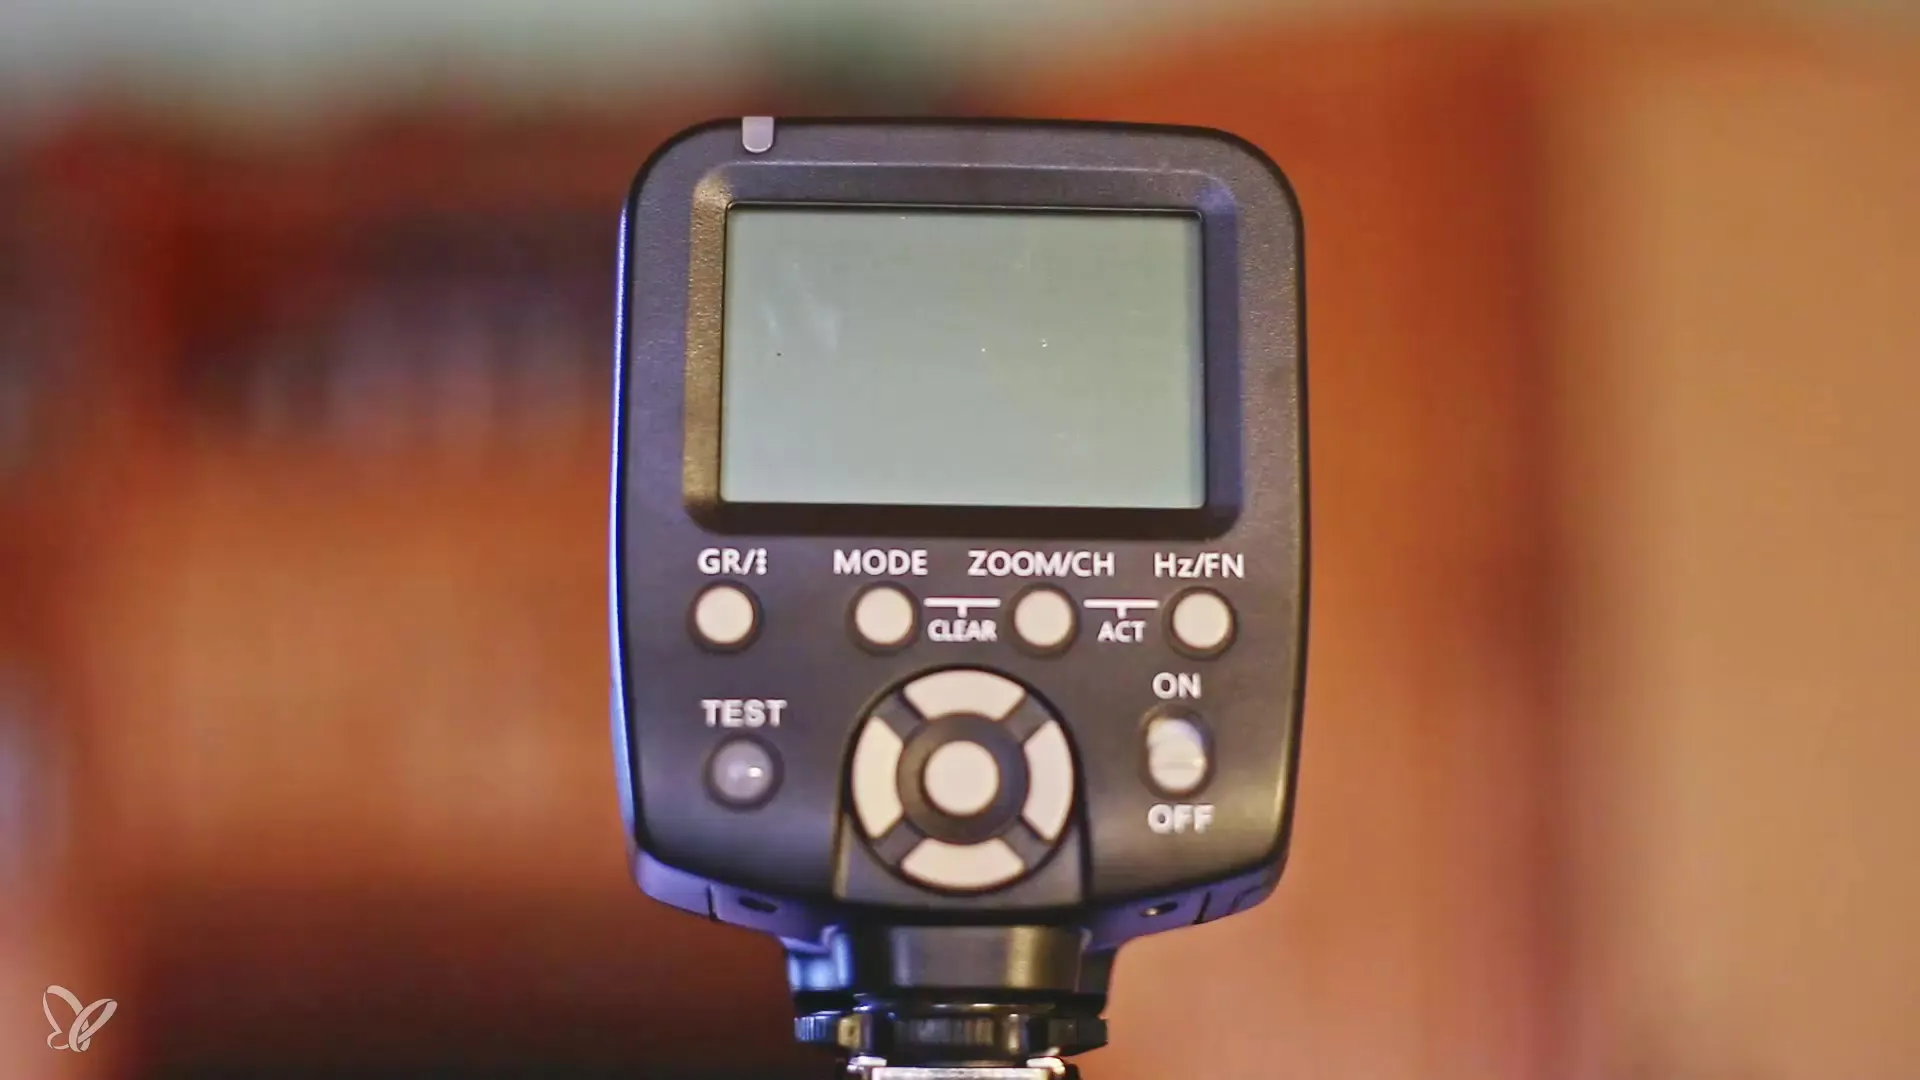
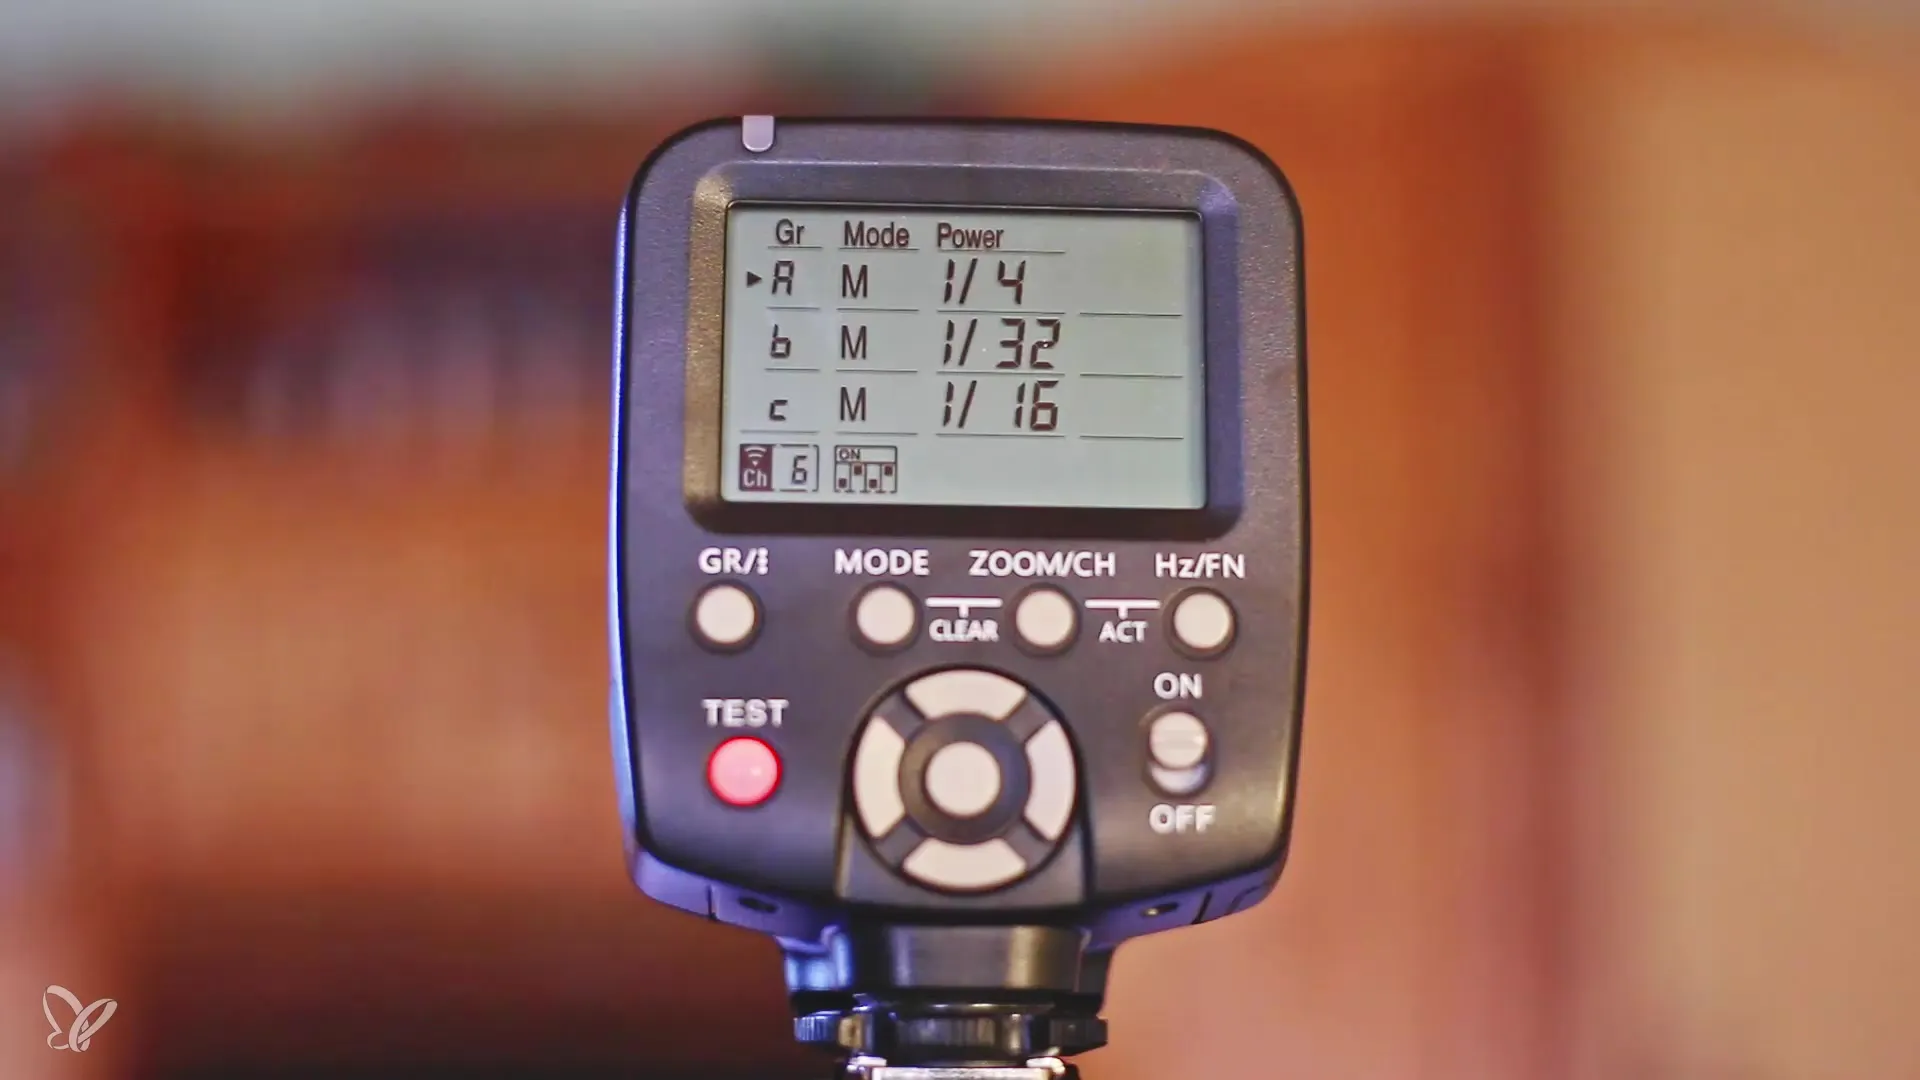
Now it's time to set up the flashes. If you want to control the Yongnuo YN 560 III flashes wirelessly via a remote trigger, you should assign groups to the flashes. You need to remember these groups to later make the correct settings for the main light and background light.
6. Adjust Flash Power
For most shoots, I recommend setting the main light to a flash power of 1/4 and the light for the background to 1/32. You can change these values via the remote trigger by selecting the appropriate groups and adjusting the flash power. You can then use the test button to check if both flashes are firing correctly.
7. Prepare Setup for the Shoot
Now that the settings have been made, you can set up your studio setup. Make sure the flashes are well positioned to light the dog optimally. Take some test shots to ensure that the flash powers are set correctly and the images are evenly lit.
Summary – Step by Step: Dog Portraits in the Studio – The Right Camera Settings
In this guide, you have learned how to optimally set your camera and flashes for photographing dog portraits in the studio. The camera's manual mode, the correct aperture and exposure time settings, the ISO sensitivity, and the white balance are crucial for the success of your shots. You have also learned how to properly set and adjust flashes to achieve even exposure.
Frequently Asked Questions
How important is the manual mode of the camera for studio shots?The manual mode is crucial for keeping the exposure constant and regulating brightness solely through the flashes.
What should I consider regarding the aperture?The maximum aperture of your lens is important for capturing enough light and creating a nice background blur effect.
When should I use ISO adjustments?The ISO should always be set as low as possible in the studio, typically at 100, to maintain high image quality.
Which white balance should I use in the studio?Set the white balance to the "Flash" setting or adjust it manually to the color temperature of your flashes.
How do I ensure my background light is correct?Use the remote trigger to set the flash power for the background light and test the triggers to ensure both flashes are functioning correctly.
