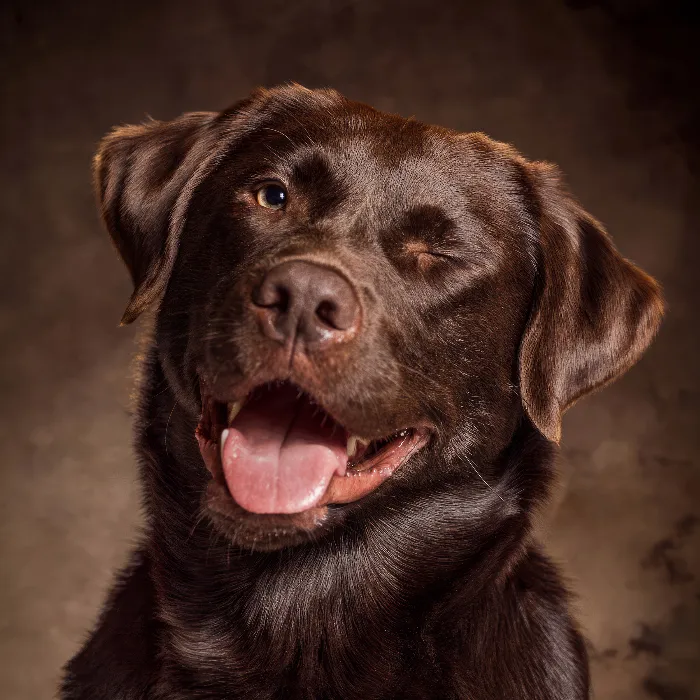
Do you want to create impressive dog portraits that perfectly capture the personality of your four-legged friend? The shoot is a great opportunity to capture the expressiveness and uniqueness of your pet. This guide will show you how to effectively plan the shoot. We will focus on important techniques that will help you gain your dog's attention, find the right setup, and achieve the best shots.
Main takeaways
- A helper is essential to direct the dog's attention.
- Pay attention to a suitable environment and the right background for the photos.
- Keep the animal mentally active and reward it often for cooperation.
- Use post-processing options to achieve perfect results.
Preparations before the shoot
Before you start photographing, it's important to make some preparations. First, you should exercise your dog enough so that it is not tired and unfocused. A short walk or some playtime in the garden can help. The goal is to keep the dog mentally active so that it remains attentive during the shoot. You want to ensure that your shots are lively and expressive.
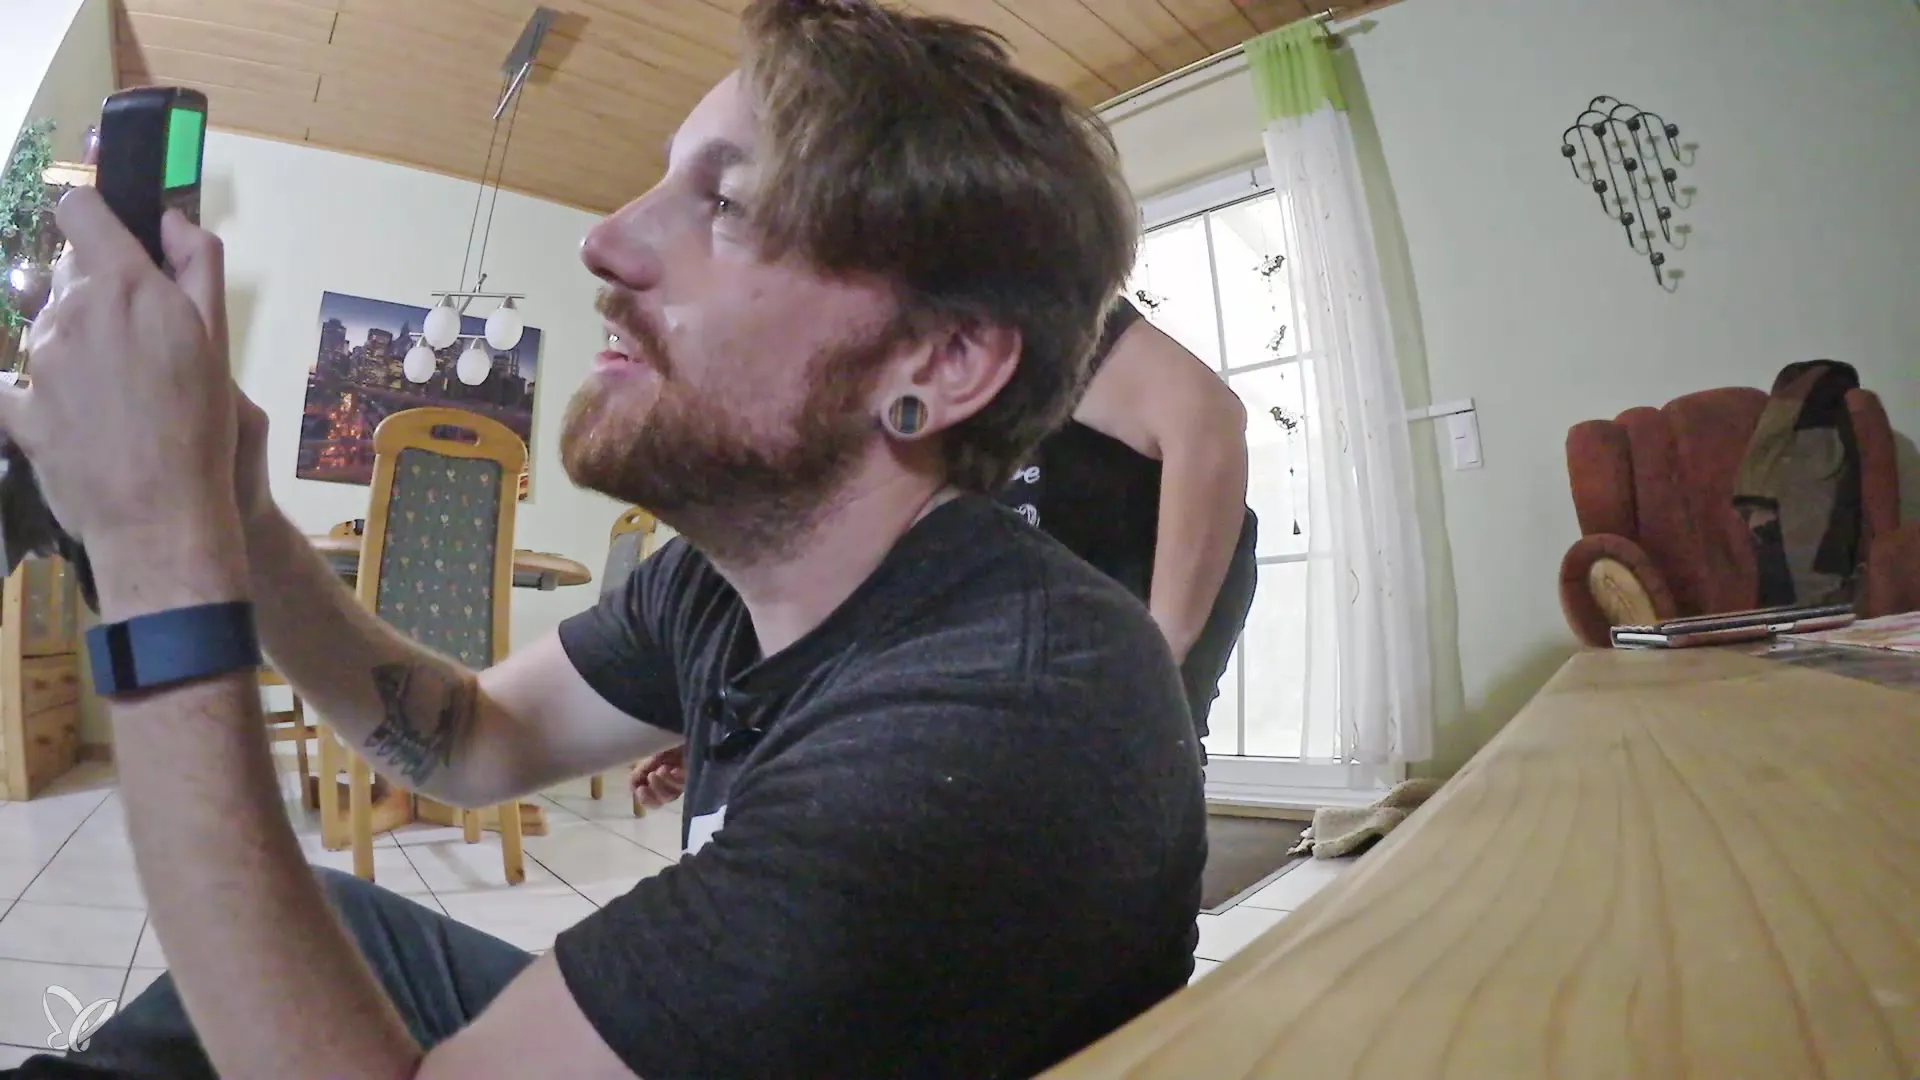
Another crucial point is that it's best to conduct the shoot with a helper. Whether it’s a friend, partner, or the dog's owner, someone who knows the dog can be incredibly helpful. The helper should ensure that the dog's attention is directed at the camera, for example, by holding a toy or a treat near the lens.

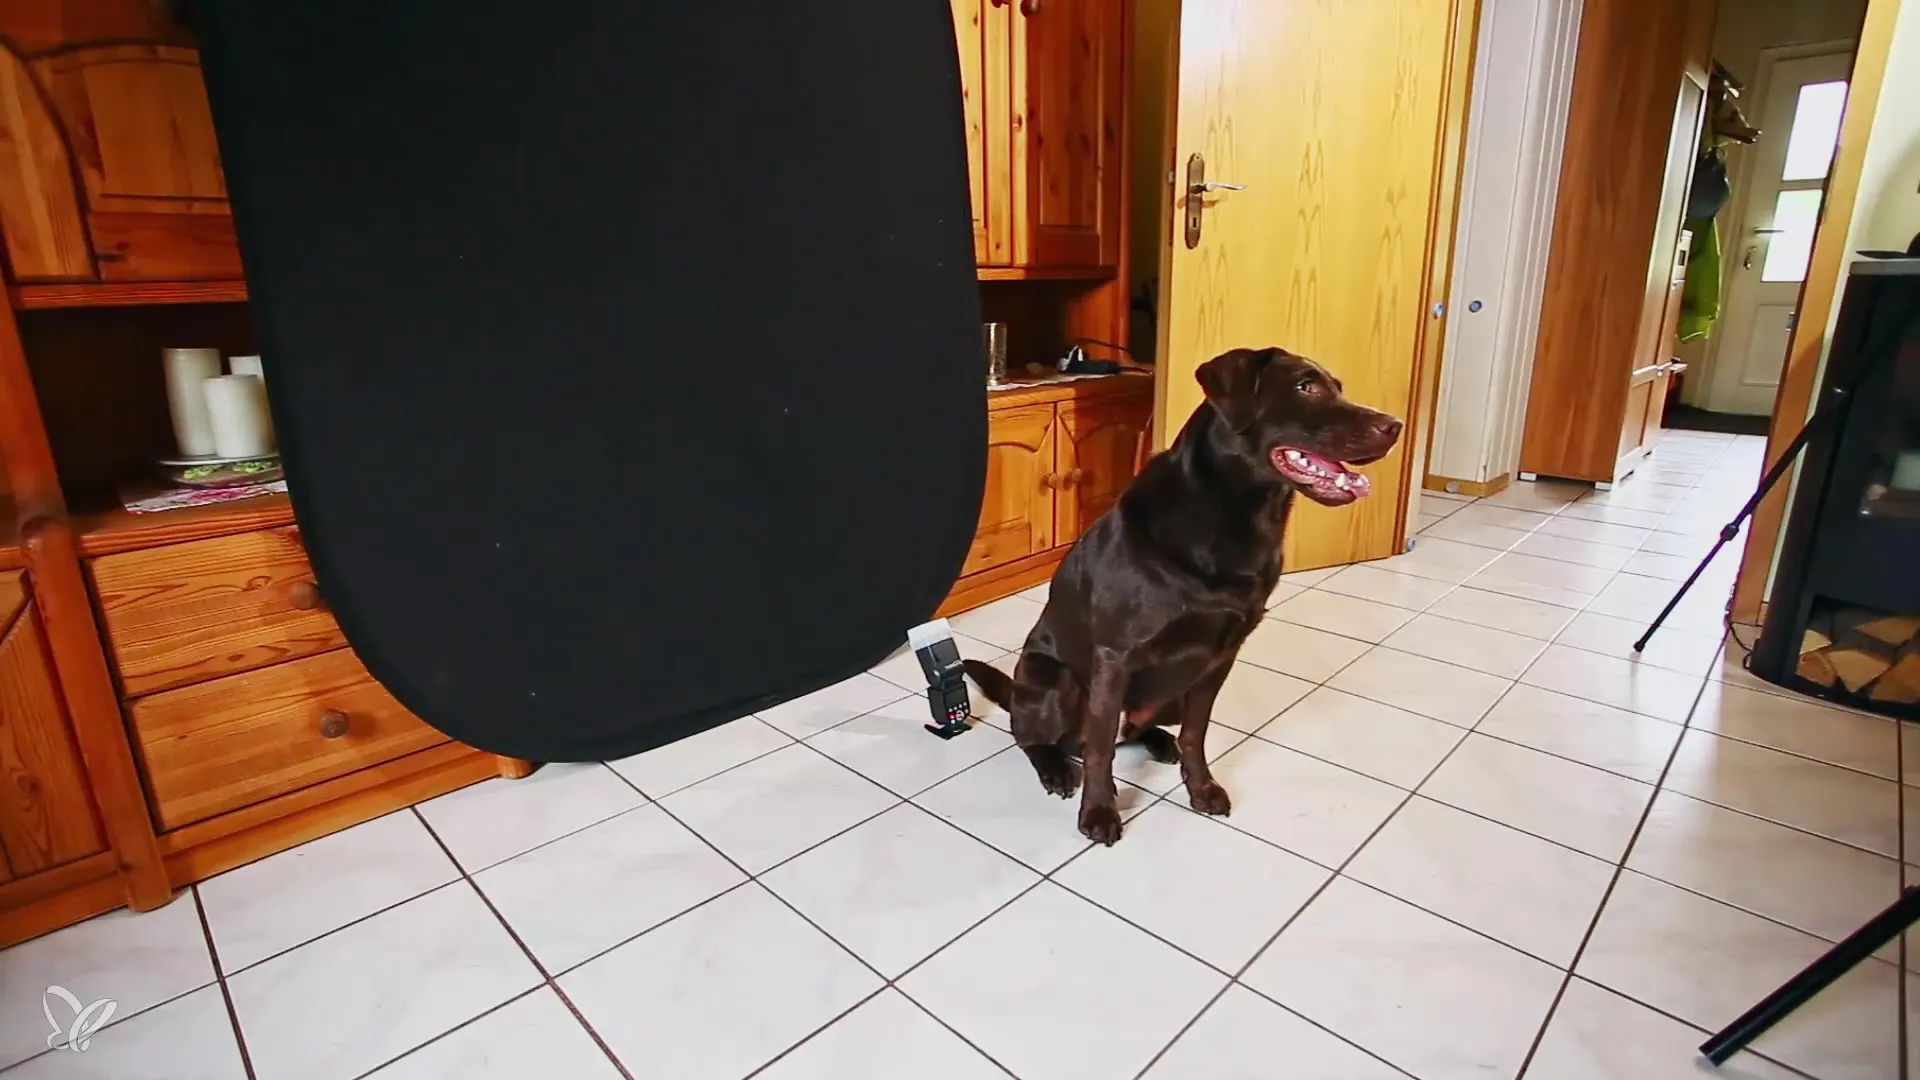
The right studio setup
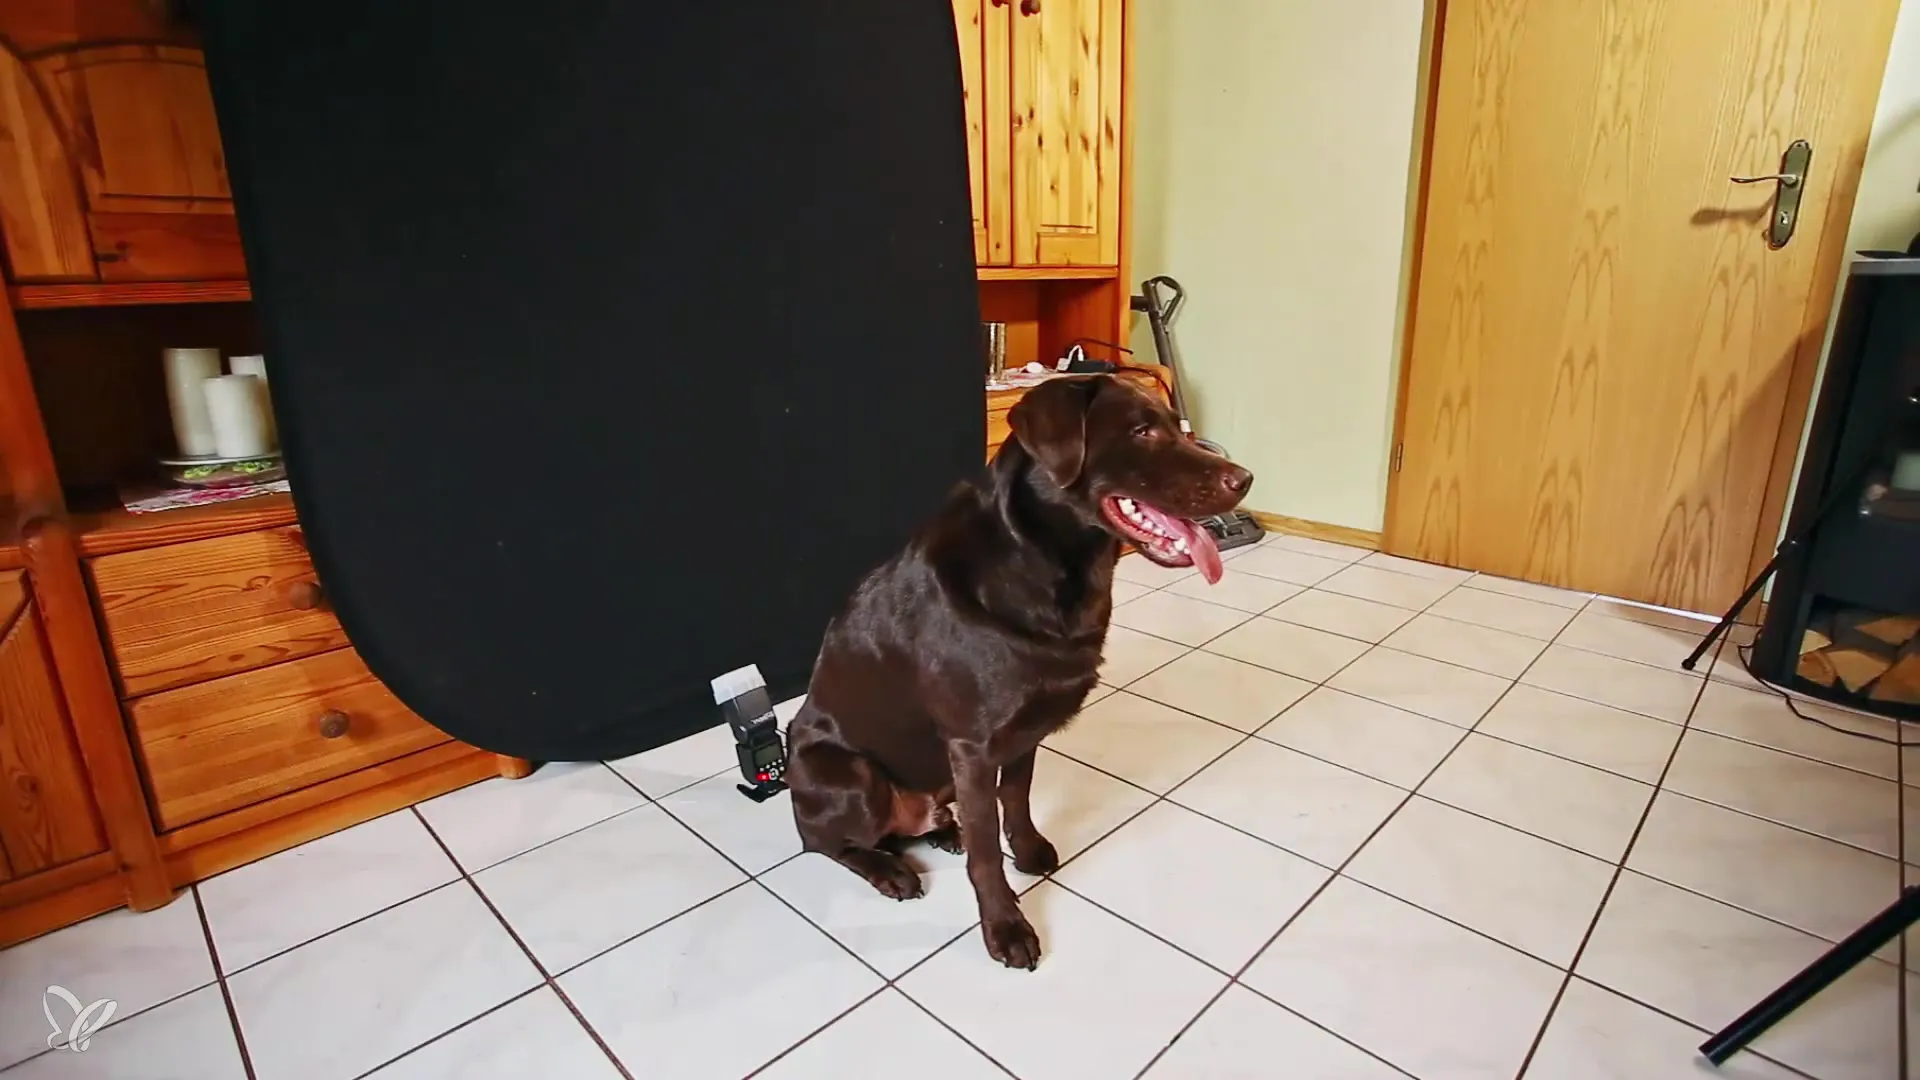
Once you and your helper are ready, it’s time to prepare the studio setup. The background should not be distracting – a neutral gray background works best. This has the advantage that you can adjust it in post-processing. Well-thought-out lighting is also important. Make sure that the flash is set up to make the fur colors stand out well, while the background may be a bit lighter.

If the background appears too bright, don't worry. In Adobe Photoshop, you will be able to change it so that your dog is portrayed in the optimal environment.

Attracting the dog and taking the shots
Now the actual shooting begins. Use treats or toys to get the dog to show its nose or go into a specific position. It's worth offering these rewards during the shoot, especially if you are taking multiple shots. Use the flash for crisp, sharp images – especially with moving subjects like dogs, the flash is essential.
It can help if your helper playfully guides the dog while keeping the camera in view. This way, you can capture the dog in various poses – sitting, standing, or lying down.
Ensure that the poses are varied. This will give you more options later in editing for the final image.
The suitable background
If you want to take lying portraits, pay attention to what's under the dog. The background should be appealing and harmonious with the image. You can use photo cardboard to create an even, color-neutral surface. Avoid materials that reflect strongly or are hair-elastic, as these can often be distracting in the shots.
Make sure that the floor on which your dog sits or lies fits the overall aesthetic of the shoot. Ensure that the dog owner takes the right position and height to provide the best angle for the shots.
Post-processing the images
Once the shoot is complete, it's time for image editing. Import all the images into software like Lightroom to make a preliminary selection. Choose the best shots for the final post-processing. Here you can enhance contrasts, make color corrections, and remove unwanted elements to present your dog in the best light.
Additionally, you can particularly work on a few of the images and carry out detailed editing. Choose a specific look or an appropriate effect that highlights the mood of the portrait.
Summary – Step by Step: Dog Portraits in the Studio
A successful dog portrait requires not only a good eye but also a lot of patience and some preparations. With the right planning, a motivated dog, and a competent helper, you can create perfect images. Make sure to also visibly utilize post-processing to get the best out of your shots.
Frequently Asked Questions
How important is lighting in dog shooting?Lighting is crucial for bringing out the fur colors correctly and achieving clear, sharp images.
Can I photograph alone or do I need a helper?A helper is very useful as they can direct the dog's attention, which makes the job significantly easier.
How often should I reward the dog during the shoot?Reward them regularly to maintain attention and motivation.
How can I optimize the background for the photos?Use photo cardboard or evenly designed blankets to create a pleasing background.
What should I do if the dog doesn't cooperate?Be patient and take a break or change the surroundings to motivate the dog again.


