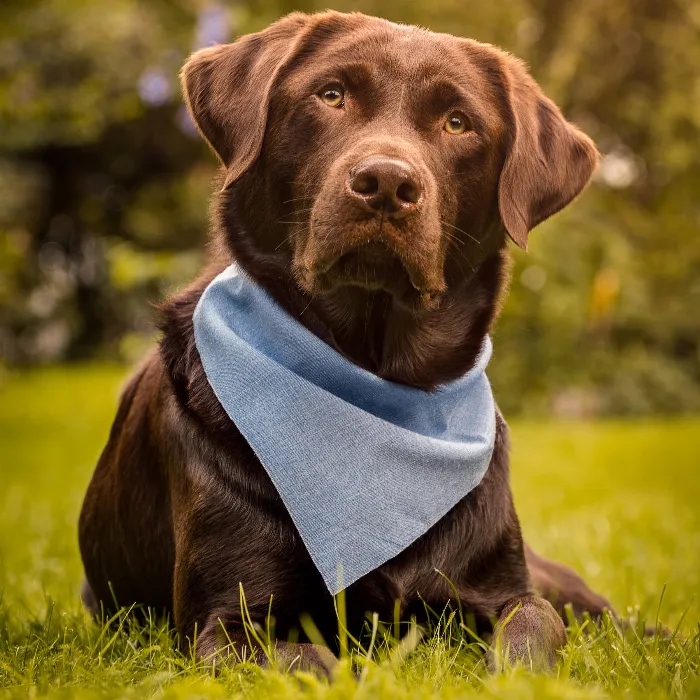
Dog photos in the open can look magnificent, but often upon closer inspection, you see small disturbances that affect the overall image. For this reason, advanced retouching techniques are essential to achieve the desired results. In this guide, you will learn step by step how to remove distracting elements with Photoshop and elevate your images to a new level. Each image has specific challenges, and having the right tool at the right time is crucial for the success of your retouching.
Key insights
- The use of the healing brush and the clone stamp is fundamental for image retouching.
- High-quality results often require patience and precision.
- Working with different reference points can minimize color shifts.
Step-by-step guide
First of all, it's important to set up your workspace optimally. Make sure you are working at the right zoom levels to carry out precise retouching. I recommend starting with at least 300%.

Once you have prepared the environment, we begin by removing distracting threads or elements from the image. One of the best options is the content-aware fill tool. This allows you to effectively remove distracting objects from the image. First, apply the tool and pay attention to which areas need to be removed.
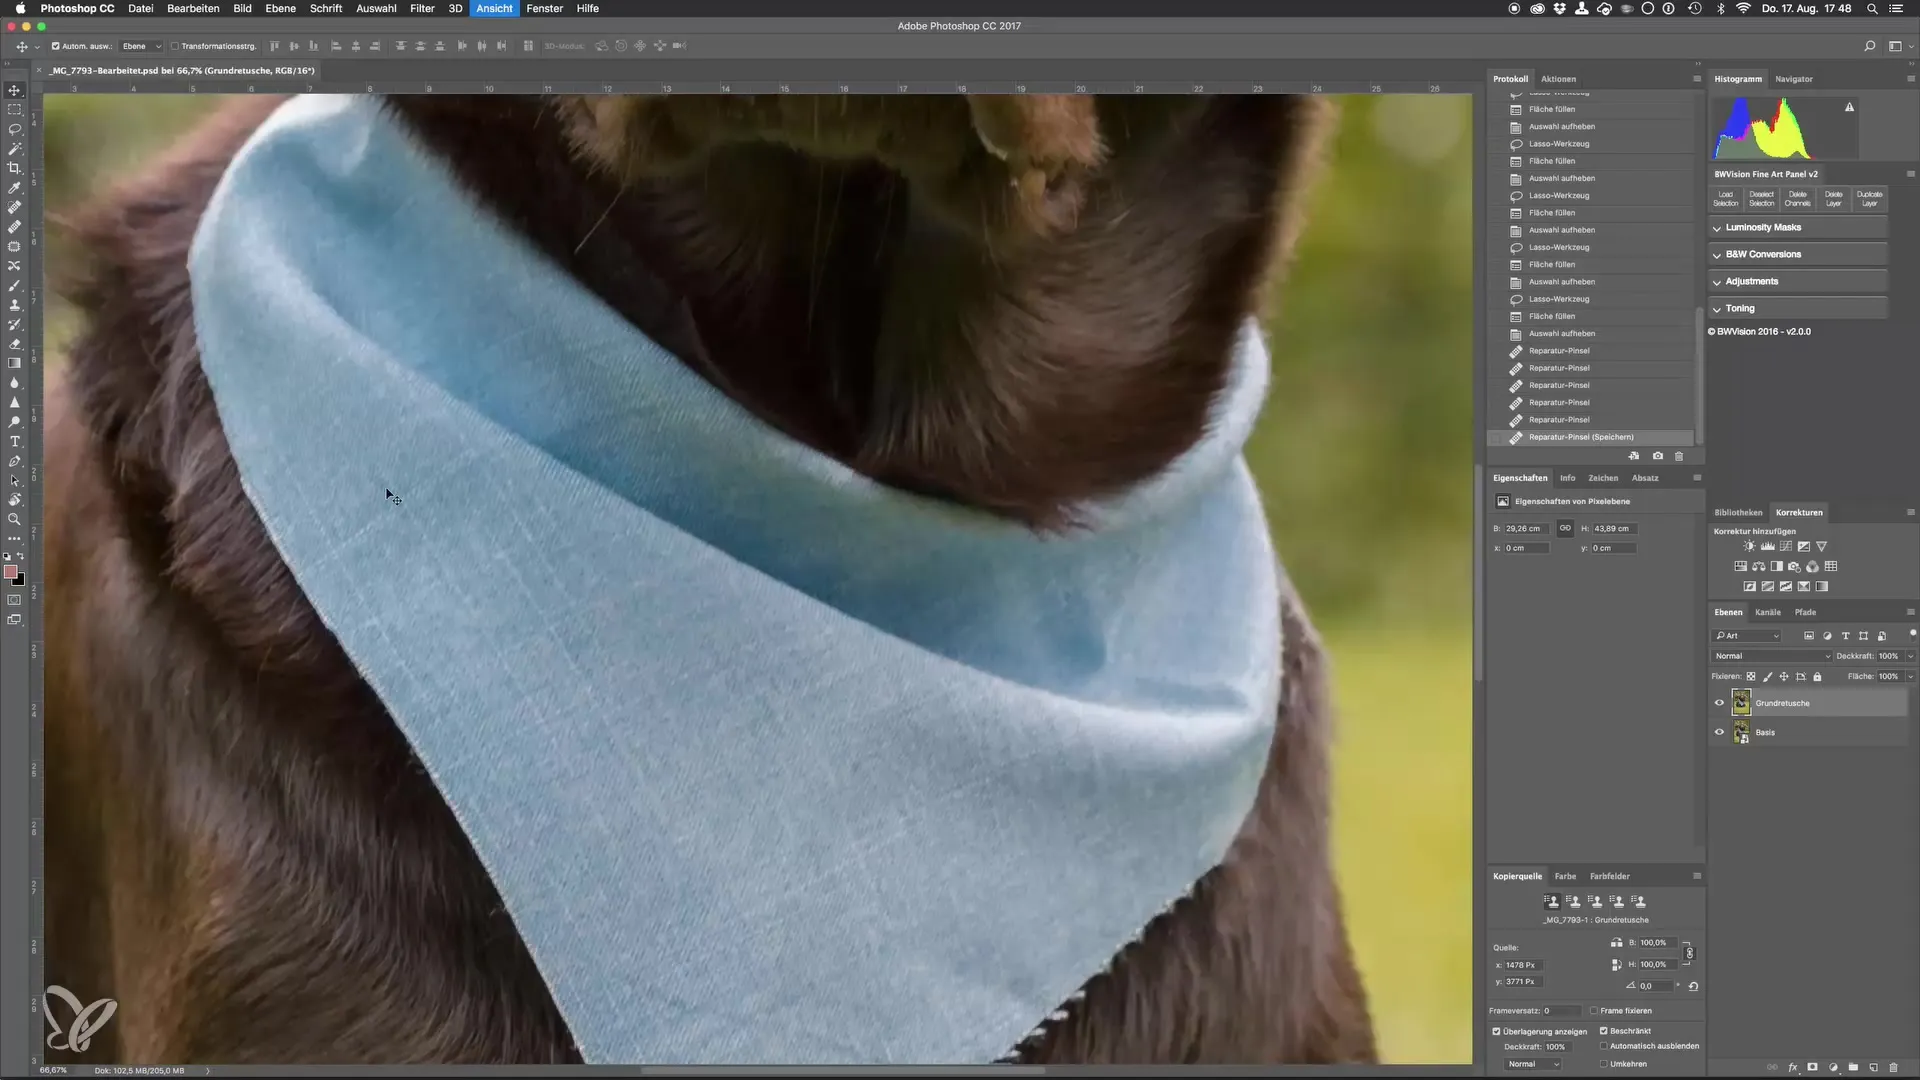
To work even more precisely, you need to use a high zoom factor at this step. The reason for this is so you can work more specifically in the affected areas. It is crucial that you circumscribe these areas accurately to achieve an optimal result.
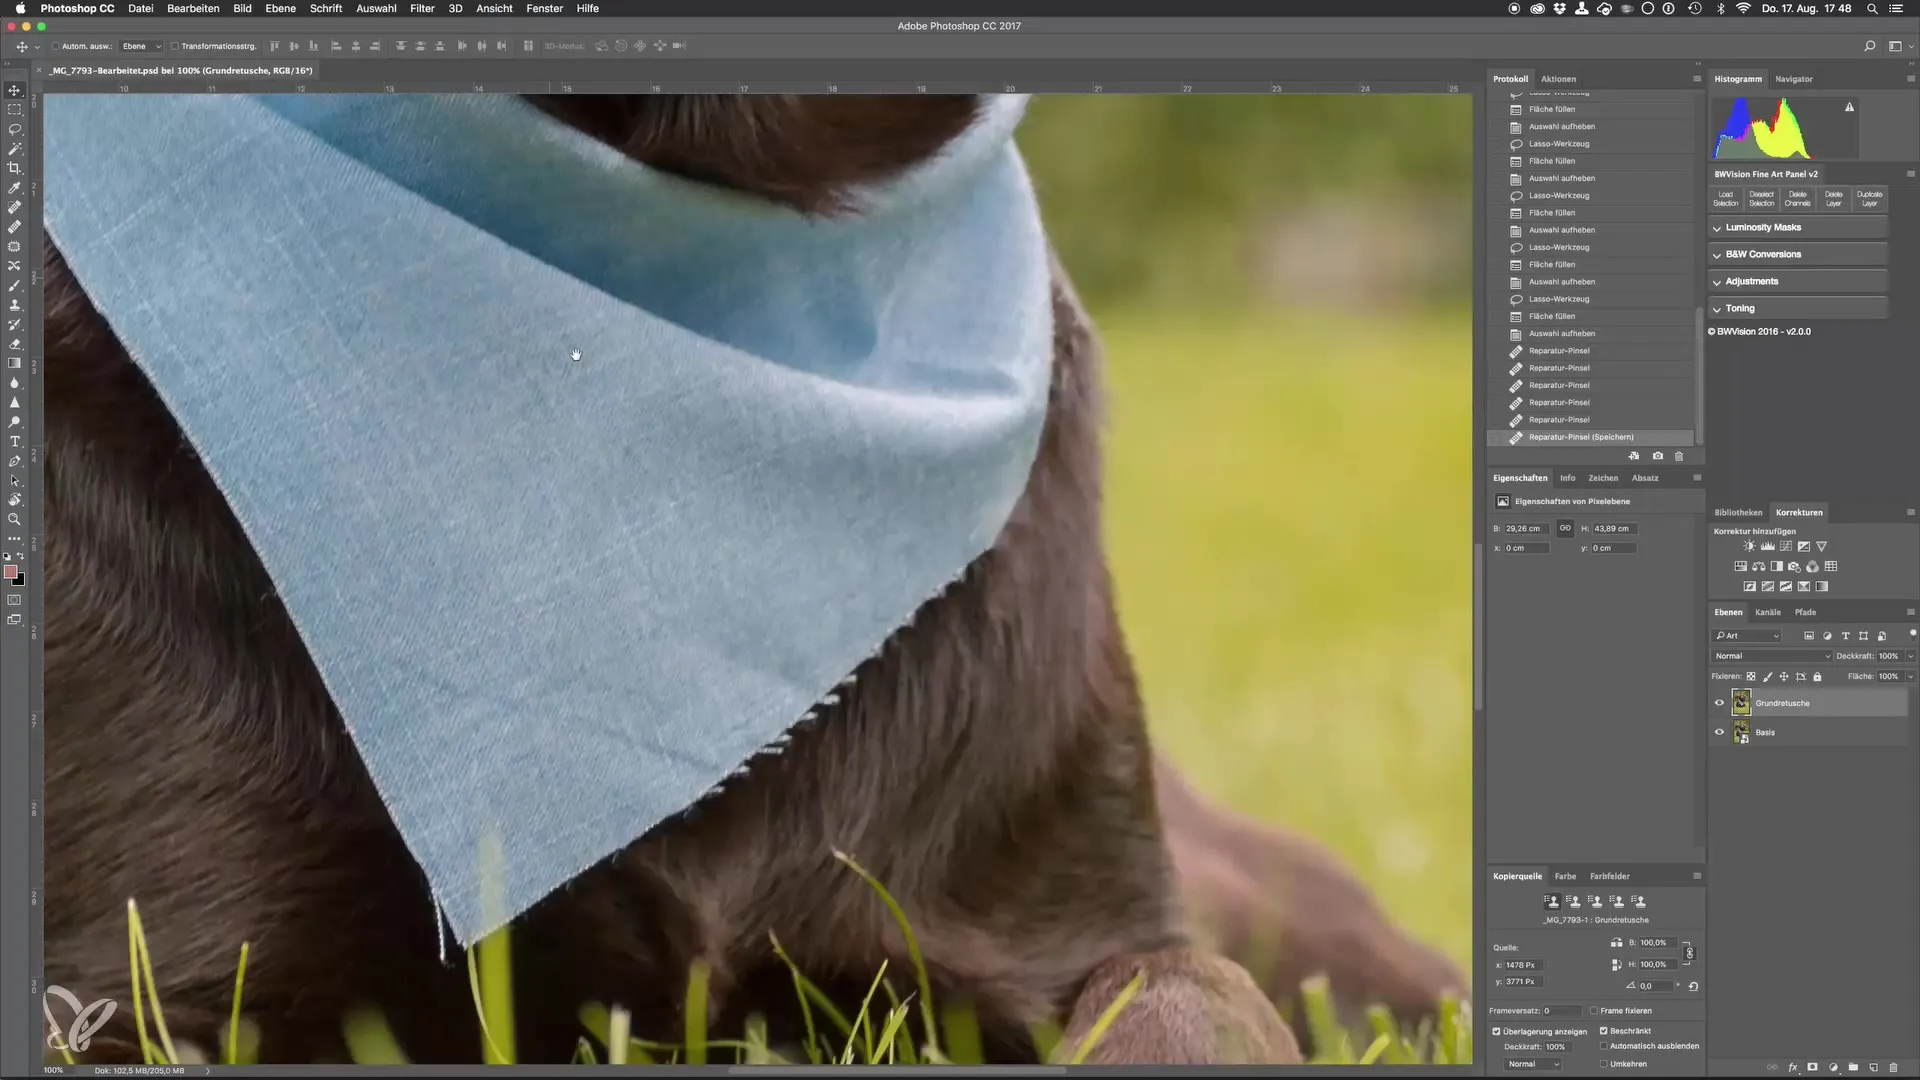
After making the first attempts, you will find that the result is often not optimal. This is where the choice of the right tool comes into play. You have the option to use the healing brush or the clone stamp. First, we will try the healing brush. Press "J" on your keyboard to select the healing brush.
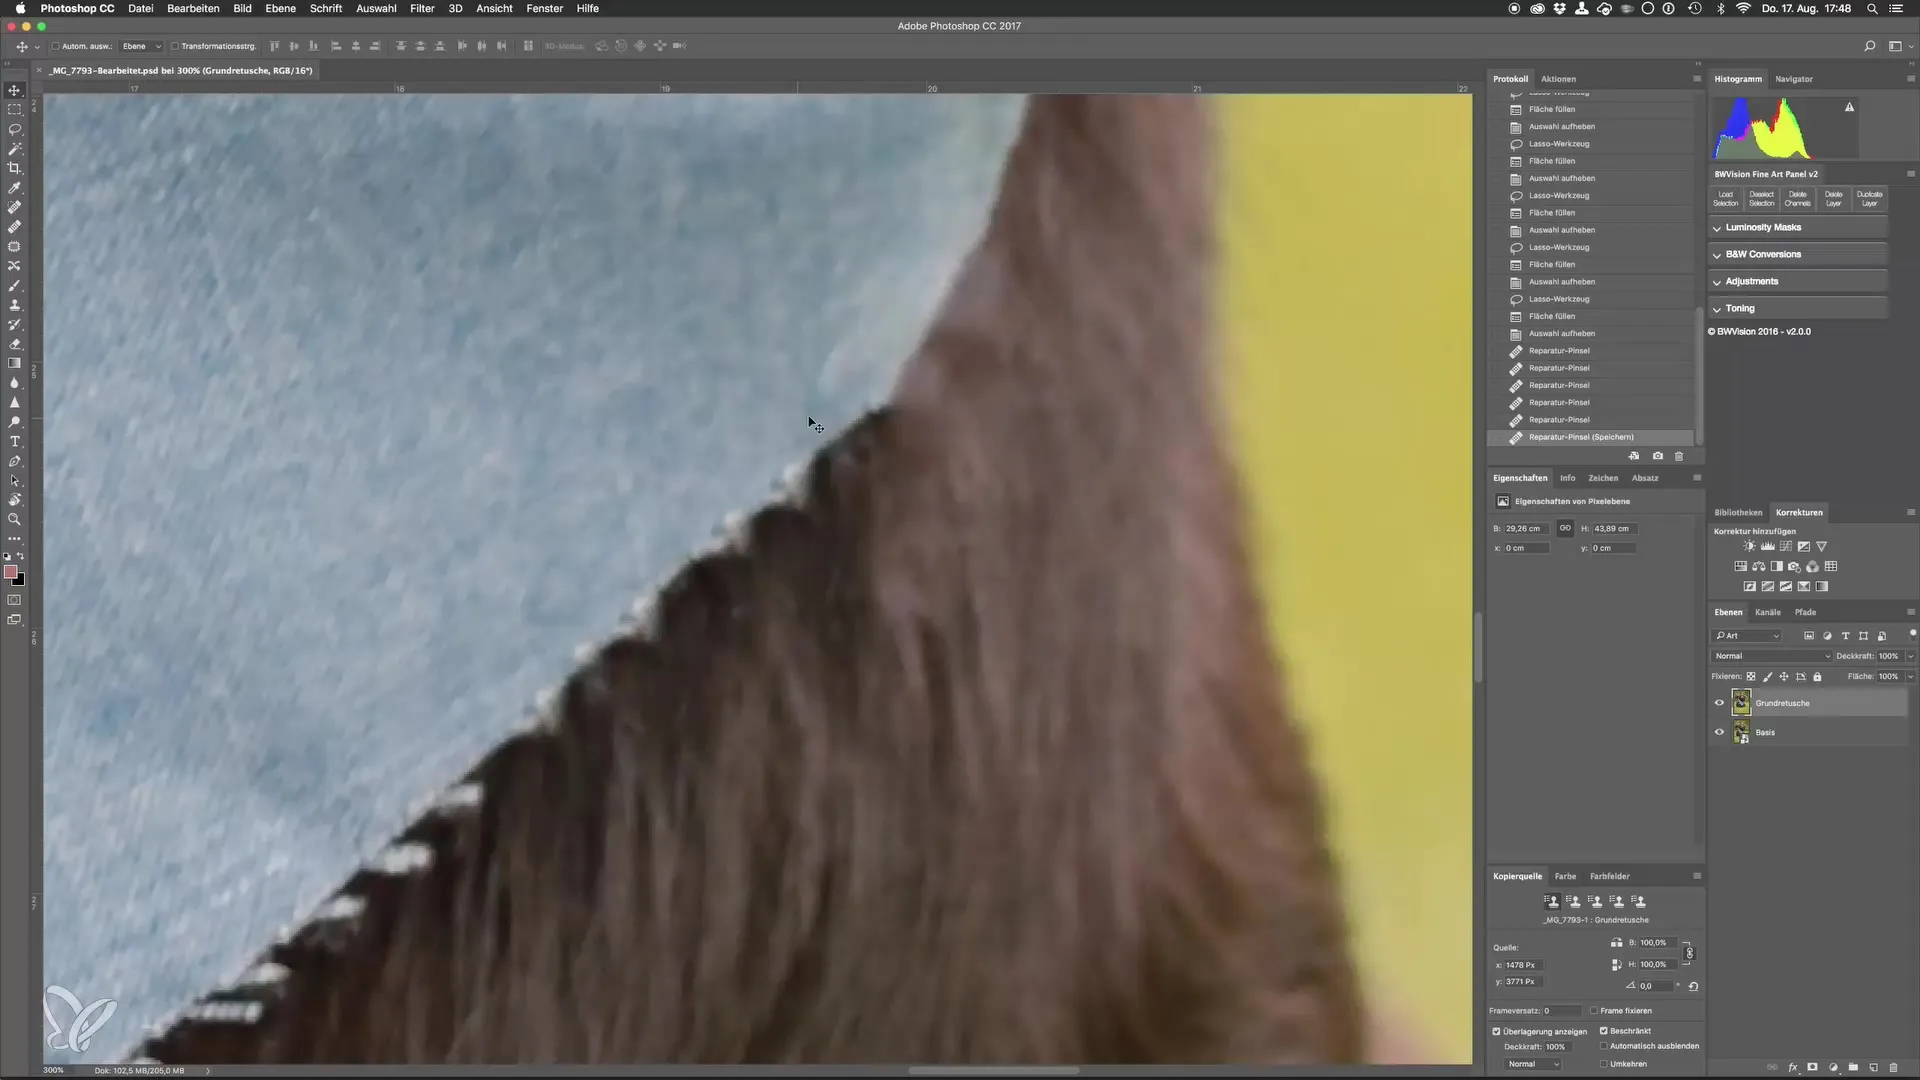
When working with the healing brush, it is important to choose a suitable reference point. This can be an edge or an area that has similar colors. Make sure that the edge and the curve of the reference area are well taken over. Try to lose as few details as possible, which often requires patience.
If you notice color shifts occurring, further post-processing is necessary afterward. Often, you will need to adjust the colors to achieve the desired natural image. These corrections are an unavoidable part of working with Photoshop.
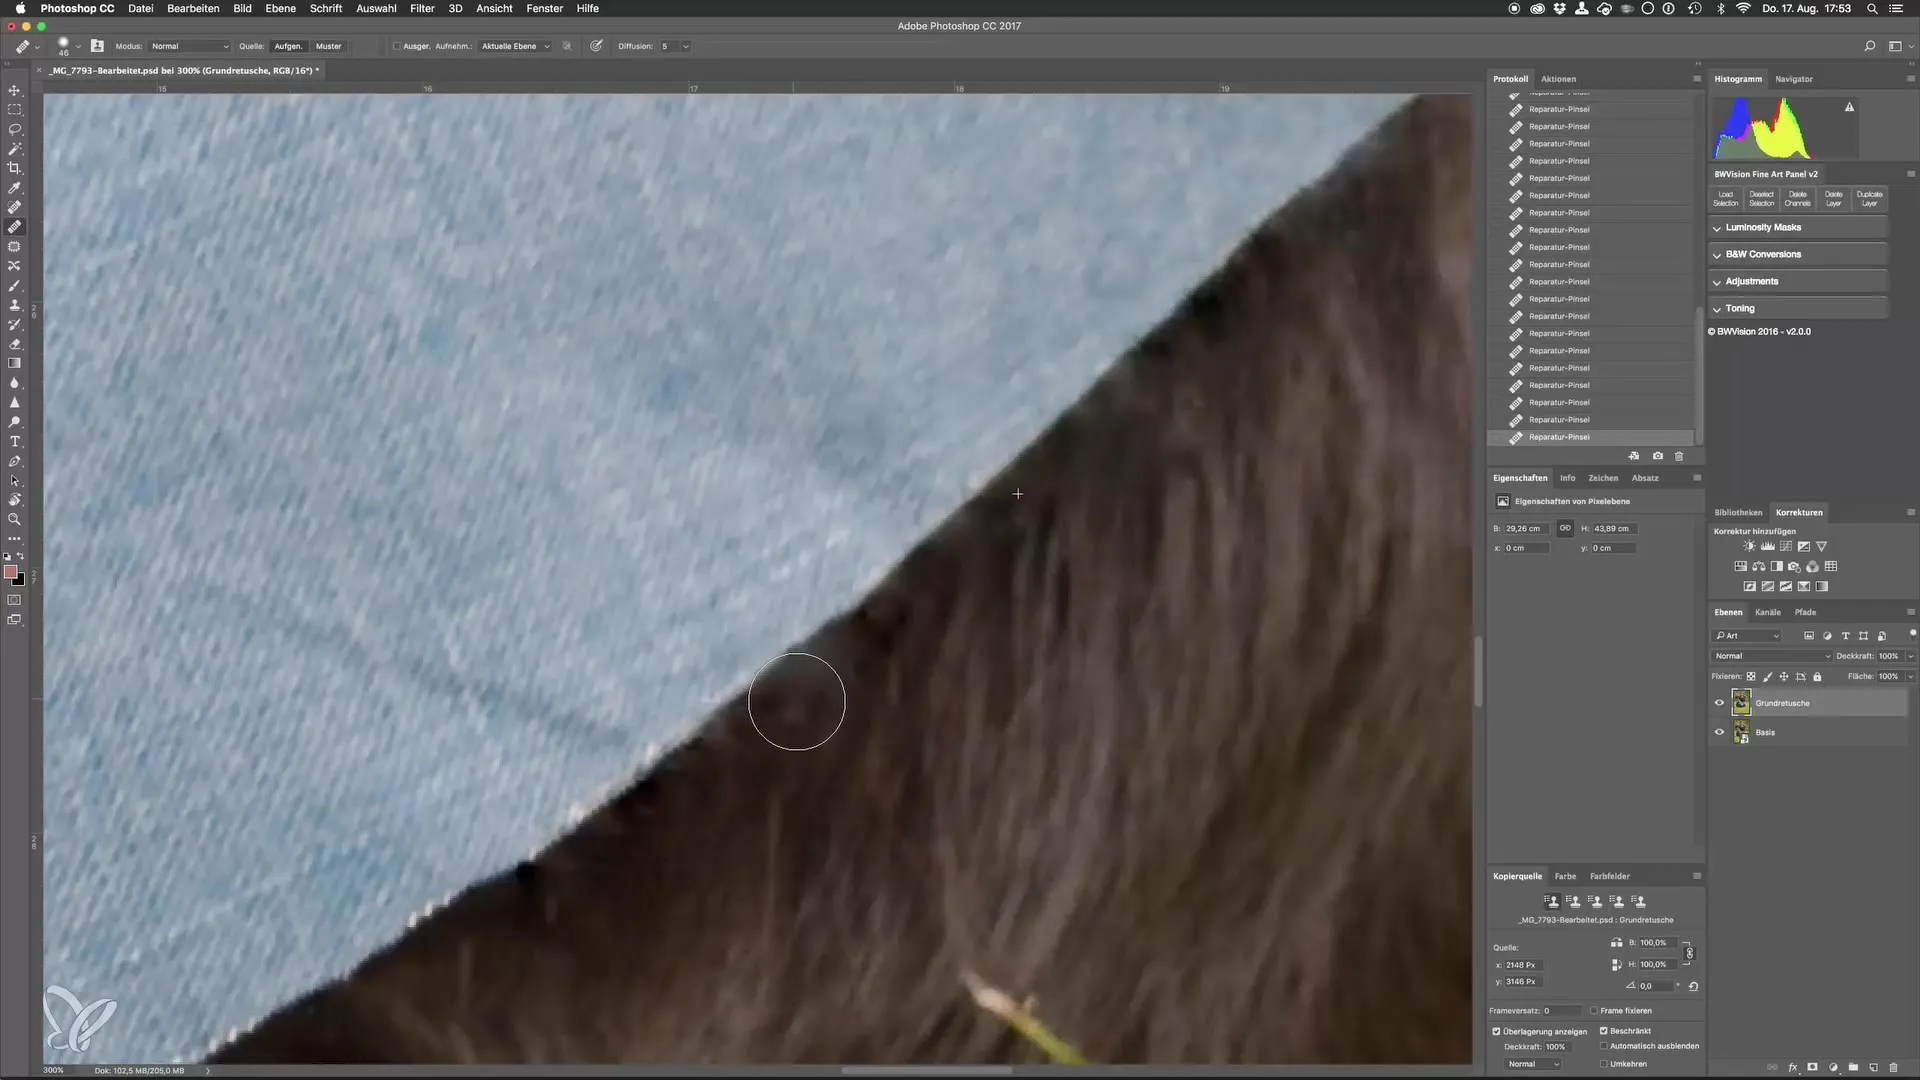
Another important point is that you should constantly choose a new reference point to minimize color shifts and create clean edges. Make sure you are working at a high zoom level so that the transitions are not visible. If necessary, an external correction can help to preserve the integrity of the image.
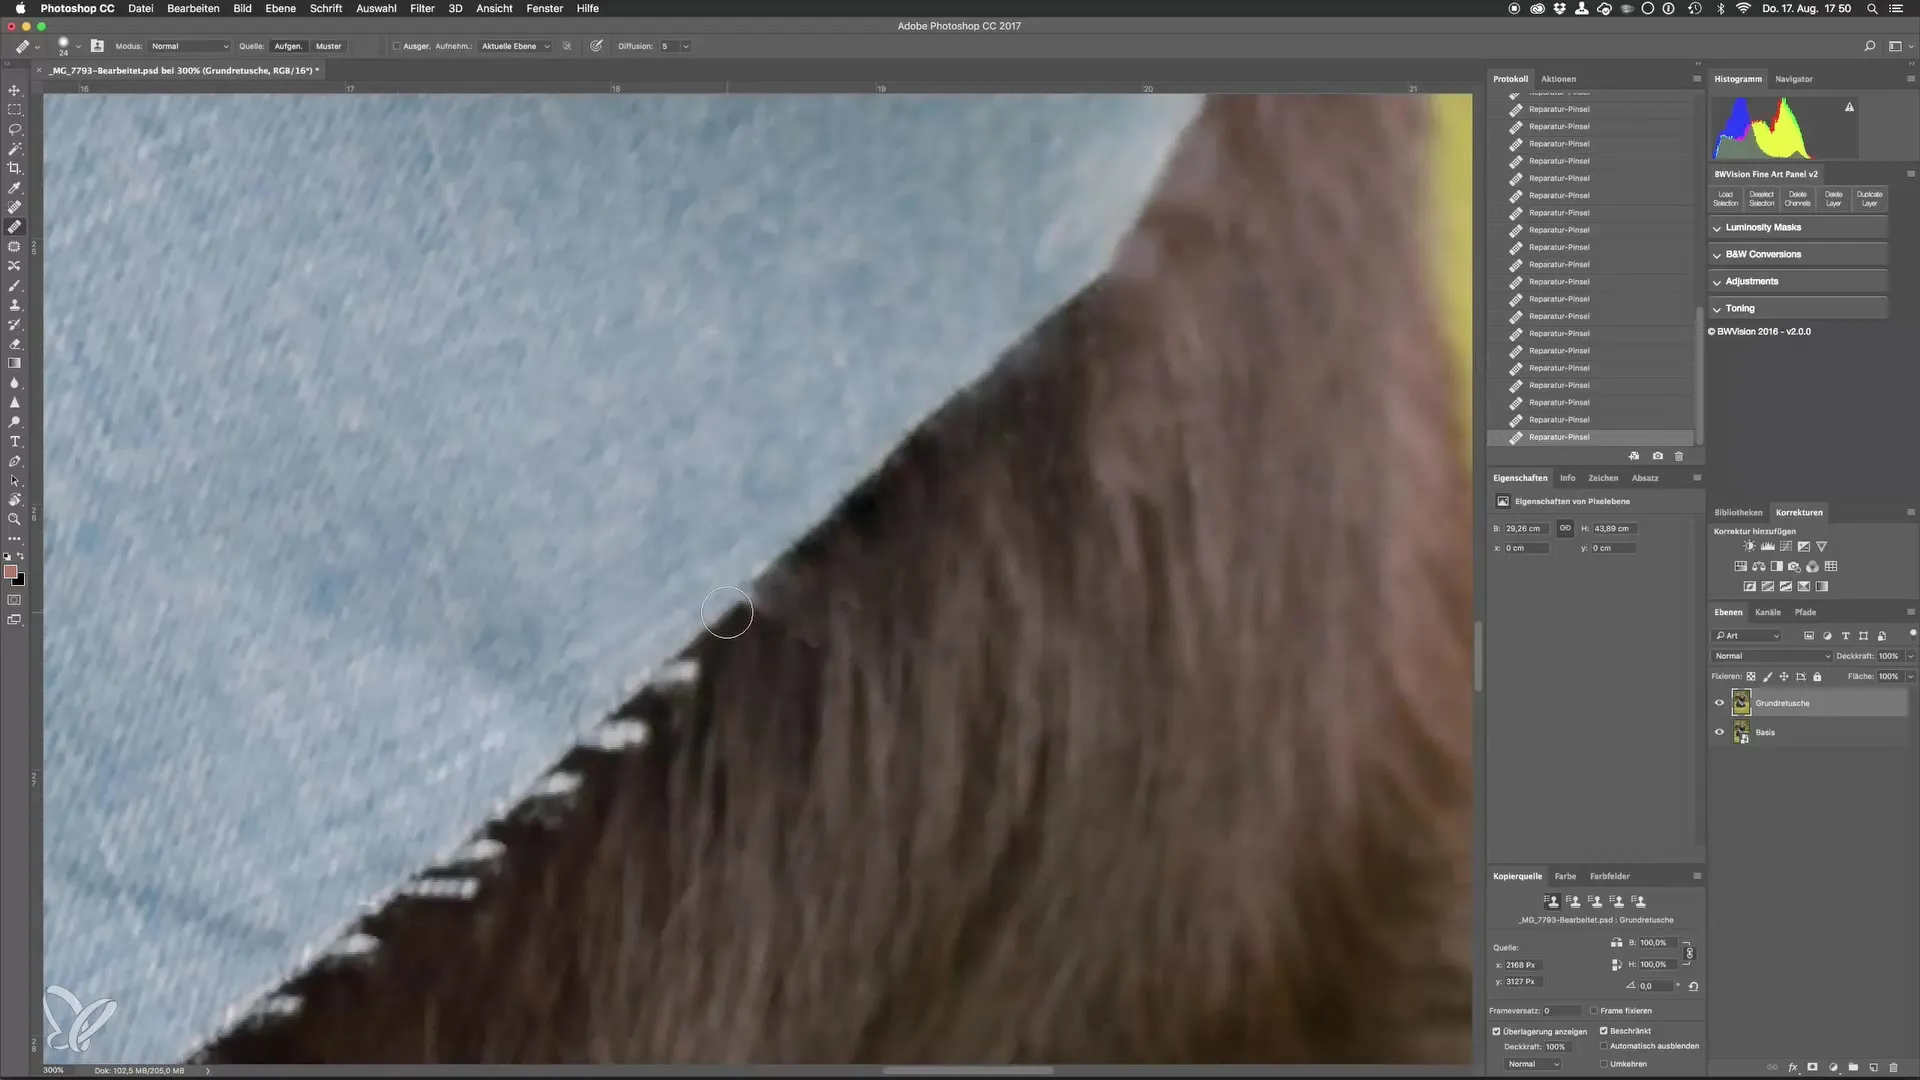
If you see a disturbing thread or similar element, pay attention to how carefully you approach. Sometimes it makes sense to shorten the distracting elements a bit beforehand to make retouching easier. This way, you can work targeted and best remove the area.
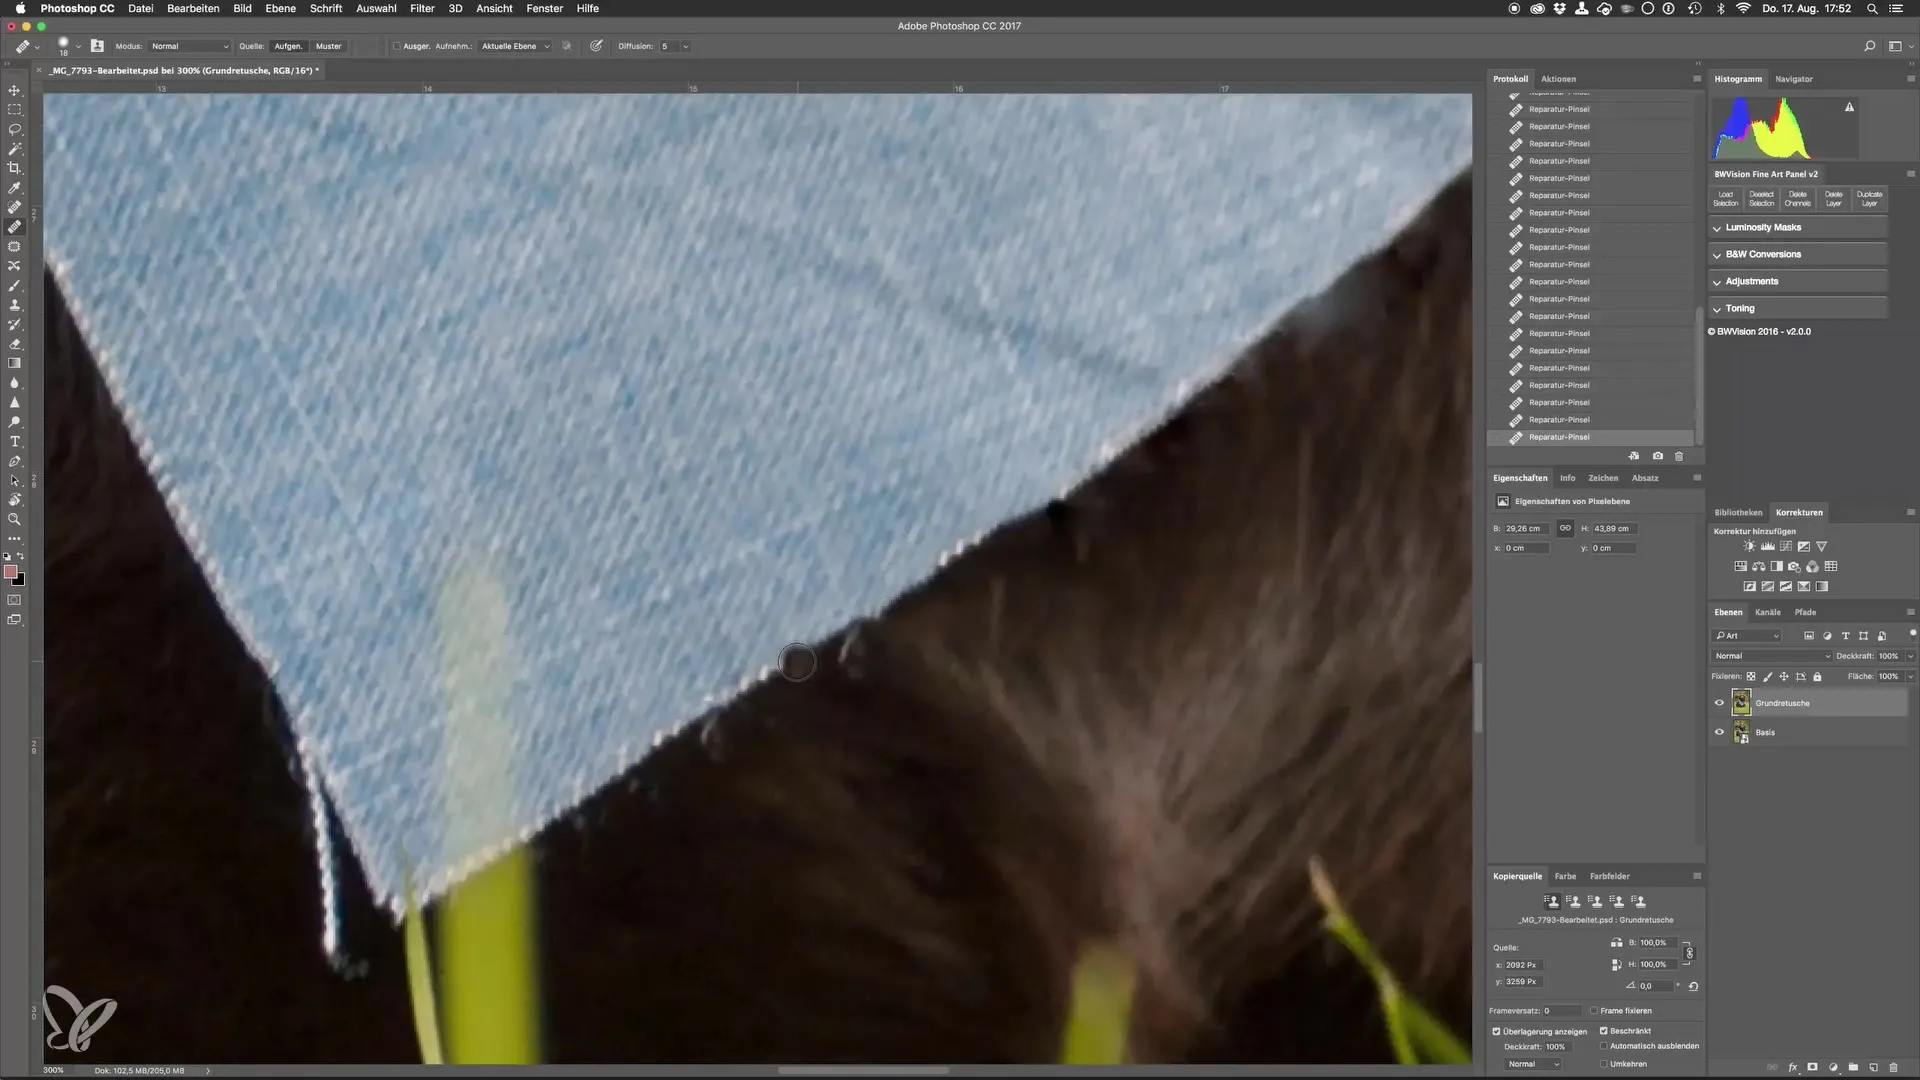
Use larger brushes and reference points if necessary to handle color shifts more effectively. This gives you the advantage that you can not only do the fine work but also quickly completely remove coarser areas.
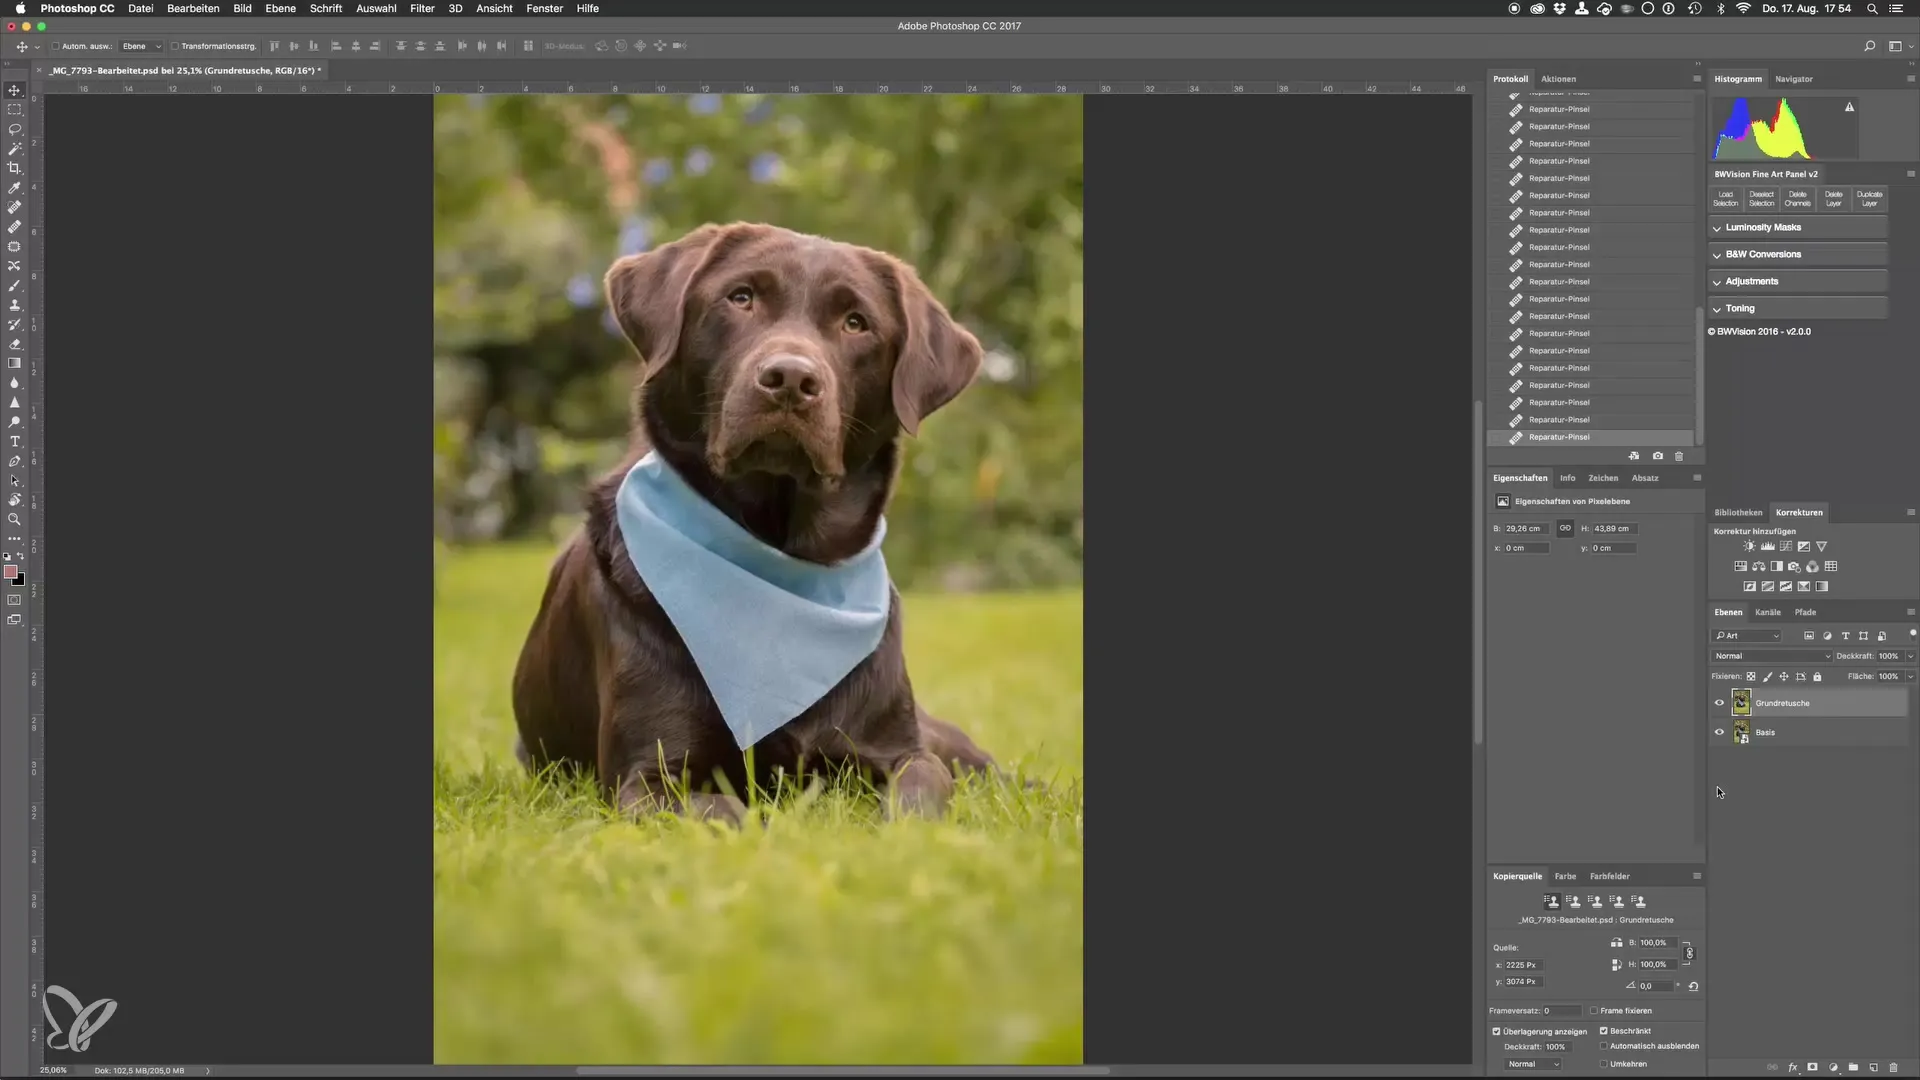
To see the final result, compare your image before and after editing. This type of comparison shows you how much cleaner and more precise the image has become. Photoshop offers you many options that Lightroom often cannot provide.
Summary - Step by step to perfect dog photos: Advanced retouching techniques for outdoor photography
Advanced retouching techniques are essential for processing dog photos. With patience and the right selection of tools, you can effectively remove distracting elements and make valuable color corrections. By combining the adjustment of reference points and the use of the healing brush, your post-processing will be successful.
Frequently Asked Questions
What is a healing brush and how do I use it?The healing brush is a tool in Photoshop that removes distracting elements in an image by transferring pixels from a selected source. Select the brush and determine a suitable reference point.
How can I correct color shifts after retouching?After retouching, you can adjust the colors in Photoshop by using color correction tools to ensure that transitions remain smooth and natural.
Why is it important to work at a high zoom level?A high zoom level allows for more precise editing, so details can be better controlled and unwanted elements can be safely removed.
What is the difference between the healing brush and the clone stamp?The healing brush takes over colors and textures from the surroundings, while the clone stamp copies an exact area from one source and pastes it in another place.
Are there any tips to speed up working with Photoshop?Use keyboard shortcuts and work in layers to make your retouching more efficient and enable quick adjustments.
