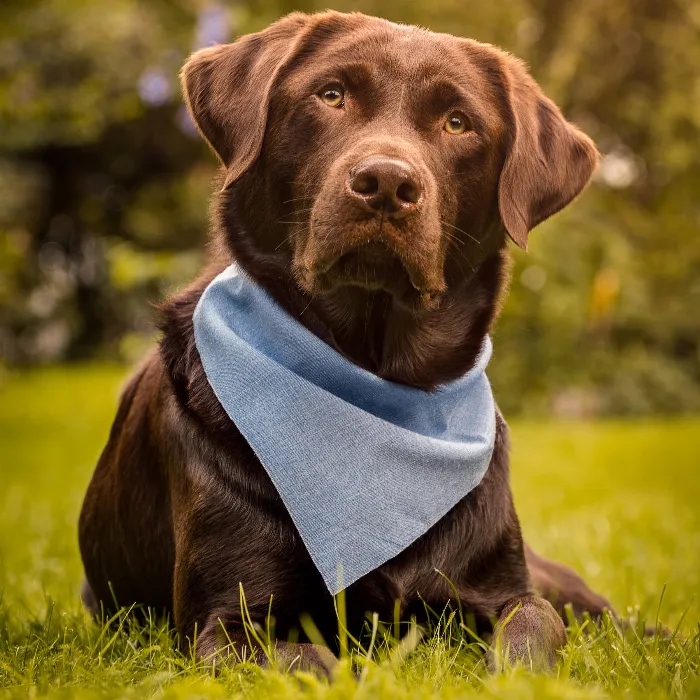
Dog photography is an art in itself. To achieve impressive results, editing is crucial. In this tutorial, you will go step by step through the final editing of a dog photo, which has been optimized in both Lightroom and Photoshop. By the end, you will recognize the difference between pure Lightroom editing and comprehensive editing in Photoshop.
Key insights
- A comparison between Lightroom and Photoshop editing shows significant differences in image quality.
- Using techniques like Dodge and Burn can significantly improve contrasts and visual depth.
- The final development in Lightroom can further optimize even PSD files.
Step-by-Step Guide
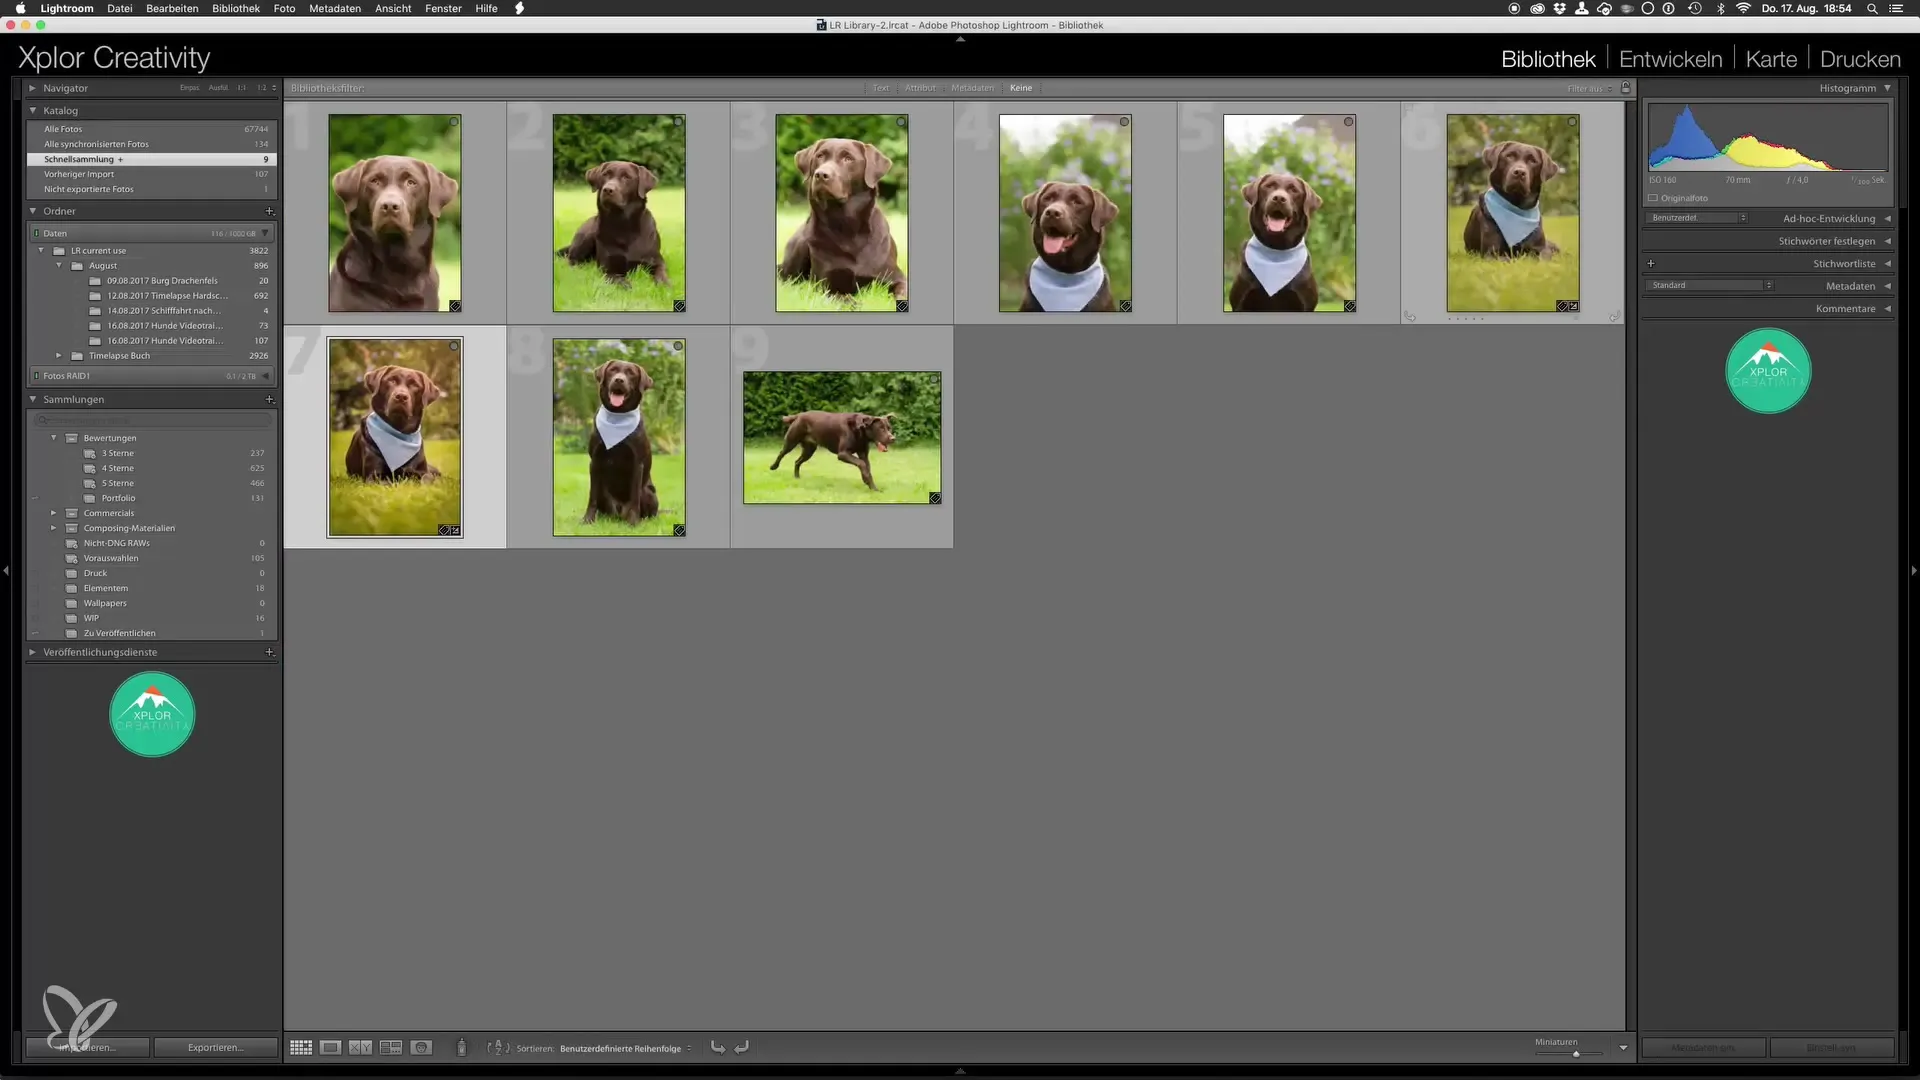
First, import the image into Lightroom. This image will be immediately added to your quick collection for easy access.
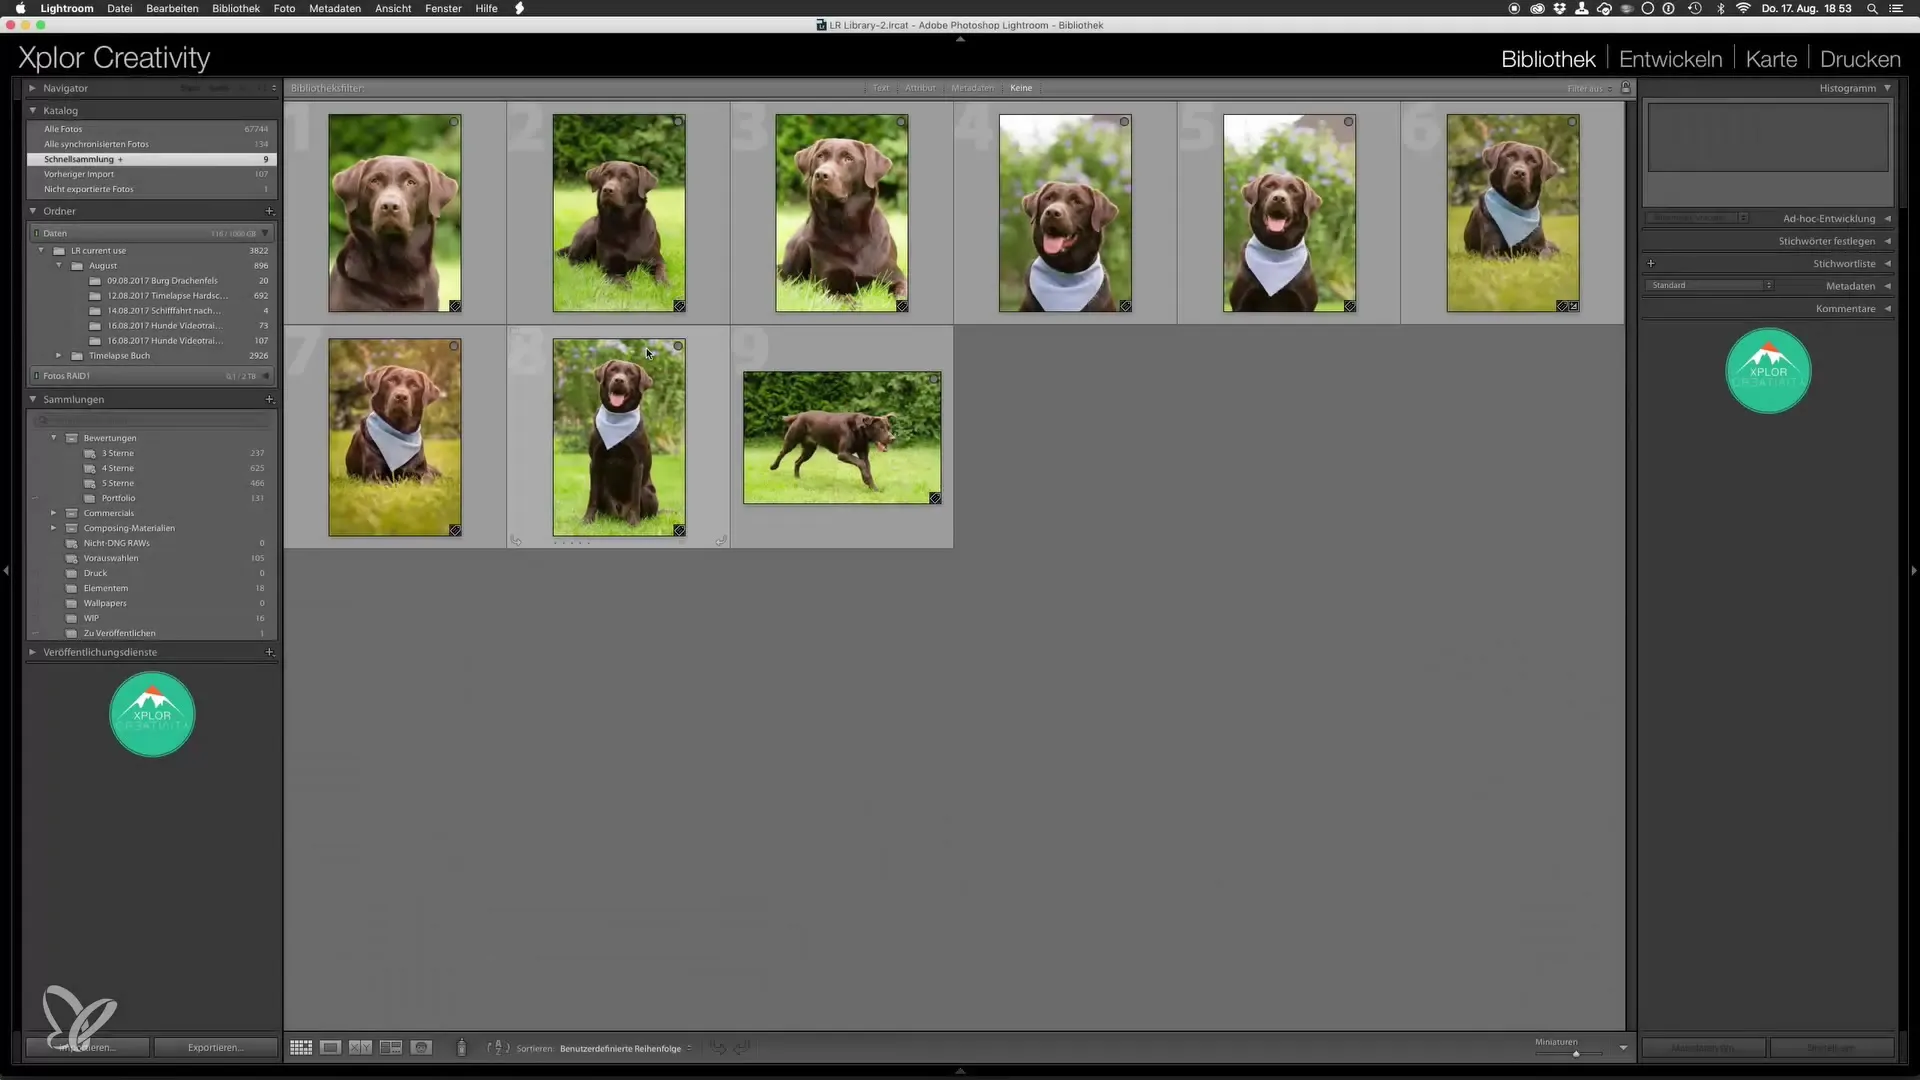
Open the regular view to compare the originally edited image in Lightroom with the modified version from Photoshop side by side. The differences will quickly become apparent.
Here, you can particularly see the differences between pure Lightroom editing and the revised image from Photoshop. The focus is on improvements achieved in Photoshop, such as the post-cleaning of the background and the enhancement of contrasts.
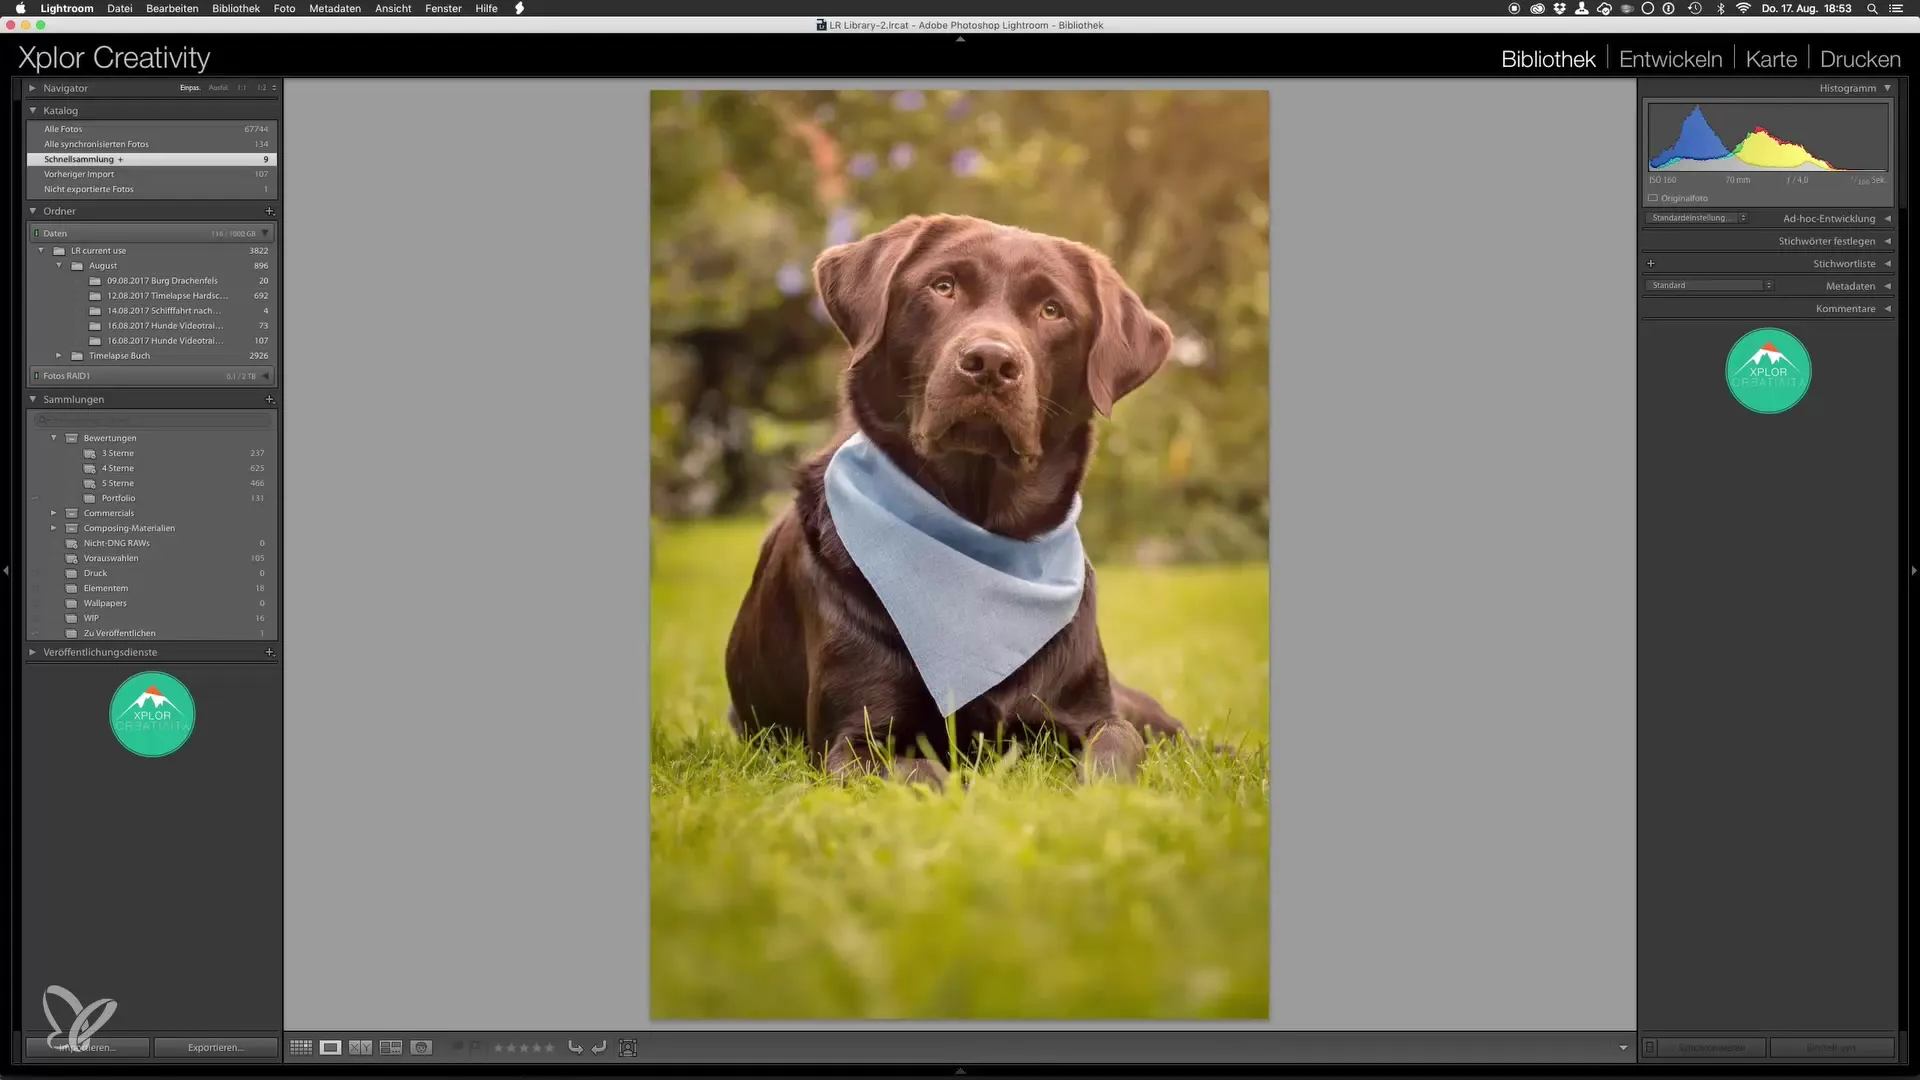
To make the editing even more professional, you can make further adjustments in Lightroom. You will now increase the clarity to make the image sharper.
Use the curves to adjust contrasts. A small correction can make a big difference and helps emphasize the depth of the image.
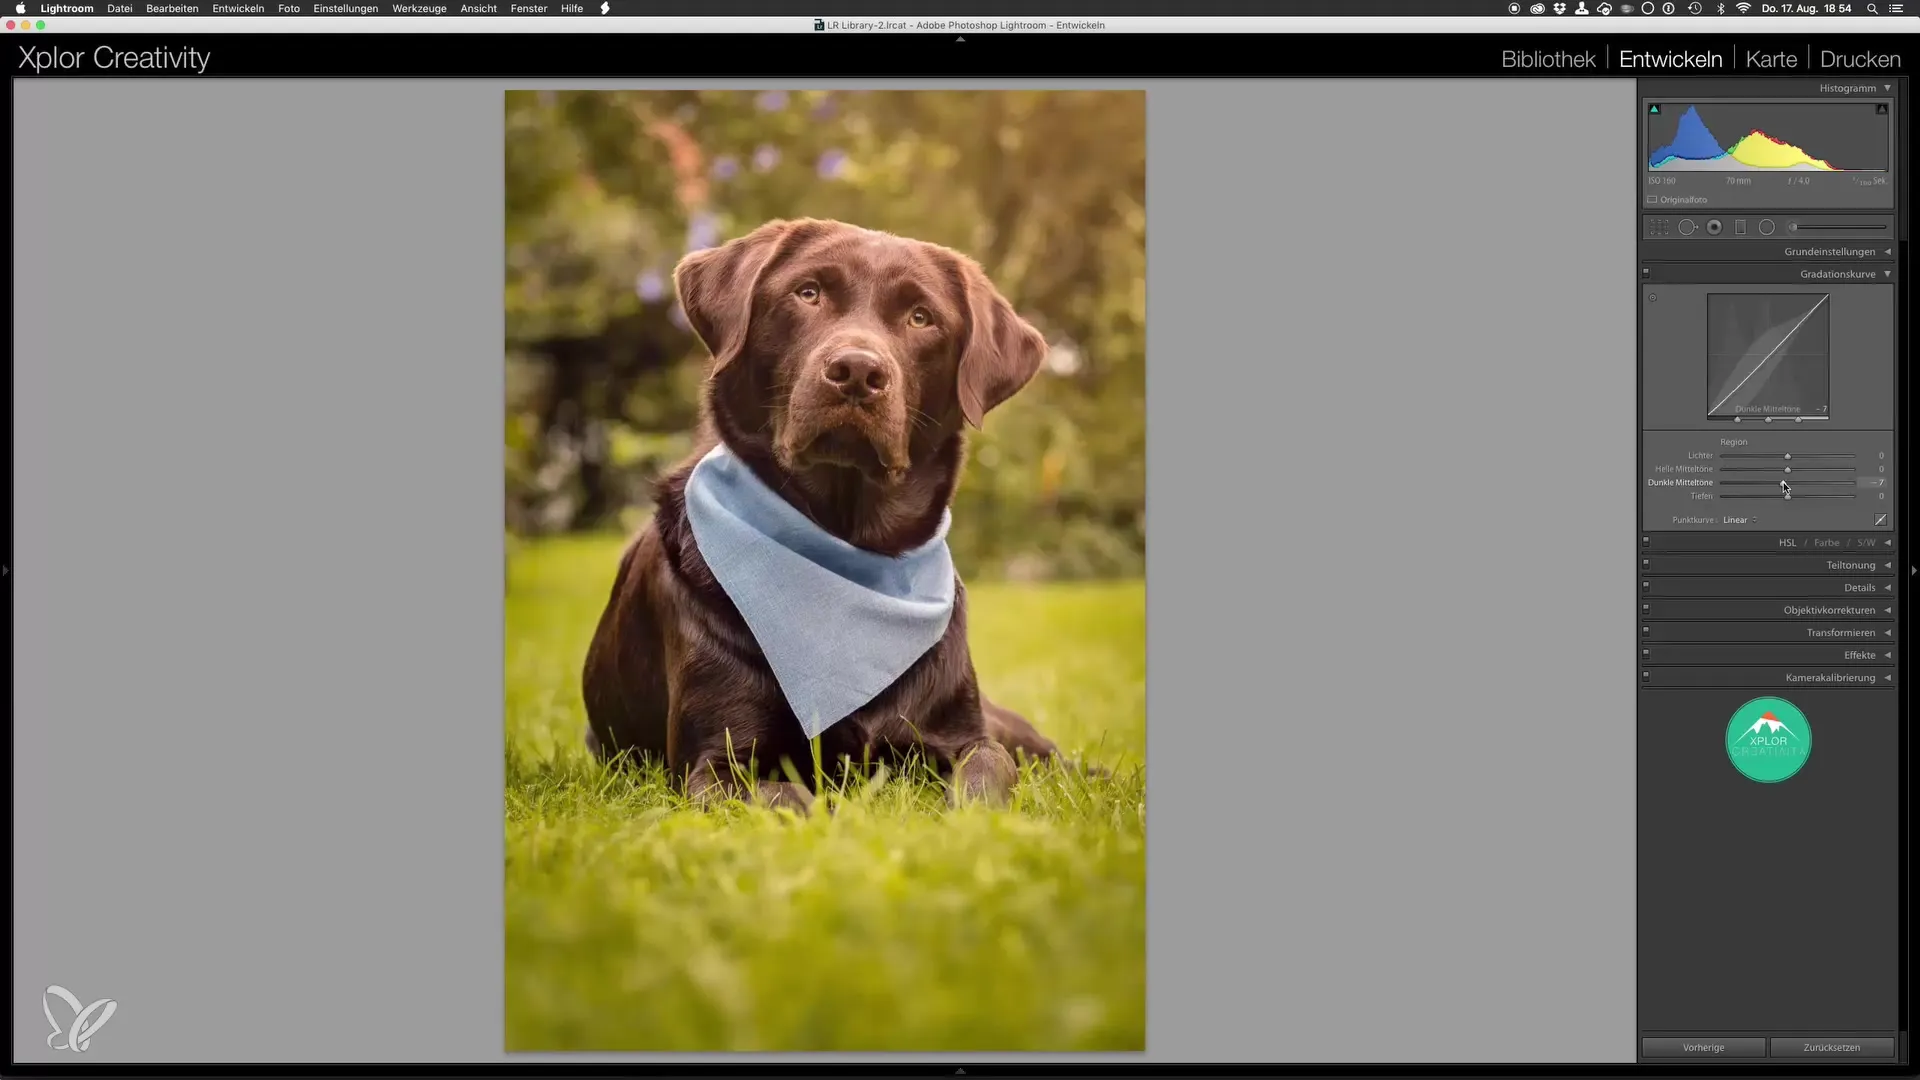
Additionally, you should darken the image and adjust the exposures. Sometimes, it is the small fine adjustments that perfect the image as a whole.
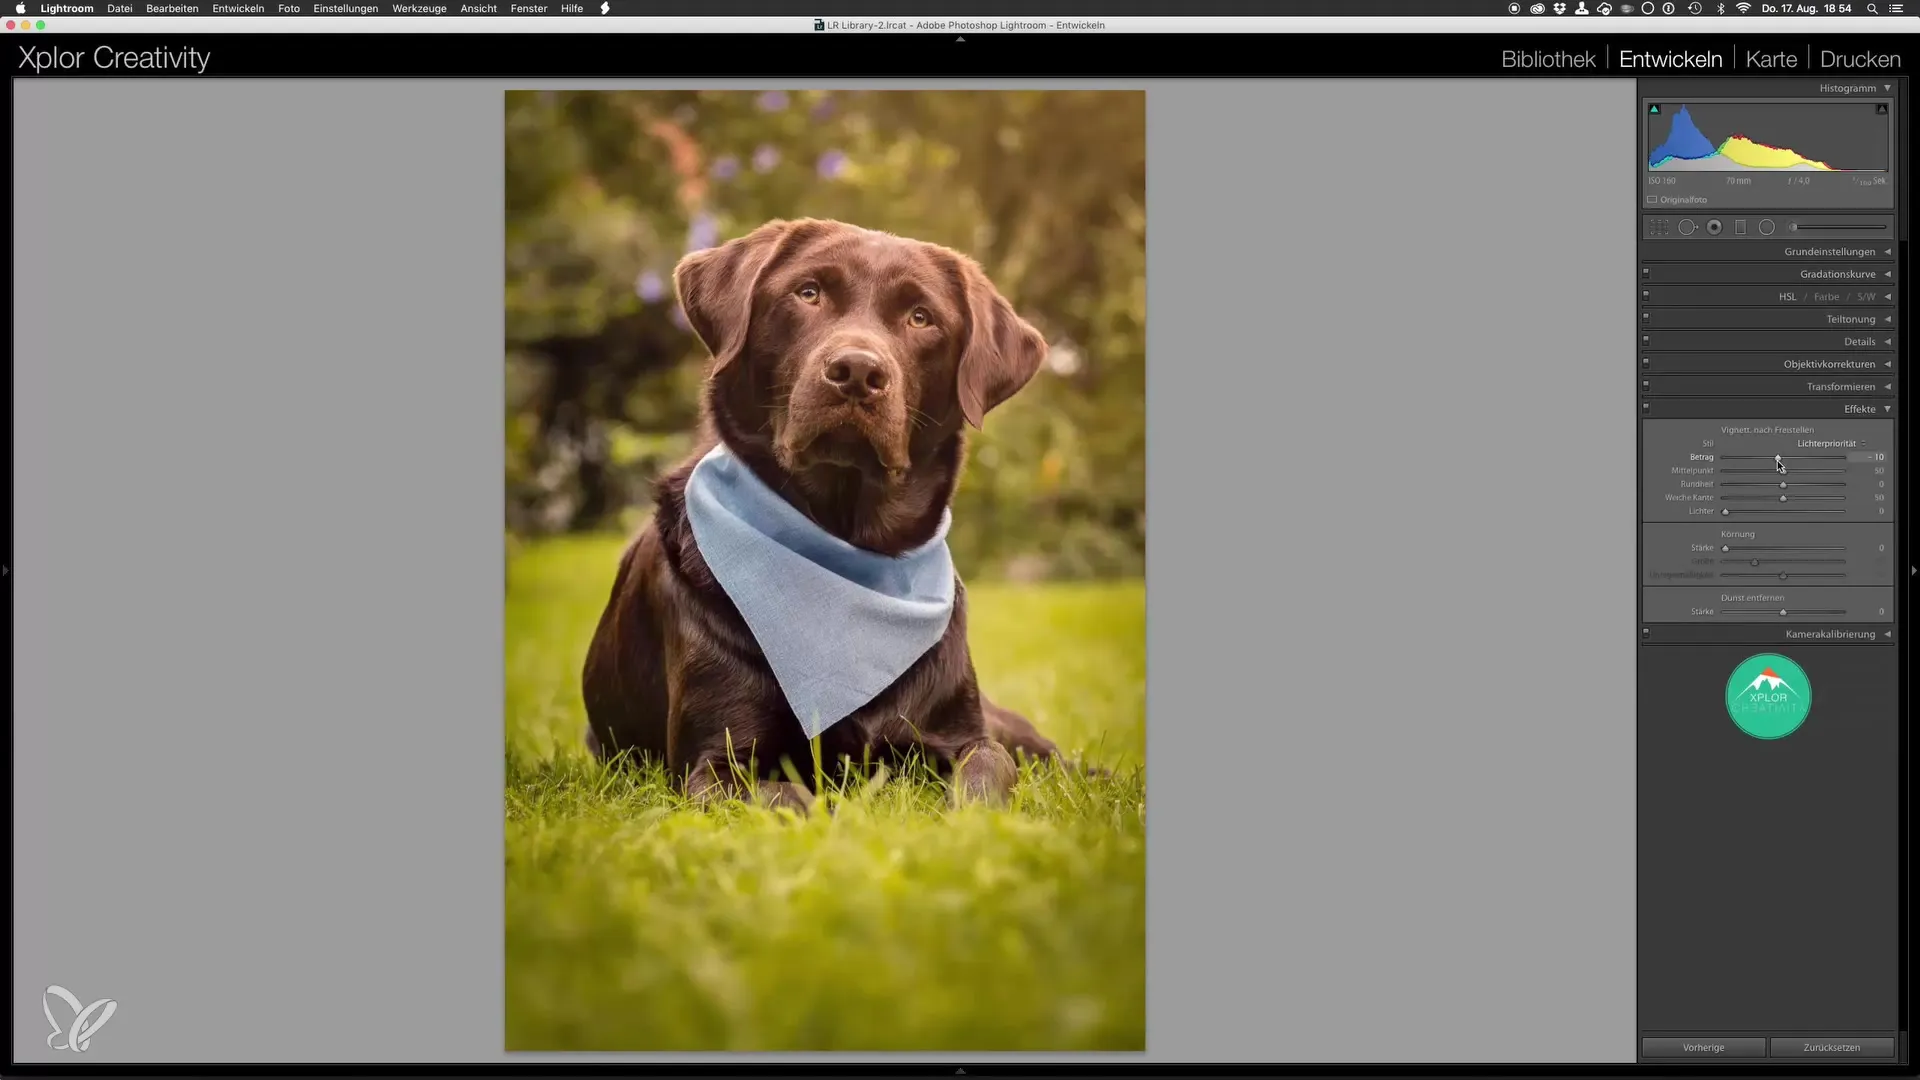
Now, these critical adjustments produce a finished image that you can be proud of.
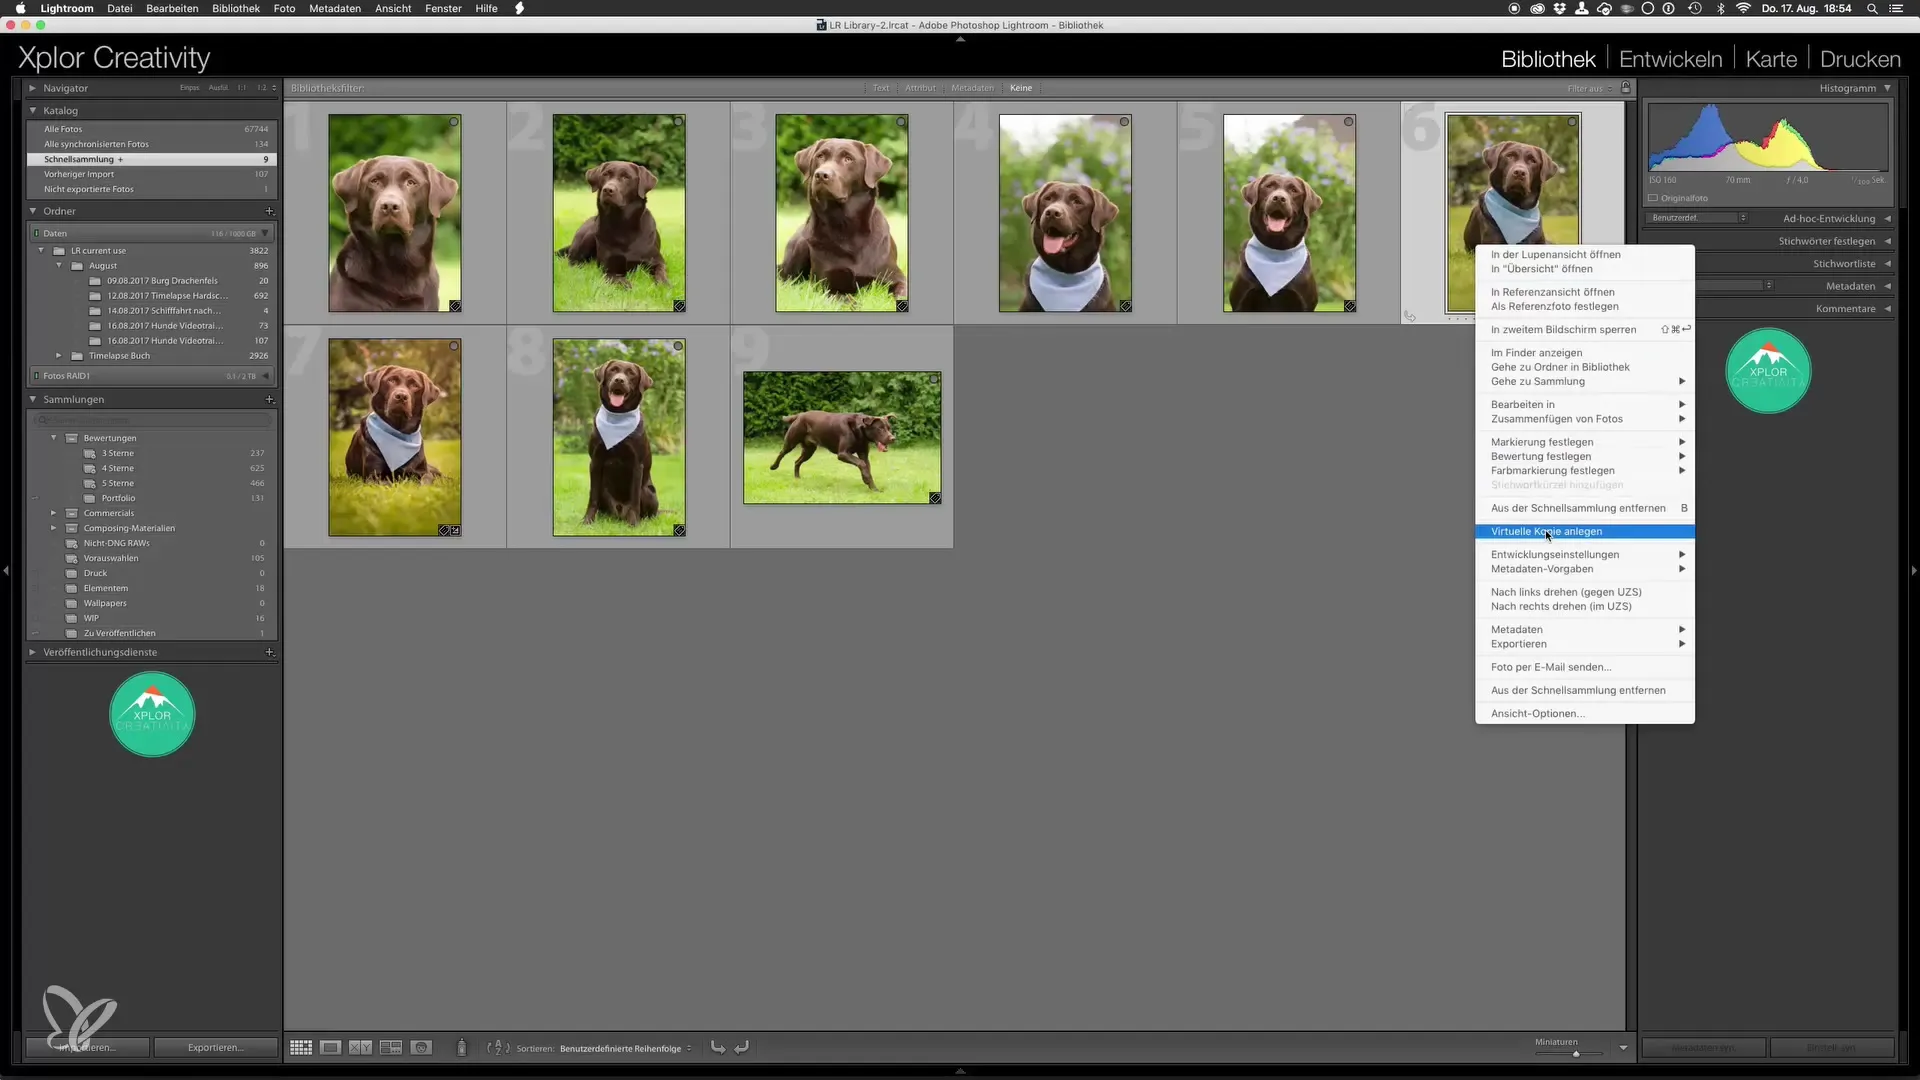
An especially interesting point is the comparison to the original image. To illustrate this, you create a virtual copy of the image and reset the development settings.
Thus, you now have the unchanged original compared to the edited version. This shows you the significant progress you have made in Lightroom and Photoshop.
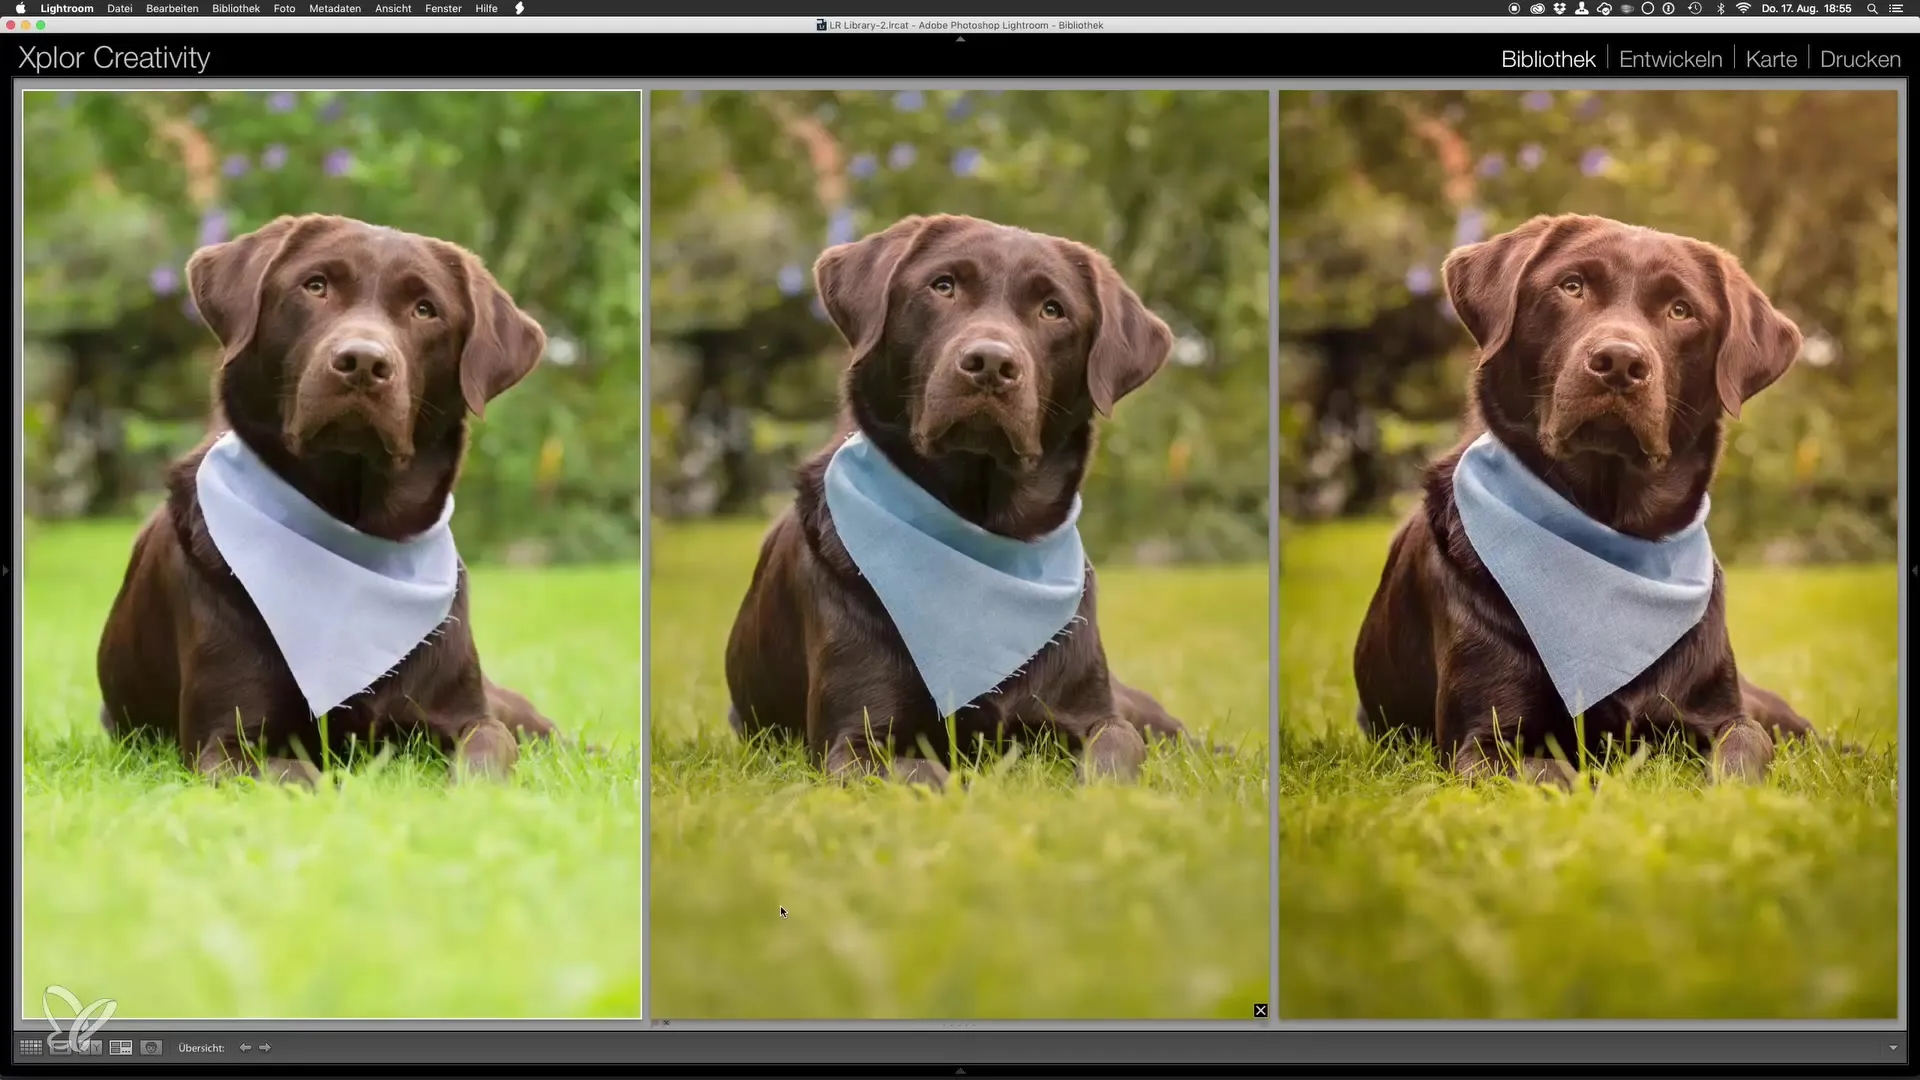
The final image stands out with intense color contrasts and better sharpness. The texture of the fur is much clearer here, giving the image a lively expression.
In the overall view of the image, it becomes clear how much more professional the edited photo looks. The light and color effects contribute to the complexity of the image and reveal a significant difference to the original shot.
Summary – Outdoor Dog Photos: Final Editing in Lightroom and Photoshop
You have now learned how to create impressive dog photos with a combination of Lightroom and Photoshop. The difference between the original and the edited version is substantial and shows how important editing is in both programs.
Frequently Asked Questions
How do I import an image into Lightroom?Import the image using the "Import" button and select the appropriate storage location.
What are Dodge and Burn techniques in Photoshop?These techniques are used to brighten or darken certain areas of the image, thereby enhancing contrasts.
Can I continue editing PSD files in Lightroom?Yes, you can import PSD files into Lightroom and continue editing them for even smaller adjustments.
Which program is better for final editing, Lightroom or Photoshop?It depends on your specific requirements. Lightroom is suitable for basic editing, while Photoshop is ideal for more detailed adjustments.
What role do the curves play?Curves help you precisely control the lighting conditions in the image and optimize contrasts.
