You have learned the basic functions of Cinema 4D and now want to implement what you have learned in a practical project? In this article, I will show you how to build a speaker box from a simple cube. We will proceed step by step to create a clear and functional structure that not only looks good but can also be used effectively.
Key Insights
- You will learn how to transform a cube into a speaker box.
- We will use polygon editing to create openings.
- The membrane disc will be correctly positioned and scaled.
- In the end, we will combine the objects to create a single object.
Step-by-Step Guide
Create and Adjust Cube
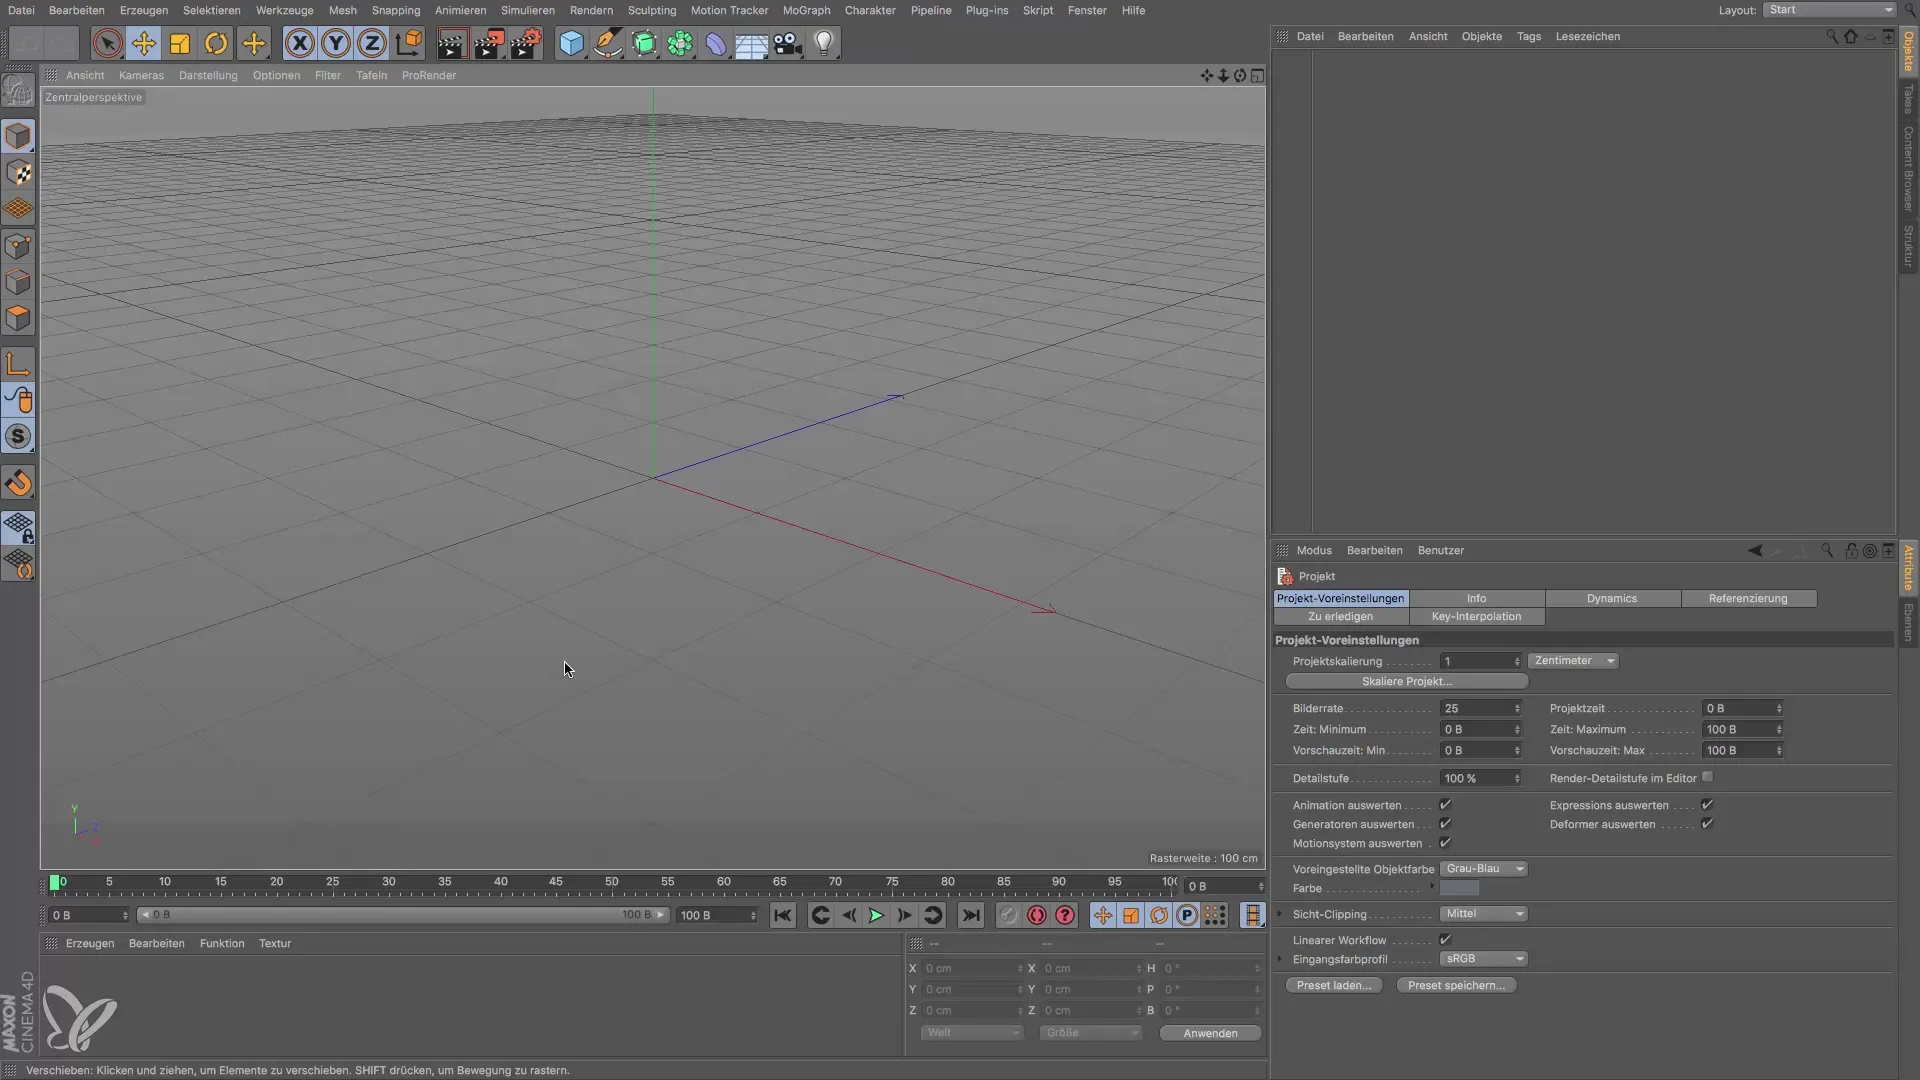
First, you will create a cube that will serve as the foundation for your speaker box. Set the dimensions of the cube to correspond to the typical dimensions of a bass box. For this guide, you can use the following measurements: 80 cm depth, 60 cm width, and 100 cm height.
Segmentation of the Cube
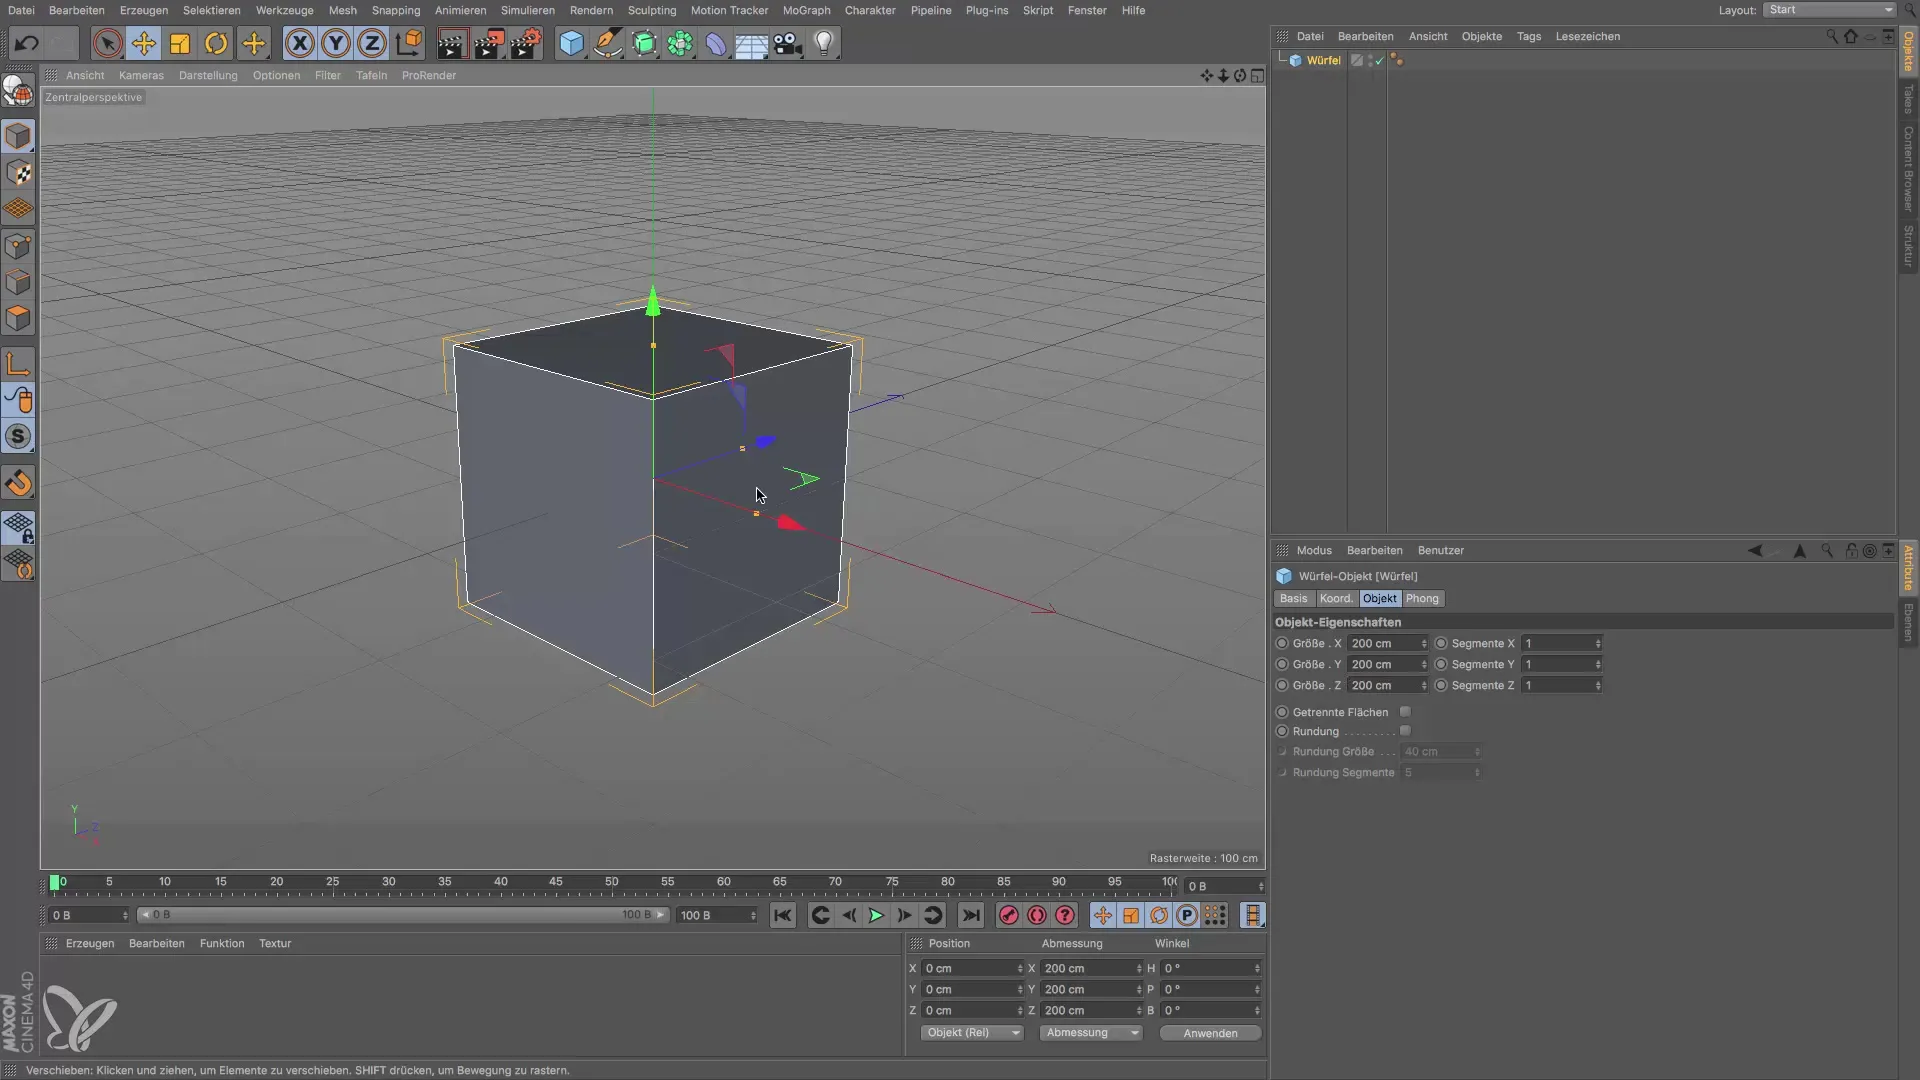
In order to perform precise editing later, it is important to divide the cube into equal segments. Set the segmentation to six subdivisions for depth (60 cm) and ten subdivisions for height (100 cm). This regular structure simplifies later editing.
Transform Cube
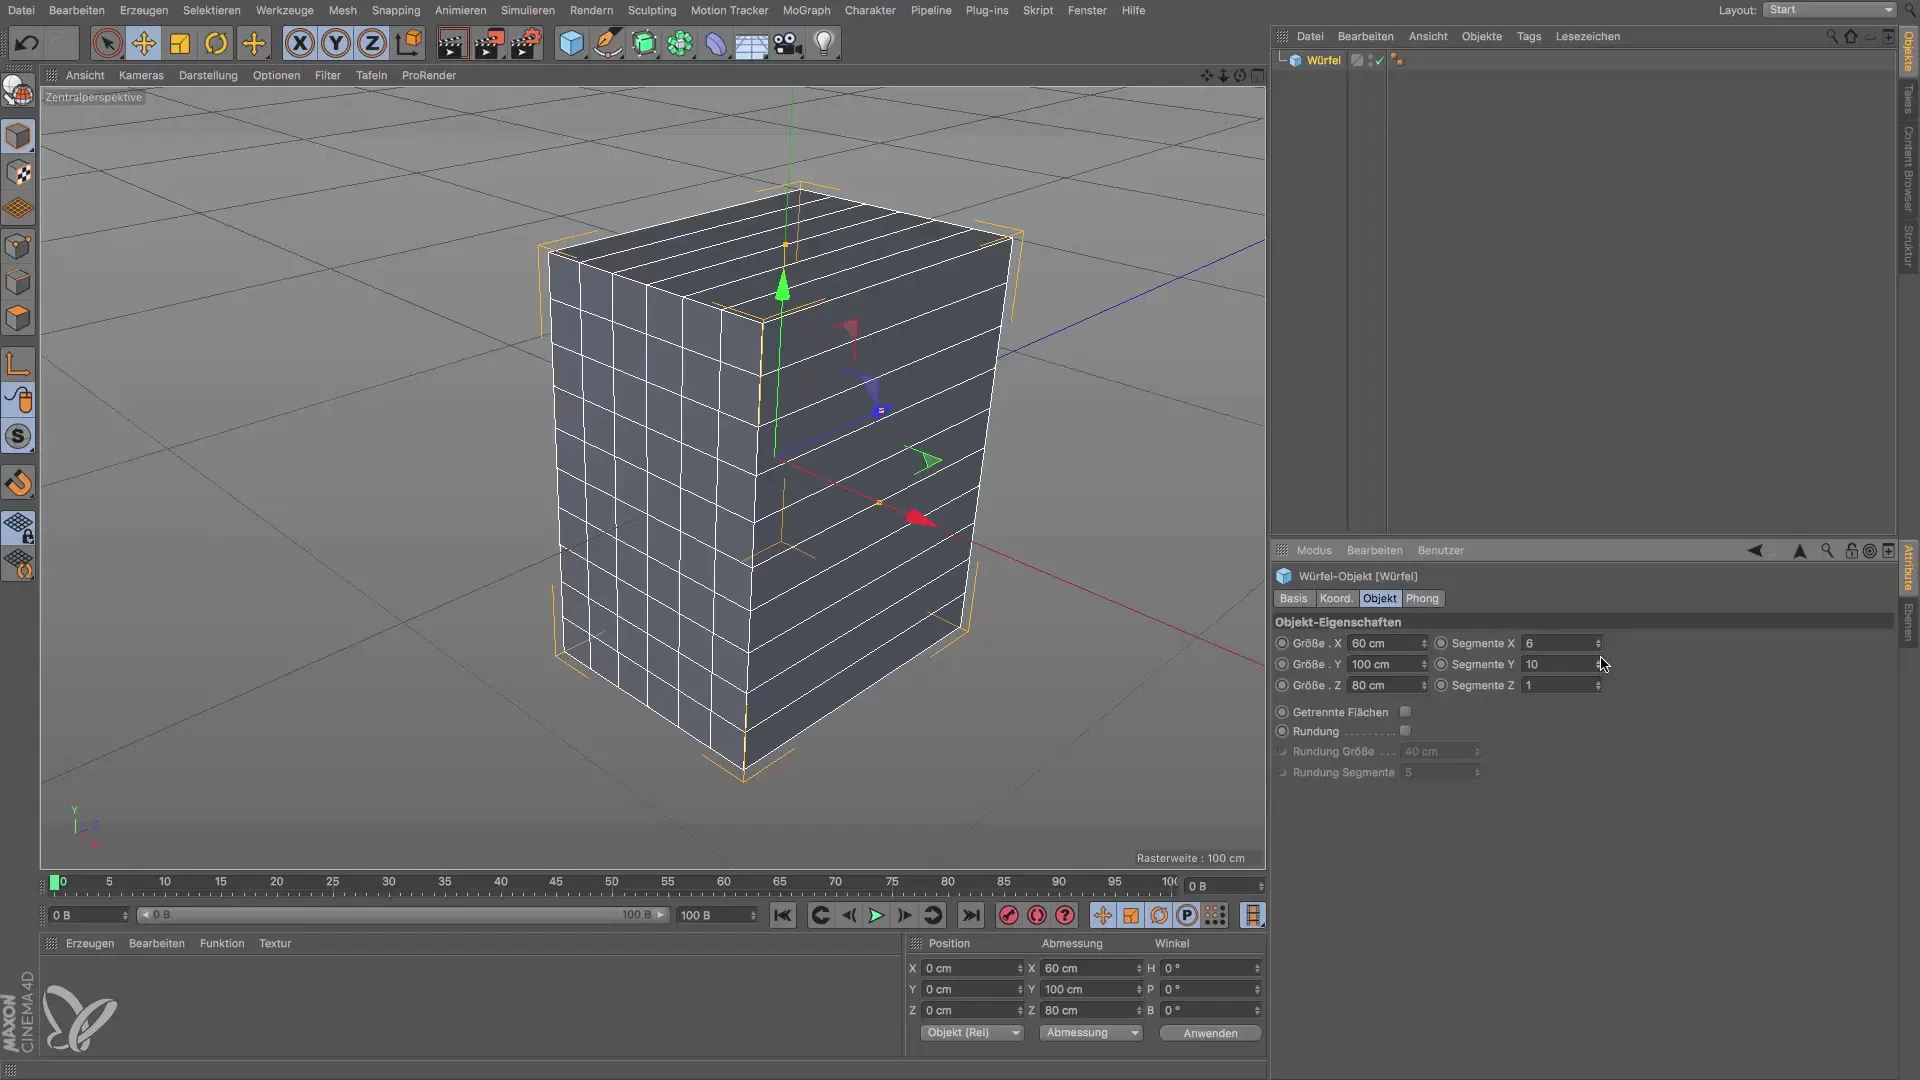
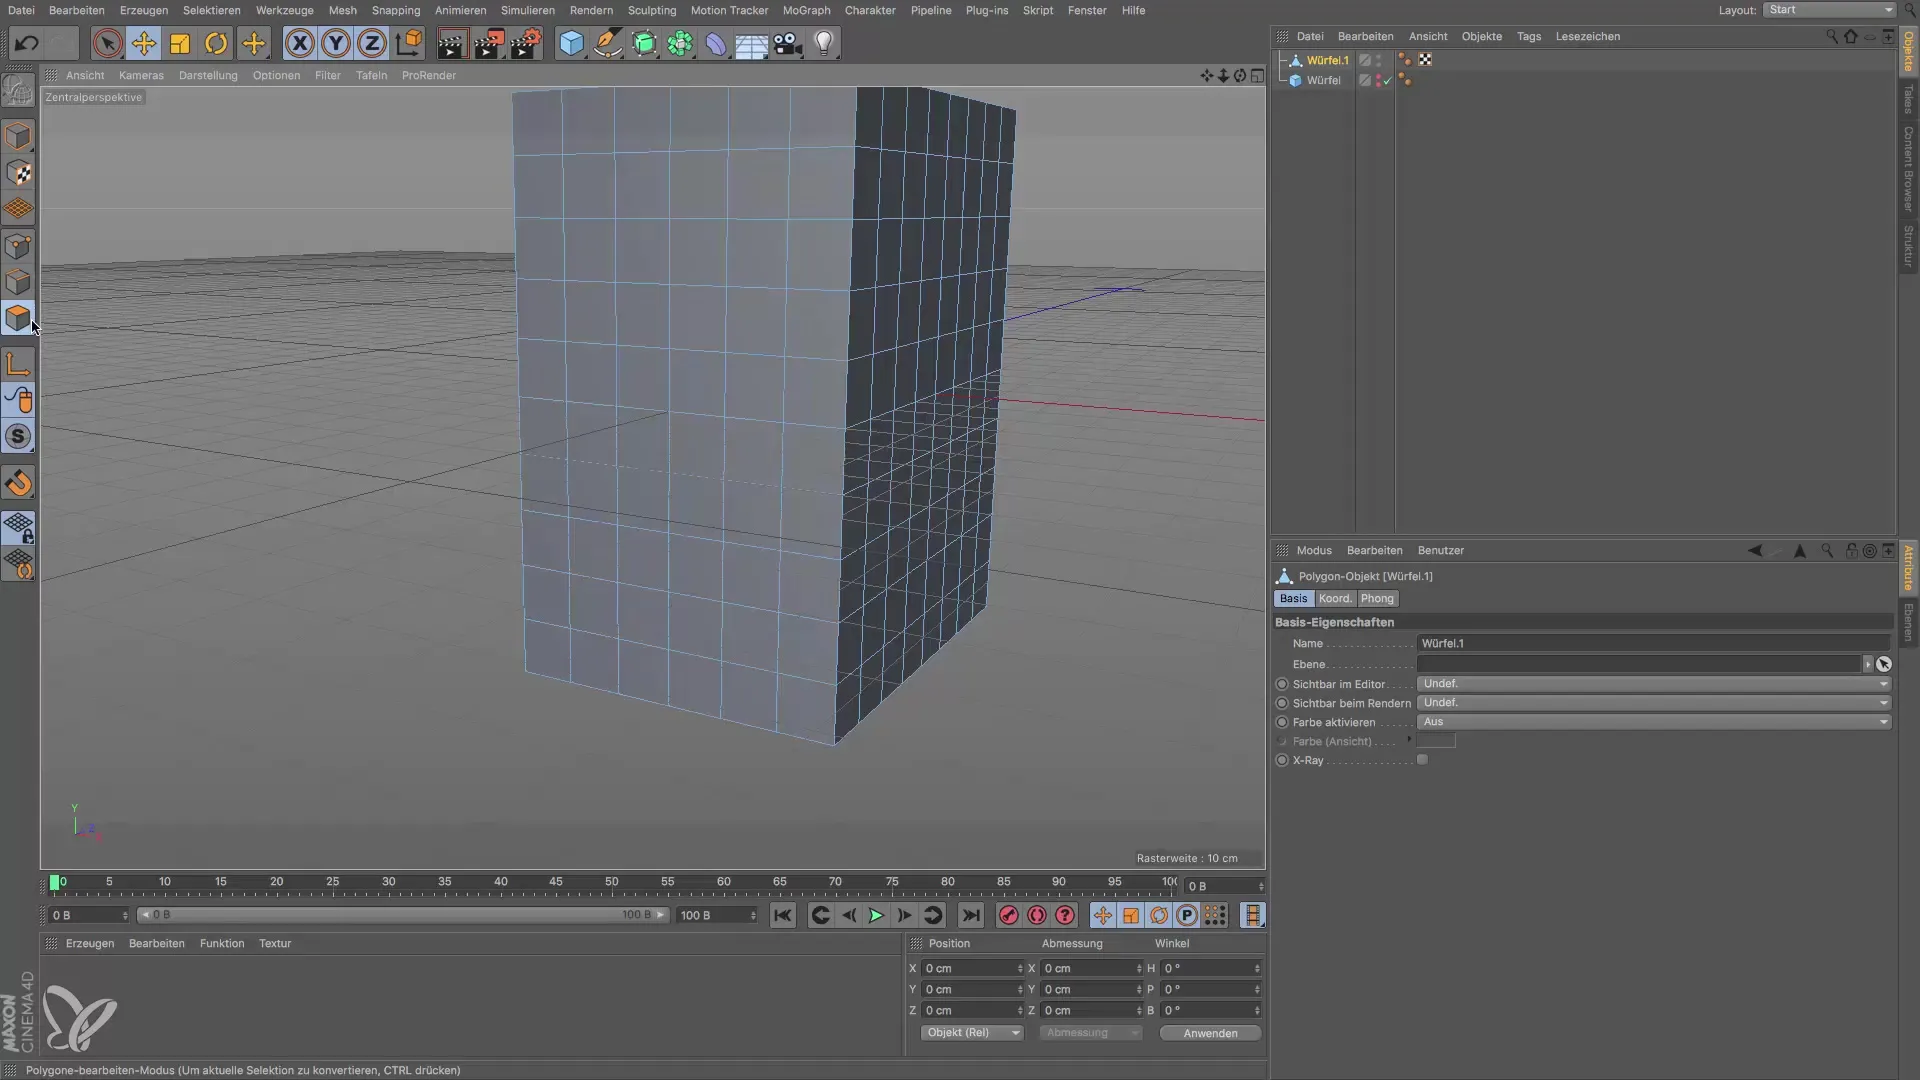
To continue editing the cube, you need to convert it into a polygon object. To do this, press the "C" key. This gives you all the necessary options for editing the cube, and you can now activate polygon editing.
Create Polygons for the Opening
To create the speaker opening, select the bottom polygons of the cube and delete them. Click on the polygons you want to remove and press the "Delete" key.
Create Membrane
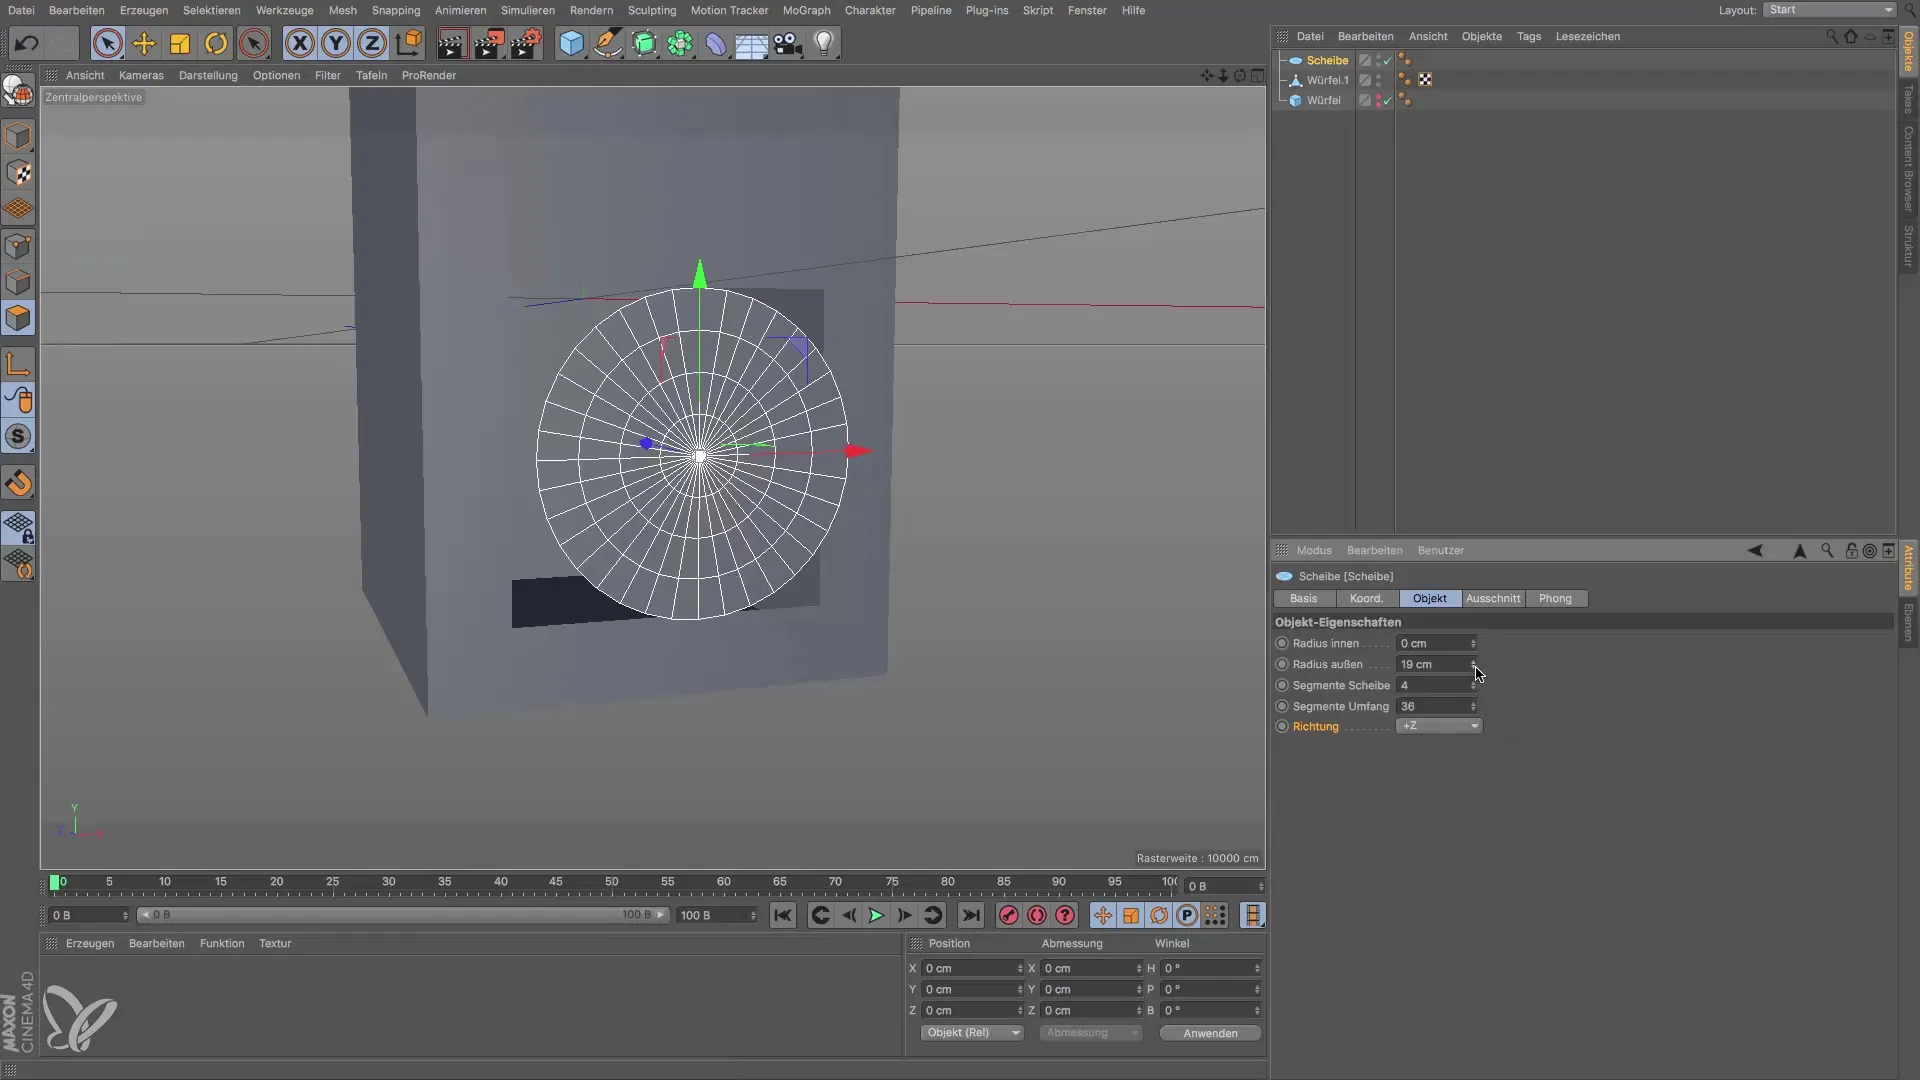
Next, you need to create a disc for the membrane. This disc will represent the opening in the box. Position the disc at the coordinate center and scale it to a diameter of about 19 cm. Now you need to ensure the position is correct so that it fits perfectly into the box.
Activate Snapping
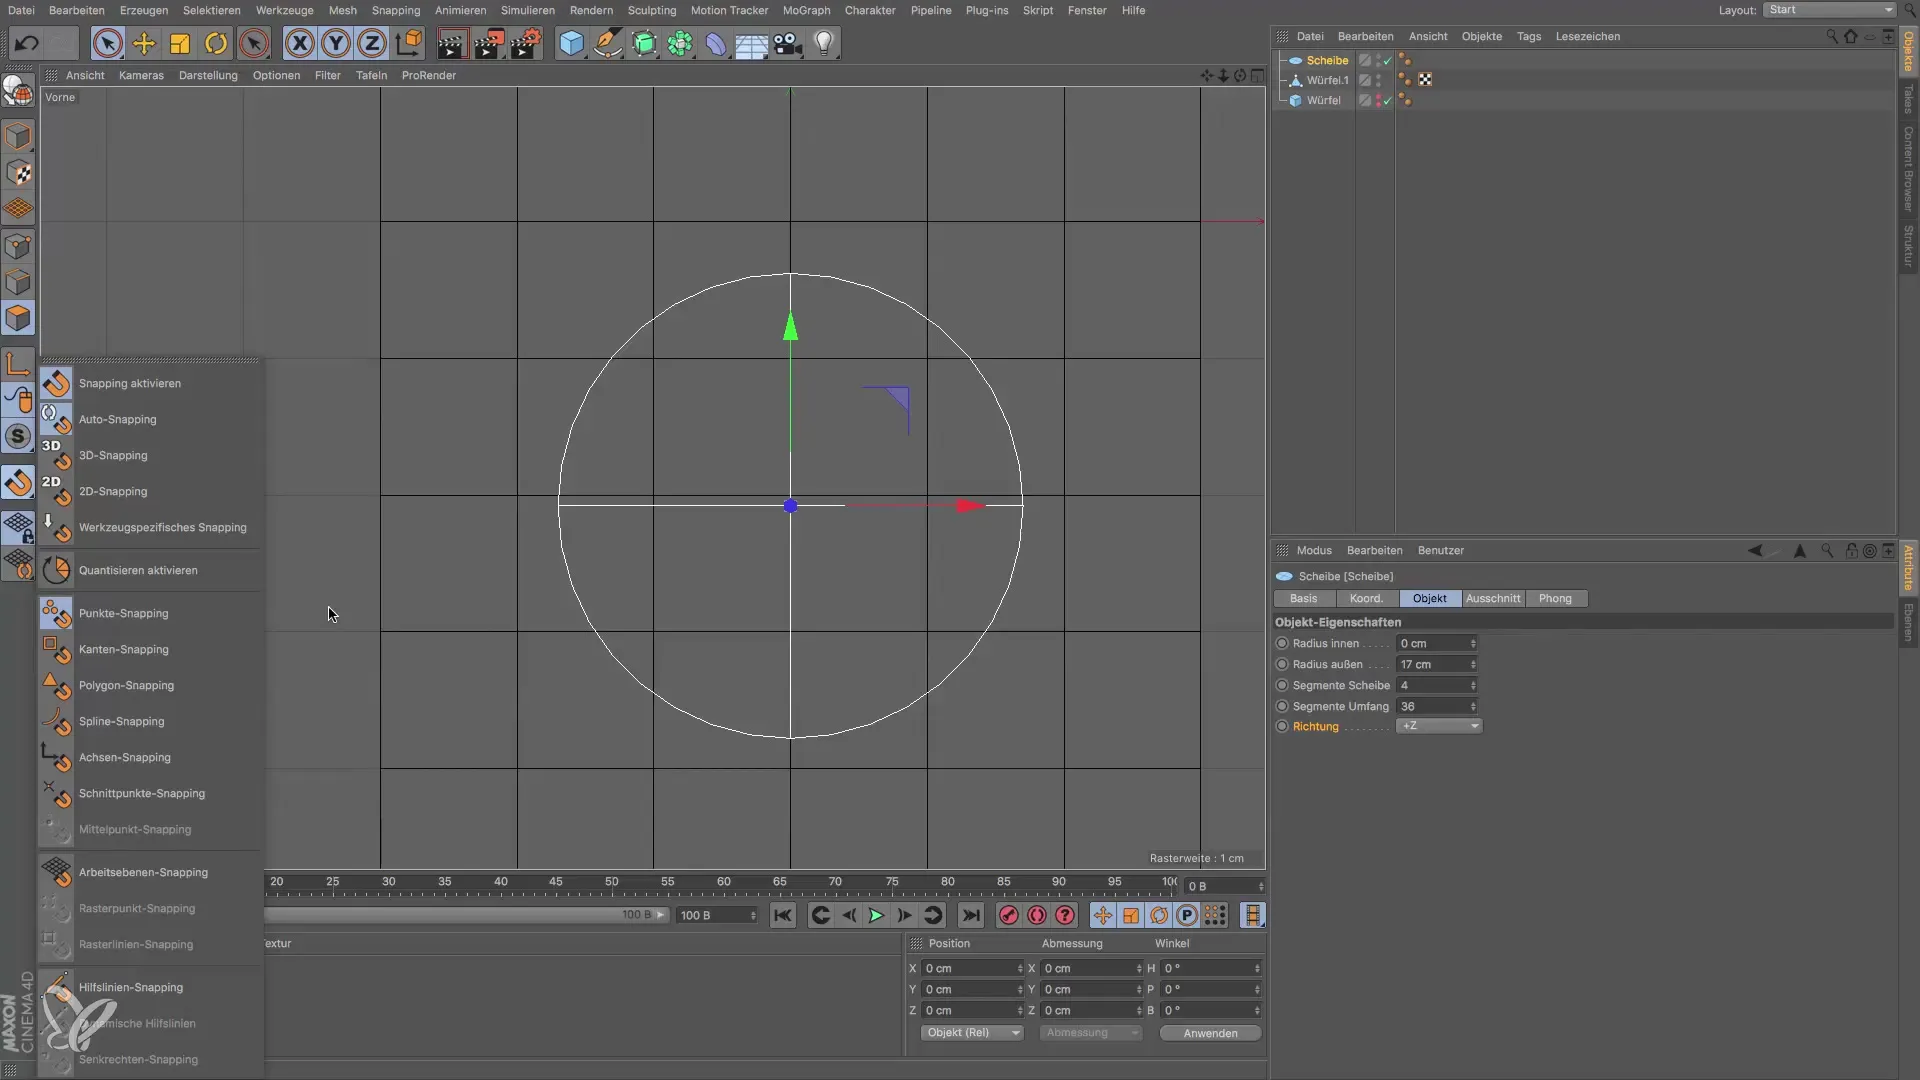
To position the disc accurately, I recommend activating the snapping tool. This makes it easier to align the edges of the disc precisely with the edges of the cube. You can enable the snapping features in the program settings.
Adjust Number of Segments
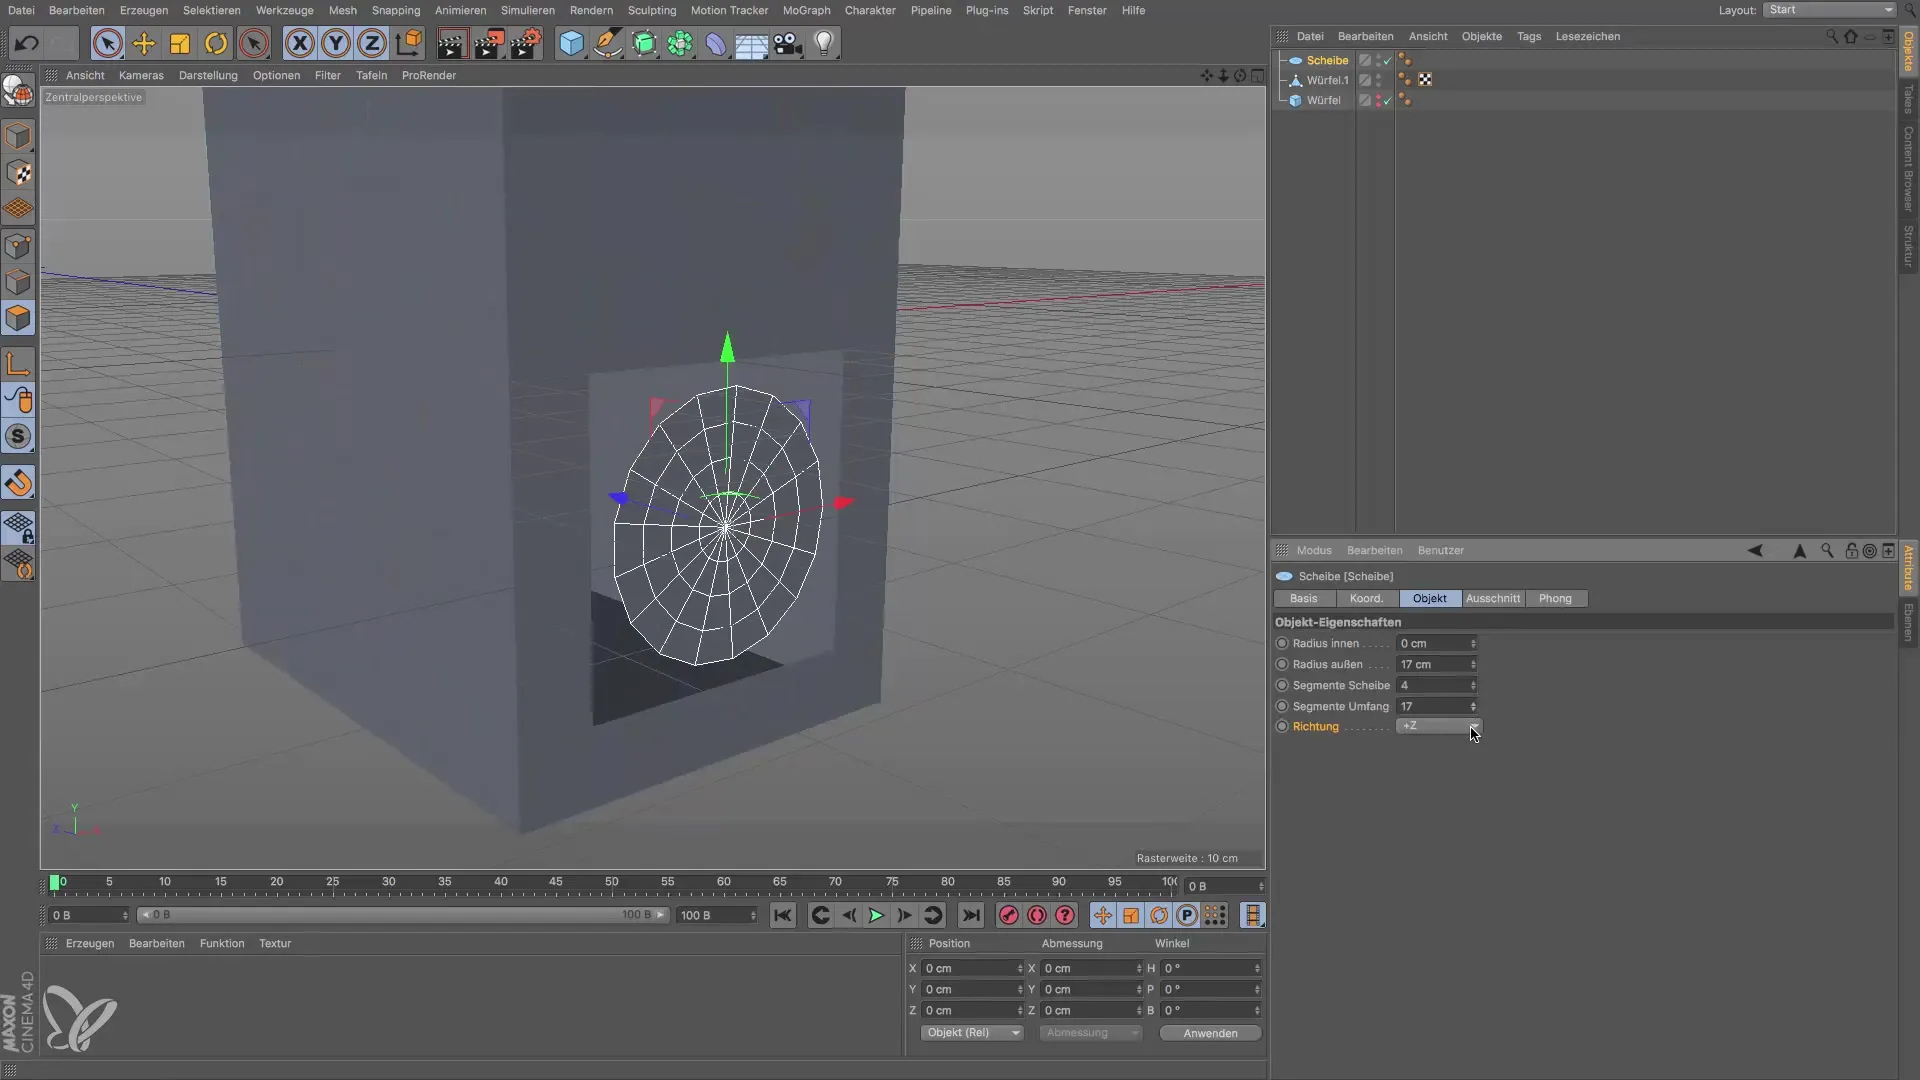
The membrane currently has 30 segments. To ensure that it can be well connected to the cube, set the number of segments to 16. This way, the edges of the membrane will align with the corresponding edges of the cube.
Connect Objects
The next step is to connect the cube and the membrane into a single object. This is important to close the holes created after deleting the polygons. You do this by selecting both objects, going to the object options, and selecting "Connect and Delete".
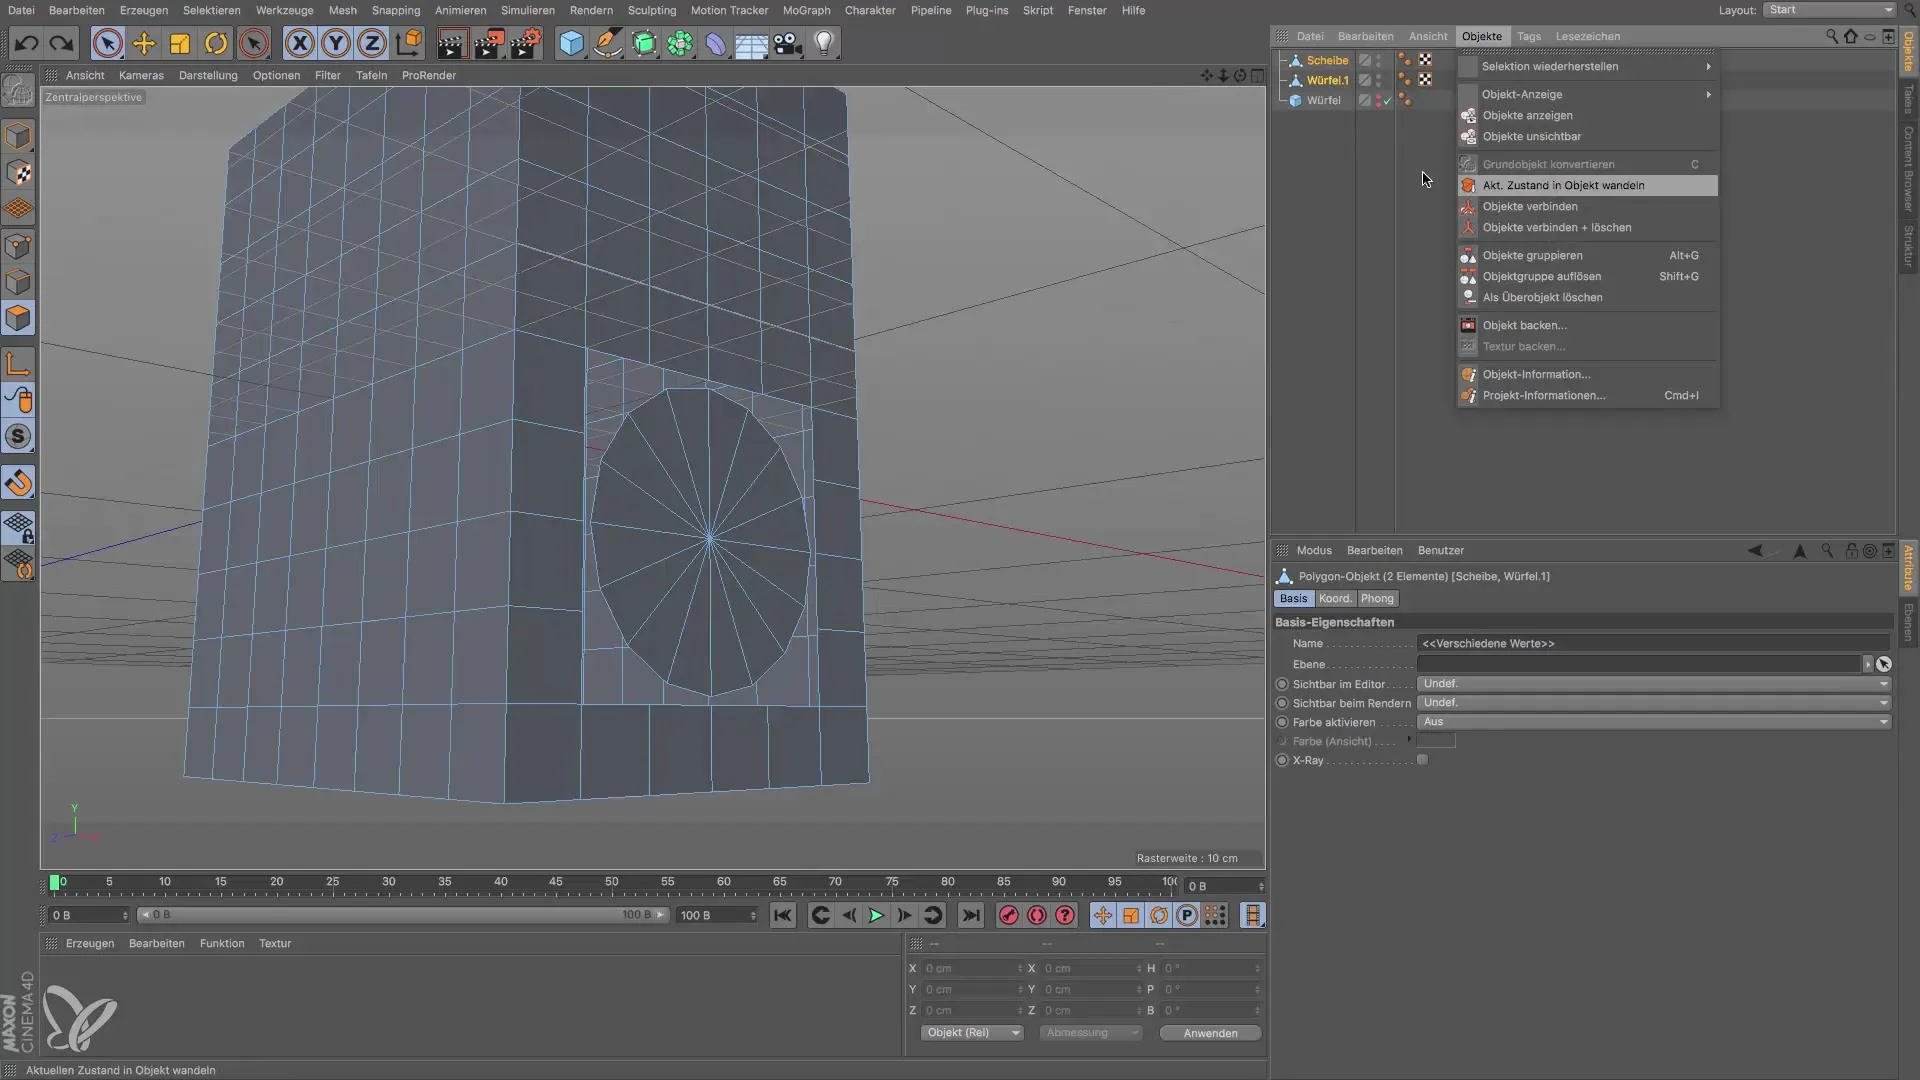
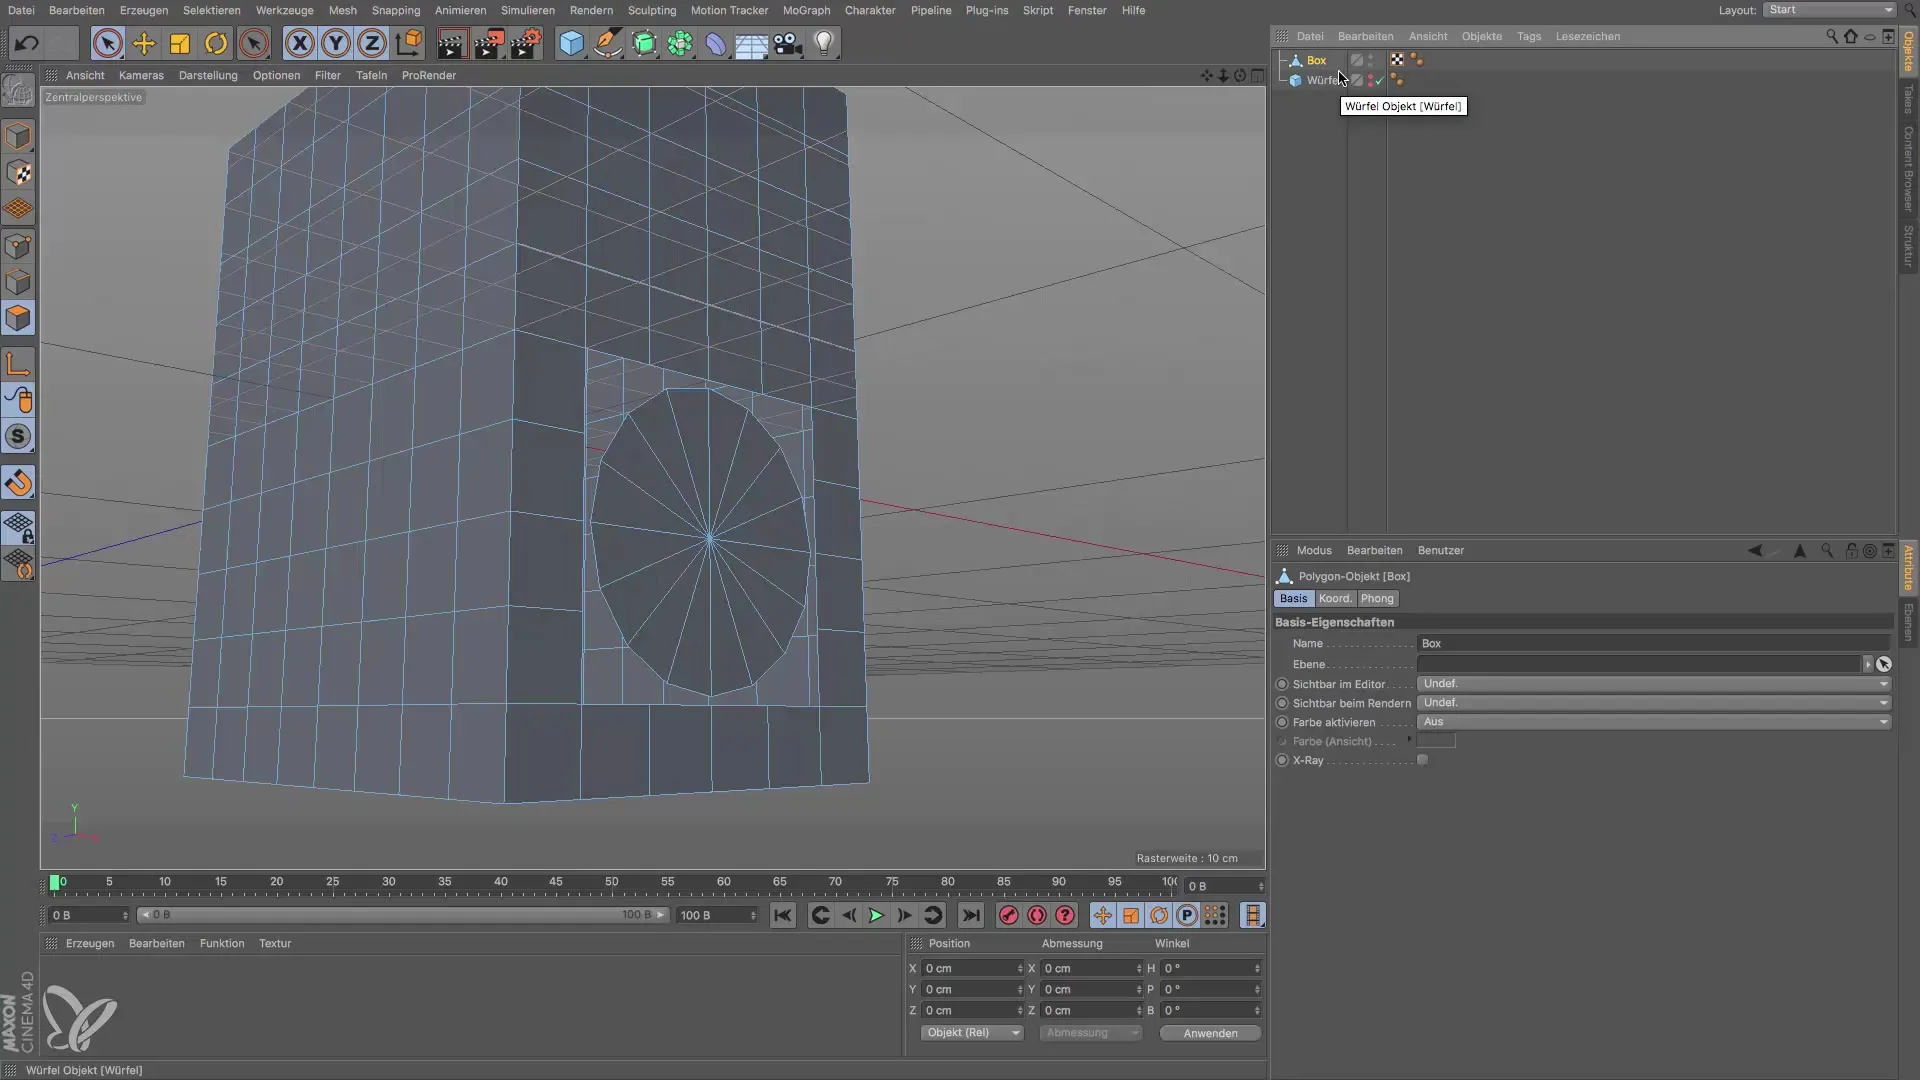
Name the Box Before you complete the project, simply rename the new object to "Box". Now you have created a functional speaker box from a simple cube.
Summary – Creating a Speaker Box from a Cube
In this guide, you have learned how to create a speaker box from a cube in Cinema 4D design. We have gone through the necessary steps, including segmentation, shape adjustment, and creating a disc for the membrane. These practical skills will help you make your designs in 3D design more precise and creative.
Frequently Asked Questions
How do I create a cube in Cinema 4D?To create a cube, select the cube icon from the toolbar.
How can I segment the structure of a cube?You can adjust the segmentation parameters in the attribute settings of the cube.
What is the snapping tool?The snapping tool helps to align objects precisely with each other.
How can I connect objects in Cinema 4D?Select the objects, go to the object options and choose "Connect and Delete".
How do I rename an object in Cinema 4D?You can rename an object by right-clicking on it and selecting "Rename".
