In this guide, I will show you how to install Stable Diffusion locally on your computer. Stable Diffusion offers you the possibility to generate impressive images, but local installation requires some technical knowledge and powerful hardware. This guide will help you understand the necessary steps and requirements for the installation.
Key Insights
Stable Diffusion can be installed locally if you have a strong graphics card and some technical knowledge. For example, you will need Git for Windows, an account at Hugging Face, Python, and some models that you need to download and install.
Step-by-Step Guide
Step 1: Download Git for Windows
First, you need to download Git for Windows to your computer. Simply go to the Git for Windows website and click on the download button. The installation is easy, just follow the instructions.
Step 2: Create an Account at Hugging Face
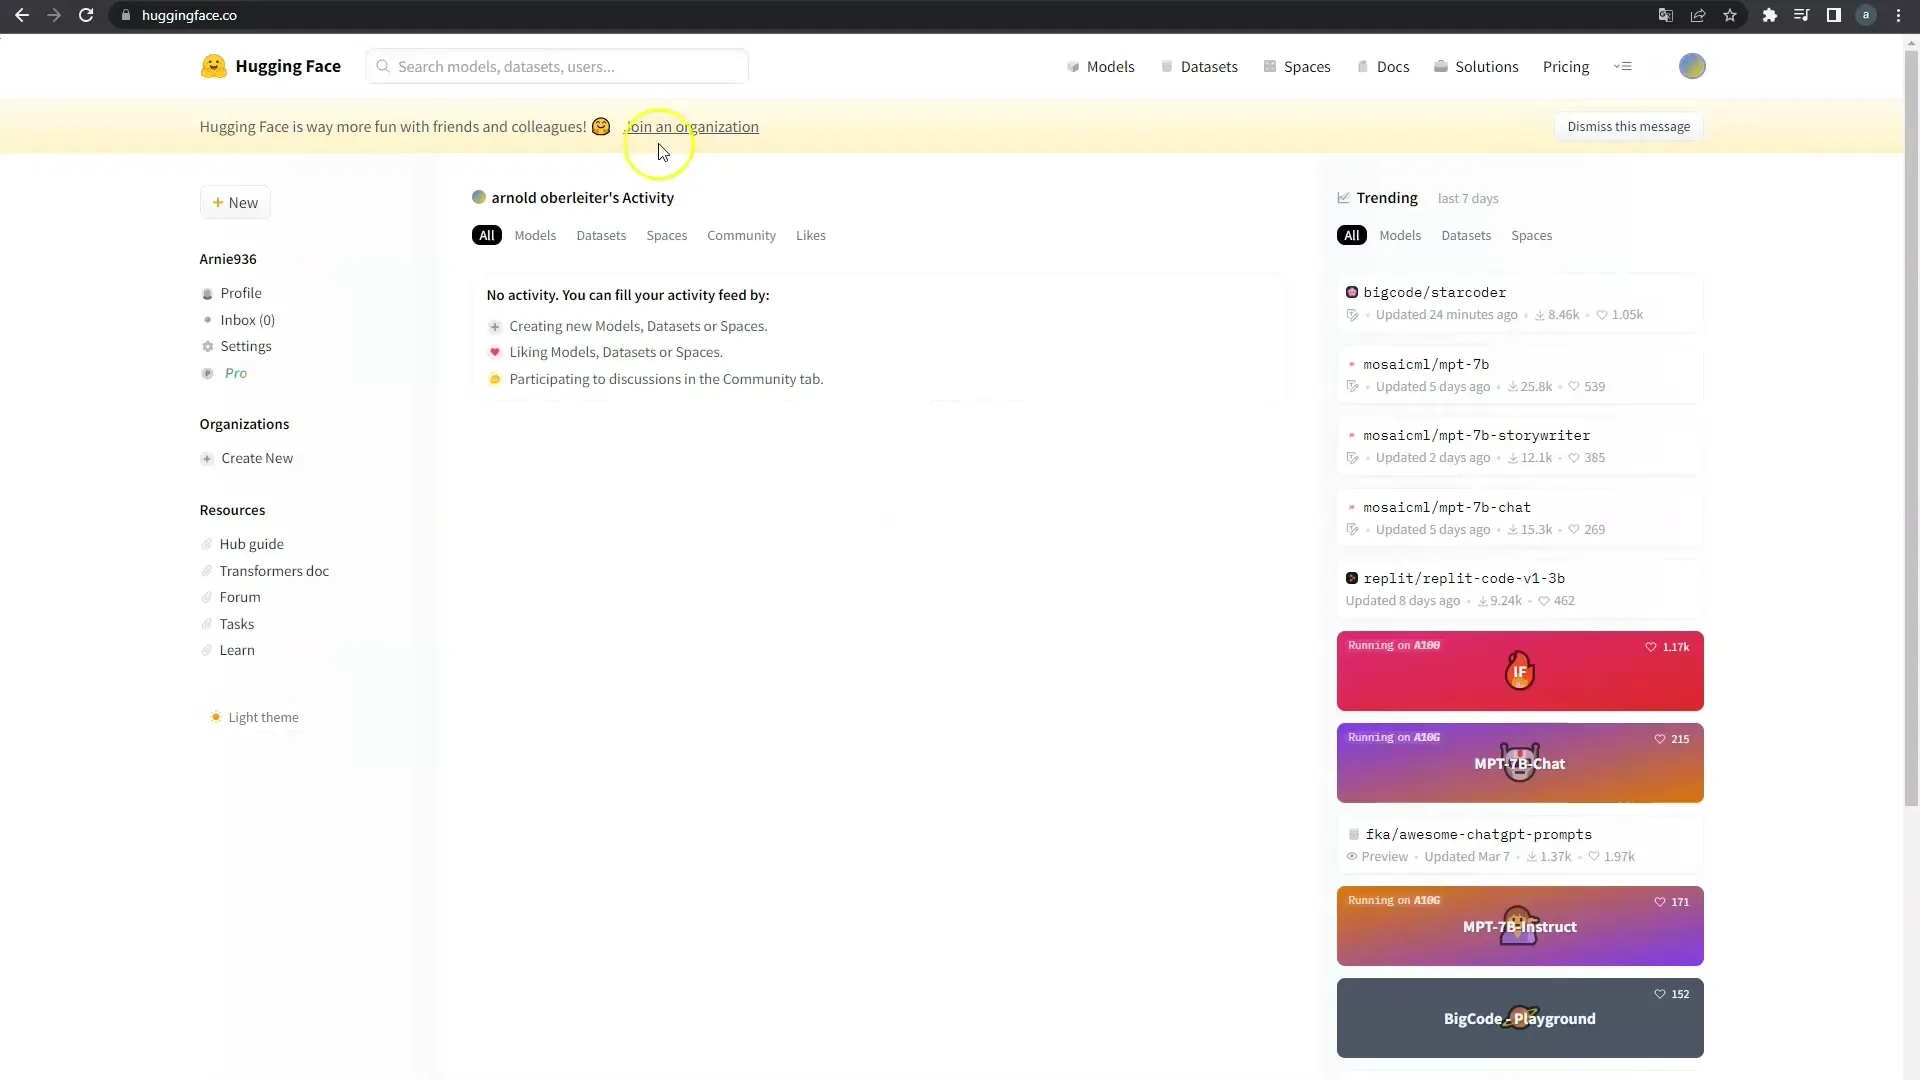
After installing Git, you will need an account at Hugging Face. Go to the Hugging Face website and sign up for free. This account is necessary to download the models for Stable Diffusion.

Step 3: Install Python
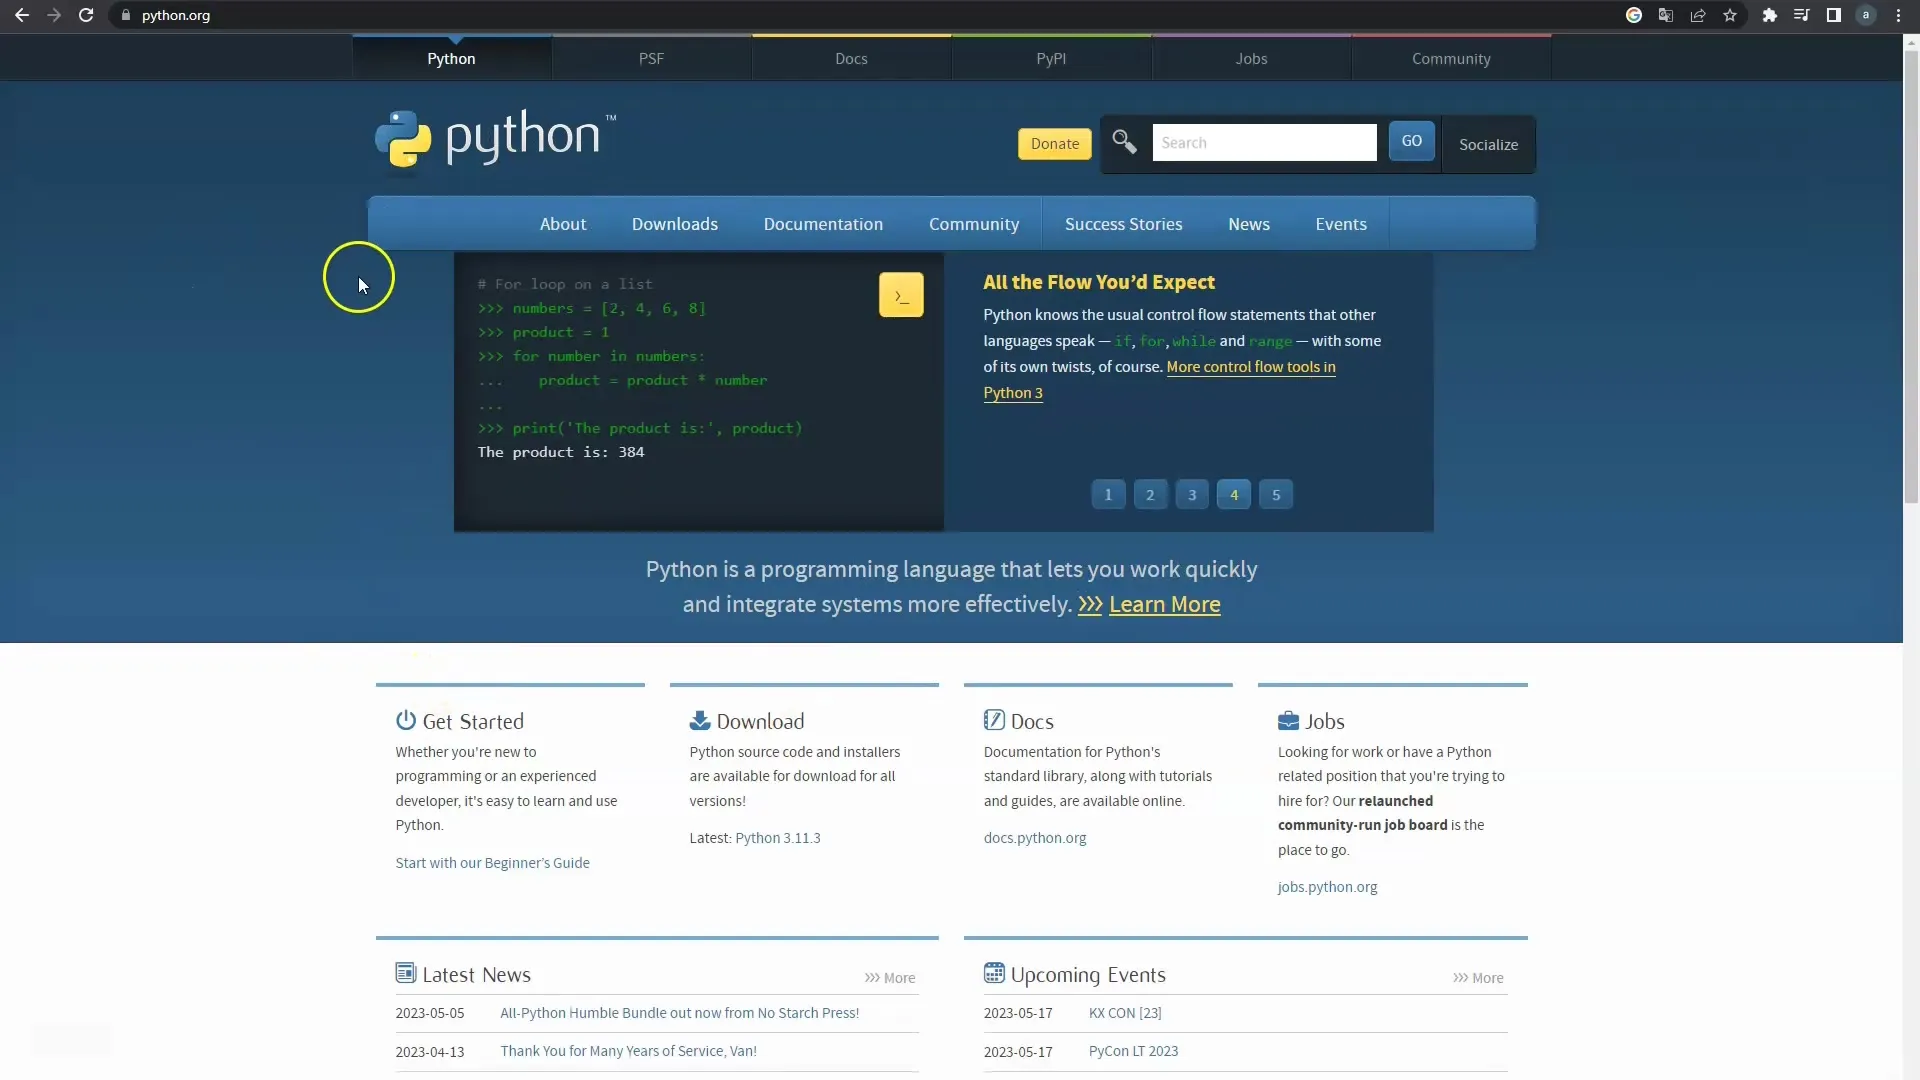
The next step is to install Python, as Stable Diffusion is based on this programming language. You can download the latest version of Python from the official Python website. Make sure to select the option to install Pip, as you will need it for installing additional packages.

Step 4: Create a GitHub Account
You also need to create an account on GitHub, as you will need the code there to bring everything together. Register for free on GitHub and confirm your email address.

Step 5: Copy Code from Automatic1111
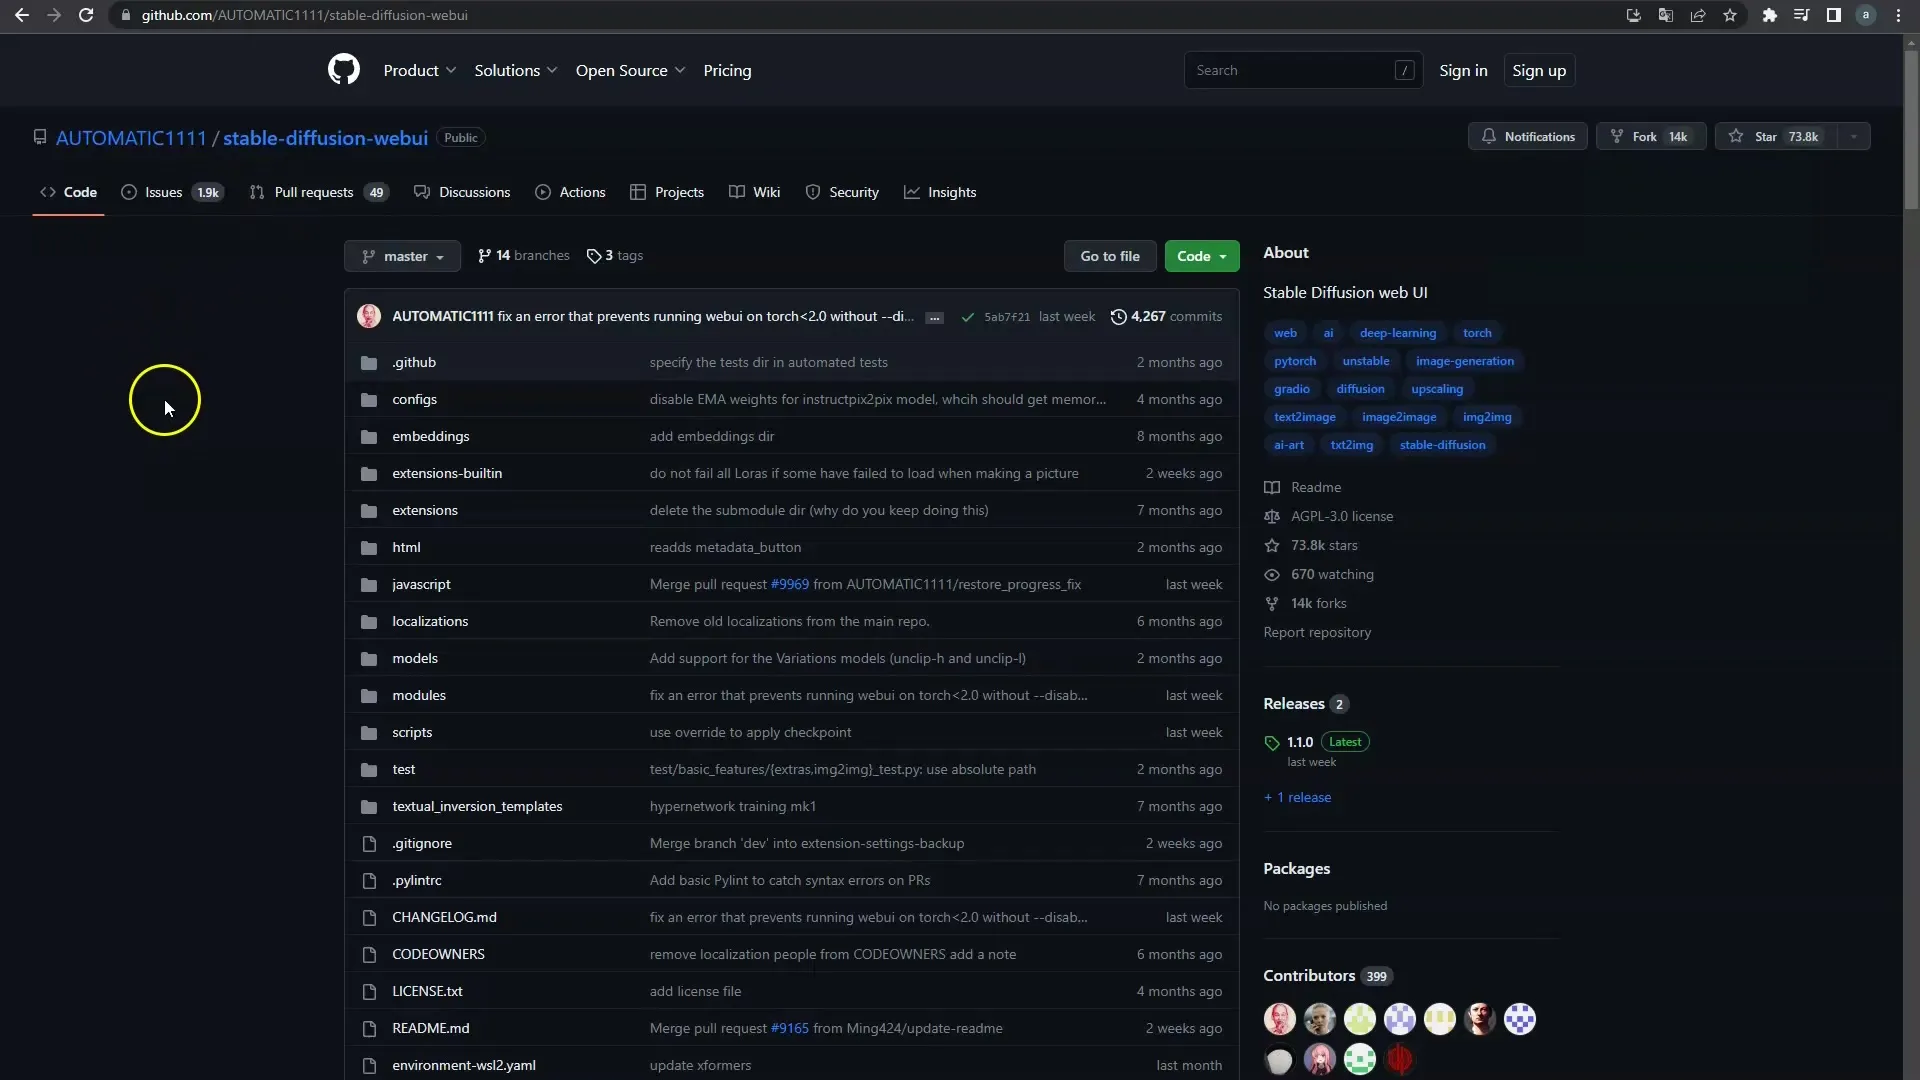
Now go to GitHub and search for "Automatic1111". Here you will find the code you need for Stable Diffusion. Copy the code and save it in a suitable location on your computer. This will help you complete the software installation.
Step 6: Download Models
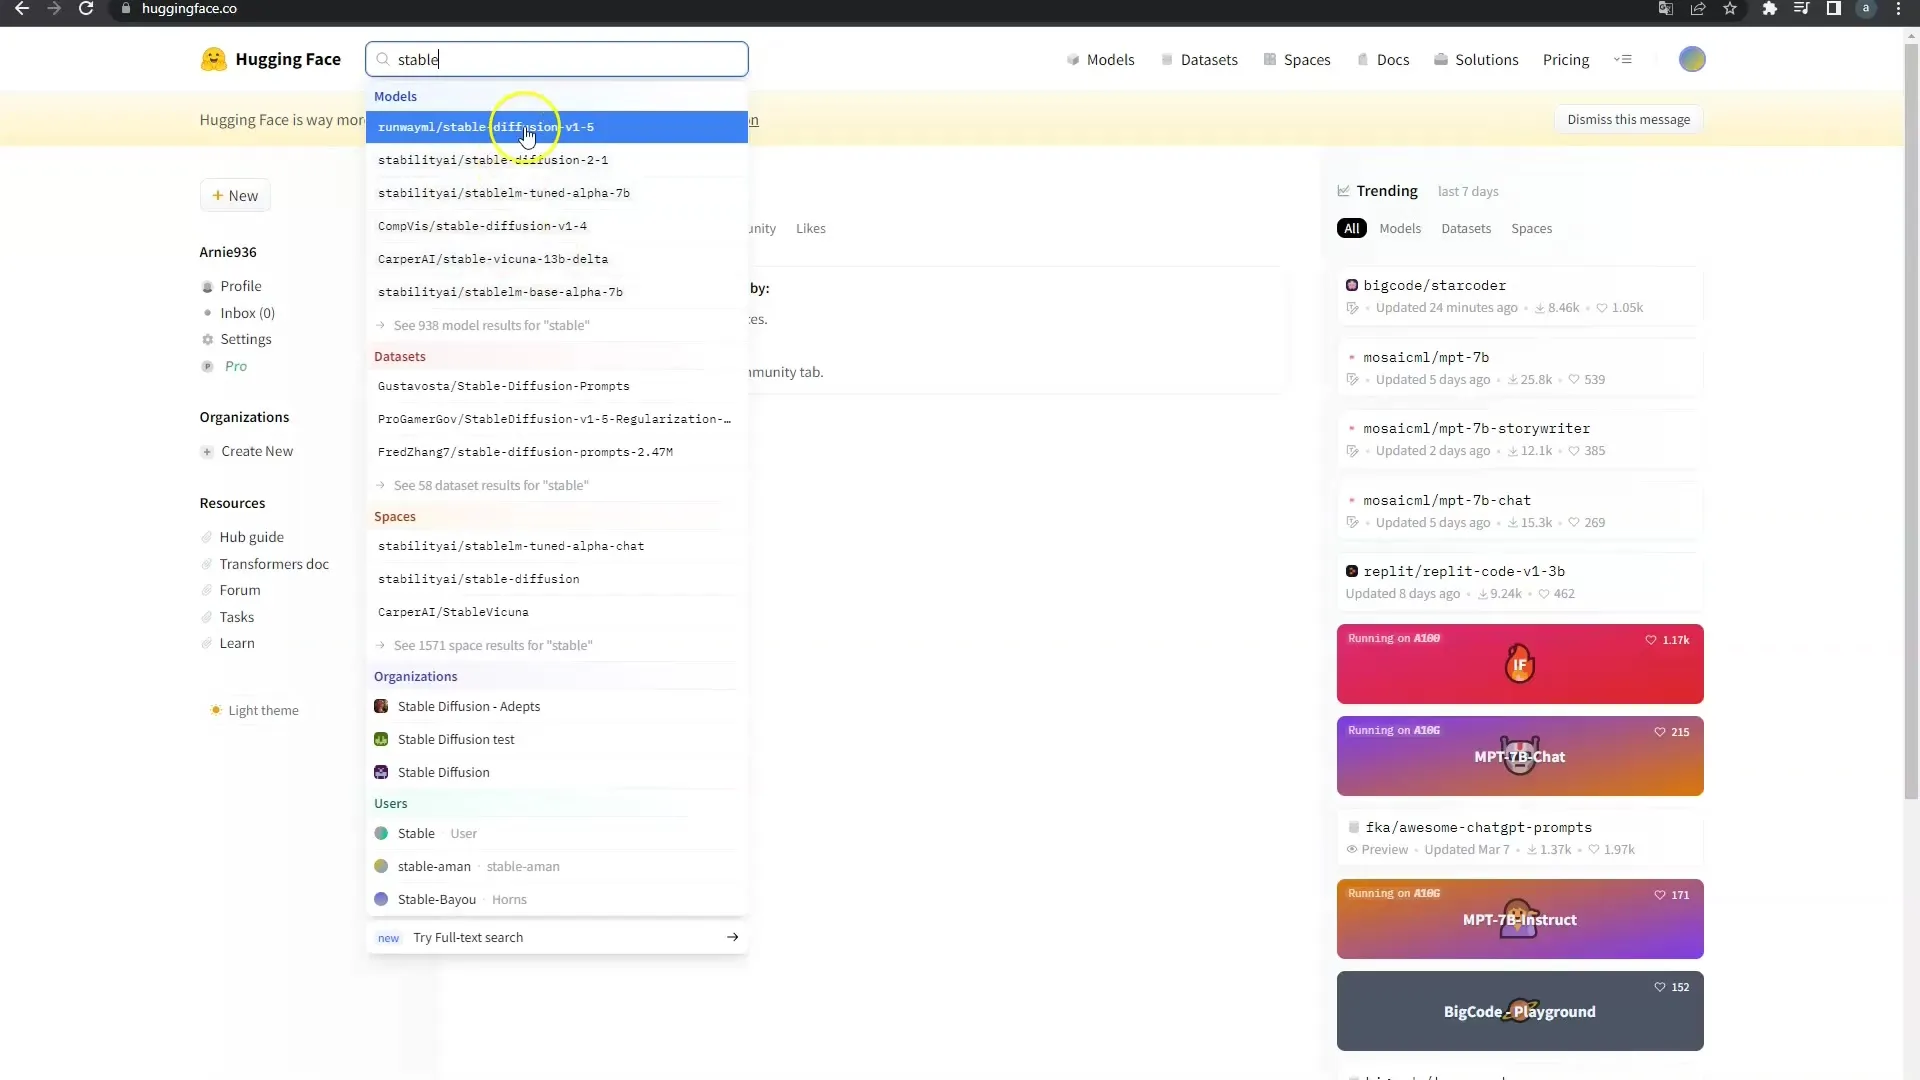
After copying the code, it's important to download the models for Stable Diffusion. Visit Hugging Face again and search for Stable Diffusion models. For starters, I recommend version 1.5 or 2.1, which you can also download and install.

Step 7: Run Scripts in Python
Now comes the next step: You need to run the downloaded scripts in Python. To do this, open the terminal or command prompt on your computer and execute the scripts you downloaded earlier.
Step 8: Access Stable Diffusion
After successful installation, you can start Stable Diffusion. You will receive a link that you can paste into your browser to access the software. Now you are ready to generate images with Stable Diffusion.
Step 9: Usage and Challenges
It is important to note that local installation of Stable Diffusion is not for everyone. You need a powerful graphics card—minimum 8GB VRAM, preferably 16GB or more. When you start rendering videos, your computer may become heavily loaded, and you may not be able to perform other tasks during that time.
Summary
In this guide, you have learned how to install Stable Diffusion locally on your computer. You need some tools and have to go through several steps to set everything up correctly. Make sure your hardware meets the requirements to ensure smooth use of the software.
Frequently Asked Questions
How can I install Stable Diffusion locally?For local installation, you need Git for Windows, Python, a Hugging Face account, and the Stable Diffusion models.
What are the hardware requirements for Stable Diffusion?A strong graphics card with at least 8GB or preferably 16GB VRAM is recommended.
Where can I find the models for Stable Diffusion?You can find the models on the Hugging Face website, where you can download them after creating an account.
How do I start Stable Diffusion after installation?After installation, you will receive a link that you can enter in your browser to access Stable Diffusion and generate images.


