Rendering 3D scenes in Cinema 4D is only the first step on the way to impressive graphics. To have full creative control over your renderings, actual post-processing in Photoshop is essential. This guide walks you through the process of rendering in Cinema 4D and subsequent editing in Photoshop, creating individual render channels for improved editing.
Key Insights
By creating separate alpha channels for different 3D objects, you can specifically edit only parts of your scene in Photoshop. This saves you tedious cutting out and significantly speeds up your workflow.
Step 1: Set up the render scene
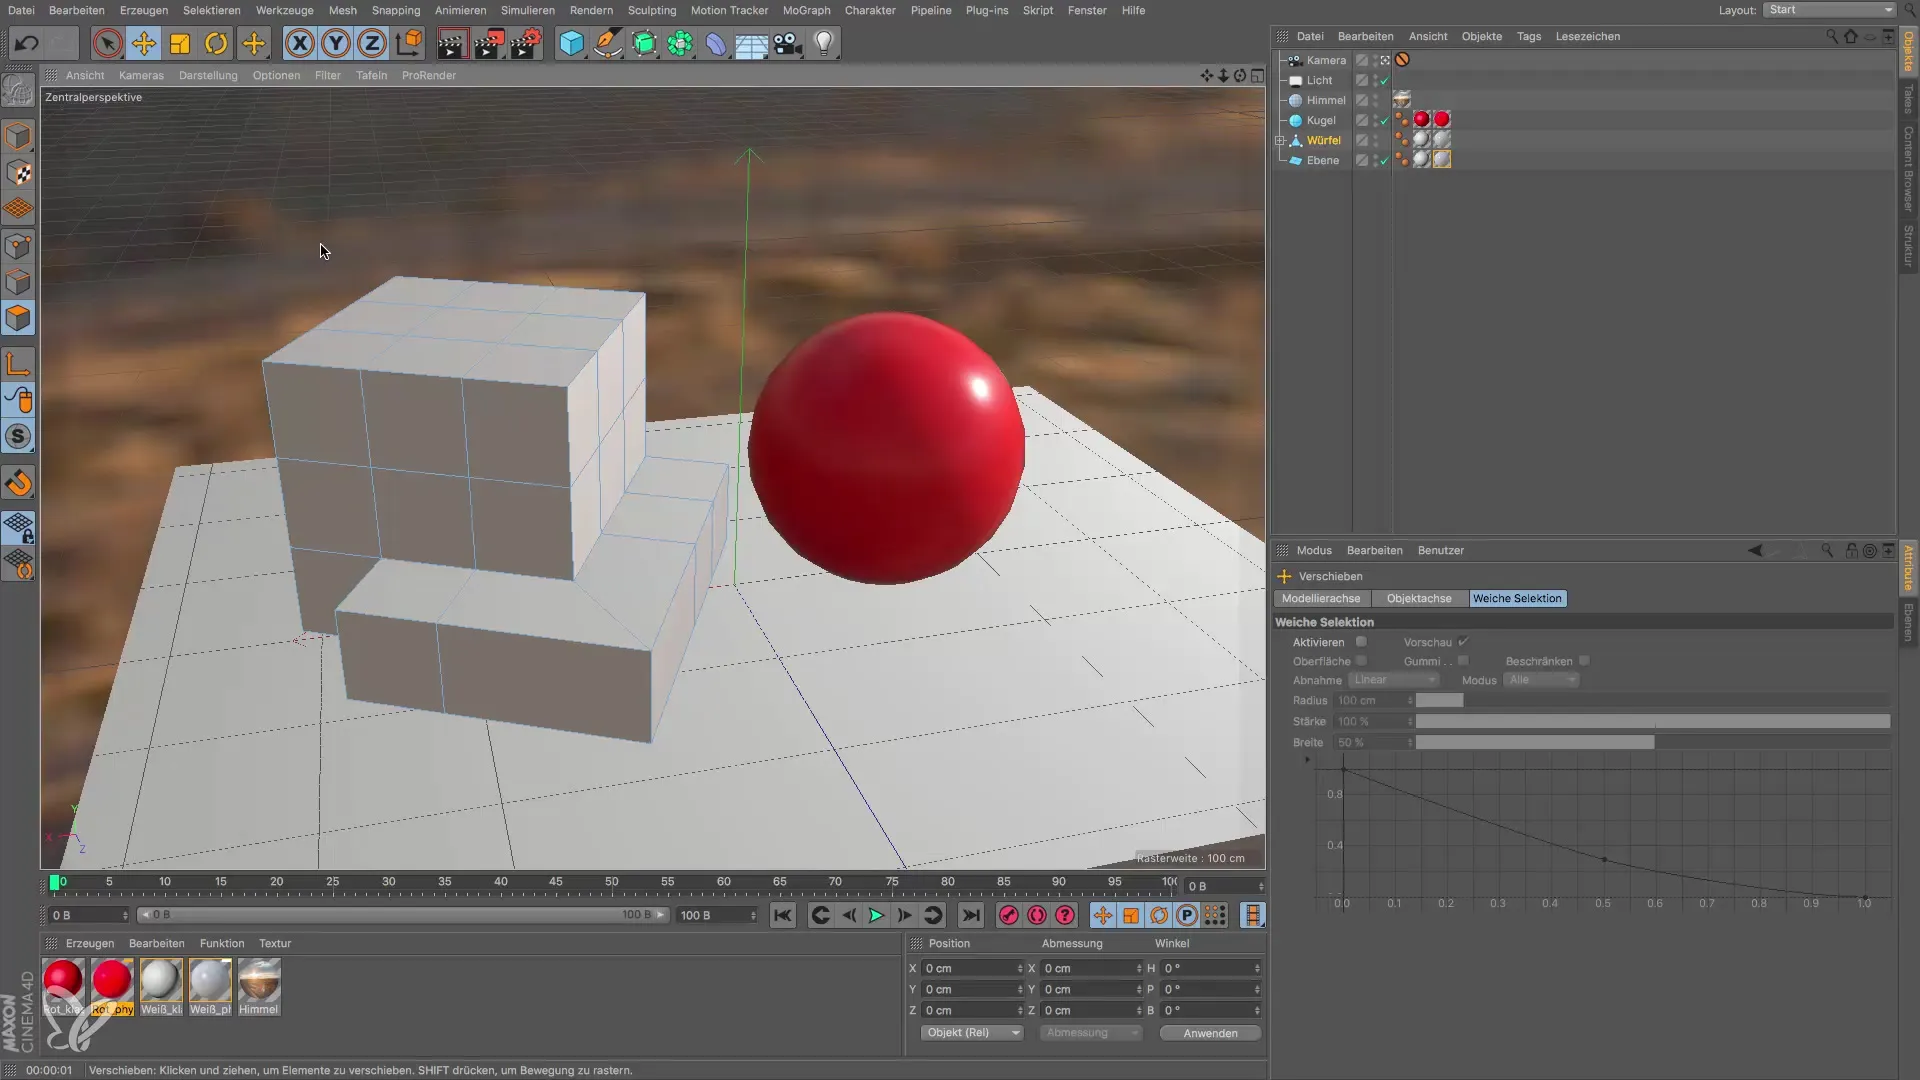
First, stay in the render scene and make sure you are not just taking a screenshot, but rendering the scene in the image manager. It is important to perform the rendering in the correct quality and with the desired settings to achieve optimal results in Photoshop later.
Step 2: Rendering in the image manager
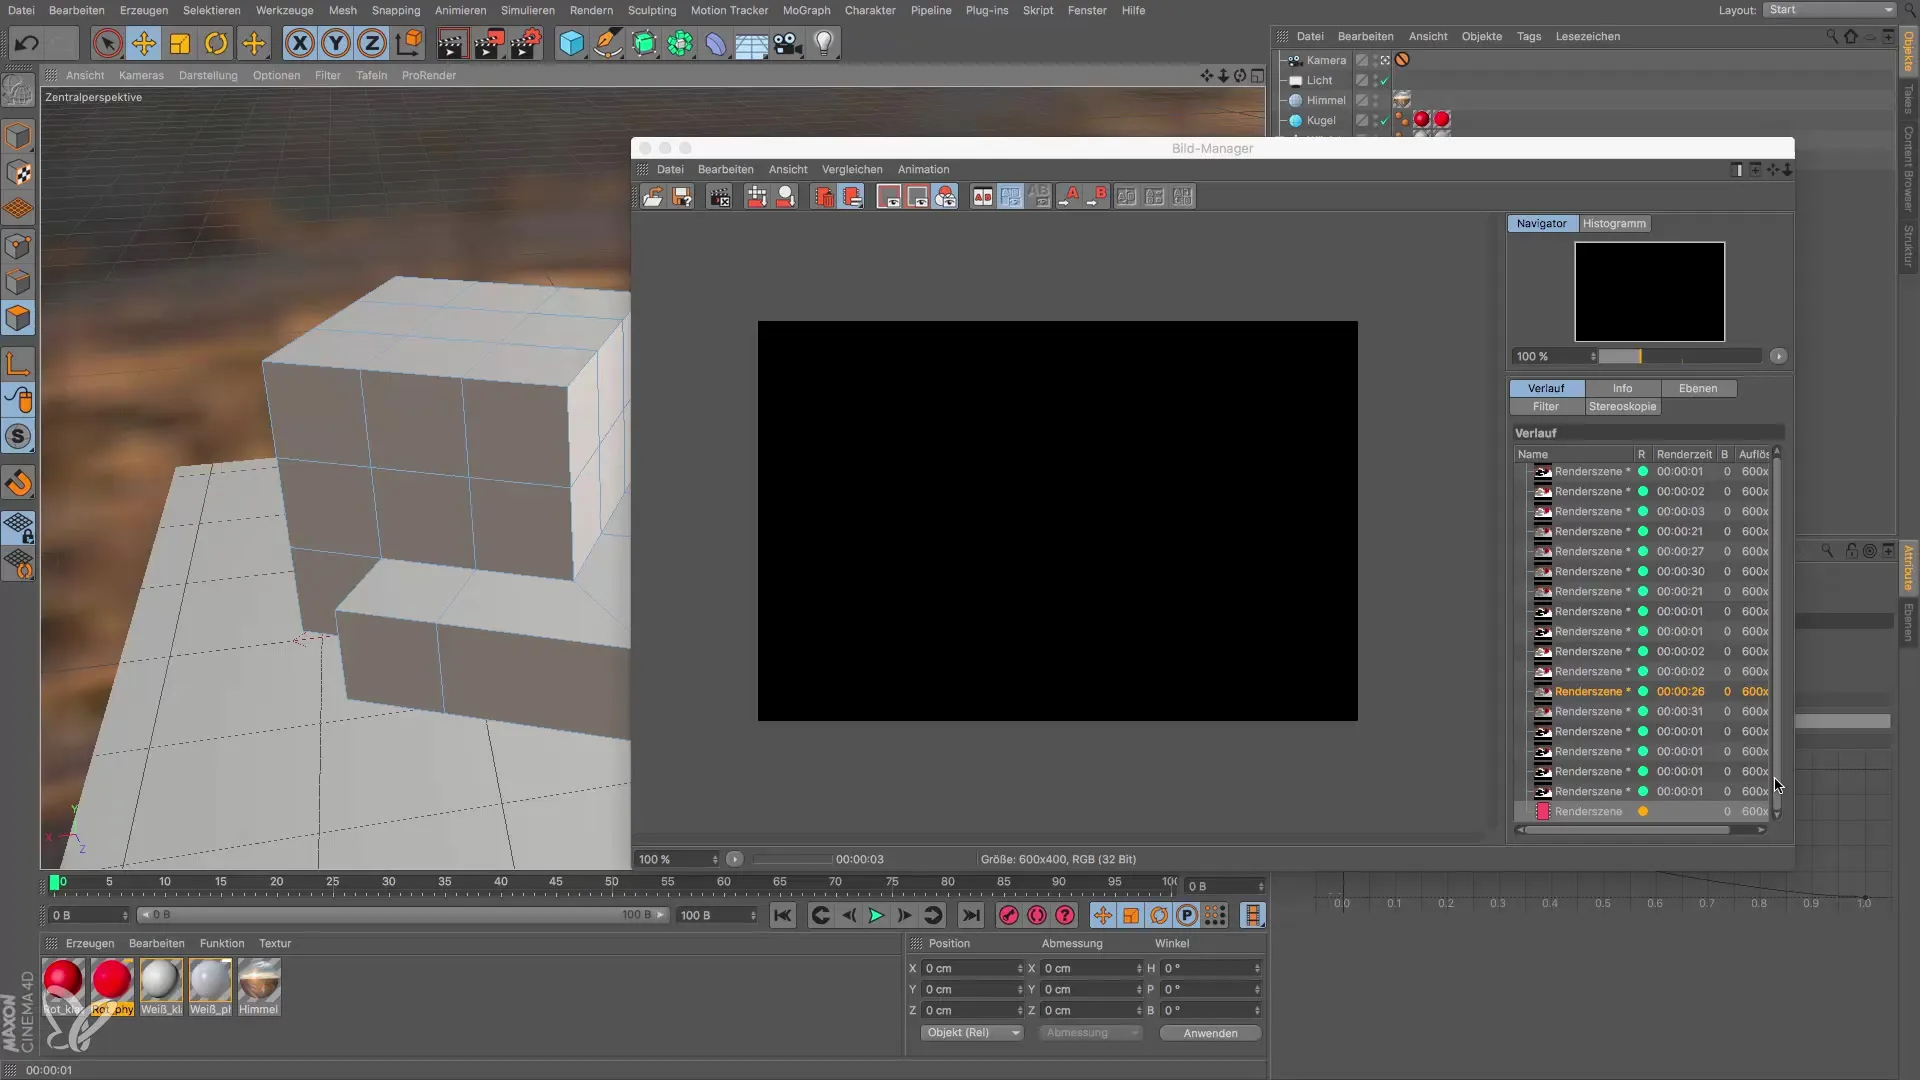
Open the image manager and click on the render button. Wait until the rendering is complete. If you wish, you can also specify beforehand which folder you want to save the image in by clicking on the three dots in the menu.
Step 3: Activate alpha channels
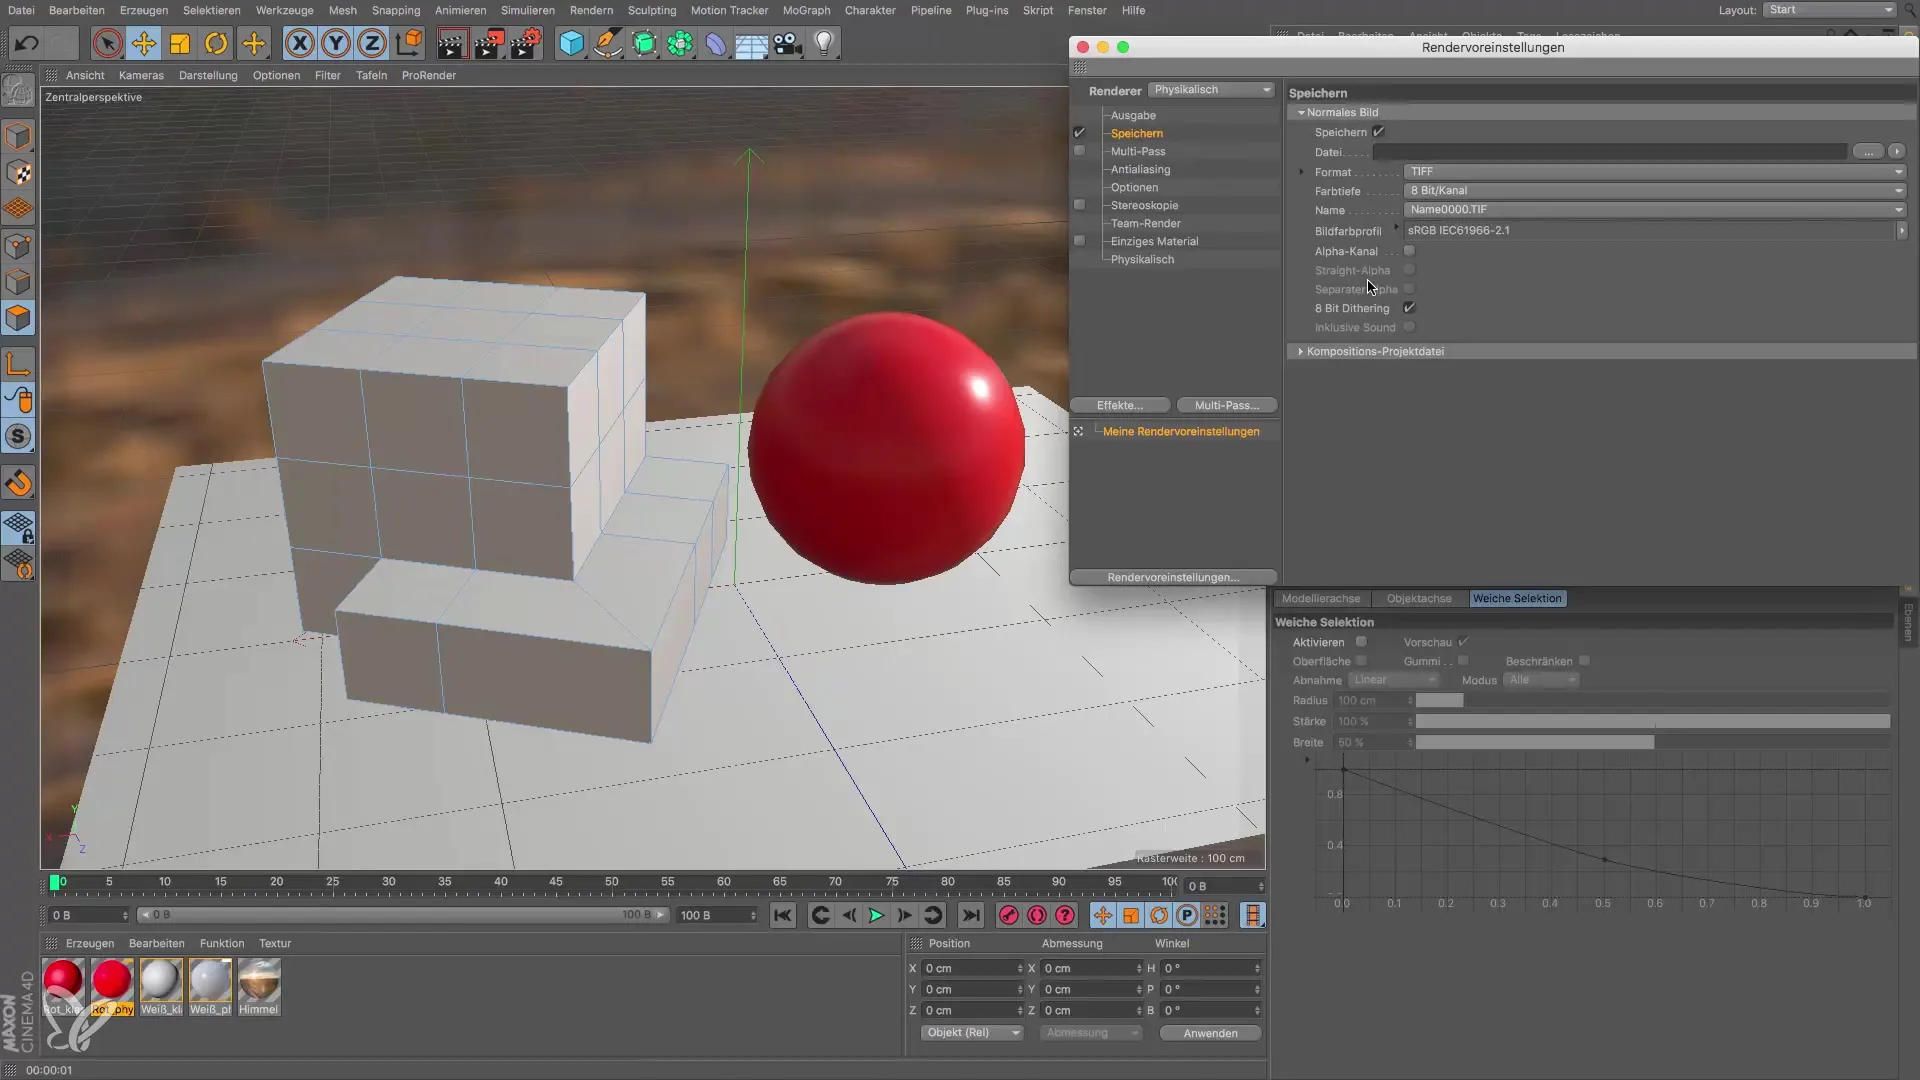
Go to the render settings. Here you can activate the alpha channel under the "Save" tab. This ensures that everything you render has a transparent background, which will benefit you later in Photoshop.
Step 4: Create separate alpha channels for objects
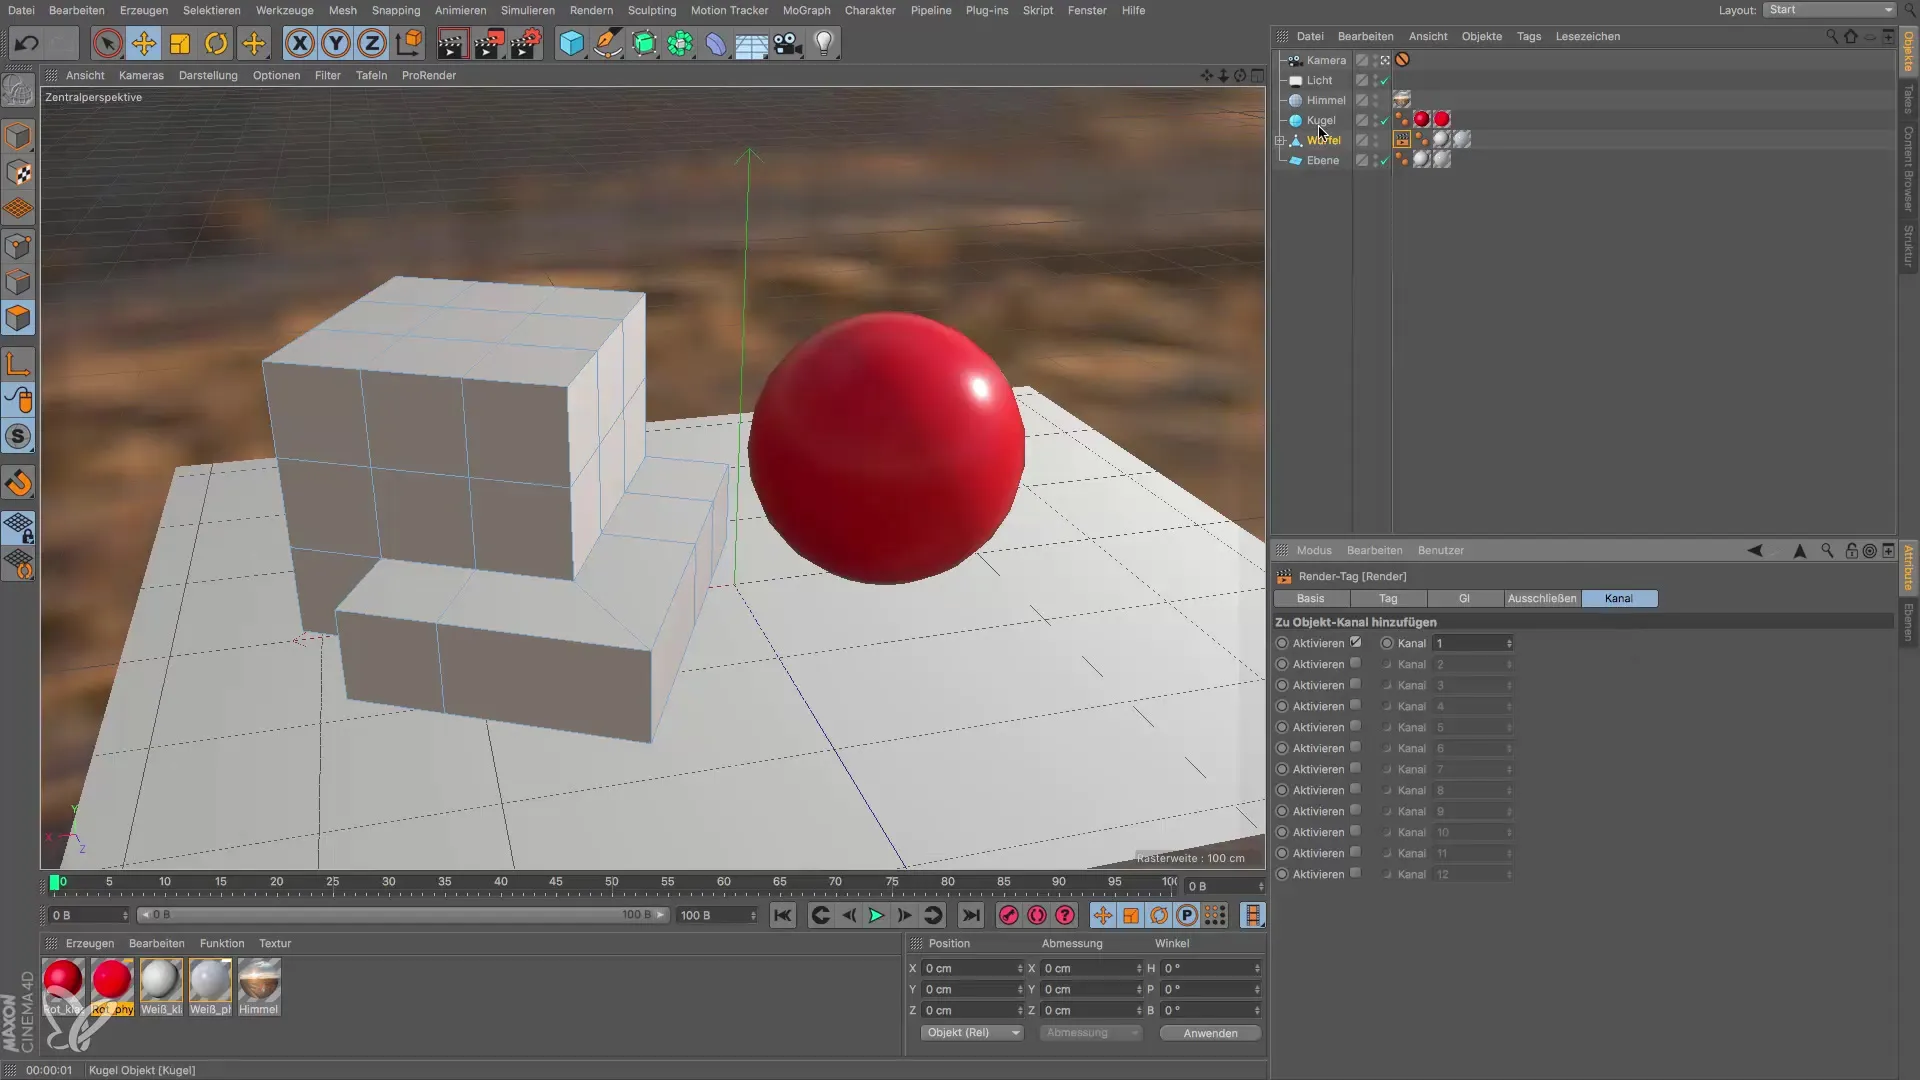
To work even more precisely, create separate alpha channels for each object you have inserted into your scene. In the render tag for each object, click on the channel to activate the necessary ID. Make sure that both the cube and the sphere are assigned their own channel numbers.
Step 5: Define object channels
Go back to the render settings, click on multipass, and add an object channel for each object. This is done by assigning the channel the ID it needs.
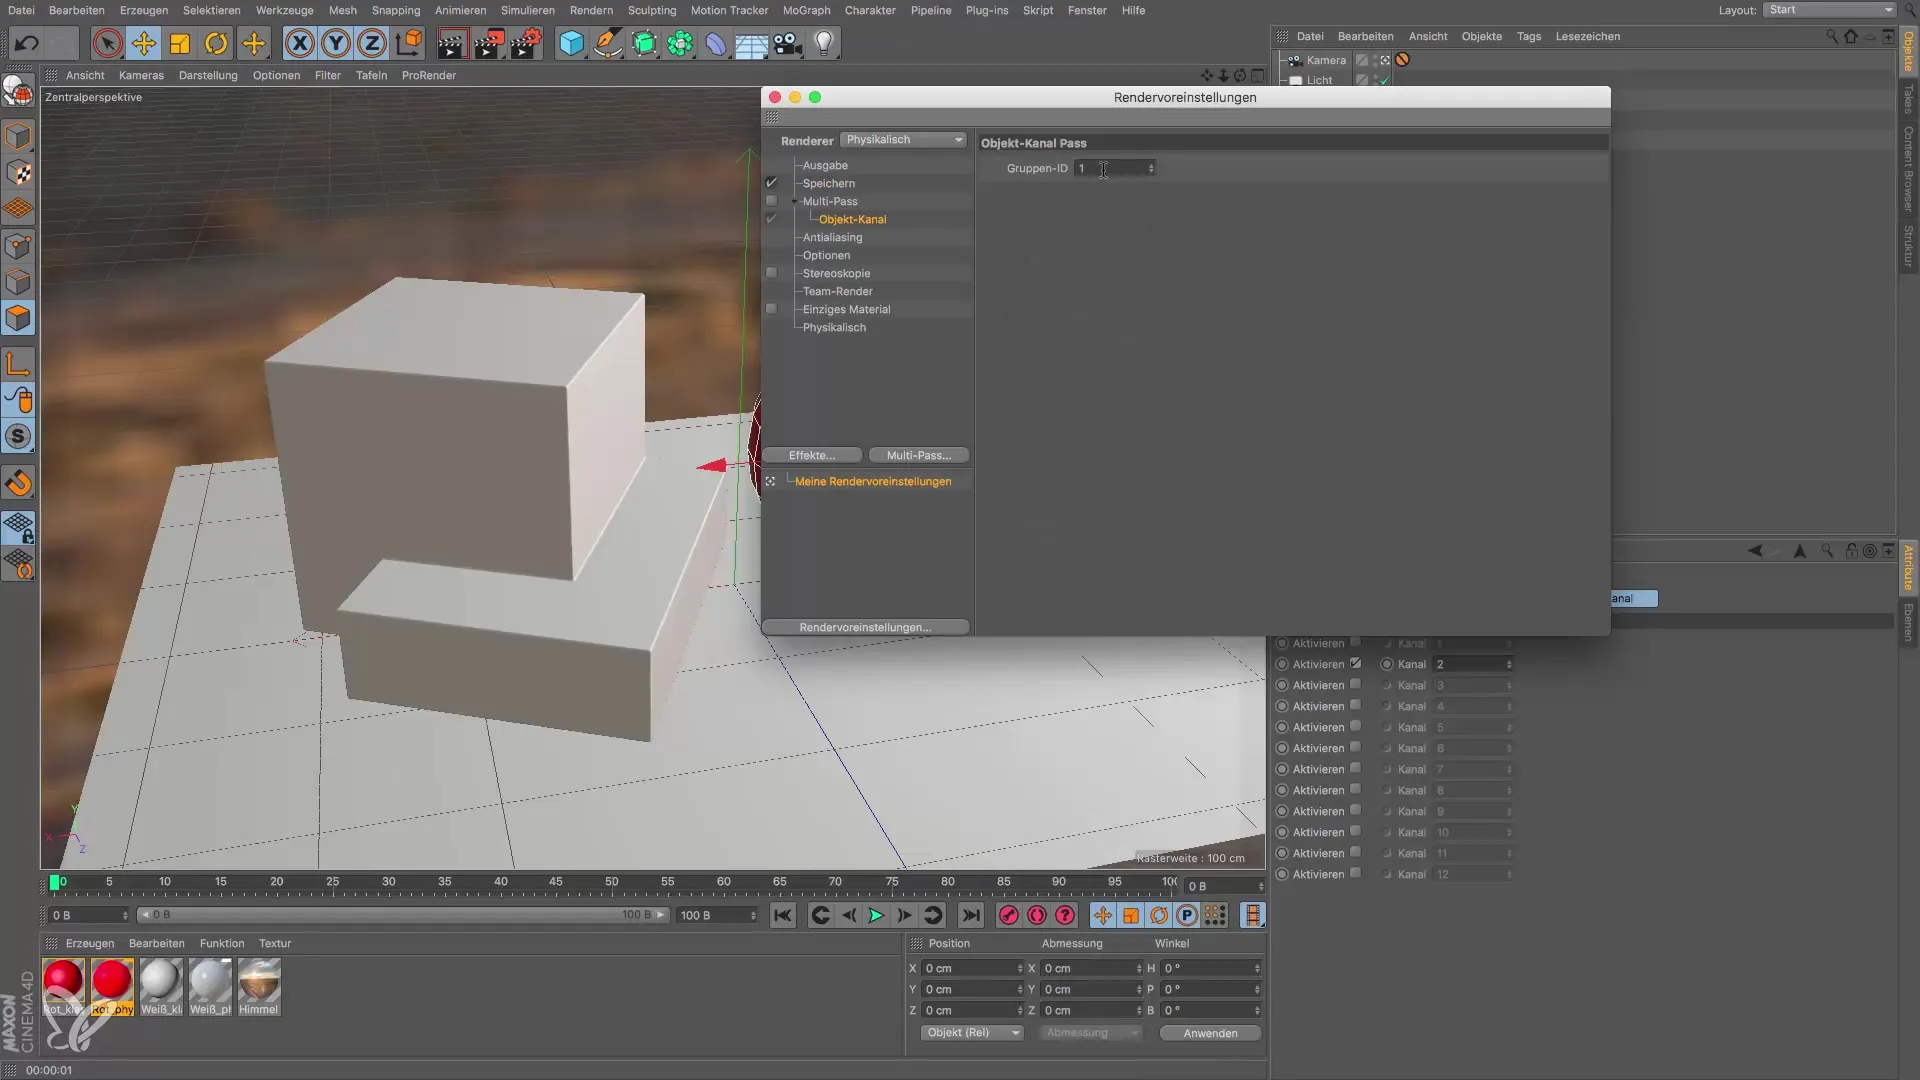
Step 6: Execute the rendering
Activate the multipass checkbox so that the settings take effect. Now you can start the rendering again. If everything is set up correctly, each object channel will be rendered separately.
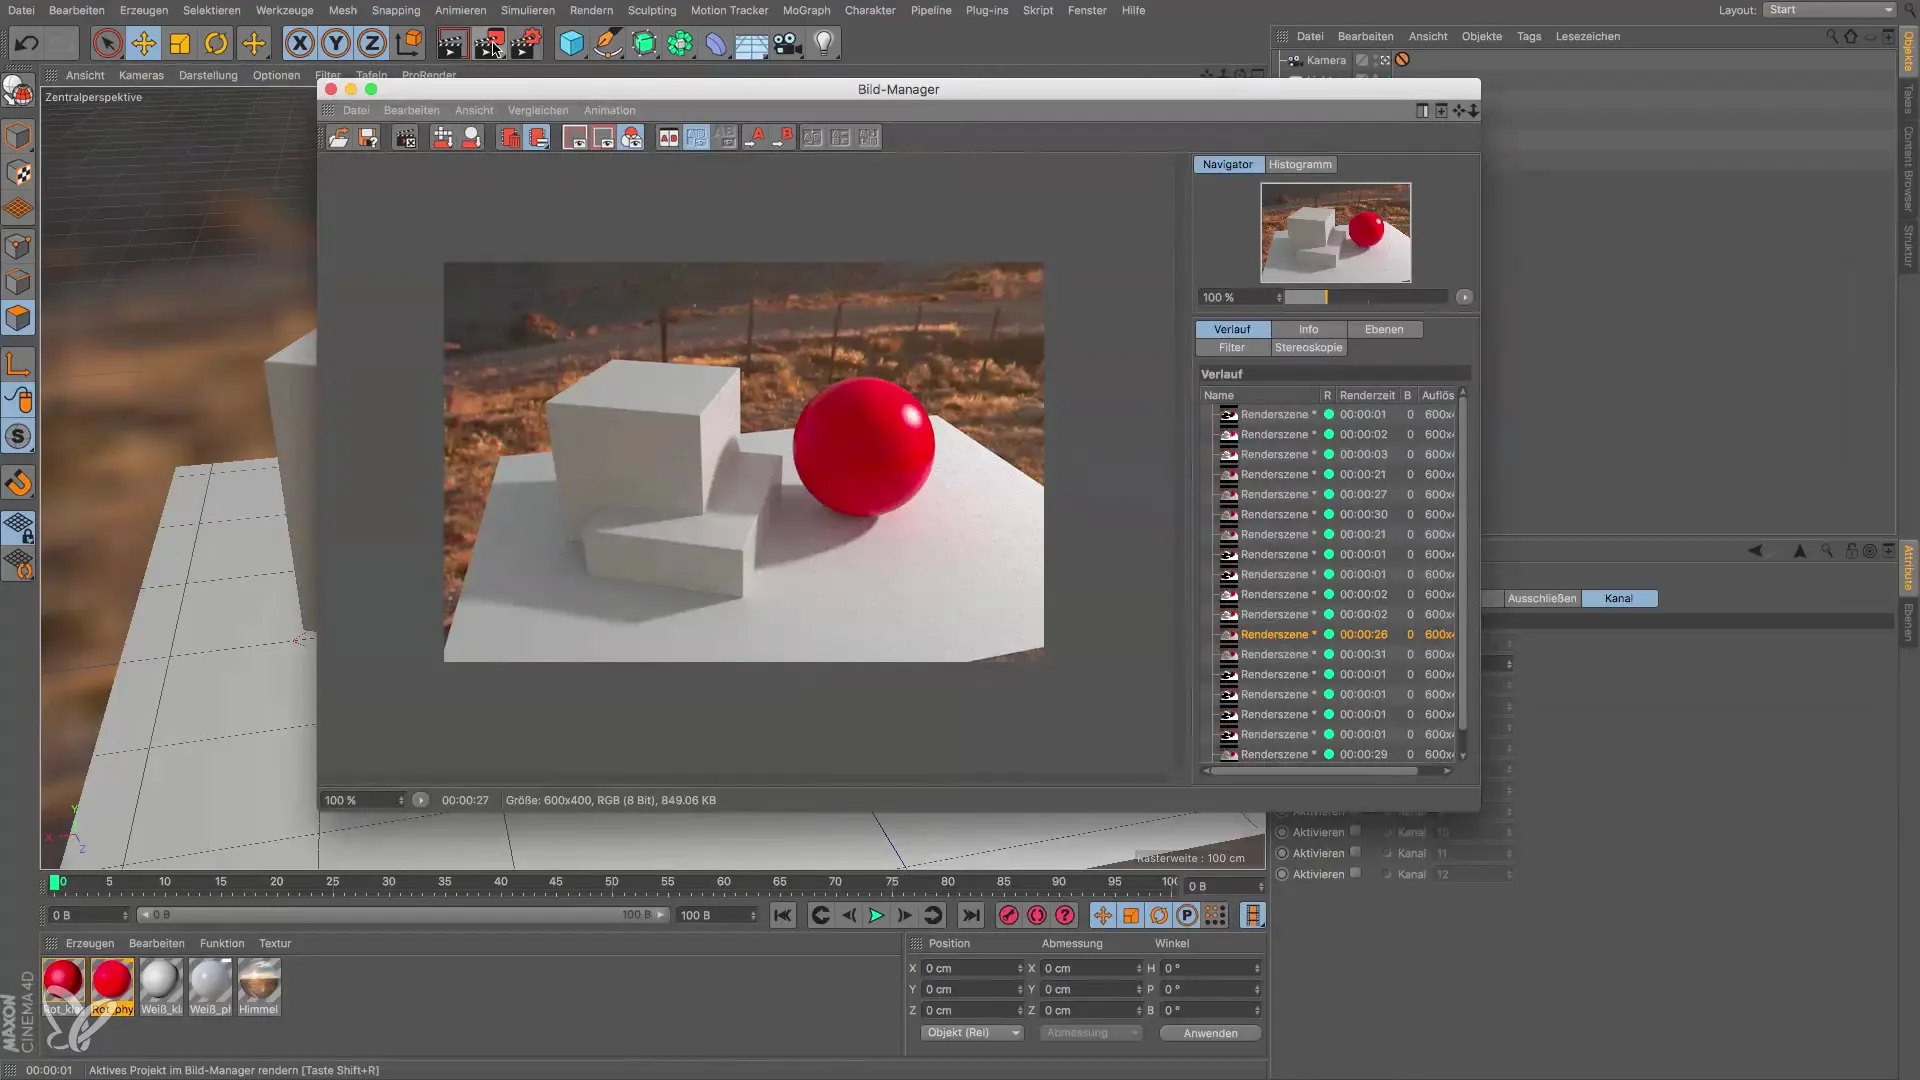
Step 7: Save the rendered file
After rendering, save the file. It makes sense to save as TIF or PSD, as PSD files are suitable for smaller file sizes while TIF can carry a larger amount of data.
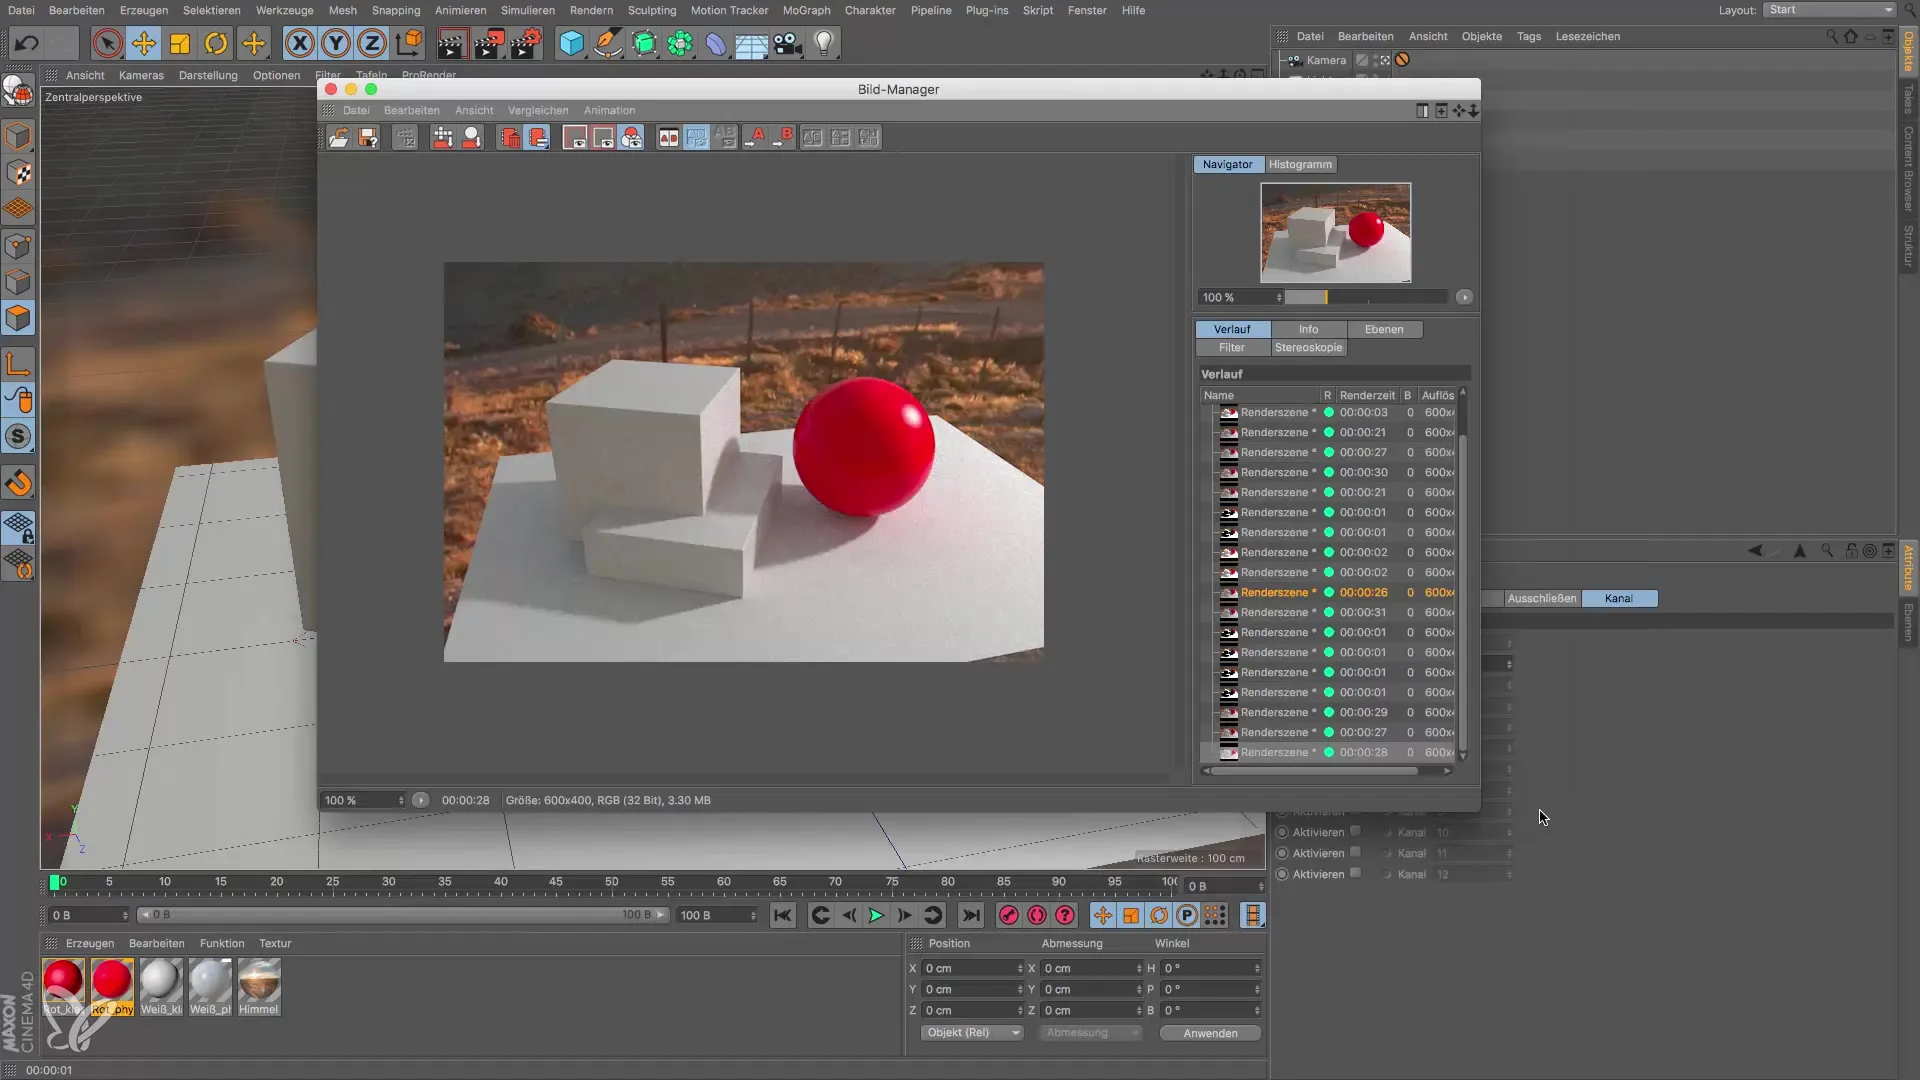
Step 8: Check file protection
Before closing the scene, you should ensure that everything is saved correctly. It would be frustrating to close the scene and then find out that you skipped an important step. Keep the project open so that you can render again if needed.
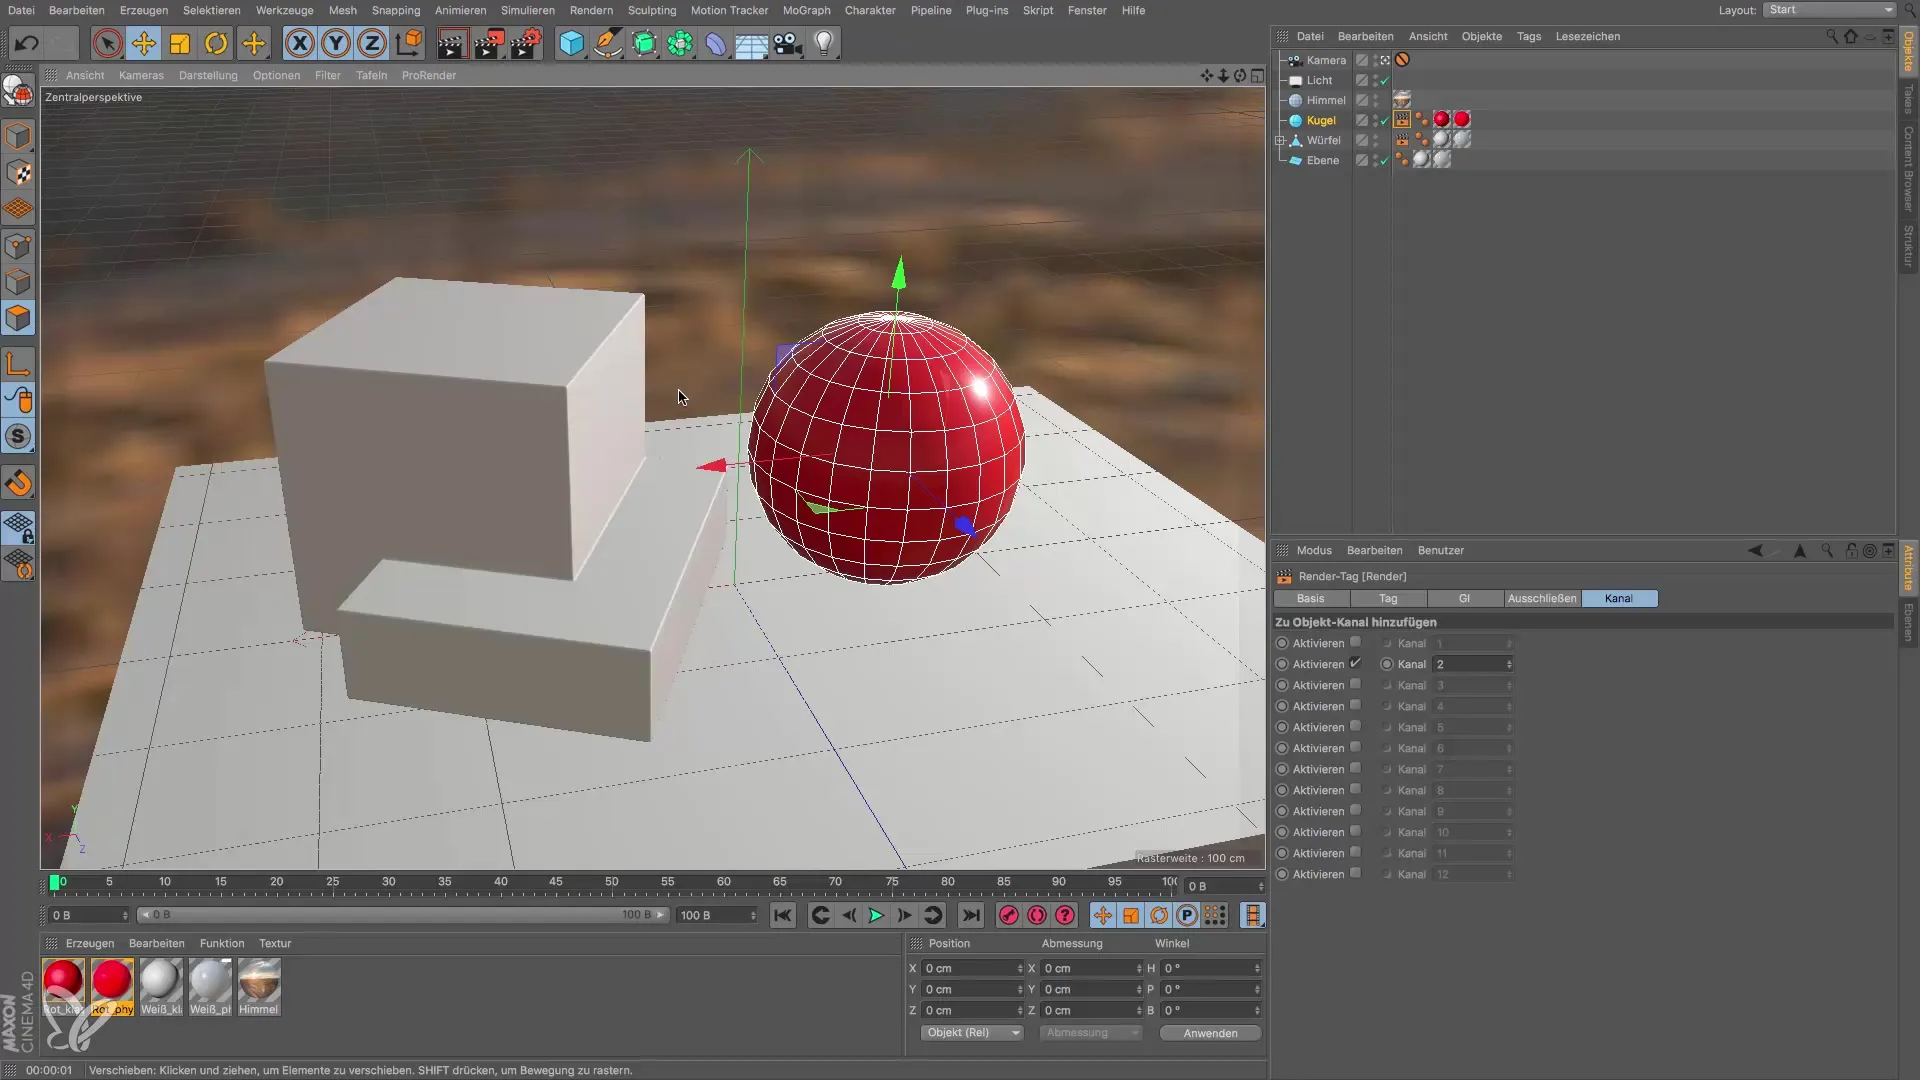
Step 9: Use Photoshop
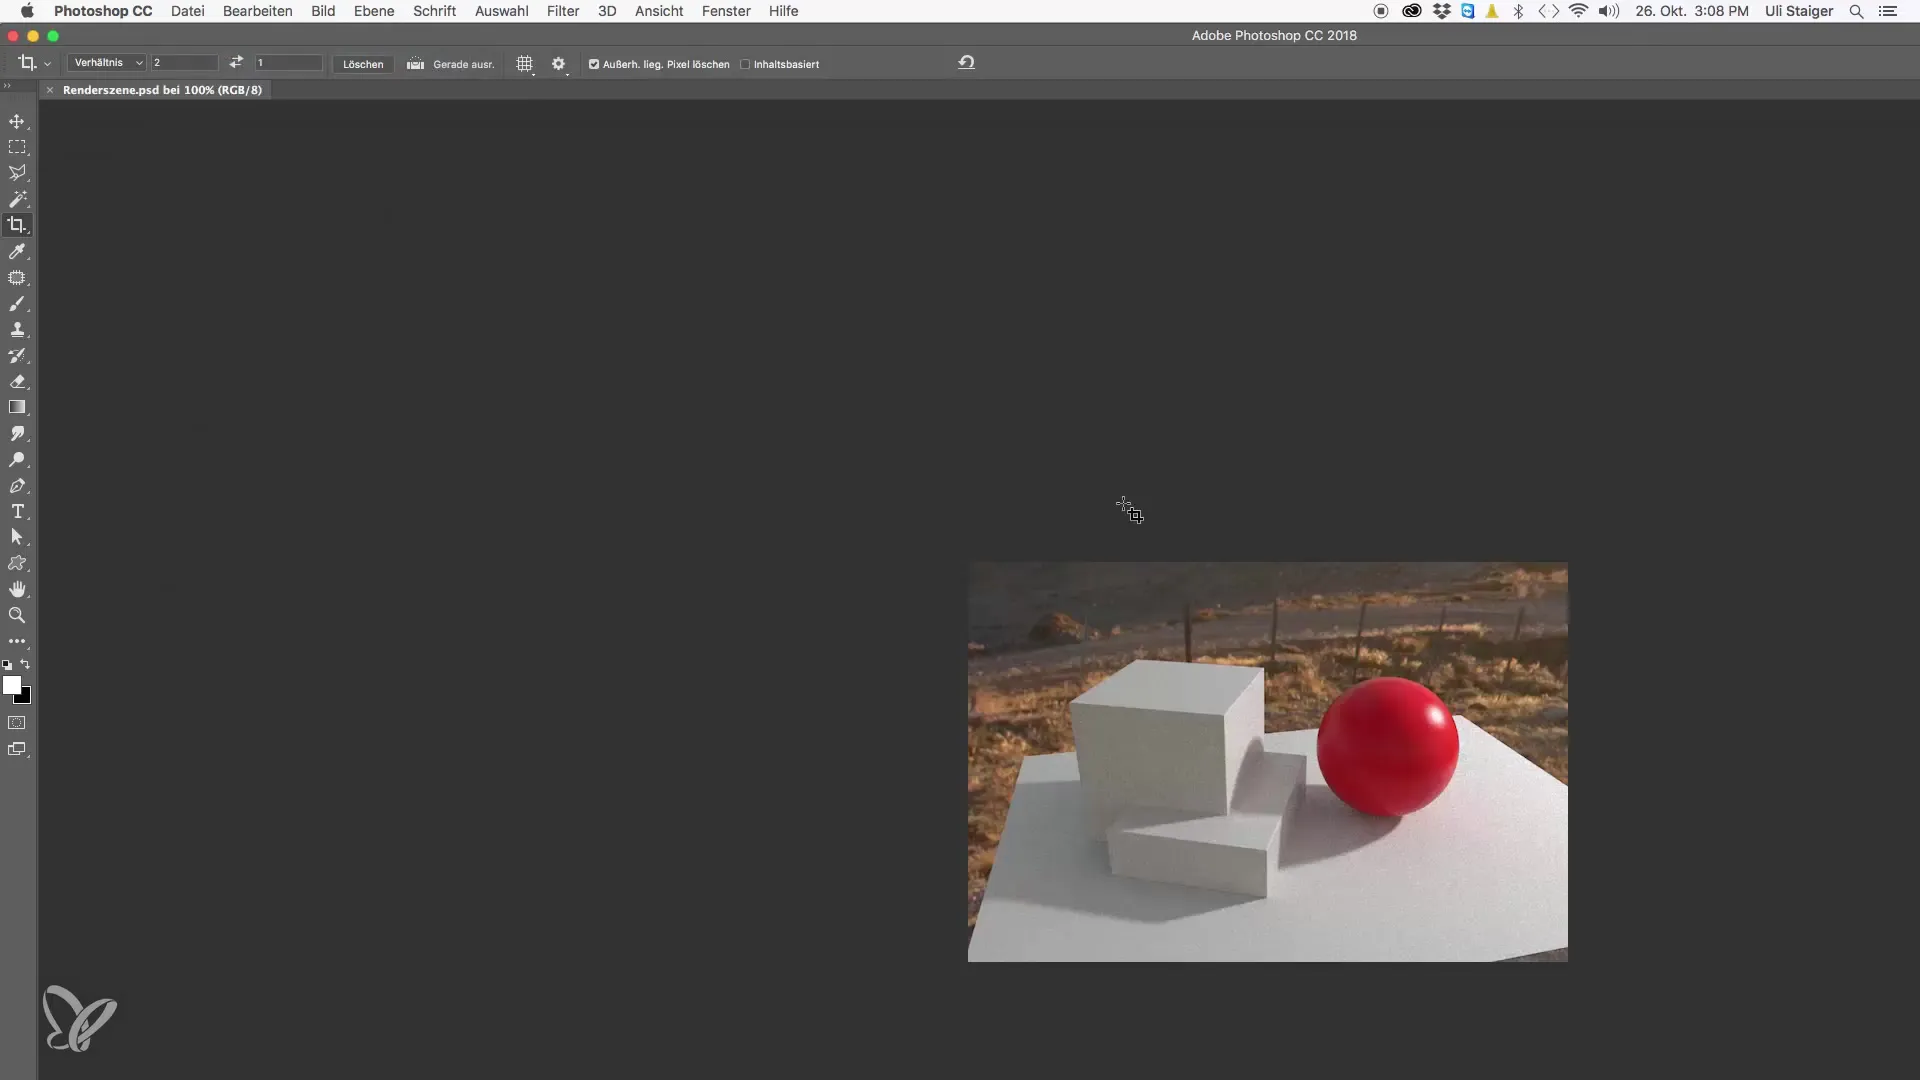
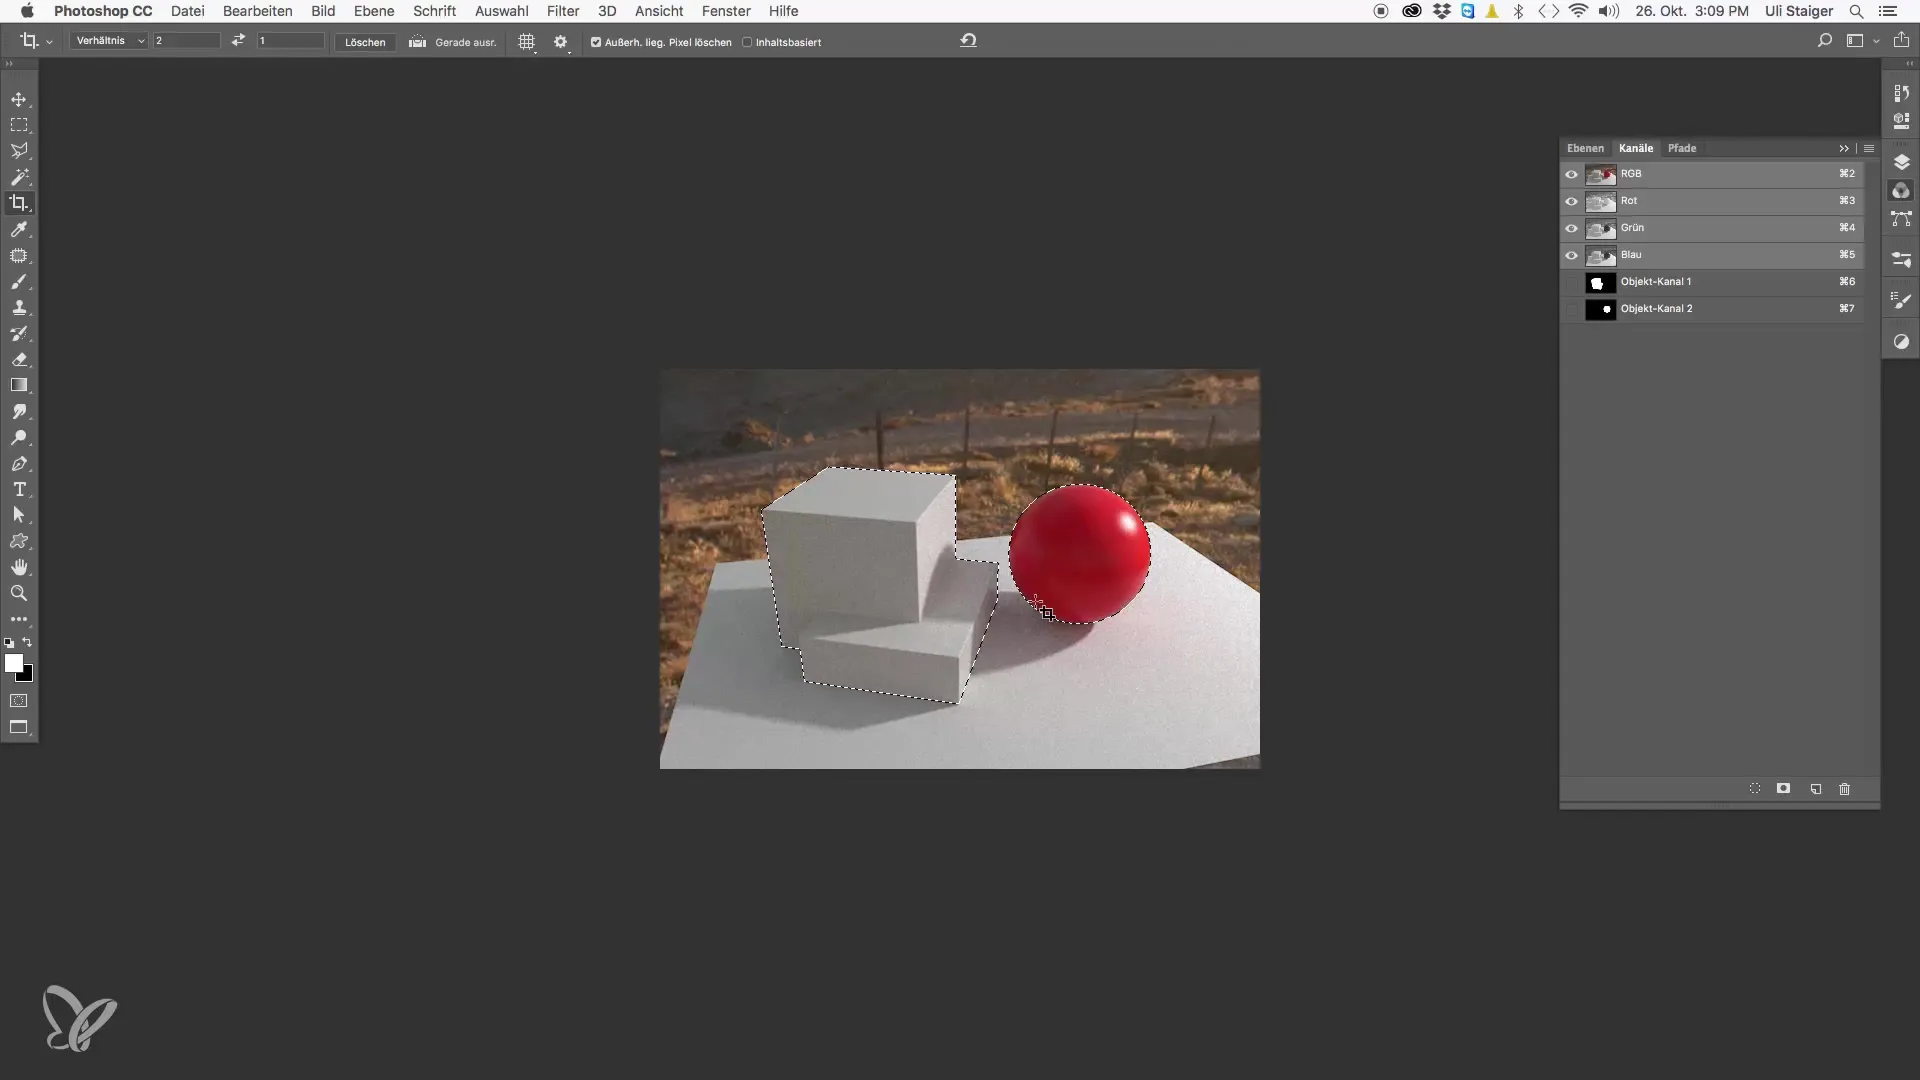
Open Photoshop and load the previously rendered file. Go to the channels and check if the object channels were created correctly. This is the point where you can work precisely with your image.
Step 10: Select object channels
Load the selection for the individual object channels in Photoshop. This allows you to work independently on each object. You can insert objects into other scenes or edit the background as you like.
Summary – Cinema 4D Post-Processing for Photoshop: Step-by-Step Guide
With this guide, you have learned how to create efficient renderings in Cinema 4D that can be optimally processed in Photoshop. Creating separate alpha channels allows you to work not only more efficiently but also more creatively.
Frequently Asked Questions
How do I properly save my renderings?Use the image manager and select the appropriate folder and file format (TIF or PSD).
What is the advantage of alpha channels?They allow you to have transparent backgrounds and easily select only specific objects.
How can I create separate alpha channels for different objects?Activate the associated object channels in the render tags for each object and assign them ID numbers.
What happens if I forget the multipass checkbox?Your individual channels will not be rendered and you will have done the work for nothing.
Which file formats are suitable for renderings?TIF for larger data and PSD for smaller files are ideal.
