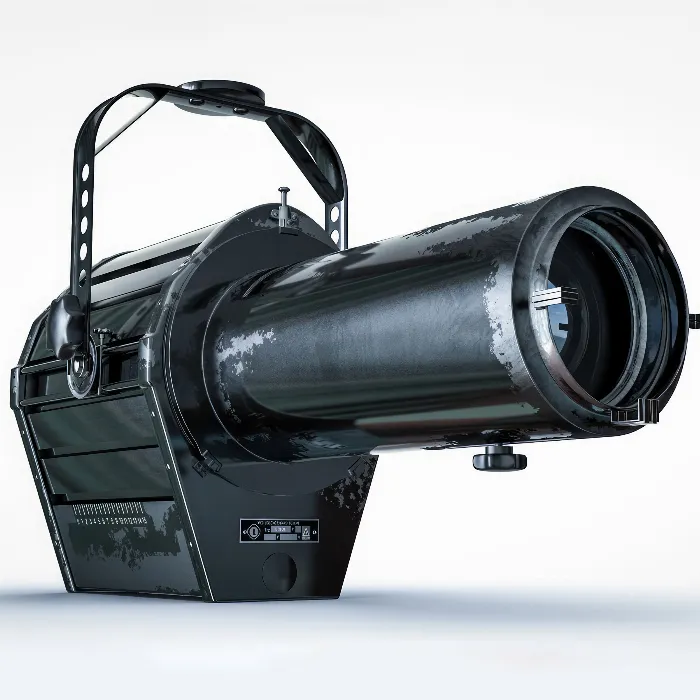
Drawing a Spline can be a challenging yet rewarding task in Cinema 4D, especially when it comes to creating an accurate shape like that of a spotlight. In this guide, you will learn step by step how to read the necessary dimensions from photographs and then create a spline that matches the desired shape. The right settings and techniques will help you achieve efficient results that are both functional and aesthetically pleasing.
Key Takeaways
- Using reference images allows for precise measurements and proportions when creating splines.
- The points of a spline should first be set as corner points; curves can be added later using the bevel command.
- Understanding the spline tools in Cinema 4D, including interpolation and selection, is crucial for successful design.
Step-by-Step Guide
Step 1: Preparing the Workspace
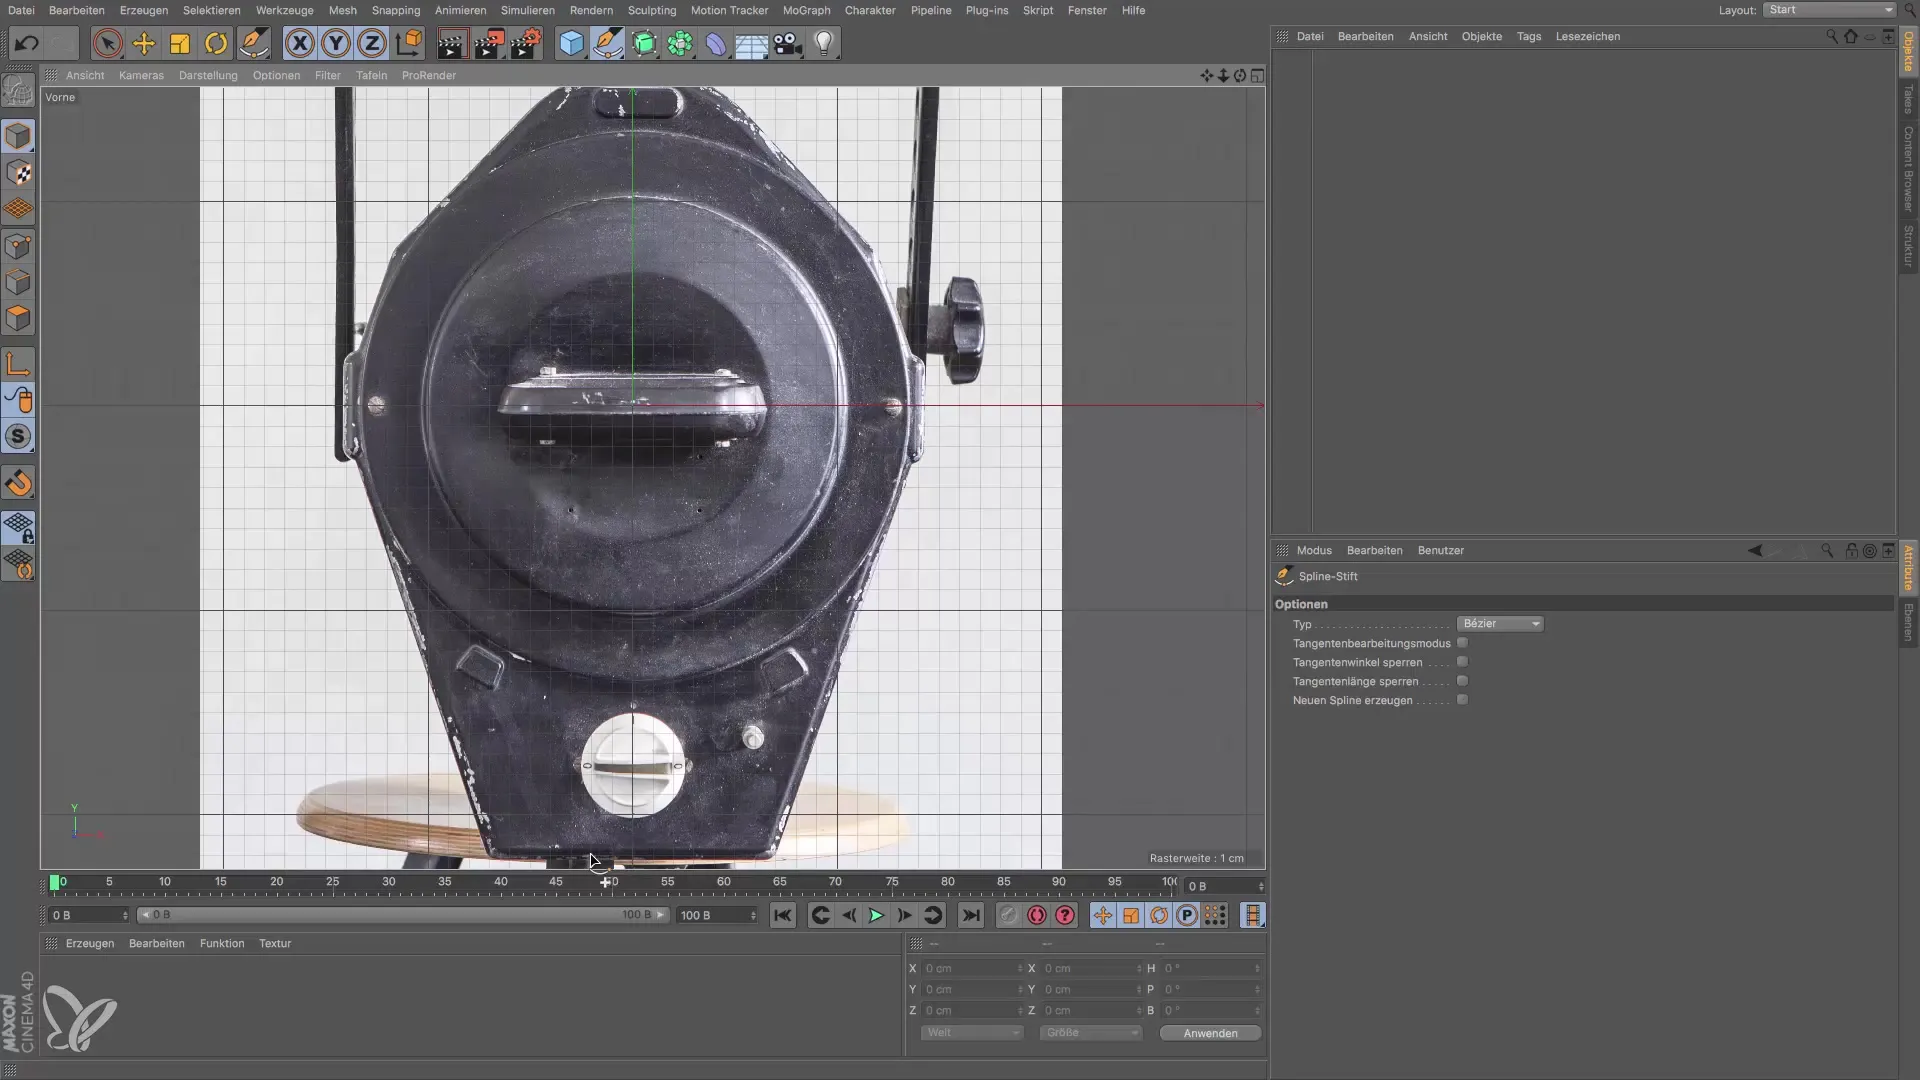
Before you start drawing the spline, import a reference image of your spotlight into the front view of Cinema 4D. This view is useful as it gives you direct access to the Z-axis. Go to the options and select the view presets in the attribute manager to load the background image. Make sure to scale and position the image correctly so that you have a good overview of the profile of the spotlight.
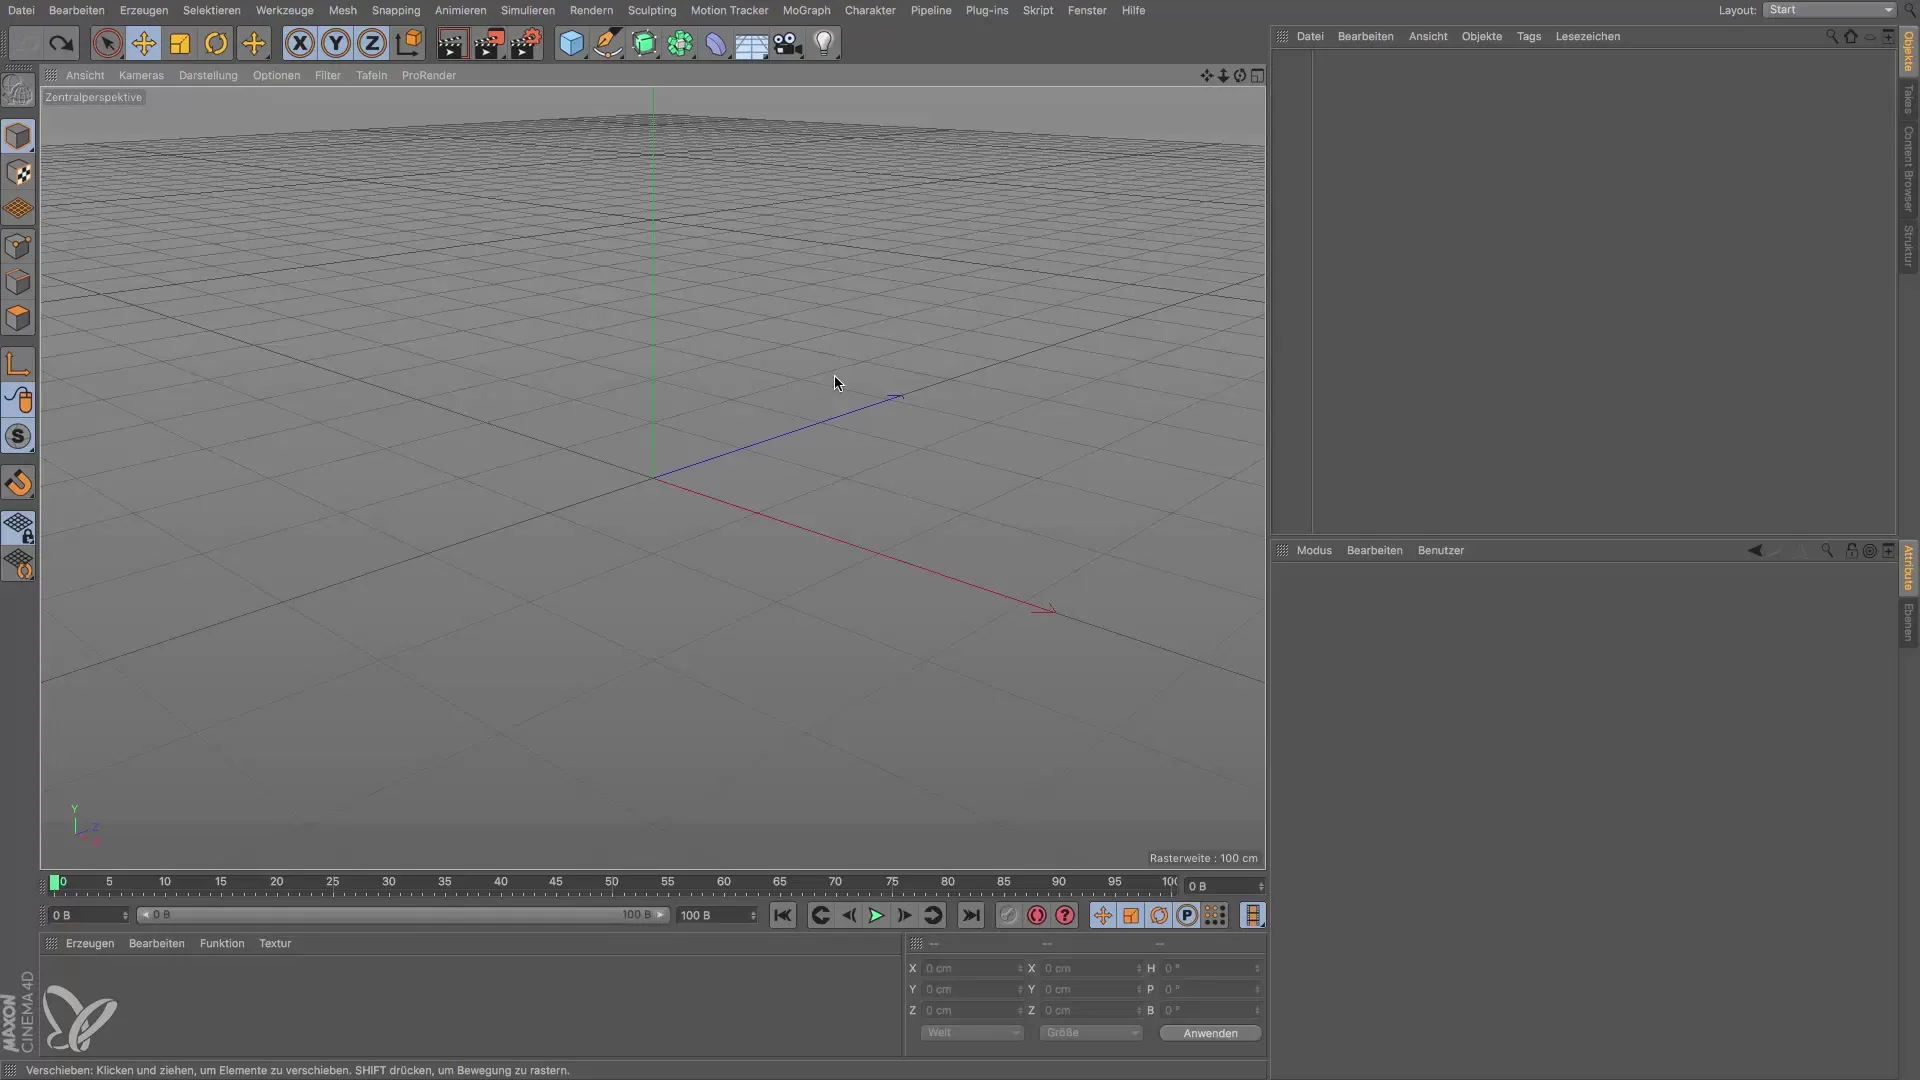
Step 2: Reading Measurements and Placing the Starting Shape
Obtain various measurements of the spotlight from the photographs and create a starting shape by inserting a cylinder into the project. Ensure that the cylinder matches the diameter of the spotlight and align it in the Z-direction. The exact placement is important as it allows you to determine the size of the spline. The goal is to adhere to all relevant dimensions to produce an accurate shape later on.
Step 3: Creating the Spline
Once you have established the reference and measurements, you can create the spline with the spline pen tool. Set corner points by simply clicking on your screen. Be careful not to draw the spline on both sides as you want to mirror it later. Start slightly offset from the Y-axis and draw to trace the shape of the spotlight. It is important that you initially only set corner points and edit the curves later.
Step 4: Converting the Points
Switch to the properties of the spline and select “Mesh Spline” with hard interpolation, so that all points become corner points. This will make it easier to edit and shape the curves later on. Now you can start selecting the corners that should be rounded to match the desired shape of your spotlight.
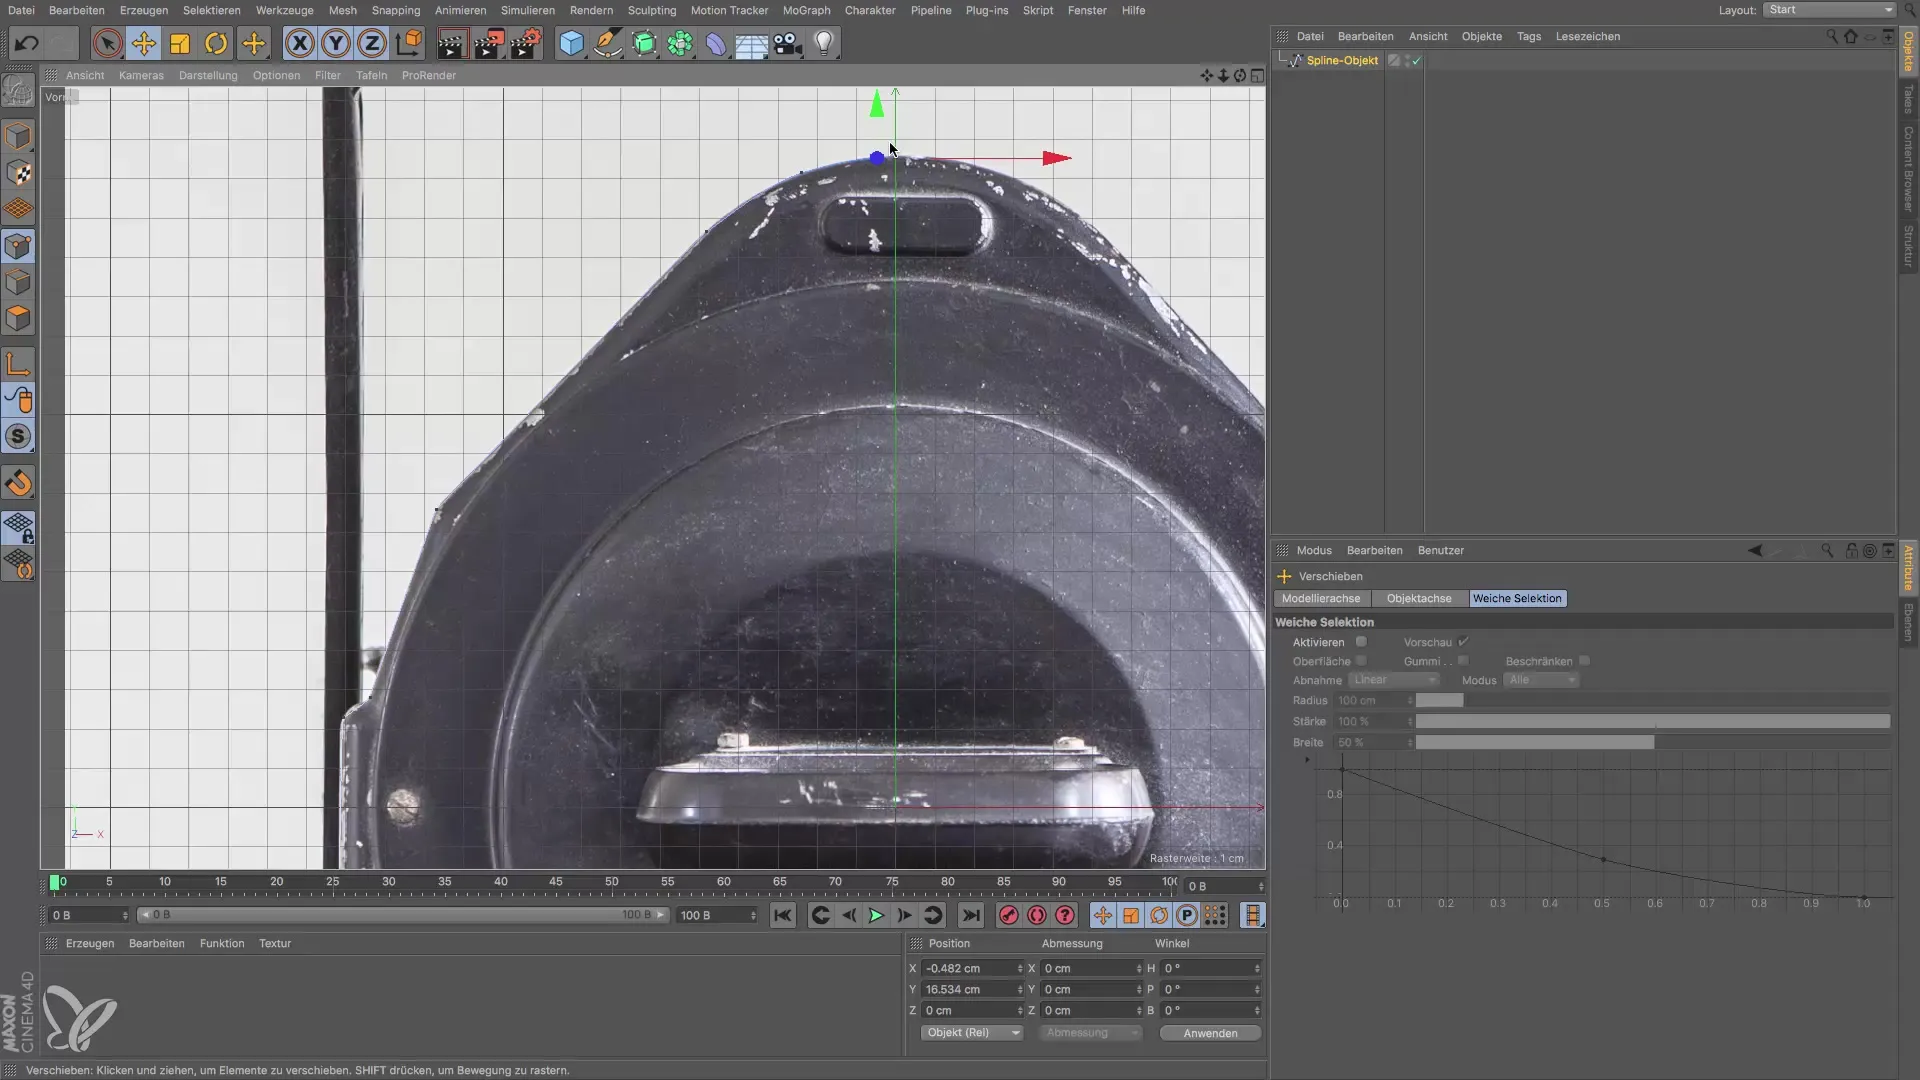
Step 5: Applying the Bevel Command
Select the bevel command to round off the selected corner points and make the transitions smoother. Experiment with the radius to achieve the ideal rounding for your shape. Often, you need to play with different settings to find the perfect fit. Ensure that the rounding details are crucial for shaping the spotlight form.
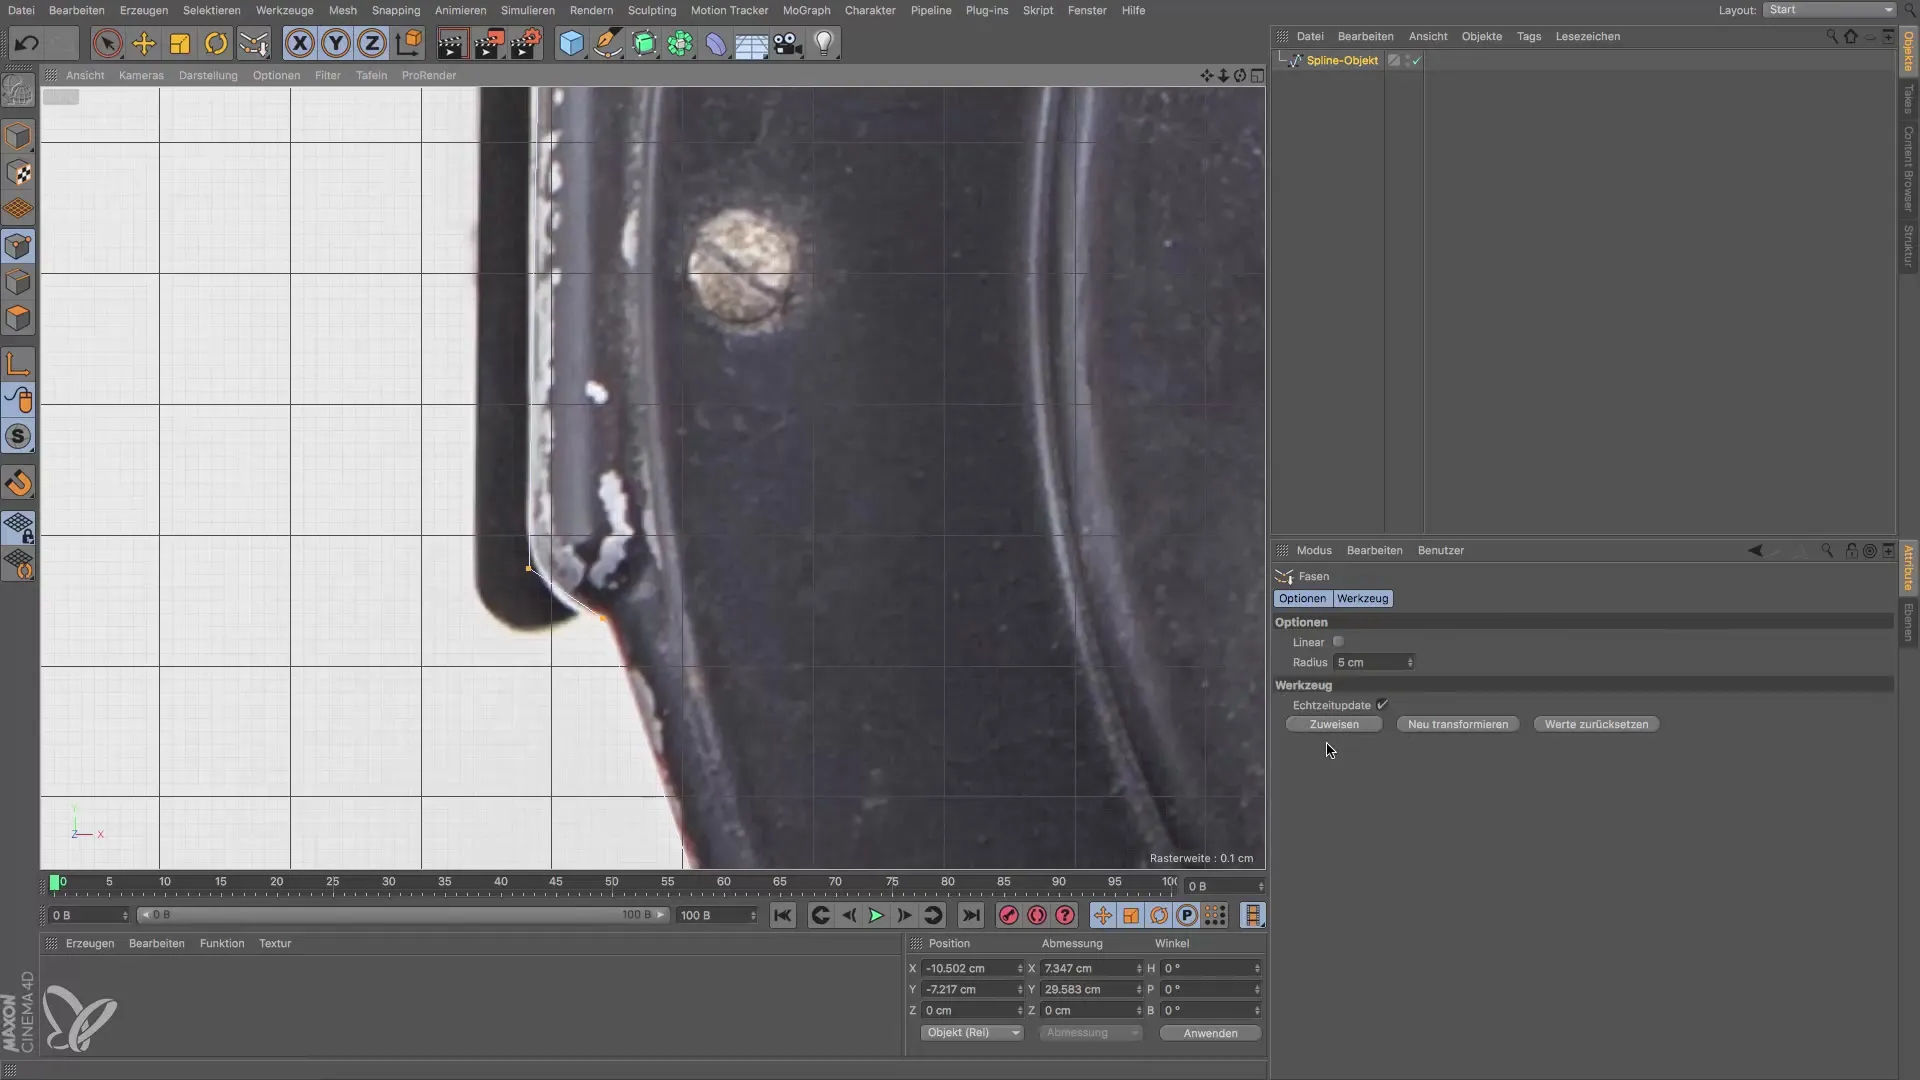
Step 6: Checking the Spline Half
If you are satisfied with the design of one half of the spline, check the result by switching to the perspective view. This gives you a good overview of your progress. Now it is time to create the other half. Copy your existing spline half to save time and maintain the same profile.
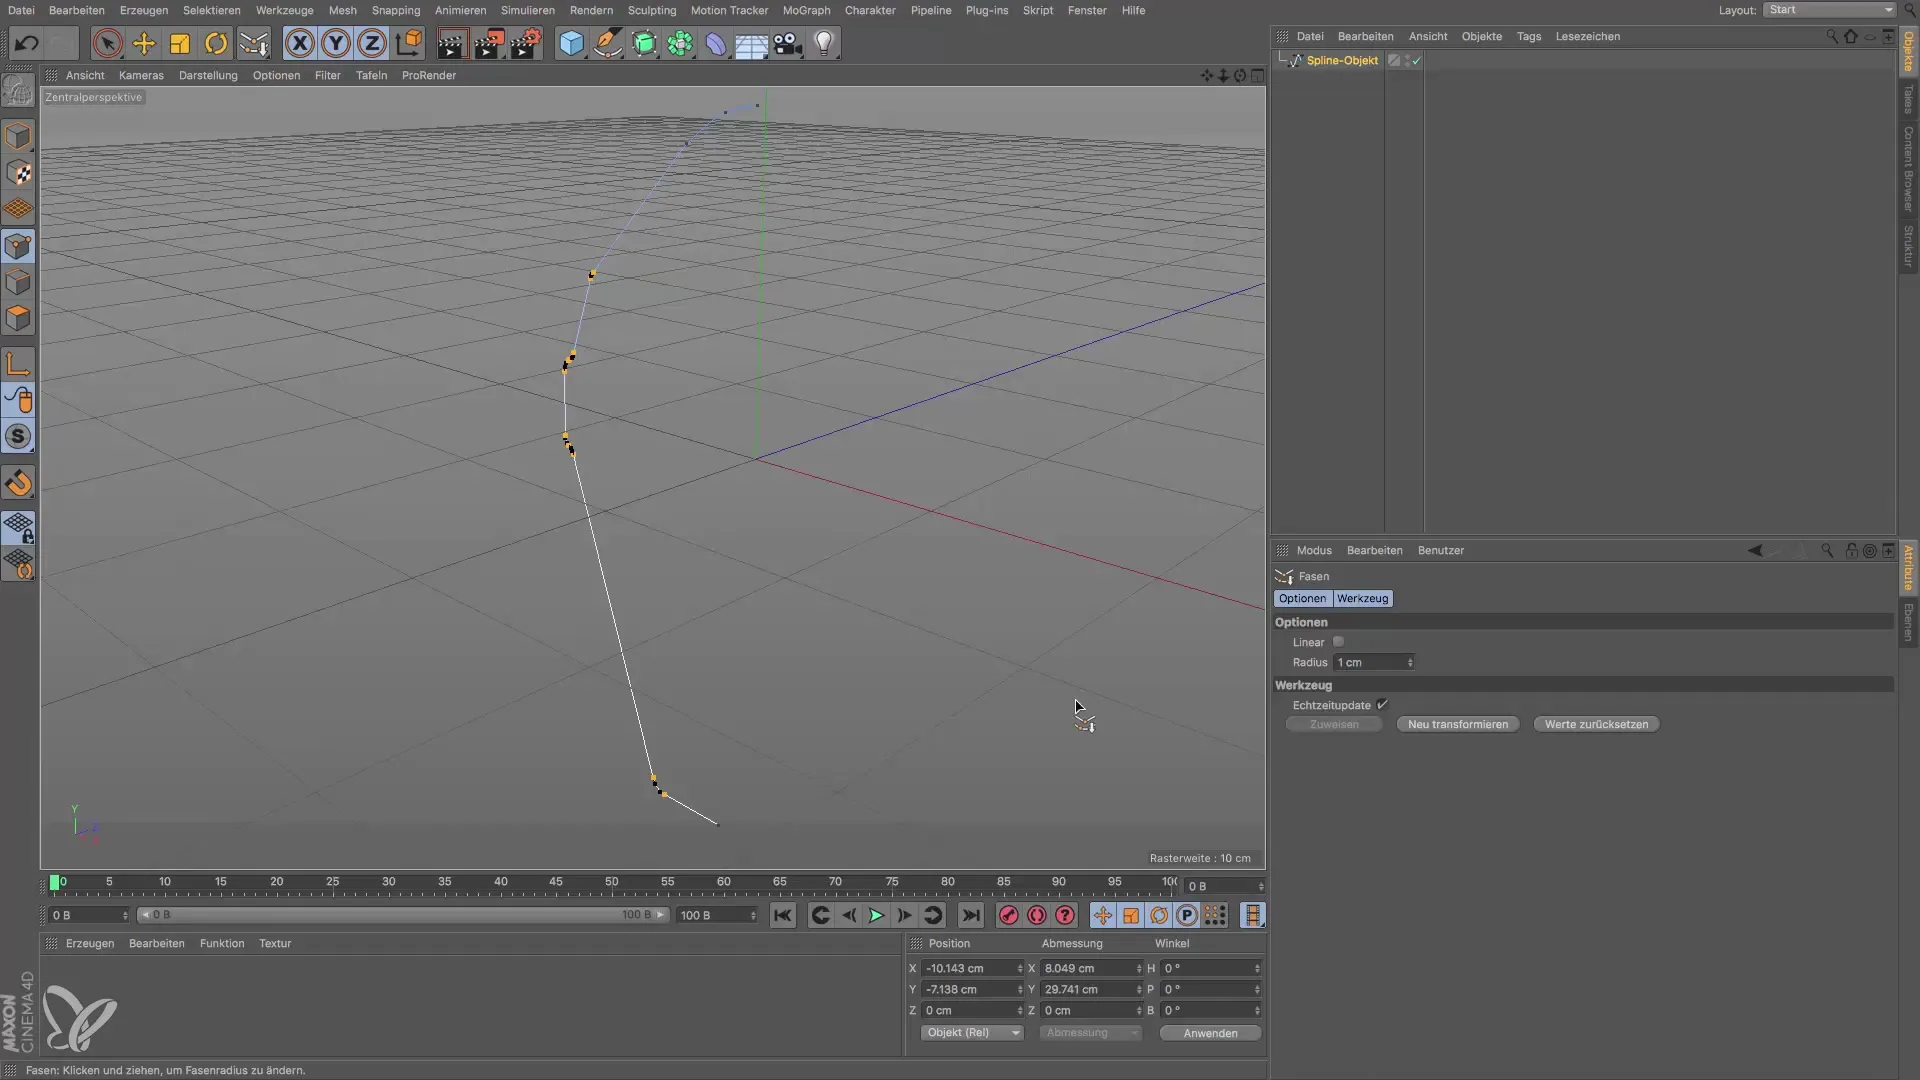
Step 7: Mirroring the Spline Half
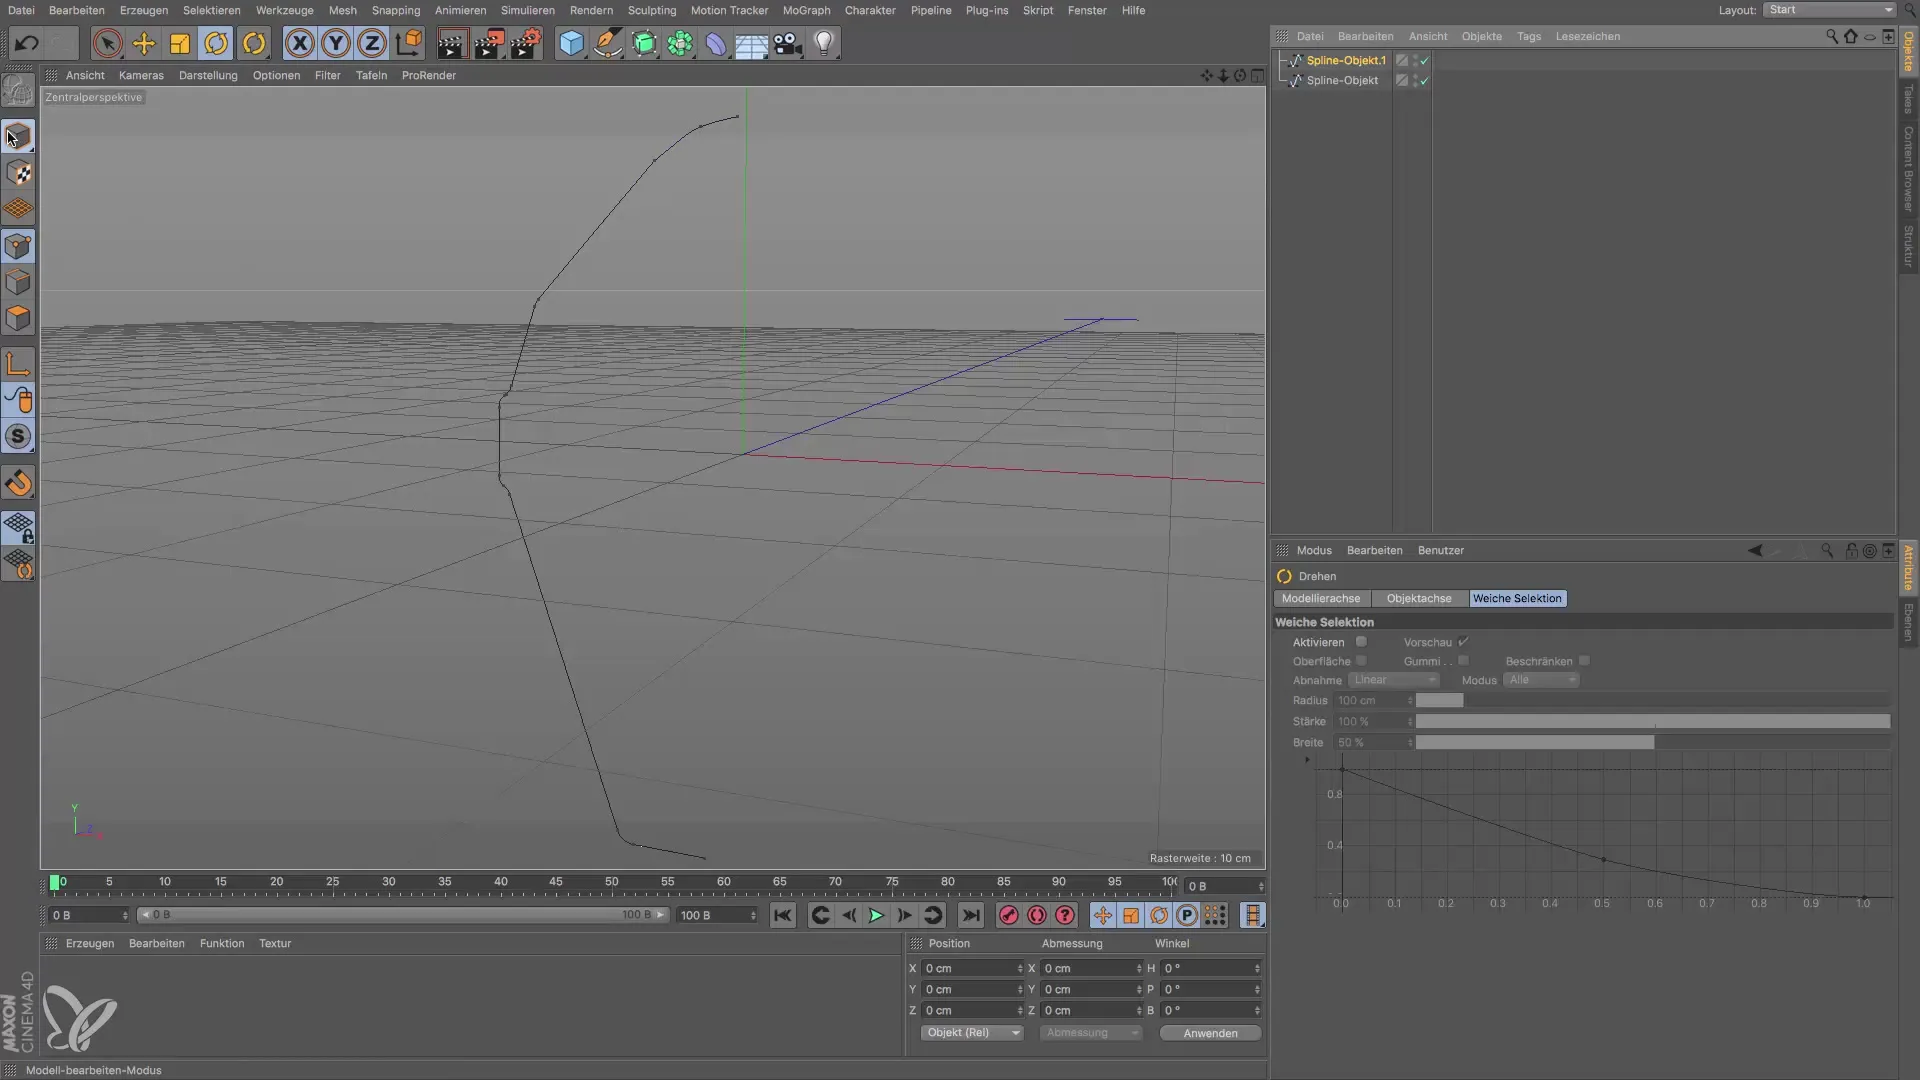
Switch to edit mode and use the rotation tool to rotate the copied spline half by 180°. Ensure that both halves are correctly aligned to achieve a well-proportioned overall design. Go through joins and adjustments to ensure that the lines in the middle connect cleanly before making the final adjustments.
Summary – Spline Creation in Cinema 4D for Spotlight Shapes
You have learned how to create a spline in Cinema 4D using photographic references, including the correct use of methods for setting corner points and the bevel command. These techniques are essential for accurately replicating complex shapes.
Frequently Asked Questions
What should I do if I do not have exact measurements?Use various photos from different angles to estimate the measurements.
Can I change the spline afterwards?Yes, you can adjust the points at any time and modify the shape according to your wishes.
Why should I use corner points?Corner points give you more control when modeling and make precise design easier.
What software version is used?The tutorial is based on the current features of Cinema 4D at the time of creation.
What is the advantage of the bevel command?The bevel command enables you to create precise and smooth transitions between the corner points.
