In this guide, I will show you how to use Stable Diffusion in Google Colab and Google Drive. Stable Diffusion is a powerful tool for generating images and has a variety of applications in art, design, and beyond. With Google Colab, you have the opportunity to use the necessary resources for free, although the performance depends on the GPU used. You only need a Google account and some storage space in Google Drive. Let's get started and go through the necessary steps.
Key Insights: Stable Diffusion enables image generation in Google Colab. You only need a Google account and free storage space in Google Drive to get started. The installation and execution of the required files can be done in a few steps and is straightforward.
Step 1: Login and Getting Started
First, you need a Google account. Most of us already have one. If you are already signed in, simply go to Google Drive. You will find a link in the provided materials that will take you to the page we will be using. Click on this link to get started.
Step 2: Understanding the Interface
After opening the link, you will be directed to a page that may not be considered as an interface, but it provides everything you need. The design may seem a bit confusing at first, but don't worry, we will go through the important steps together.
Step 3: Activating Dark Mode
If you're wondering why the appearance of the page is different for you, it may be due to Dark Mode. I recommend activating Dark Mode. To do this, go to "Tools" and then to "Settings." Here, you can choose between different themes: "adaptive," "dark," or "light." Choose "dark" for a consistent view.
Step 4: Copying the Notebook
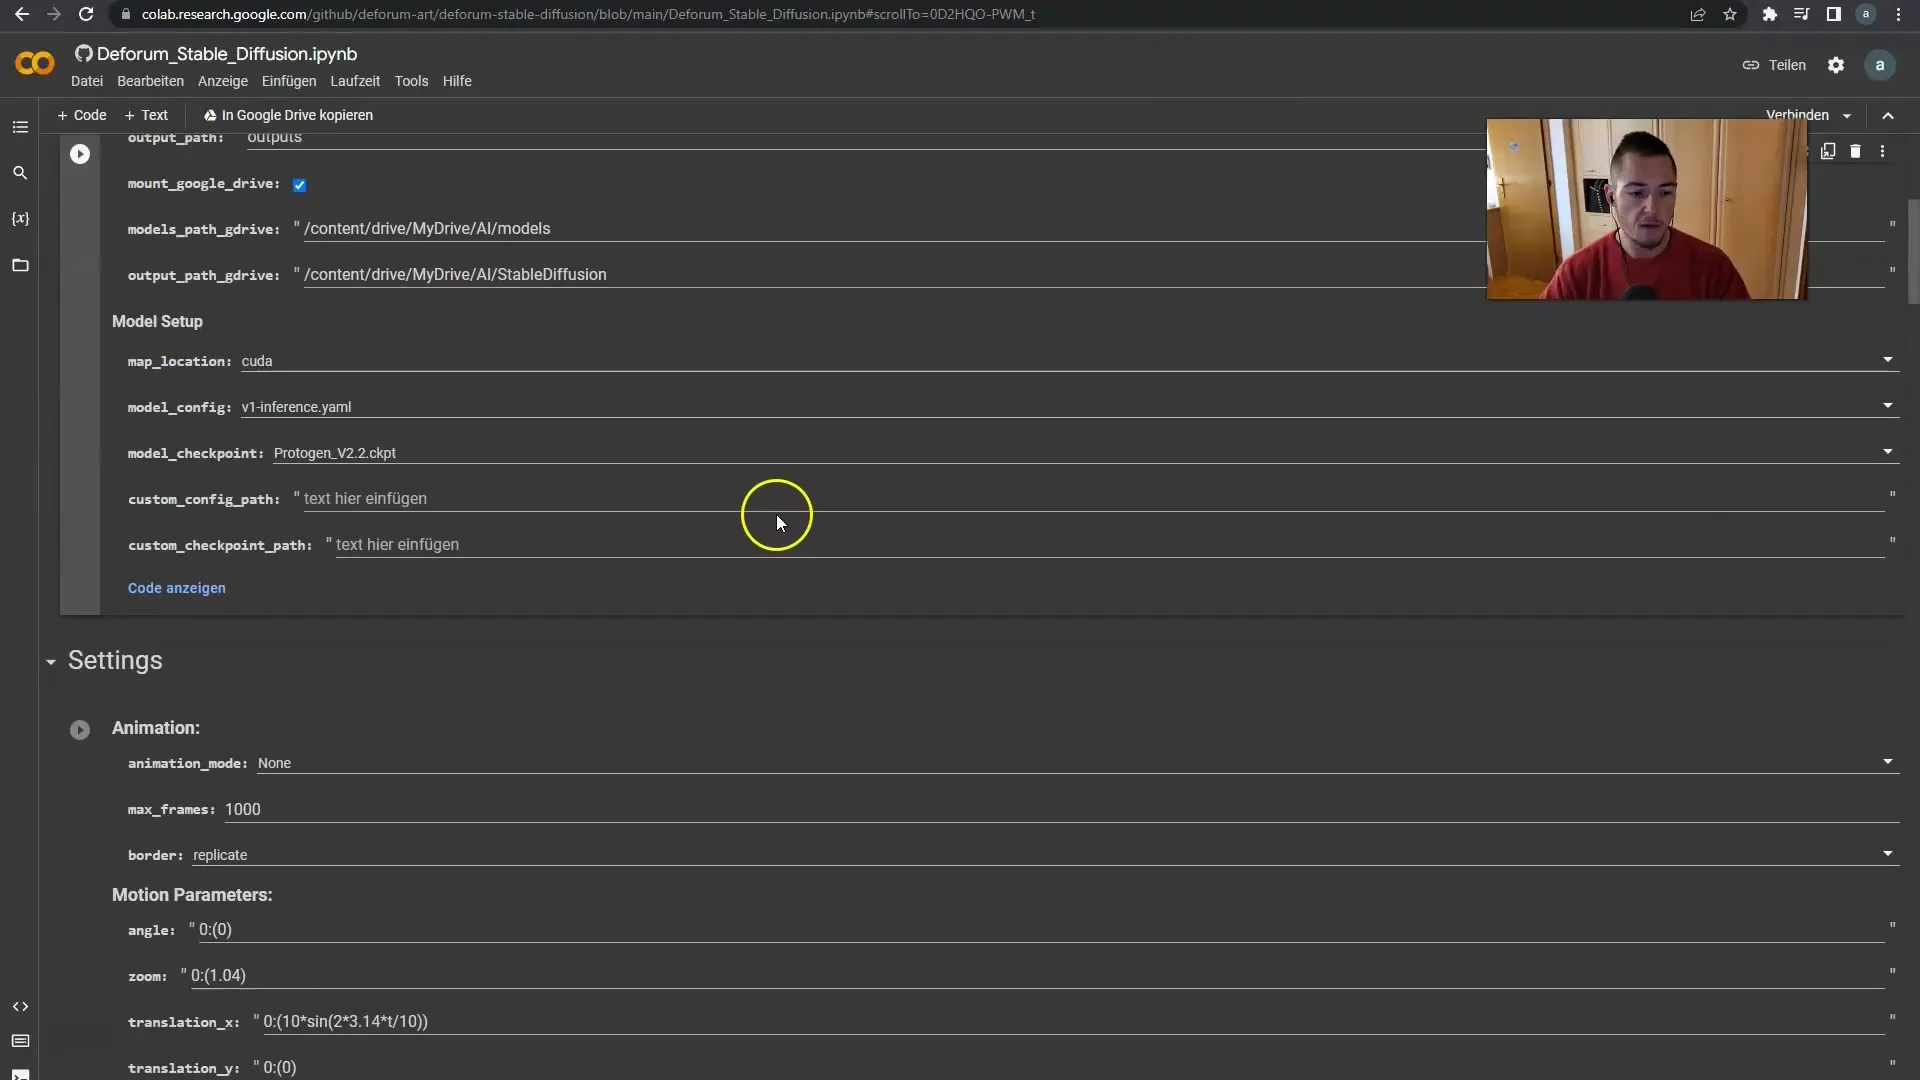
Now we come to the heart of the matter: Stable Diffusion Version 0.7. To begin, click "Save to Google Drive" at the top. The notebook will now be saved in your Google Drive, and you should see a new folder named "colab Notebooks."
Step 5: Organizing Folders and Files
When you are in your "colab Notebooks" folder, you will see a file named "Copy of Deforum Stable Diffusion." You can create multiple copies of it to manage different projects. Just double click on the copy to open it.
Step 6: Renaming the Notebook
Once you have opened the copy, you can rename it to identify it more easily. I name my copy "course example." Now let's examine the notebook's structure.
Step 7: Running All Cells
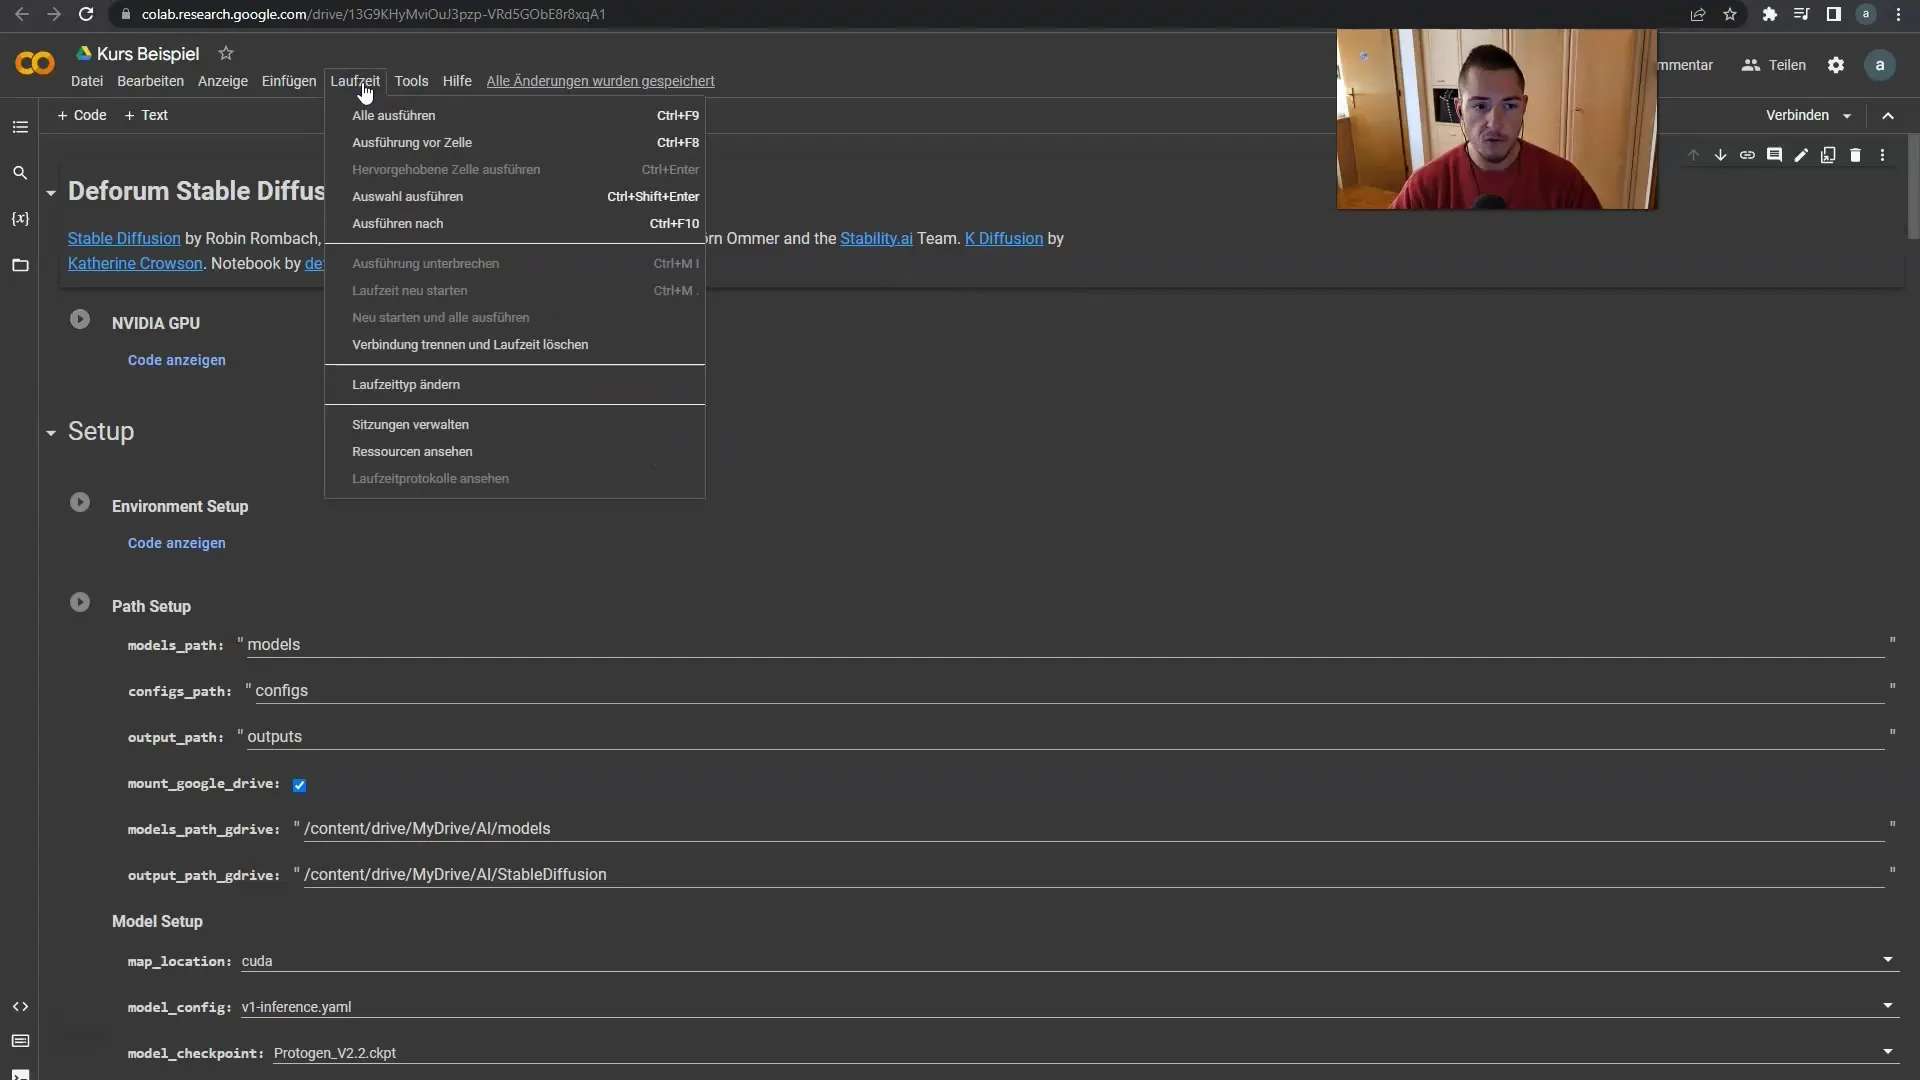
To ensure everything is working, click on "Runtime" at the top and then on "Run All." This only needs to be done once, but it is important to ensure that all necessary installations and preparations are made. It may take a few minutes, so please be patient.
Step 8: Allowing Access
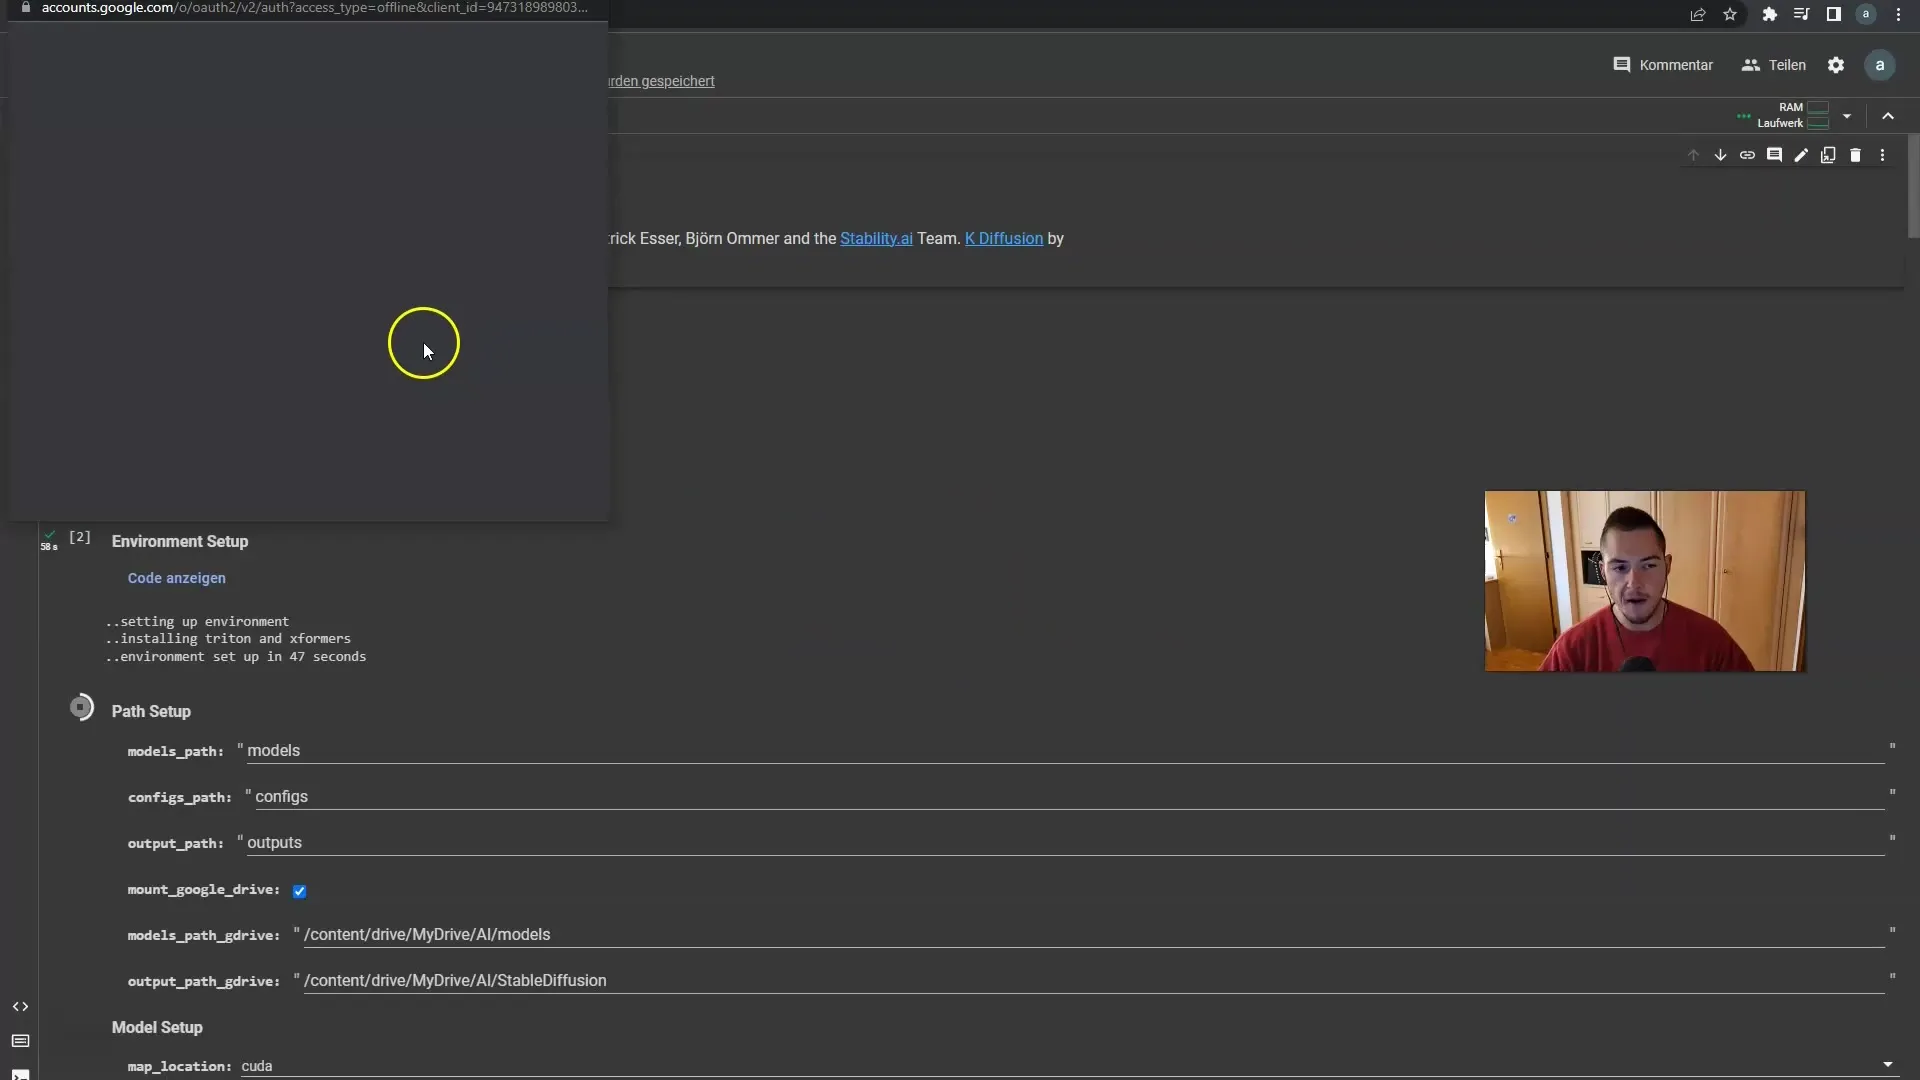
After a few minutes, you may see a prompt asking for access. Simply click "Allow" when this message appears.
Step 9: Checking the Installation
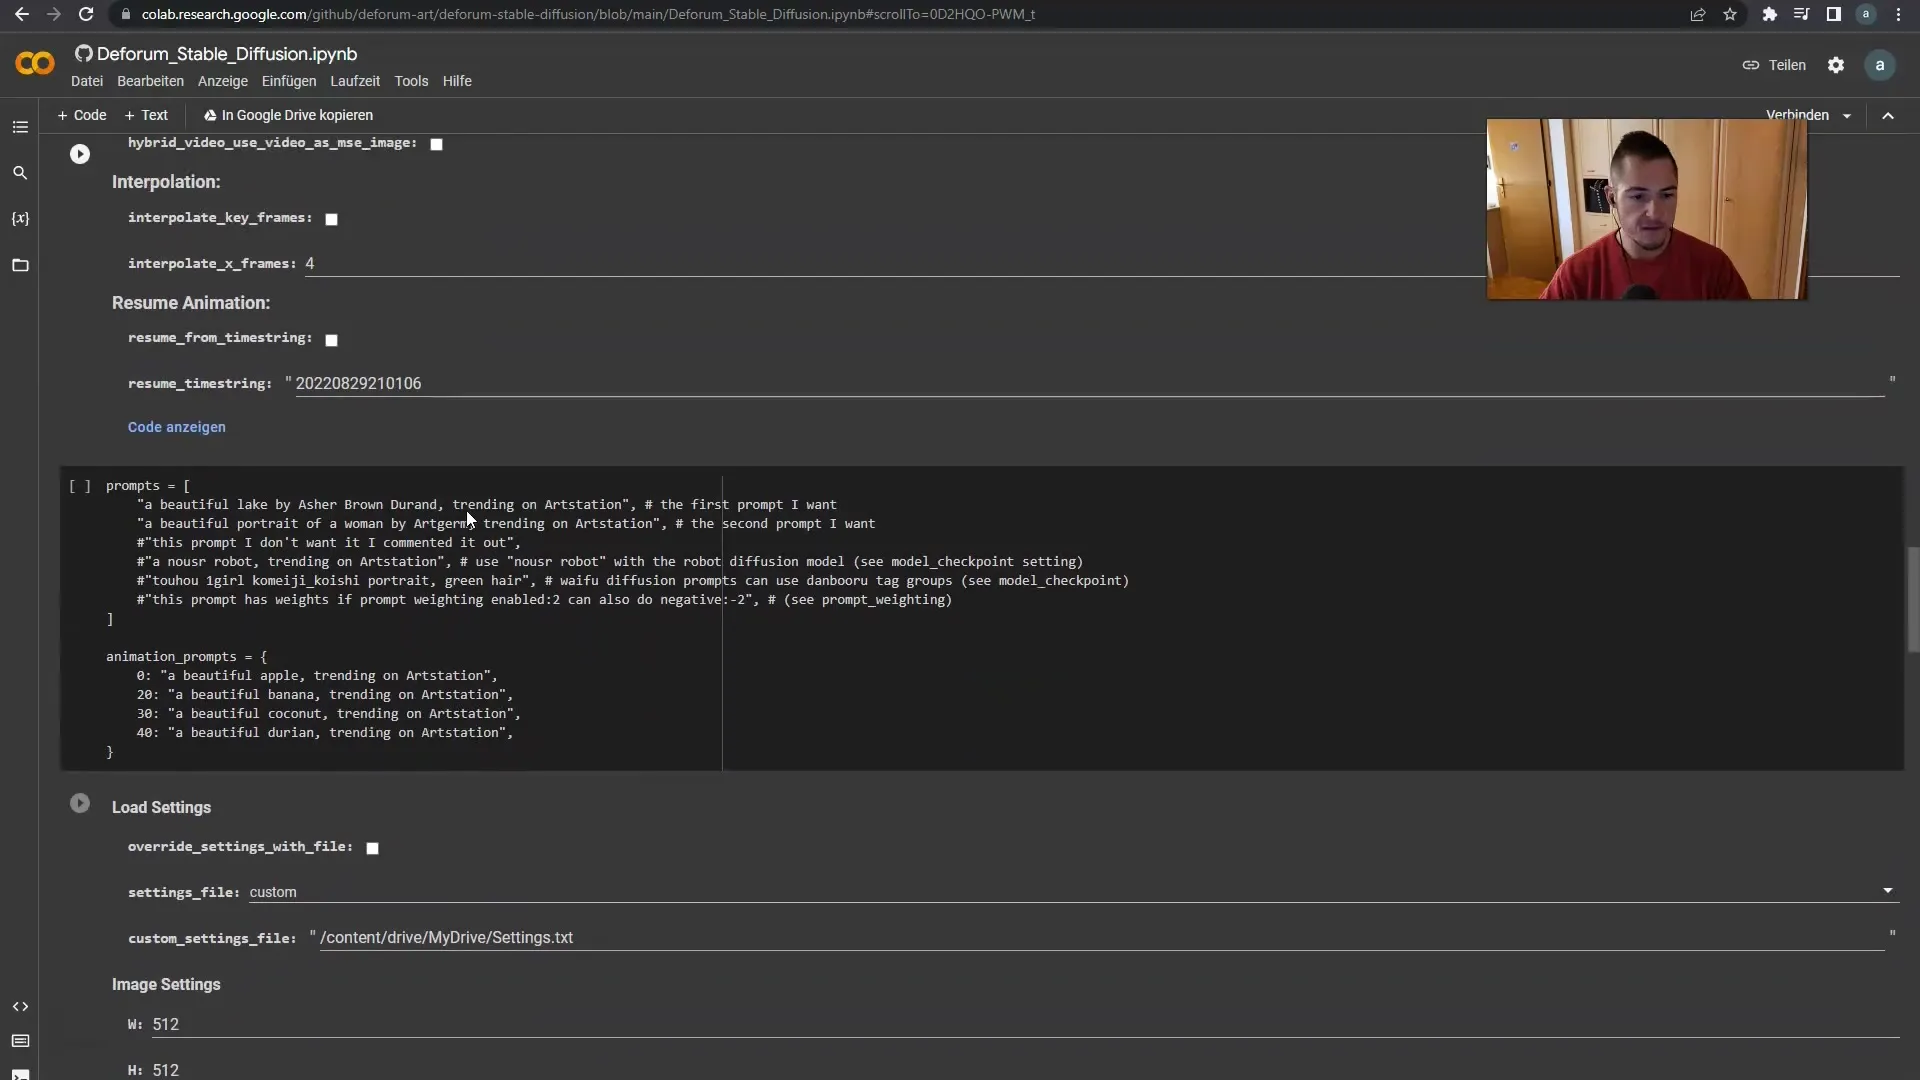
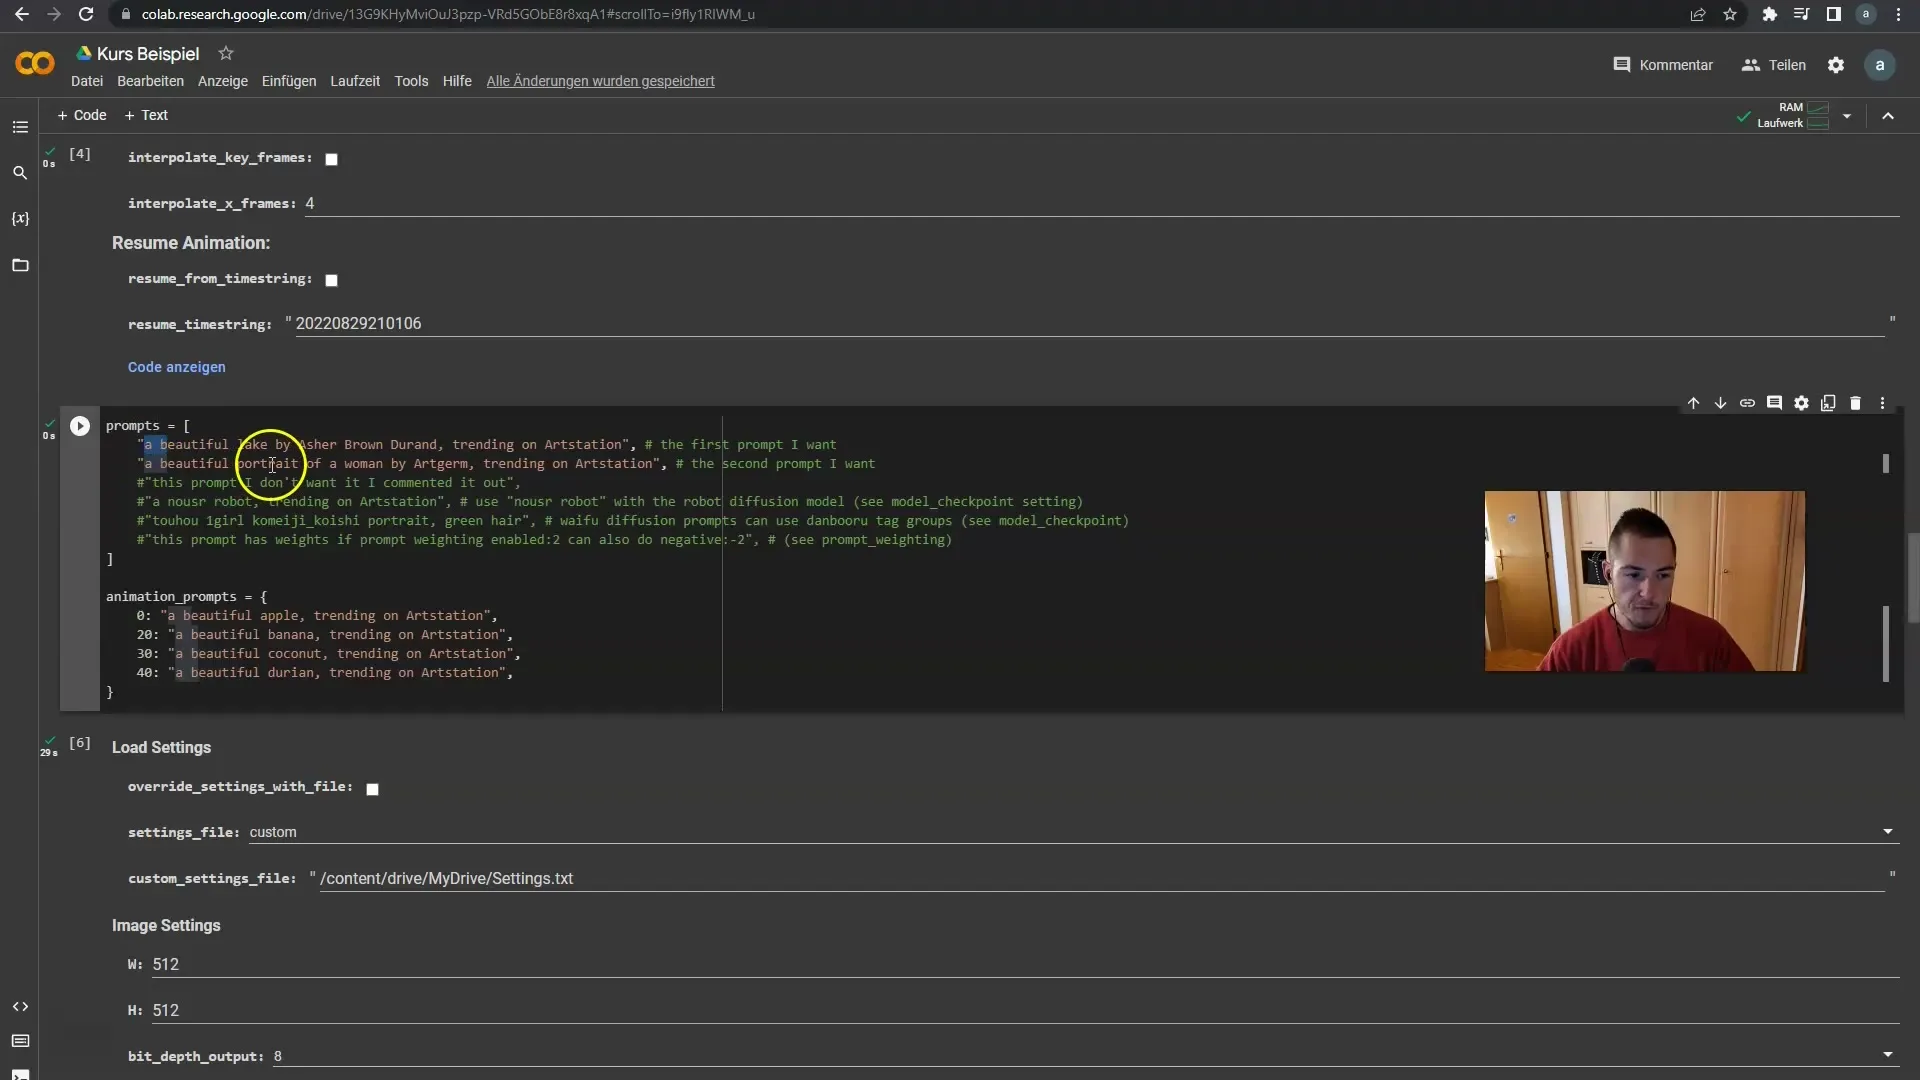
Scroll down further to ensure that all installations are complete. You will later see the input prompt where you can enter your prompts. These are readily available to you, and you can start generating images with them.
Step 10: Creating and Customizing Prompts
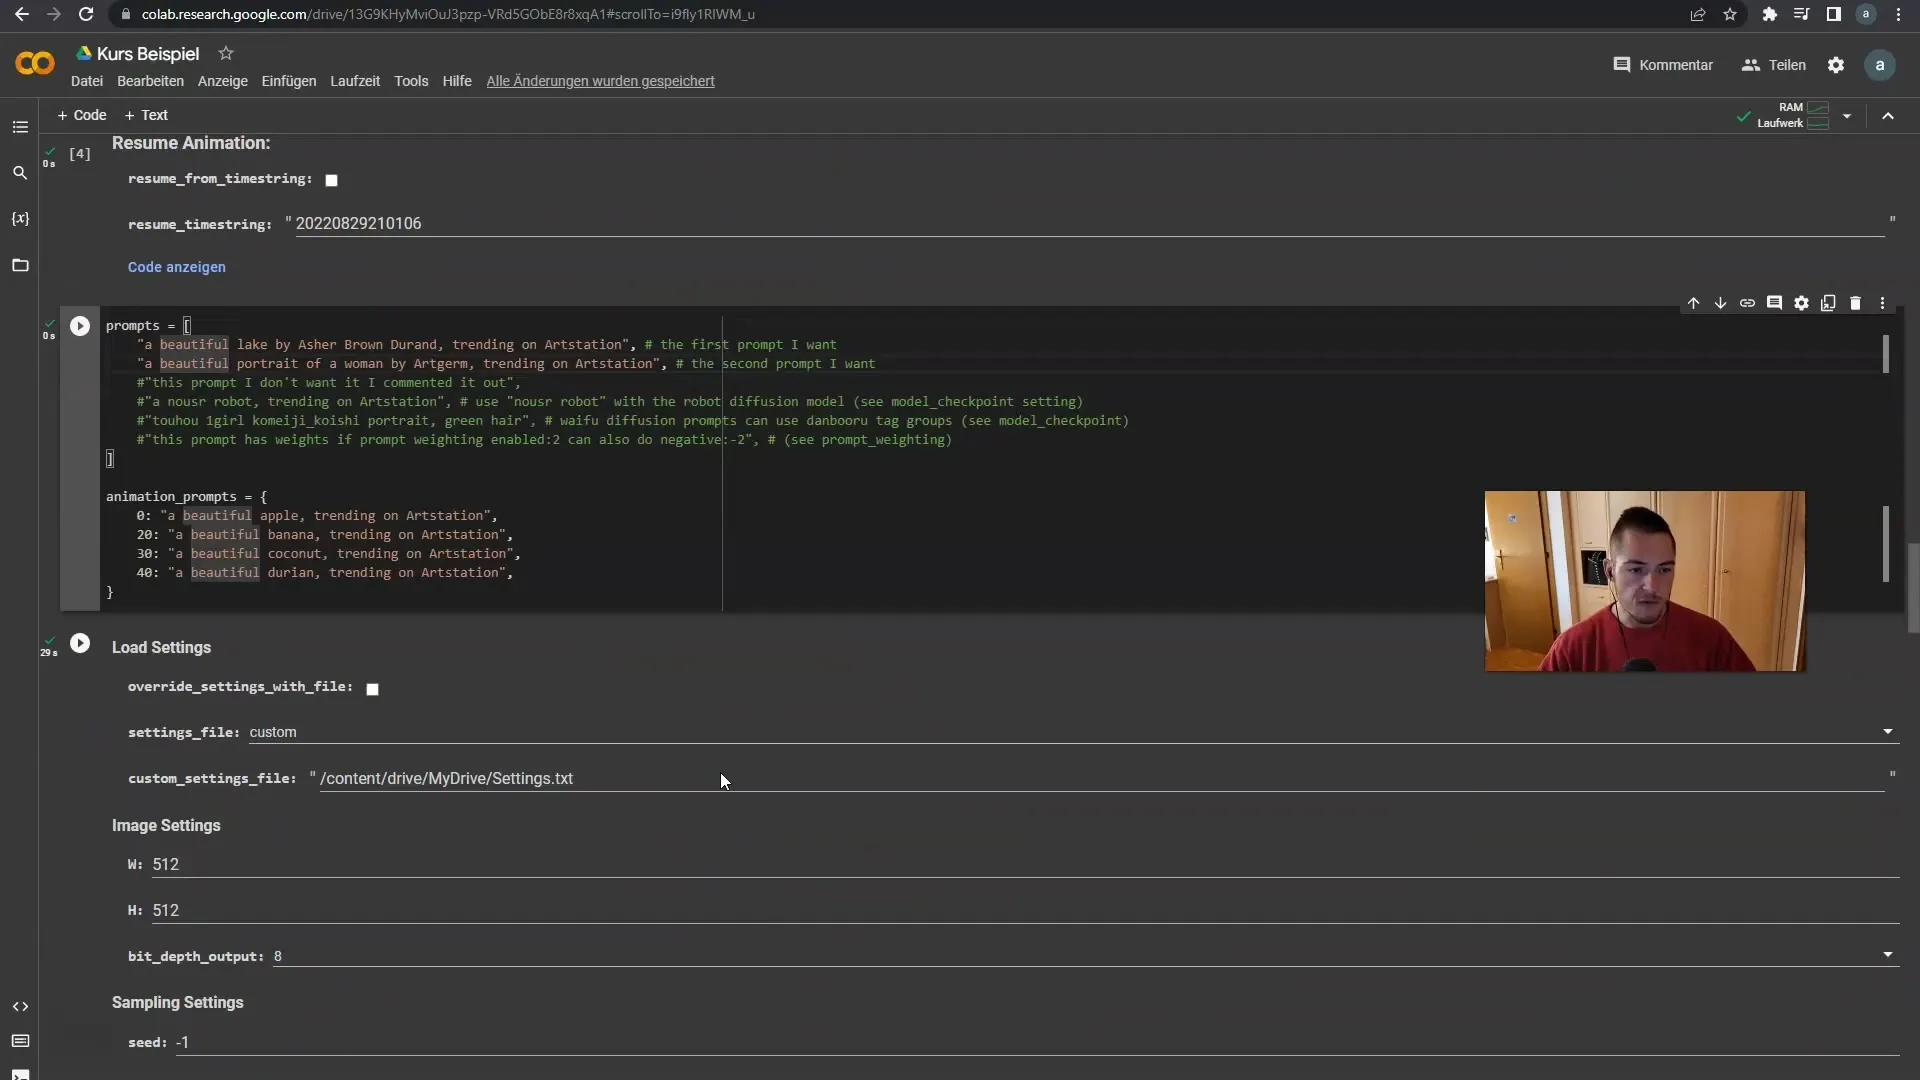
In the input field, you can see the samples that are already filled in, such as "beautiful lake" or "portrait of a woman." These images are the results of your input, and you can get creative here.
Step 11: Choosing the right options
Also, note that you can choose between different options for the output. By default, images are generated. If you want to create videos, you need to make the appropriate settings.
Step 12: Next steps
In the next video, I will show you exactly what the pricing looks like if you want to do more with the generated images or videos.
Summary
In this guide, you have learned how to set up and use Stable Diffusion in Google Colab and Google Drive. From creating a folder to entering your prompts - the steps are simple and user-friendly. Don't miss the opportunity to get creative and generate impressive images.
Frequently Asked Questions
How do I get started with Stable Diffusion?You need a Google account and have to copy the notebook in Google Drive.
Do I need to install anything?Yes, the installation is done when running all cells in the notebook for the first time.
Can I create multiple copies of the notebook?Yes, you can create as many copies as you want to organize different projects.
How does Google Colab allow me to generate images?Colab provides the necessary resources to use Stable Diffusion for free, even though performance may vary.


