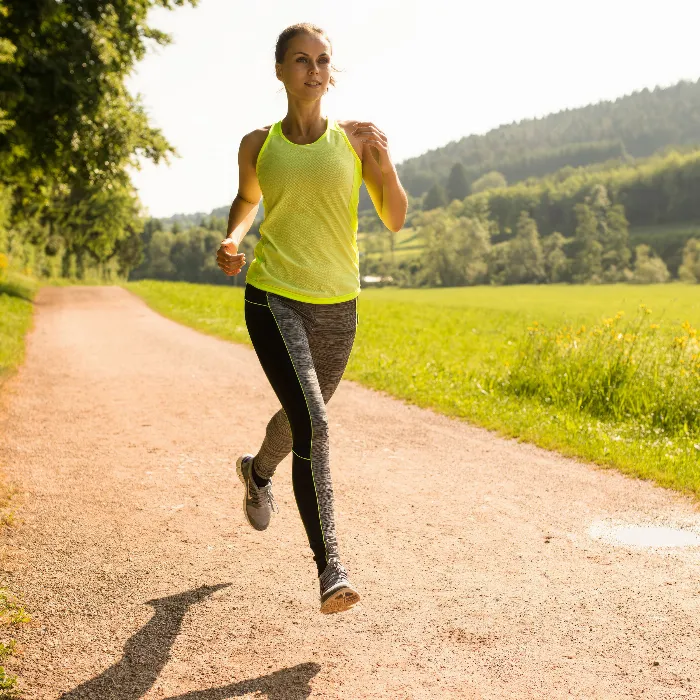
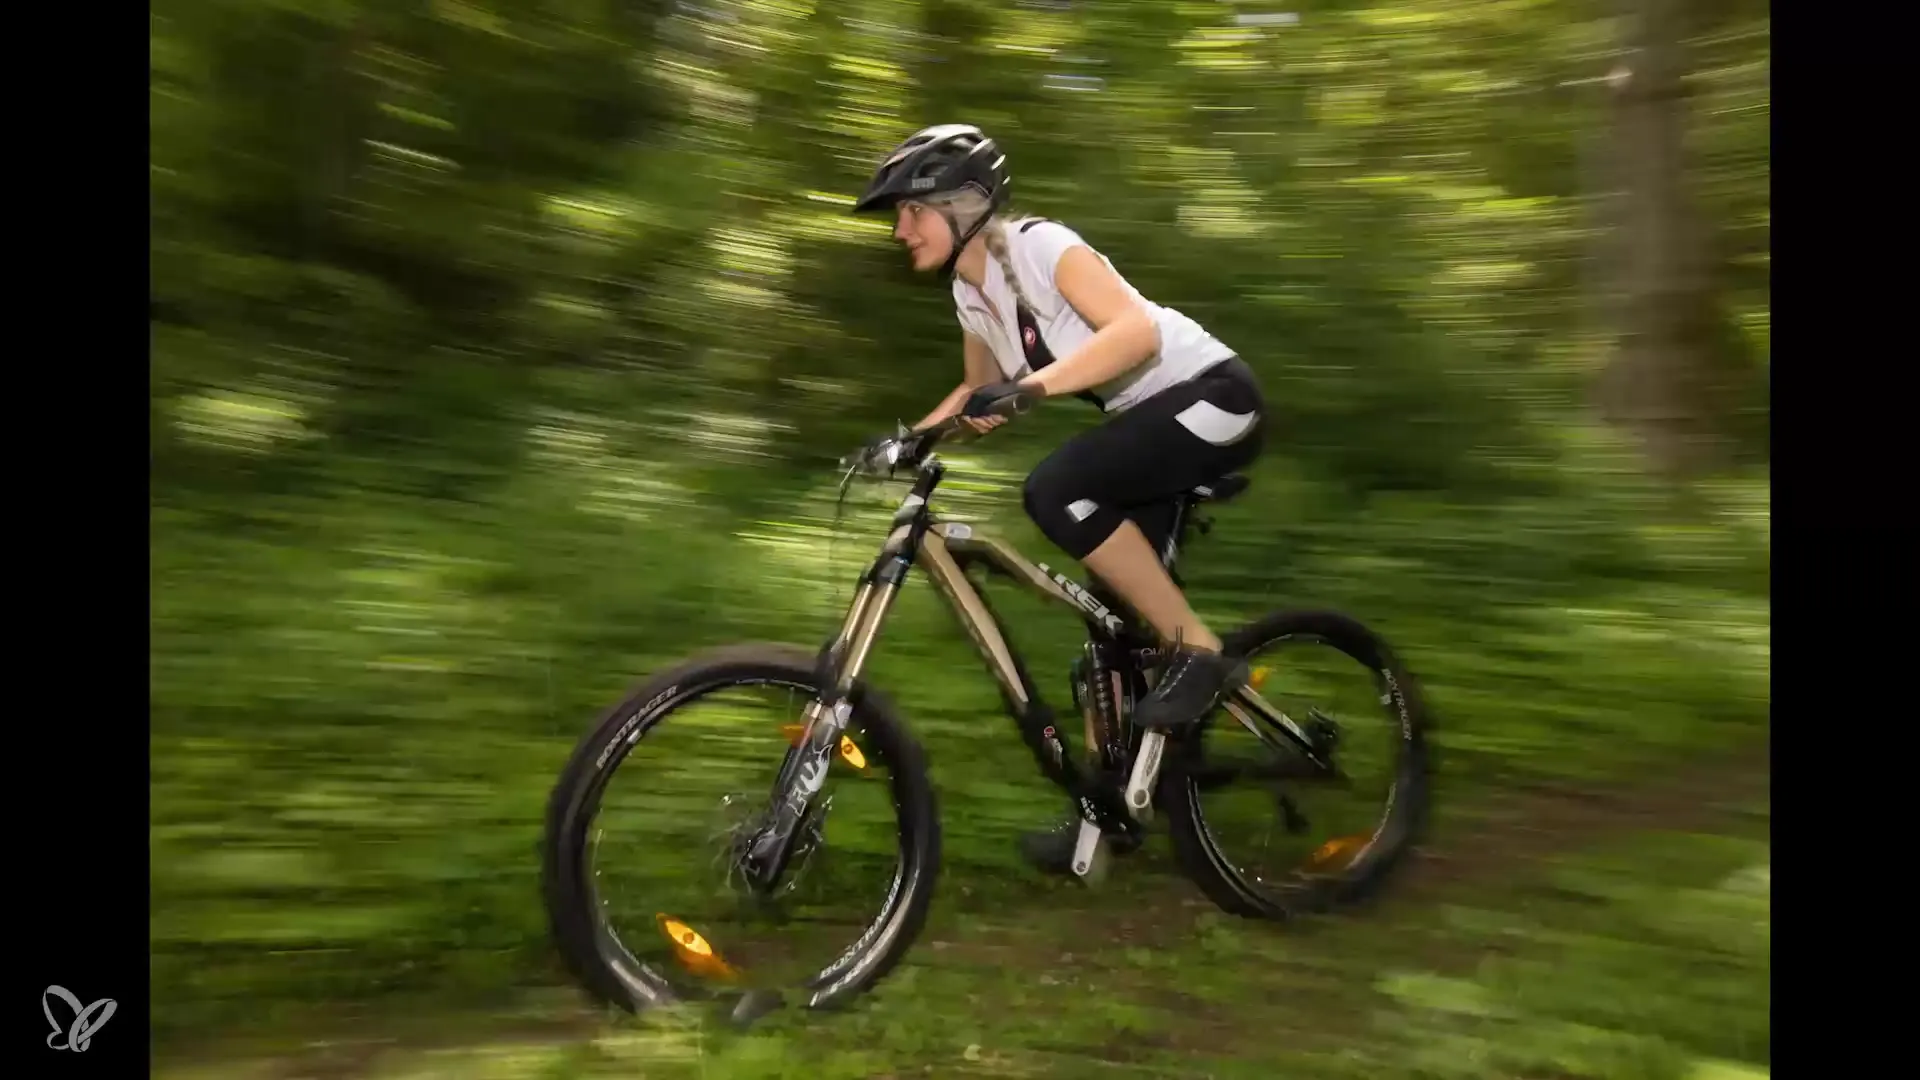
The appeal of sports photography often lies in the ability to capture movement in a single image. It is an art that conveys the feeling of speed and Dynamik. In this guide, you will learn how to create impressive motion effects using a speedlight and the right camera settings – completely without Photoshop. These tips will help you authentically capture the dynamism of a bike passing by quickly.
Key insights
- With the right aperture and shutter speed, you can create motion effects.
- The use of a speedlight is crucial to capturing the main movement sharply while keeping the background blurred.
- The positioning of the model and the camera plays a significant role in the final result.
- Make sure your speedlight is set to the correct power to capture the movement accurately.
Step-by-step guide
Step 1: Preparation
Before you start photographing, make sure you have the necessary equipment. You will need a camera, a speedlight, and a location where you can observe and capture the biking. Ensure you have enough space for the model to build up speed.
Step 2: Camera Position and Settings
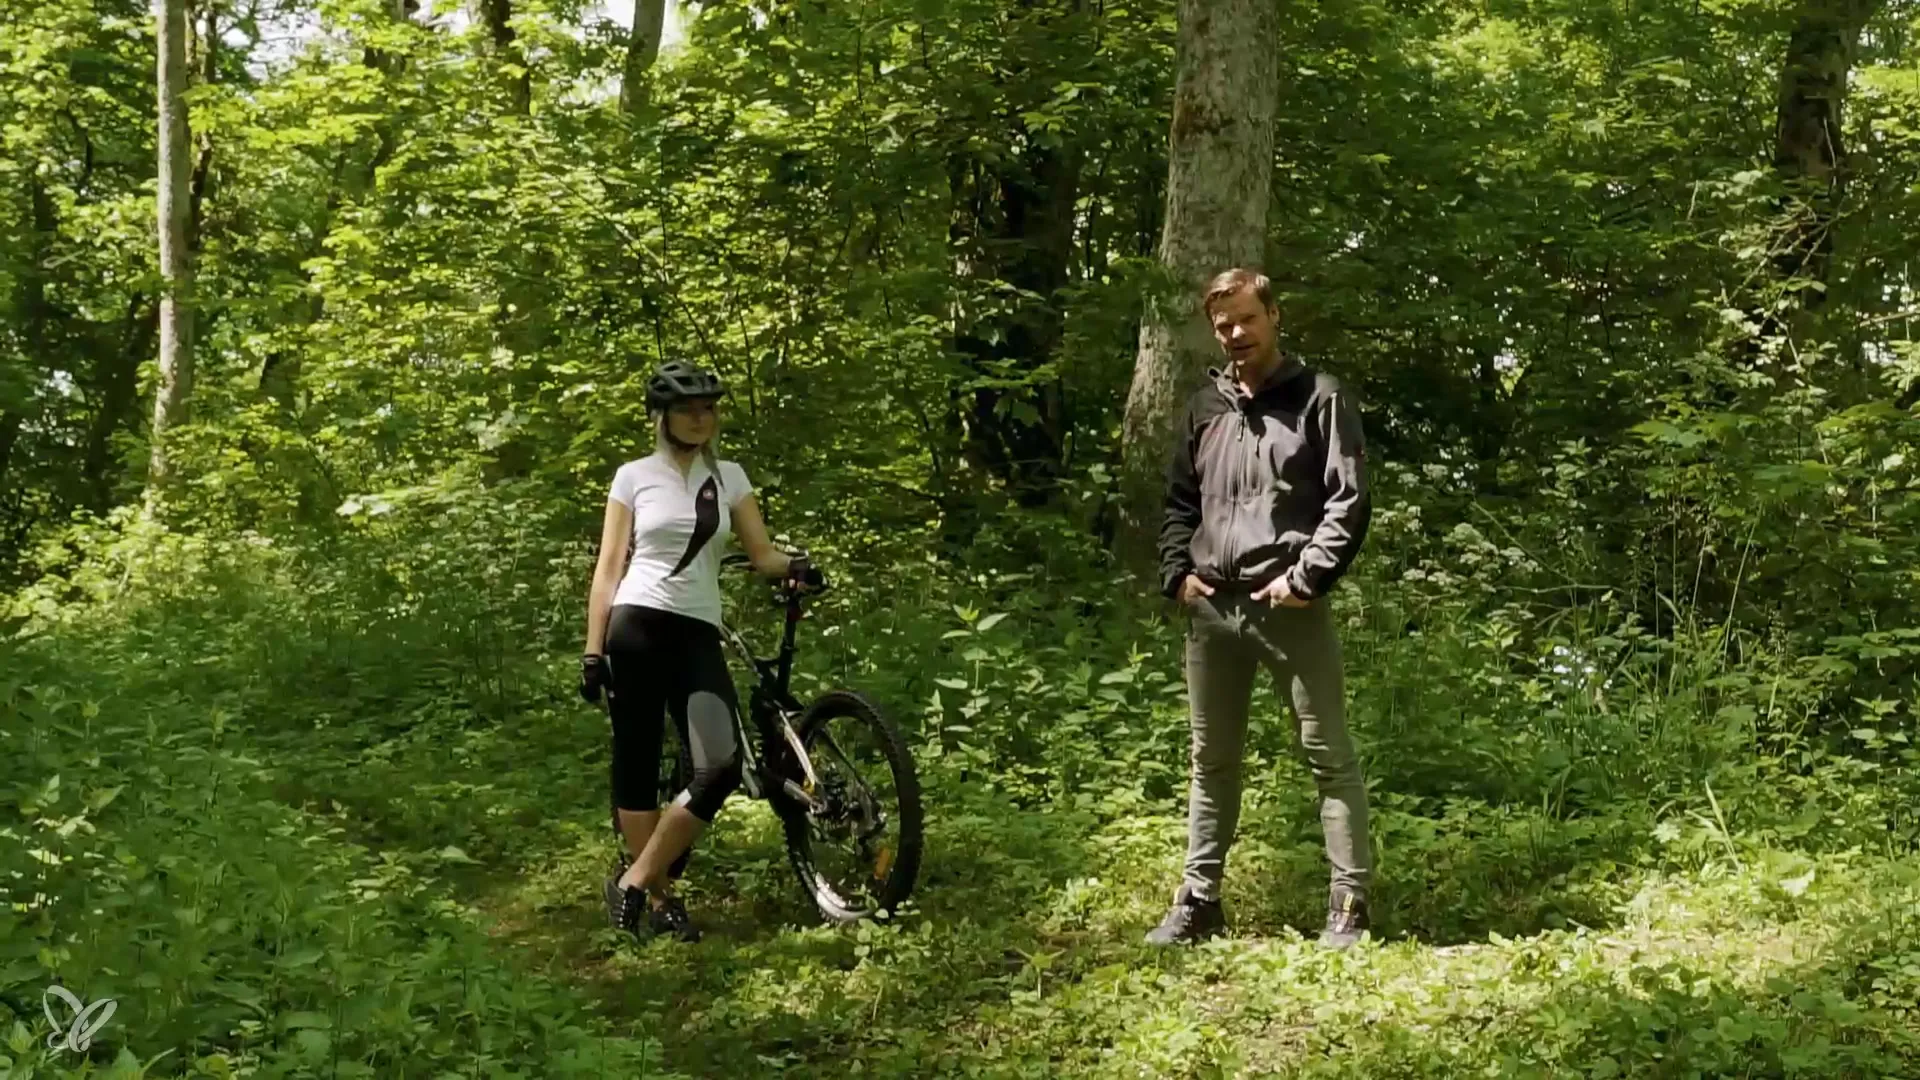
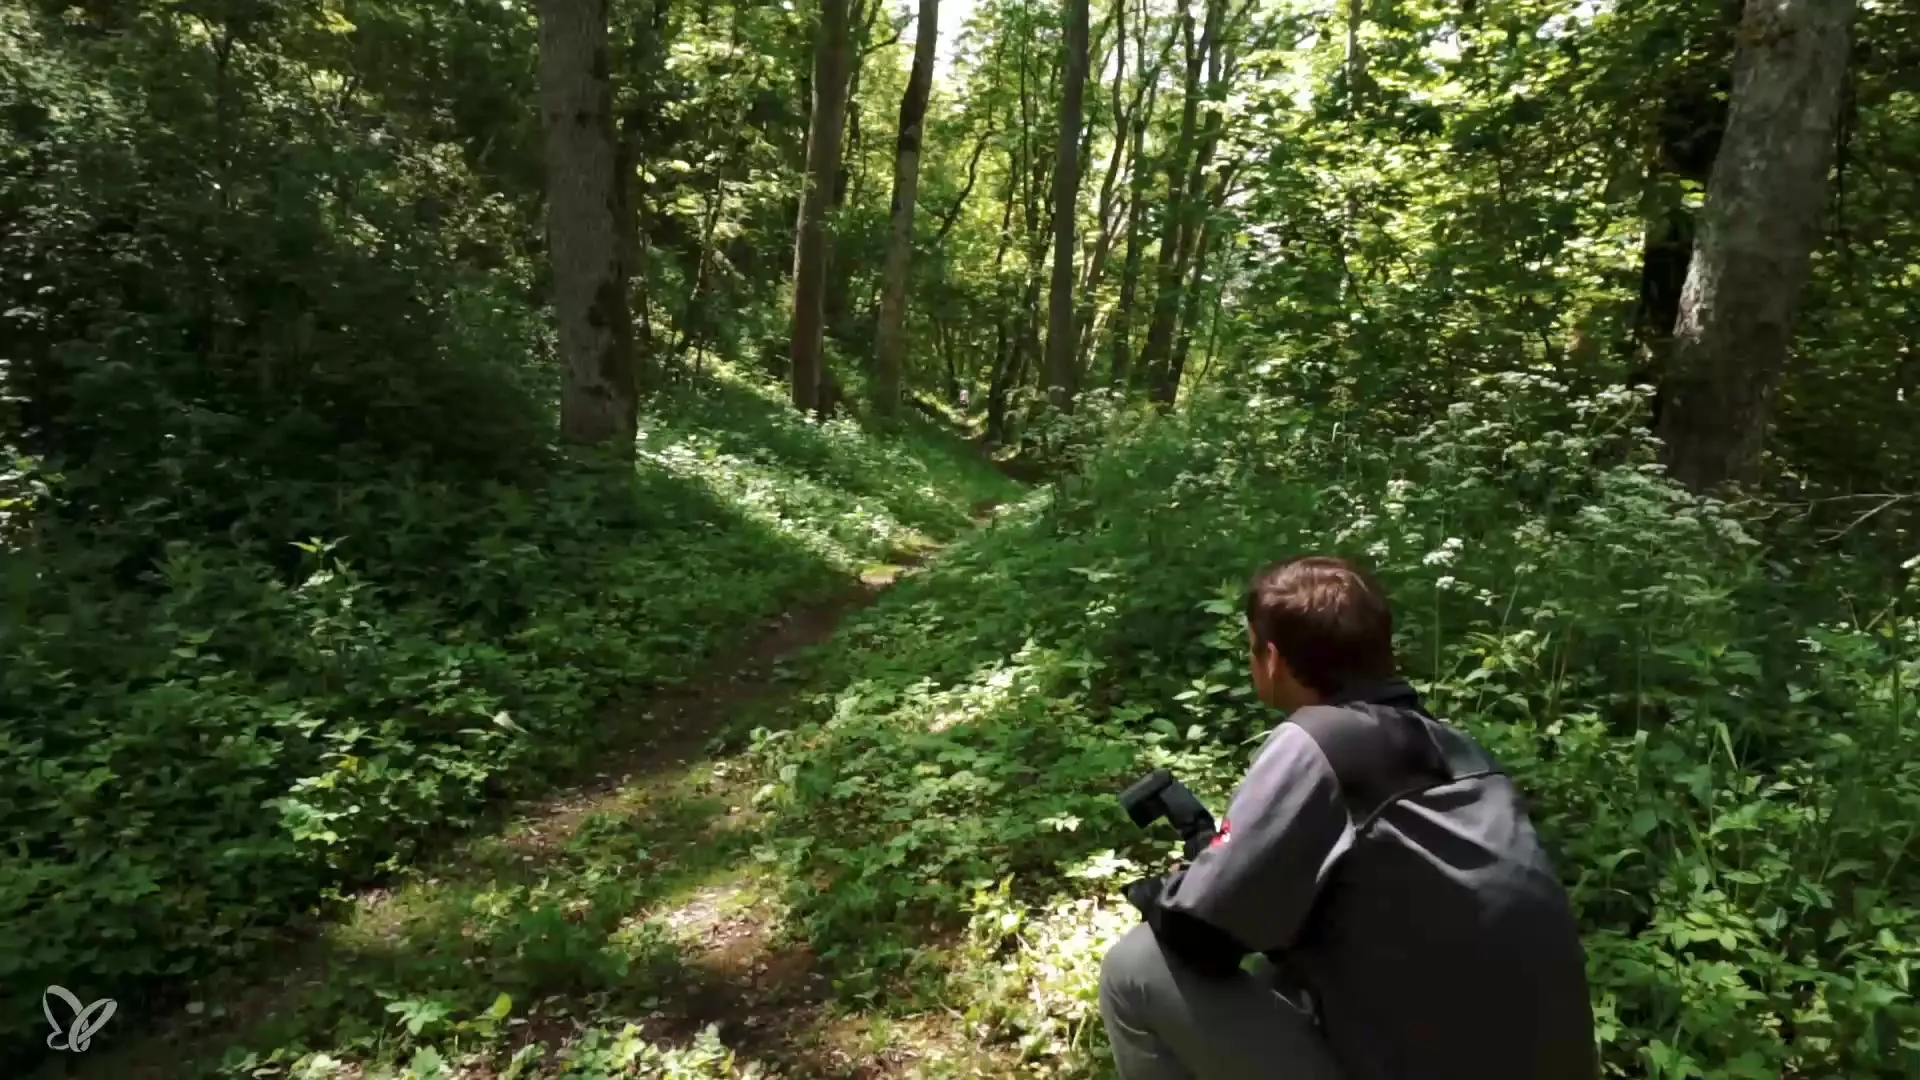
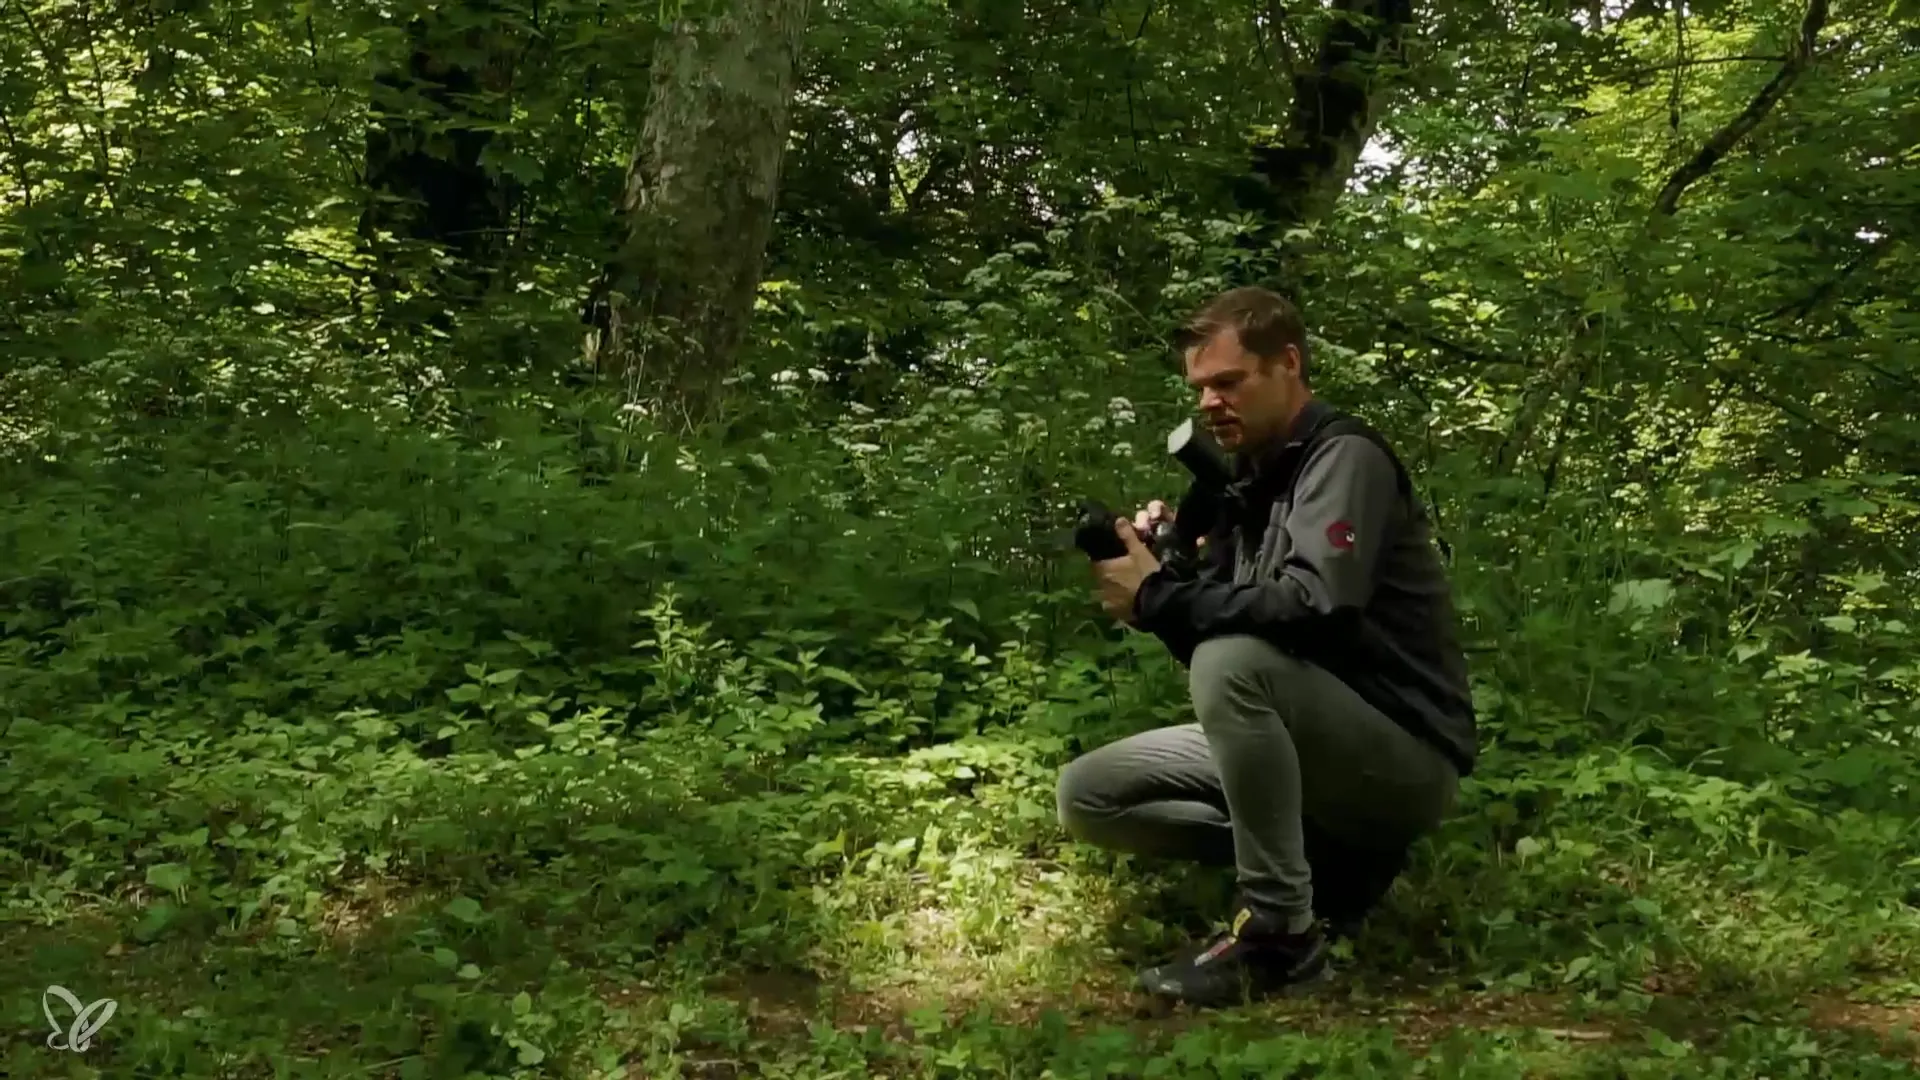
Position yourself so that you have a clear view of the path the bike will take. It makes sense to step back about 20 meters. Now set your camera settings. Start with an aperture of approximately f/8, a shutter speed of 1/80 second, and an ISO value of 100. These basic values are a good starting point for the first test shots.
Step 3: Preparing the Flash
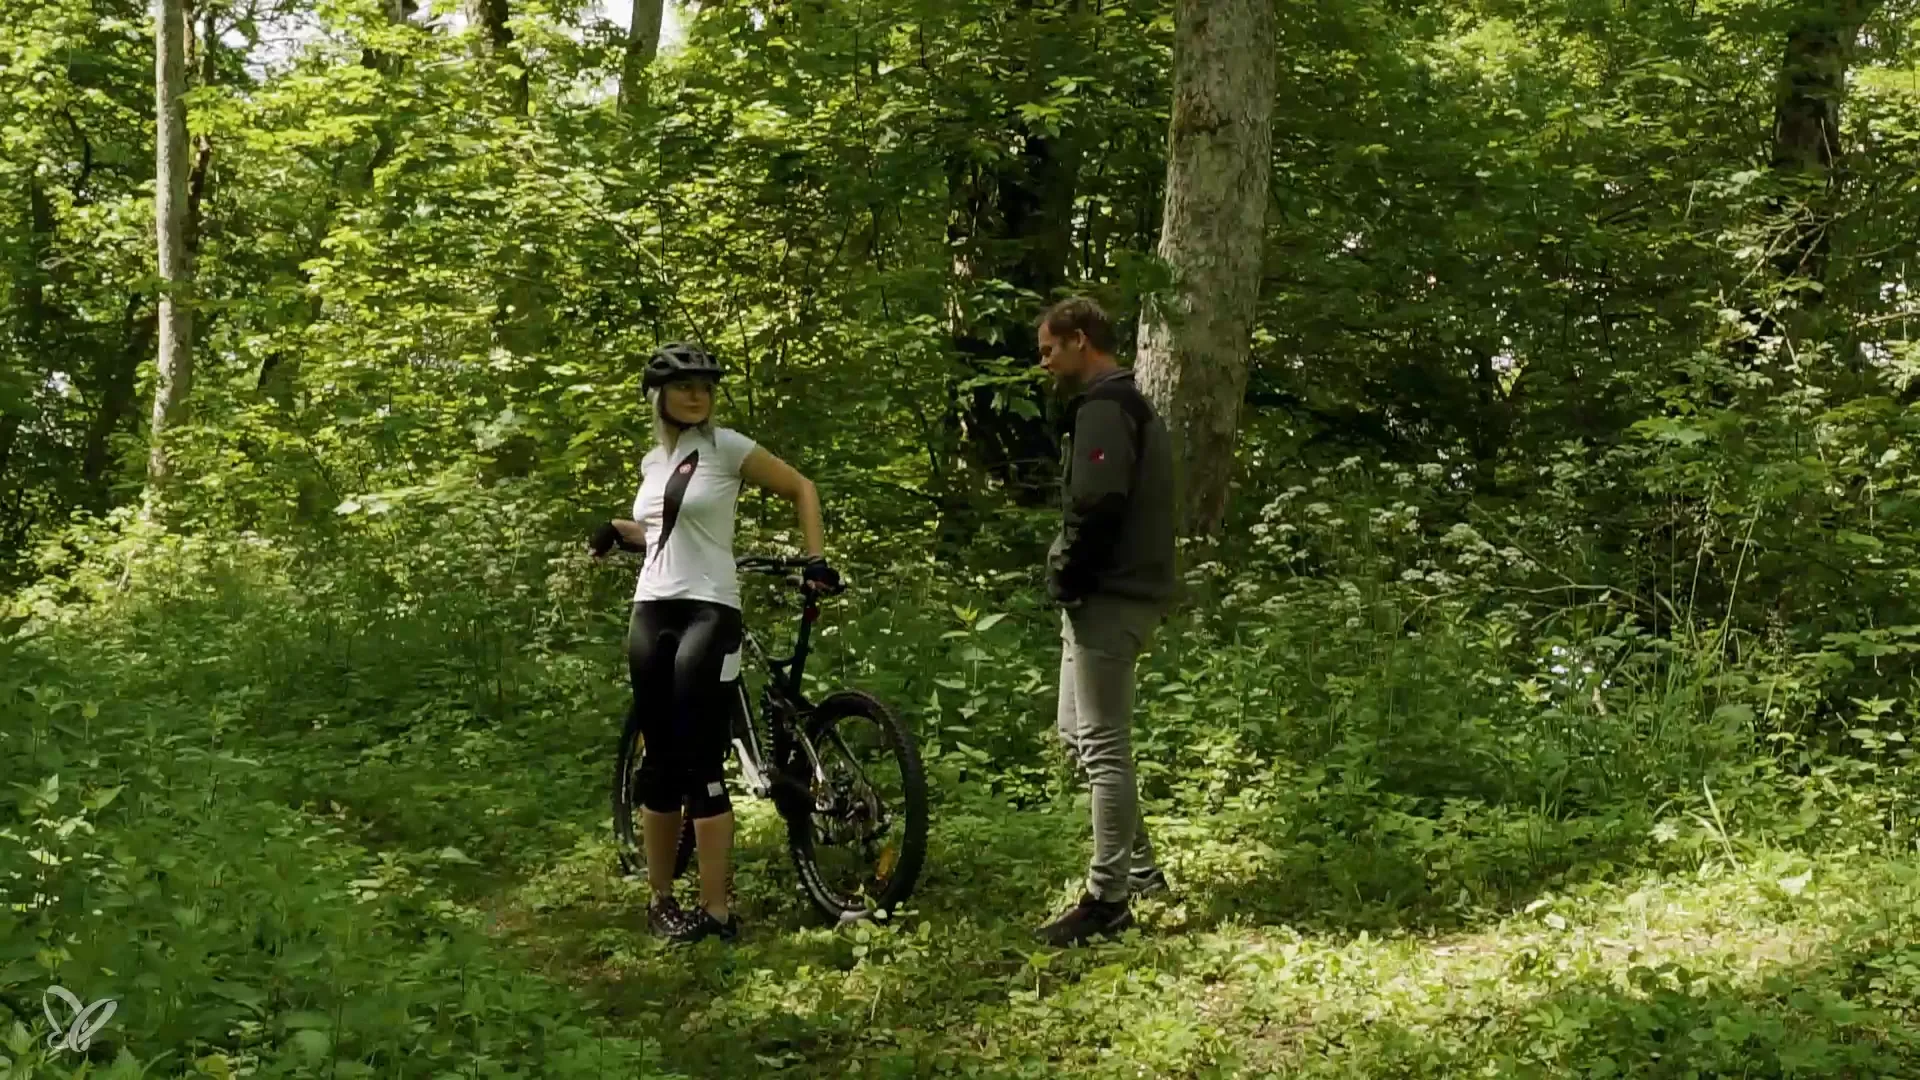
Now it is time to prepare your speedlight. Switch it to manual mode and set the power to approximately 1/4. This setting should be sufficient to optimally illuminate the model while keeping the motion in the background blurred.
Step 4: Test Shots
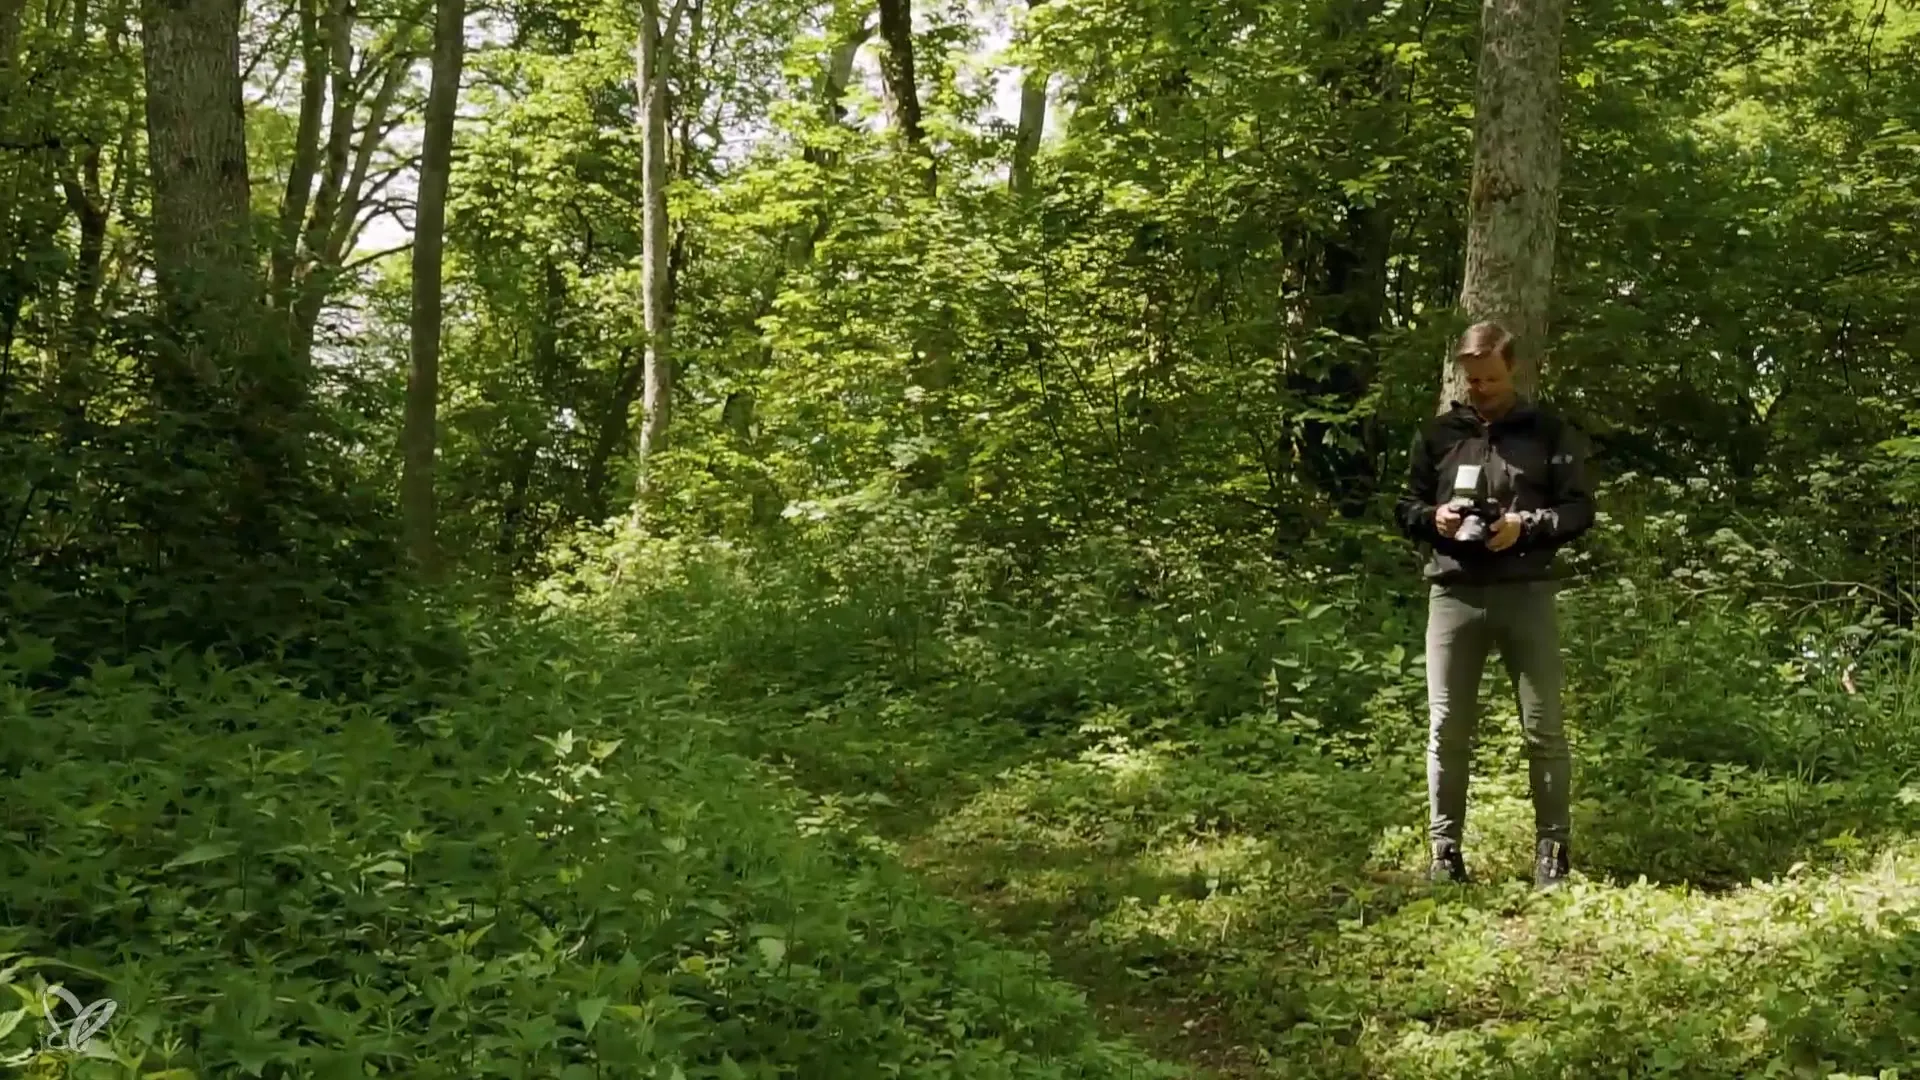
Before you start the actual shots, conduct test captures. Have your model slowly ride past you. Pay attention to how well the flash captures the model and whether the motion effects are visible in the shot. You might need to adjust the flash power or camera values.
Step 5: Optimizing Settings
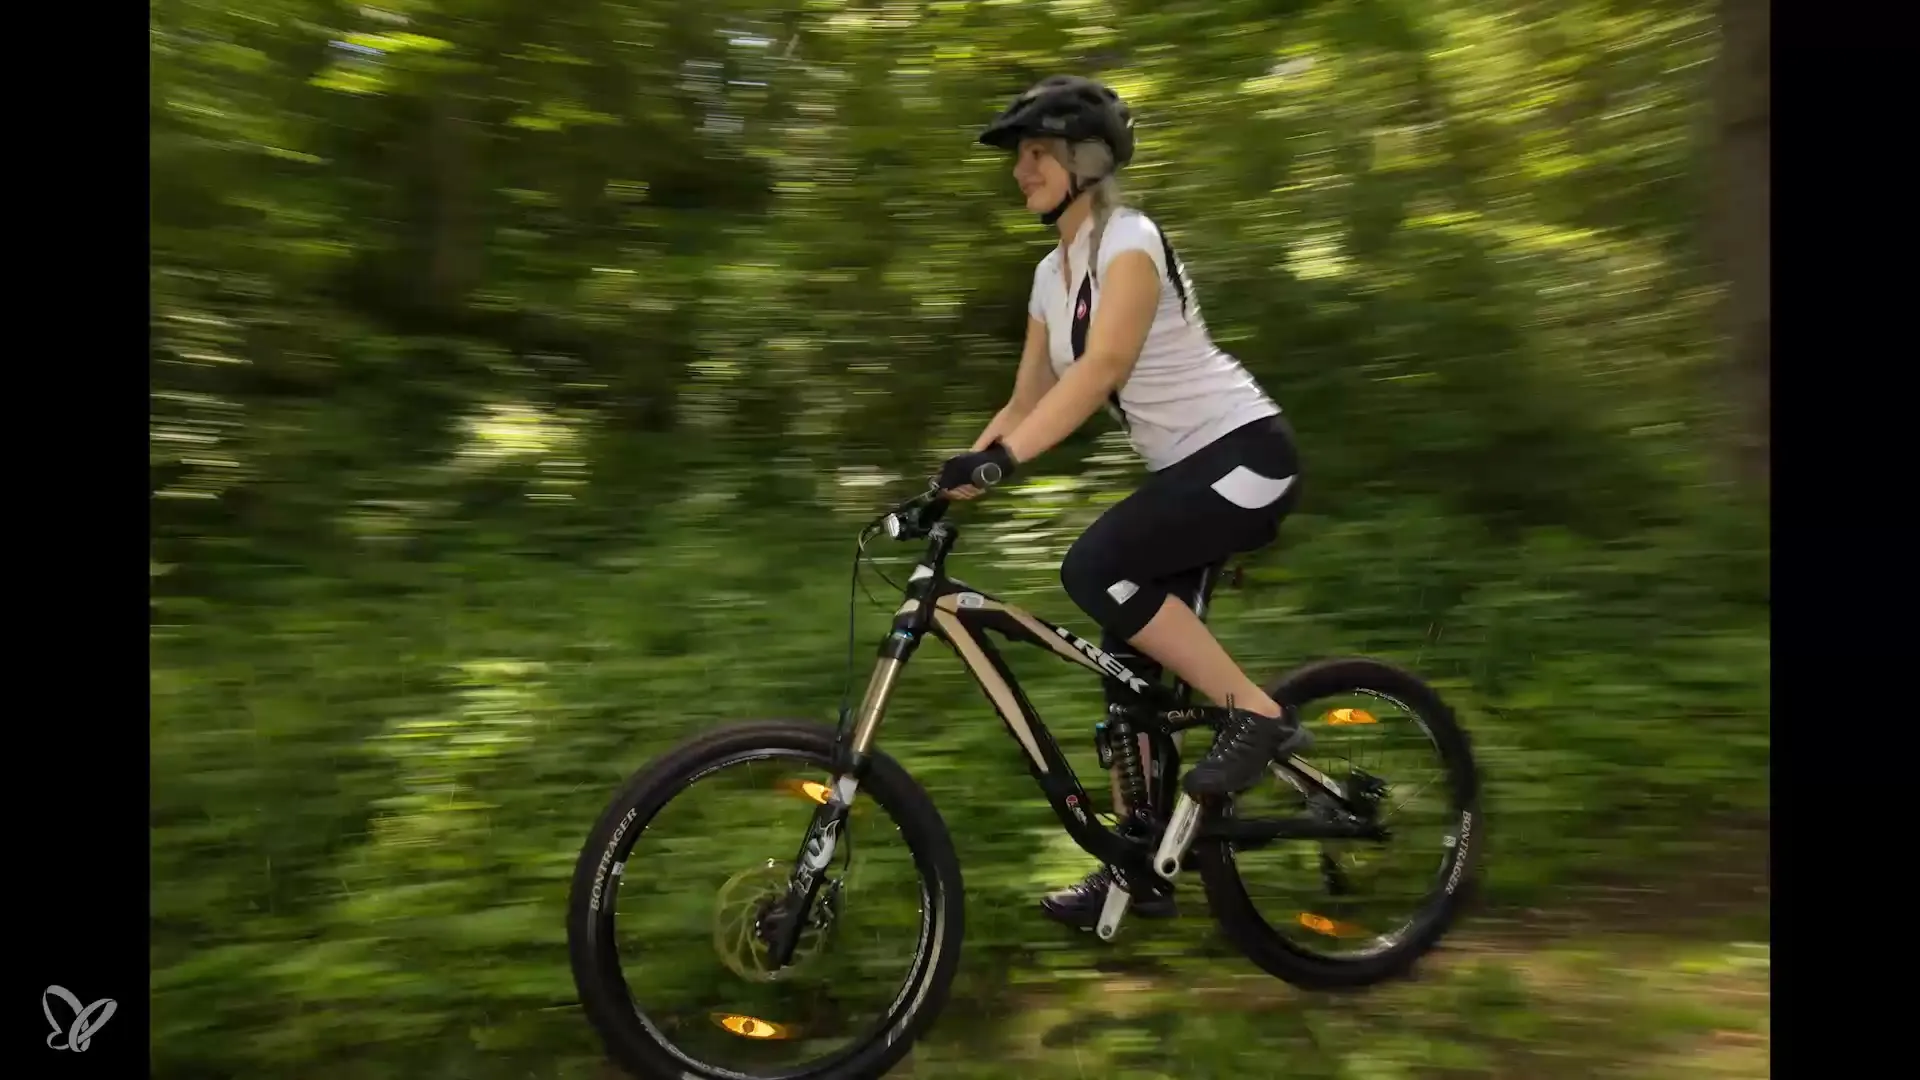
After you’ve taken some test shots, you can optimize the settings. Reduce the aperture to f/6.3 and adjust the shutter speed to 1/40 second. This gives you greater motion blur. The effect should become more pronounced, helping you better represent the speed of the model.
Step 6: Focusing on the Model
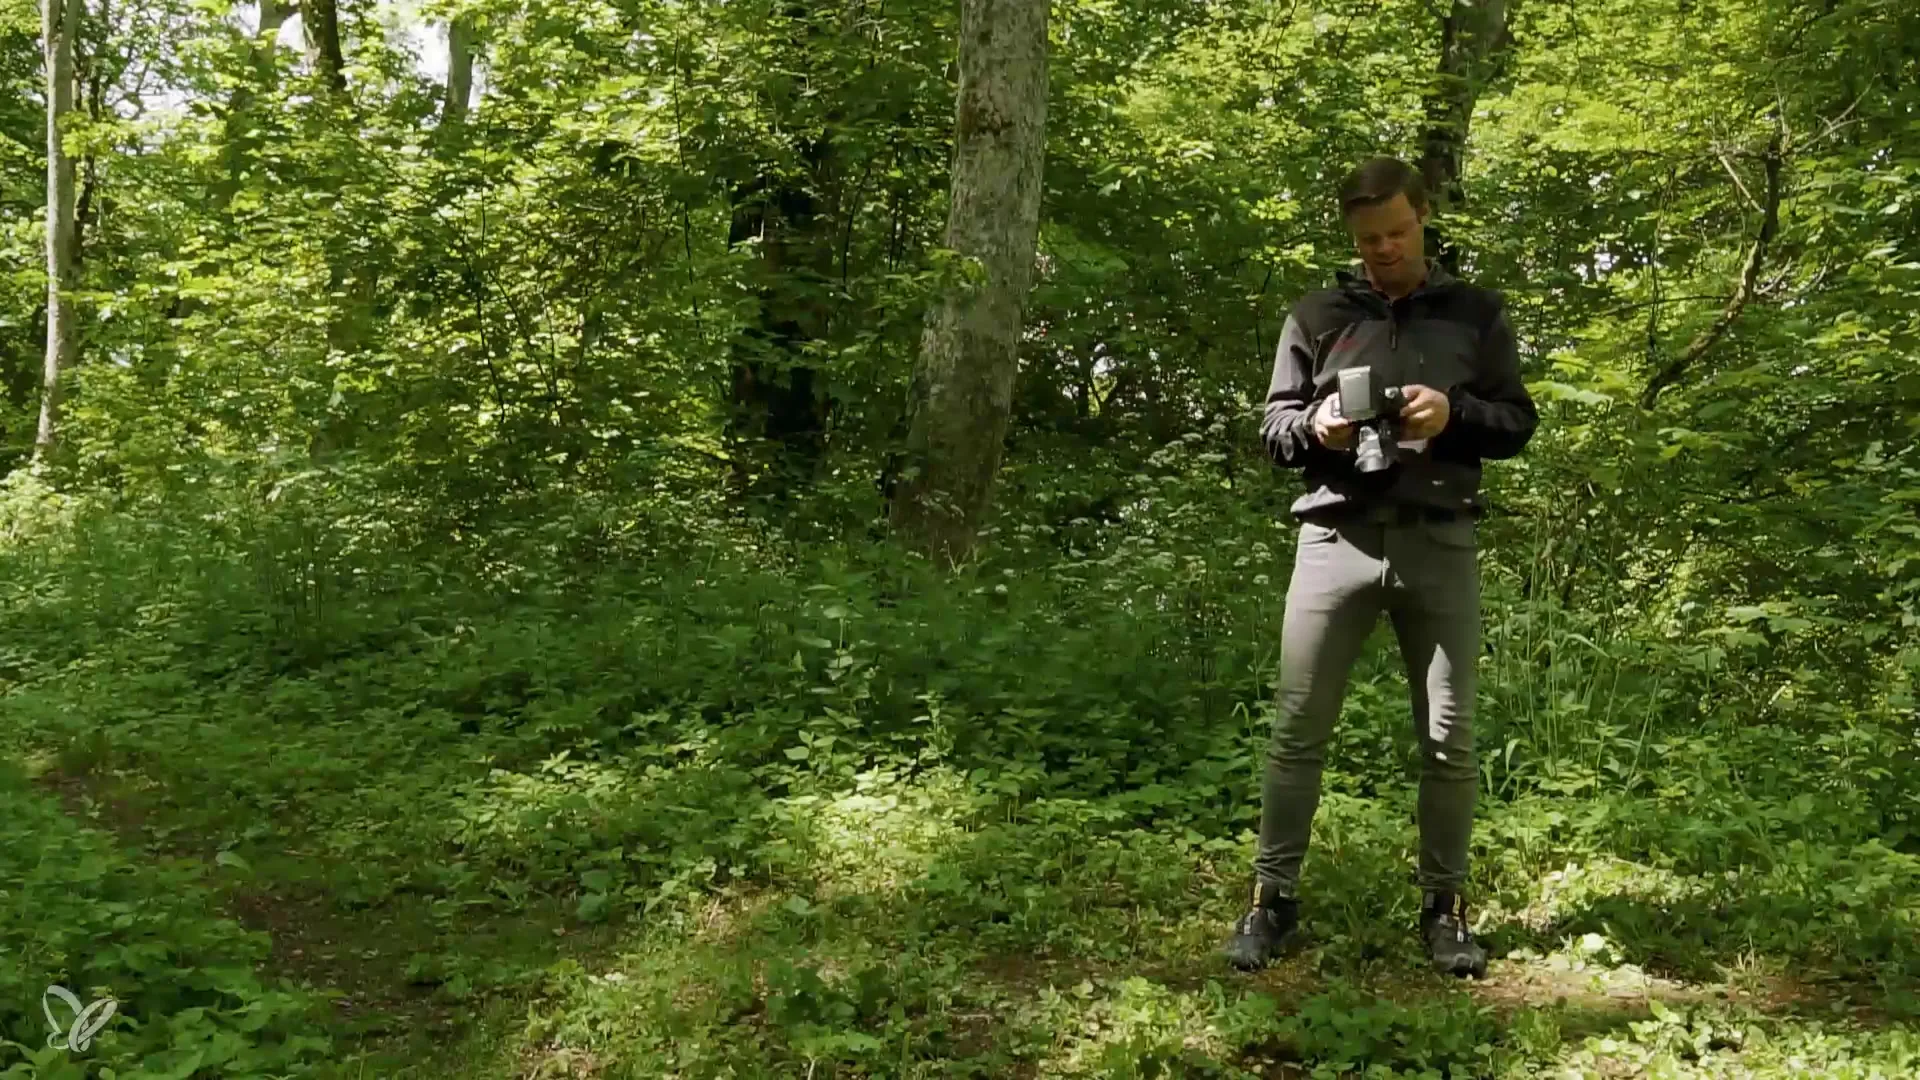
Ensure that the model is in a dynamic pose. For example, they should lean slightly forward to simulate speed. An optimal posture significantly enhances the visual impact of the shot. You can also instruct your model to ride faster or to position their legs as if they were racing.
Step 7: The Shot
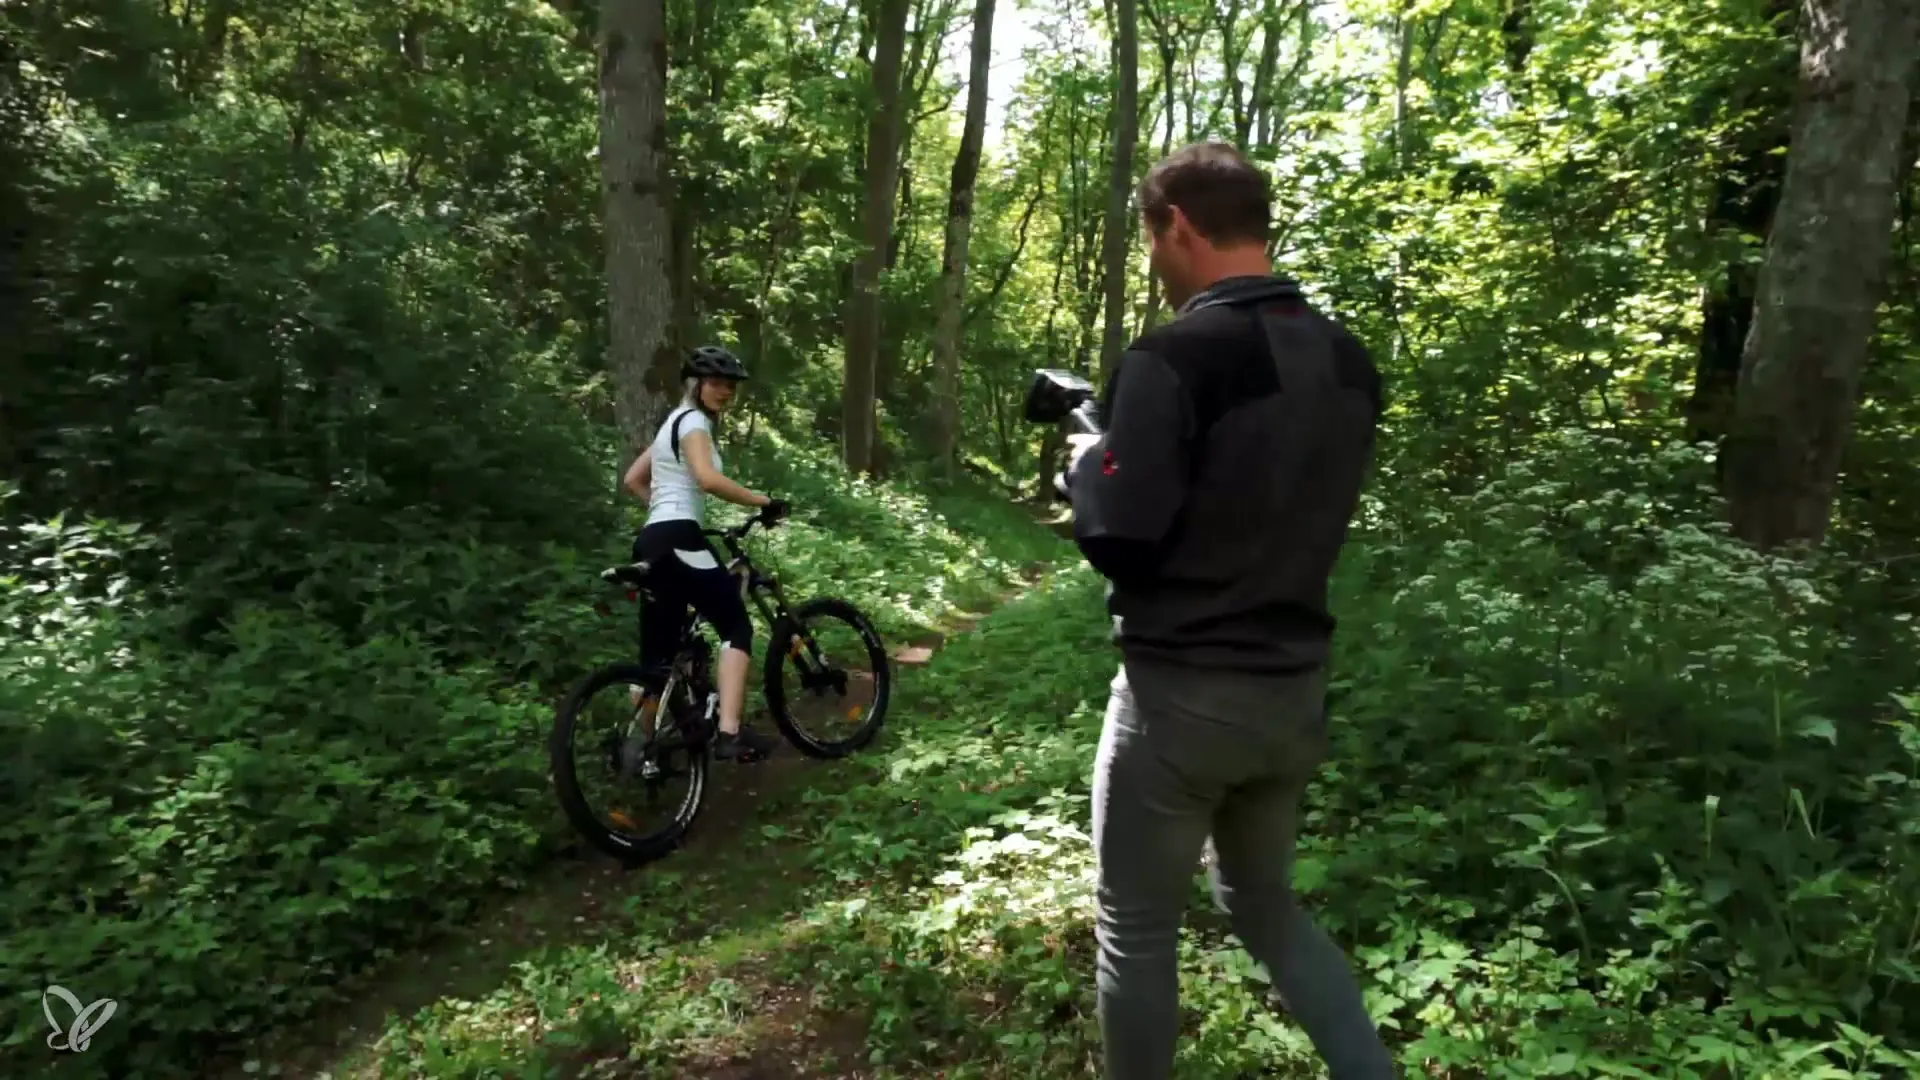
Now is the time to take the final picture. Let your model ride again, and ensure that the background remains blurred in motion while the model is sharply depicted. This is made possible by the correct flash power and camera settings.
Step 8: Fine-tuning and Variations
Take your time to experiment with different angles and settings. Further adjust the shooting position and check the effects of different focal lengths. For example, reduce the focal length to 20 mm to create a dramatic perspective. You can also extend the shutter speed to achieve more extreme motion effects.
Step 9: Finalizing and Feedback
After you have taken several images, take the time to review the results. Pay attention to details like the posture of the model and the overall composition of the image. Are there any areas for improvement? Show your image to the model and ask for feedback.
Summary – Guide to Staged Sports Photography: Dynamic Shots with Speedlight
By using the right camera settings and a speedlight, you can achieve impressive dynamic shots of passing bikes. Experiment with aperture, shutter speed, and flash power to perfect your images.
Frequently Asked Questions
How do I set the aperture for dynamic shots?The aperture should initially be set at f/8; later it can be reduced to f/6.3 to achieve more motion effects.
What is the ideal flash power?Start with an estimated flash power of 1/4 and adjust as needed to achieve the best results.
Why is camera position important?The camera position greatly influences the viewpoint and effect of the motion effects. Position yourself so you can optimally capture the model.
What is the optimal shutter speed for this type of photo?A shutter speed of 1/40 to 1/25 second can be used to effectively depict motion while keeping the model sharply illuminated.
