With the Move-Tool from GIMP, you can work creatively and intuitively move elements within your projects. Whether layers, selection areas, or paths – you have full control over the positioning of your graphic objects. In this tutorial, I will show you how to effectively use the Move tool to optimize your photo editing.
Key Insights
- The Move tool allows for easy movement of layers, selections, and paths.
- The choice between "Layer or Guide" and "Active Layer" determines the behavior of the tool.
- Using the control key helps with precise movements in horizontal or vertical directions.
Step-by-Step Guide
Step 1: Activate Tool
To activate the Move tool, click on the corresponding icon in the toolbar. Alternatively, you can quickly access it by pressing the "M" key on your keyboard.

Step 2: Layer Overview
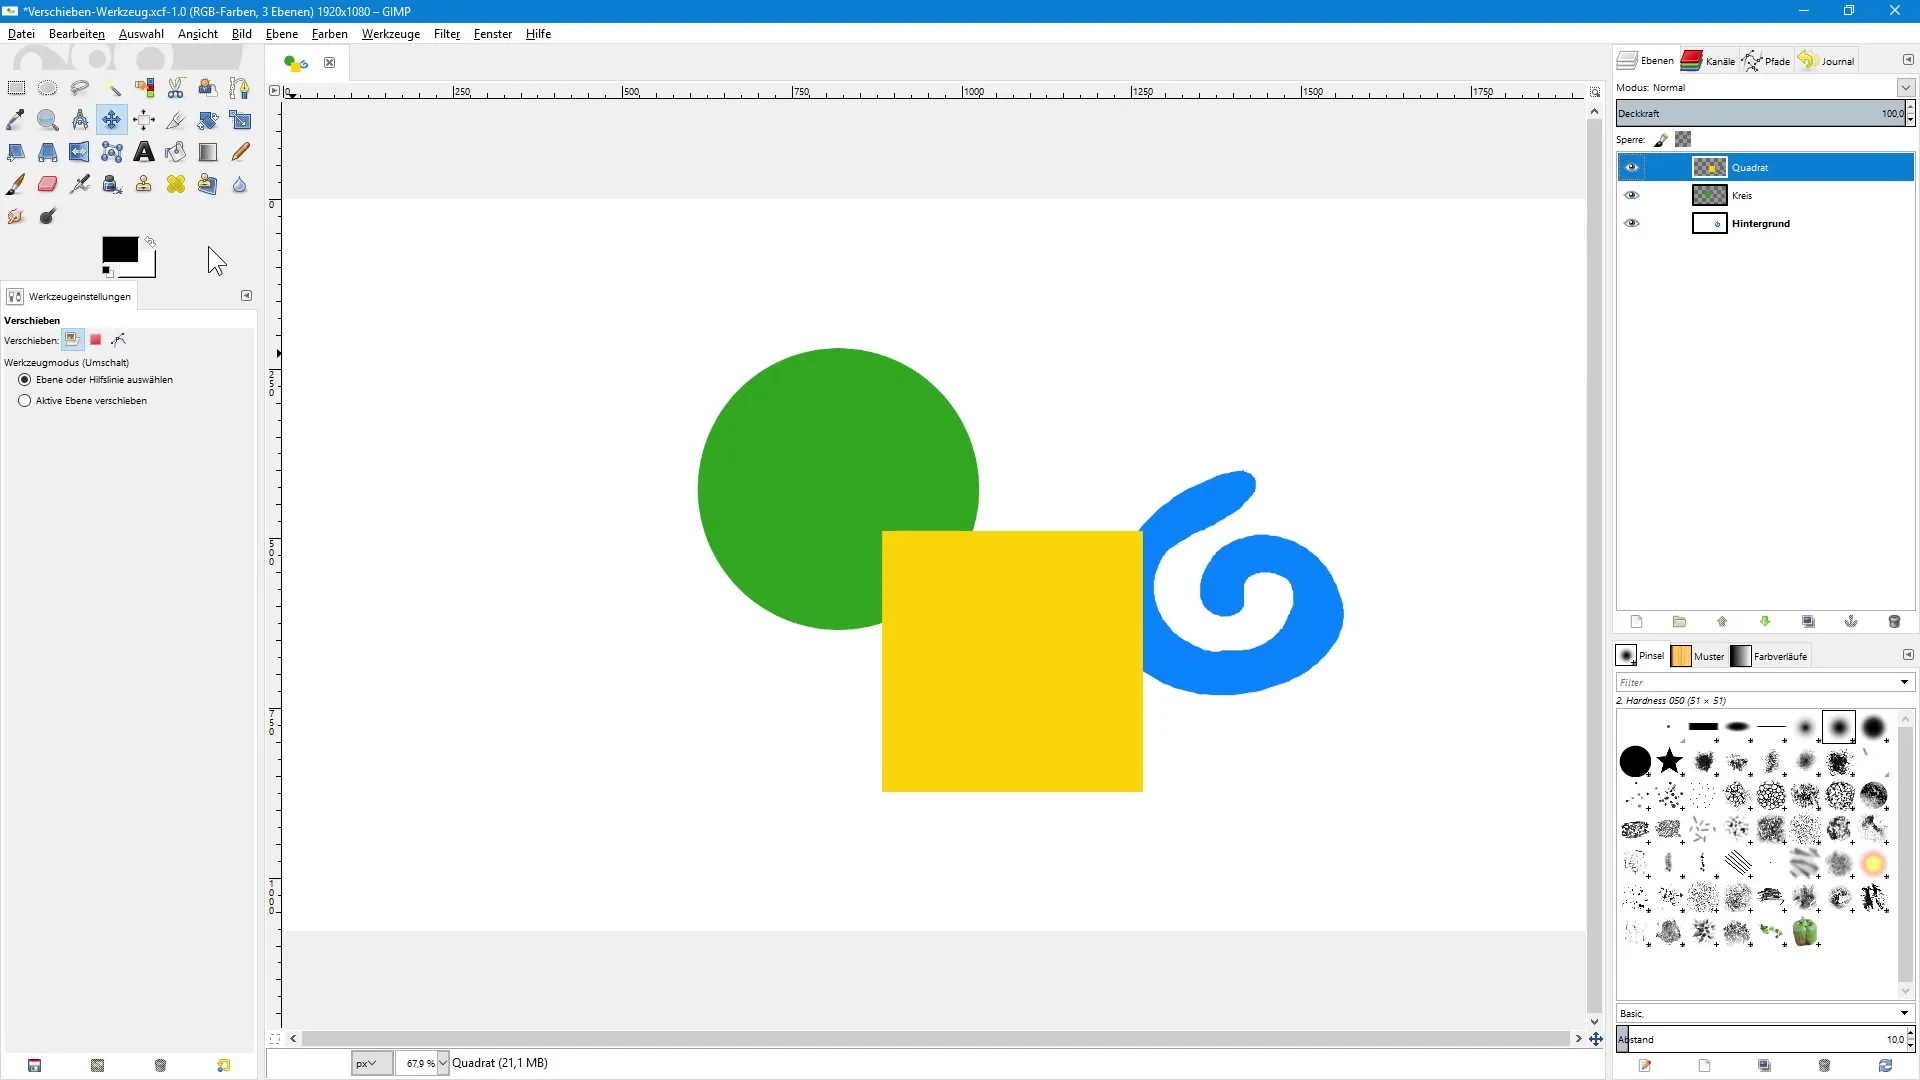
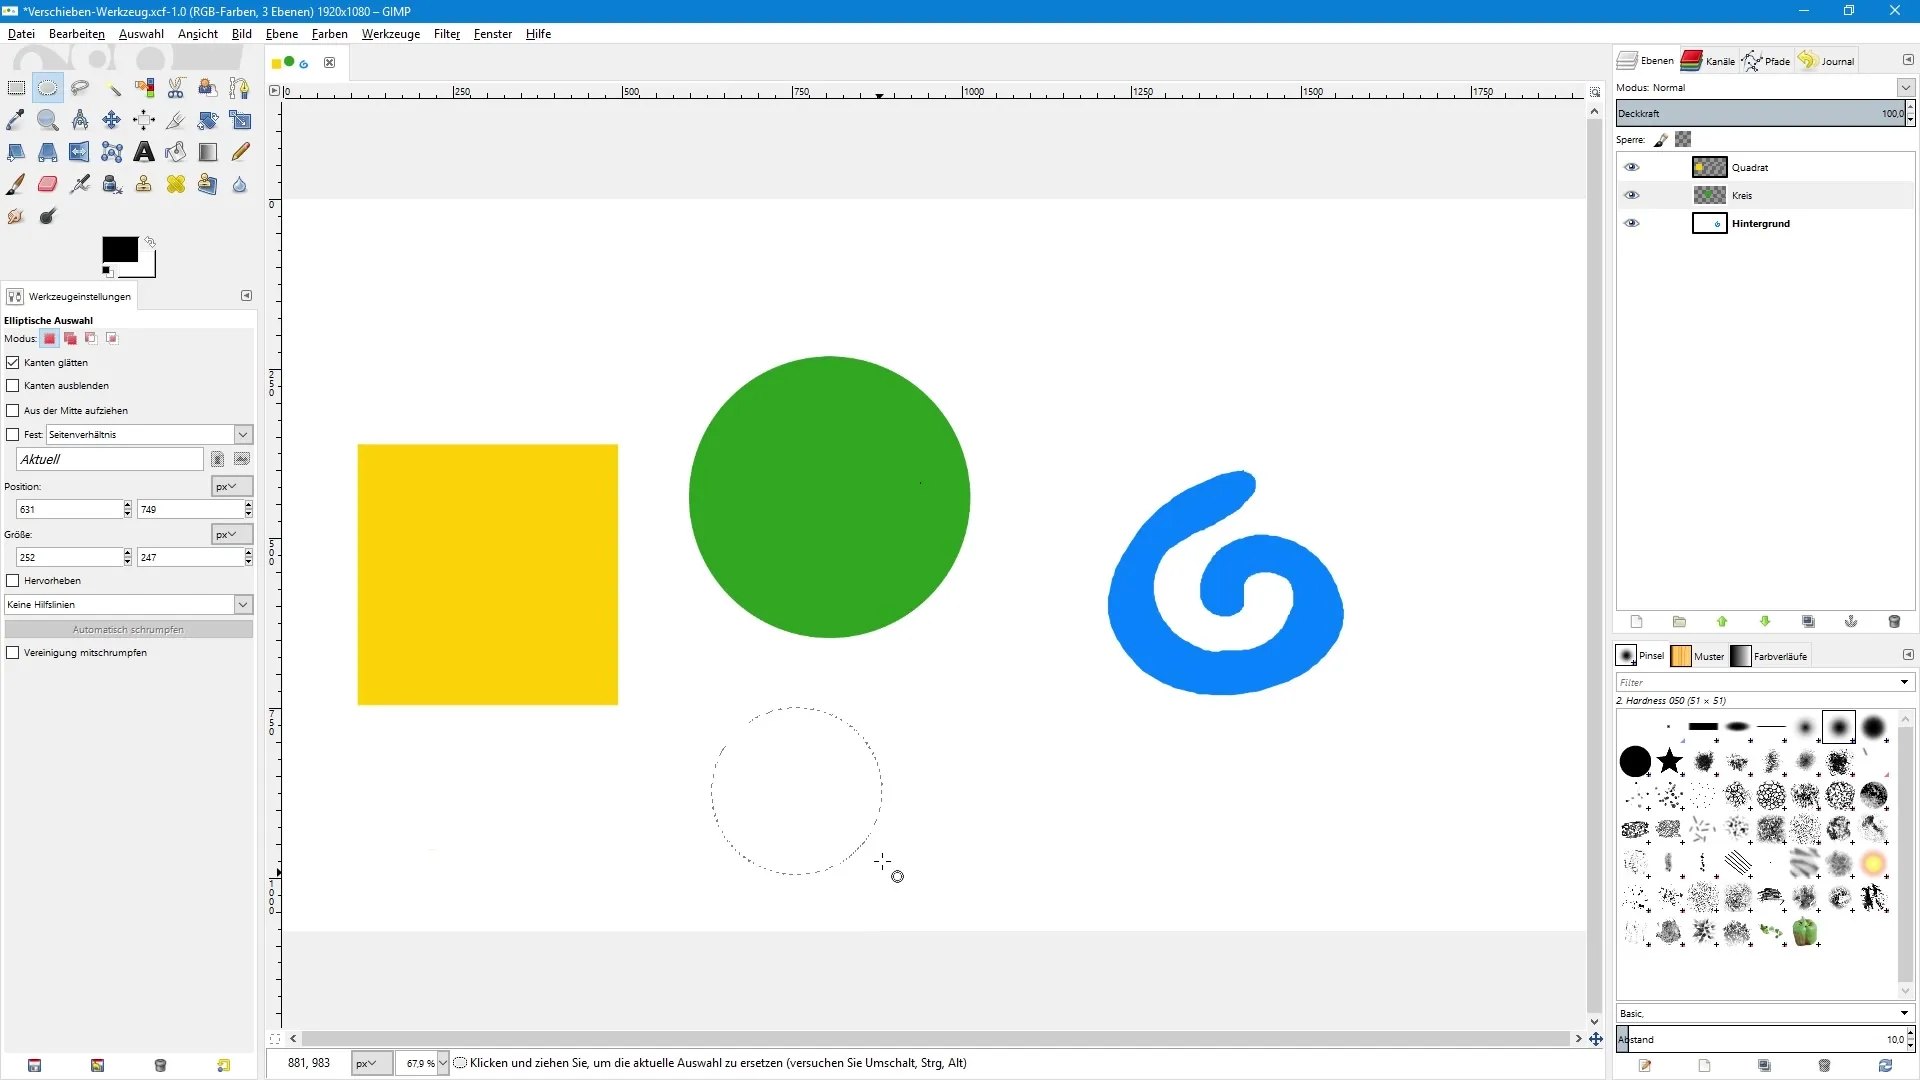
Your GIMP project should now display the different layers. Look at the Layers palette. You will see the background layer as well as two transparent layers with shapes: a green circle and a yellow square.
Step 3: Tool Settings
When the Move tool is selected, various options appear in the tool settings. First, choose "Layer or Guide." This allows you to select exactly the object you want to move.
Step 4: Move a Layer
If you are on the layer of the yellow square and want to move the green circle, position the mouse pointer over the circle. You will see a hand pointer indicating that you can move this area.
Click on the green circle, hold down the left mouse button, and drag the object to the desired position.
Step 5: Move Active Layer
Activate the "Move Active Layer" option in the tool settings. When you have chosen this option, only the layer that is currently active in the Layers palette will be moved. This means that regardless of where you click in the image, only the selected layer will be affected.
Step 6: Move Same Layer
If you only want to move the yellow square, click on one of the corners and drag it. The selection of the yellow square will only be applied to its layer. If you switch layers, you can repeat this technique.
Step 7: Precise Movement
If you want to move the yellow square precisely to the left or right, hold down the control key (Ctrl) while dragging. This will move the object along an invisible line. The same technique also works for vertical movements.
Step 8: Move Selections
The Move tool can also be used to move selections within the image. First, create a selection with the elliptical selection tool. Then simply click on the selection and drag it to the desired position.

Step 9: Move Paths
You can also move paths. This process works similarly to moving layers. If you have created paths, select the appropriate option in the tool palette to move a path. Click on it and move the path to the desired position.
Step 10: Move Active Path
When you use the "Move Active Path" option, it only affects the currently active path. This means you can click anywhere in the image, and the selected path will be moved.
Summary – Photo Editing with GIMP: Guide to the Move Tool for Beginners
The Move tool offers you versatile possibilities to effectively maneuver your objects and selections in GIMP. With the techniques described above, you can significantly ease the creative process and elevate your photo editing to a new level.
Frequently Asked Questions
How do I activate the Move Tool in GIMP?You can activate it by clicking on the icon in the toolbar or by pressing the "M" key.
Can I move selections with the Move Tool?Yes, you can use the Move Tool to easily move created selections.
How can I ensure that I am working precisely?Hold down the control key (Ctrl) while moving an object to move it in a straight line.
Can I also move paths in the image?Yes, you can move both active and existing paths in the image using the Move Tool.
What happens if I select another layer?If you have the "Move Active Layer" option activated, only the current layer from the Layers palette will be moved, regardless of the mouse pointer.


